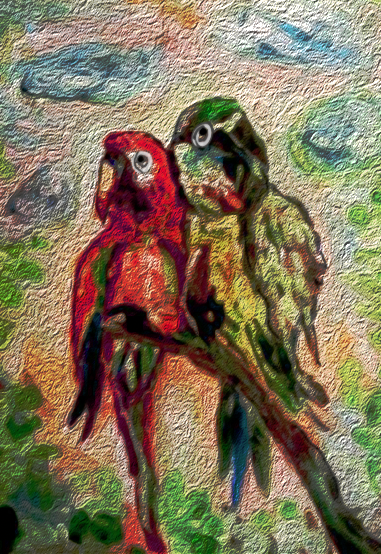
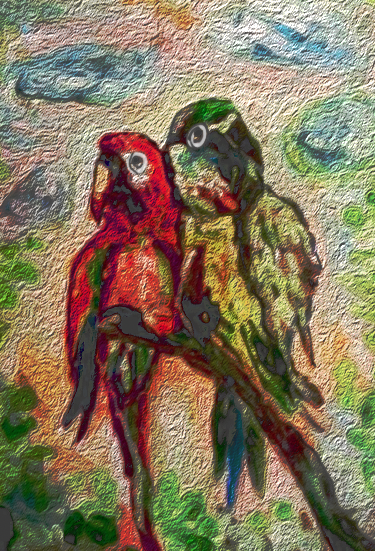
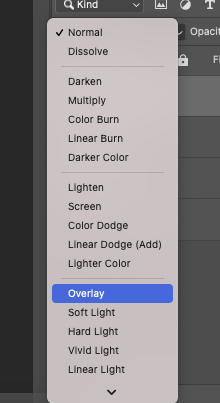
How to Change the color of a specific part in Photoshop Today is International Women's Day. The color of the symbol for International Women's Day is purple. Today I want to show you how to change a specific color in Photoshop to purple. I will only change the red part of the picture below to purple. 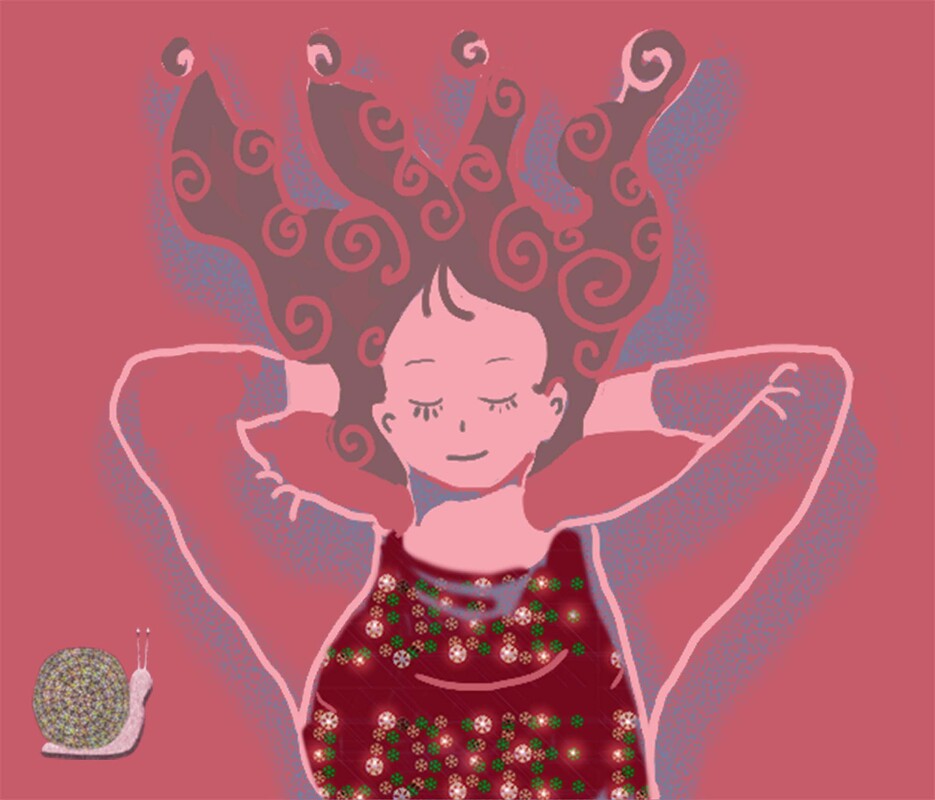 First, go to Image---> Adjustments--> Hue/Saturation, and then Usually, if you want to change the color, you click and adjust the each bar until you find your favorite colors but in this case, you have to click under the icon (with red-red-rectangled area before adjustment. After that, you can find out Spode shape cursor and then pick the area, which you want to change it. And then adjust with Hue/Saturation. 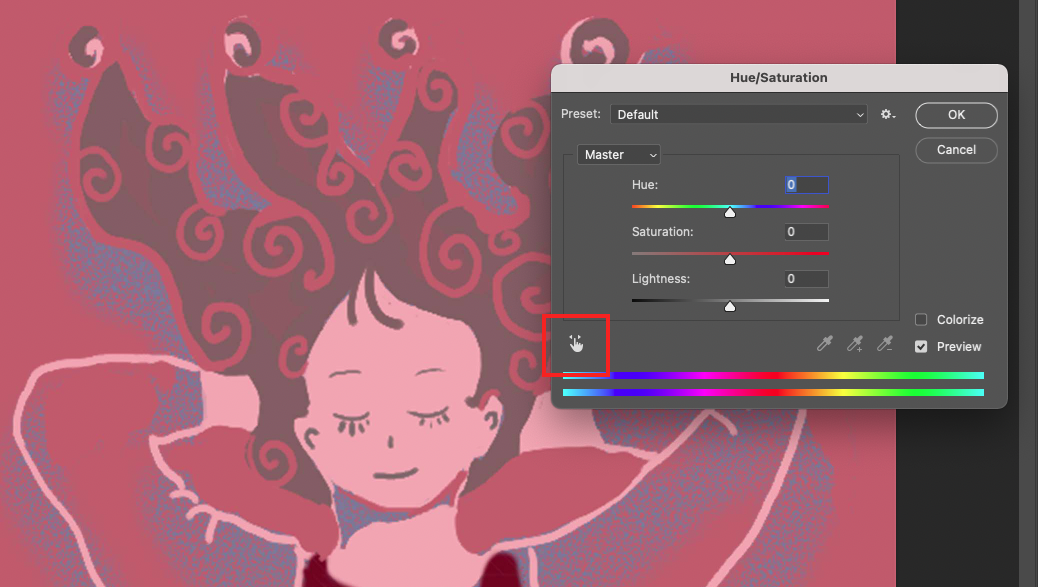 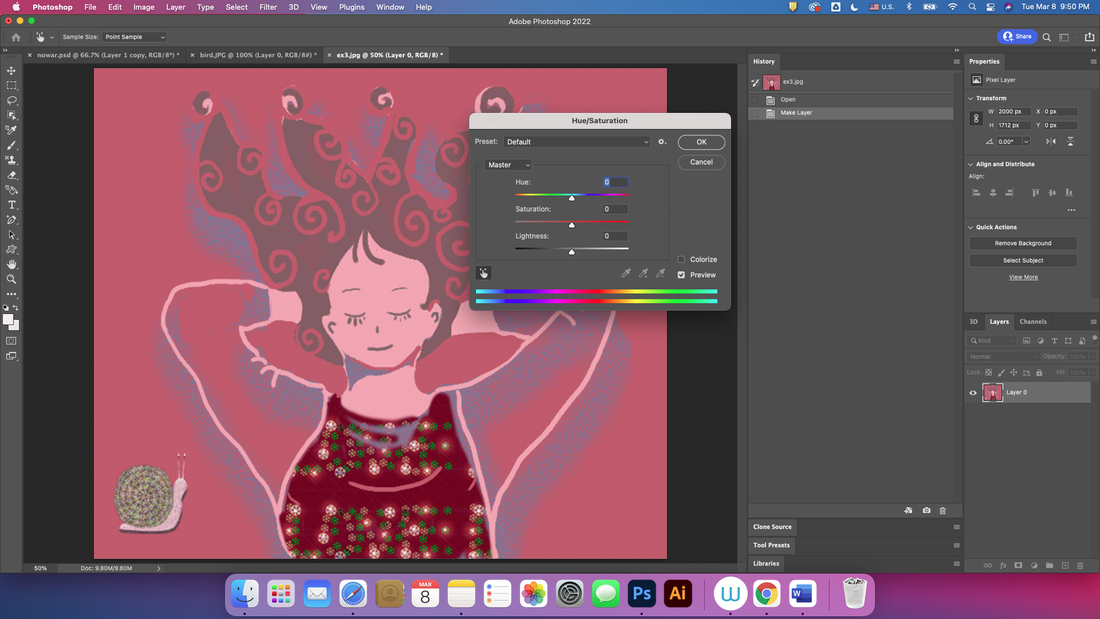 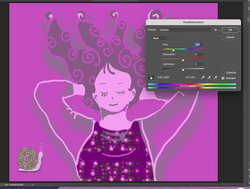 Here is the result, you can find the specific color was changed. 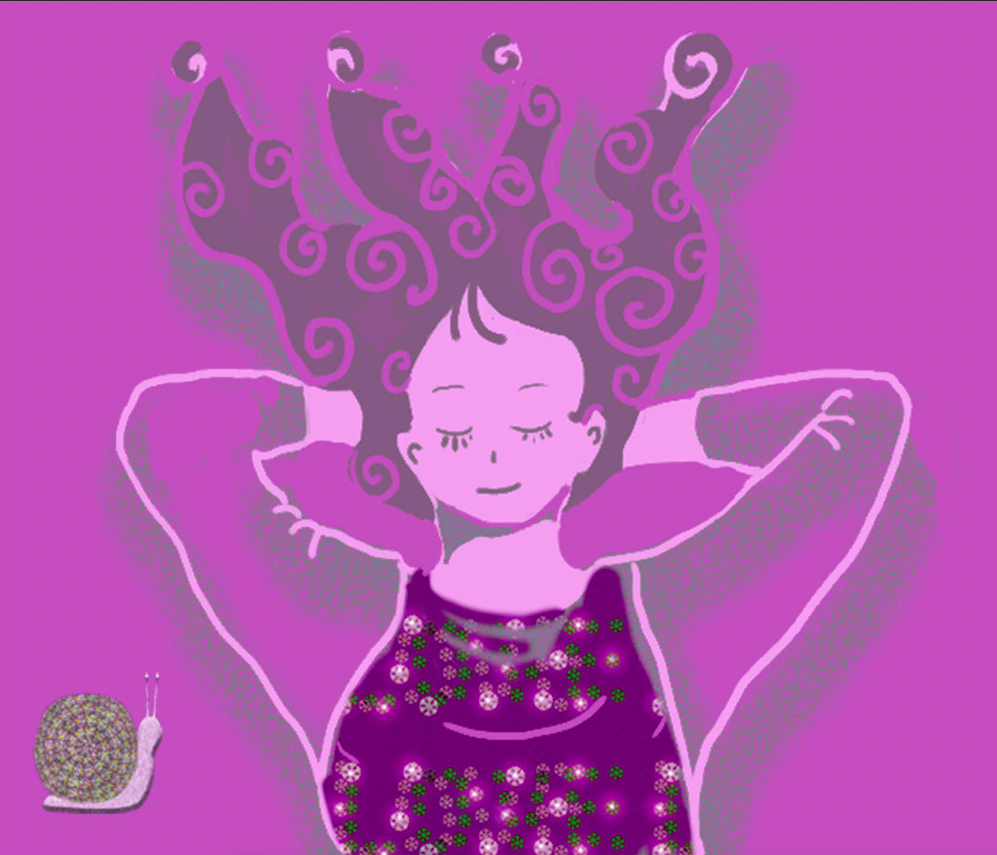 Here's another way. For changing specific area, you have to go Image---> Adjustments--> Replace Color. 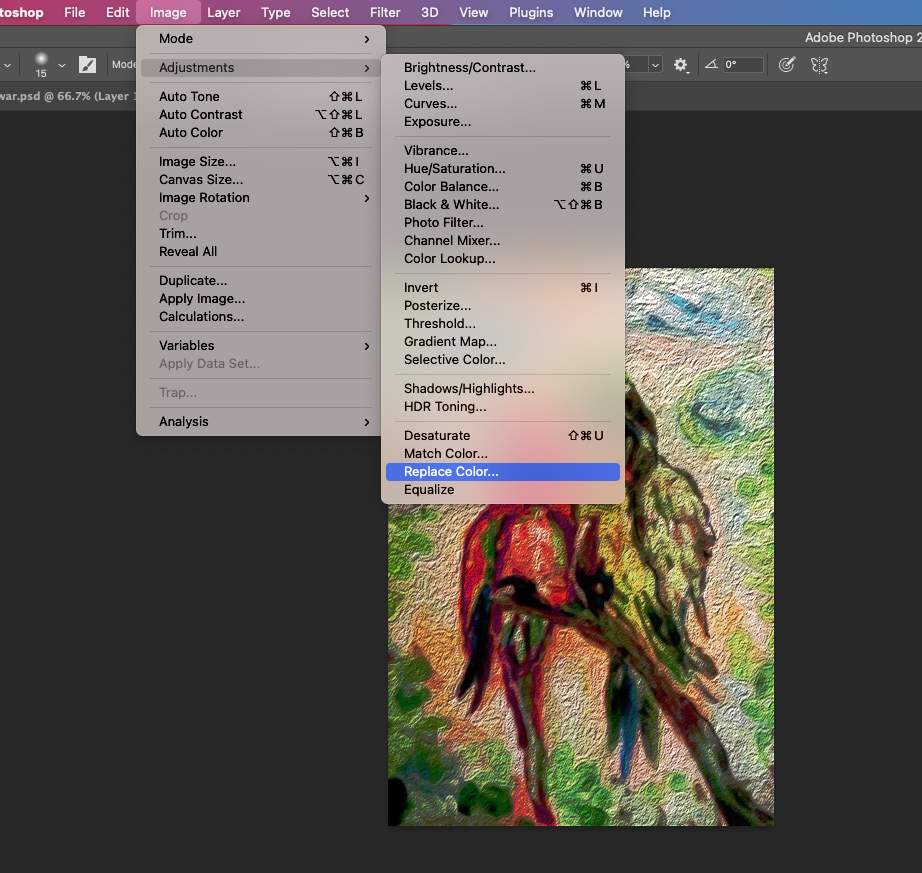 In my case, I click the under belly area, where drew a black to lighten it. I did use a Spode cursor and adjust it. 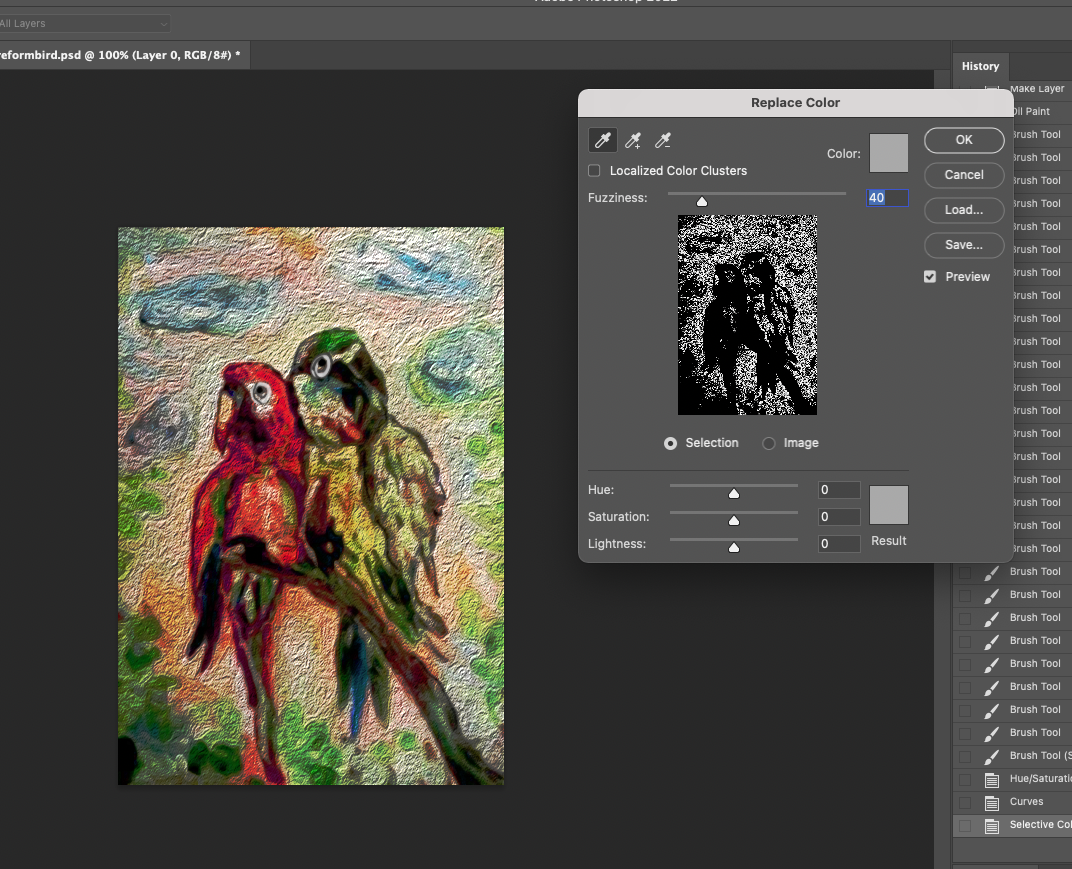  During the process, you can check which area will be changed. 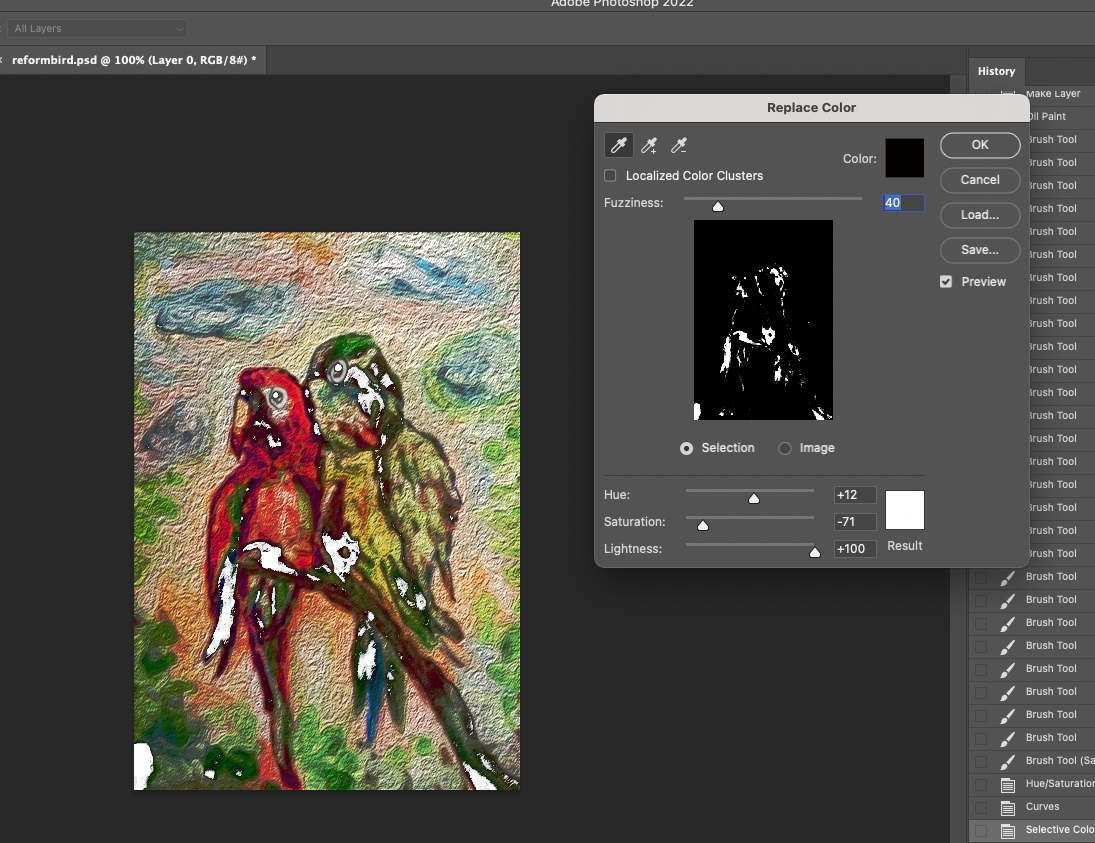 Also, you can apply another new color. 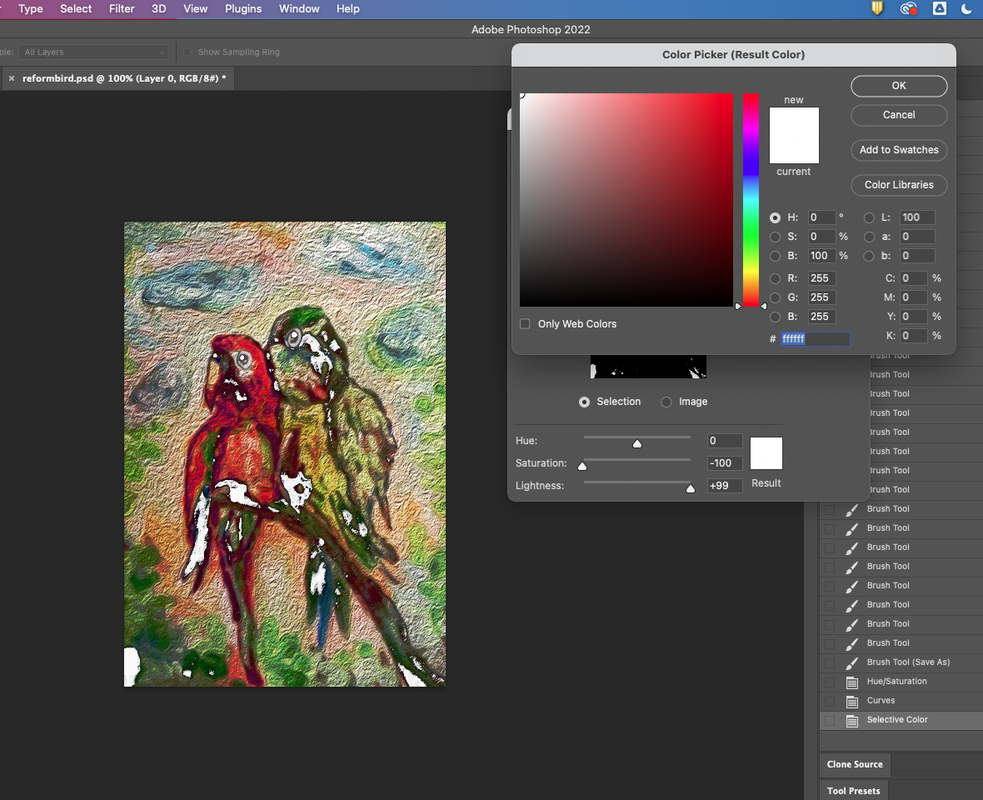 Next, I checked the Localized Color Clusters and adjust Hue, Saturation and Lightness. 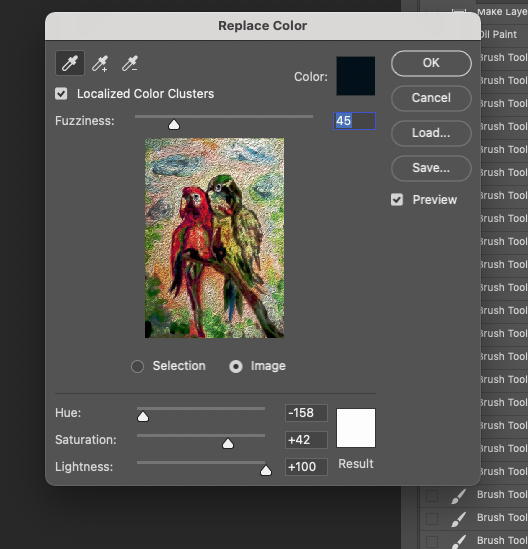 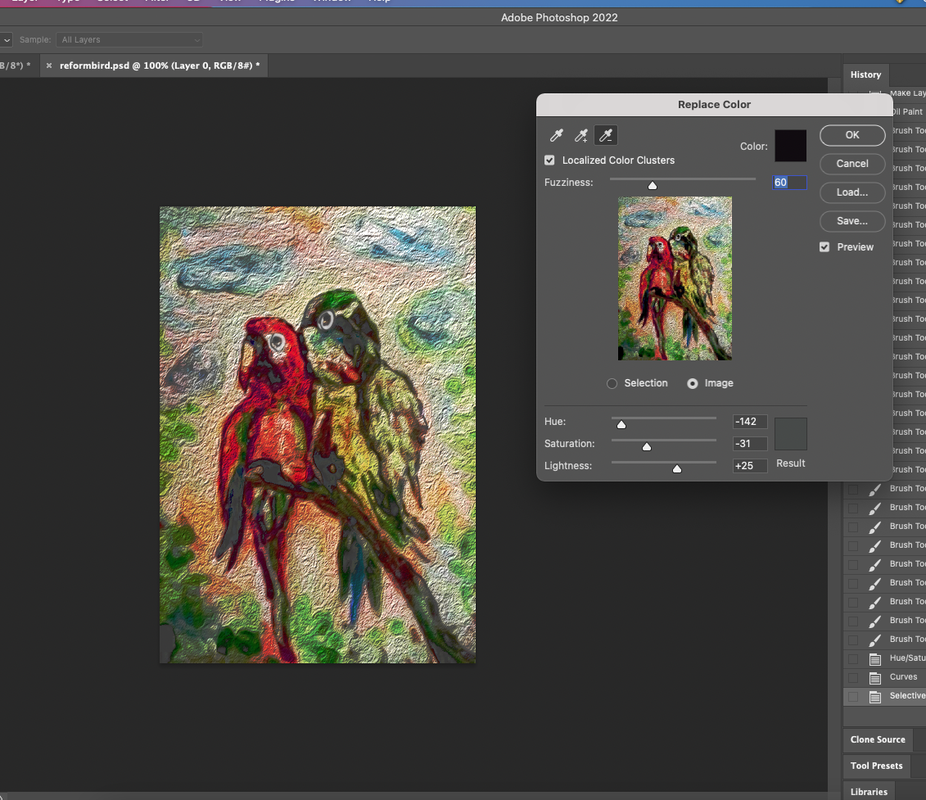
0 Comments
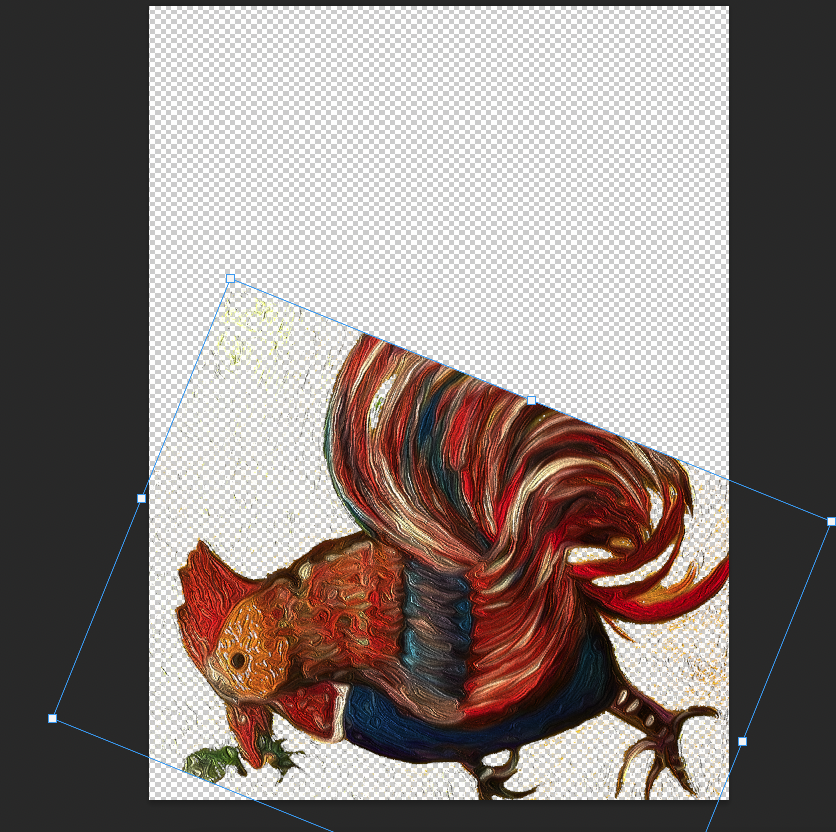
Converting analog pictures to digital work! Today, I would like to briefly show you the process of reforming a picture I drew on a canvas back into a digital image. The image of the painting to be reformed is a painting I drew with acrylic in 2013. The resolution is low and has lots of refection because it was taken with a digital camera in a hurry at the time. 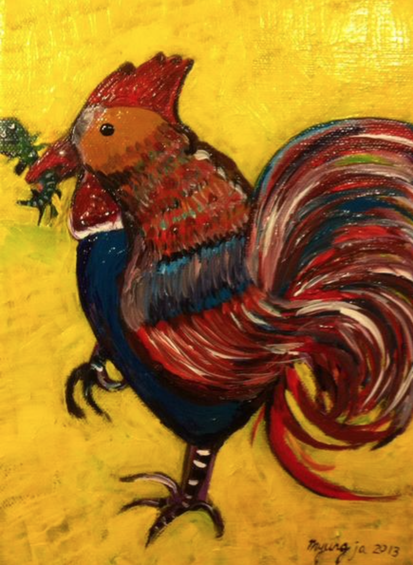 After importing the picture into Photoshop, use the small square-shaped selection tool to create a yellow background. 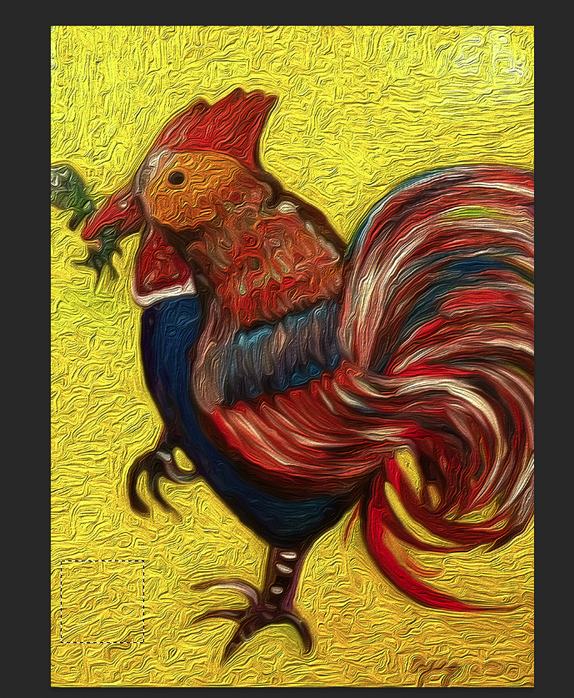 Next, go to Edit--> Define Pattern and then make one of pattern as follow as below. 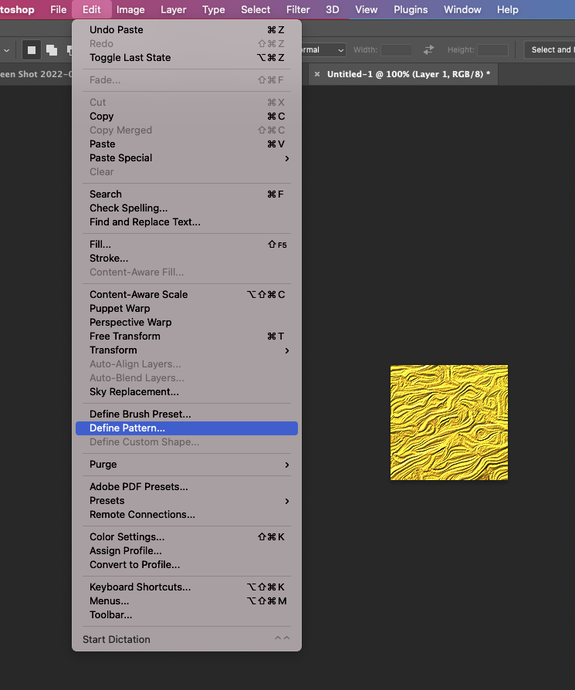 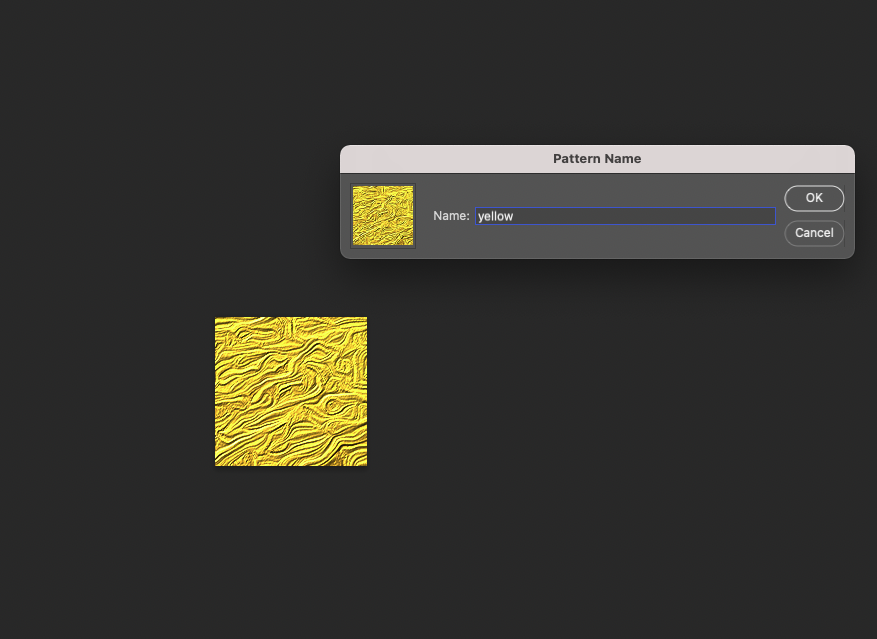 Make new layer and Go to Edit ---> Fill to create new yellow background. 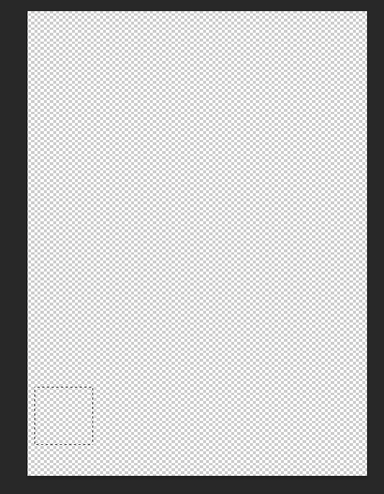 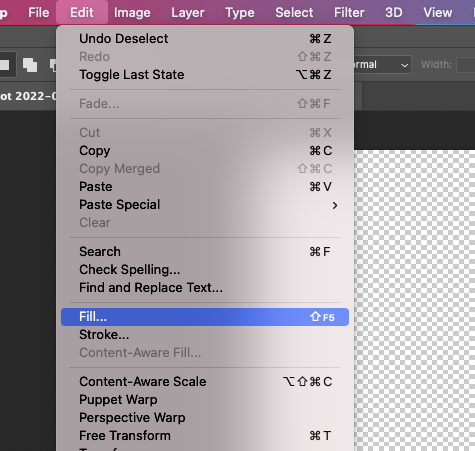 For regular pattern, you can select the Option of Script as Brick Fill like below. 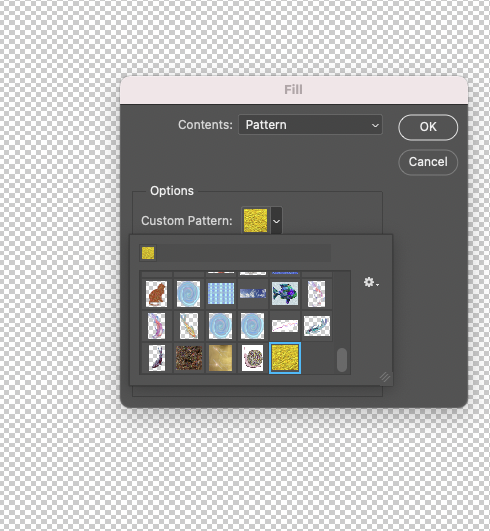  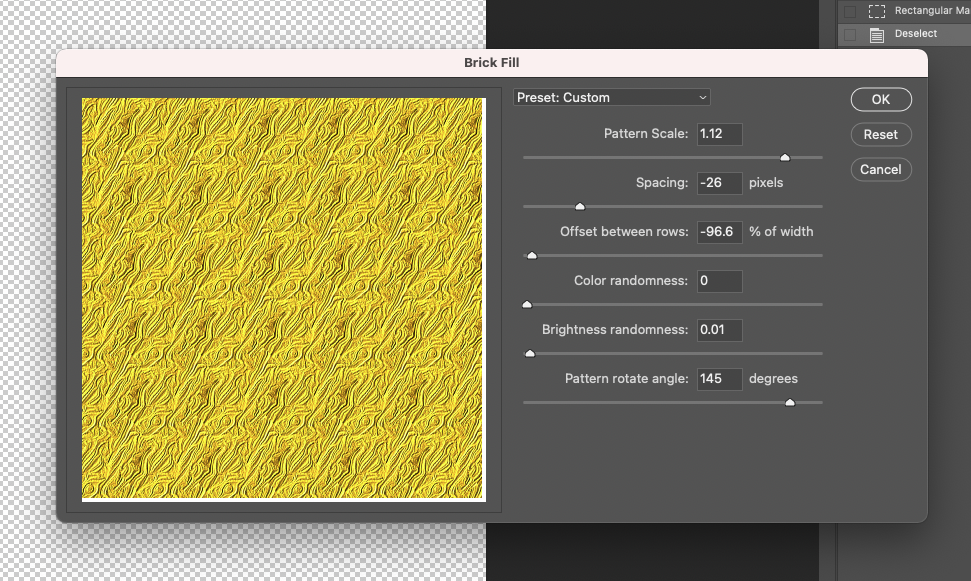 And then duplicate one more same image like below to make a shadow. 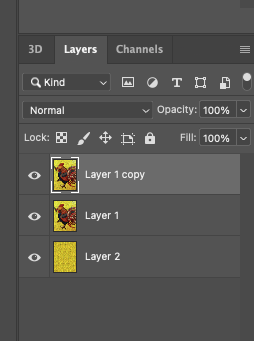 Select copied layer and erase background by using a Magic Eraser Tool. ( You don't need erase perfectly)  Next, with Ctrl + T to adjust the size, you can resize the image. 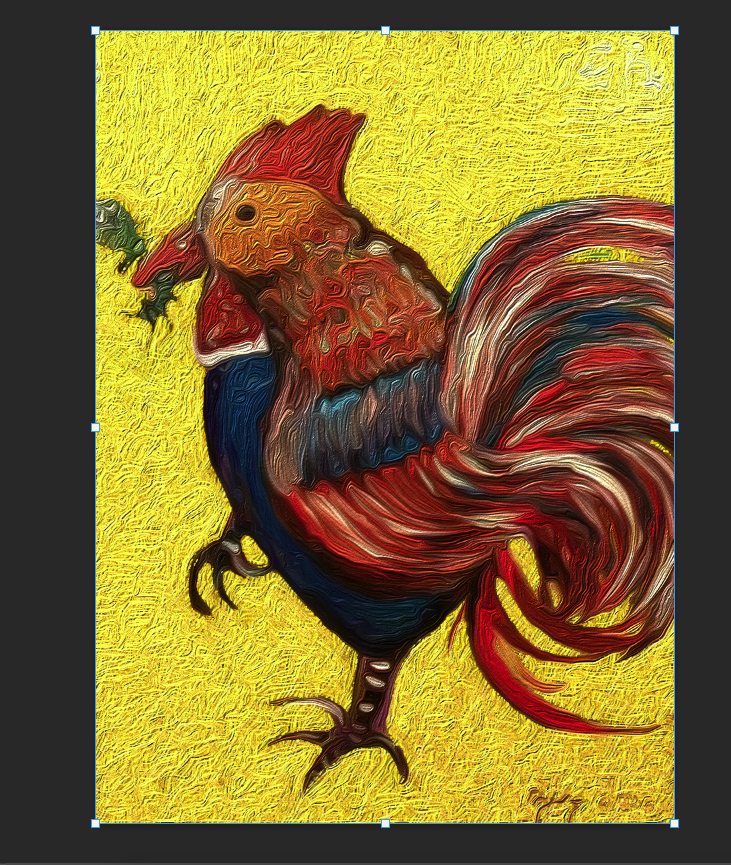 After resizing, you can select the Smudge tool for smoothing the edge. 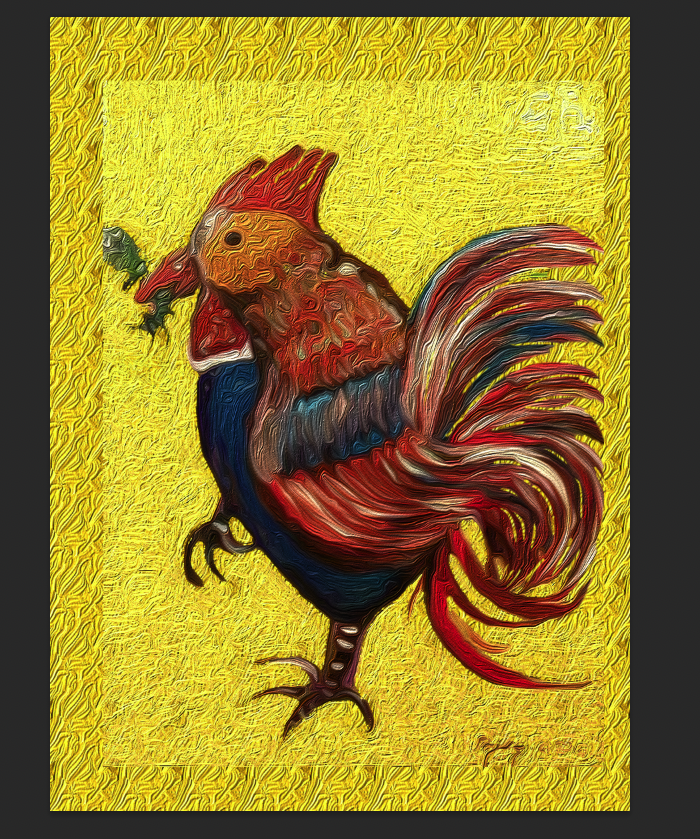 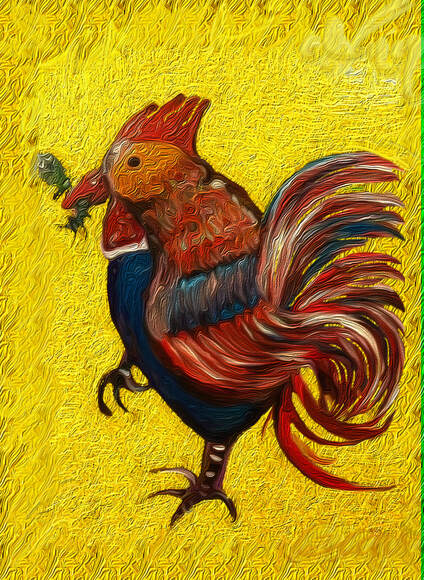 Select the original image to make a shadow. In my case, I will express the shadow as if it is kind of mirroring.  Above the process, you can select a Magic eraser tool, and then delete the background like below. 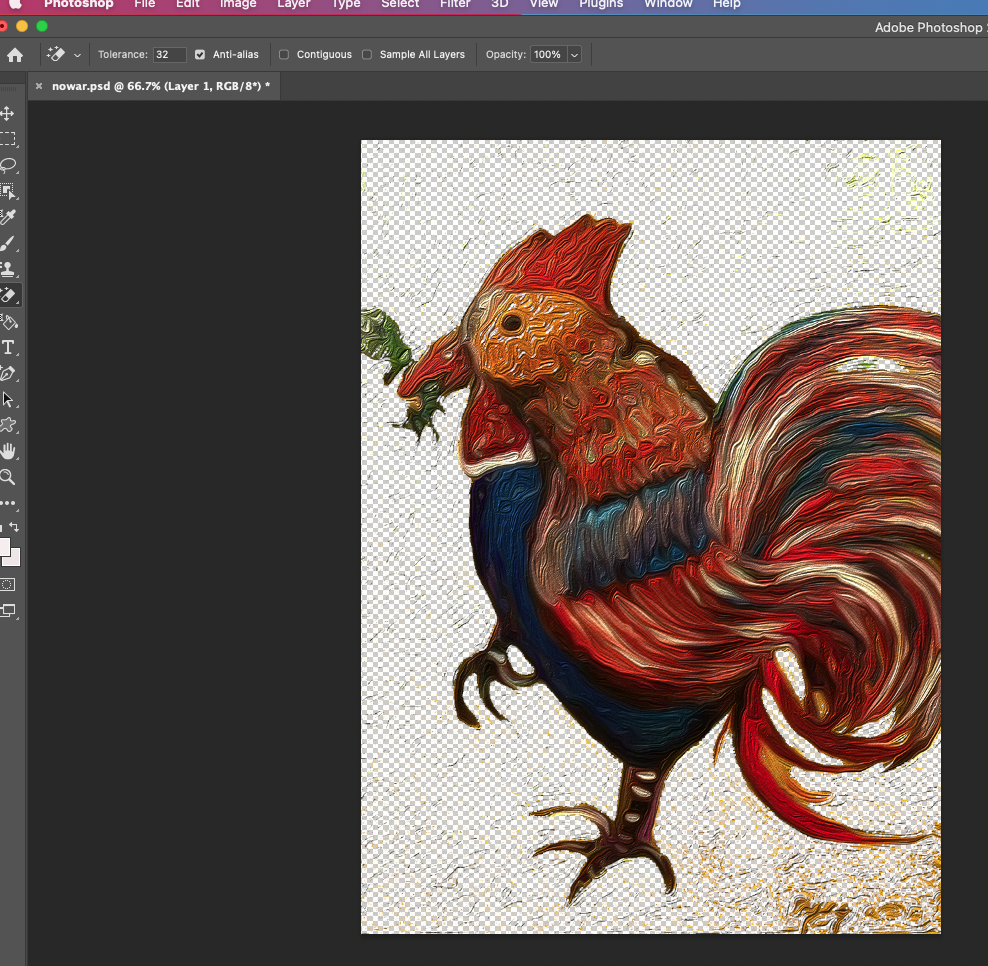 With Ctrl+ T, you can move the image like this.
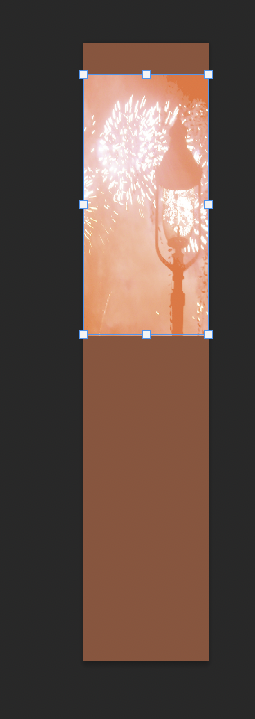
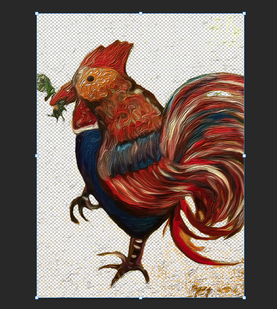
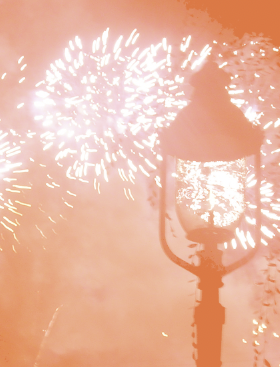
Here is the result after that. 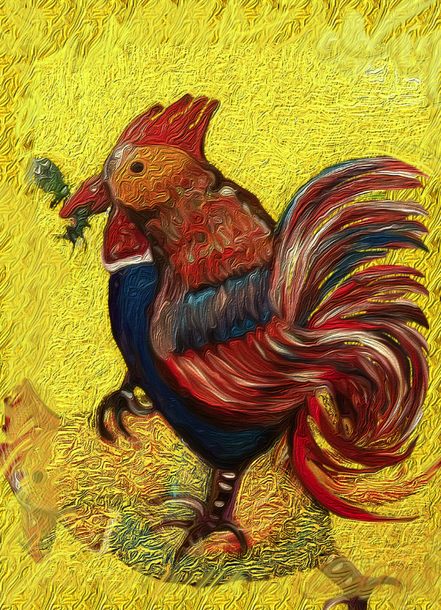 Last, I'd like to change the specific area such as the belly of rooster, and then I want to show you how to do it. Go to Image---> Hue/ Saturation. 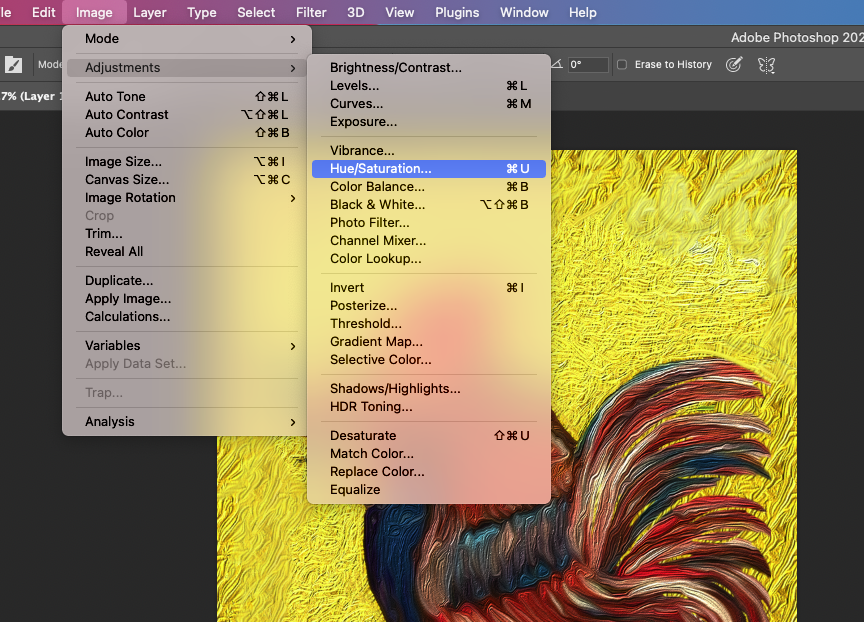 Usually, you use it for changing whole area. But if you click the red-rectangle area, you can adjust the color only you select and use with Spode it. 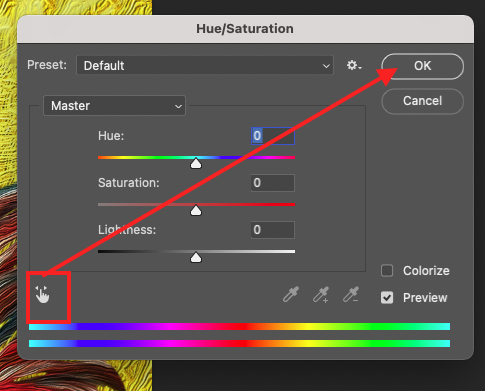 You can make sure the area like below. 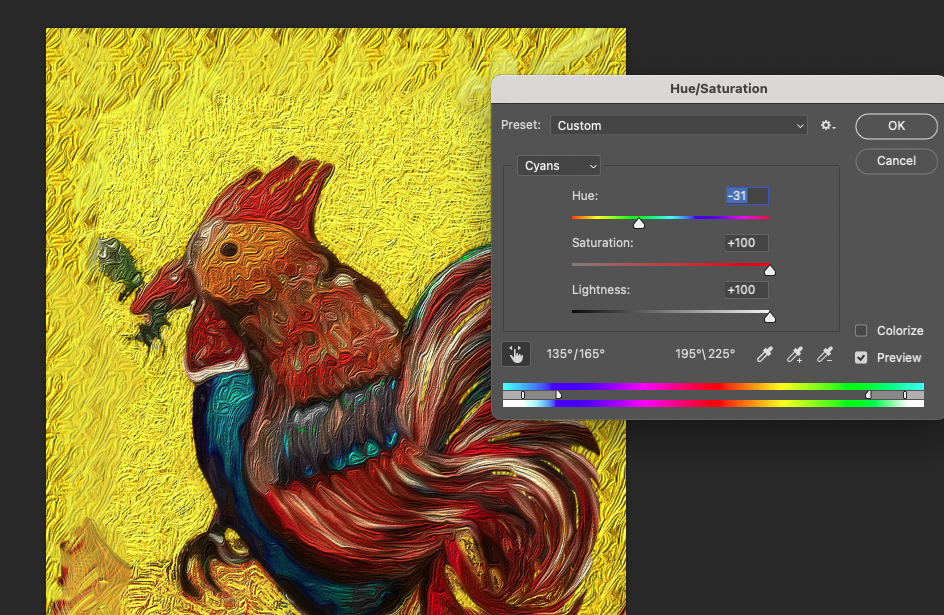 Here is the result ! 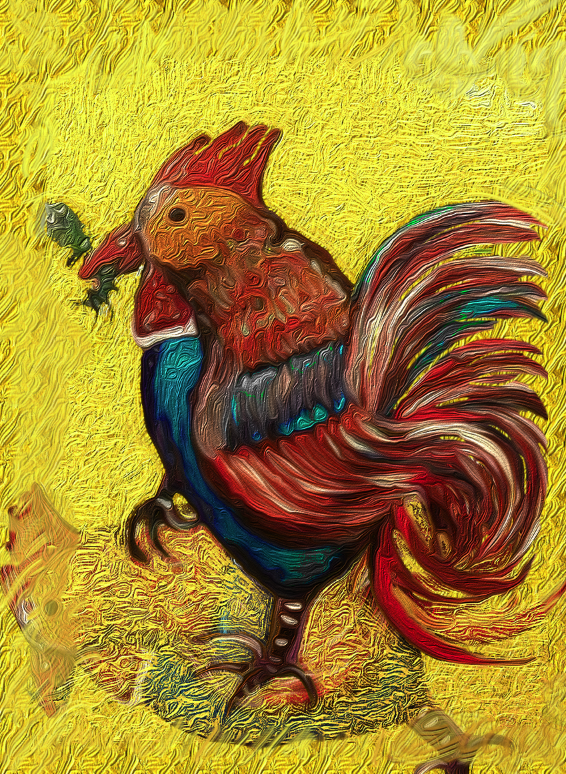  How to create a firework banner with Photoshop. Today I'd like to show you the process of creating an advertising banner that sparkles like fireworks that light up a dark sky like above. In my case, I selected the proper place where I put the moving banner on my website.  After determining the size according to the location, create the background. Then, load the image to be used for the background and paste it on the banner.
 And then with Command + J (MAC book), I duplicate two times and name them, image 2, image 3. 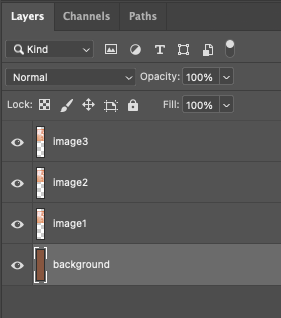
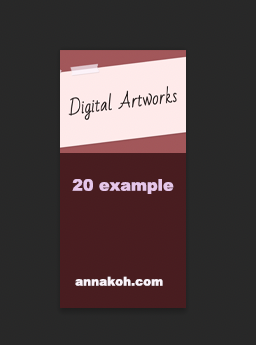
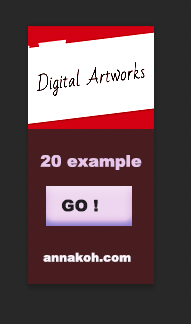
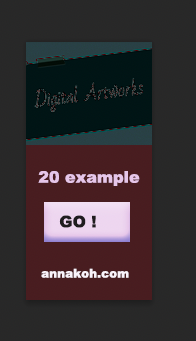
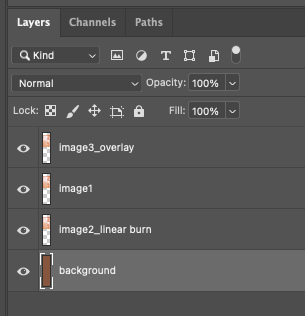 After that, I wrote the text as follow as below. 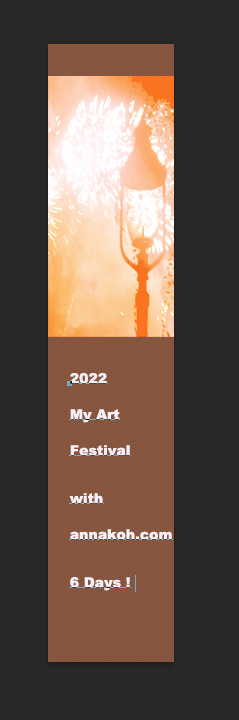 I also duplicated the text for changing the color and effect. 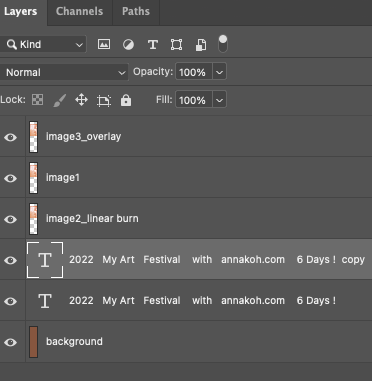 Select the copied text layer and go to blending options to change it. 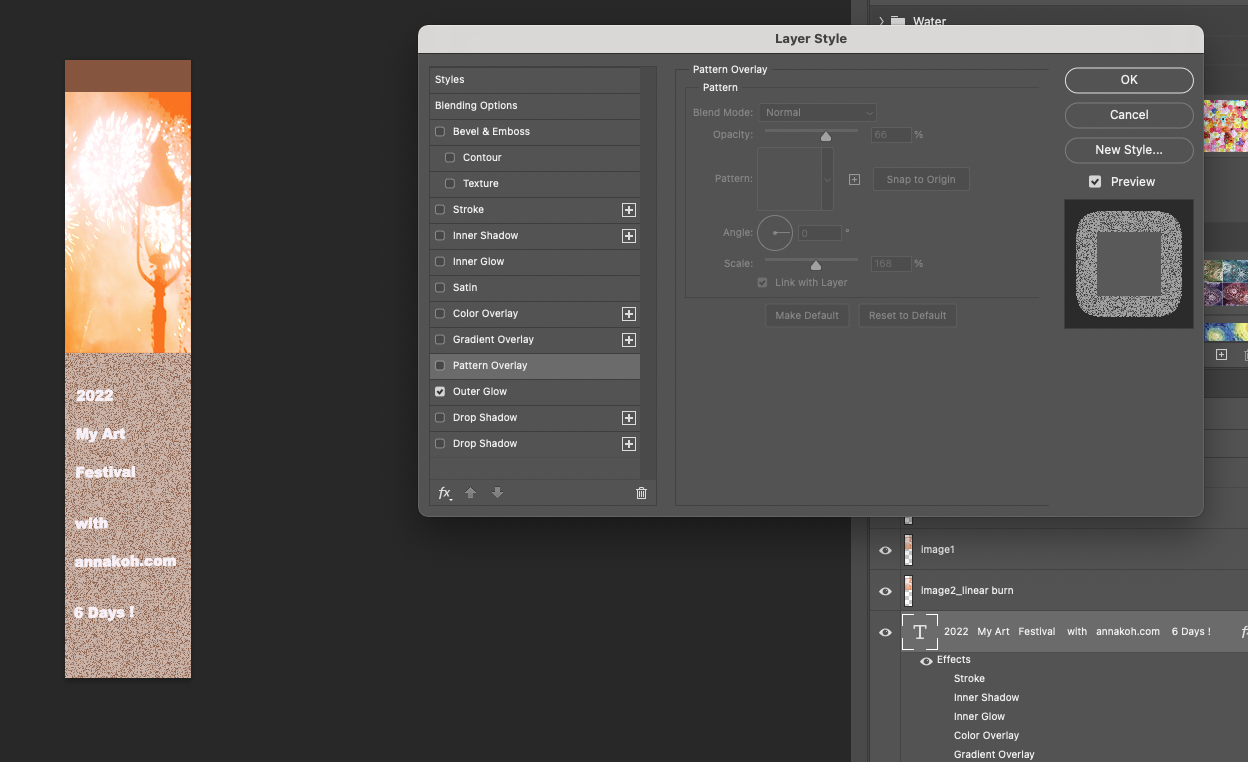 Adjust with Outer Glow and color the text from white to hot pink with Satin mode as follow as below. 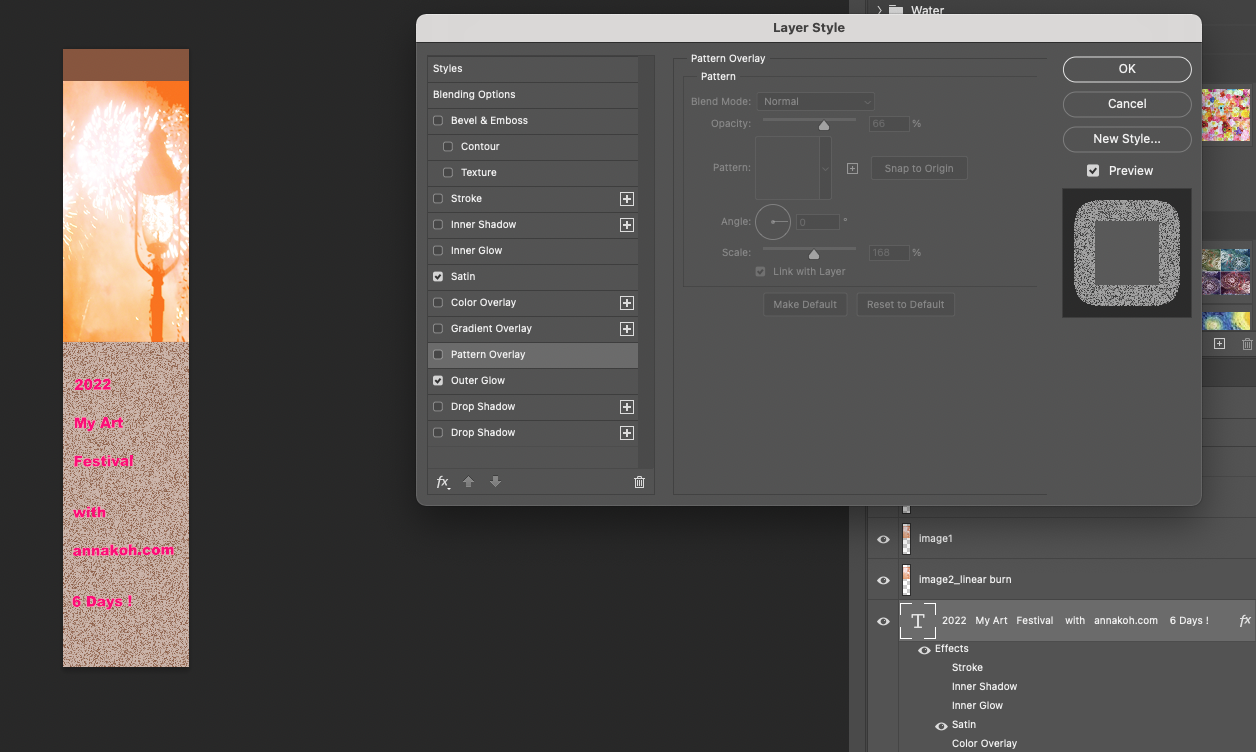 Also, I wote a more text on the bottom of the long shaped banner. 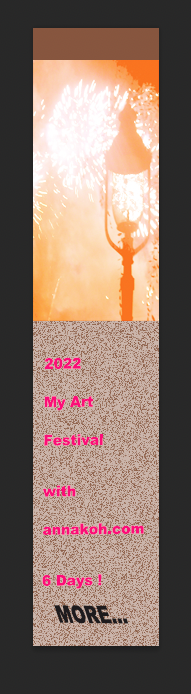 For the effect of firework, I copied some part of fireworks, and then created a new layer to paste it.  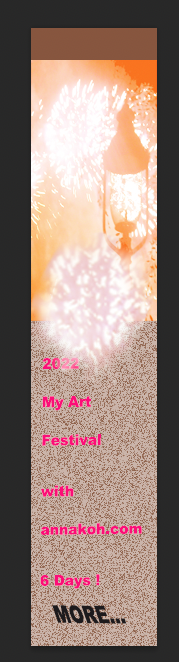 For making moving gif file, you have to turn off the eye shaped icon (next to each layer) except for showing the default like below. 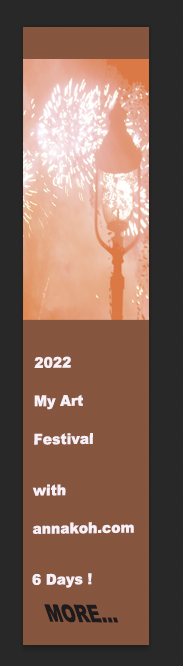 Next, go to Window ---> Timeline. 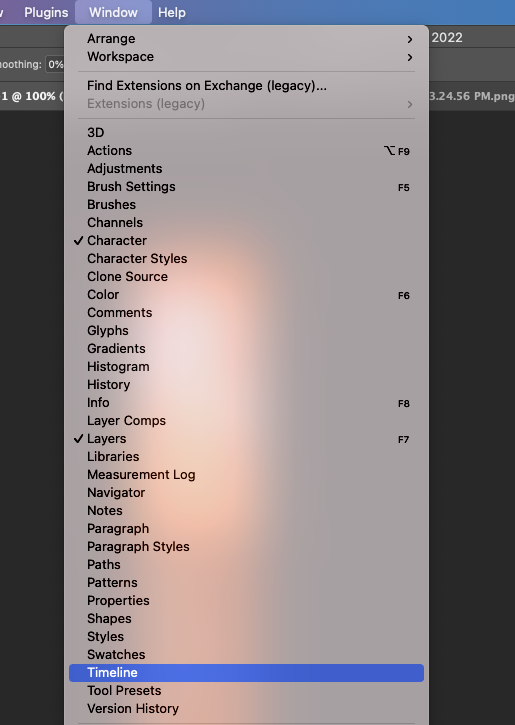 And then you can find the workspace for Frame animation. If you select the Create Frame Animation and click it double.  If your workspace changes like below, you have to click plus icon 8 times for making each frame work. 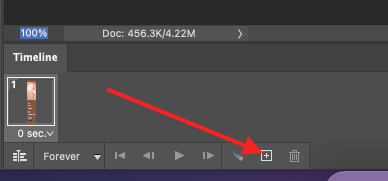 And You can see the below result. 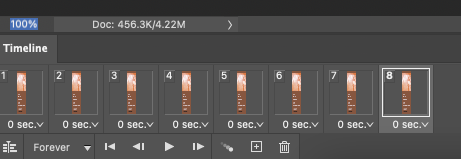 For efficient work, I changed each time at this time. 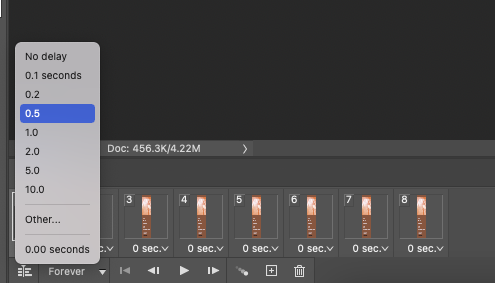 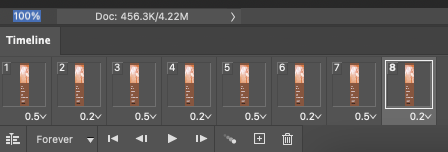 After changing the time, return to the first frame. Select the frame, and click the related layer with turn on or off the eye shaped icon on the layer panel of right side. 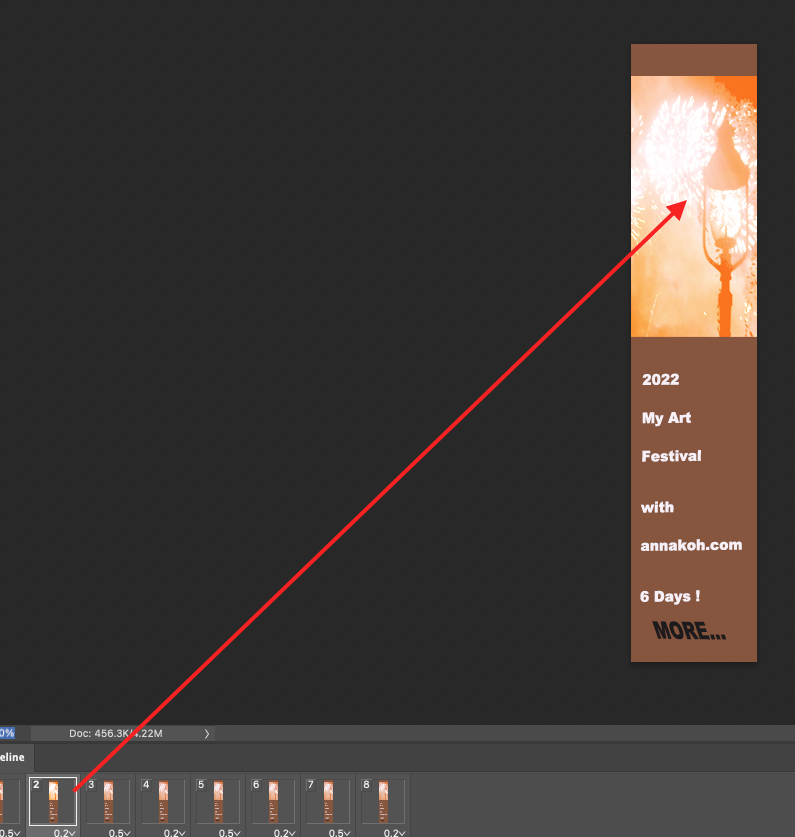 Lke below, I set the event per a frame with turn on or off the related layers. 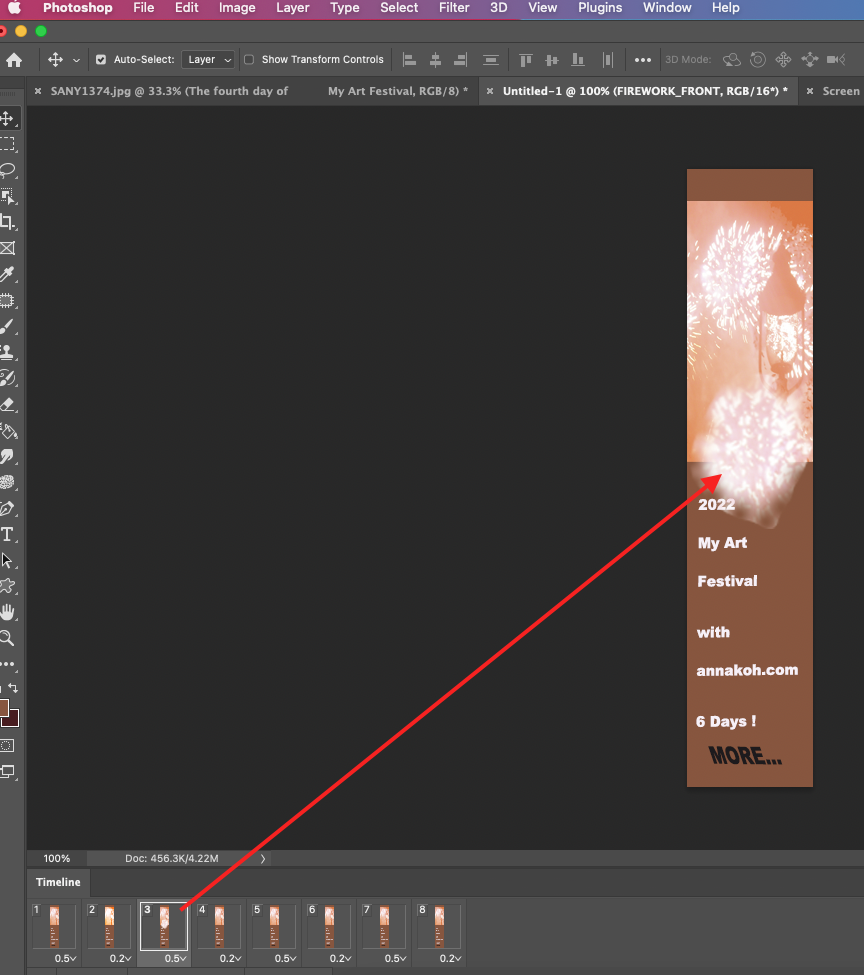 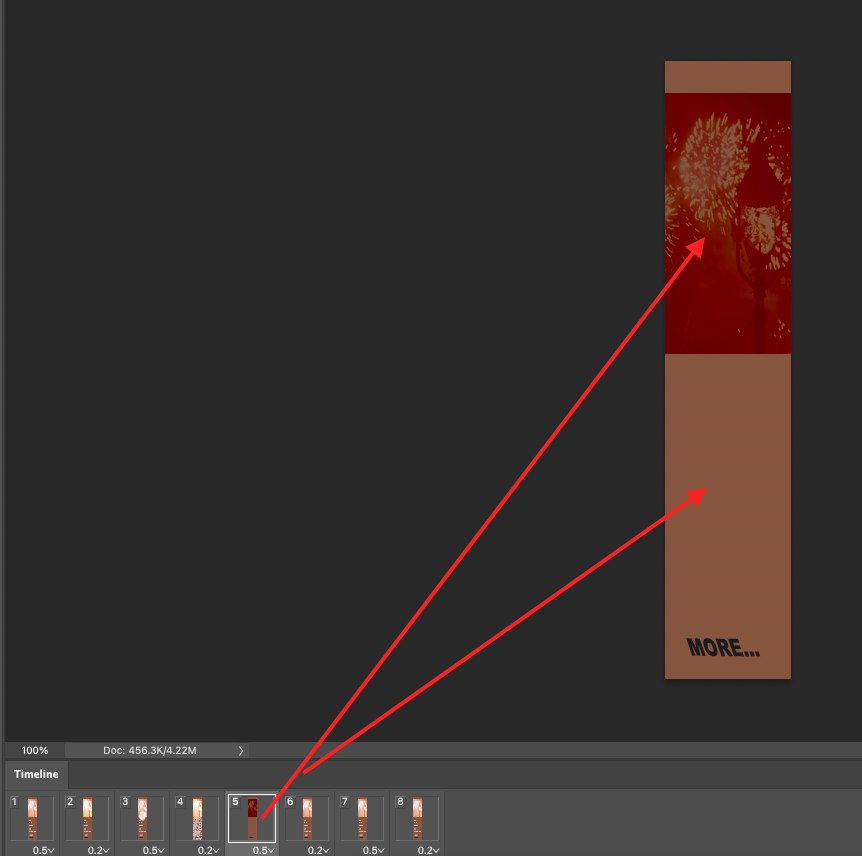 For saving as moving gif file, go to File---> Export---> Save for Web. 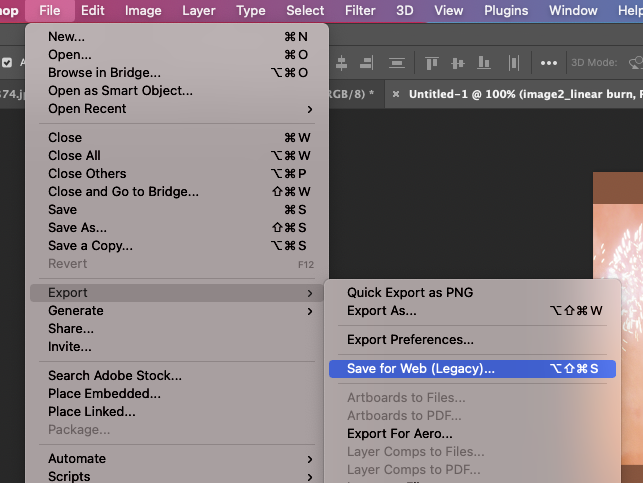 Click the Gif type and save button on the bottom. 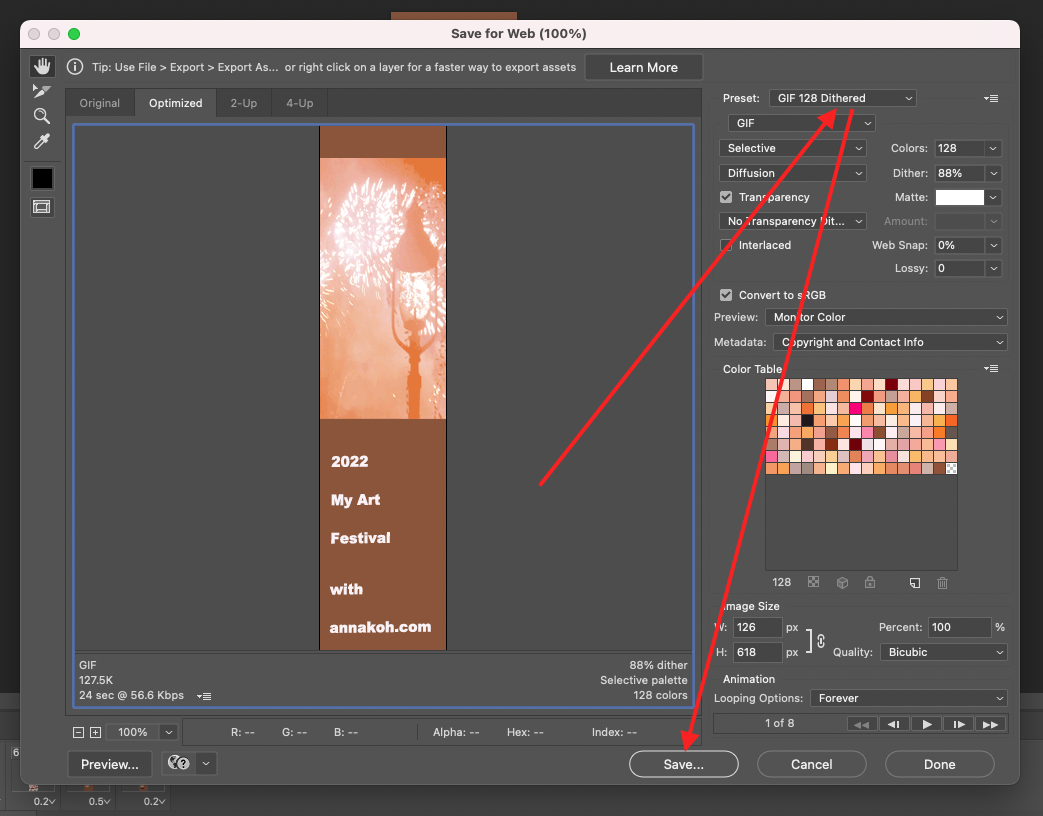 Make sure your output and enjoy showing the moving event banner! 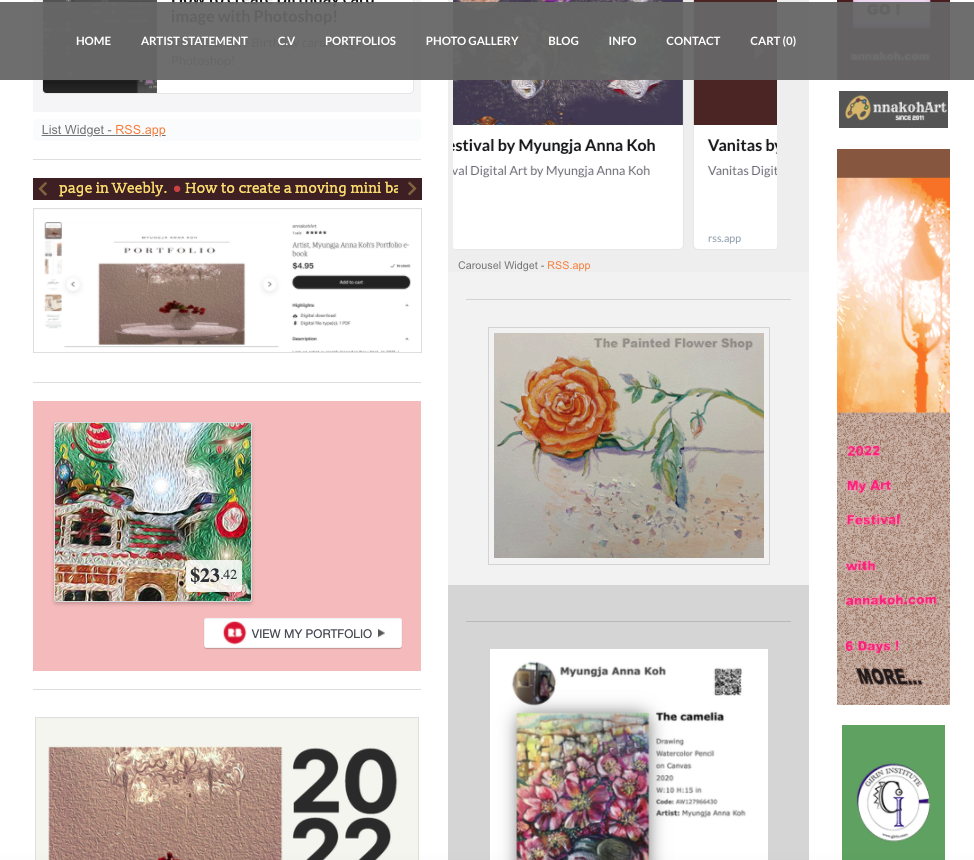  How to create a moving mini banner with Photoshop! Recently, I create a new moving banner with Photoshop and placed it on the right edge in my site. Today, I would like to show you how to make it.  First, I measured the size with Right-Click to go to Inspect menu. With this method, I got the size info with 126.94 x 258.  I made a new canvas in Photoshop with size 126 x 258. (Note: you have to put the decimal point. )  Next, I wrote some text and put the logo on the top of the banner. And then made a button, is written "Go!."
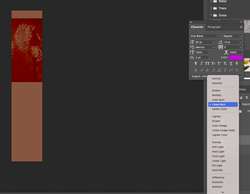
For changing easily the color of logo, I used change of the screen mode like below. 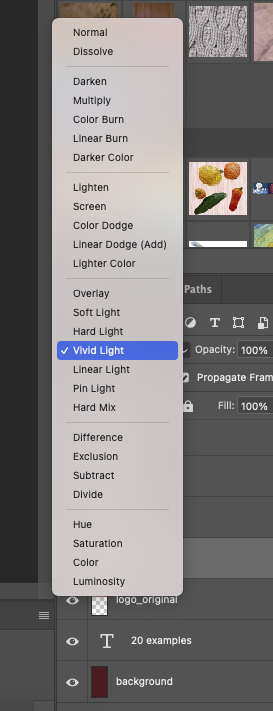 First image is an original and second & third were created by changing the screen mode.
For making moving clip, I went to Window---> Timeline. 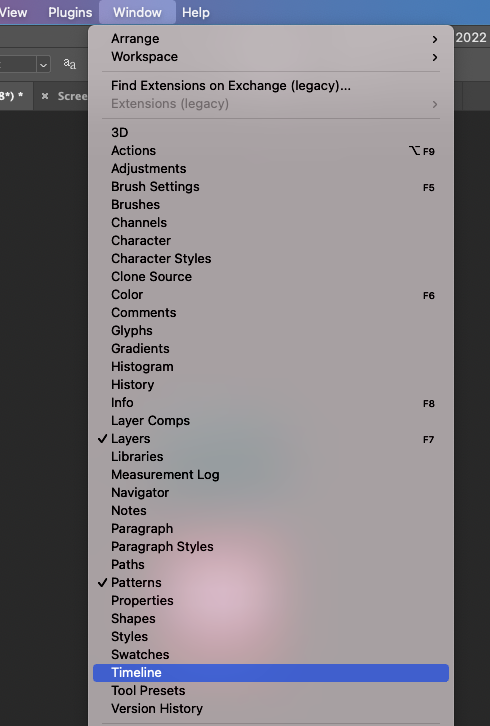 Below is the workspace for creating frame animation. You have to do double click to open it. 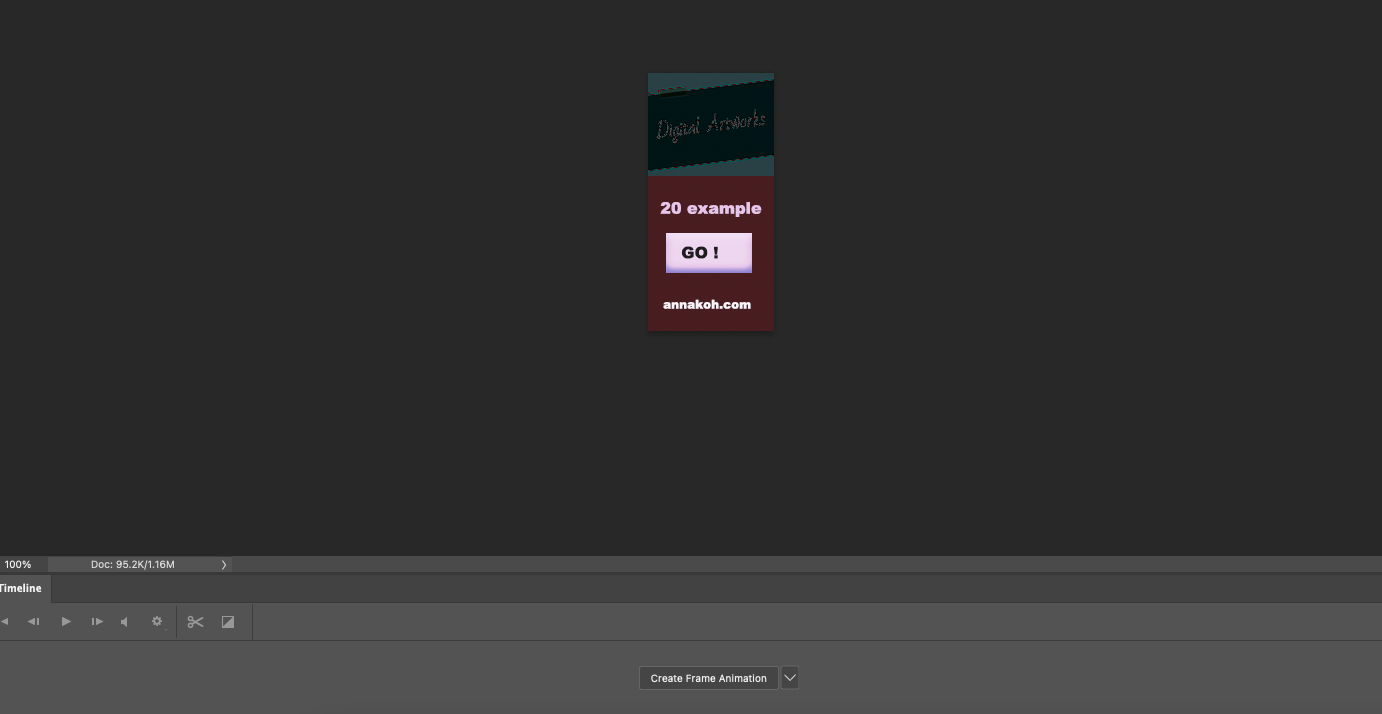 And then I made same layer with 6 times clicks on the + icon from the bottom menu. 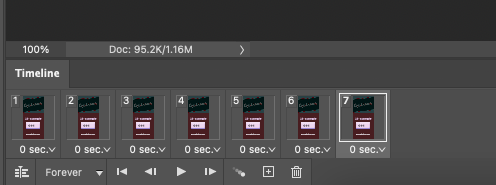 For example: When I click on 1 frame, select the view of layer to show it. (show only text) When I click on 2 frame, select to show only logo with a original color. When I click on 3 frame, selec to show only button. .......... Like this way, you can choose the view each frame to click the eye shaped button.
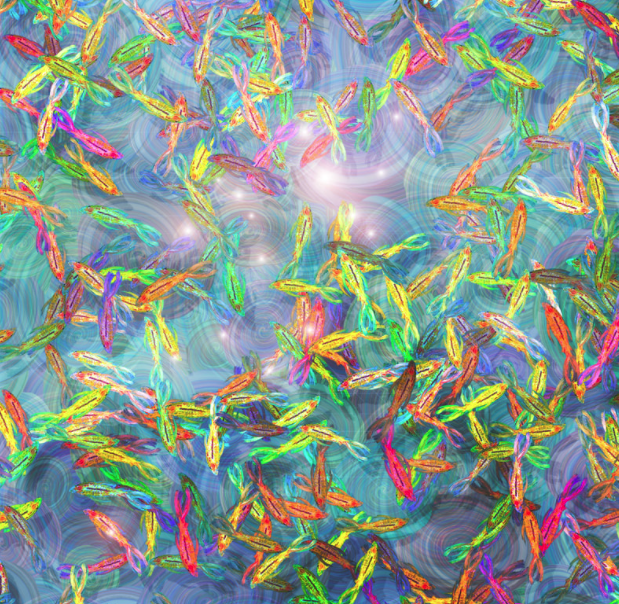
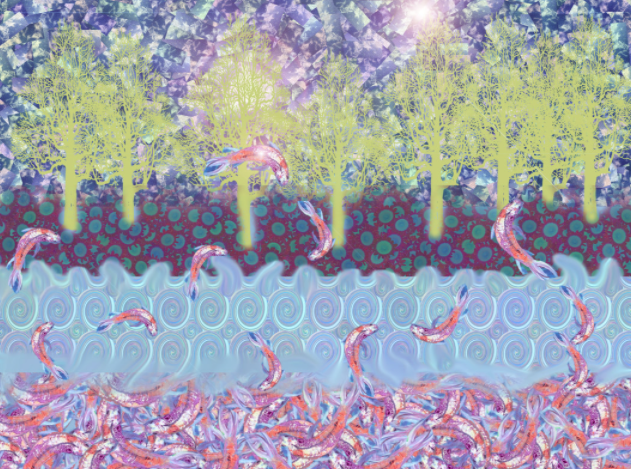
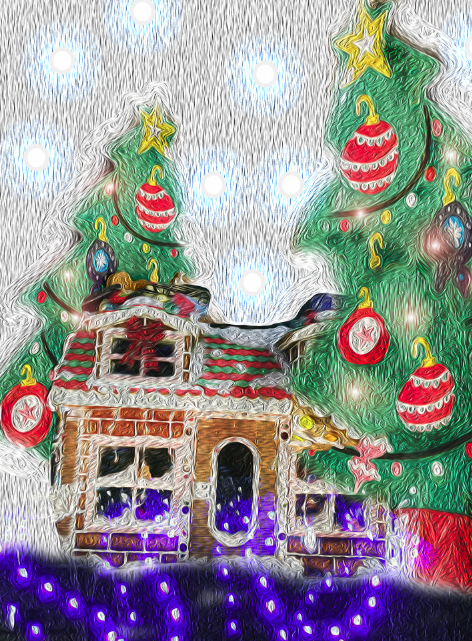
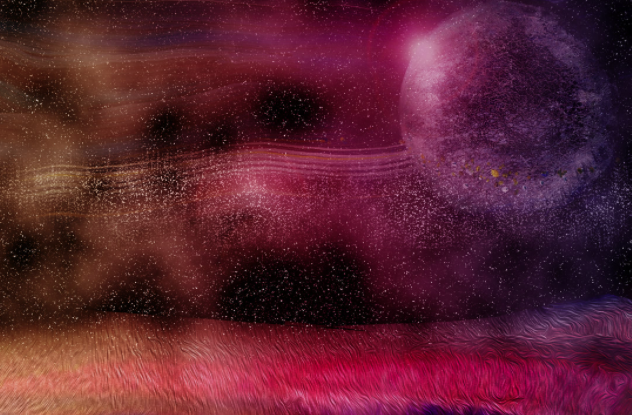
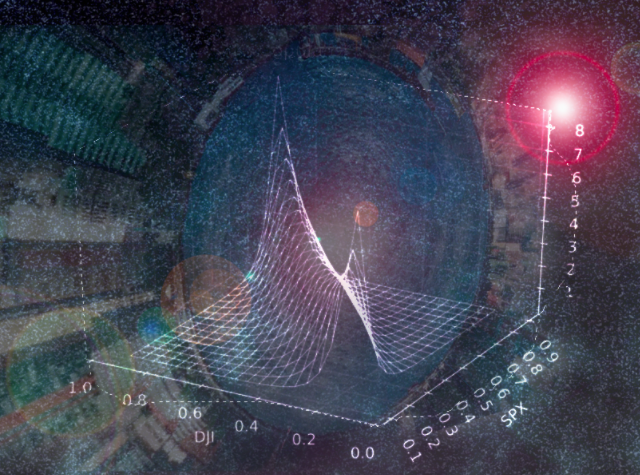
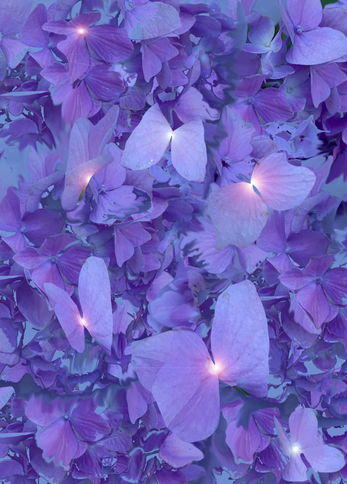
If you are ready to make it, change the time like below. 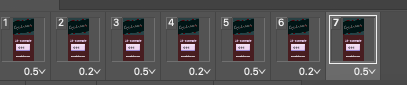 And then go to File---> Export---> Save for Web. After that, you have to save only .gif style. You have to click "SAVE" button to get a moving gif. 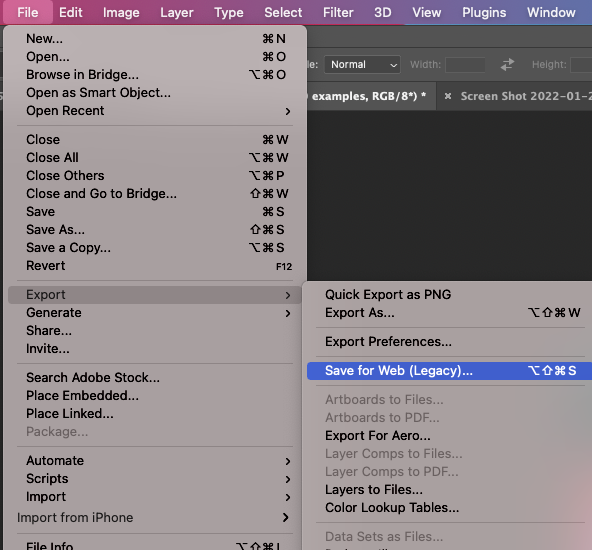 Here is the result: Nowadays, I am changing the banner zone of right side in my website.  How to make Digital Artworks with Photoshop. Today, I would like to summarize and show you some digital art I've been working on recently. As you know, Weebly does not have a function to show them all in one page as shown below. Since there is no pagination function, it is difficult to check the number and contents of the pages you have created. Despite these difficulties, I am working hard to find a way. |
Myungja Anna KohArtist Categories
All
Archives
April 2024
|

|
Tutorial |


 RSS Feed