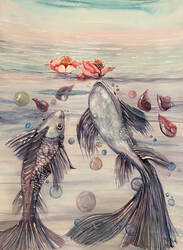
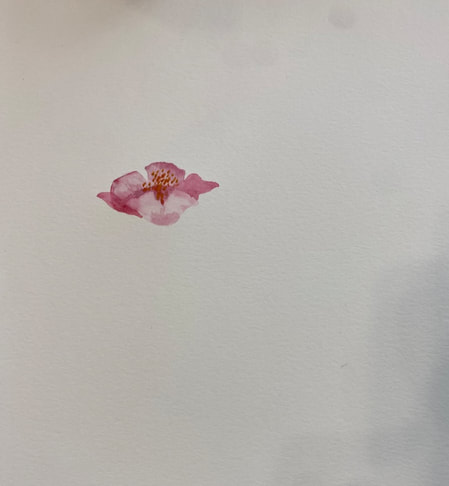
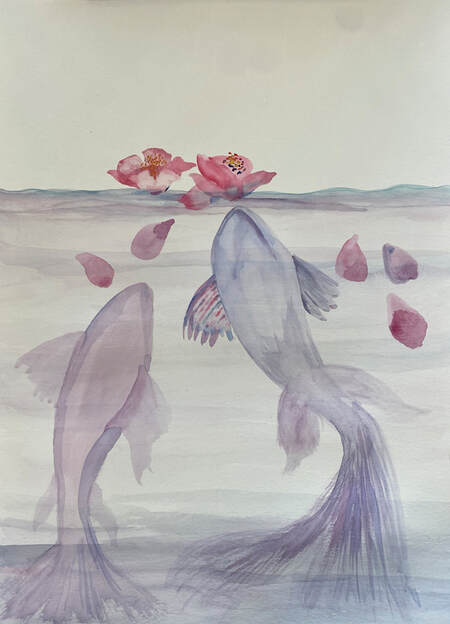
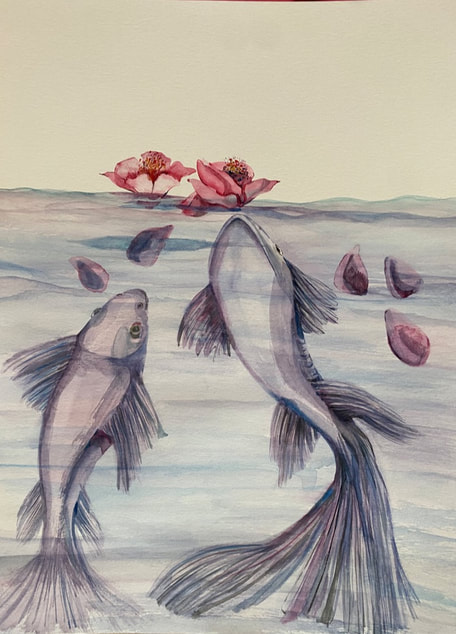
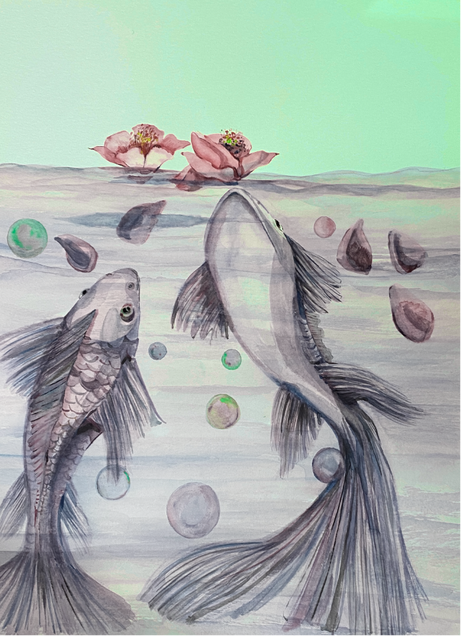
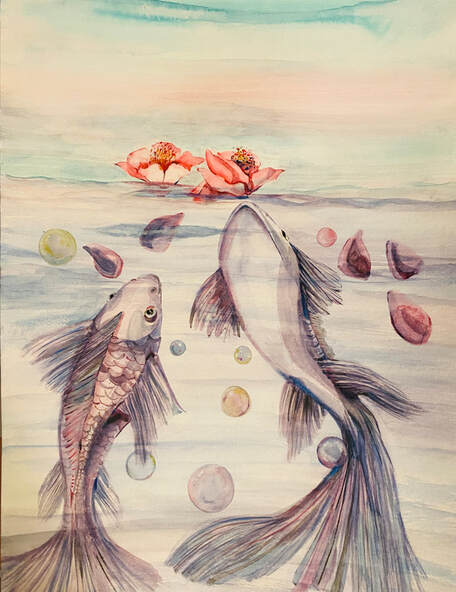
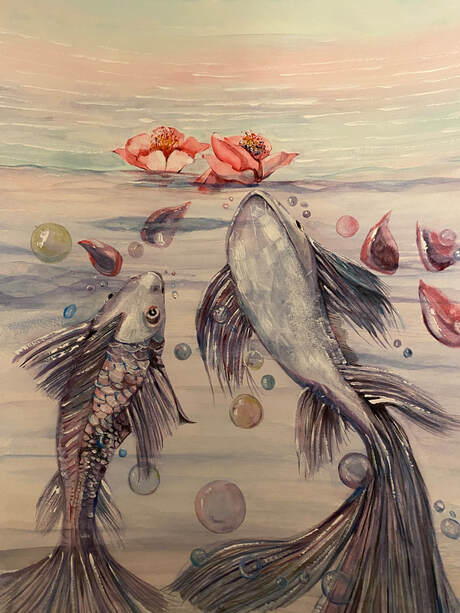
The process of Playing fish with red flowers. I recently completed a picture of a red flower and two playing fish. First, I drew the flowers in the order that came to mind. And under the flower, I gently drew two fish playing with the flower. I drew it without a sketch because I drew what came to my mind. Then I drew a medium contrast. And I finish the detail by drawing the darkest part. Finish by redrawing the details as shown below.
0 Comments
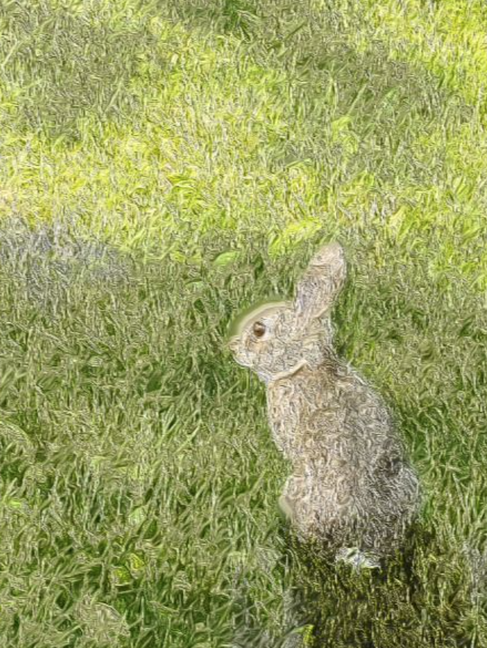
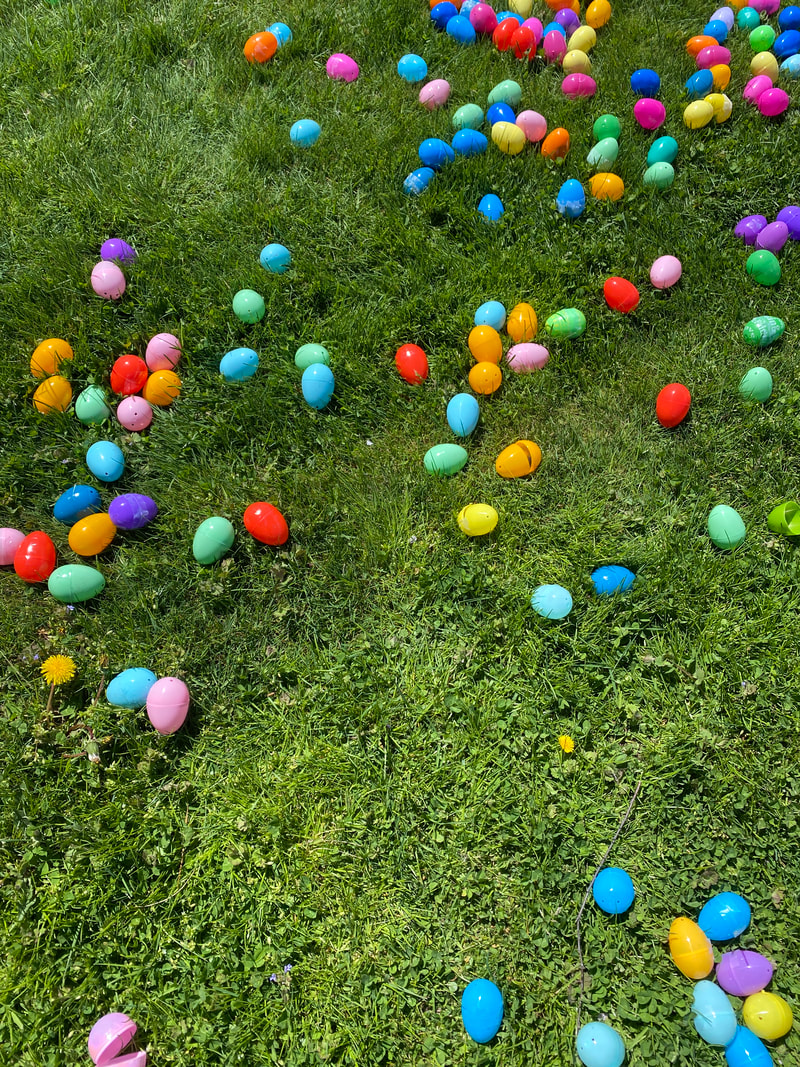
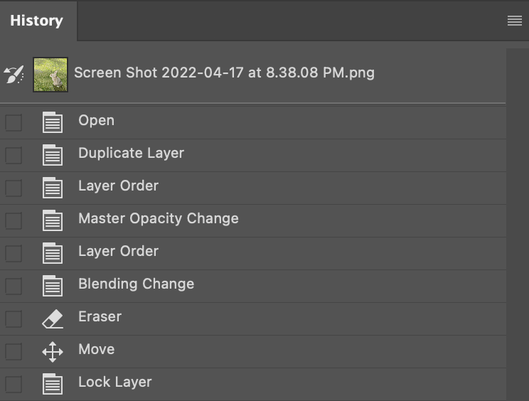
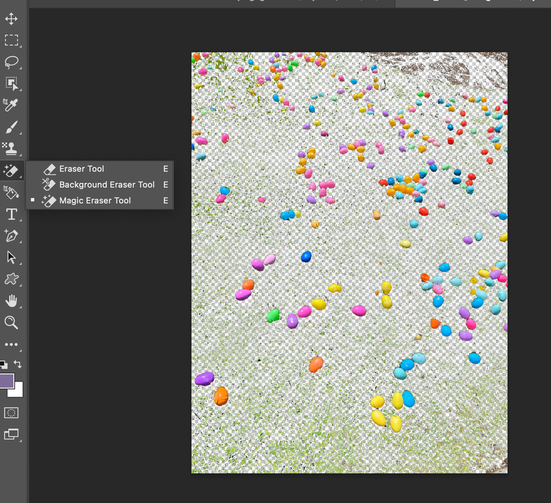
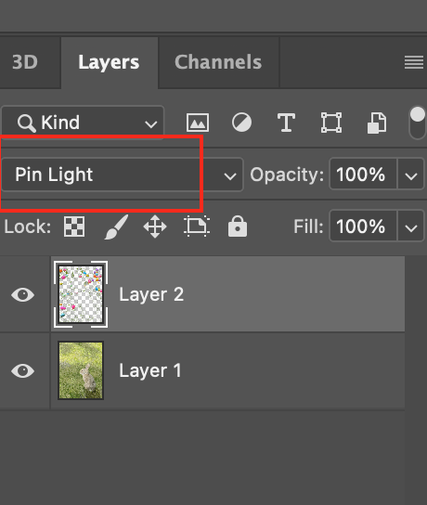
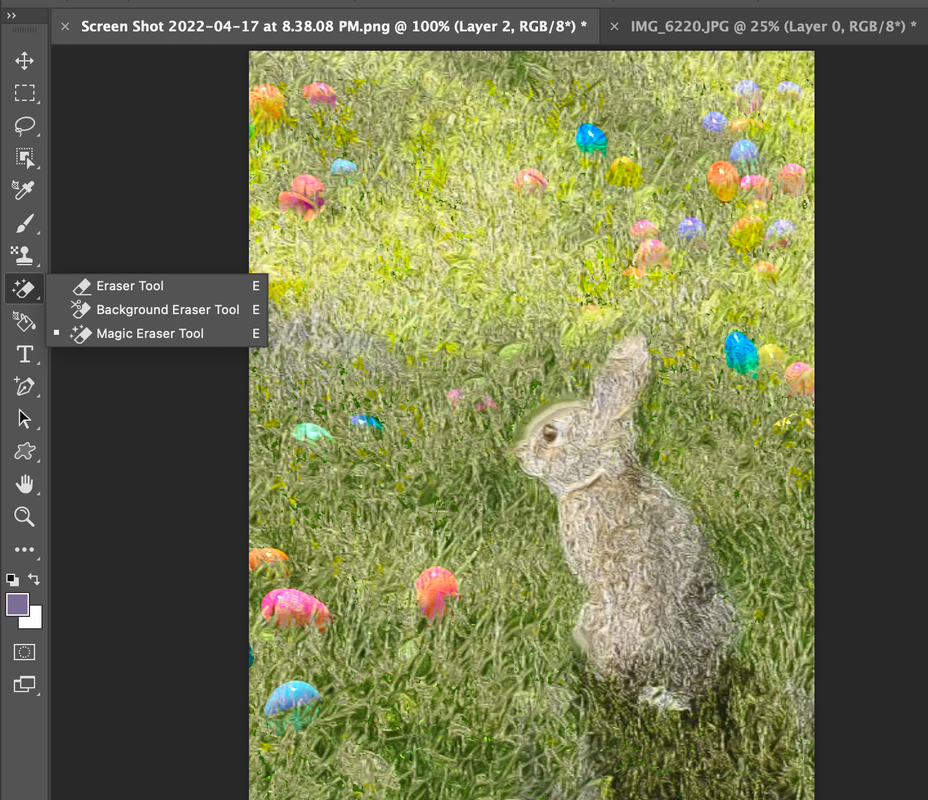
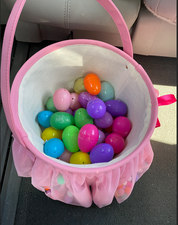
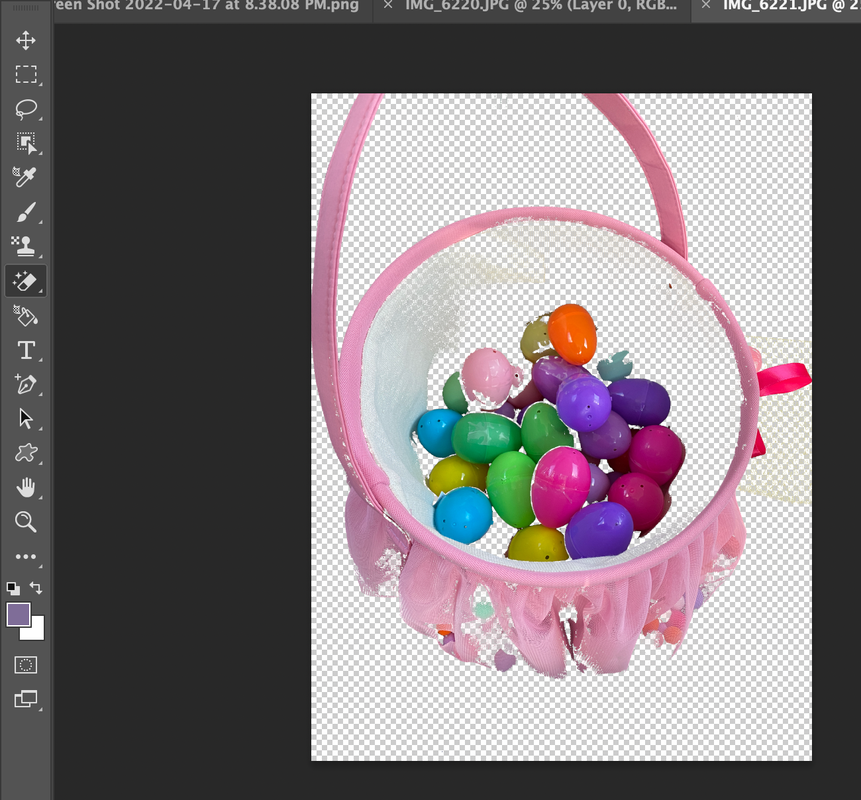
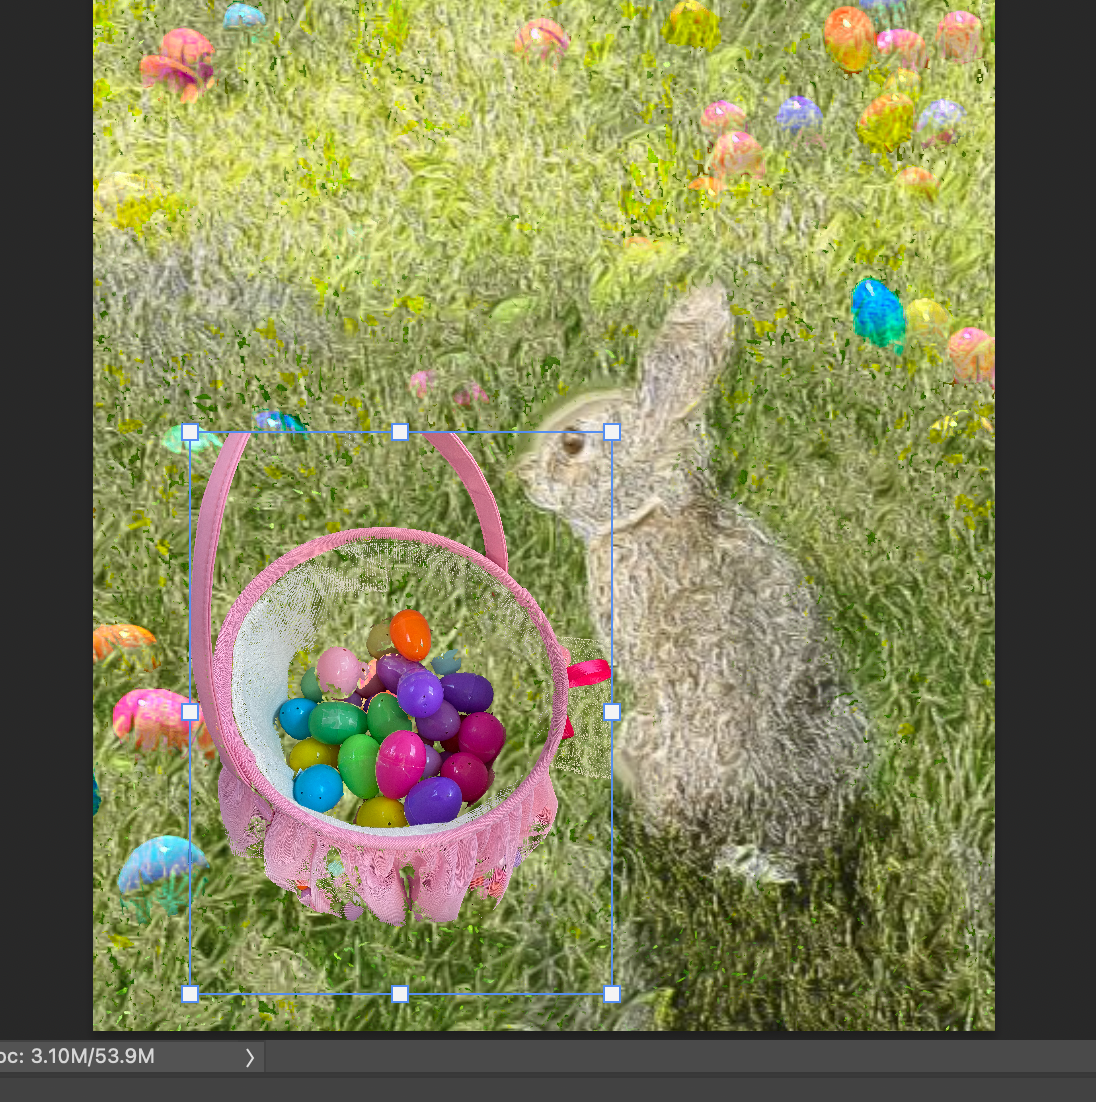
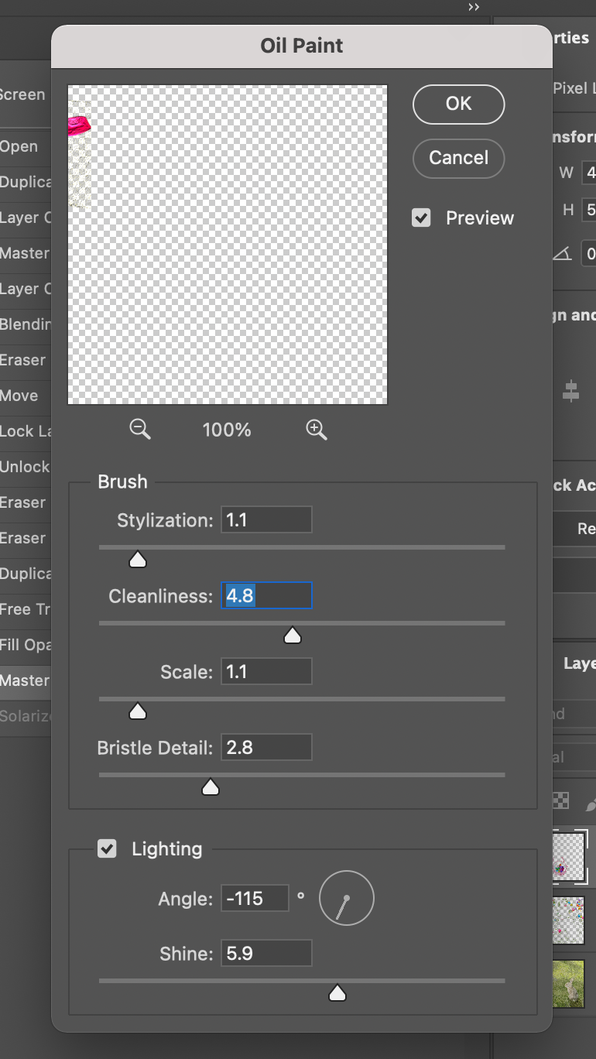
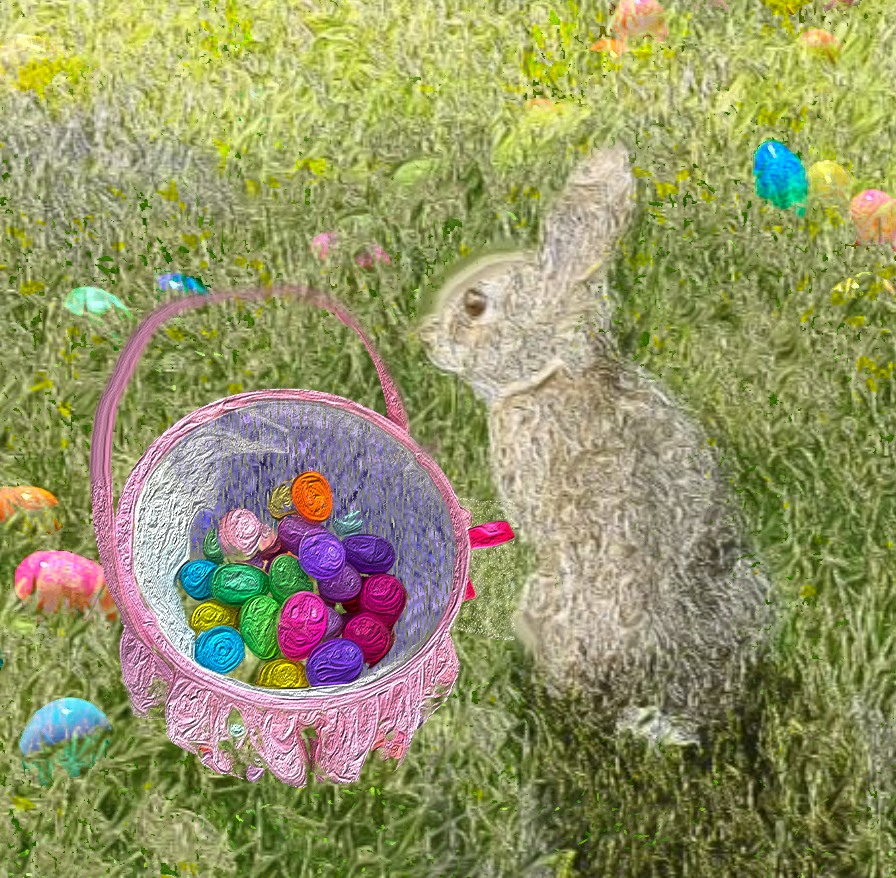
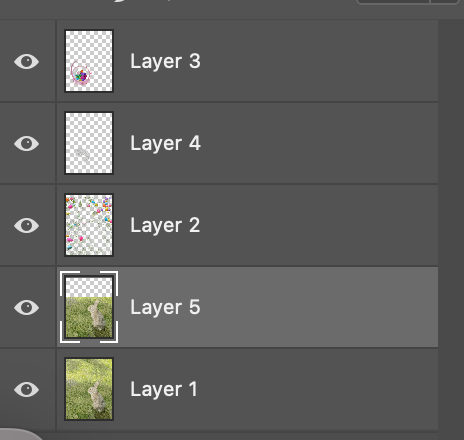
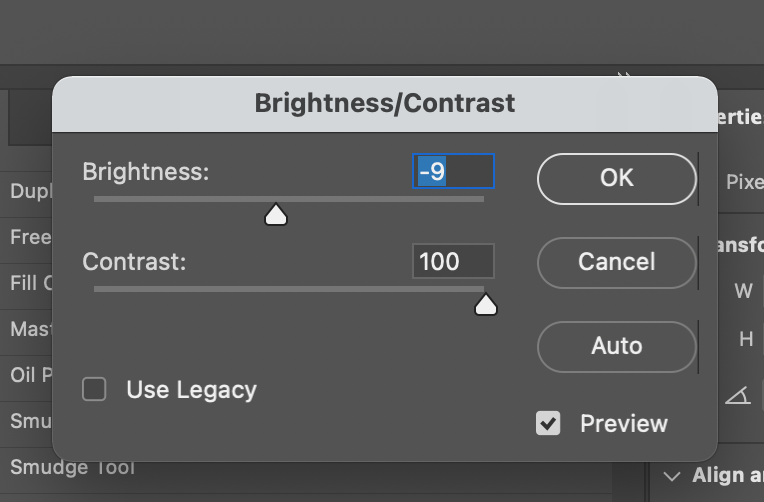
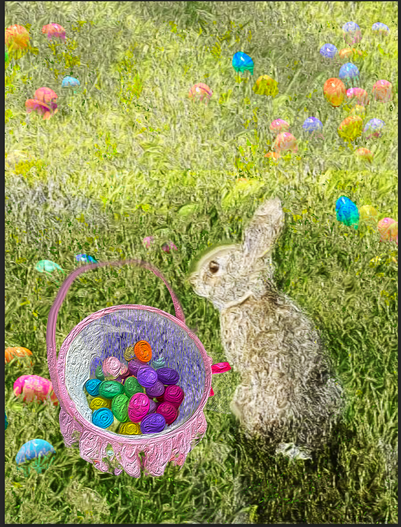
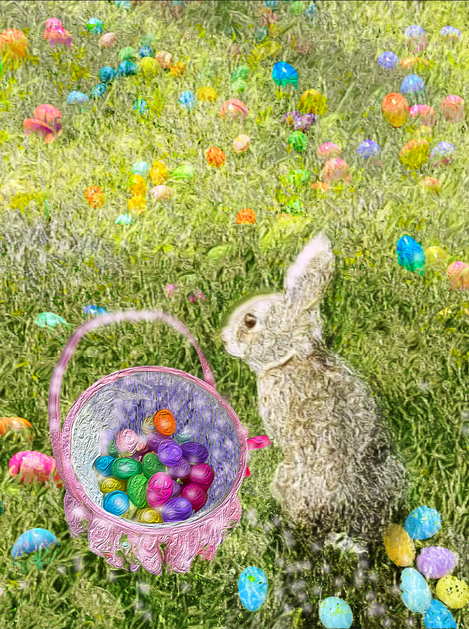
Today, I will create an Easter Bunny image by combining the two different photos below into one photo. Let's make a different image by simply compositing two photos. Below is a history log that briefly shows how the combination was done. First, load a picture of a scene where an egg is dropped on the grass. Erase the background using the Magic Eraser tool. 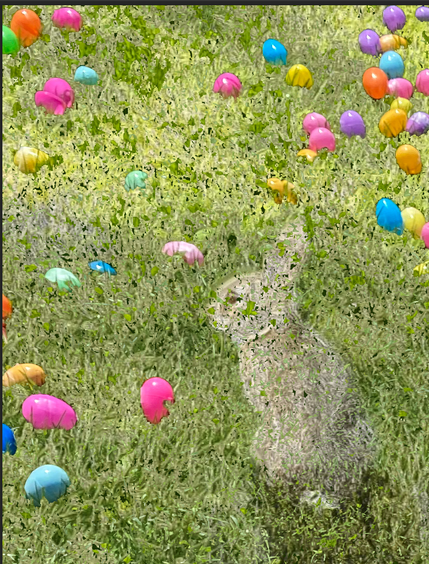 If you paste as shown left image, a new layer is created and the photos become one. However, if you do compositing with just pasting it like above, the picture becomes unnatural. The one used at this time is the blend mode change. In my case, I changed it to a pin light and erased the unnatural parts cleanly with the eraser tool. Below is a naturally synthesized image. Now let's add a basket here. Import the basket image and clean the background with the Magic Eraser tool. Then, find a suitable location, paste it, and adjust the size. Because the photo image is imported, there is a gap between the original image and the imported image. To eliminate this gap, the imported basket image is naturally changed using the oil paint function, one of the effects of the filter. And use the brush tool to fill in the unnaturally empty areas. The whole perspective was broken because the basket suddenly came forward. In other words, only the front part of the original layer is copied to increase the contrast. It looks more natural when the front is dark and the back is flowing. Here, considering the perspective, the eggs in the back are small and blurred, and the eggs in the front are dark and large. Below is the finished image.
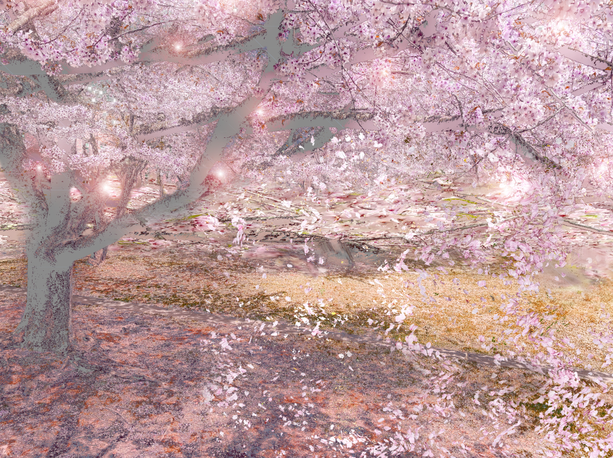
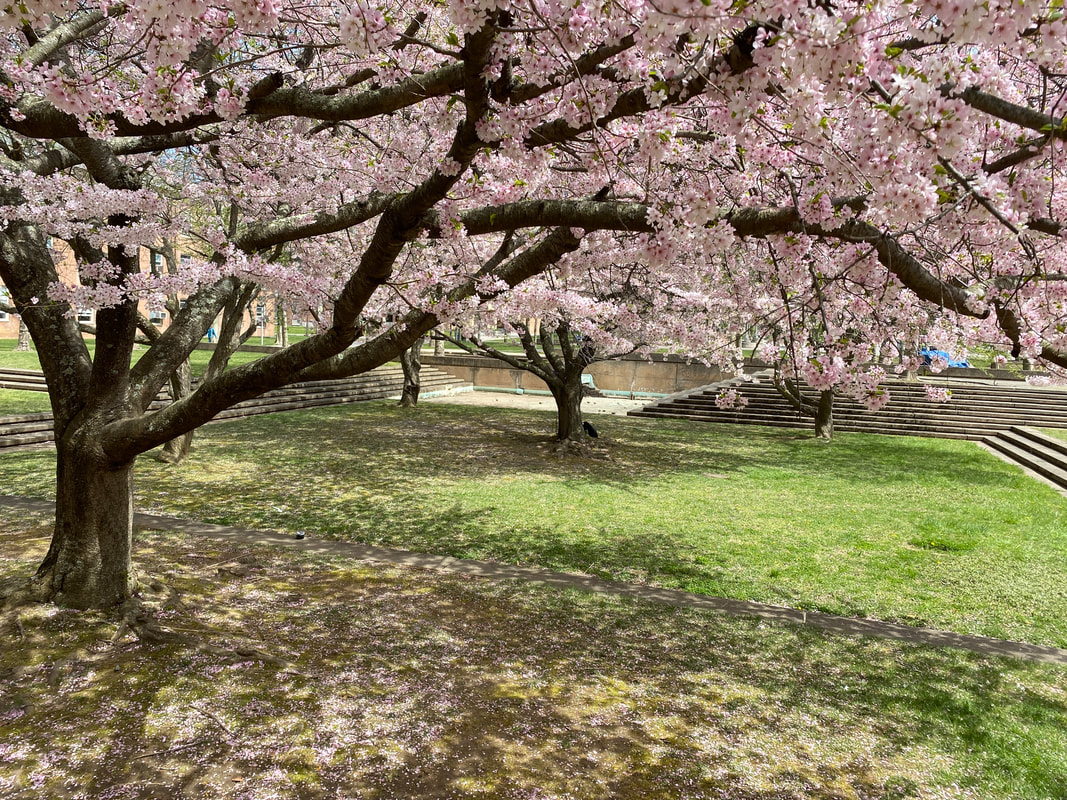
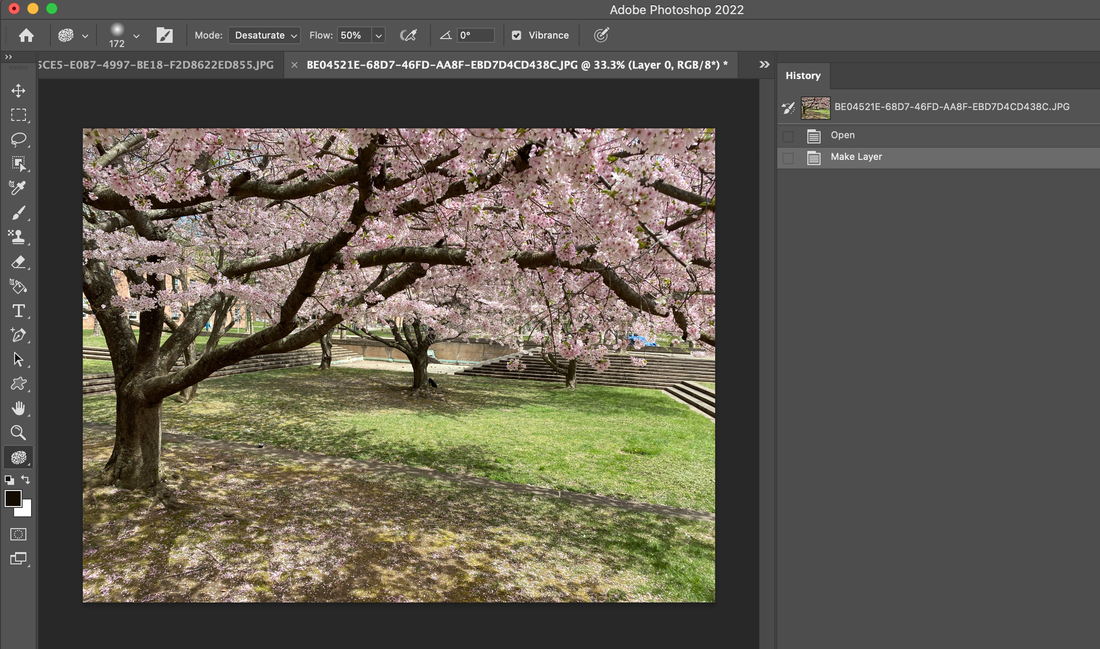
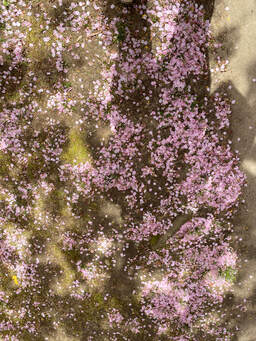
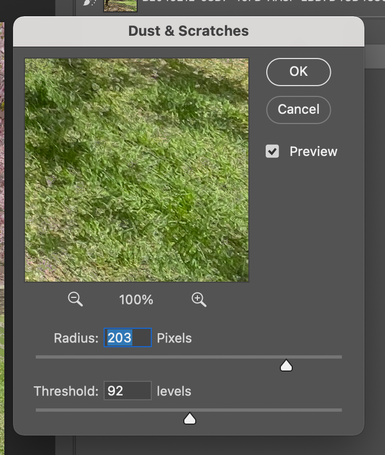
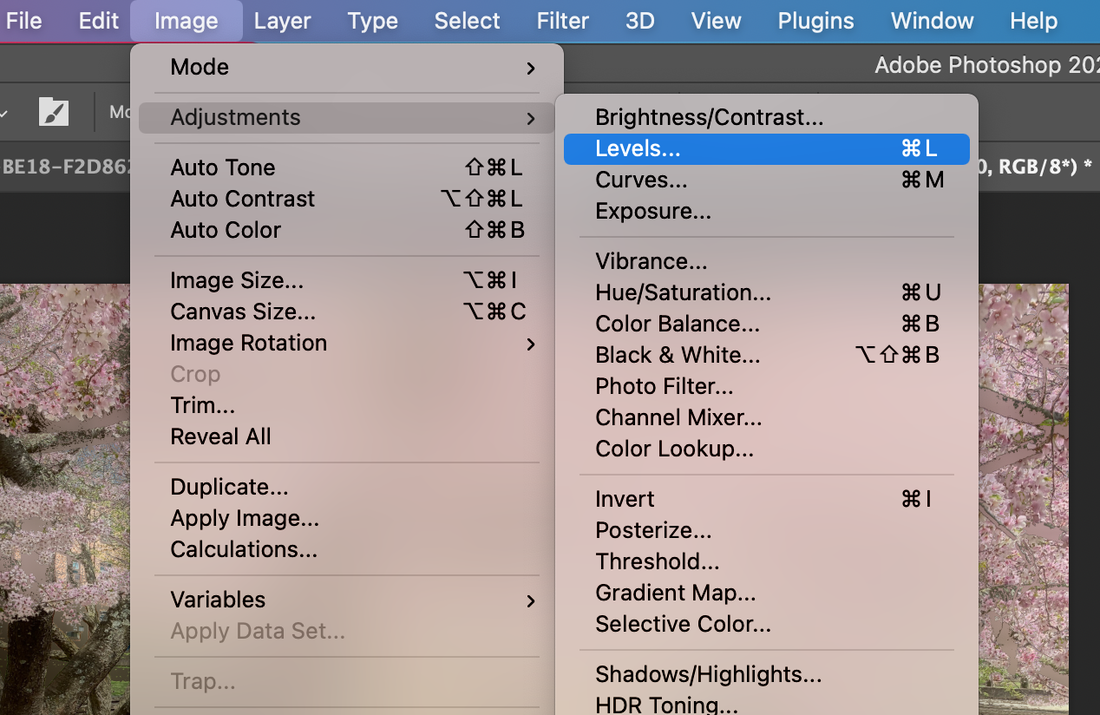
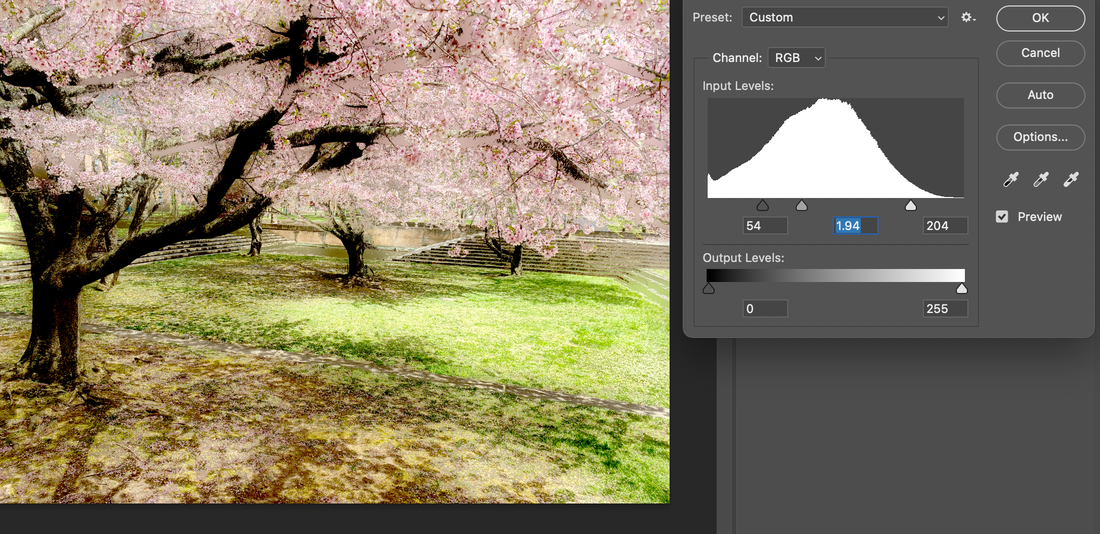
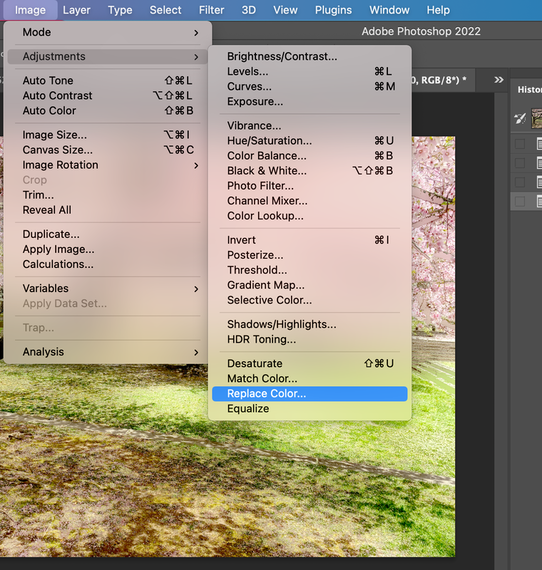
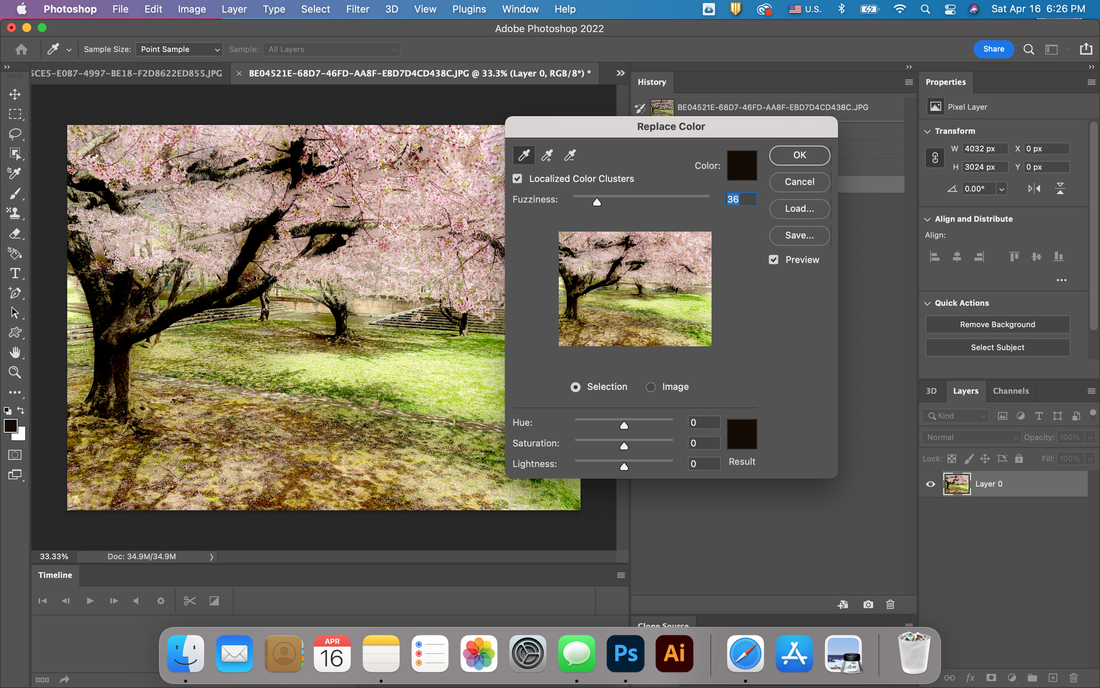
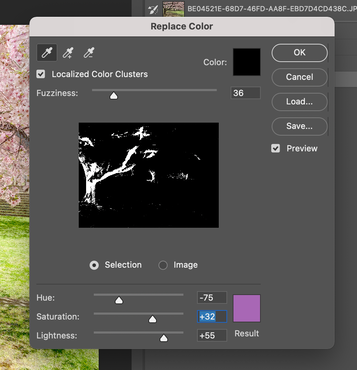
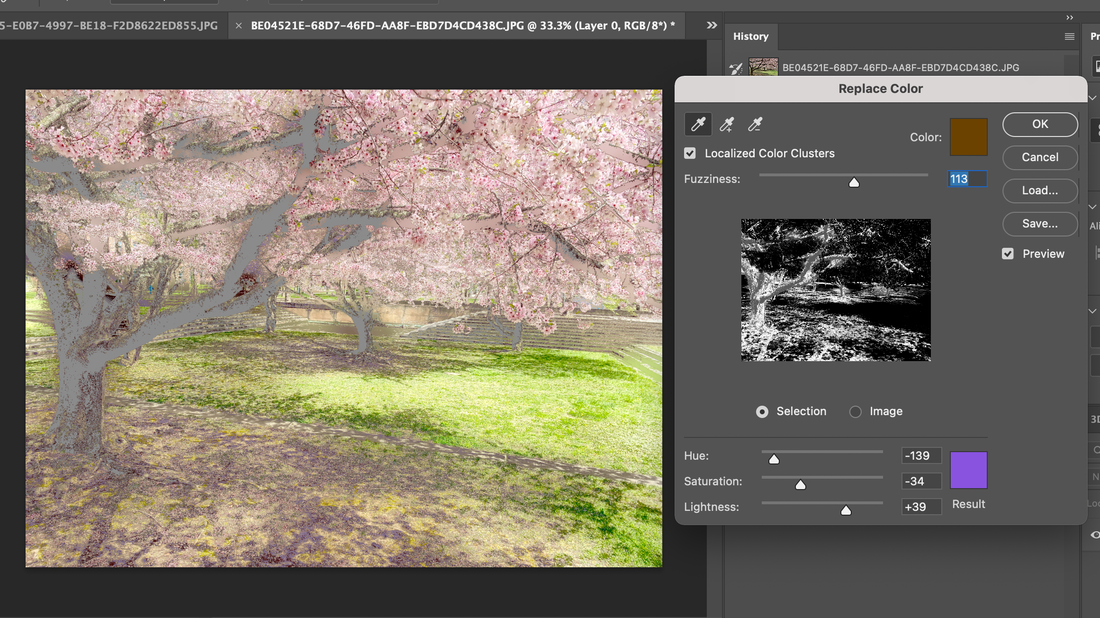
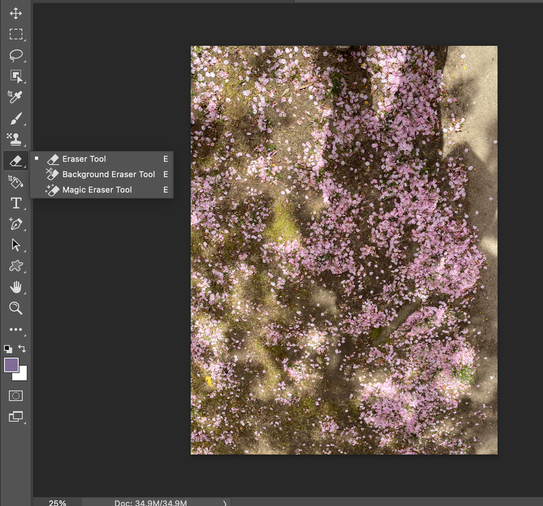
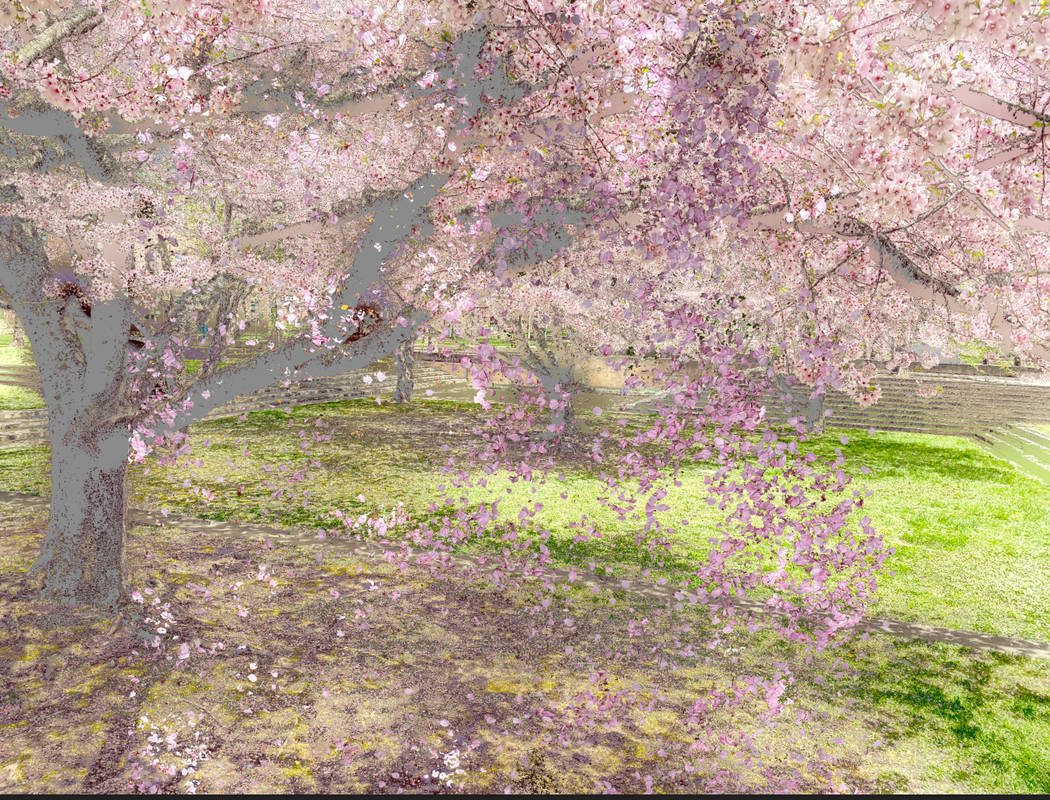
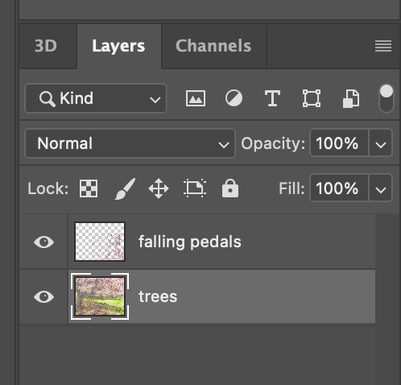
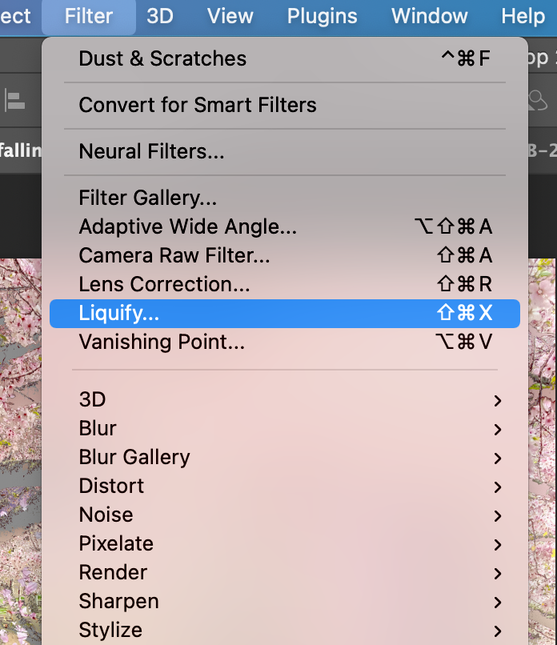
How to make a bright spring digital image with Photoshop! When spring comes, be sure to take pictures of cherry blossoms. Because it is so gorgeous and beautiful. Today, I would like to show you the process of turning these stored photos into bright, fairy-tale-like digital works. 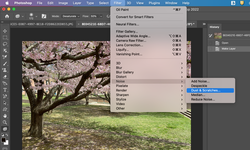 First step, go to Filter--> Noise---> Dust & Scratches for expressing fancy vibe. Next, go to Image---> Adjustments---> Levels for letting image bright. And then go to Image--> Adjustments again and for this time, you have to go Replace Color to change black branches to different color. With color Pipette, you can pick the black branch and tree body and adjust the color such as Hue, Saturation and Lightness like below. Below is the result from change the replacement of the selected color. And also I open another photo. I took a photo for expressing falling pedals from the trees. It is the ground after the flowers falling down. 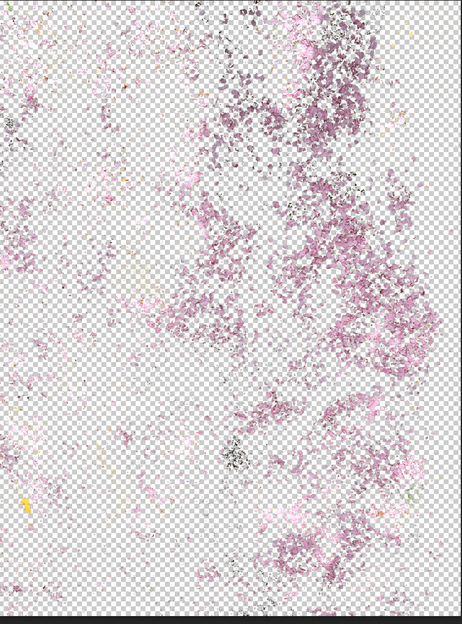 By using Magic eraser tool, you have to remove the background image and left only pink pedals. And copy and paste it on the first making image. In this time, I made each layer's name as follow as below. For expressing flying pedals, I go to Filter--> Liquify with selecting the falling pedals layer.
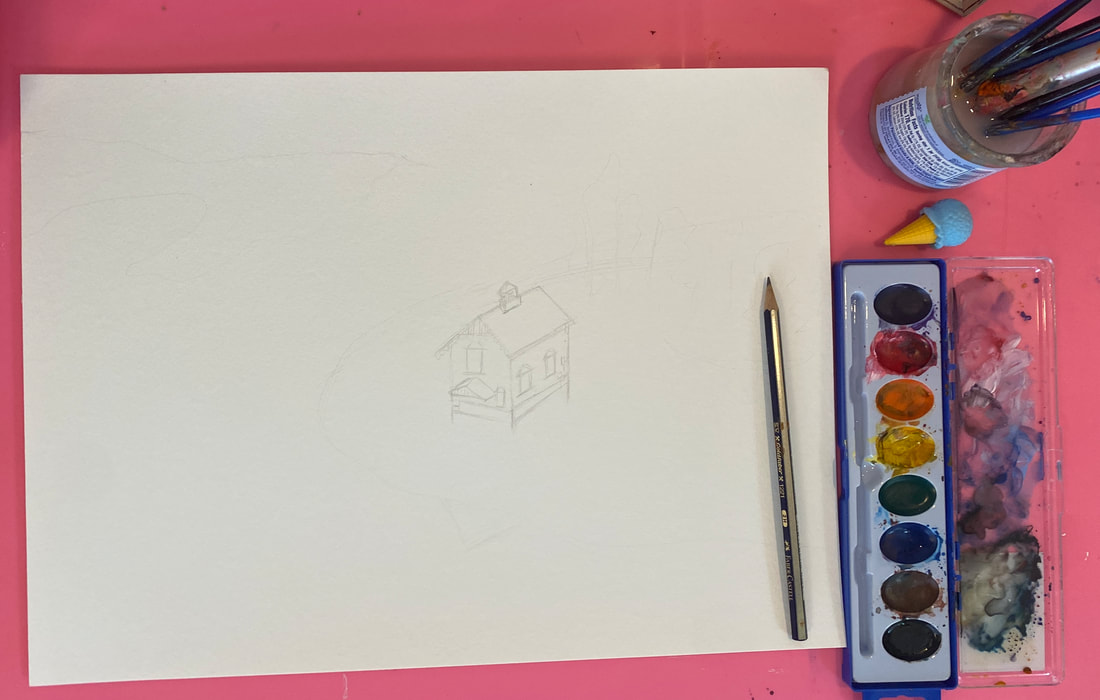
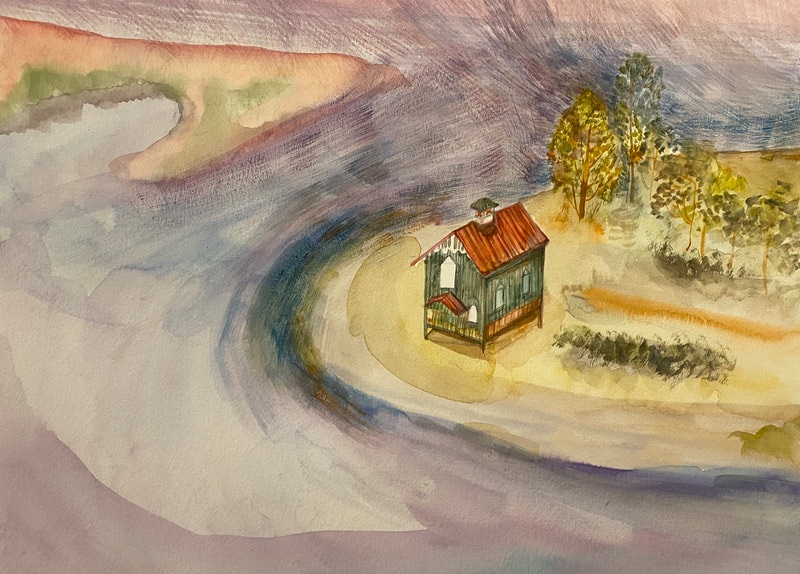
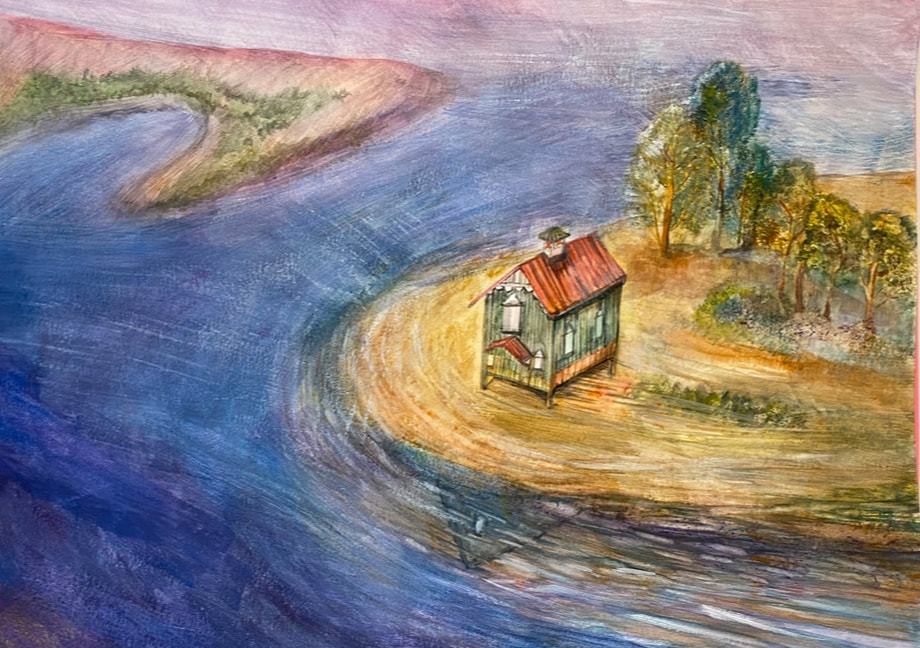
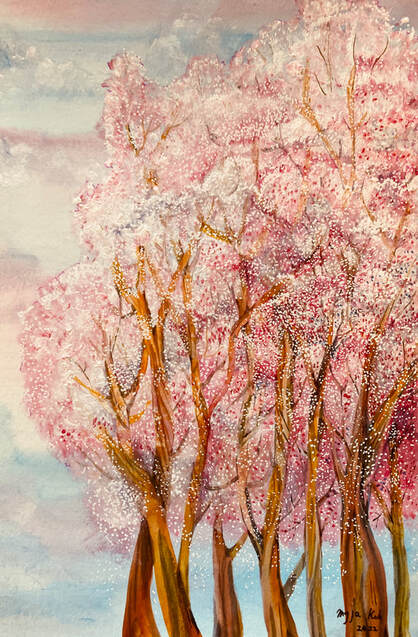
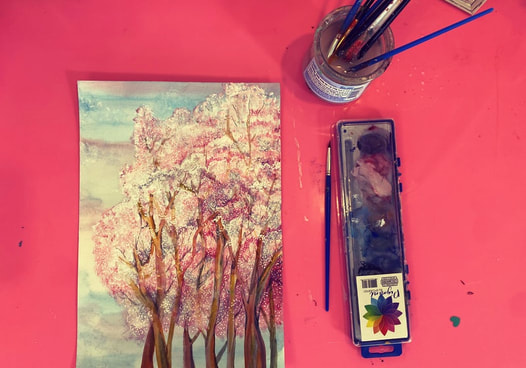
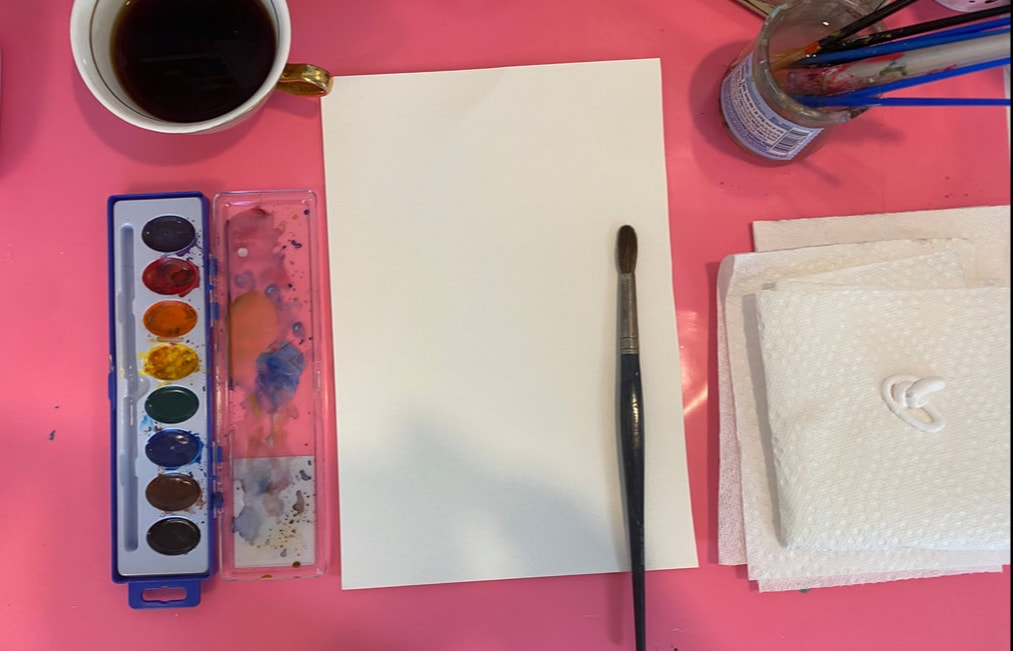
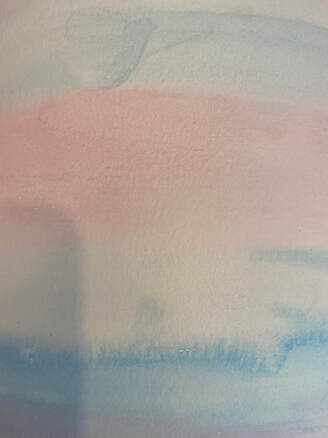
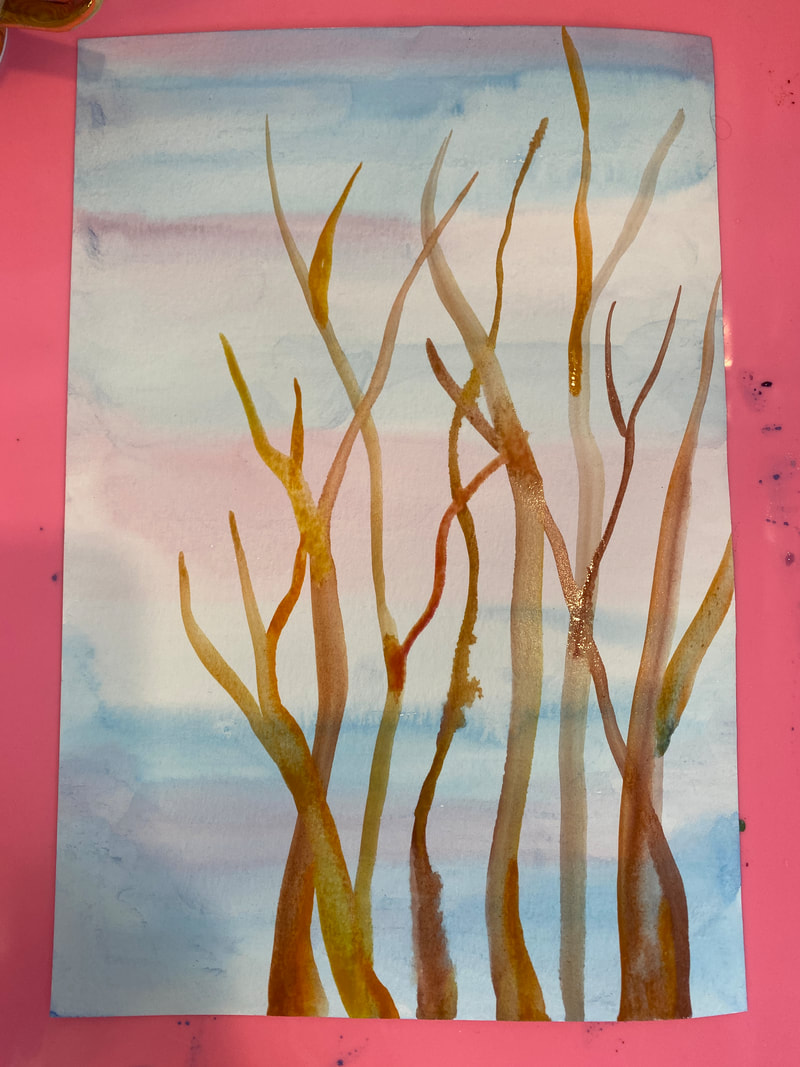
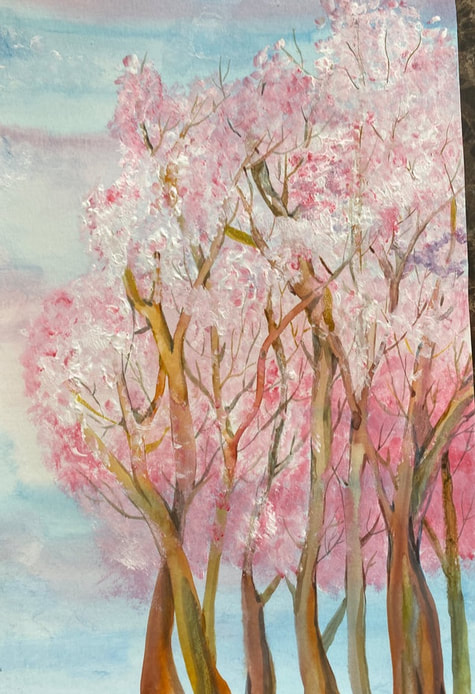
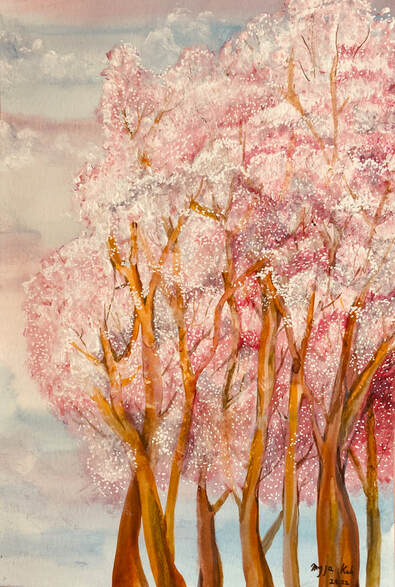
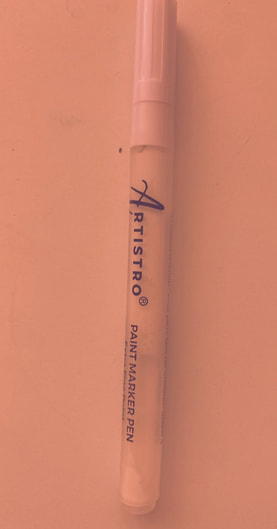
The making Process of another view from Sand Street beach. Sandstreet Beach used to be a cottage for duck hunters long ago. A small hut on a beautiful beach doesn't seem like it at all, but it conveys a quiet and lonely mood. It's not good to have only one thing in the center of the composition, but I think we should make an exception this time. Since watercolor paints become messy and not easy to correct if you continue to paint over them repeatedly, you should first paint them with a bright color and refrain from painting multiple times if possible. 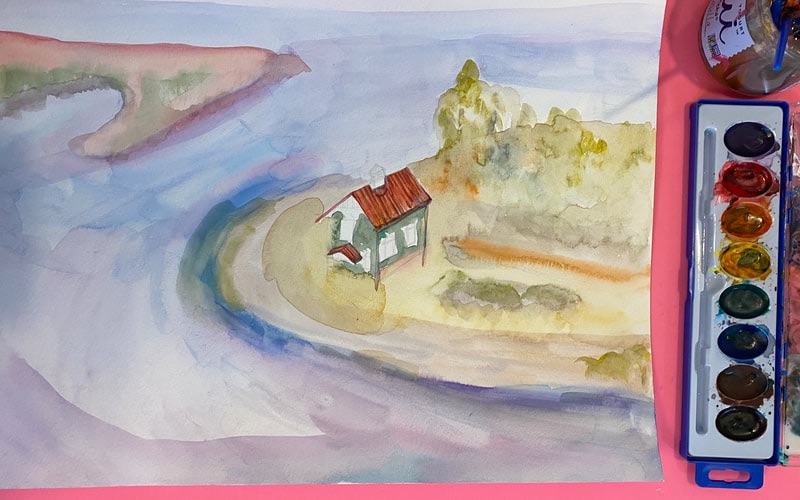 Once I've finished the most blurry parts, I'll do the mid-tones and, occasionally, detail. 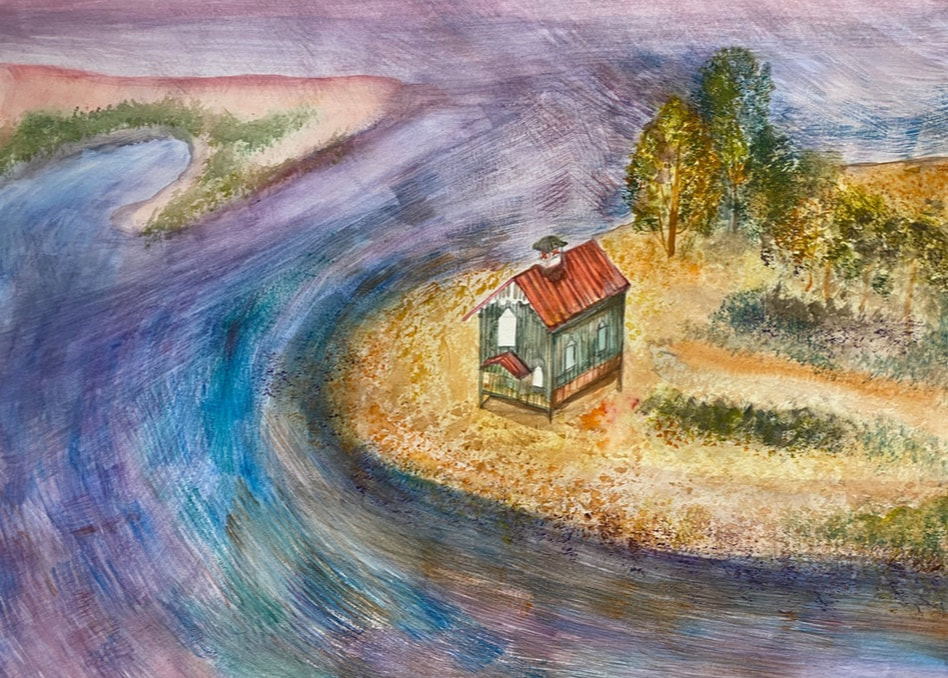 I wanted to paint Sandstreet Beach on a windy and rainy day. 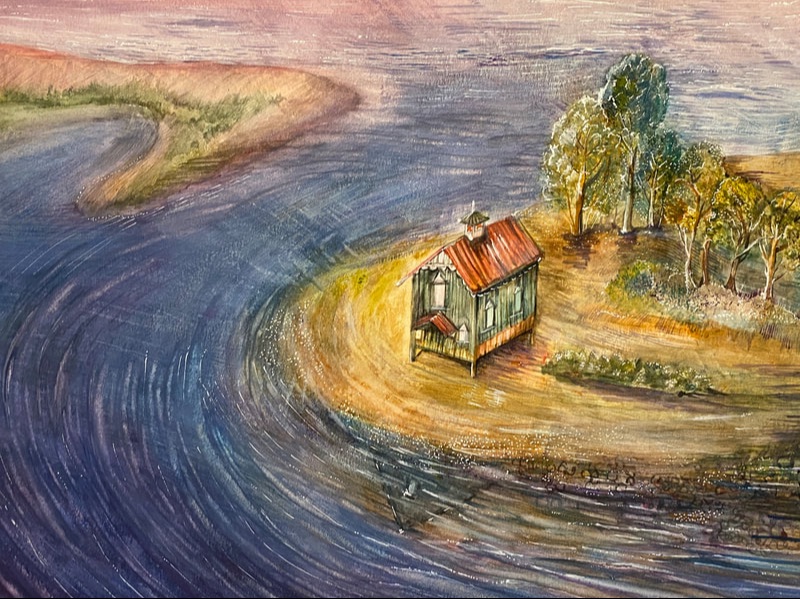 It's not a good example compositionally, and the view looks awkward because it was drawn with a drone view, but I'm very satisfied with it because I personally wanted to draw it like this once. Today, I want to share how to draw cherry blossom trees quickly and effortlessly. The making process of A cherry blossom trees. First, prepare the paper on which to draw the cherry blossoms trees. Because I need to paint quickly on the background, I picked the largest size of the watercolor brush, 20. Paint the background with this brush. Draw the background color at once with the wet on wet technique, and then draw the branches before the paint dries. Fill in the highlights, the middle, and the dark areas. And I express each leaf one by one. Just take a picture using the white marker pen below. Below is the finished part.
|
Myungja Anna KohArtist Categories
All
Archives
July 2024
|
Proudly powered by Weebly

 RSS Feed