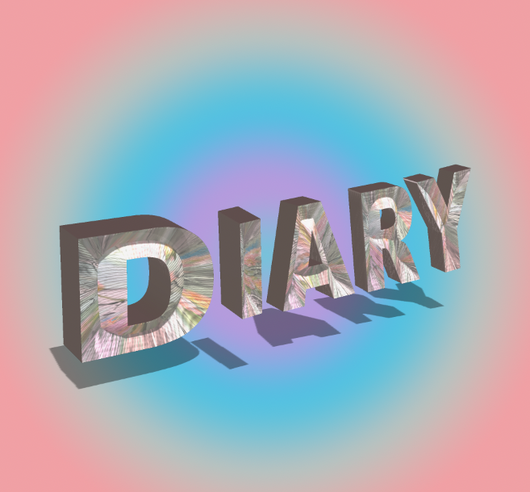
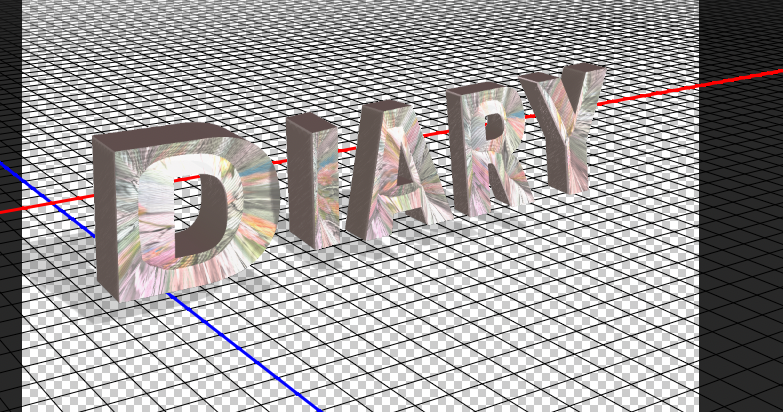
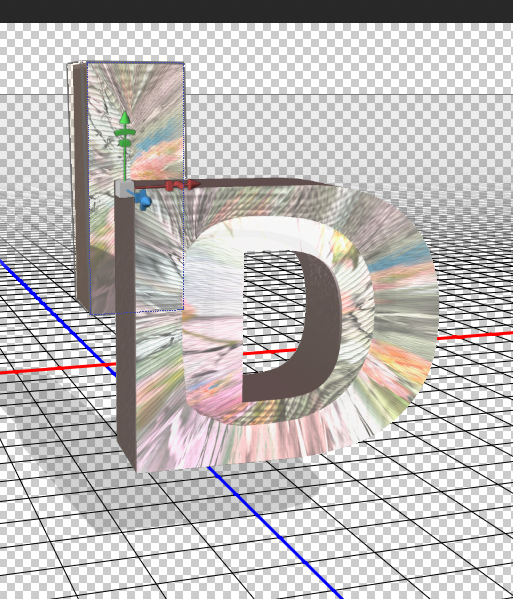
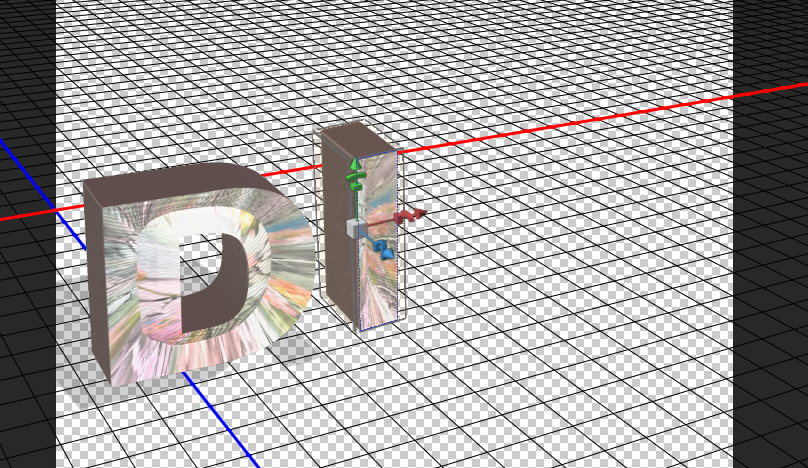
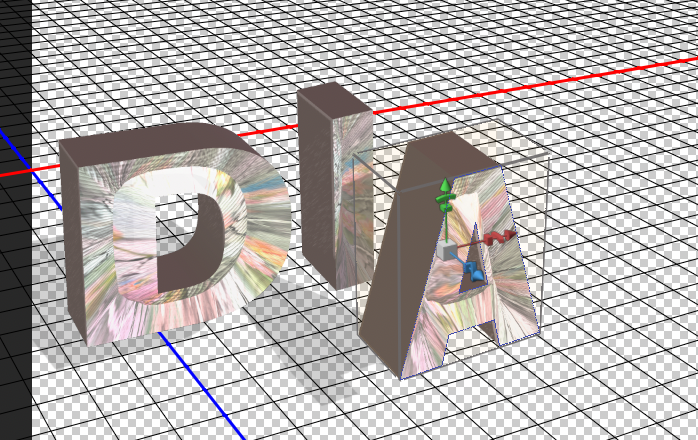
 How to create a fancy 3D Text with Photoshop! Today, I posted on my blog an article about painting as a diary that keeps a record of each day. Although we always spend the same, sometimes boring, everyday life, if we cherish, appreciate, enjoy, and record each day, it can become a valuable legacy in the future. If you are interested in this, go to the blog post. Today, I will try to express the text of the diary in a fancy three-dimensional way. First, let's make a copy of the text with only Korean characters. Let's write a letter called D. First, create a new layer and write the letter D. All capital letters will be used. 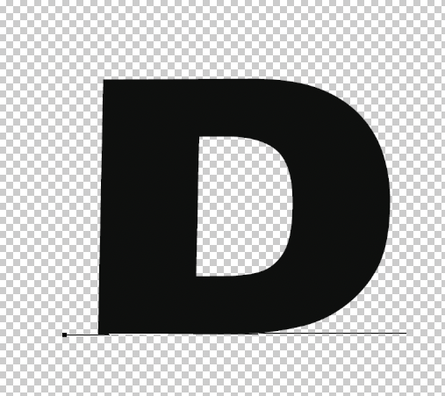 And then go to the New 3D Extrusion from Selected Layer. 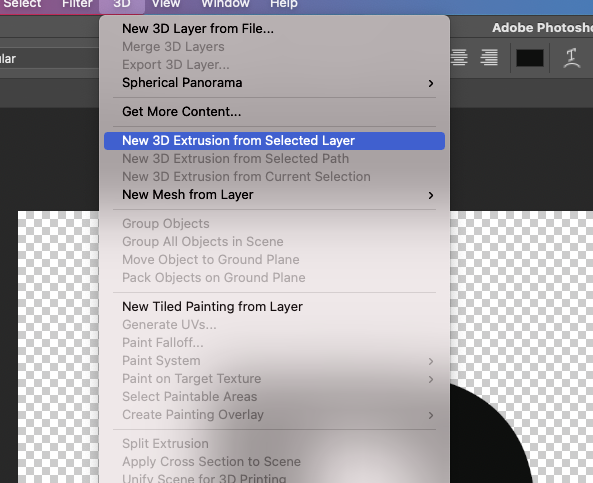 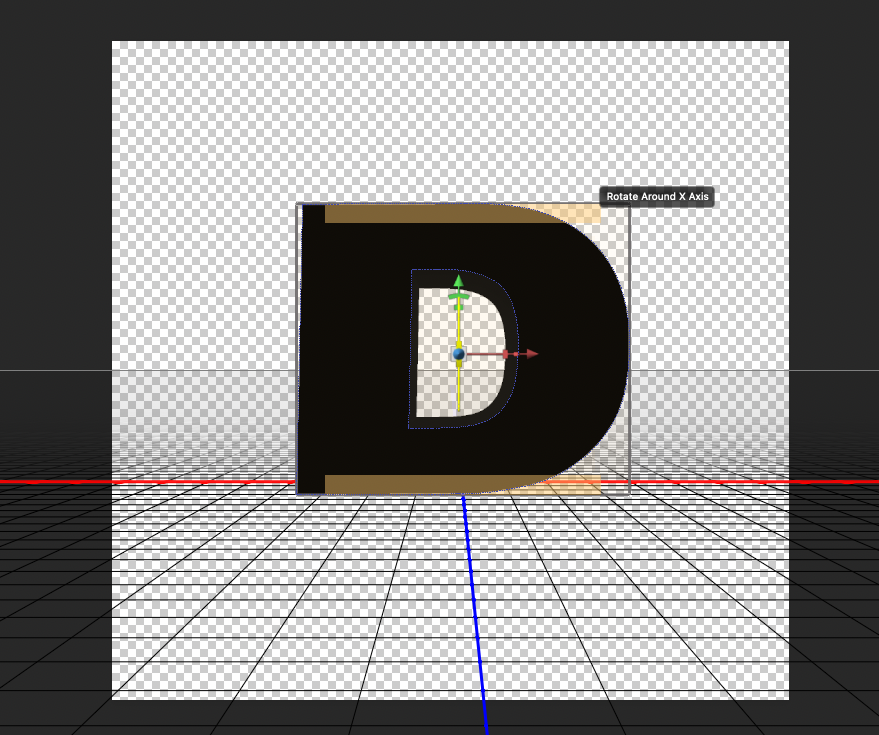 Click with Right-button on your mouse to go the options. For changing basic material, I choose the first icon(Materials) and clicked the white sphere like below. 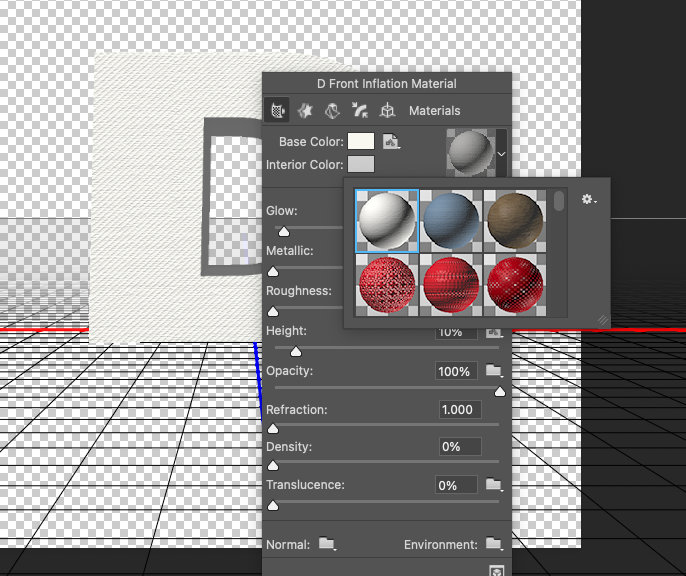 For changing Mesh mode, I choose the item of them like below. 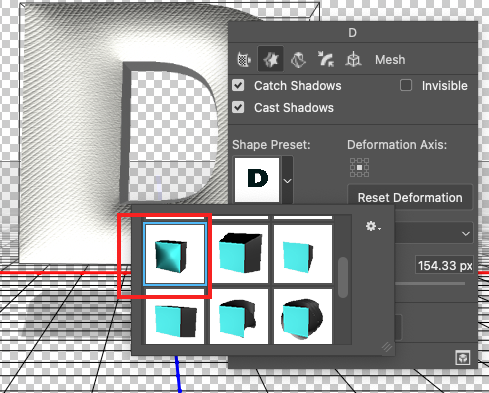 And then adjust the Extrusion Depth as your preference. 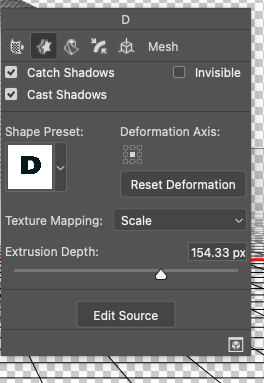 For adjust Bevel, I click the Cap icon and adjust as follow as below. 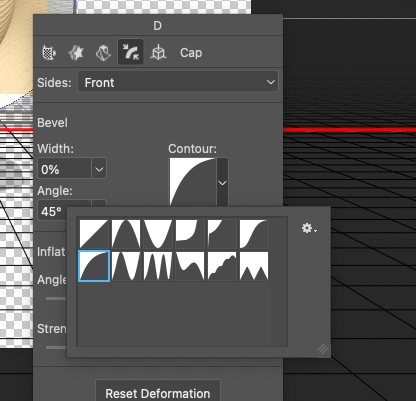 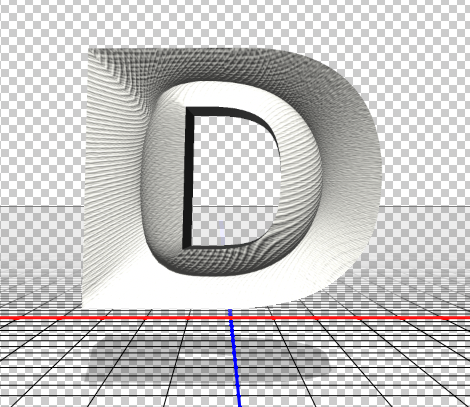 If you don't want to use only basic materials and then would like to change with your image, you can go to Environment. Just double click to open it. 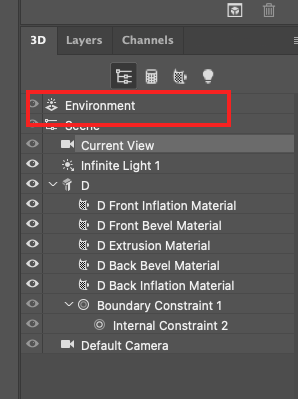 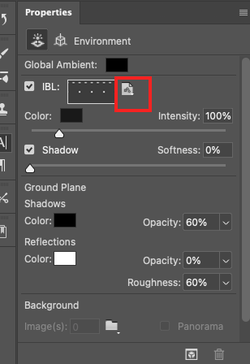 and then you can find the paper shaped icon. You have to click it . Next with the drop-down menu, you have to choose Replace Texture for changing the materials as your image. 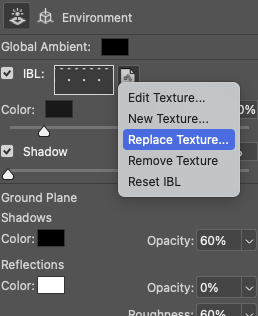 If you see the browser to search you file, click it. After that, you can find the result like below. 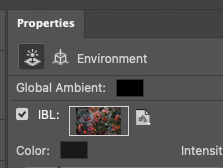 And then return to your letter and right click to see the option's window. Select the materials icon and then click the base color with paper shaped icon. You can find the drop down menu and also find your image on the bottom. Click it. 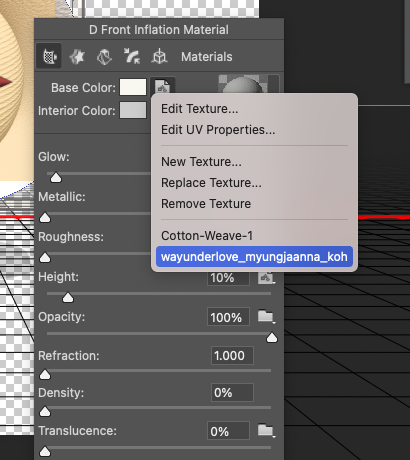 Your letter's front material is changed ! And then adjust the below as your preference. 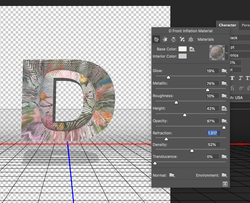 For realistic effect, you have to move the letter with 3D tools on the left of the bottom. 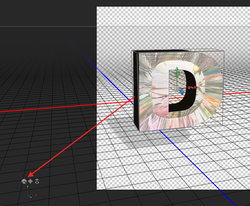 If you find the back side of the letter, you clict the side to change the color. 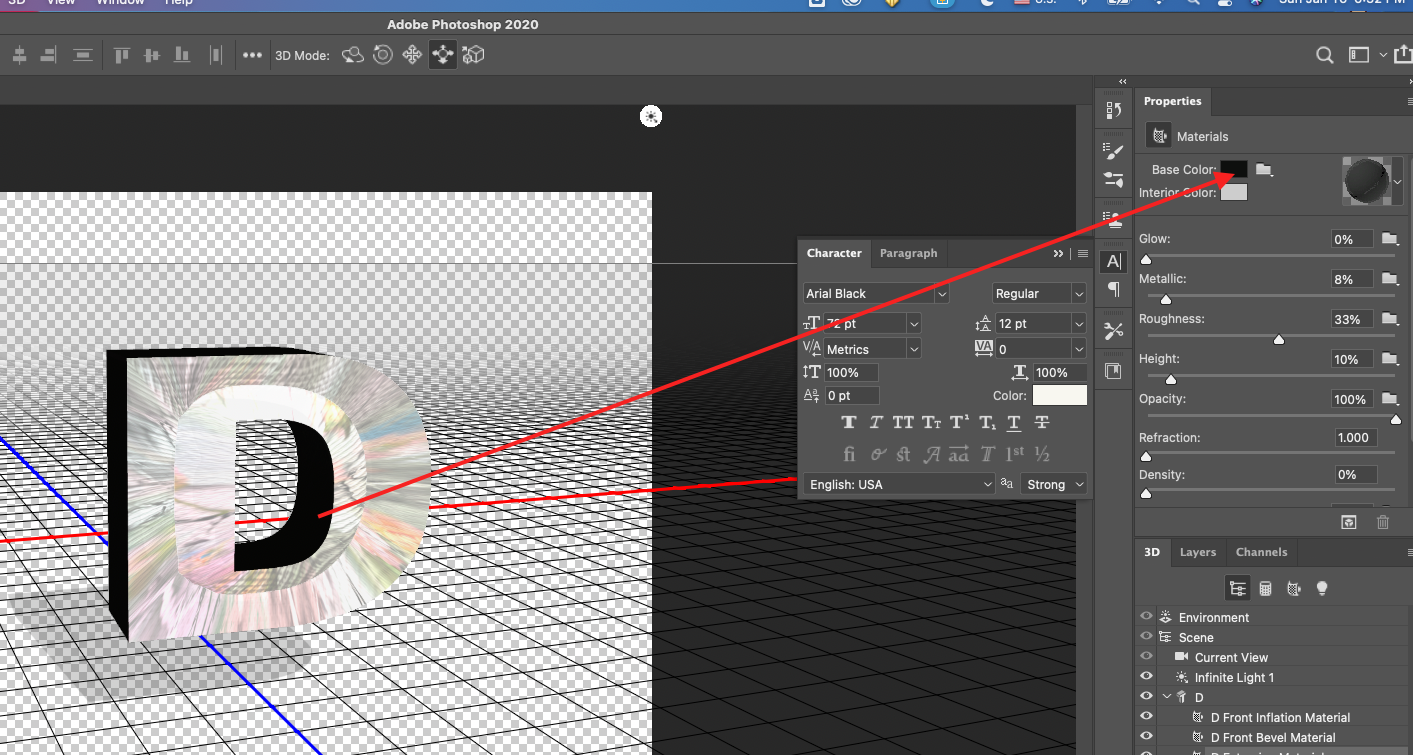 In my case, I changed the pink like this. 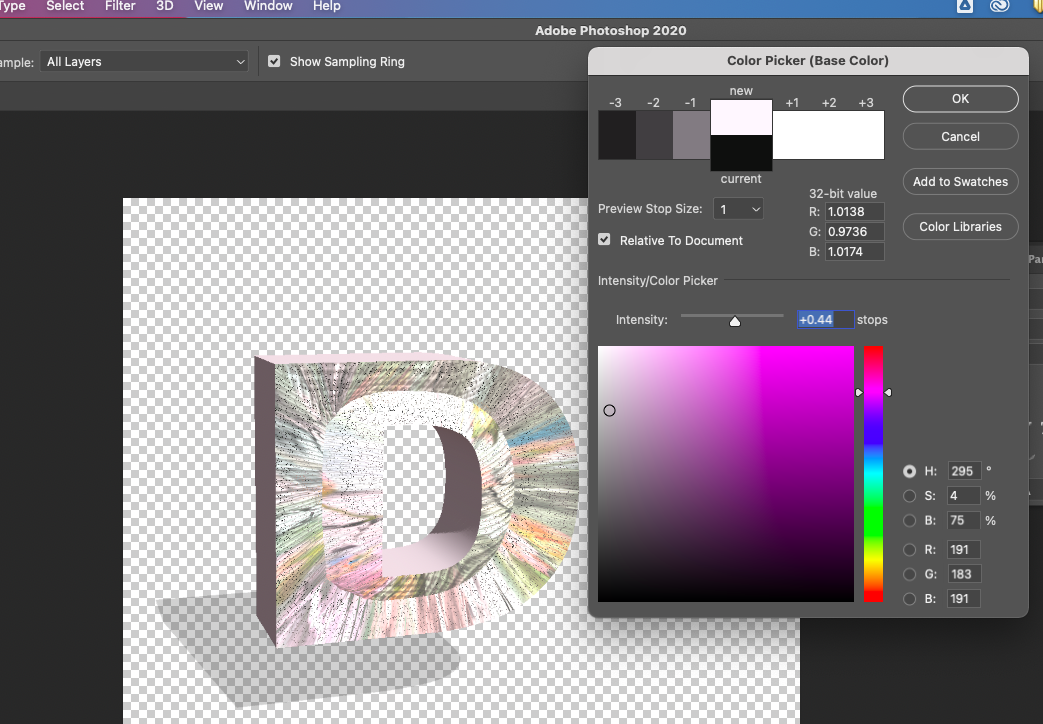 For duplication, you go to D layer, and click with right-click. And then you see the drop-dow menu. It's so long. You have to scroll down and find the duplicate objects. 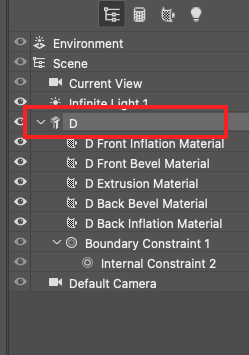 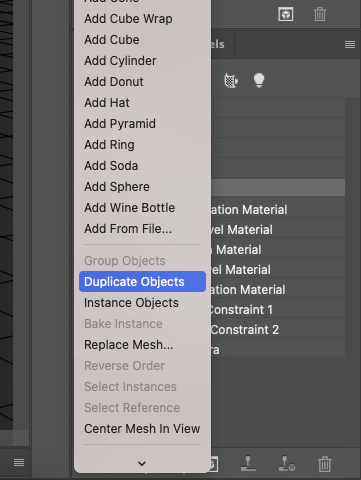 Check the copied layer. 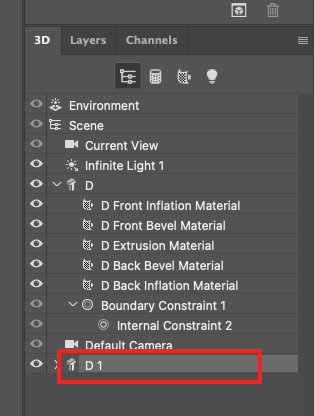 And then go to the properties window, click the Edit Source to change the letter. 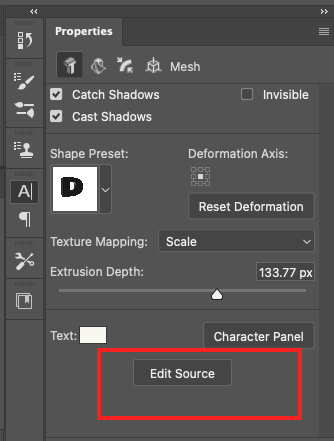 I Changed D---> I . 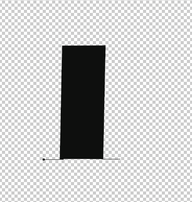 After that, you have to save it. 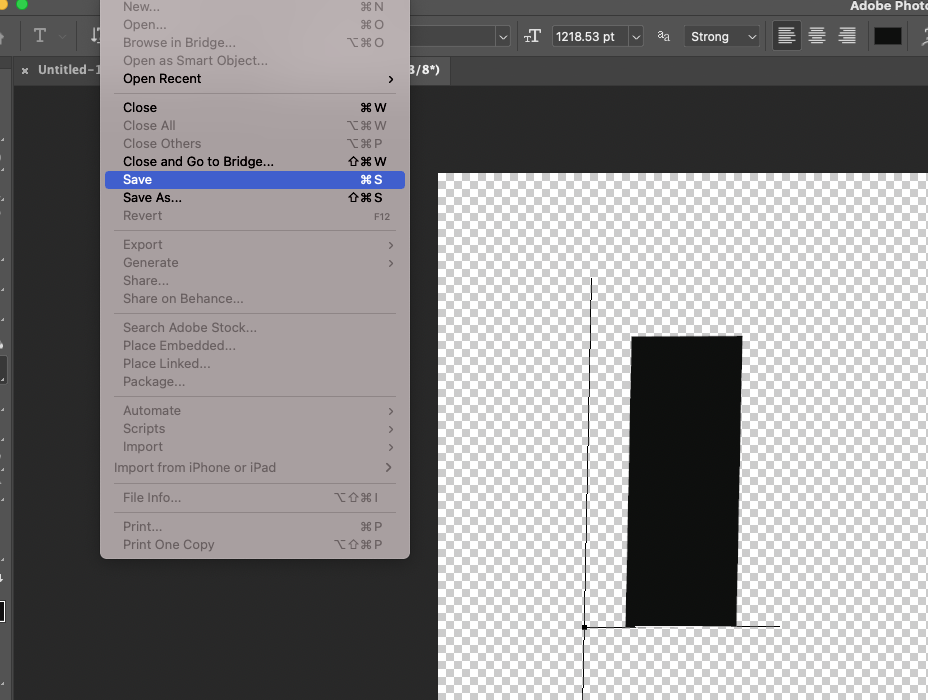 In this way, other letters are also made to complete the diary.
 For final touch, you have to click the light bulb icon to effect lightning. 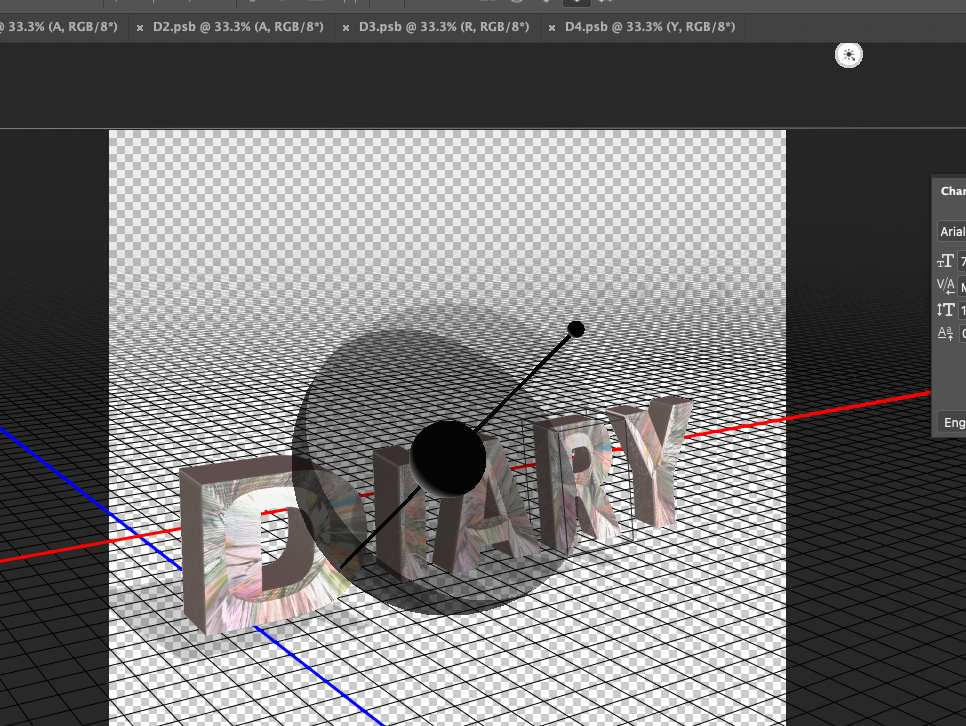 In my case, I created the new layer and then made a fancy gradient layer for background. 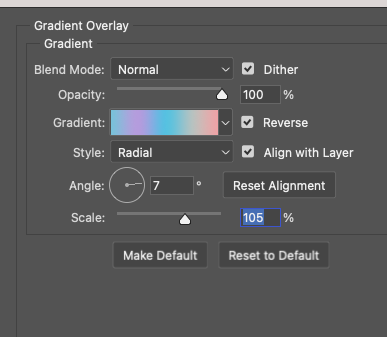  You can apply with many fun ideas!! Enjoy ! 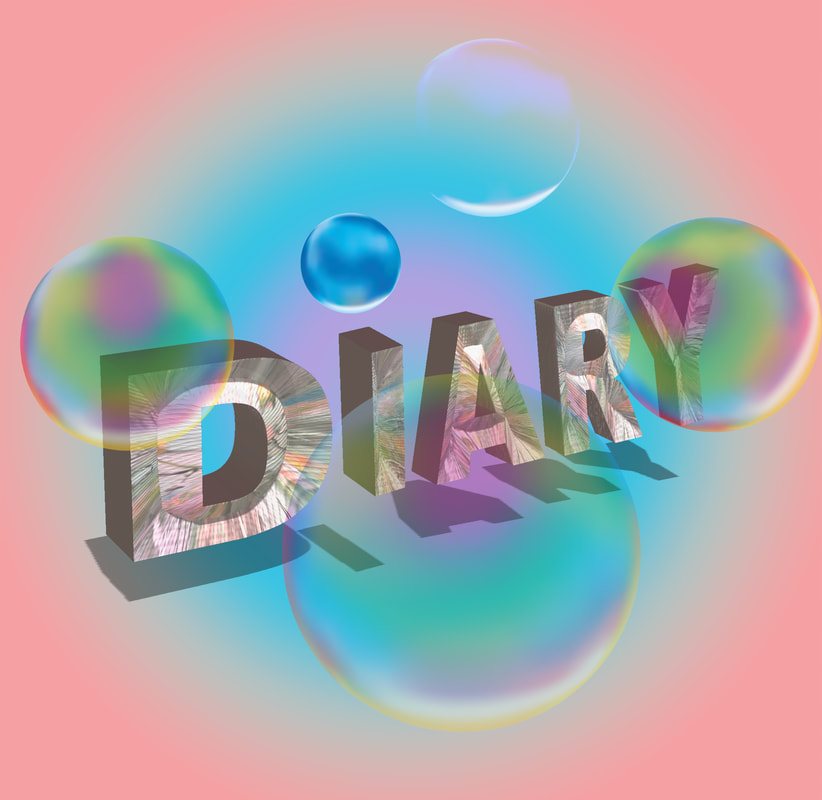 Comments are closed.
|
Myungja Anna KohArtist Categories
All
Archives
July 2024
|

|
Tutorial |
 RSS Feed