Removing only the sound from recorded video using iMovieThis is a simple tip to use when you want to remove the previous voice and record the voice again after recording a video for tutoring. First, if you import the video through iMovie, you can check the recorded audio as shown below. 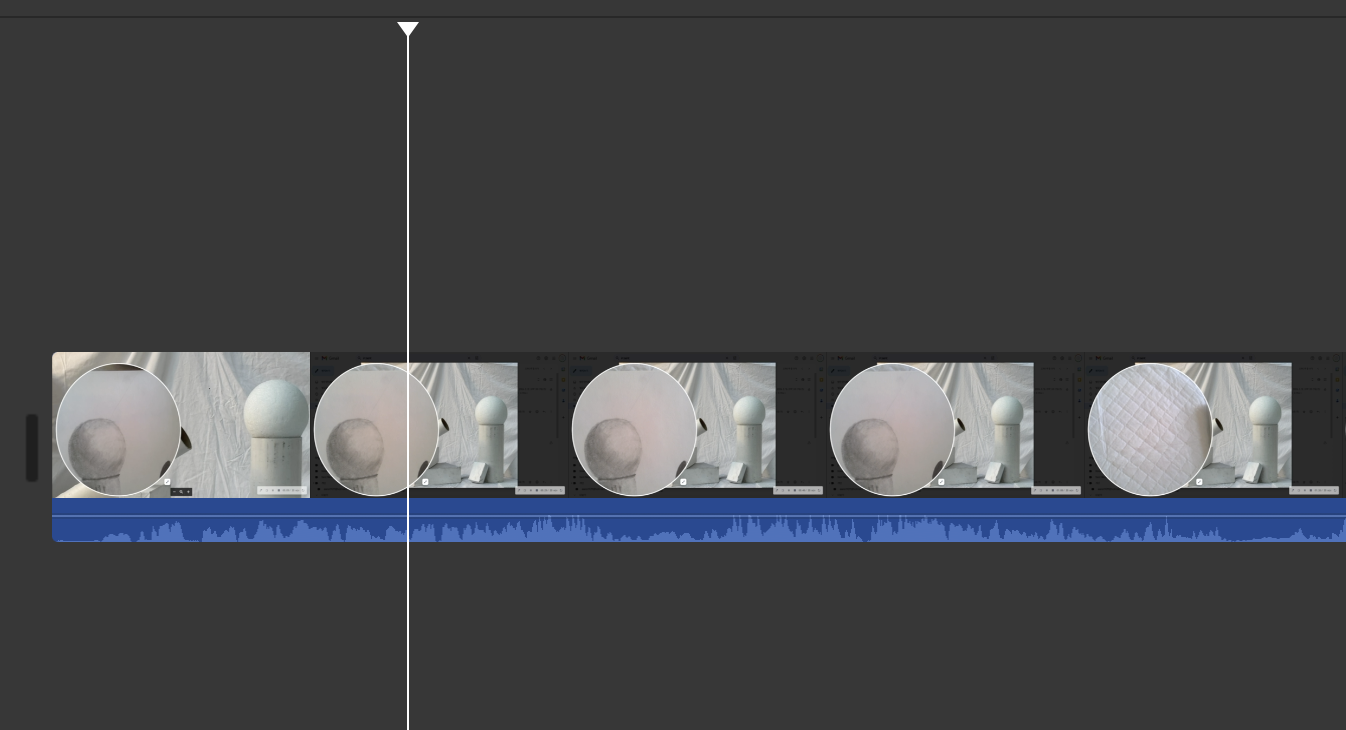 The method is very simple. Just click and hold the sound button above to mute and save again. 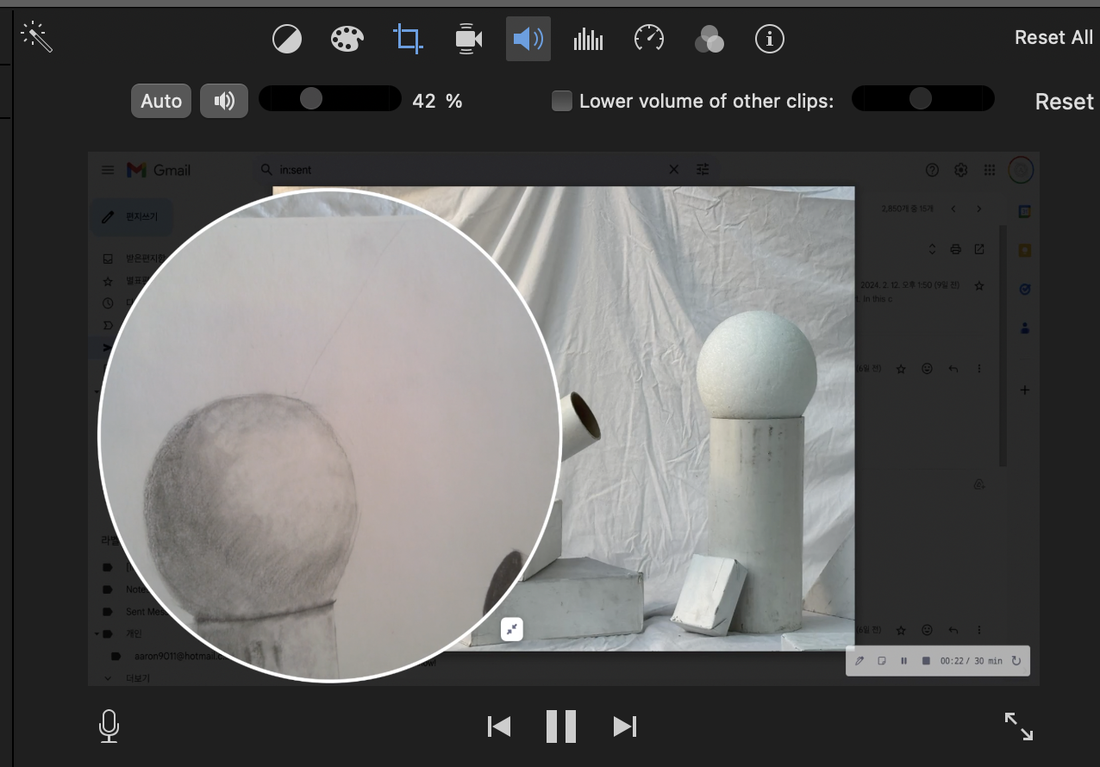  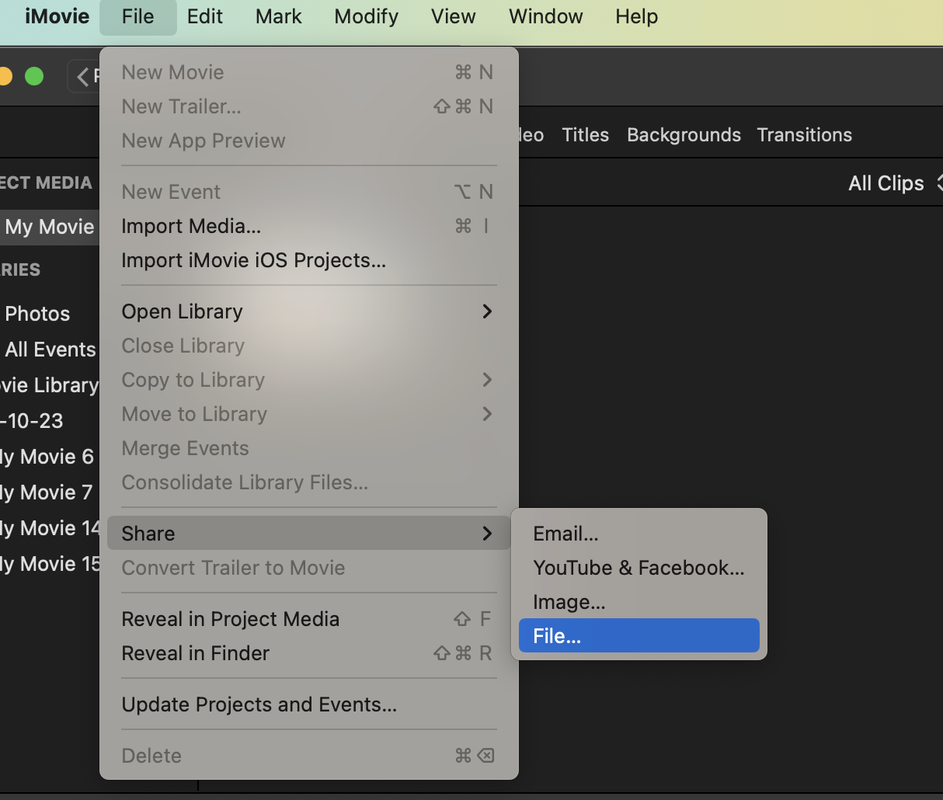 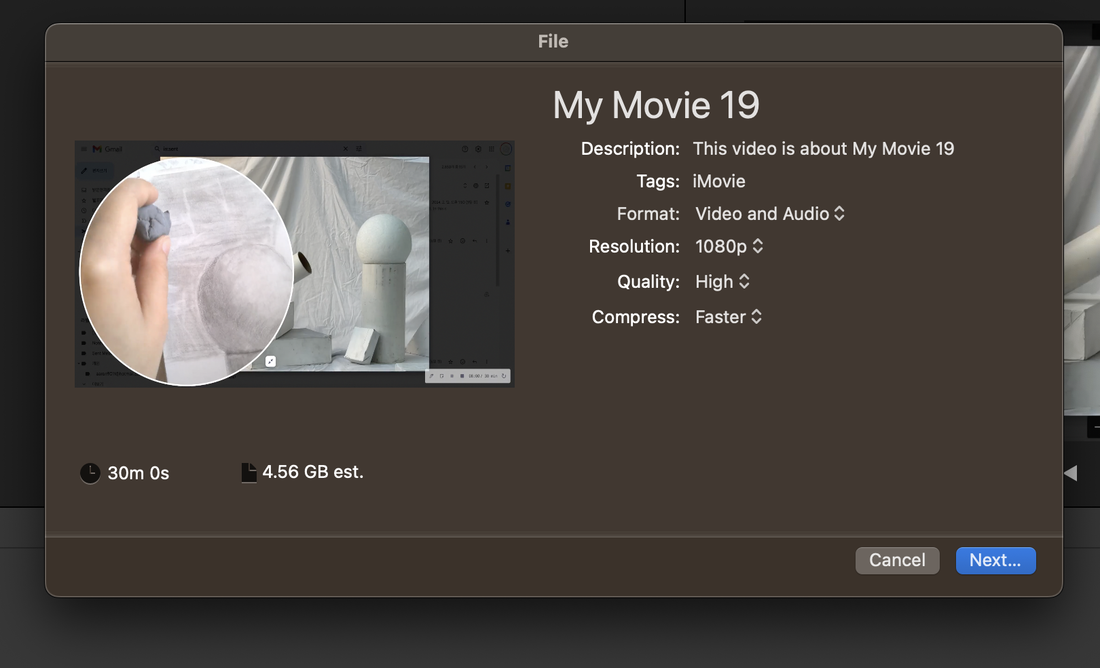 Below is an example of a muted video created by Amy. The program used for filming is as follows: 
0 Comments
Search with an image on GoogleRecently I wanted to look again at the name of the image of the bird below.  Clicking on the small icon in the Google search box will help you search for information or similar images corresponding to the uploaded image. 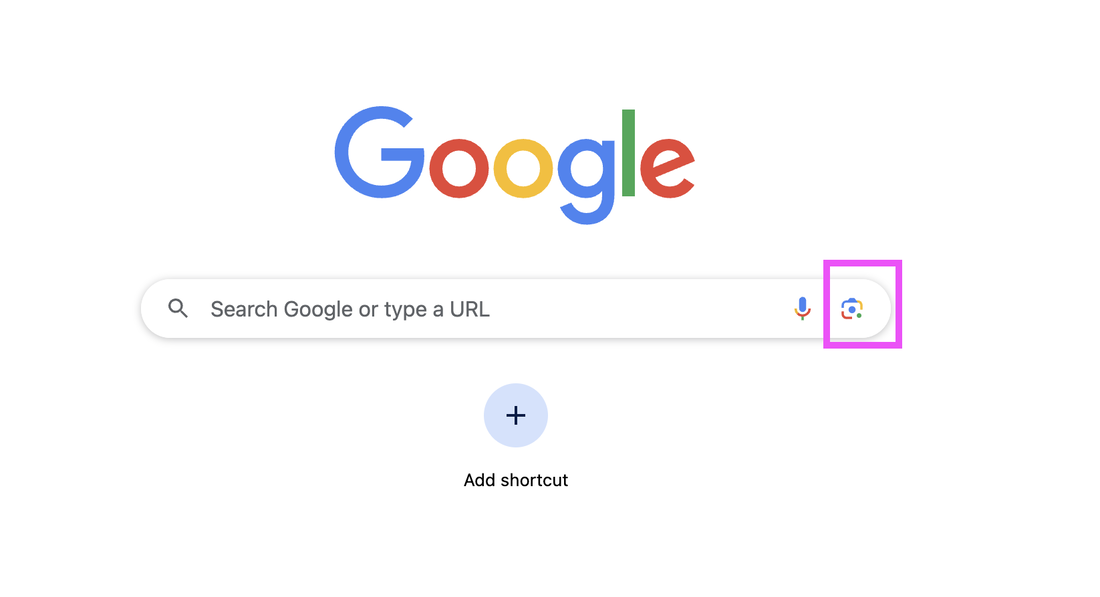 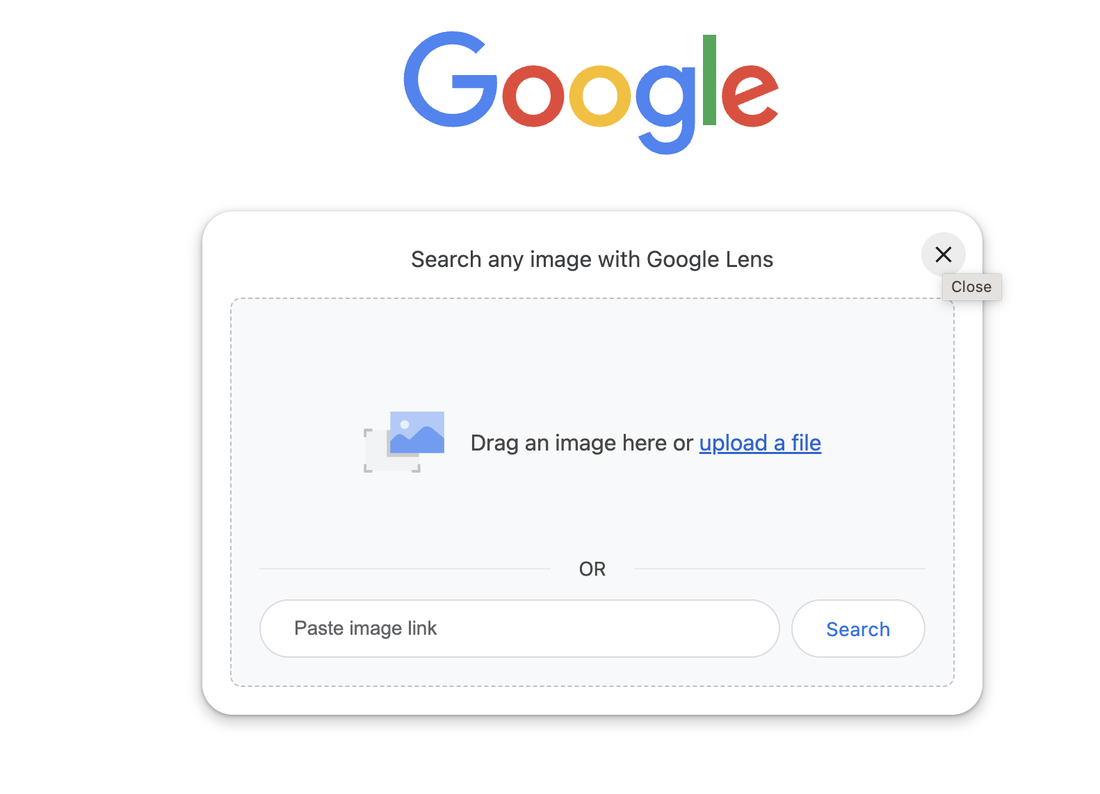 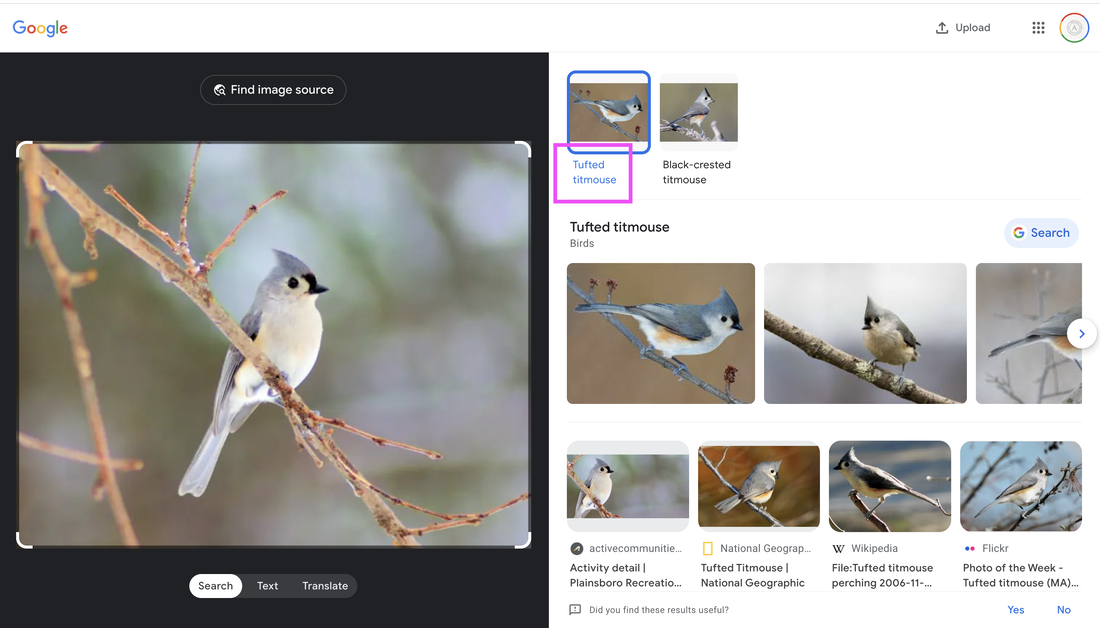 Through this function, I found that the bird is a tufted titmouse.
It is useful funcion on the google search engine. Useful free software and programs1. Image to Text Converter 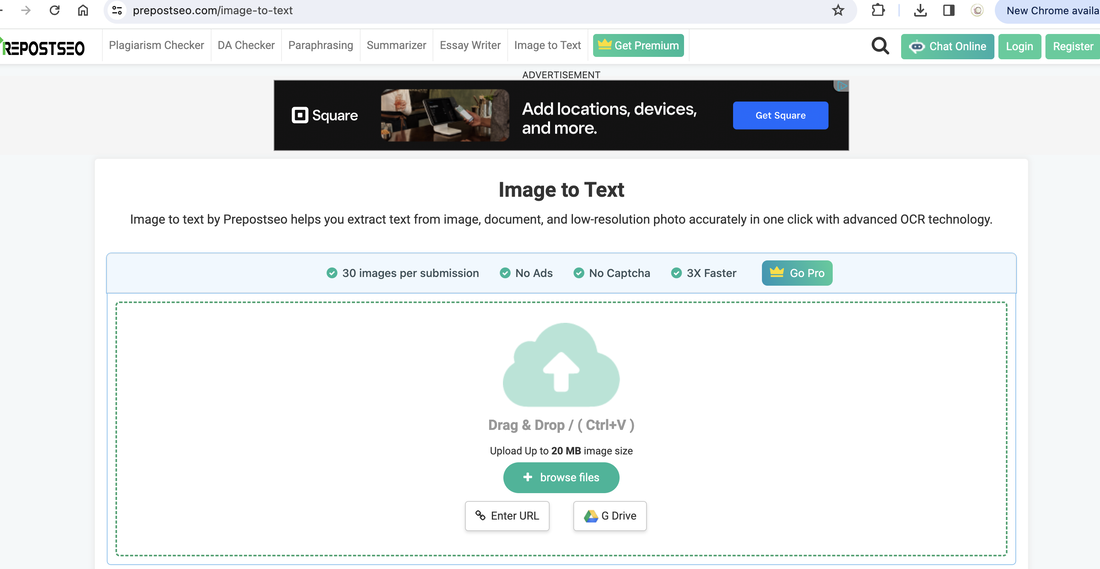 https://www.prepostseo.com/image-to-text 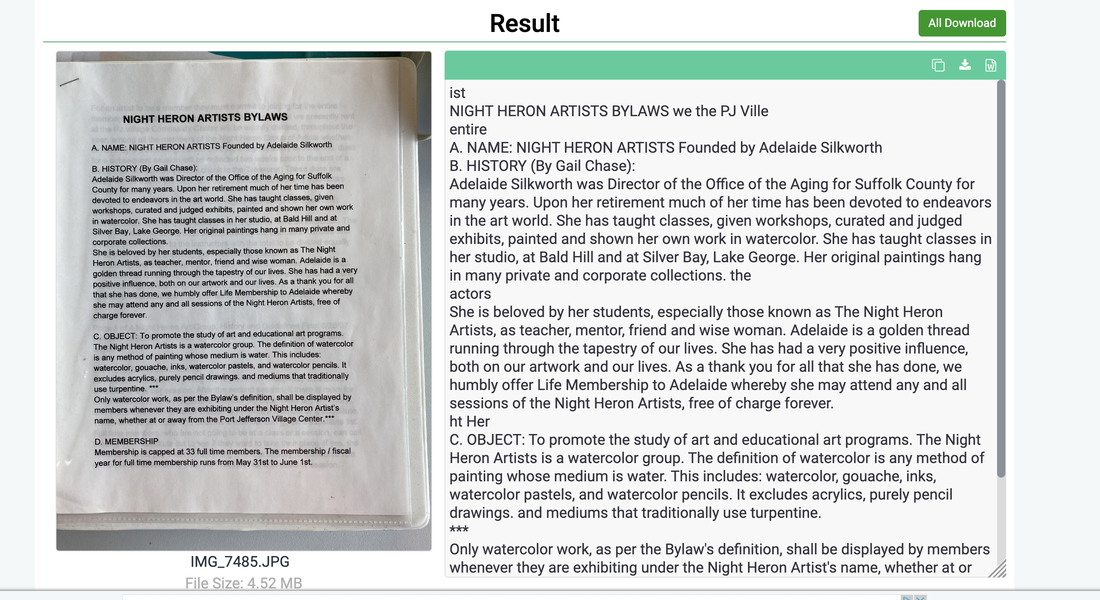 2. PDF 24 tools : Free and easy-to-use online PDF tools that make you more productive. 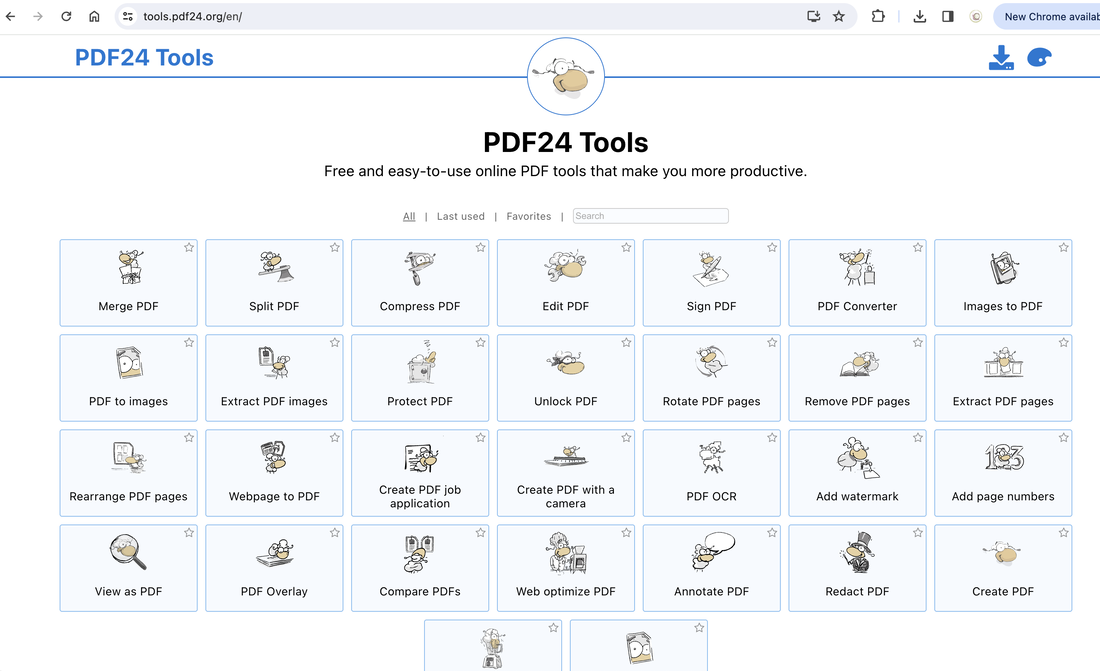 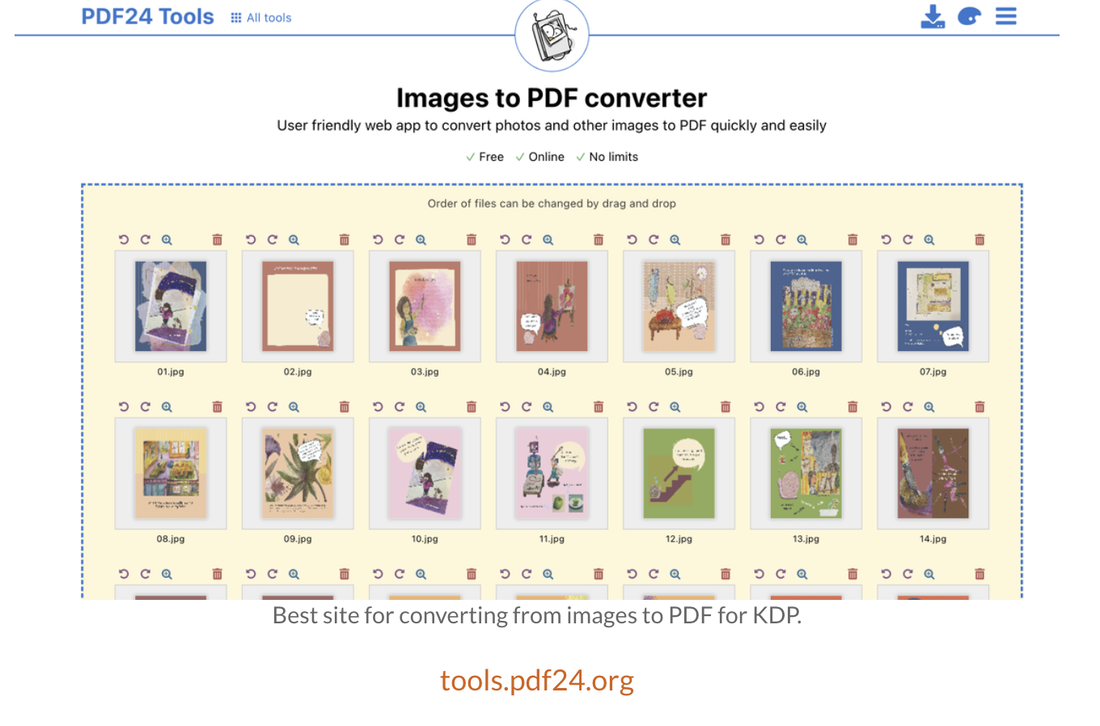 3. Canva : a free-to-use online graphic design tool. Use it to create social media posts, presentations, posters, videos, logos and more. 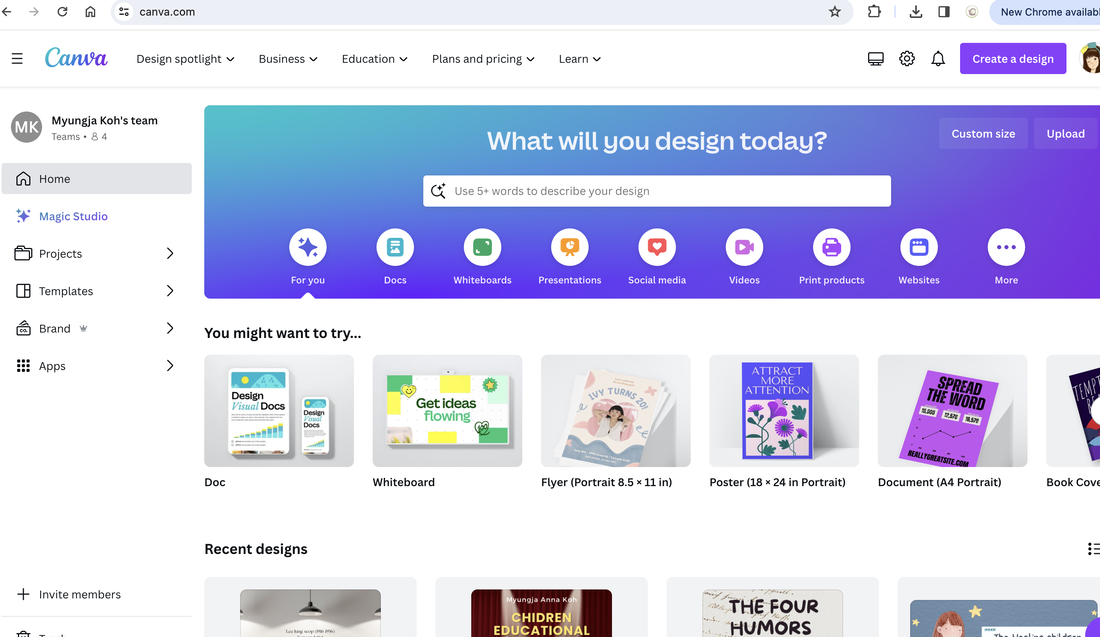 https://www.canva.com/ 4. I Movie a free video editing application made by Apple for the Mac, the iPhone, and the iPad. It includes a range of video effects and tools like color correction and image stabilization, but is designed to be accessible to users with little or no video editing experience.  https://www.apple.com/ca/imovie/ 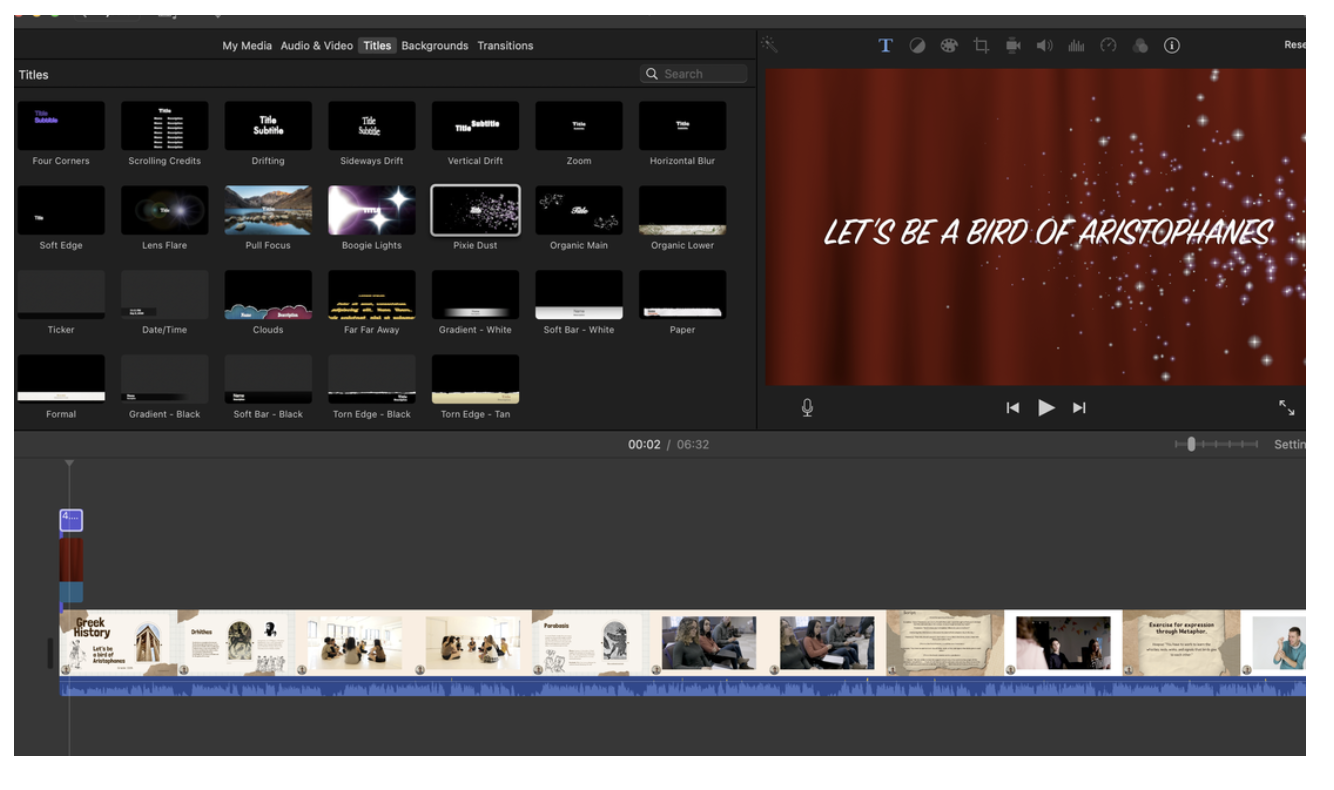 5. Grammarly Improve your writing with all-in-one communication assistance—including grammar check, generative AI, and more. 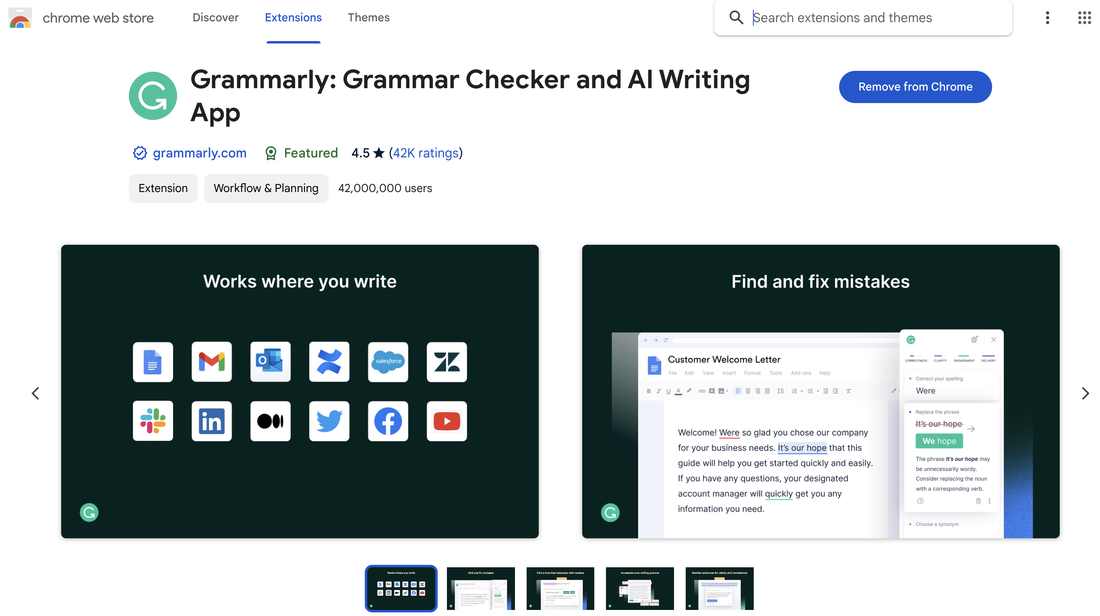 6. Duolingo With free mobile app or web and a few minutes a day, everyone can Duolingo. Learn 30+ languages online with bite-size lessons based on science. 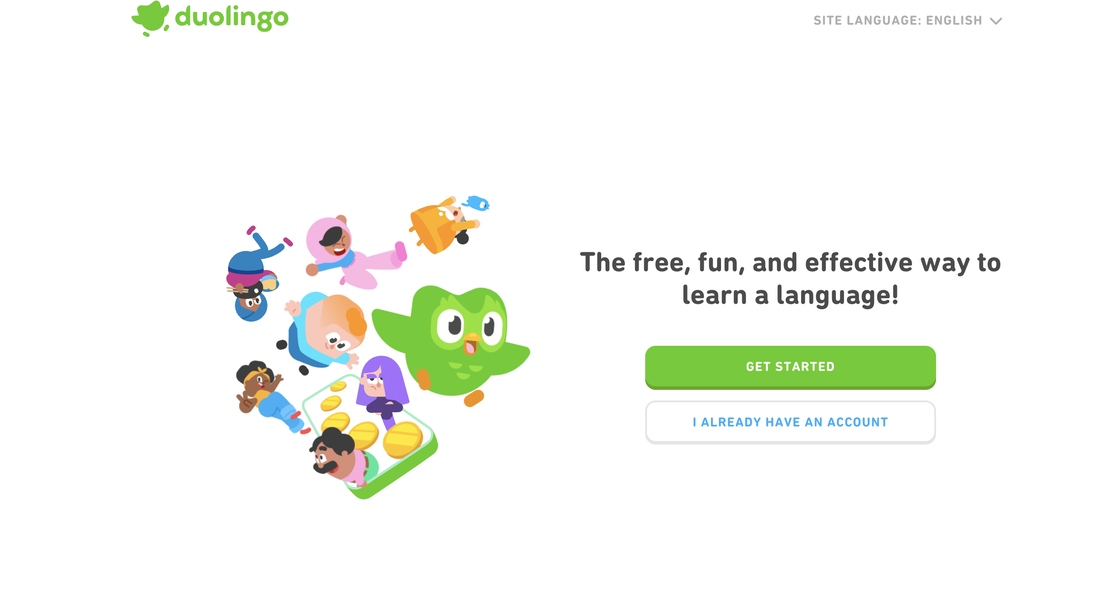 https://www.duolingo.com/ 7. WordArt an online word cloud generator that enables you to create amazing and unique word clouds with ease.  https://wordart.com/ USEFUL program: Image to Text converterBelow is a useful software that converts image files into text. Unlike other sites, it is limited, but it can be useful for free if the number of files is small. * Free of costYou can upload as many scanned books, notes, images, and photos as you want. Our free pic to text converter extracts correct text each time without asking you to sign up or paid a subscription. https://www.prepostseo.com/image-to-text 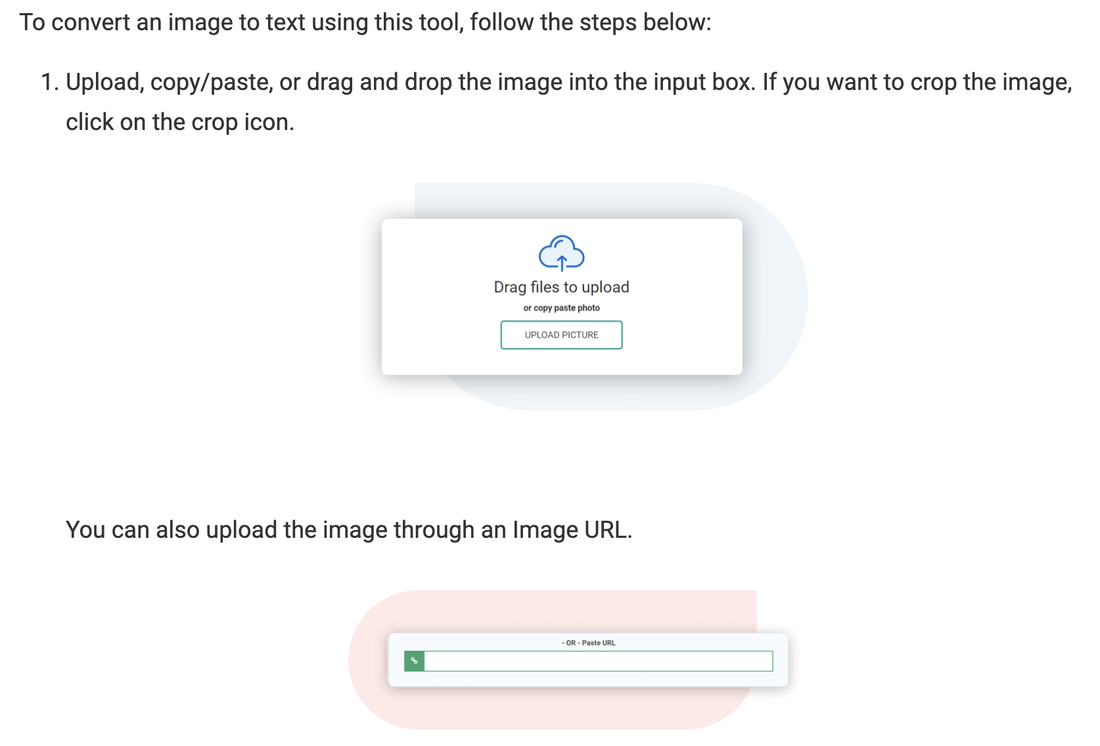  How to create new content using existing postsRevitalize your blog by repurposing existing content. Identify high-performing posts and extract key insights. Create engaging infographics or share bite-sized tips. Develop follow-up posts, exploring different angles or providing updates. Transform text into visually appealing videos or slideshows. Compile "best of" or thematic collections for easy consumption. Encourage audience interaction by turning comments into discussion-based posts. Cross-link related articles for seamless navigation. Experiment with diverse formats like podcasts or Q&A sessions. By reimagining and expanding on proven content, you breathe new life into your blog, offering valuable insights to both loyal readers and fresh audiences alike. Below is how to use the search function to process it into new content. 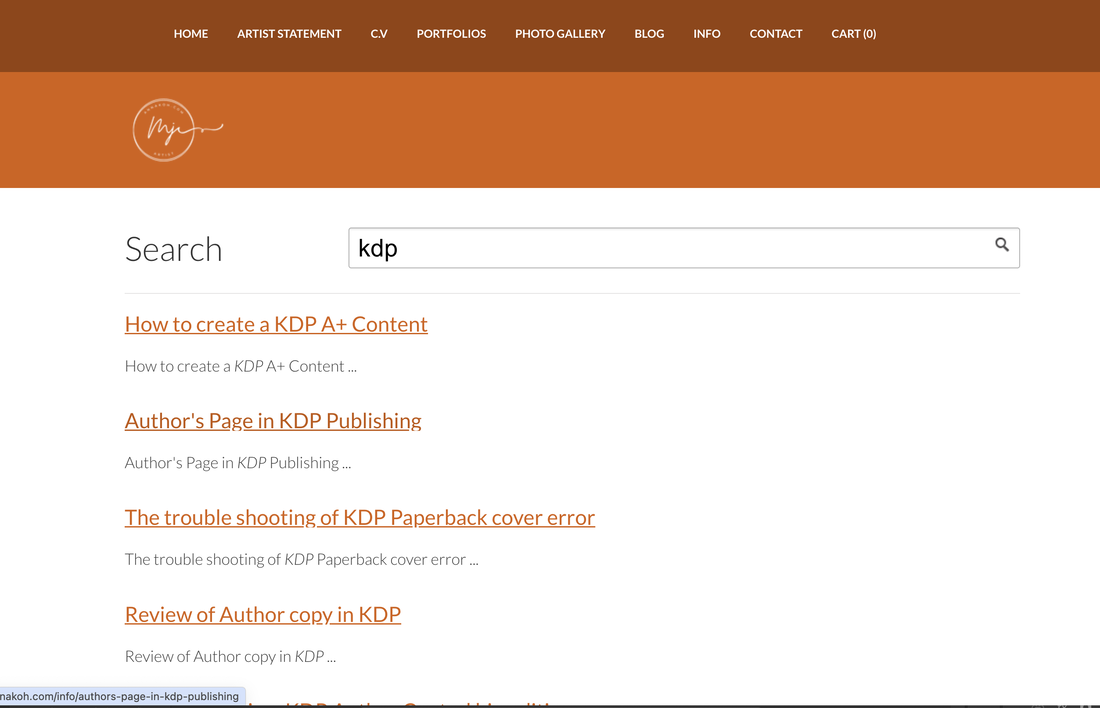 After using the search engine in your site, click with right-button on your mouse, and then you can go to 'Inspect' to copy the HTML code. 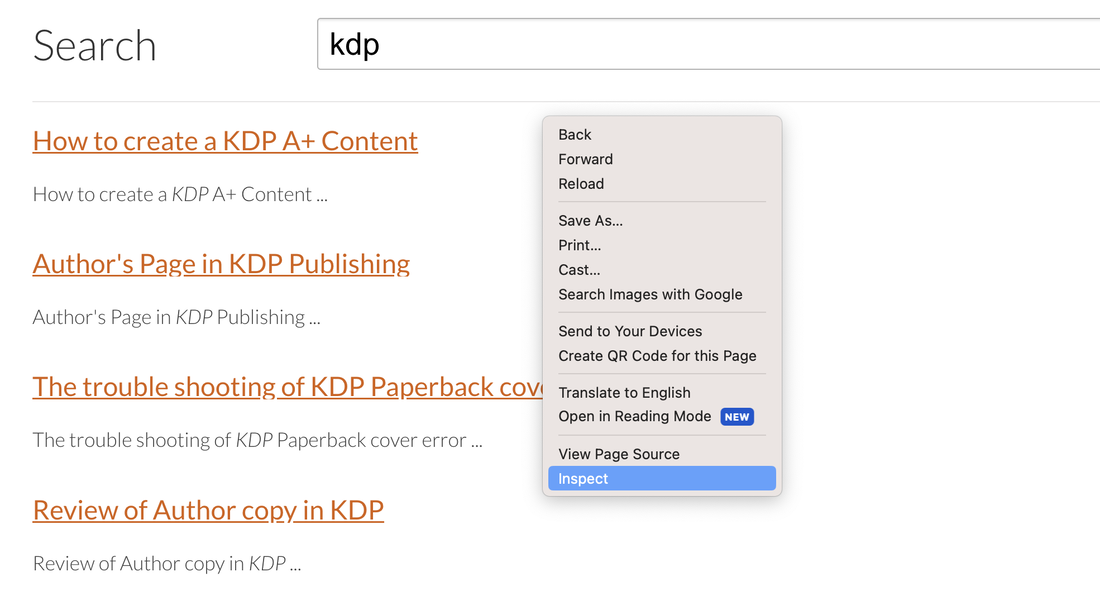 Click the 'copy outerHTML' like below: 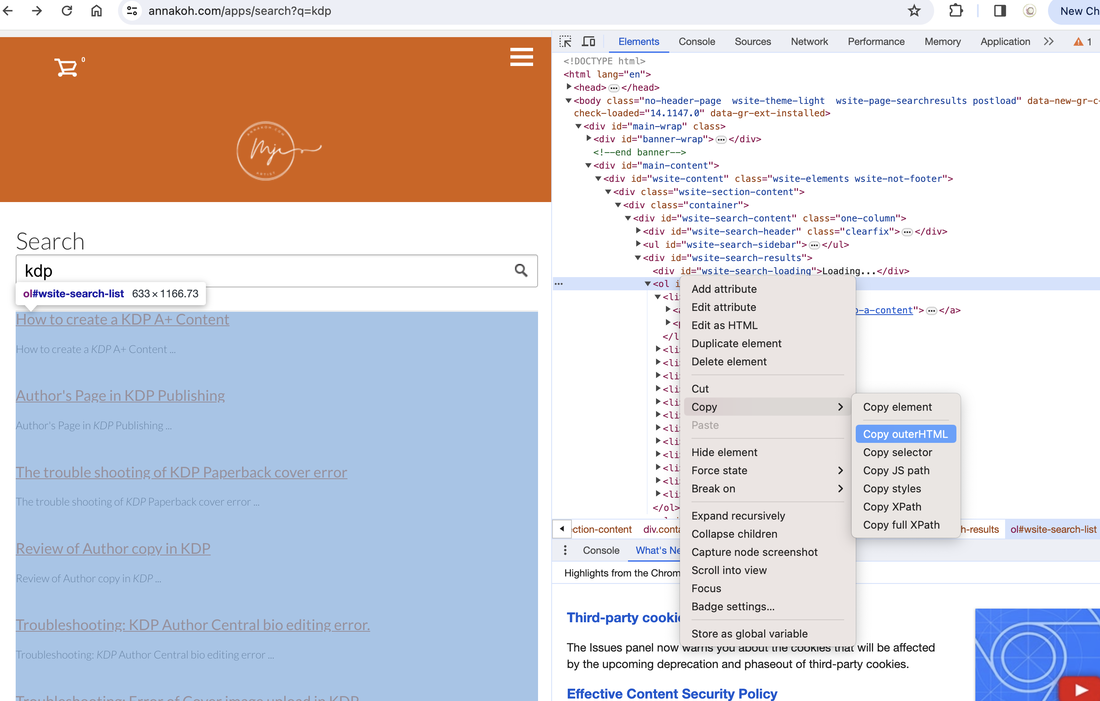 Then go to Weebly's blog editor and select the Embed Code to input your copied outer HTML.  You can just paste your code inside the edit window. 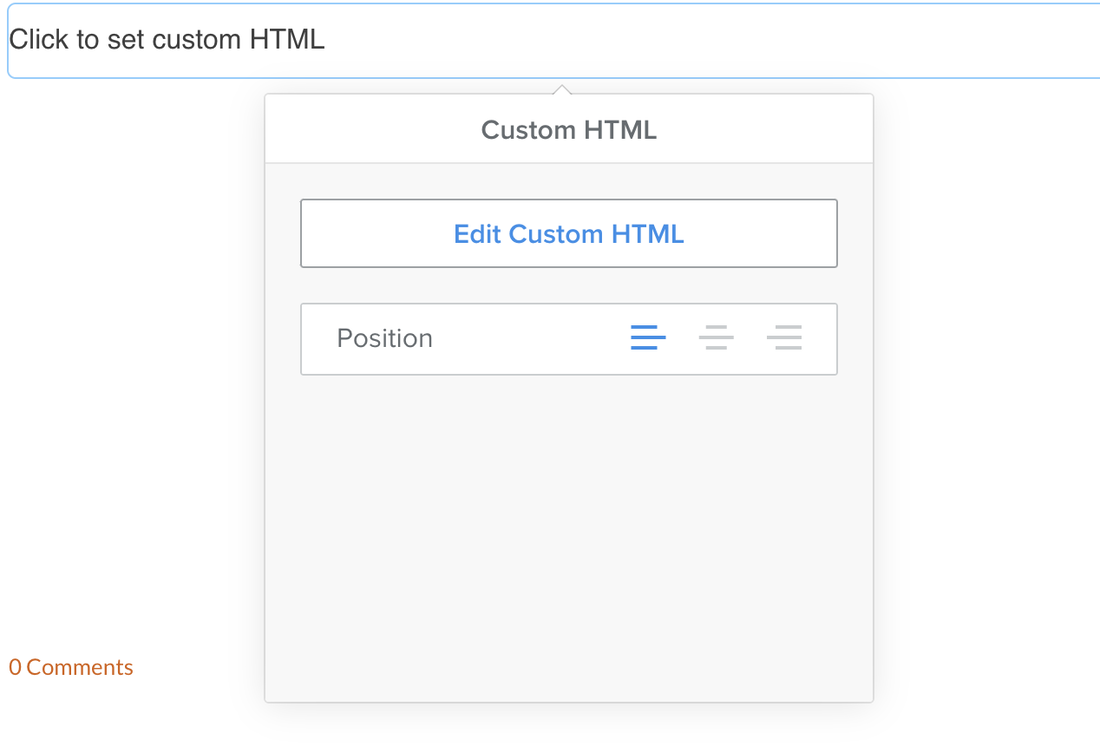 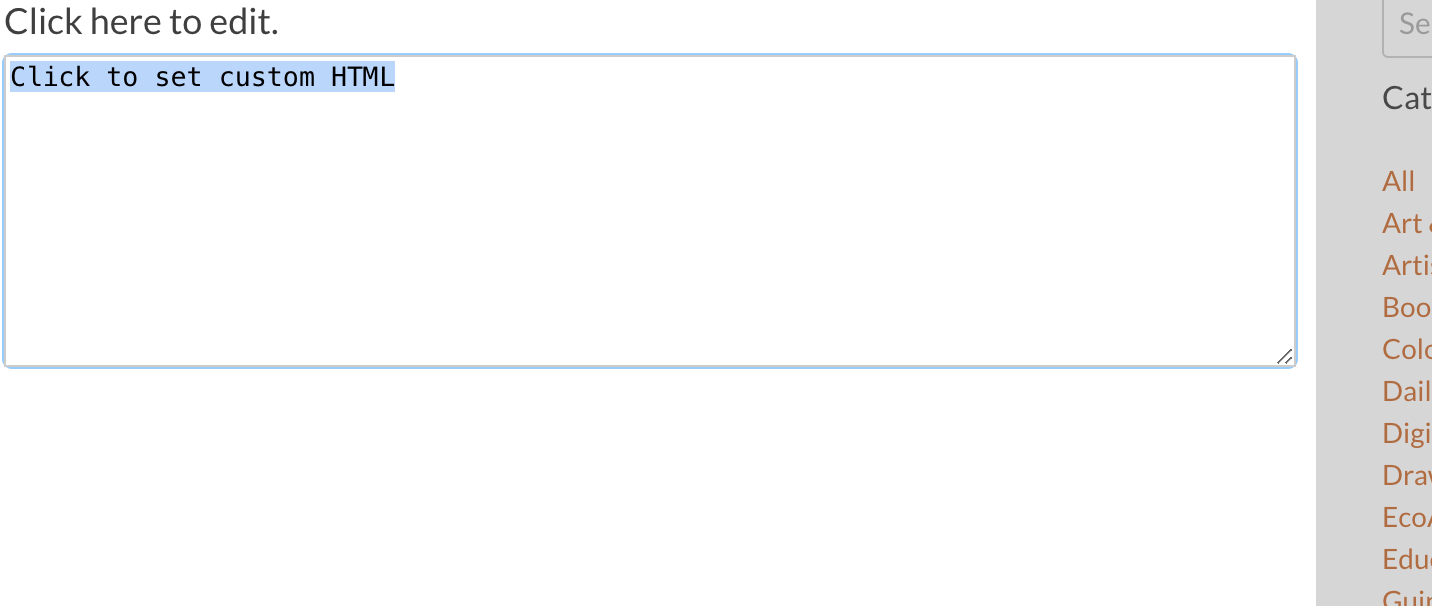 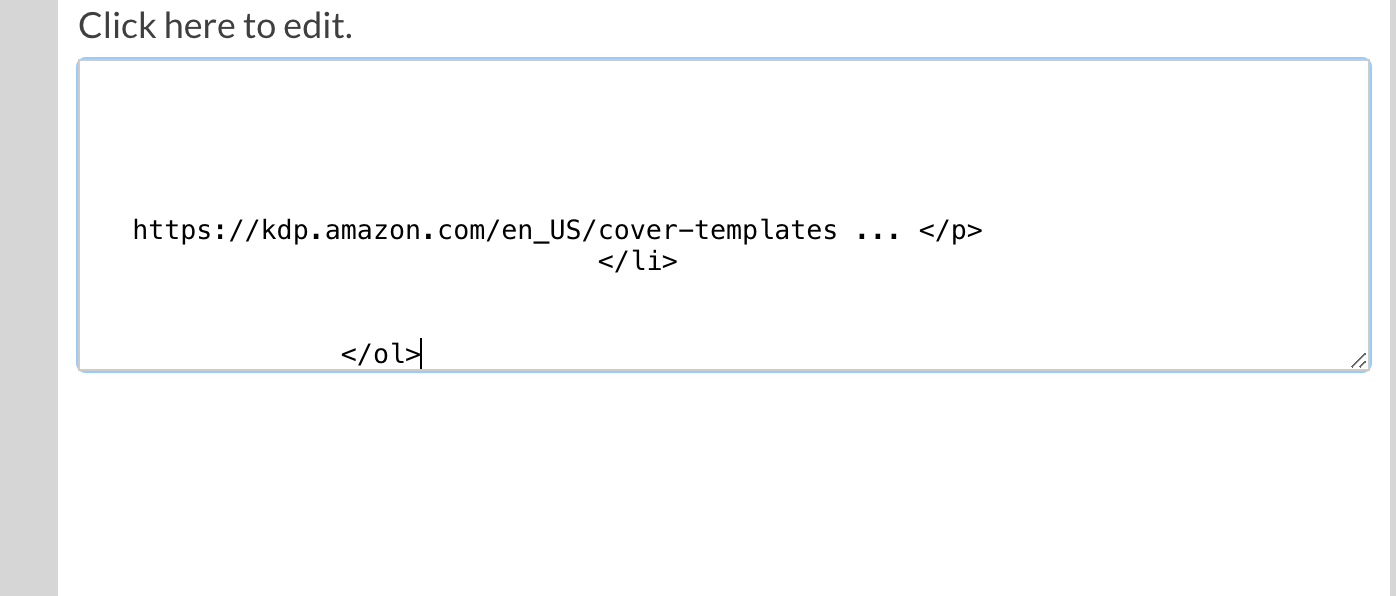 Here is the result.  |
Myungja Anna KohArtist Categories
All
Archives
July 2024
|

|
Tutorial |
 RSS Feed