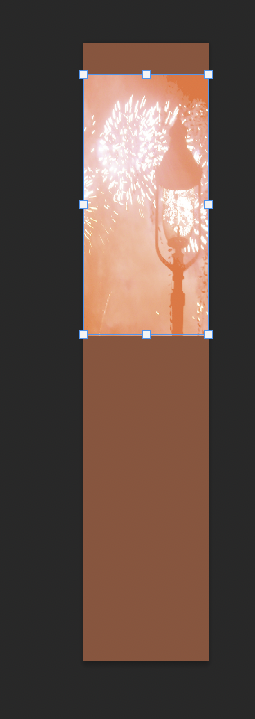
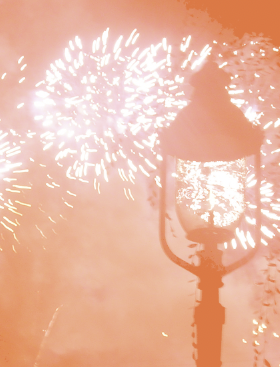
 How to create a firework banner with Photoshop. Today I'd like to show you the process of creating an advertising banner that sparkles like fireworks that light up a dark sky like above. In my case, I selected the proper place where I put the moving banner on my website.  After determining the size according to the location, create the background. Then, load the image to be used for the background and paste it on the banner.
 And then with Command + J (MAC book), I duplicate two times and name them, image 2, image 3. 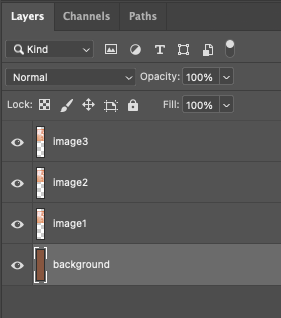
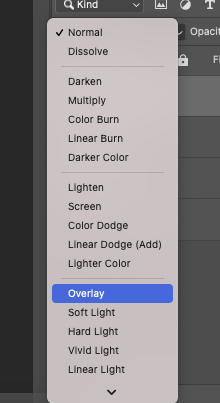
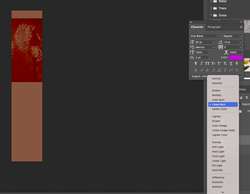
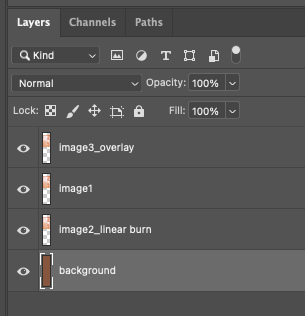 After that, I wrote the text as follow as below. 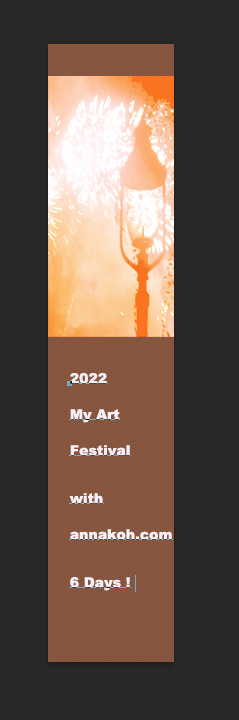 I also duplicated the text for changing the color and effect. 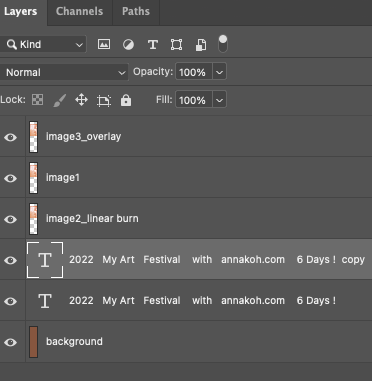 Select the copied text layer and go to blending options to change it. 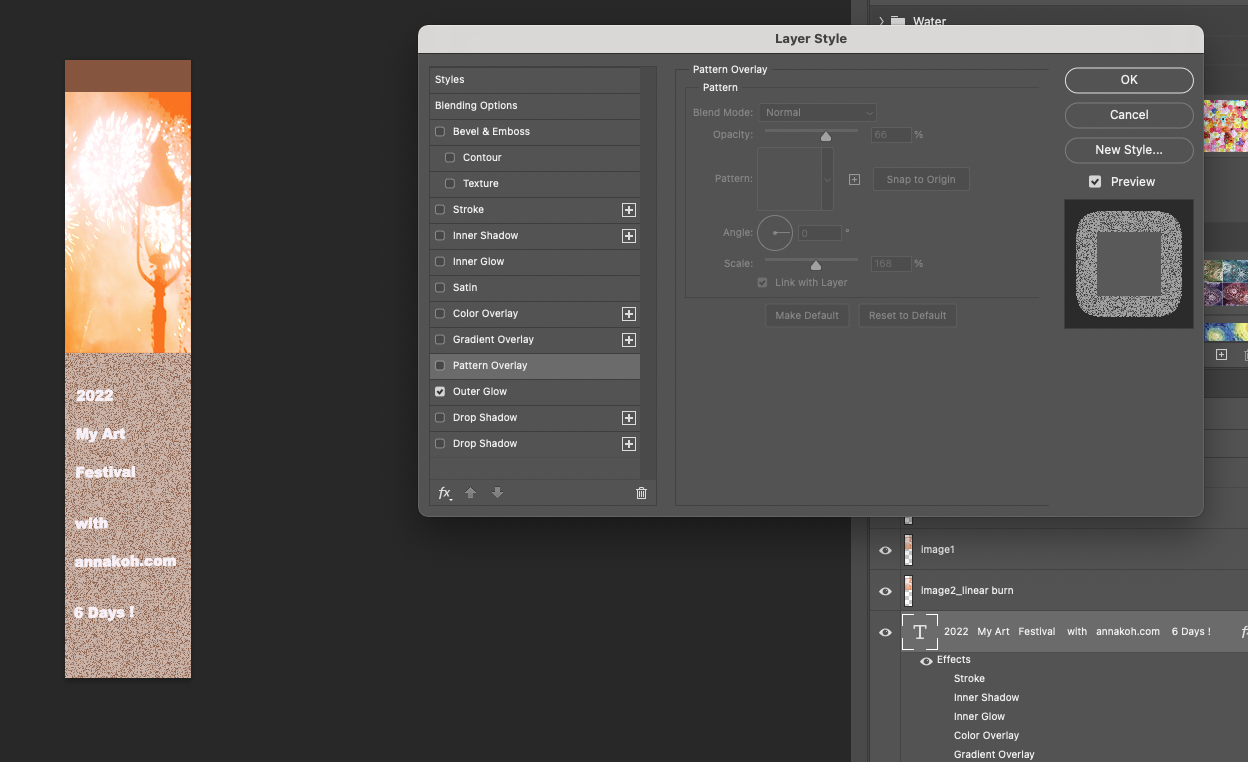 Adjust with Outer Glow and color the text from white to hot pink with Satin mode as follow as below. 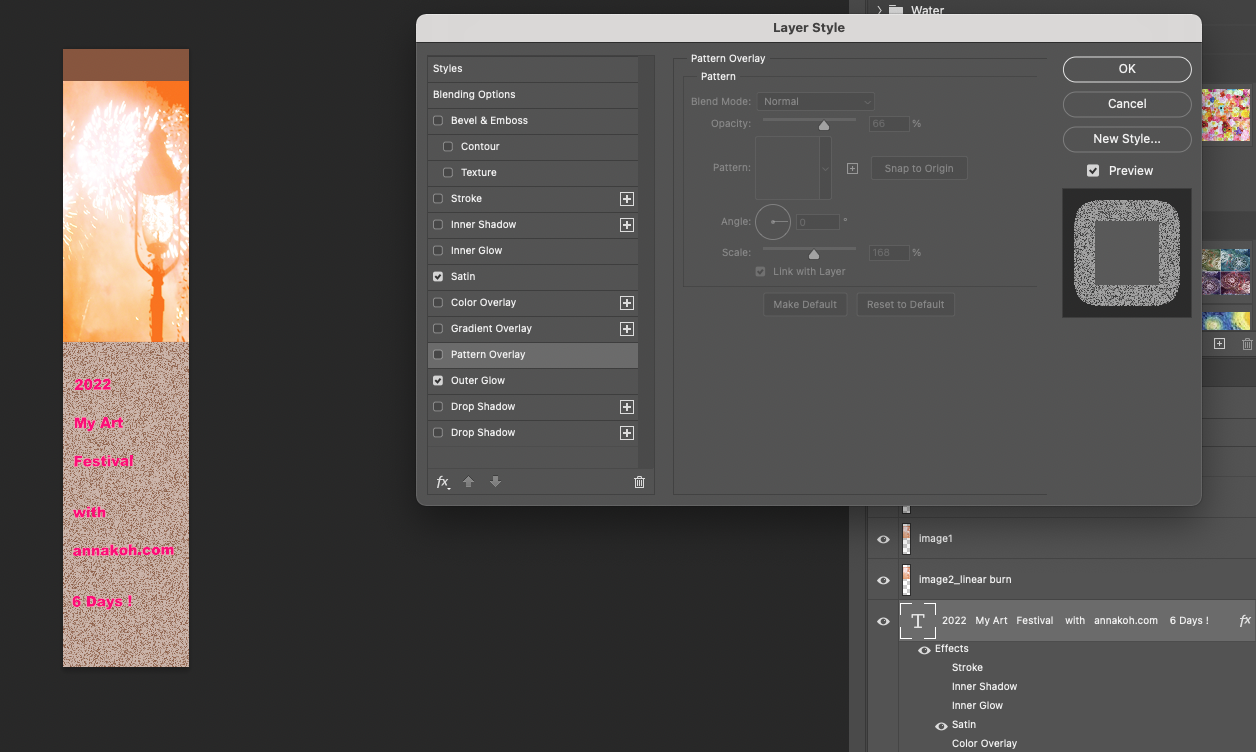 Also, I wote a more text on the bottom of the long shaped banner. 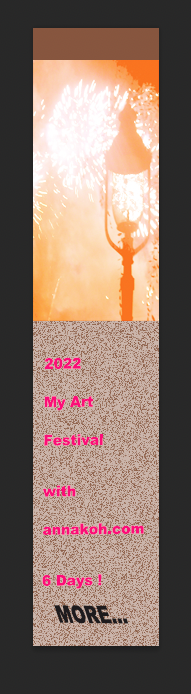 For the effect of firework, I copied some part of fireworks, and then created a new layer to paste it. 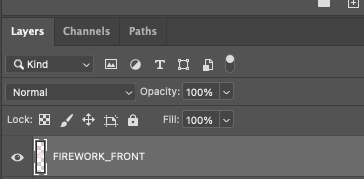 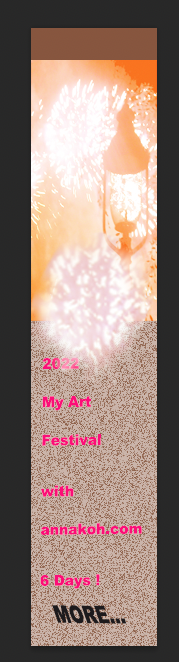 For making moving gif file, you have to turn off the eye shaped icon (next to each layer) except for showing the default like below. 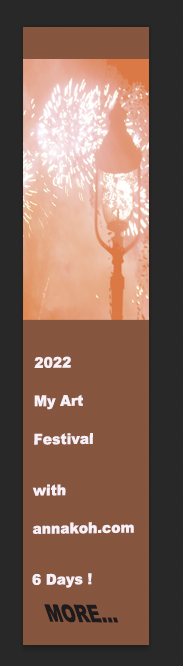 Next, go to Window ---> Timeline. 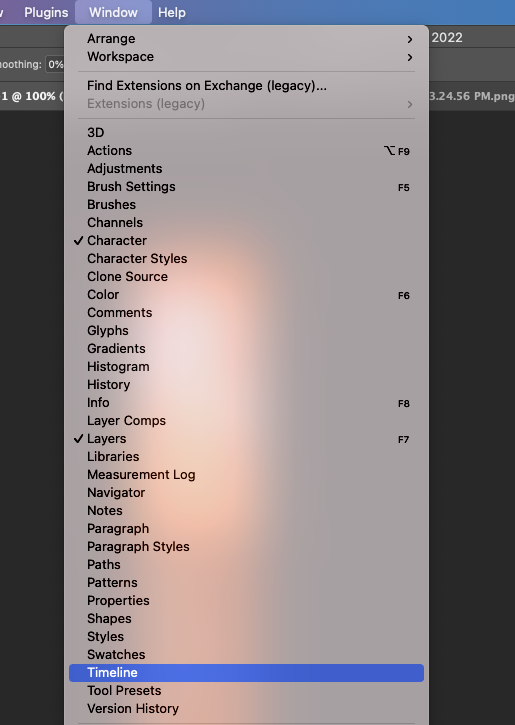 And then you can find the workspace for Frame animation. If you select the Create Frame Animation and click it double.  If your workspace changes like below, you have to click plus icon 8 times for making each frame work. 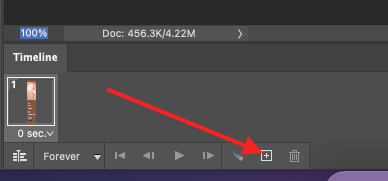 And You can see the below result. 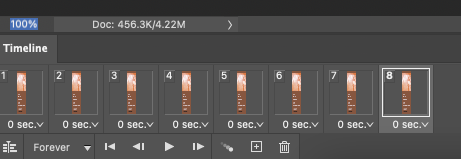 For efficient work, I changed each time at this time. 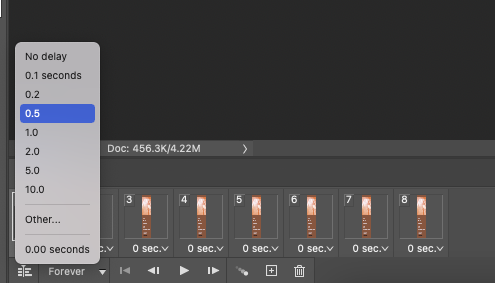 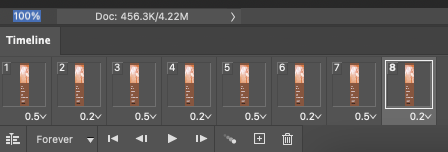 After changing the time, return to the first frame. Select the frame, and click the related layer with turn on or off the eye shaped icon on the layer panel of right side. 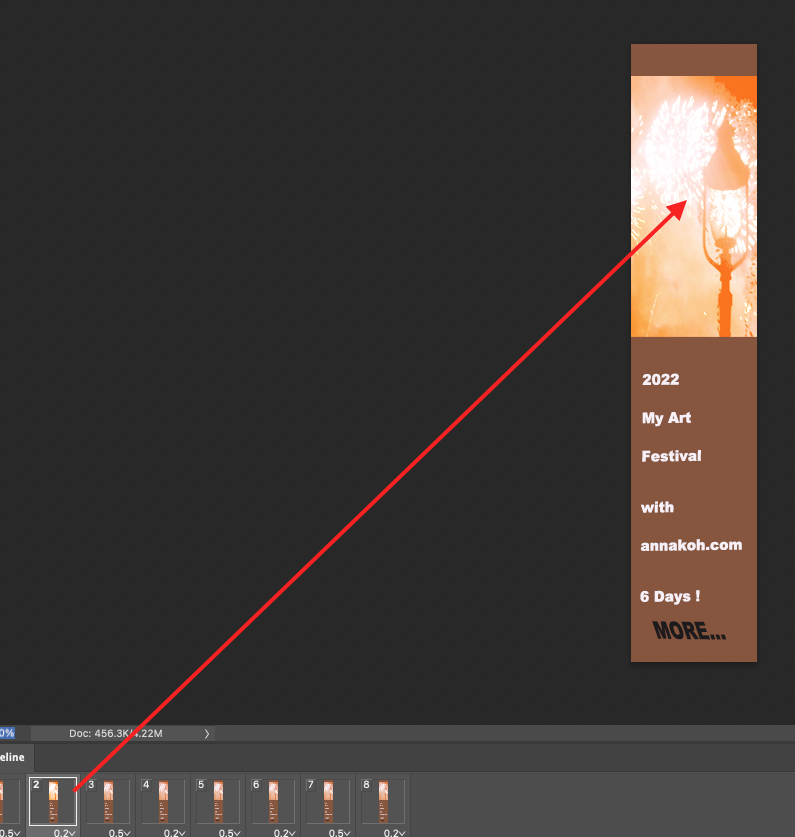 Lke below, I set the event per a frame with turn on or off the related layers. 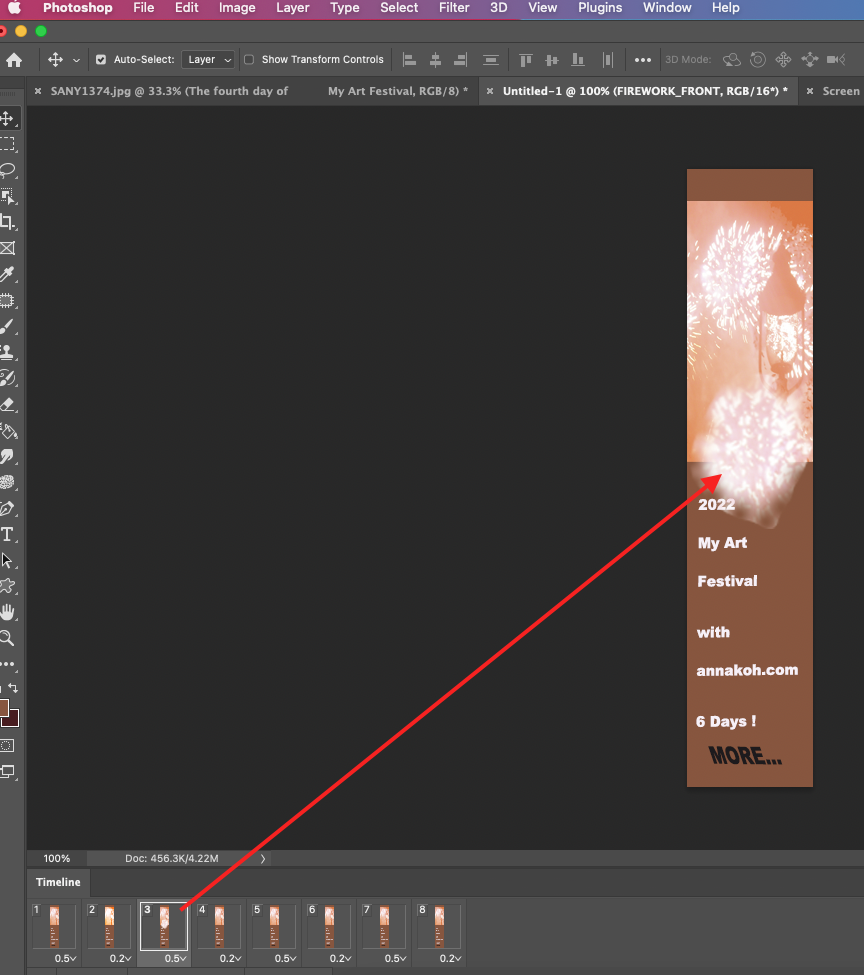 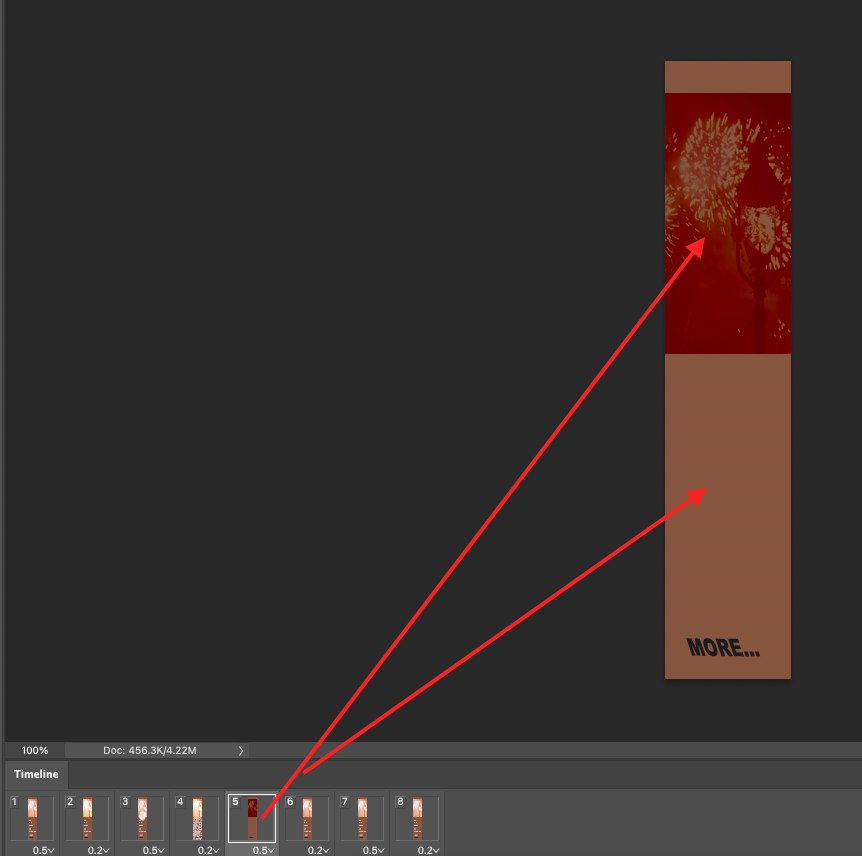 For saving as moving gif file, go to File---> Export---> Save for Web. 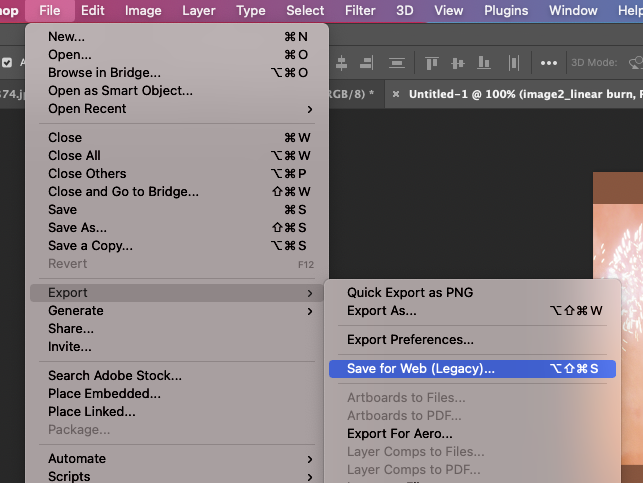 Click the Gif type and save button on the bottom. 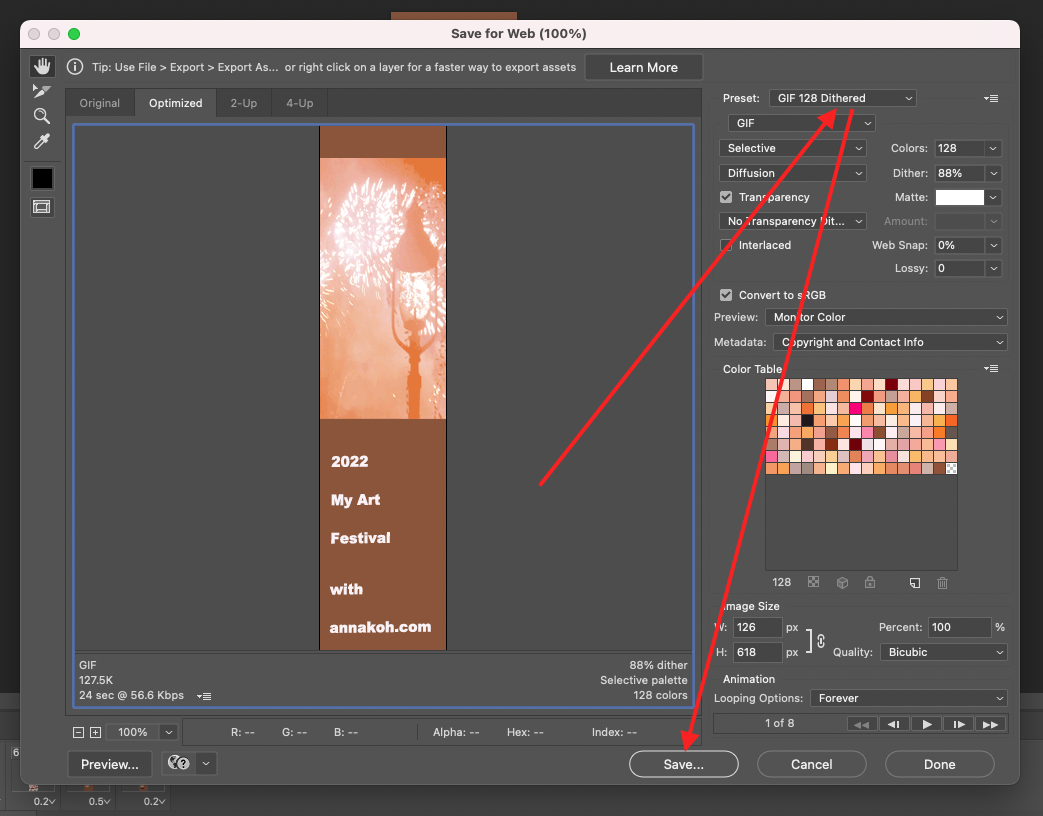 Make sure your output and enjoy showing the moving event banner! 
0 Comments
Leave a Reply. |
Myungja Anna KohArtist Categories
All
Archives
July 2024
|

|
Tutorial |
 RSS Feed