The making process of the perl on the shell Today, I would like to introduce the simple process of expressing pearls with watercolor. This method can be applied to quickly express pearls in less than 30 minutes. First, paint the color that will be the base color of the pearl. When painting, you need to think about three dimensions and draw it as if you were drawing a globe.  Then, moisten them with water to help them spread.  It does blending. At this time, consider the surface of the sphere and make it three-dimensional.  Complete the background.  Below is the finished look. 
0 Comments
How to make a simple acrylic portrait How to easily paint a human portrait with acrylic. First, for three-dimensional expression of portraits, the shadows of the face are divided into four major types. Divide it into the brightest part (highlight), the middle part, the mid-dark part, and the very dark part. Then, assign a color to each part. Focus on brightness rather than saturation. And simply paint the darkest part first according to the intensity of darkness, showing the shadow of the face. 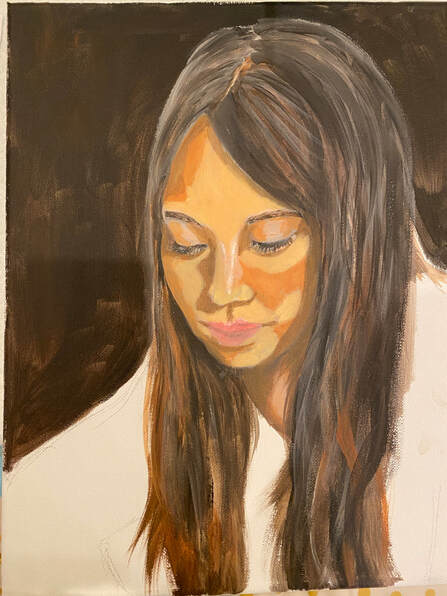 Below is the process of painting from dark to light. You can draw it in one go if you color it naturally without much difference in color, but first, I showed the difference in color to examine the process of filling the shadows of the picture depending on the brightness.  Next, we create a gradient between the color separation lines according to the difference in light to make it look natural. 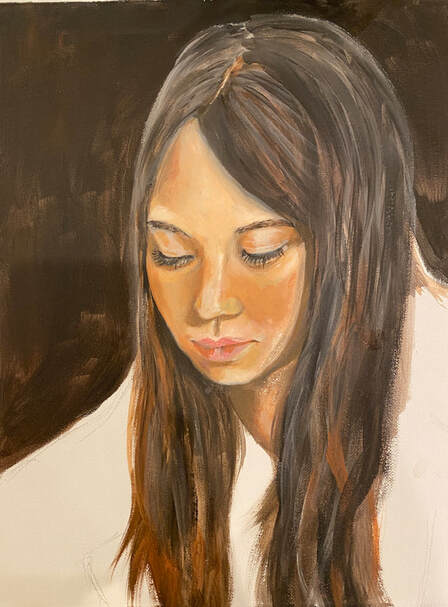 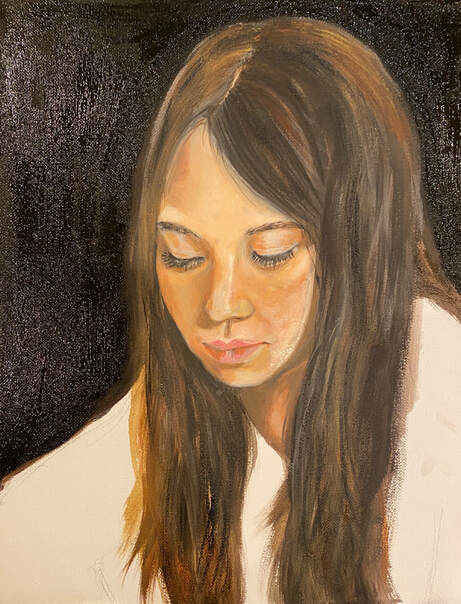 In this way, you can easily complete a three-dimensional acrylic portrait. 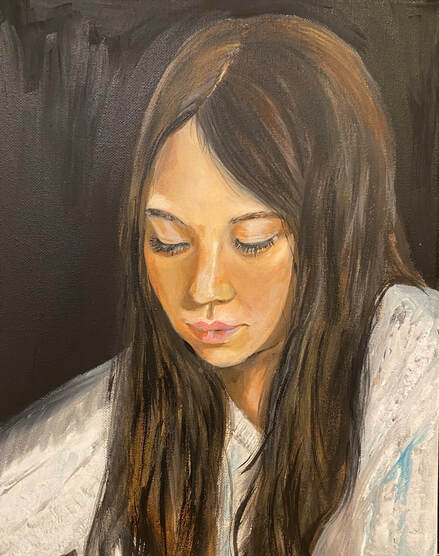 1,2,3 point perspectiveWhat is the difference between 2-point perspective and 3-point perspective? It is the difference in angle of gaze of the observer looking at the object. When most of us explain perspective, one point is easy to understand. This is because it is easy to think of a railroad track, a train track, or a one-way road in the forest. 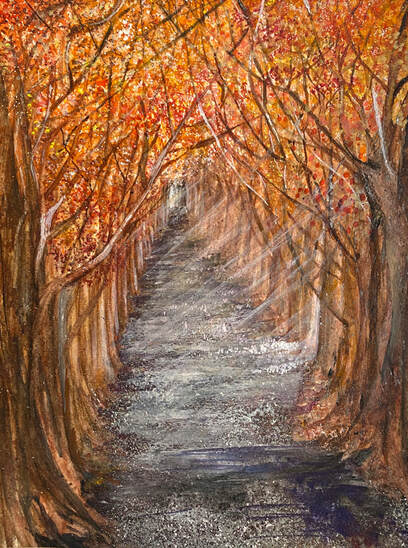 And from 2 or 3 point perspective, confusion will arise. However, this can be easily distinguished by understanding the concepts below. That is, you draw a picture using two vanishing points and then check if there is one more vanishing point in the picture. As shown below, in the case of two-point perspective, you can see that it is drawn at a right angle without a vanishing point. 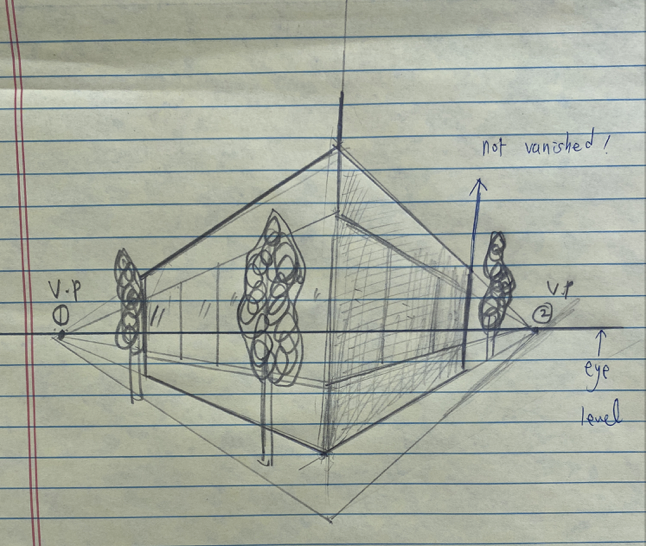 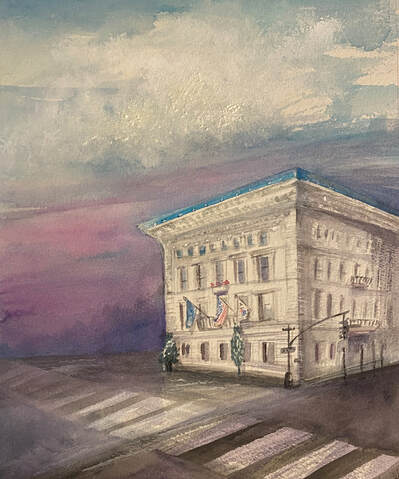 However, starting from point 3, another vanishing point appears as shown below. You usually get this angle when you look up at a building up close. When you look at a large building from below, you will notice that it appears to be getting closer to the sky, as if the tip of the building is reaching into the sky. 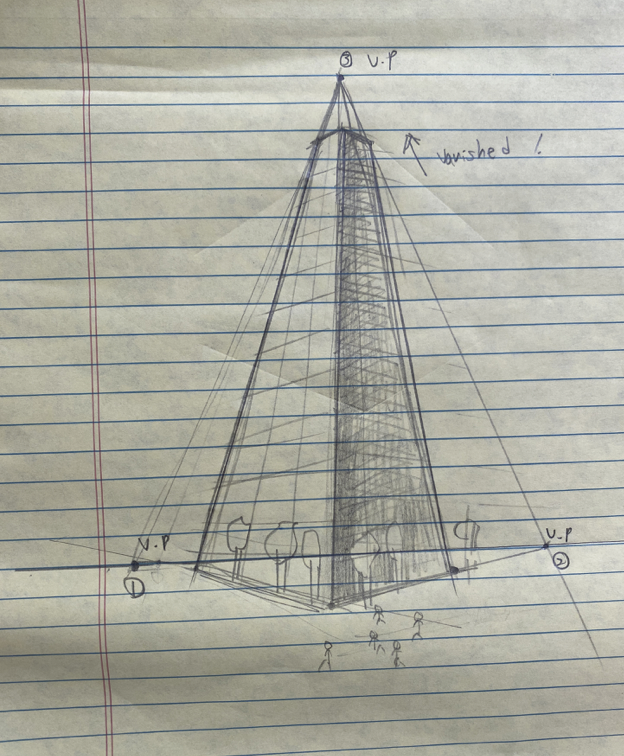 And the case where there is a third vanishing point below the eye level is easy to understand if you think of us as if we were flying over the city in a helicopter. When viewed from a helicopter, the building appears to be falling into the ground like a sharp nail. This is because there is another vanishing point acting below. 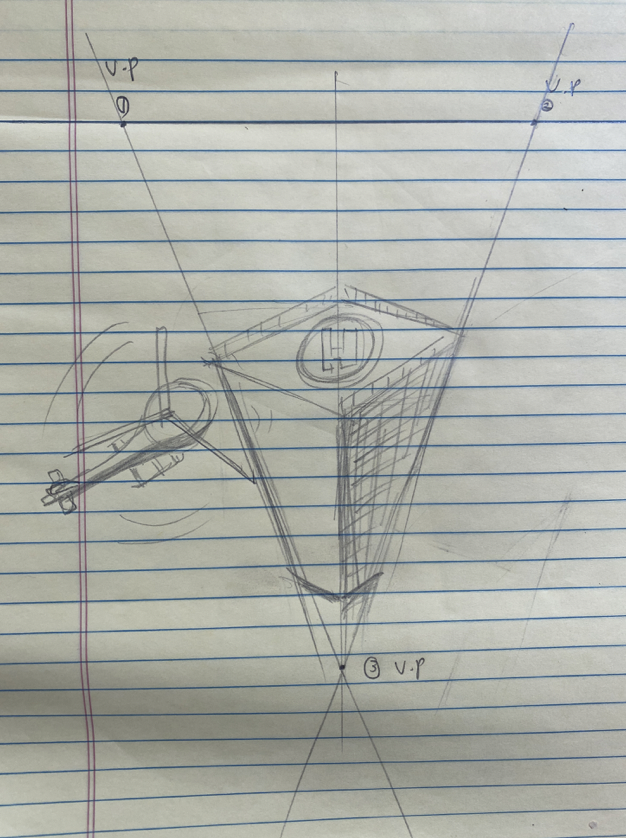 Introduce children to the world of art with this engaging worksheet! Featuring fun prompts, it encourages creativity and skill development. Useful Art Worksheet for Children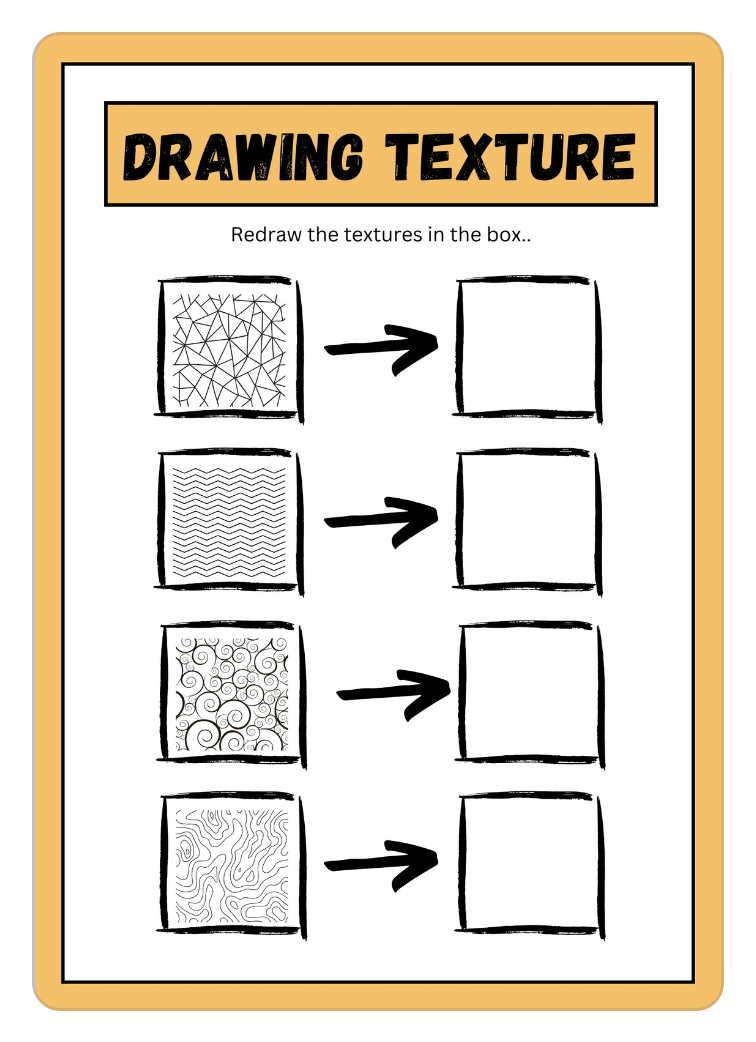 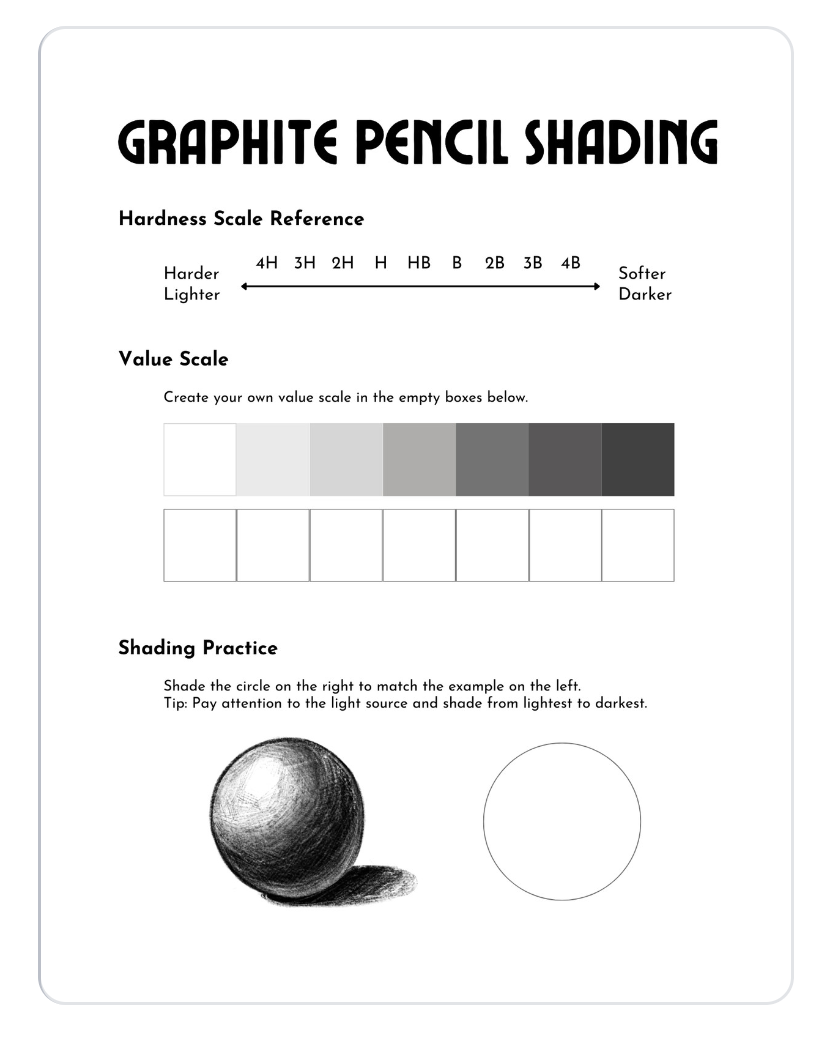 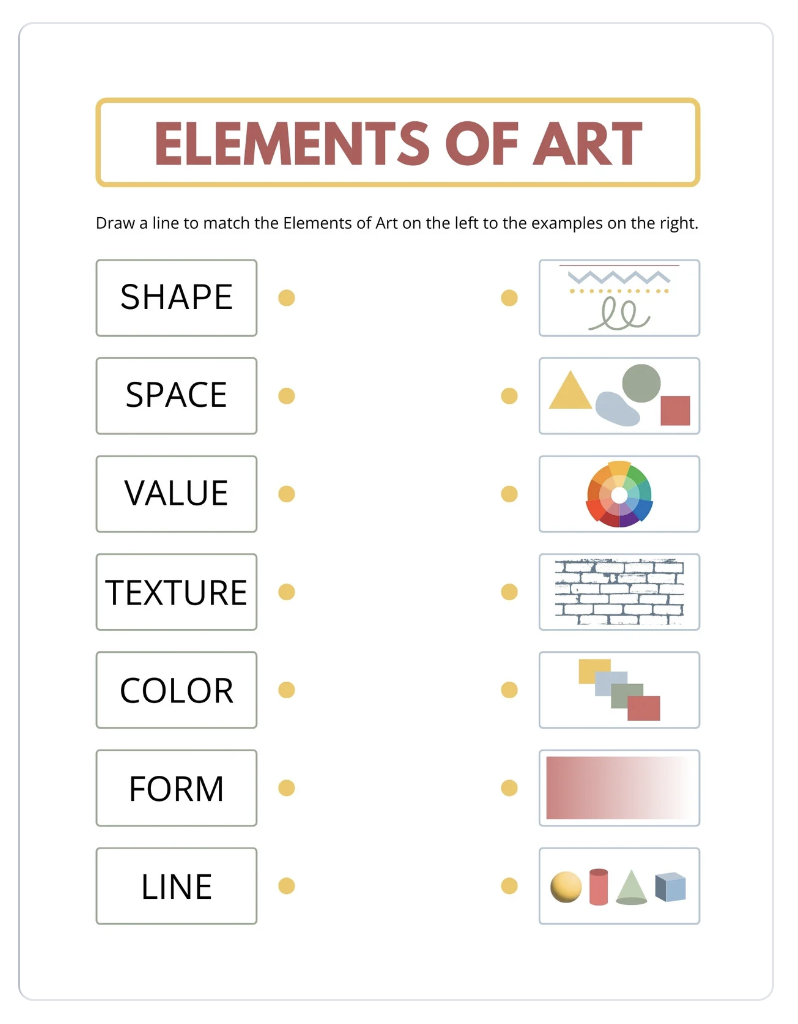 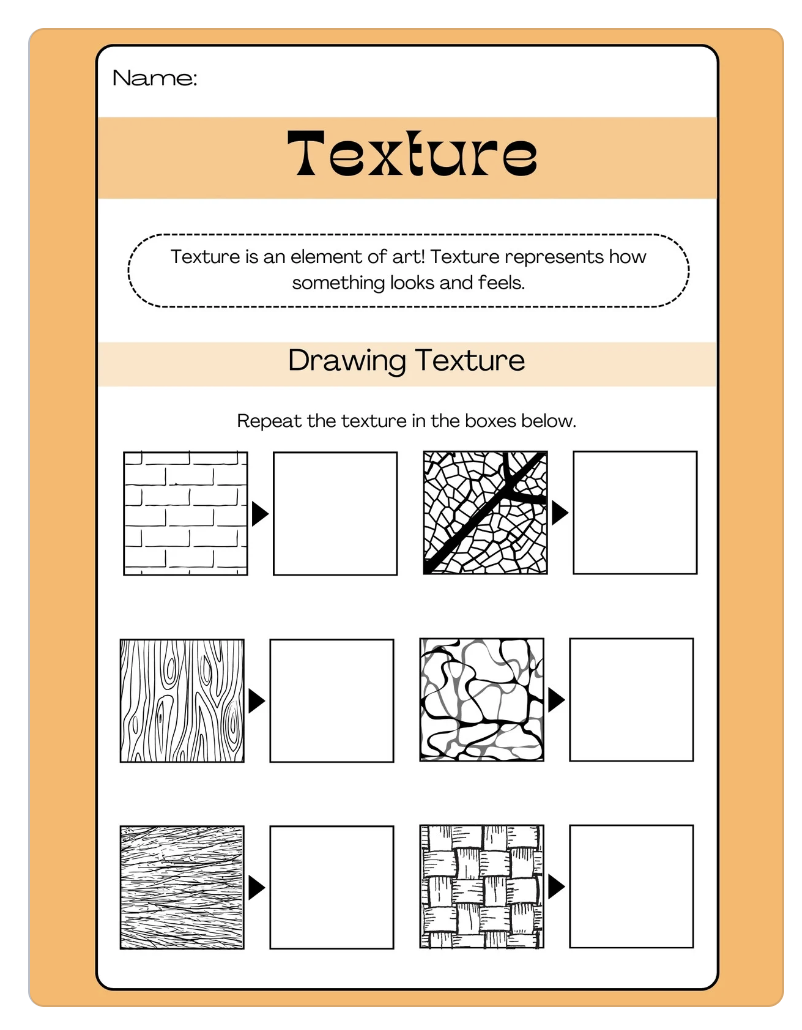 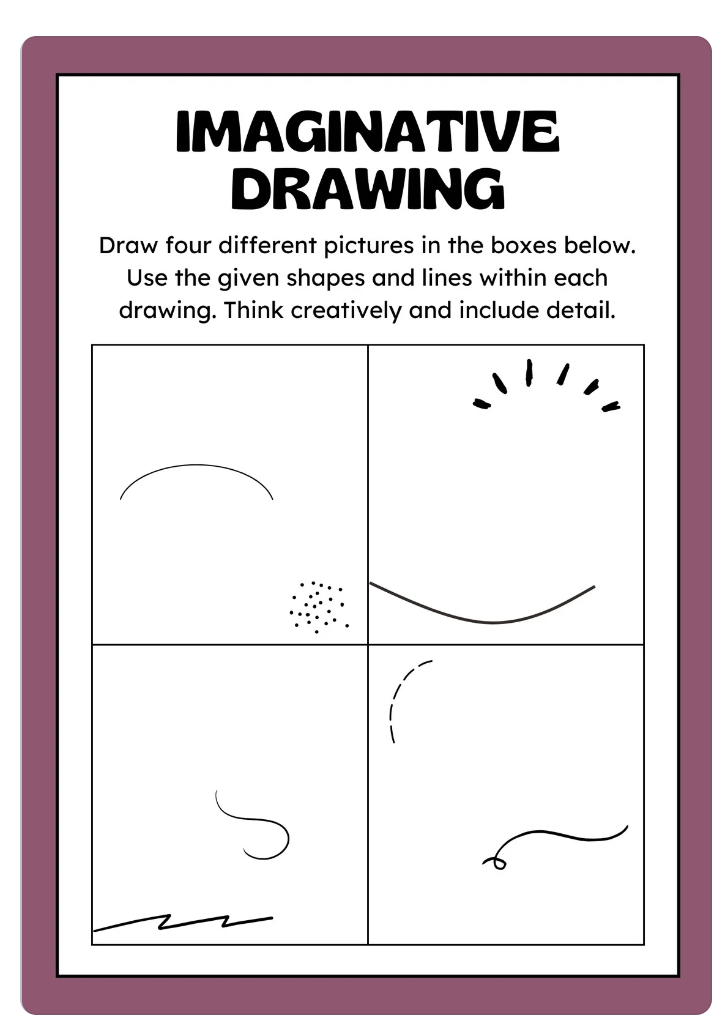 |
Myungja Anna KohArtist Categories
All
Archives
July 2024
|

|
Tutorial |
 RSS Feed