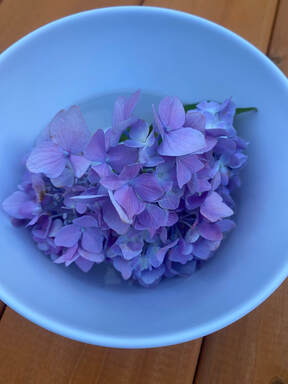
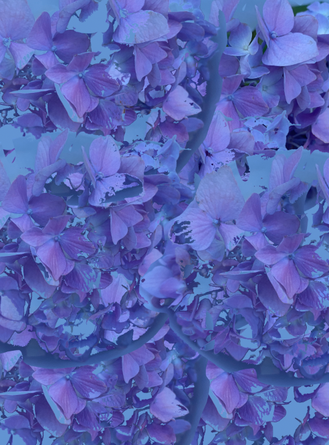
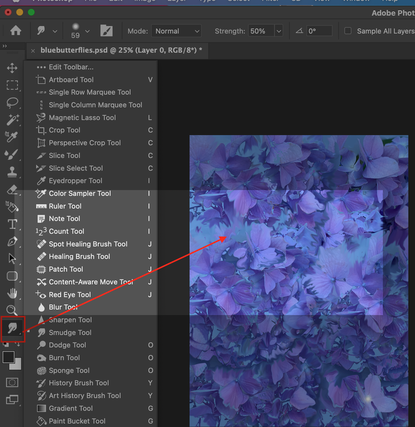
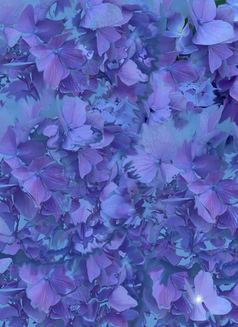
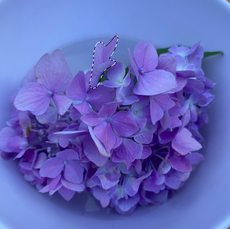
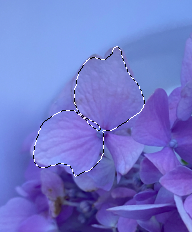
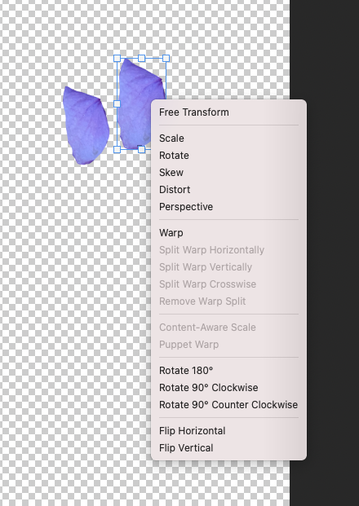
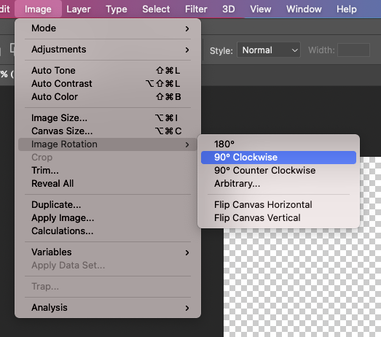
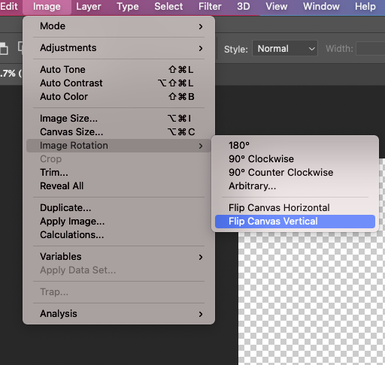
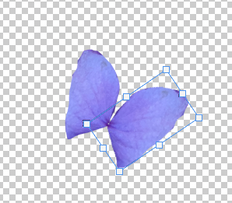
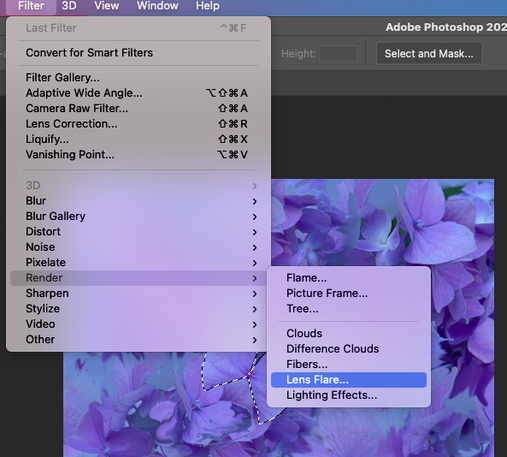
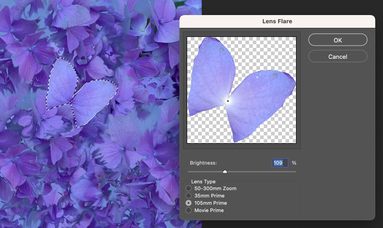
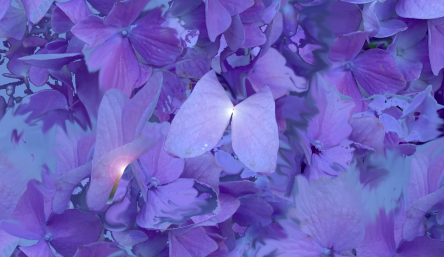
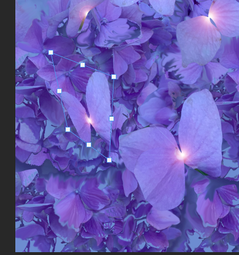
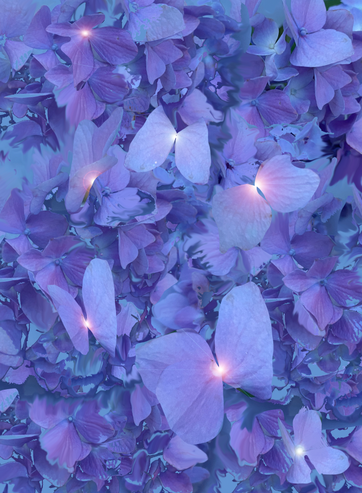
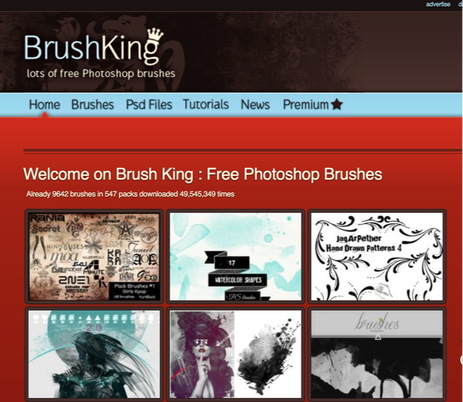
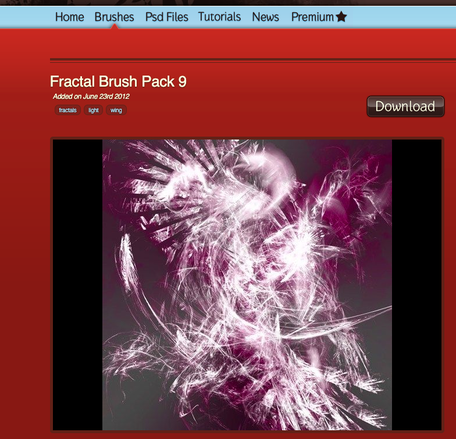
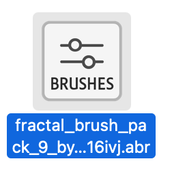
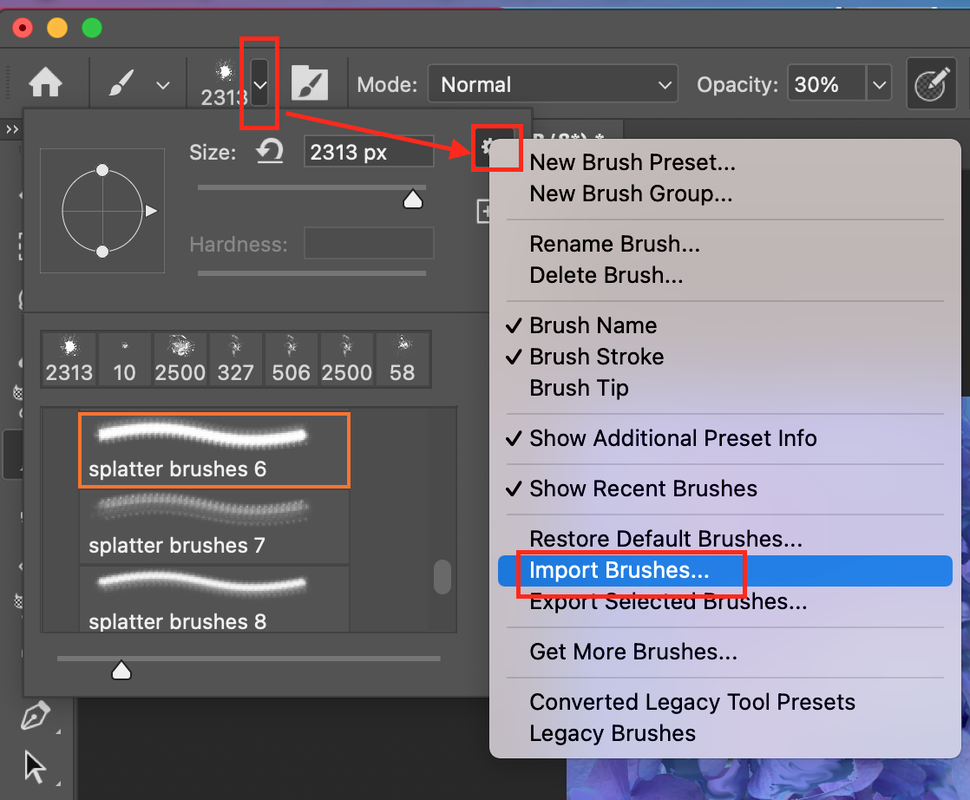
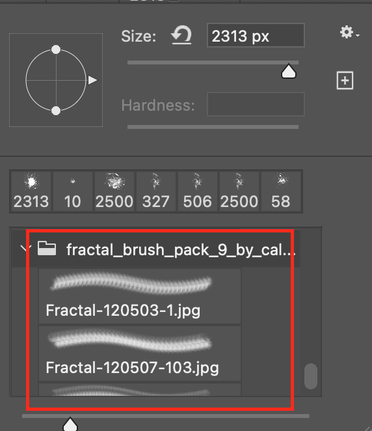
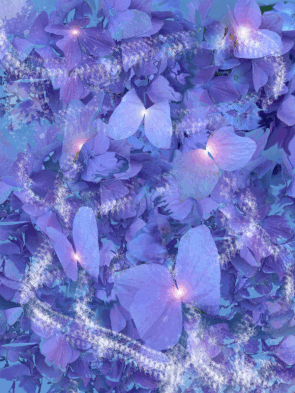
Blue dancing making process The best day for me is when I can draw directly on paper, but when this time feels like a luxury, digital can quench my thirst for painting to some extent. So I'm grateful for a drawing tablet or a helpful tool like Photoshop Illustrator that makes digital art possible. In particular, when an image comes to my mind, I feel that my life has been enriched by developing tools that help me create a vivid screen right away. Maybe it's because I studied medical informatics and researched and planned in that field, so I'm kind of favorable to these applied tools and technologies. In other words, it never sticks to analog alone. Today, I would like to show you how digitally converting my inspiration from seeing a hydrangea is as beautiful and pure as the child's heart. I carefully dipped the hydrangea that the child brought with me. Hydrangea looks more vivid on clear water. Moreover, it seems as if the blue hydrangeas blue petals are transformed into butterflies and then flaps around as if they were about to take off. For a moment, these images scattered like a fractal image and converted into a single picture. To capture that image, I arranged the hydrangeas below, as shown below. Next, use Smudge Tool to arrange the borders of the petals so that the connected pieces connect naturally. Then, the petals that look like butterflies of a hydrangea are glued on top of the created image one by one with the lasso tool. When pasting flower petals that have become butterflies, you need to use the left/right up/down rotation in Photoshop to match the symmetry. As a shortcut, if you see the selected area while pressing Command +T together, right-click and press "Rotate 180" in the menu that appears to adjust the position. There is also a way to go directly to the menu when you can't remember the shortcut. Go to Image--> image Rotation--> 180 ( If you need to flip horizontal or vertical, you can also use Flip Canvas Horizontal/Vertical functions. ) Match the butterfly shape as shown below, change the size, and attach it to the created file. Then I put a light source in the center of the butterfly because the butterfly needs to fly with light. Go to Filter--> Render--> Lens Flare Focus the lens light source in the center of the butterfly and set the value. Continue repeating the attached butterfly. Here is the result from adding lights source and pasting butterflies. Then, I used a special effect brush to create a path where a beam of light is scattered where the butterfly flies. Below is a site called Brush King that offers my favorite free brush. Select the blush that gives the following special effects and download it. After downloading, the following file will be created. Go back to the Photoshop window and click Brush. Click the red area above among the menus for blush. If you click Import Brush as above to find the downloaded file and open it, you can see that a new brush menu has been added as shown below. Draw the path the butterfly flew with the added flexal brush, and finish it off naturally with an eraser in between. I hope this painting in which the petals of a blue hydrangea dance as a butterfly helps to cool off the hot summer heat.
0 Comments
Leave a Reply. |
Myungja Anna KohArtist Categories
All
Archives
July 2024
|
Proudly powered by Weebly


 RSS Feed