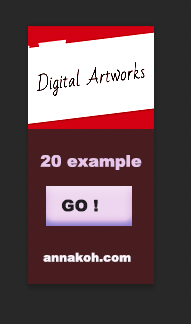
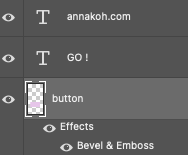
 How to create a moving mini banner with Photoshop! Recently, I create a new moving banner with Photoshop and placed it on the right edge in my site. Today, I would like to show you how to make it.  First, I measured the size with Right-Click to go to Inspect menu. With this method, I got the size info with 126.94 x 258. 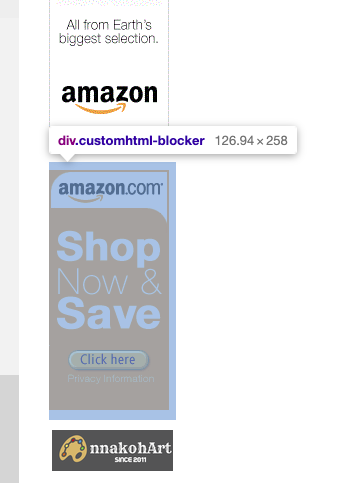 I made a new canvas in Photoshop with size 126 x 258. (Note: you have to put the decimal point. ) 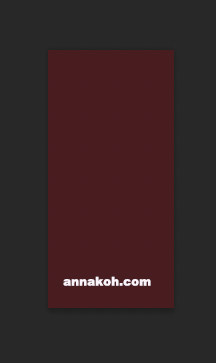 Next, I wrote some text and put the logo on the top of the banner. And then made a button, is written "Go!."
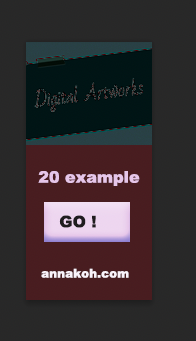
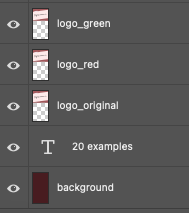
For changing easily the color of logo, I used change of the screen mode like below. 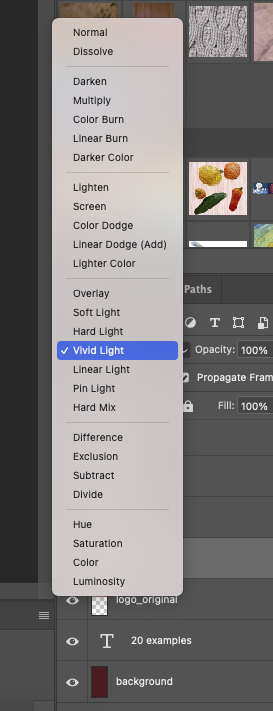 First image is an original and second & third were created by changing the screen mode.
For making moving clip, I went to Window---> Timeline. 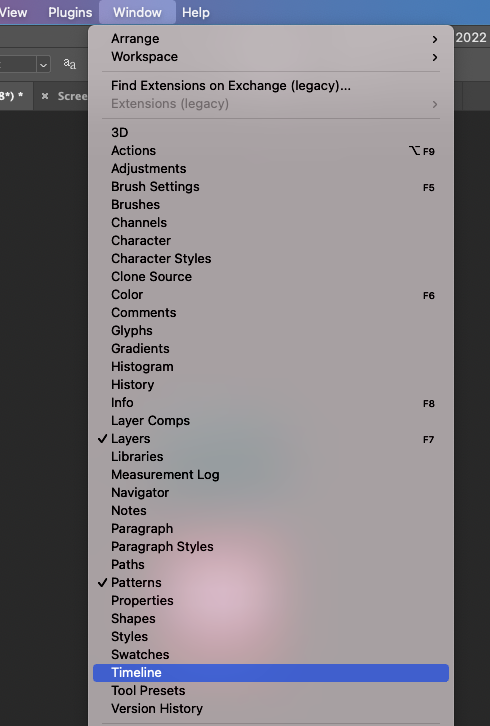 Below is the workspace for creating frame animation. You have to do double click to open it. 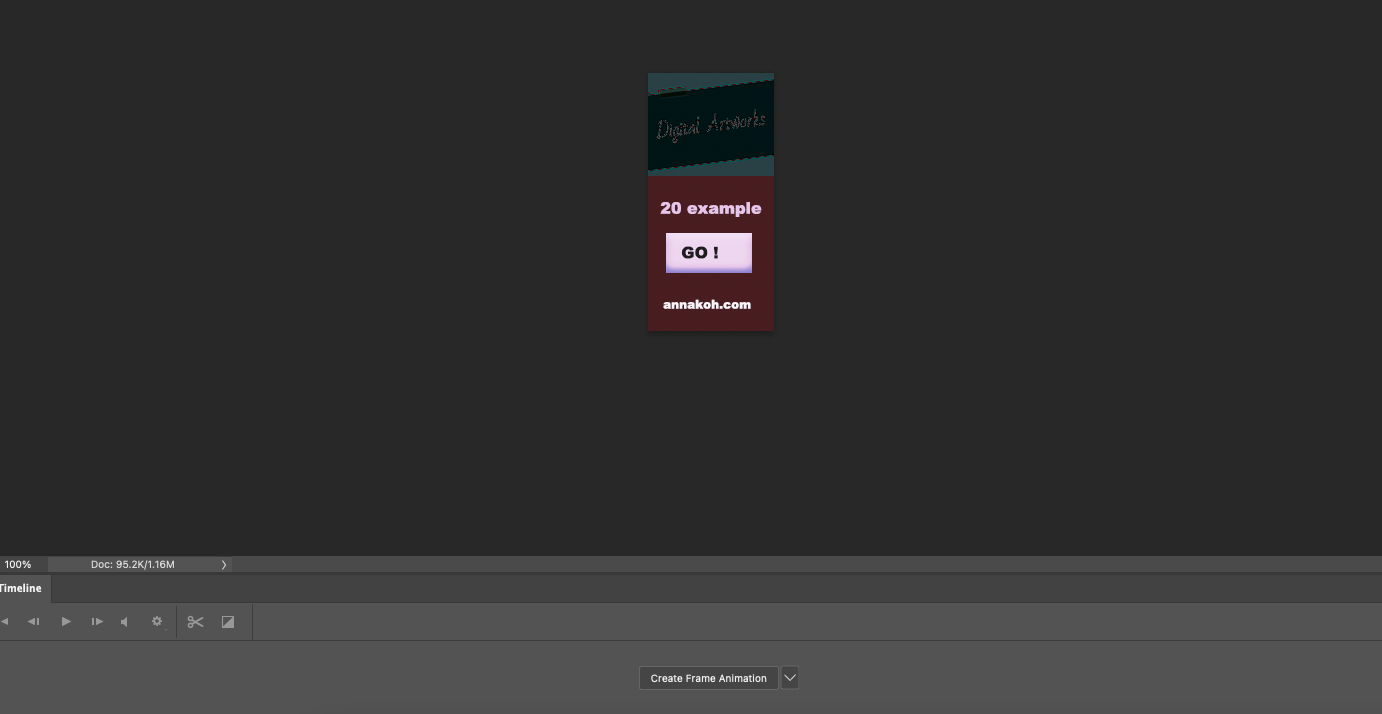 And then I made same layer with 6 times clicks on the + icon from the bottom menu. 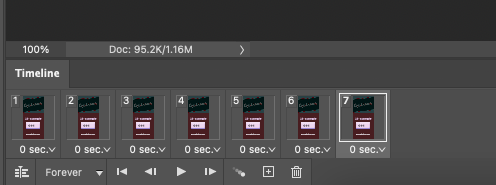 For example: When I click on 1 frame, select the view of layer to show it. (show only text) When I click on 2 frame, select to show only logo with a original color. When I click on 3 frame, selec to show only button. .......... Like this way, you can choose the view each frame to click the eye shaped button.
If you are ready to make it, change the time like below. 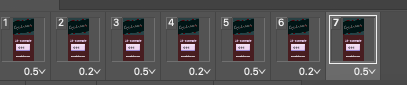 And then go to File---> Export---> Save for Web. After that, you have to save only .gif style. You have to click "SAVE" button to get a moving gif. 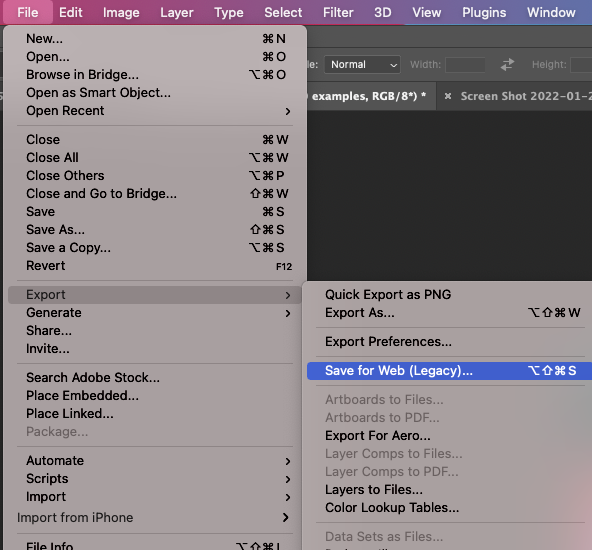 Here is the result: Nowadays, I am changing the banner zone of right side in my website. 
0 Comments
Leave a Reply. |
Myungja Anna KohArtist Categories
All
Archives
July 2024
|

|
Tutorial |

 RSS Feed