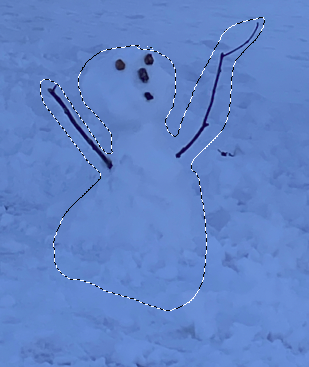
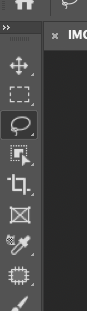
How to convert 2D image to 3D in Photoshop. A while ago, I made a 3D character from a 2D, photo of a snowman using Photoshop. Today I would like to show you this process for a moment. In fact, Photoshop's 3D features require detailed explanations for each element. It's been a long time since 3D features were added to Photoshop. Above all, for instance, the mesh preset function makes it possible for anyone to easily create various types of three-dimensional objects. Especially, Adobe Photoshop CC, which was newly updated in 2014, has been upgraded so that it can become a printer directly by connecting the created 3D model to a 3D printer. So, if you use the 3D function in Adobe Photoshop CC, products from more angles will pour out with various ideas. Today, I'm going to put off explaining this in detail and show you how I made the snowman I showed you above using photos. Additional function descriptions will be uploaded gradually. First, open your 2D image for convert 3D character from your browser in Photoshop.  Using the Lasso tool, draw along the snowman's line.
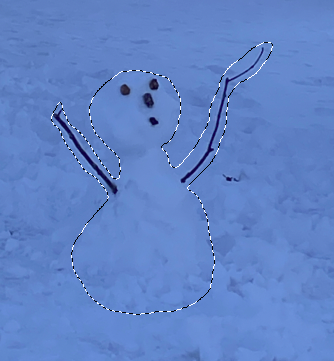
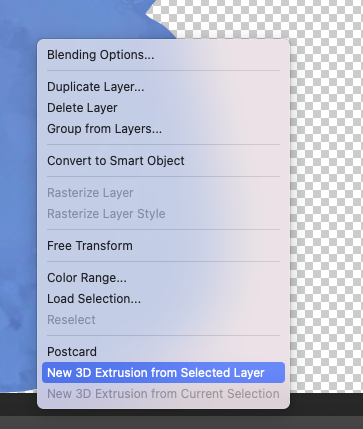
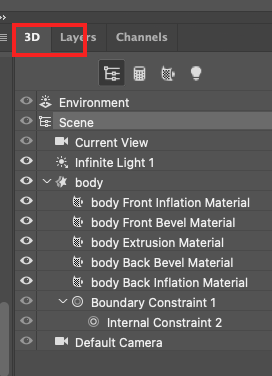
Make a new layer and paste the snowman like this. 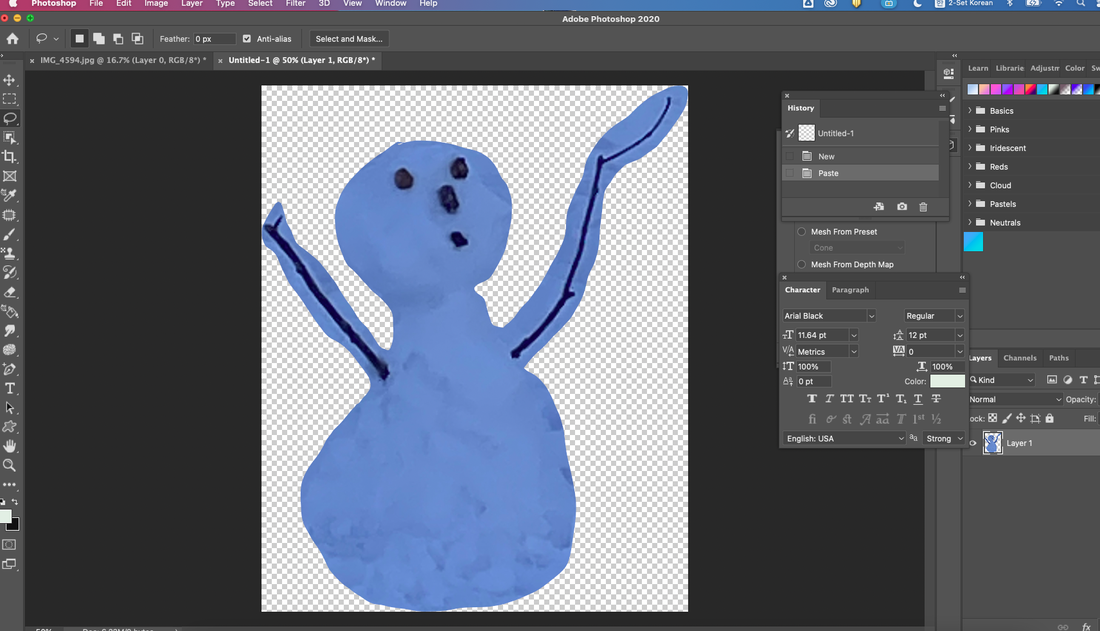 With Ctrl + J, you have to make a copied layer as follow as below. 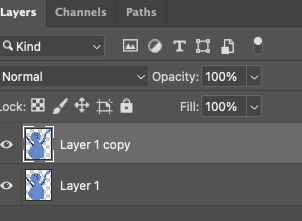 Turn off eye shaped icon on the layer1, to see only layer 1 copy for making eyes, nose and arms only. 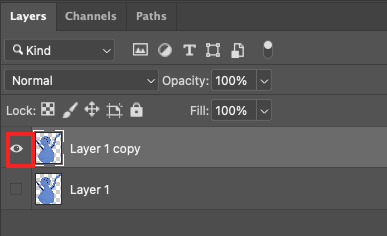 On layer 1 copy, you can erase background by using Magic Eraser Tool to show only eyes, nose, mouse and arms. 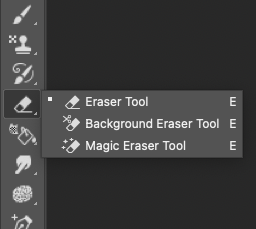 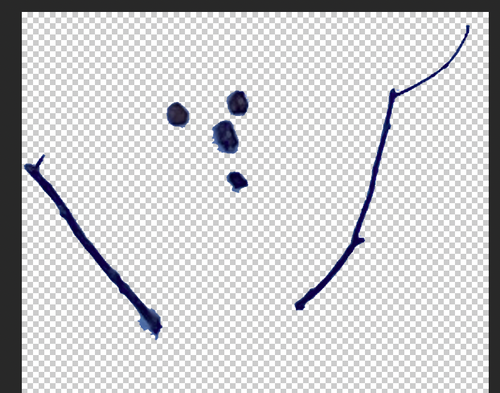 Named each layer like below. 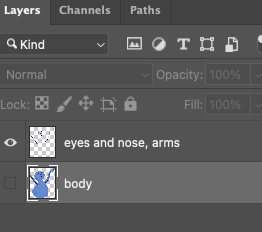 Return to the body layer and use the right-click mouse option to move to New 3d Extrusion from selected Layer.
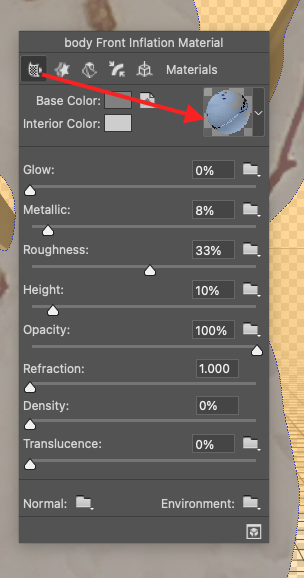
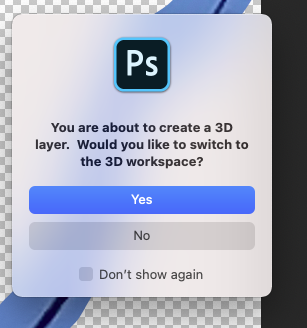 Click the yes!!! And then you can see the workspace for making 3D object. 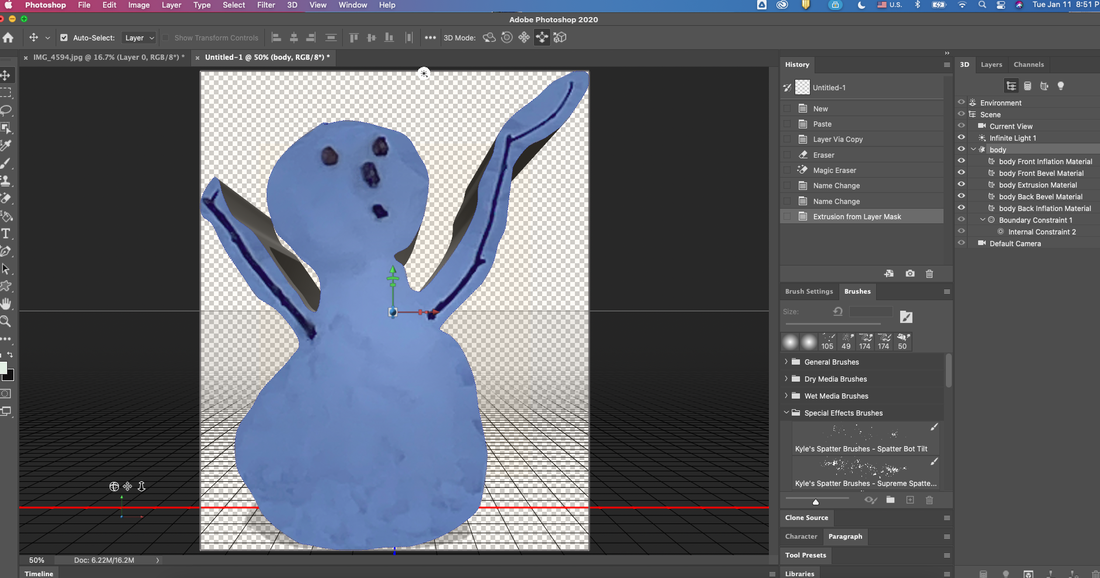 You have to click with Right-click on the snowman, and then find out below small window. 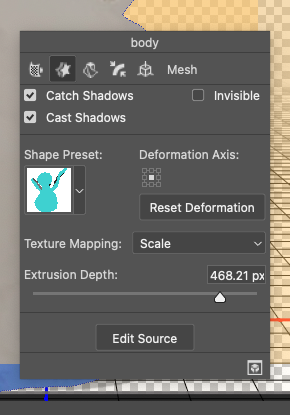 Click the first icon (In red rectangle area), it calls 'material". And then click the right blue icon.
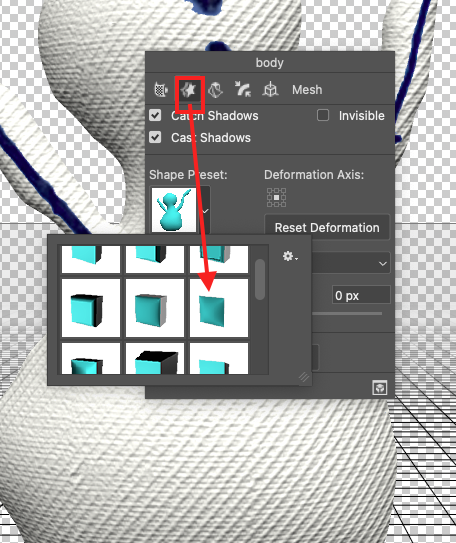
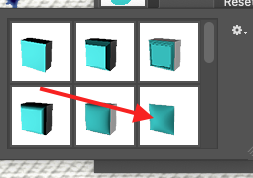
After that, click the white ball from the drop down models. 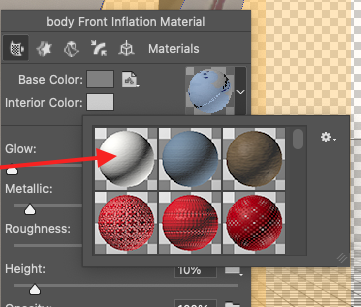 And then click the second icon (Mesh). click to choose the convex object.
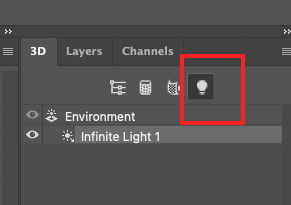
Next, adjust the value of Extrusion Depth along the preference. 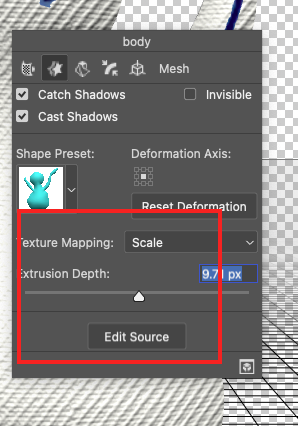 Go to the fourth icon (Cap) to express contour's level like this. 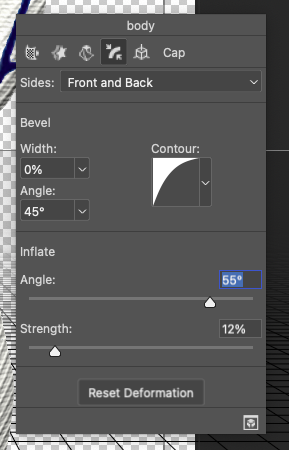 Here is the result from adjusting. 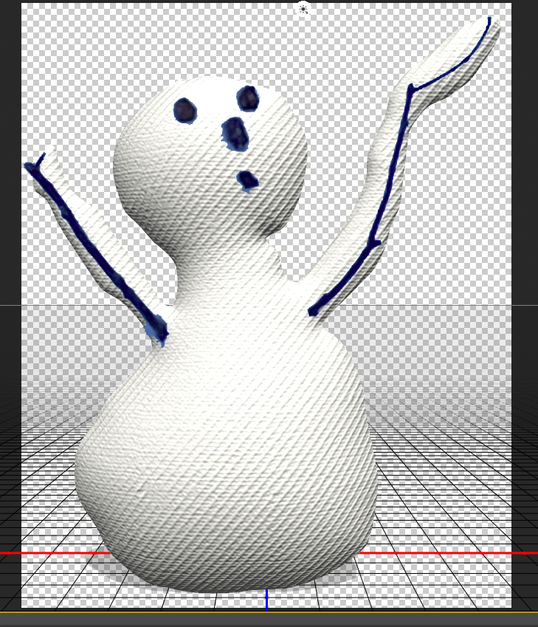 For adjusting the light, go to 3D tap and select the light bulb shaped icon.
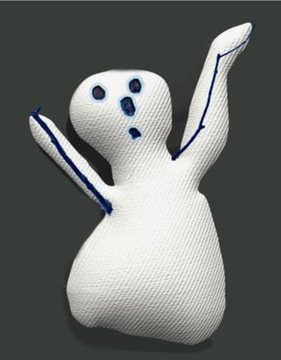
For final touch, you can adjust the light's angle. After that, you can see the shadow. 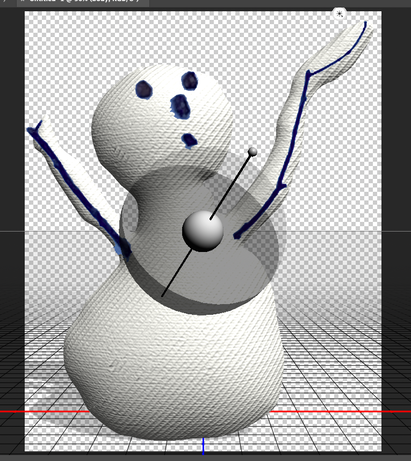 Return to the 2D workspace(Essential), and for removing the grid line, you can click any space. 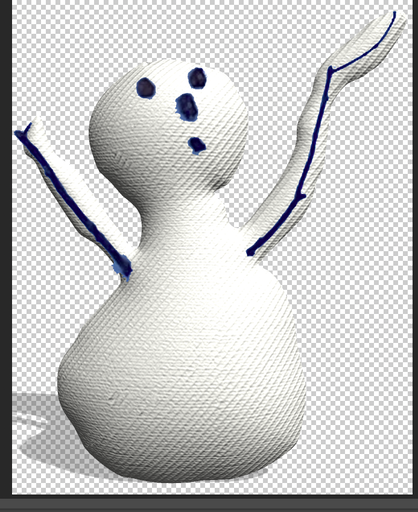 Finally, you can see the output after adding new colored background layer. 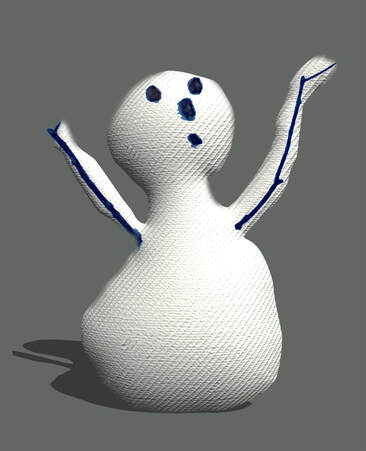 Snowman, 2022, Myungja Anna Koh Comments are closed.
|
Myungja Anna KohArtist Categories
All
Archives
July 2024
|

|
Tutorial |

 RSS Feed