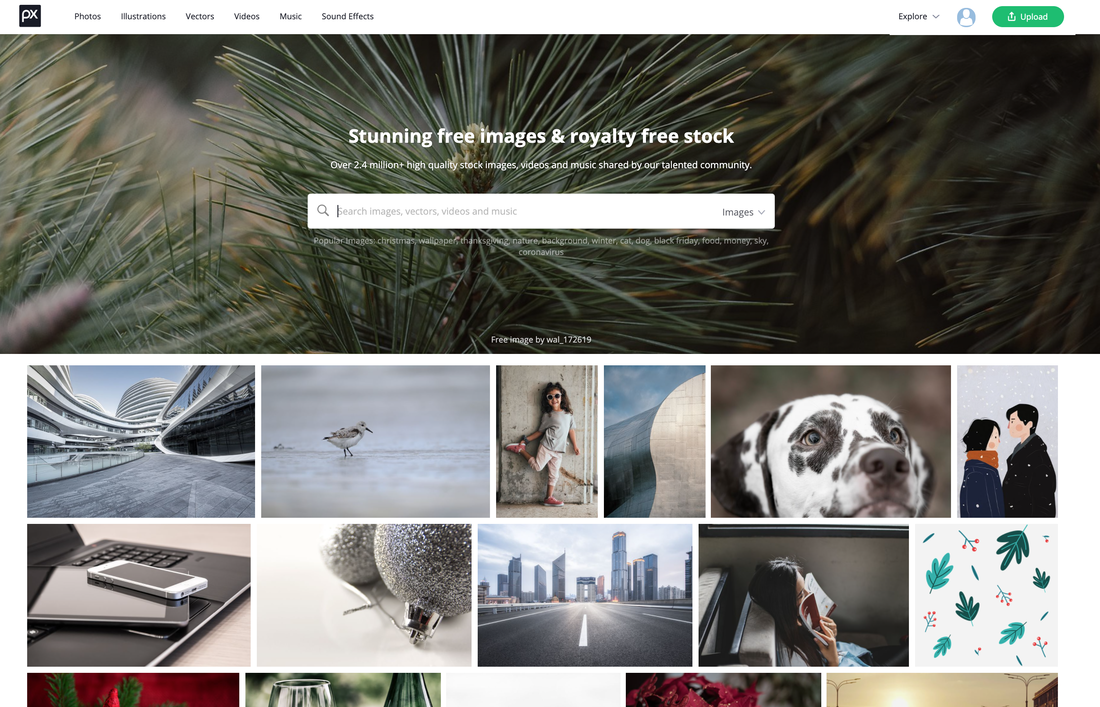
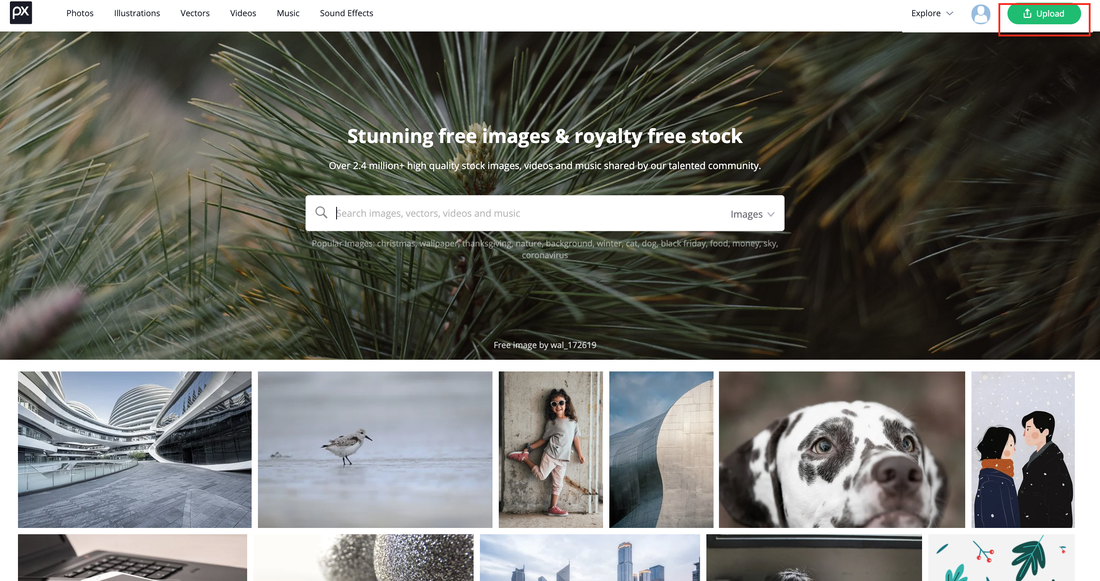
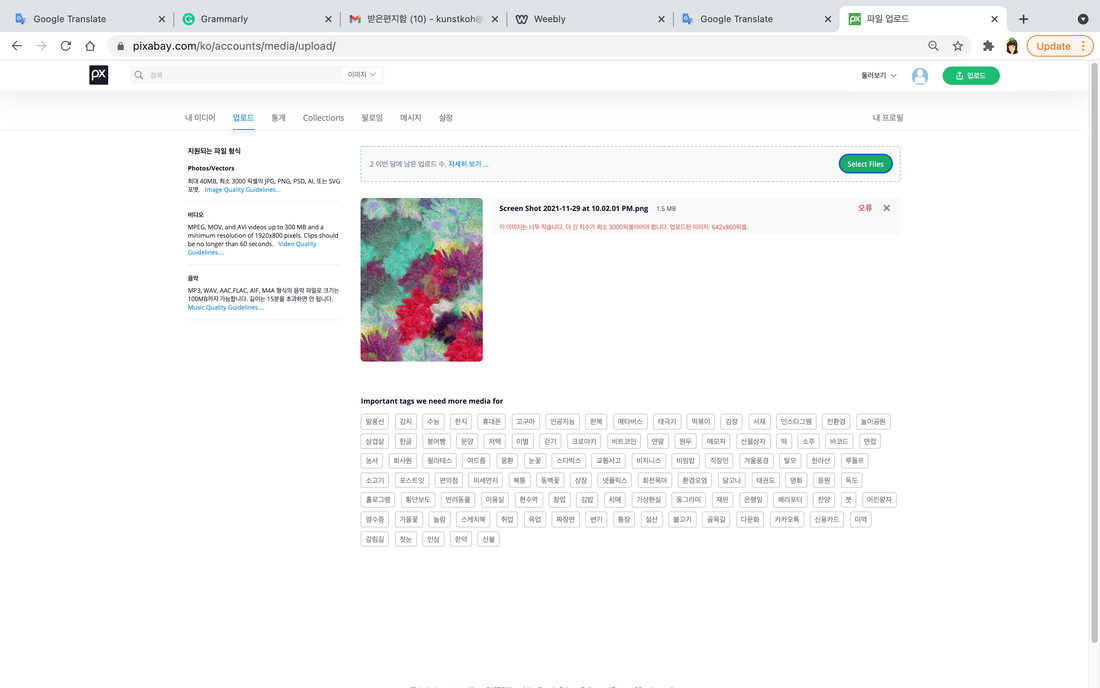
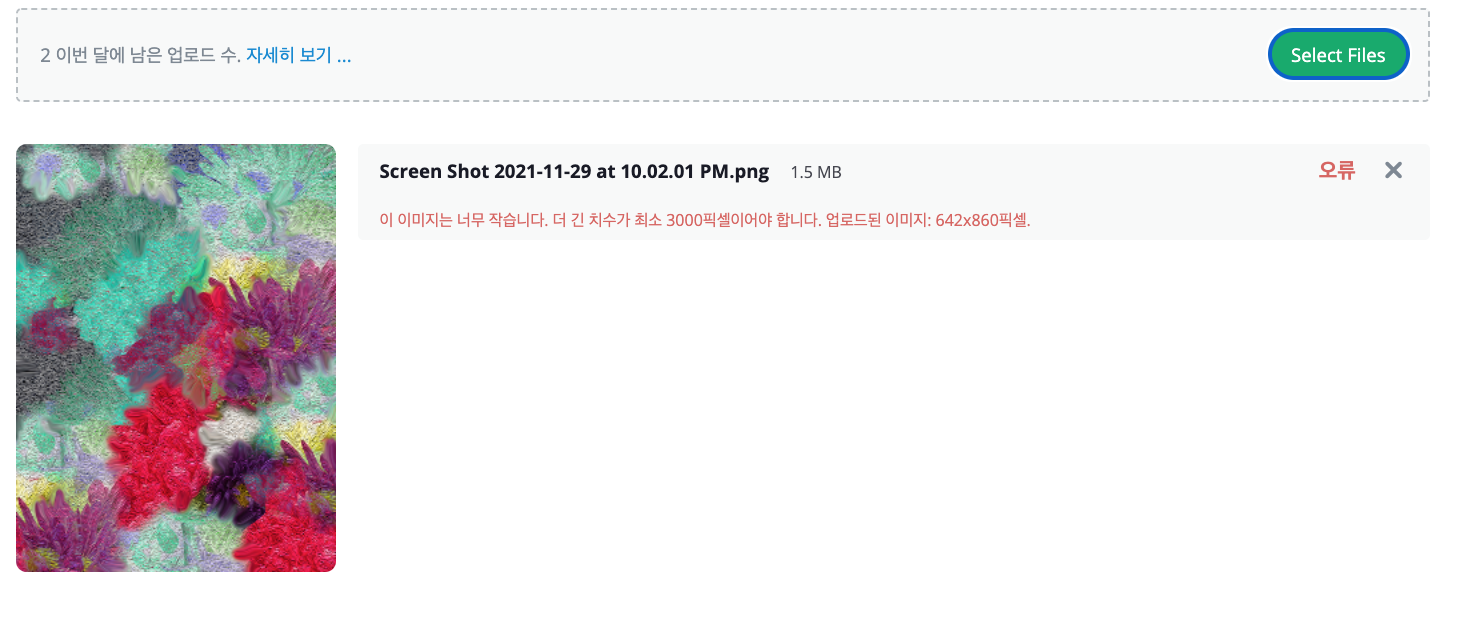
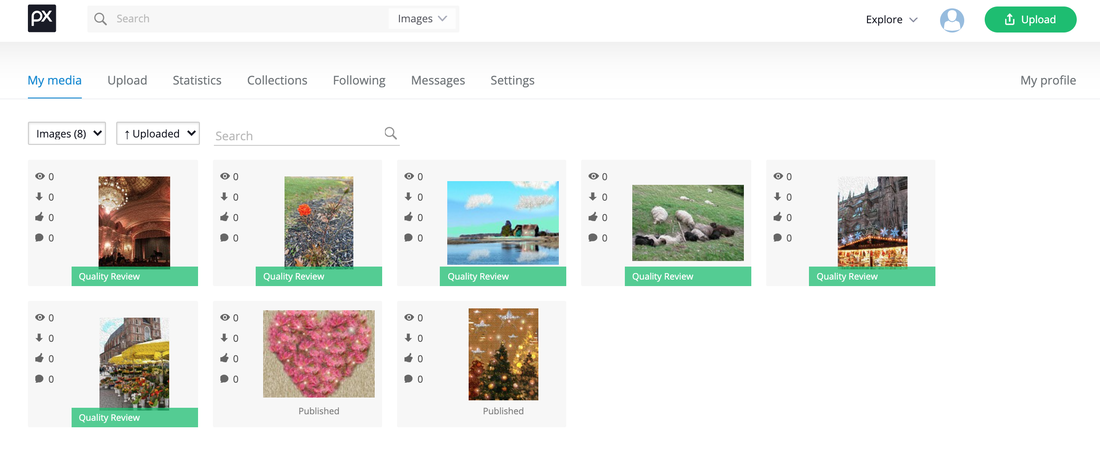
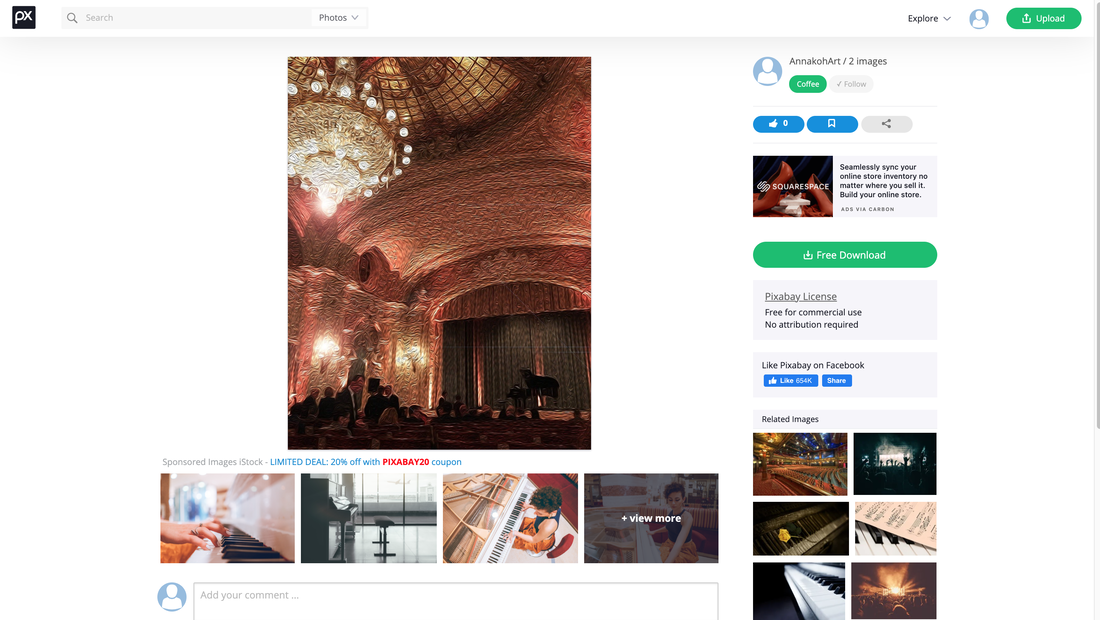
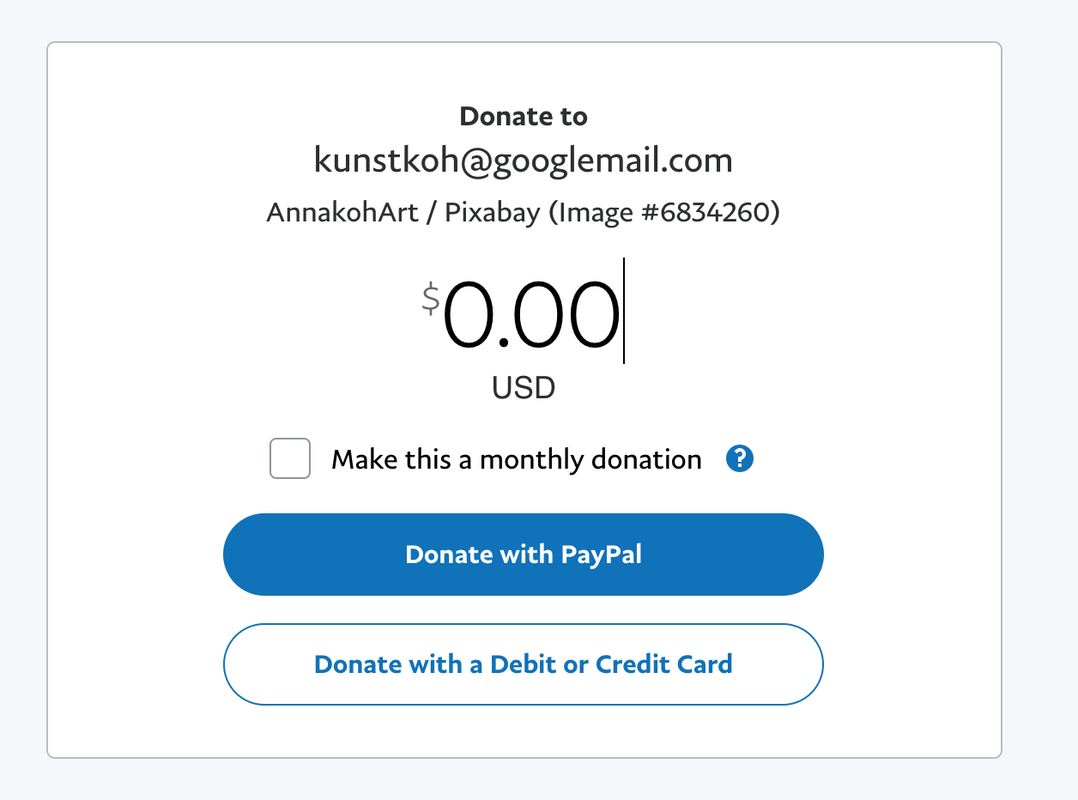
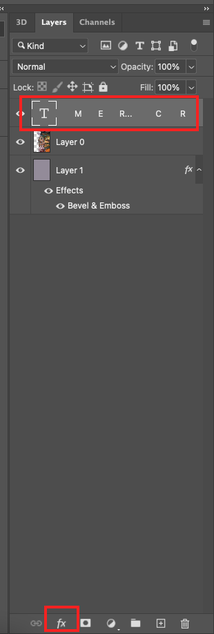
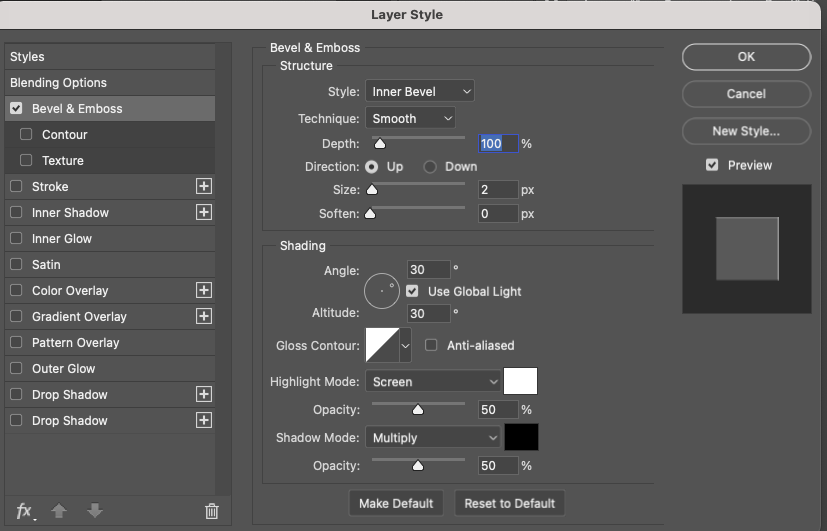
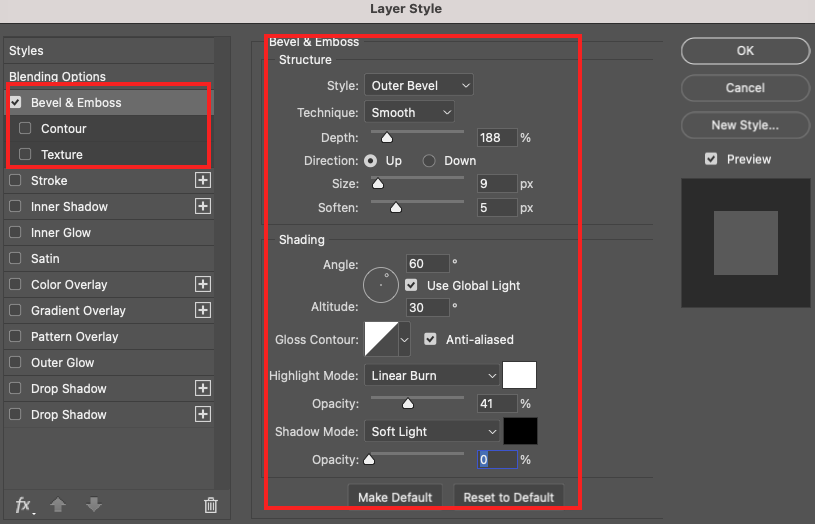
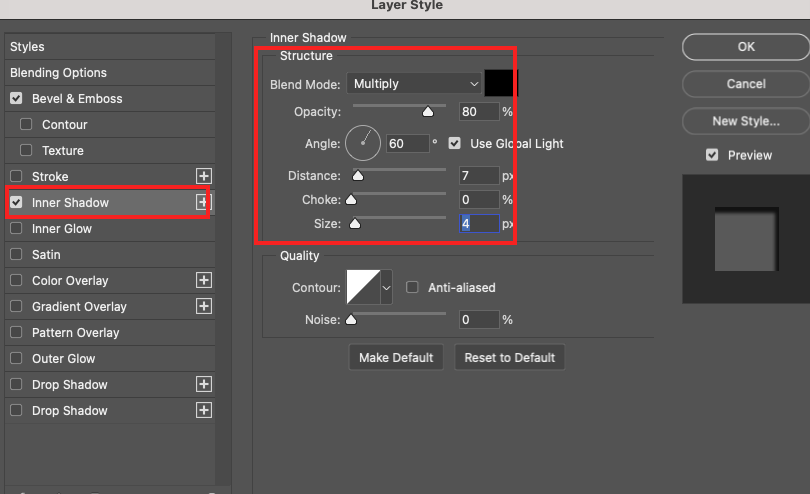
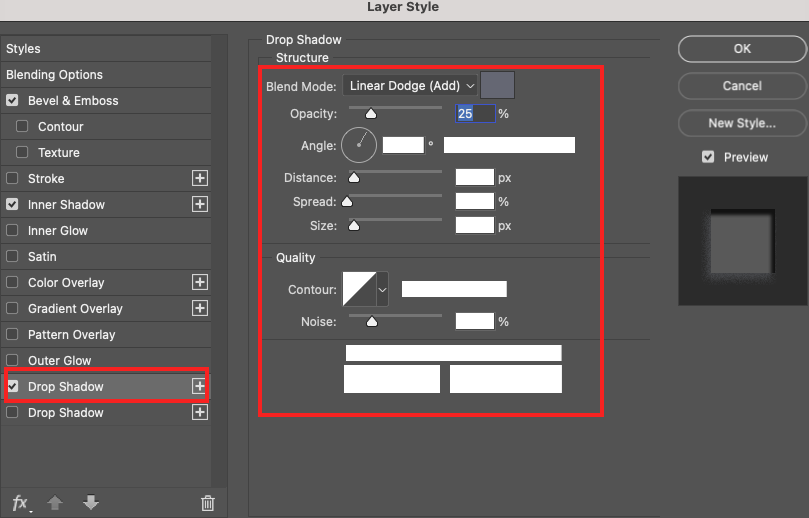
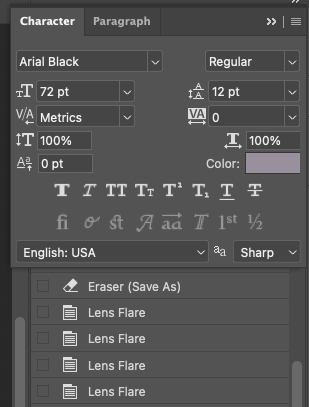
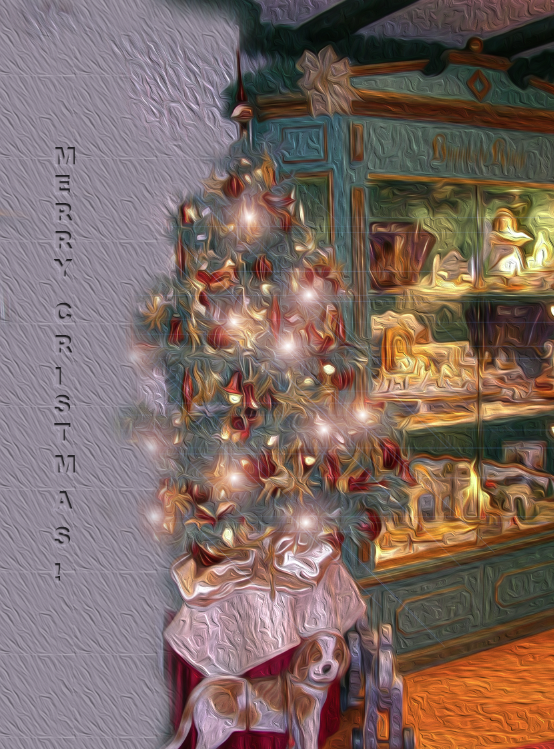
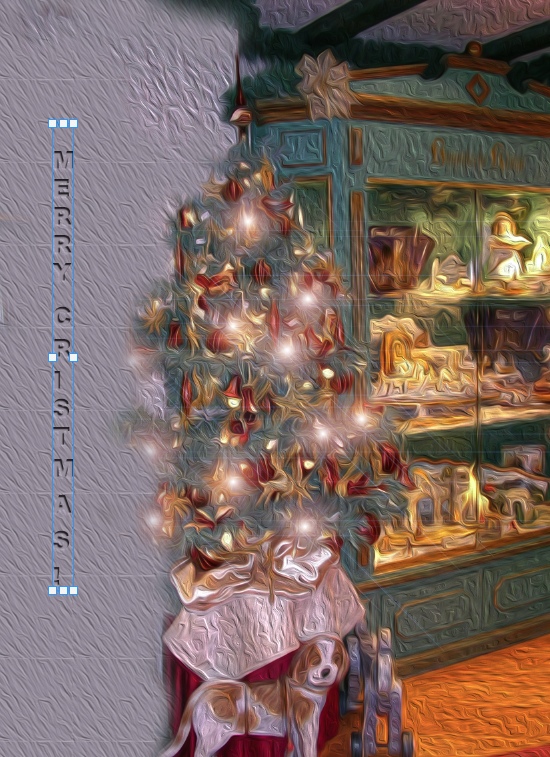
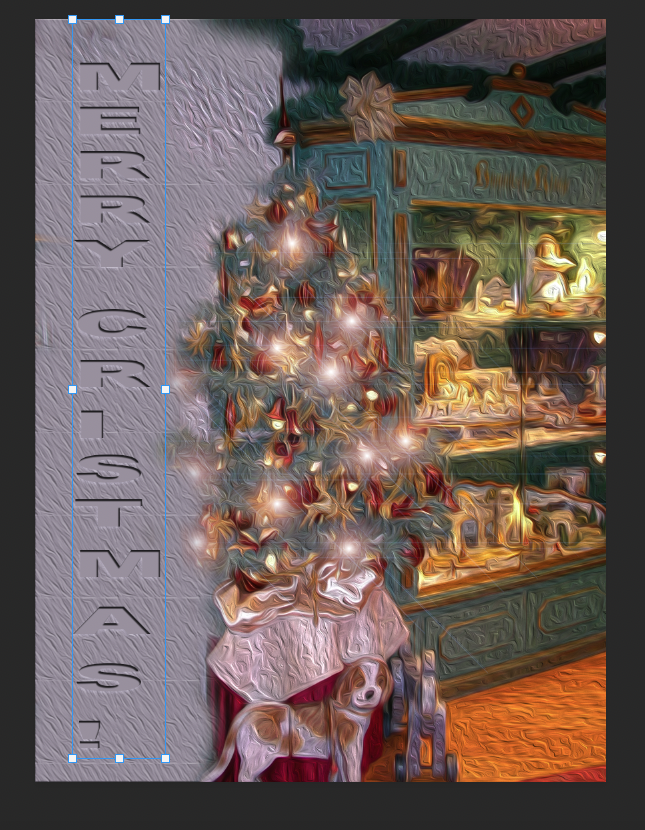
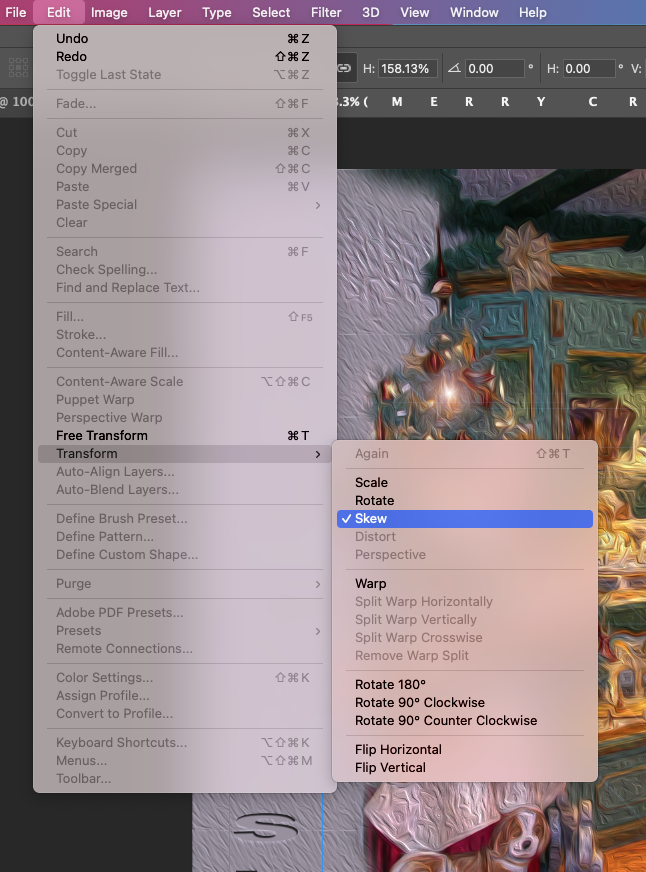
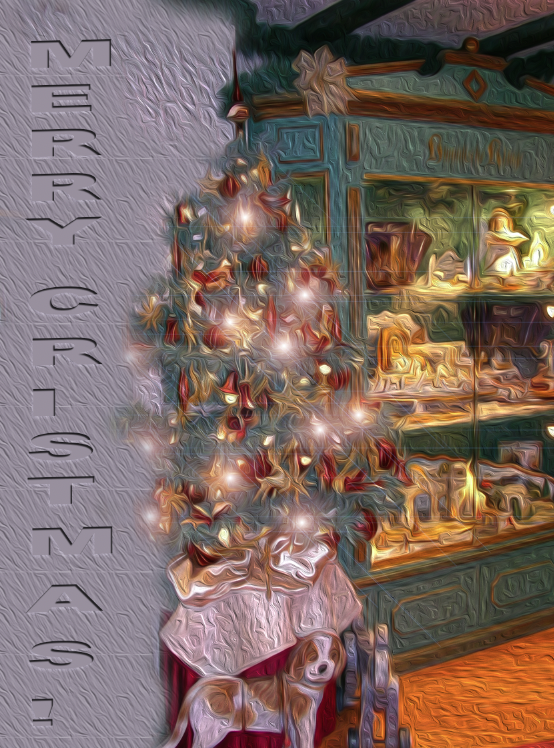
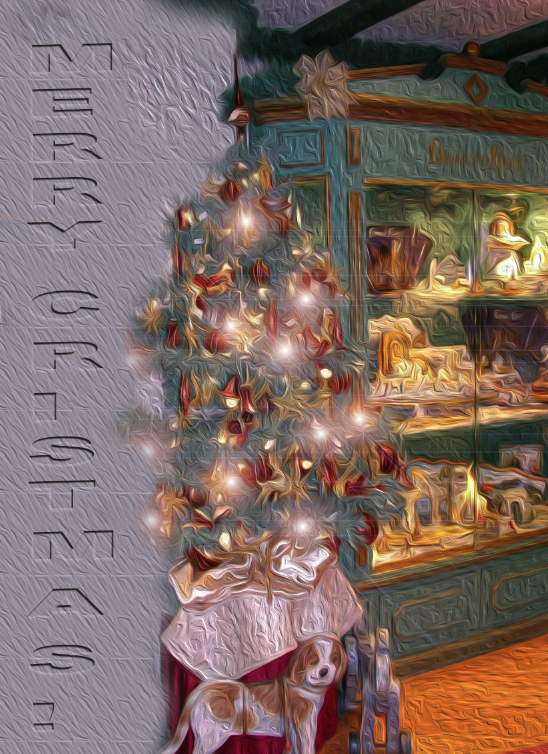
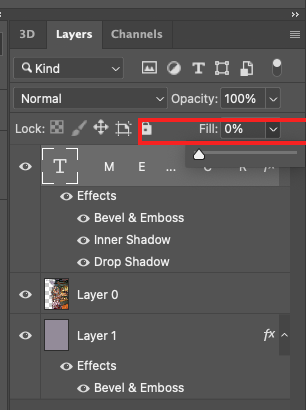
Sharing free image for personal or commercial use in Pixabay. Pixabay.com is a website for sharing photos, illustrations, vector graphics, film footage and music, exclusively under the custom Pixabay license, which generally allows the free use of the material with some restrictions. In particular, if you are blogging, you will use images that can be used as a reference for your article. In my case, as a rule, I use only images I made myself, or if I have to cite someone else's image, I must indicate the source, but sometimes other images are used. For example, as you can see if you look at the images searched for when you put the keyword," the stock market" , it is difficult to make these images in a hurry. Just click the image below and click the Free Download button. In my case, after getting help a few times through Pixar Bay, I thought I should upload free images. First, click the Upload button as shown in the screen below. Click the upload button to upload the image you want to share for free. It should only be at least 3000 pixels and present at least 3 keywords for a high search rate. Below is the images which I uploaded recently. You can check your pictures in My MEDIA . One person can allow to upload 10 images per a month. Below is the state of the uploaded image displayed on the Pixar Bay site. When you sign up for Pixar Bay, you have to input your PayPal address or Merchant ID for receiving donations. If you look below screen, you can find the Coffee button with green color. If someone feel thankful to you, and click the button. You can receive a little money to buy a coffee. As I moved away from the user's position and became a free image provider, I decided to become a good contributor in the future. How to make an engraving font in Photoshop A while ago, I did the following to make a Christmas card. Let's give the effect to the text "Merry Christmas" in the left corner to make the text more melt into the picture. (Sorry, above picture has no H!) Select the layer with the text on it as shown below and click f(x) at the bottom. If you select Bevel & Emboss from the f(x) menu, the following option window appears. If you would like to experience the engraved handwriting, please follow the steps below. The step to change it, as follow as : Bevel Emboss --> Inner Shadow--> Drop shadow. For effect more and more, I change the letter's color like below. Here is the result : Next, for enlarge the letter, you have to Ctrl + T (edit-->free transform). And then with click Shift, you can manage the font size freely. For adjusting the corner wall, you can use Edit-->transform--> skew and then move it properly on your purpose. Conversely, you can create an embossed effect by adjusting the fill's ability as shown below. With another effect, you can decorate your letter more fancy. Enjoy your decoration! How to Create a Floral Pattern and Register in Photoshop
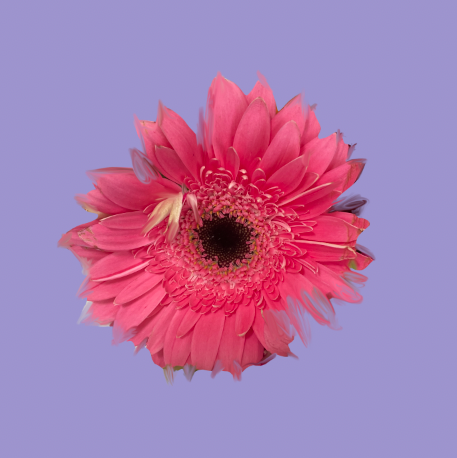
It is very useful for artists who work with Photoshop to take frequent flower photos. I will show you how to make and register a pattern using this pattern by picking only large flowers as shown below among recent flower photos.
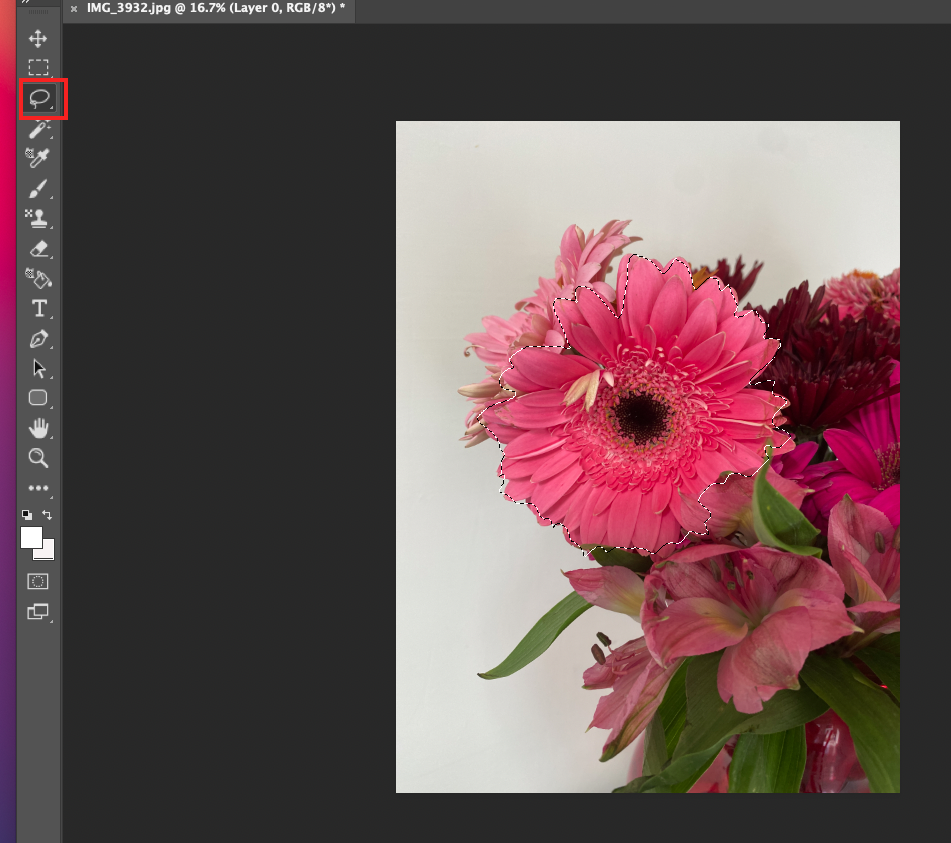
First, cut out the flowers in the photo using the Lasso tool on the left menu bar of Photoshop as shown below.
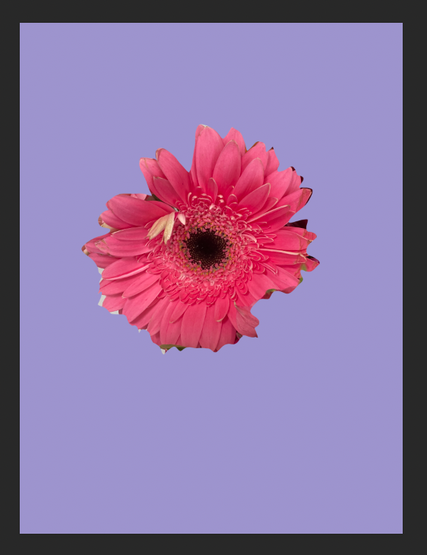
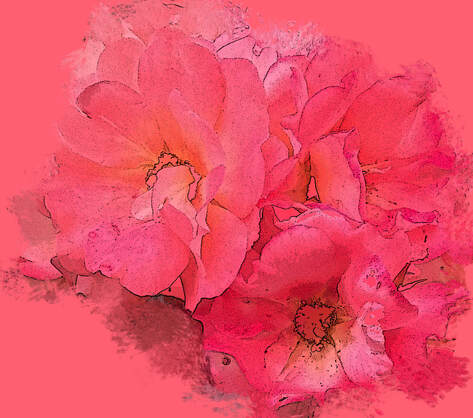
And make a new layer, then copy the selected flower on it. After then, change the background color as follows.
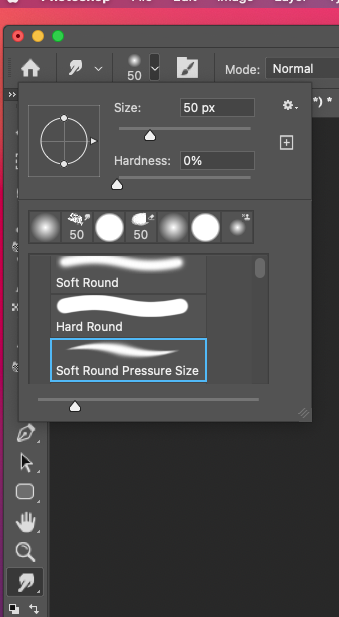
As you may have noticed, it is difficult to register a beautiful pattern if you leave the unfinished border line as above. Go back to the left menu in Photoshop, take out the Smudge tool, change the shape of the brush, and arrange the borders of the edges as if you were editing a picture.
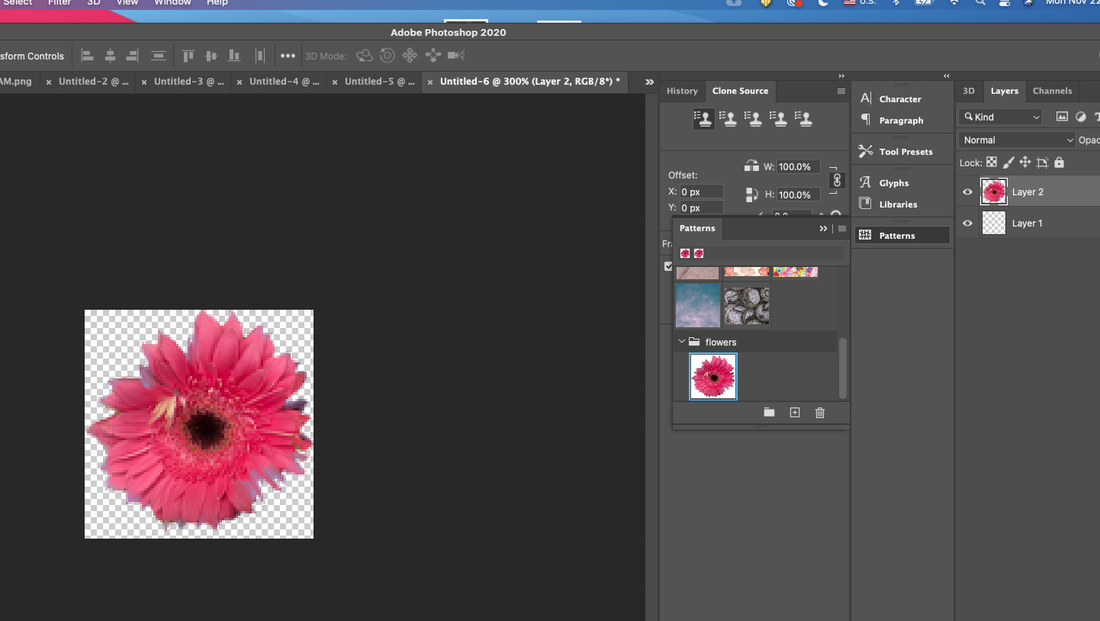
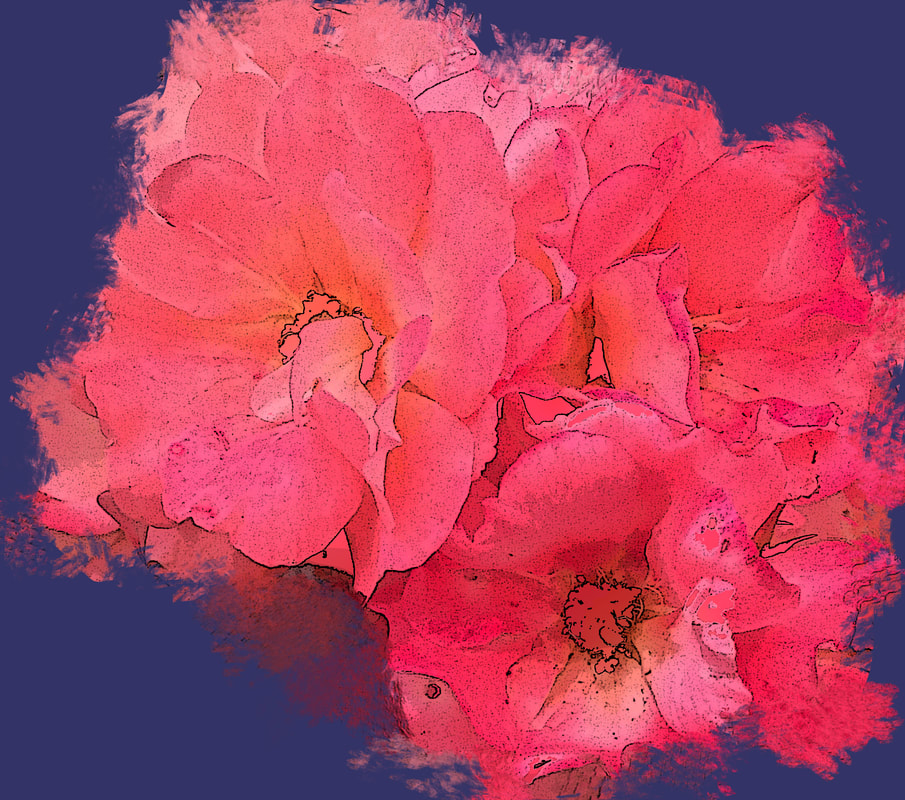
Below is the finished result after applying Smudge tool with Soft round pressure brush.
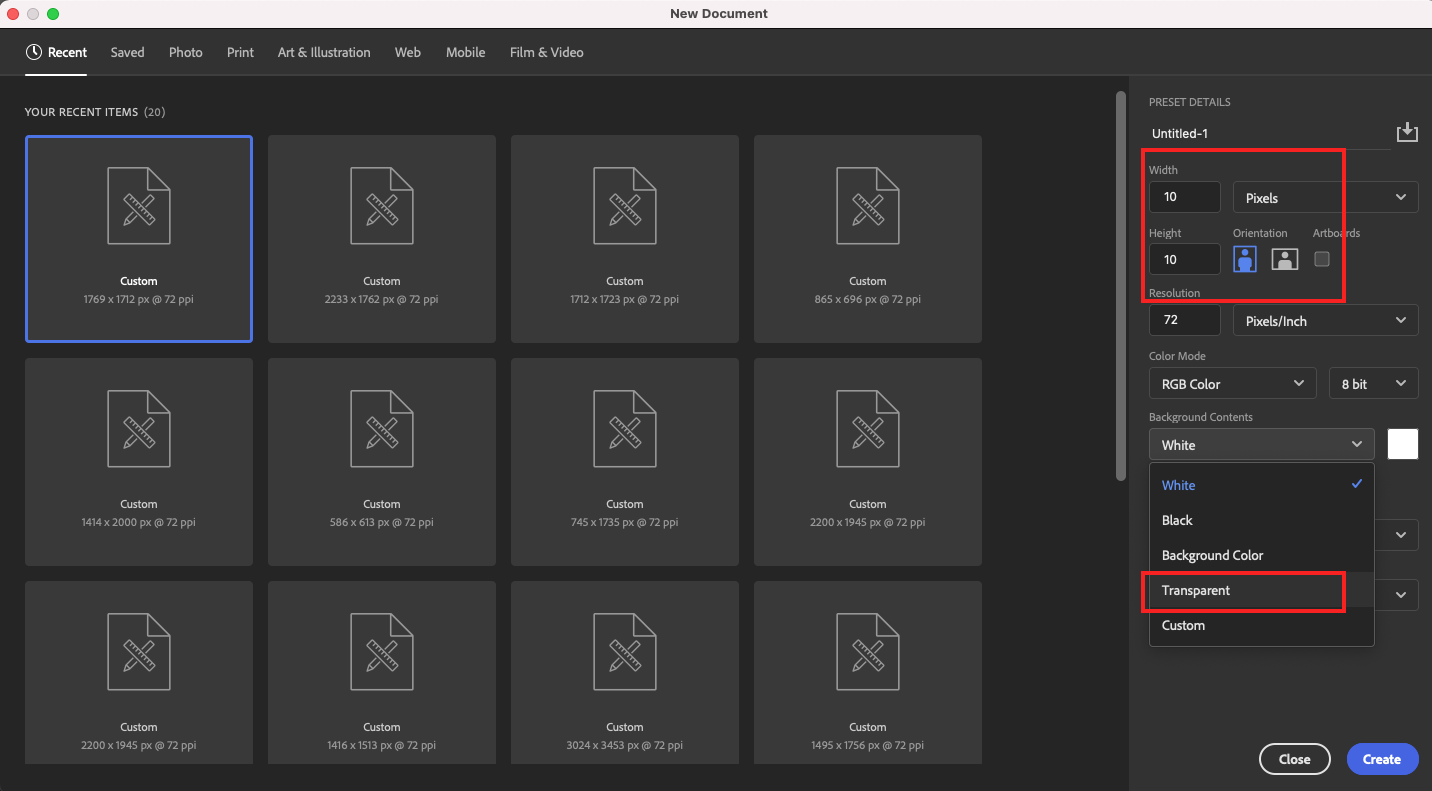
Now it's time to register this picture as a pattern. First, create a new file to create the pattern. The size is 100 x 100 pixels, and the background is set to a transparent background.
This setup results in a very tiny screen.
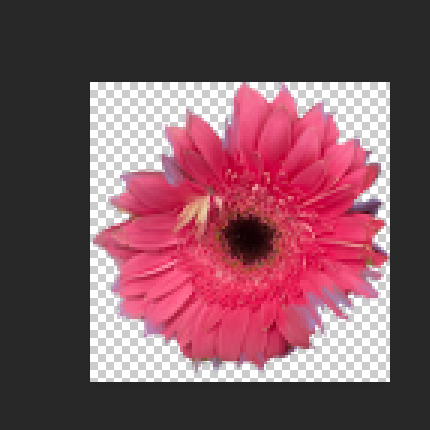
Press Control and + to zoom in, and then paste the flower image on it. (In my case, I use only flower image without background as follow as below.
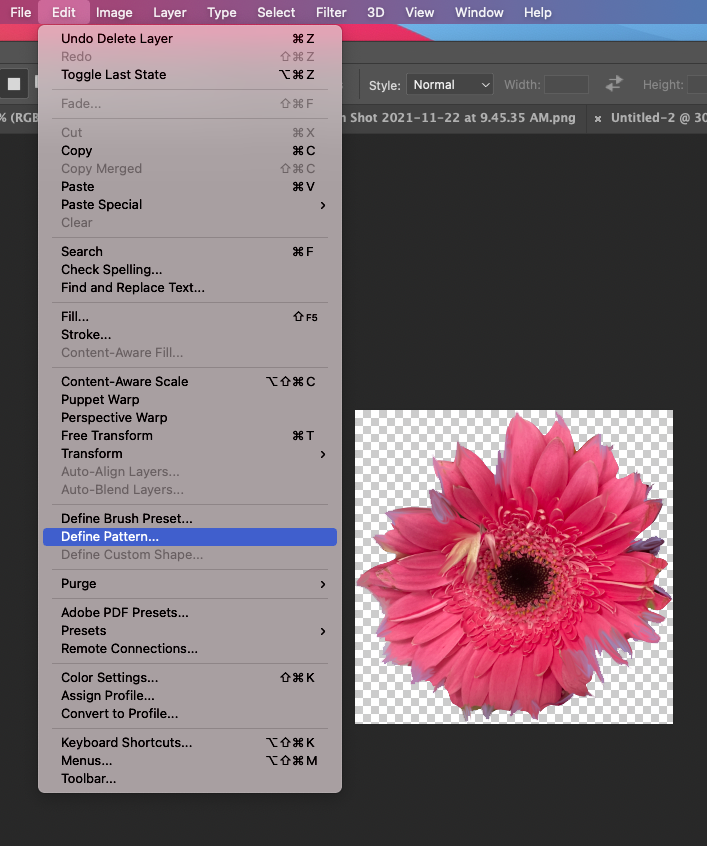
Go to Edit ---> define pattern.
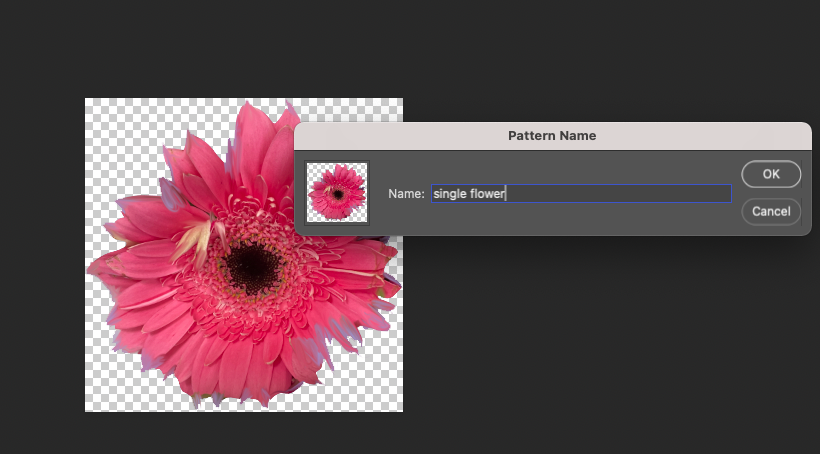
And then make it name for saving.
You can check out the output, when you look at the right panel.
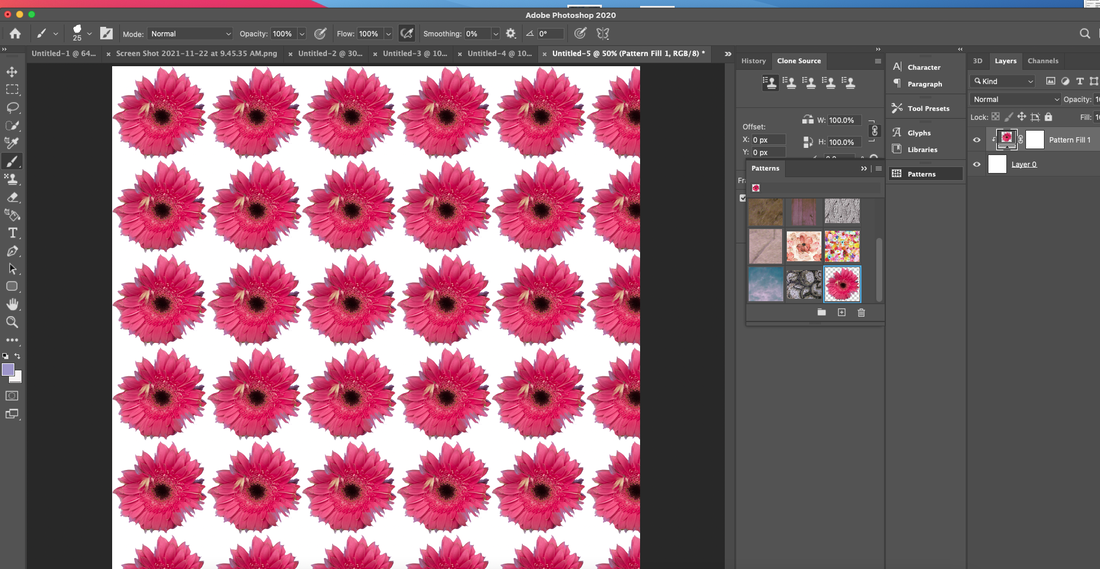
Let's see if the pattern works well.
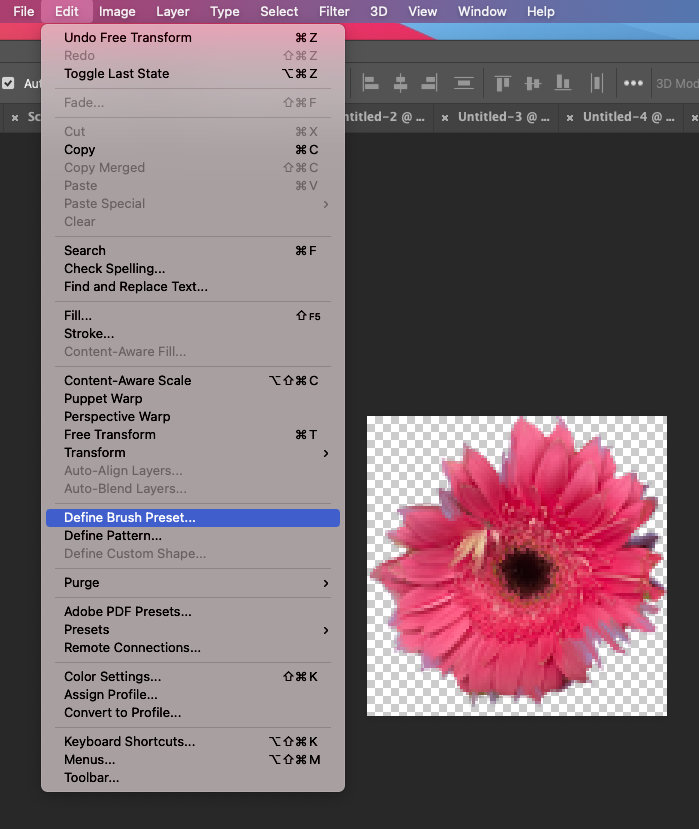
If you want to make the pattern for brush, you have to go Edit---> define brush preset.
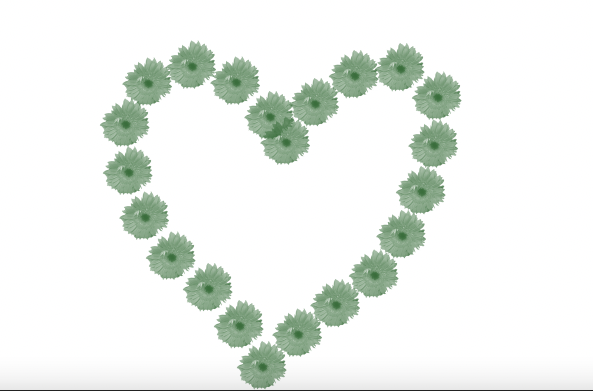
If you applied it as define brush preset, you can draw it with brush like below.
How to upload files exceed 10MB PDF file without upgrade in Weebly
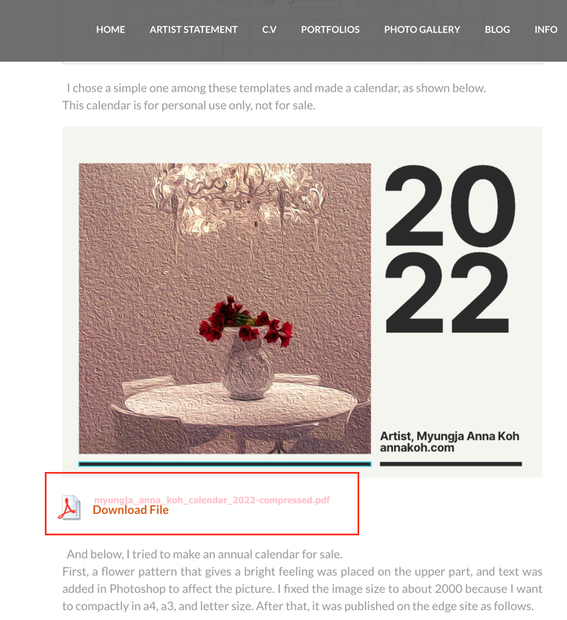
As shown below, I made an online calendar for 2022 using my drawings and set it up to be downloaded for free for personal use.
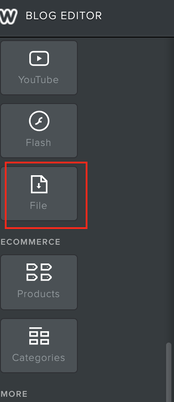
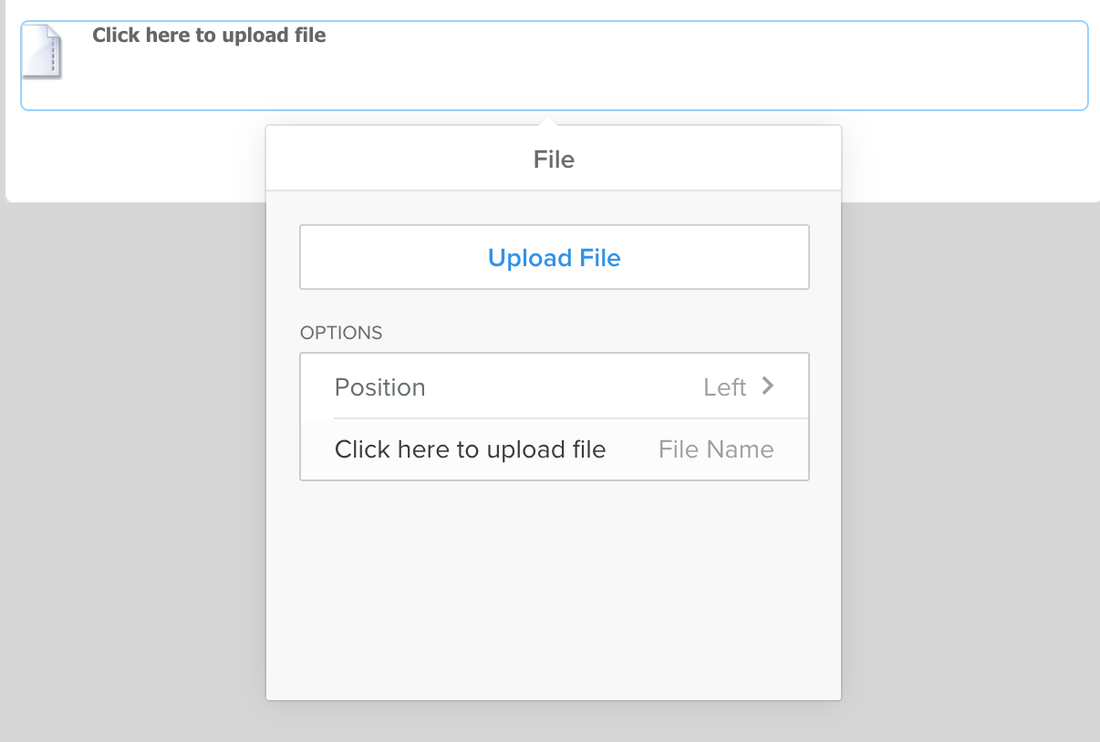
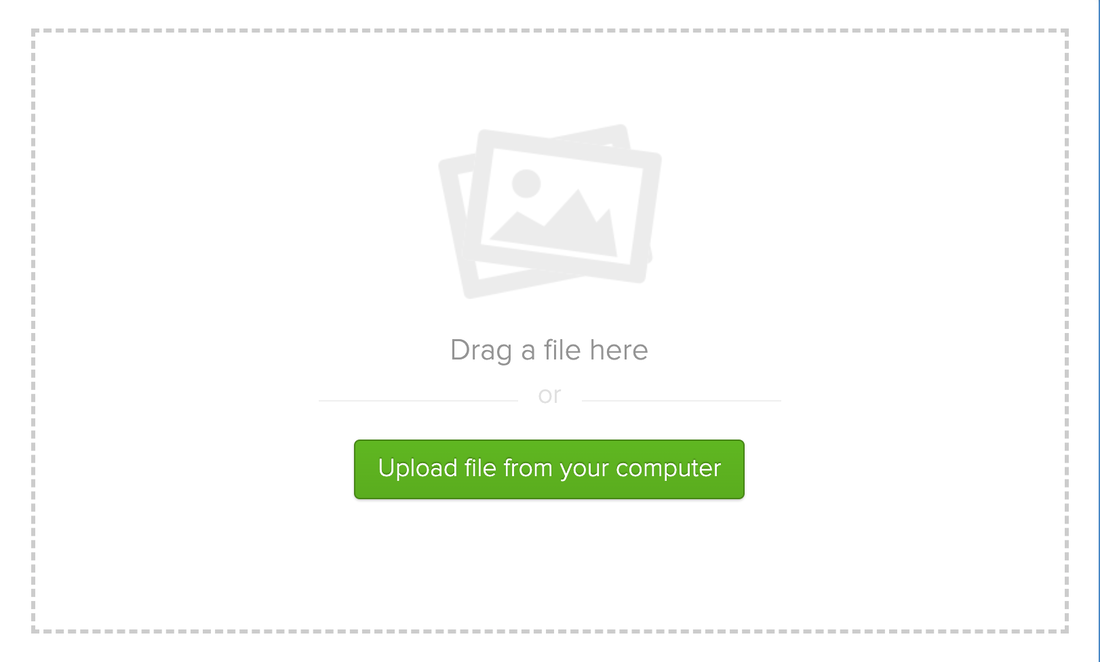
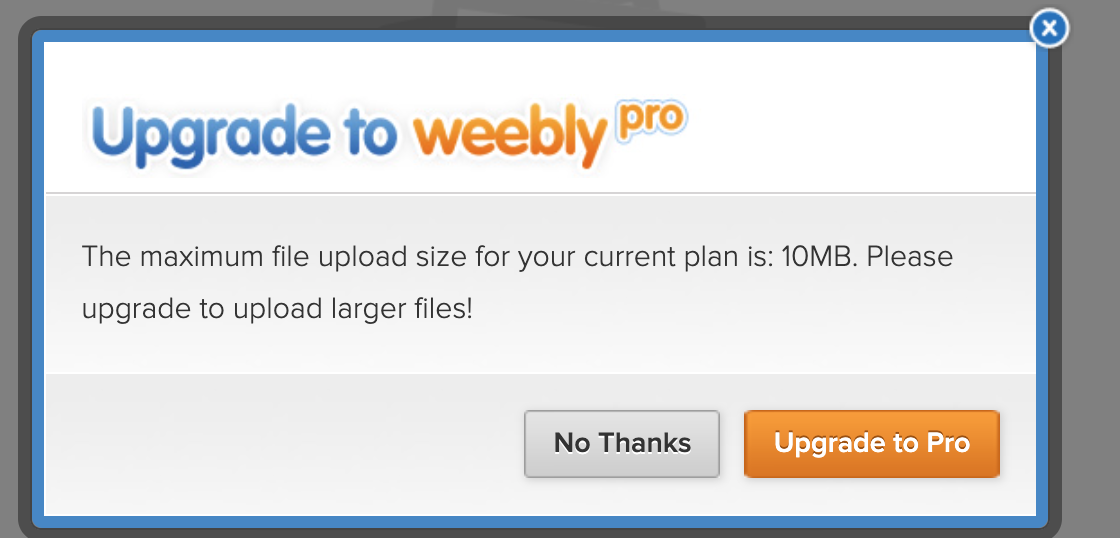
At this time, I ran into a problem when I had to upload the PDF file I made in advance. In the case of Weebly, if the file size exceeds 10 MB, uploading is not possible if the user follows the basic plan, which is free. One way is to pay money and upgrade to pro to upload files. However, I thought it was a waste to break the plan I had been using well because of this one PDF file.
So I looked for a way and found a tip.
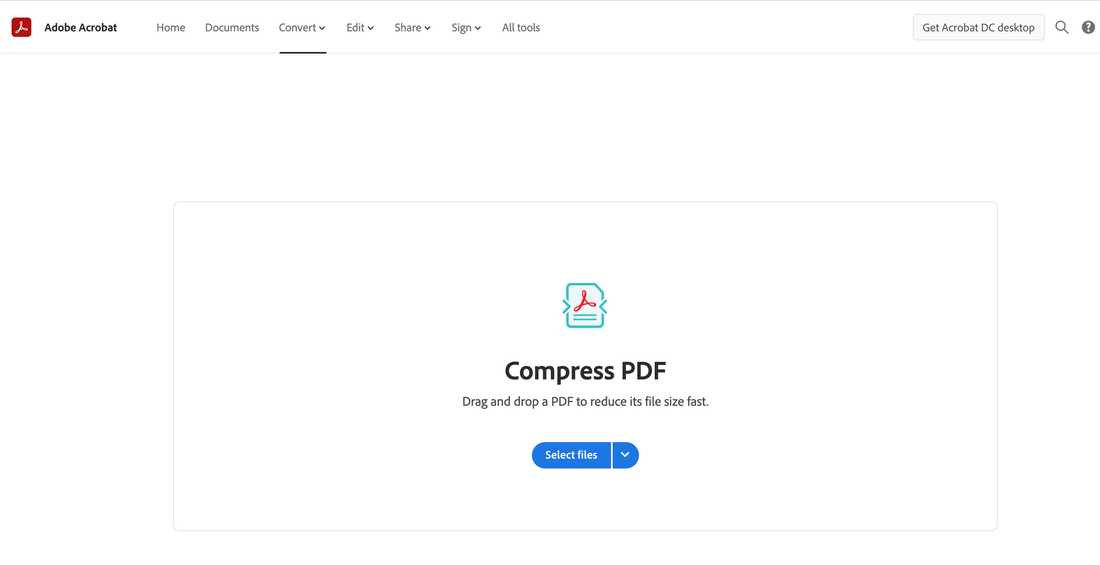
If you go to the PDF site below, you can easily compress your PDF file without registering for free. (Click below and go to the website!)
You can click the select files blue button and pick up your pdf file, which needs to be compressed.
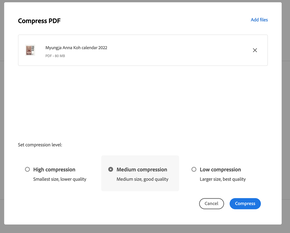
You have to select one of three options for compressing as follow as below. (For basic plan of Weebly, I would recommend High compression!)
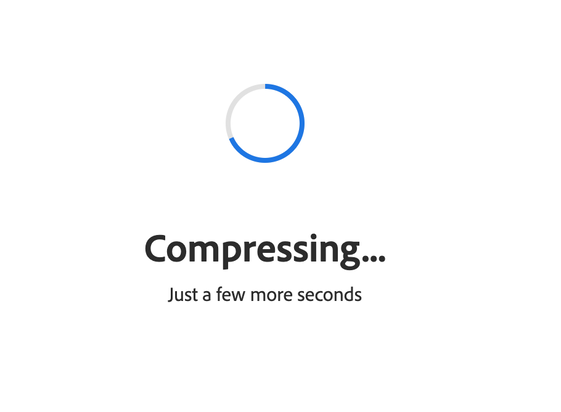
After click the Compress button, you will see below screen.
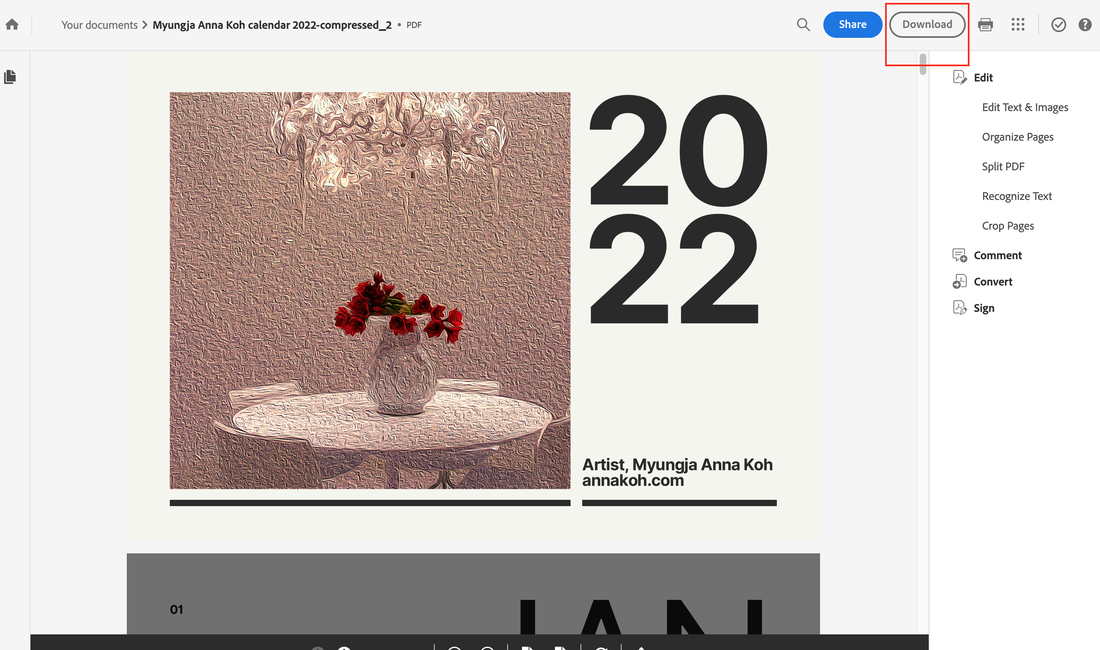
Finally, you can find your result files with other options, also can download and share it.
How to Save Photoshop Transparent Background, Save as PNG File
When dealing with Photoshop, there are often times when the background is made transparent and inserted into another background. This is useful in many ways because the motif I created can be naturally mixed or incorporated into any background.
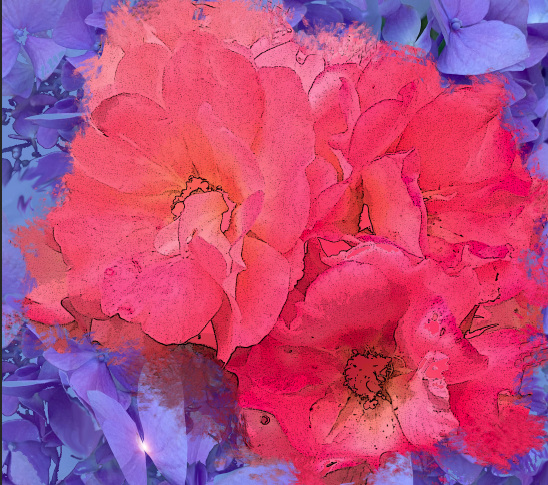
I digitally completed a fancy flower painting yesterday. Below is the finished picture.
Pink rose, 2021, Myungja Anna Koh
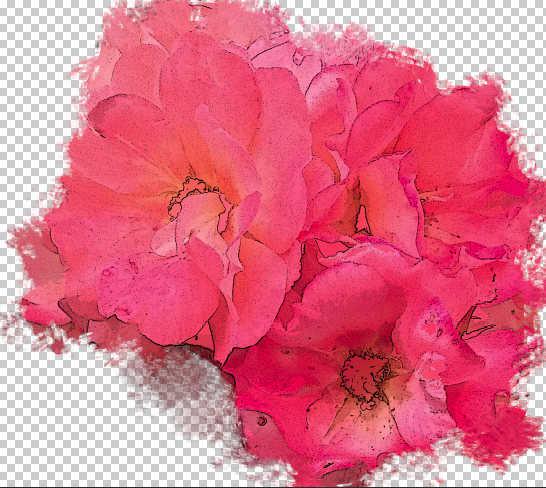
If you know how to make the background transparent, you can leave the picture as it is and change the background freely as shown below.
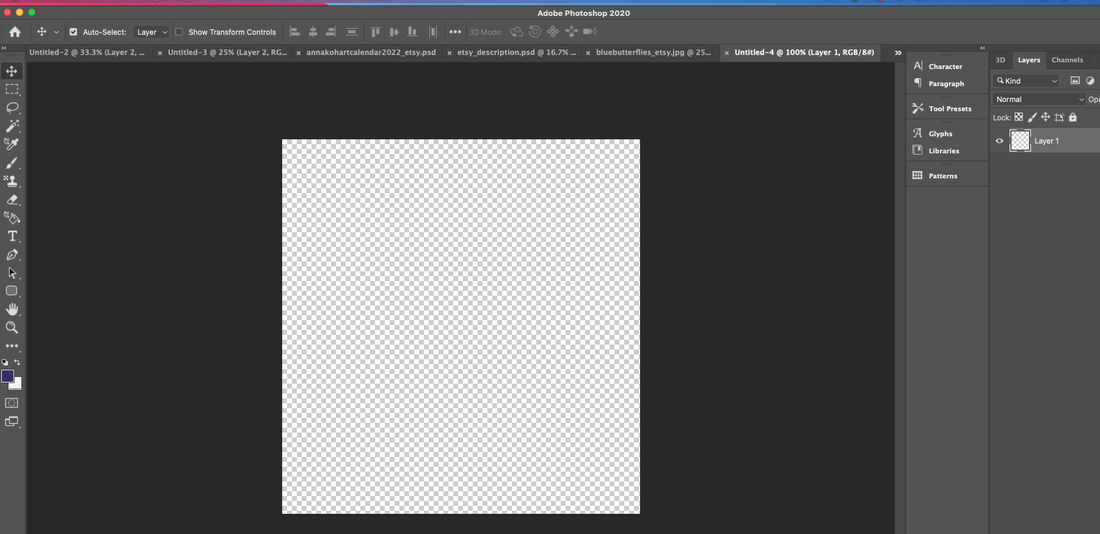
To do this, you need to change the background to transparent as shown below. When the background becomes transparent, you can see the chessboard pattern as shown below.
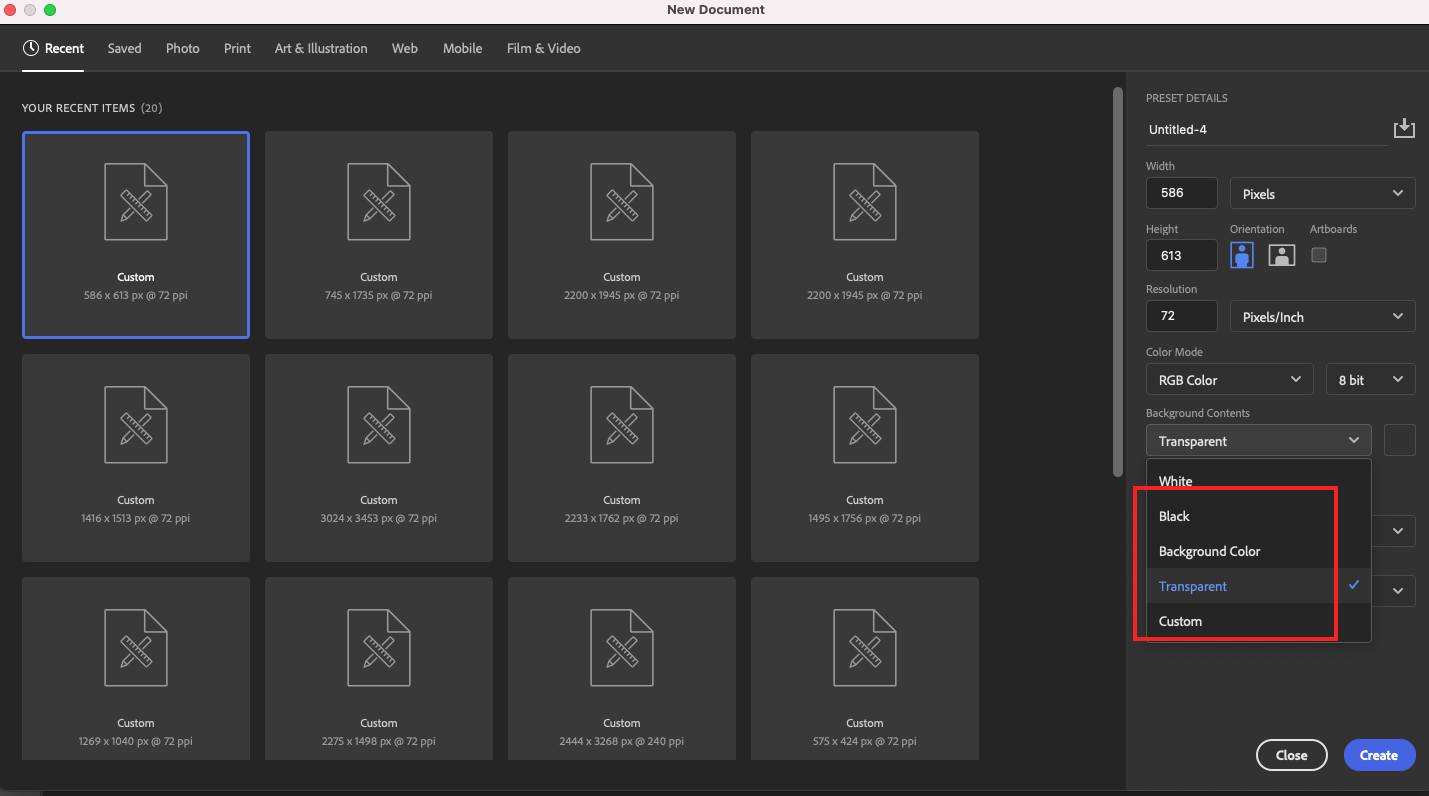
One thing to note is that in order to make a transparent background, the file name must be PNG. One thing to note is that in order to make a transparent background, the file name must be PNG. Create a new file by clicking File --->New or Ctr +N as shown below. At this time, set the background content setting to transparent.
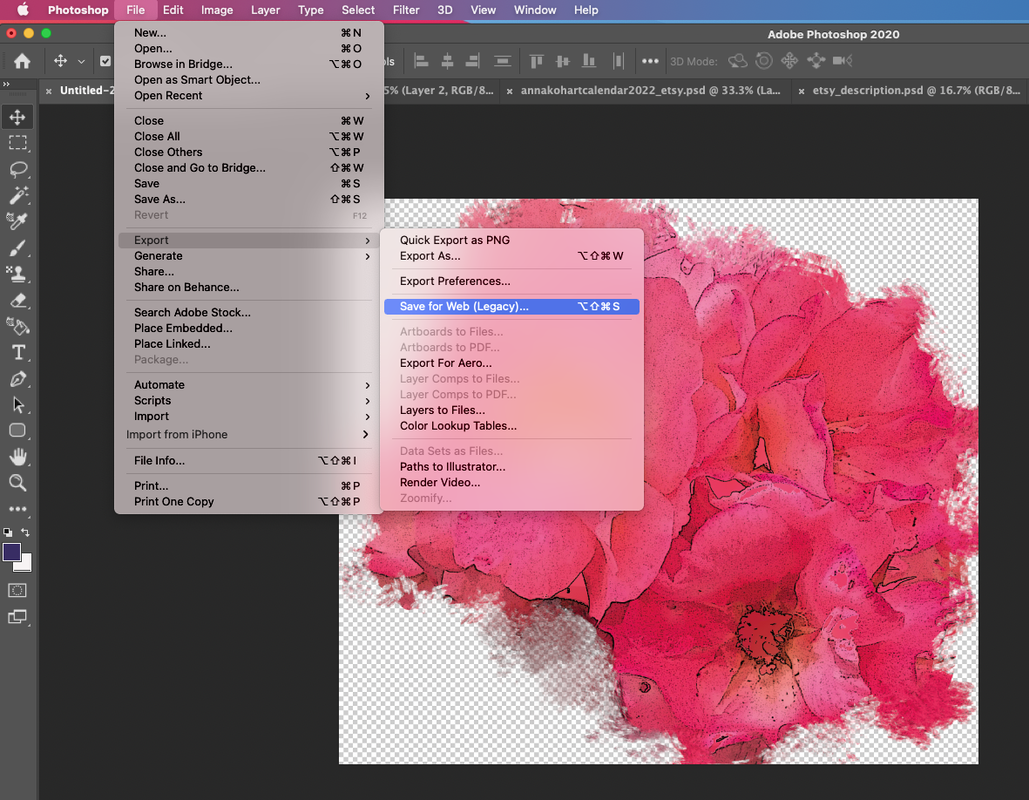
This chess pattern is called a transparent background. Put an image on this background as below. After then, you can go to File--> Export--> Save for web legacy)
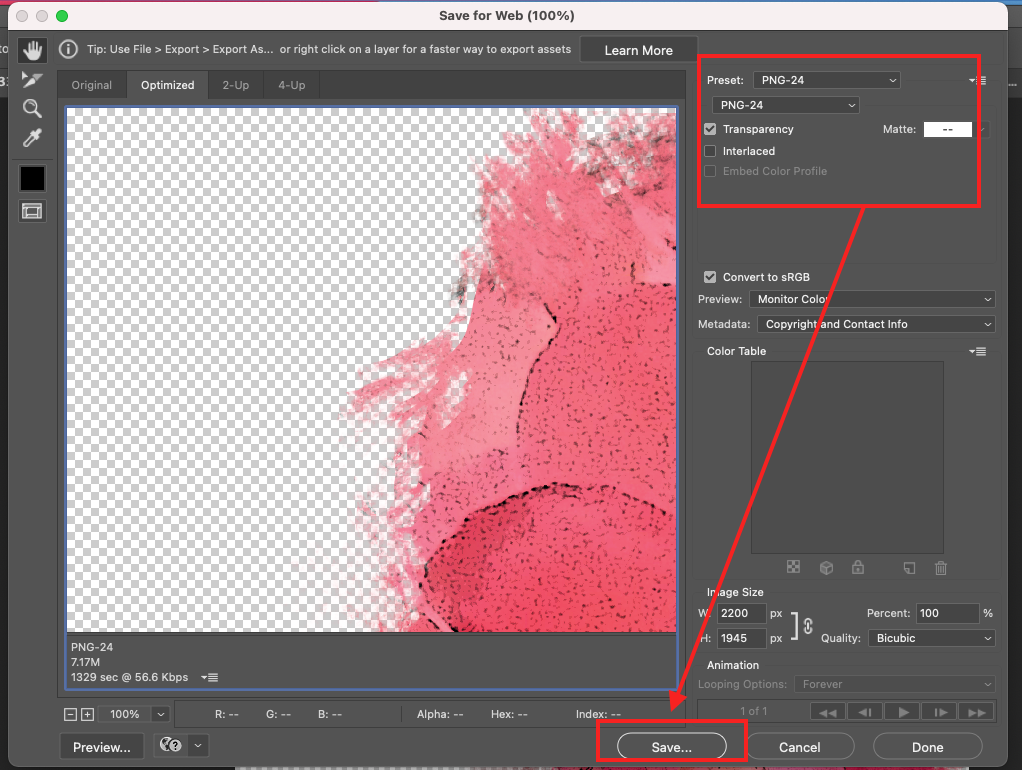
Last, you can click as below. file name jpg---> PNG-24 and check the Transparency and then click the save button.
Finally, you can find out the output in your directory.
|
Myungja Anna KohArtist Categories
All
Archives
July 2024
|
Proudly powered by Weebly









 RSS Feed