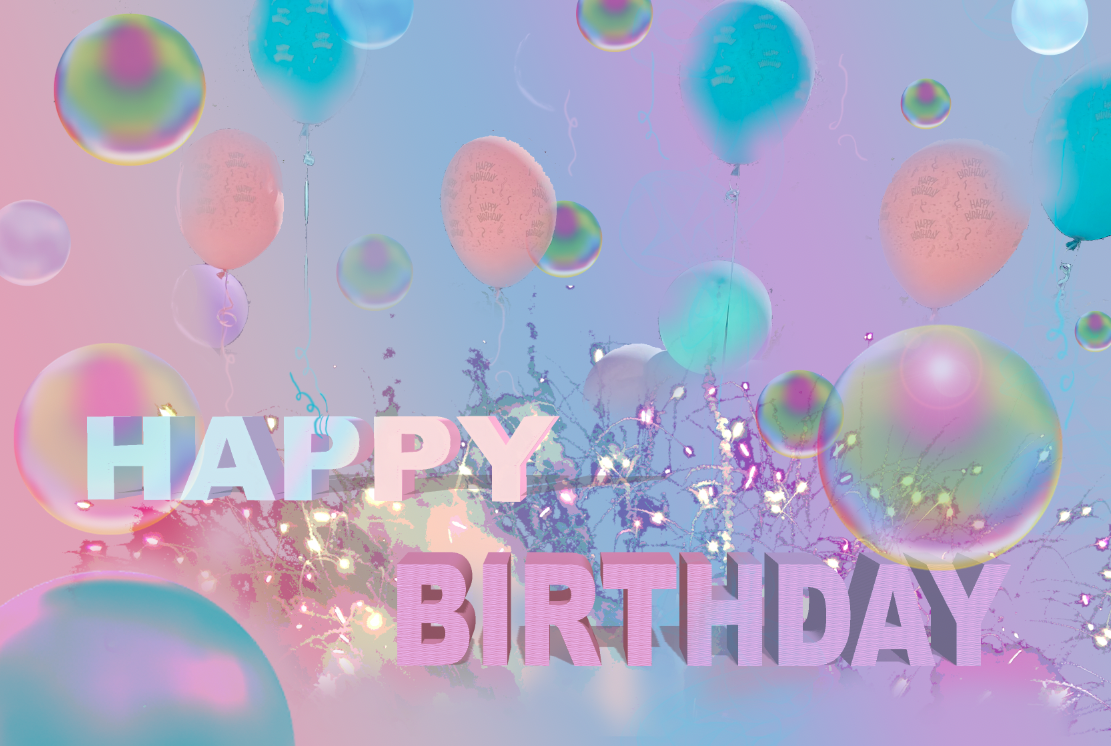
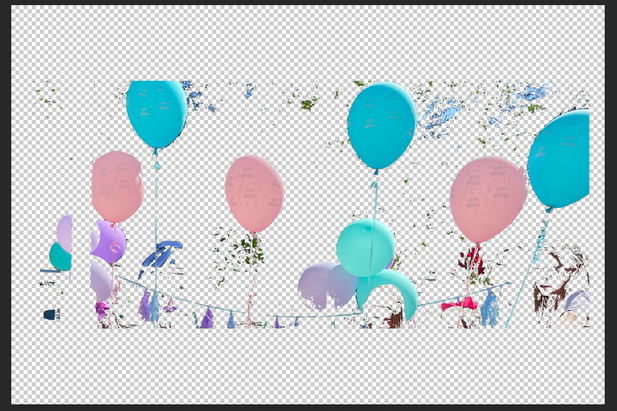
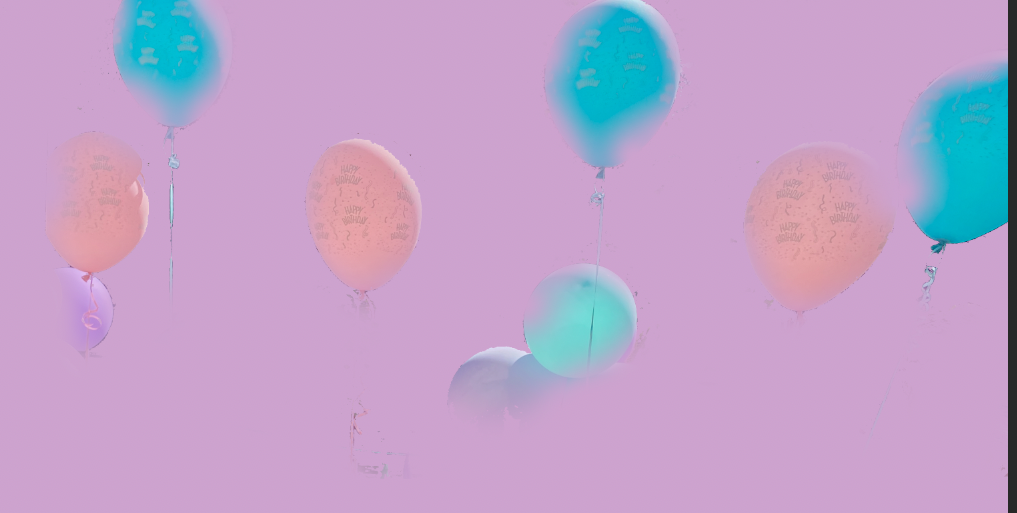
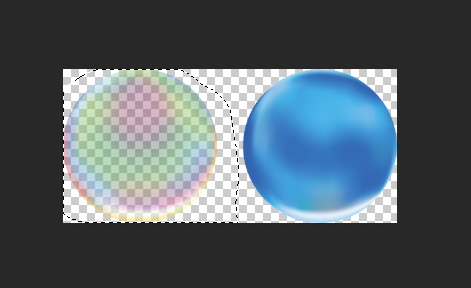
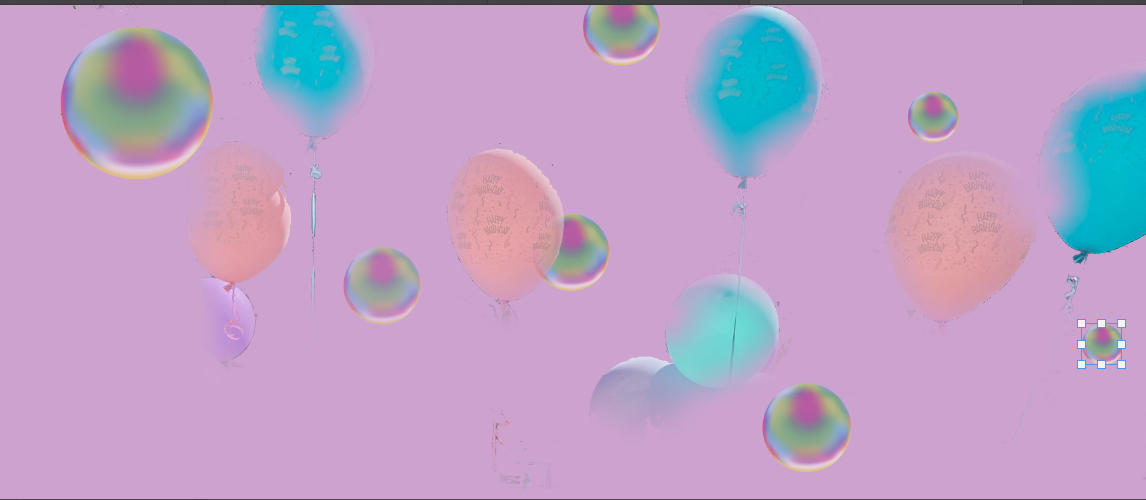
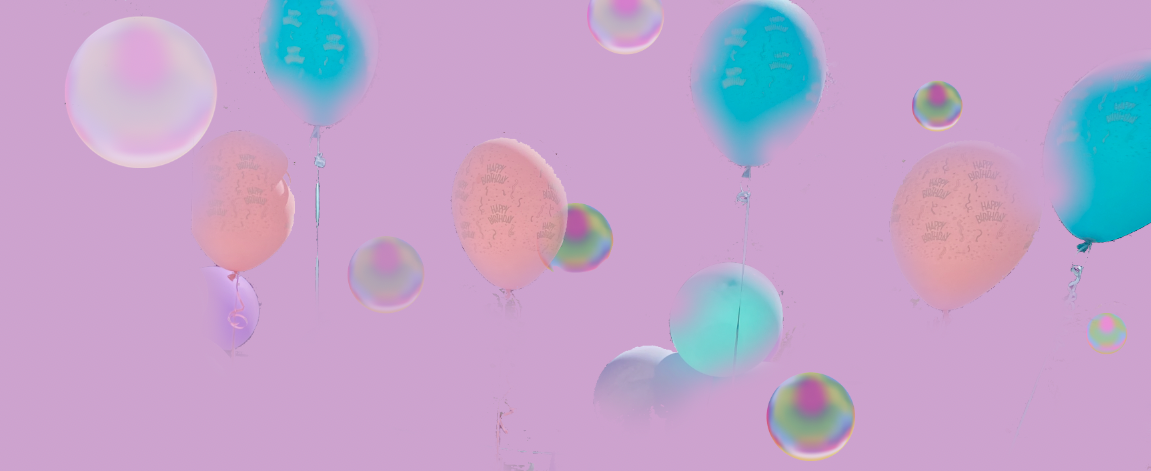
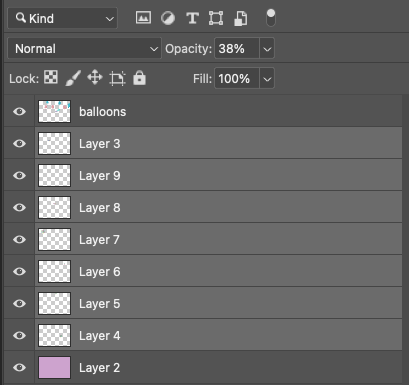
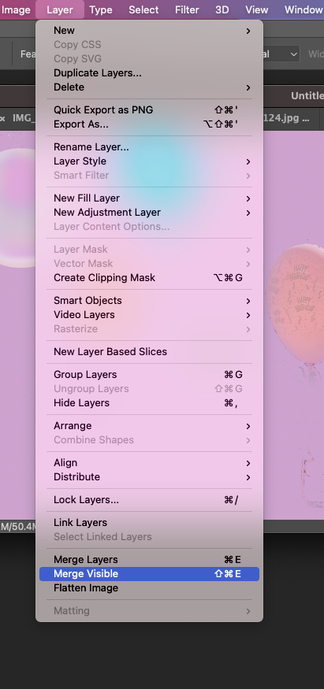
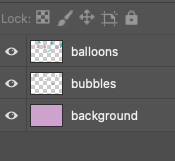
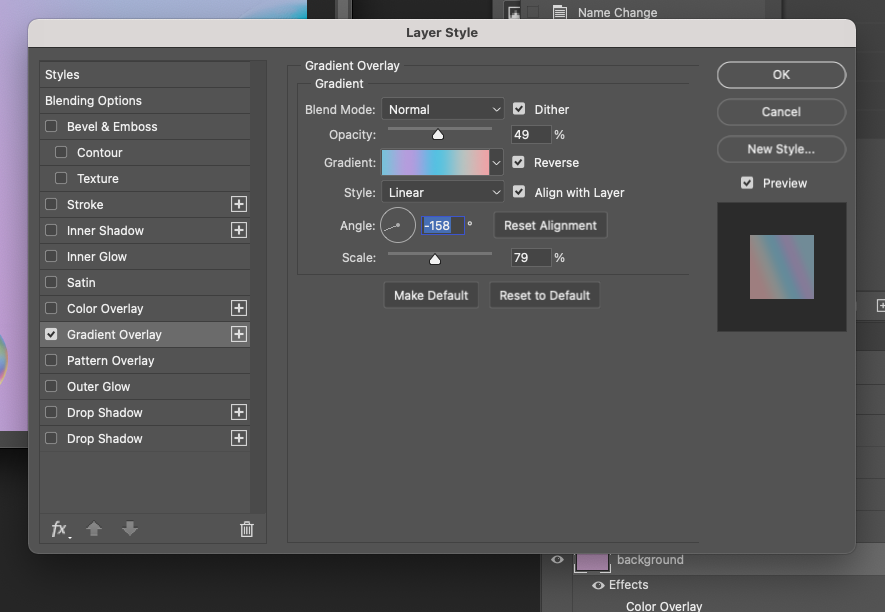
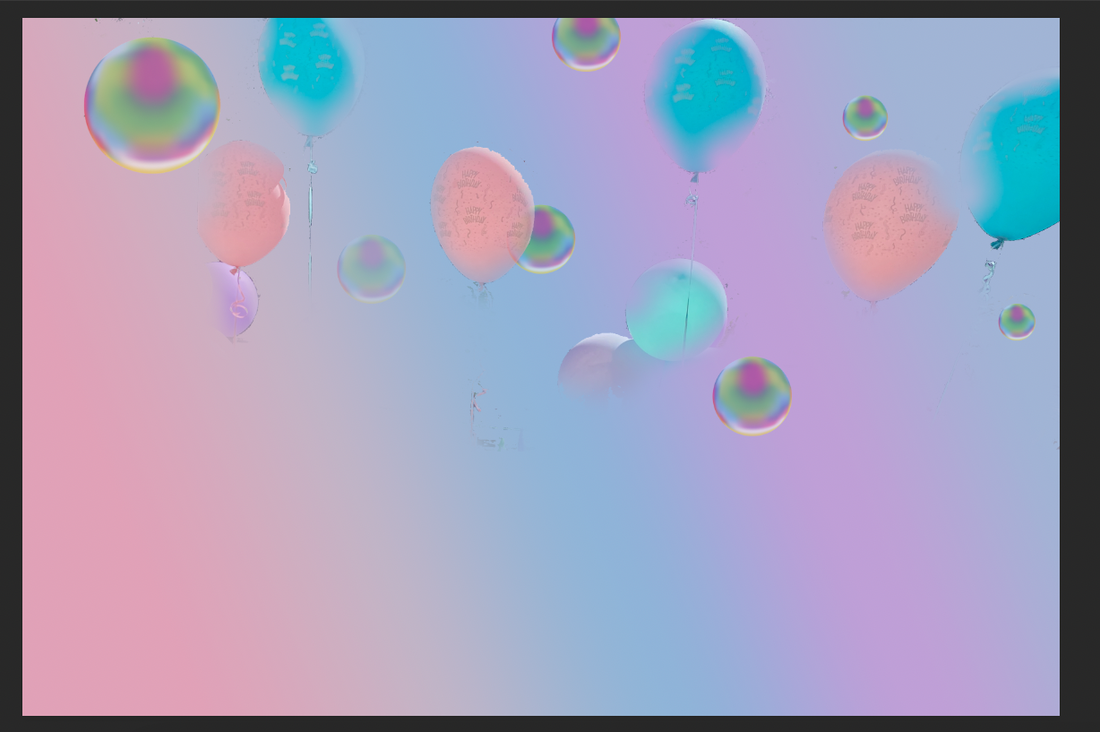
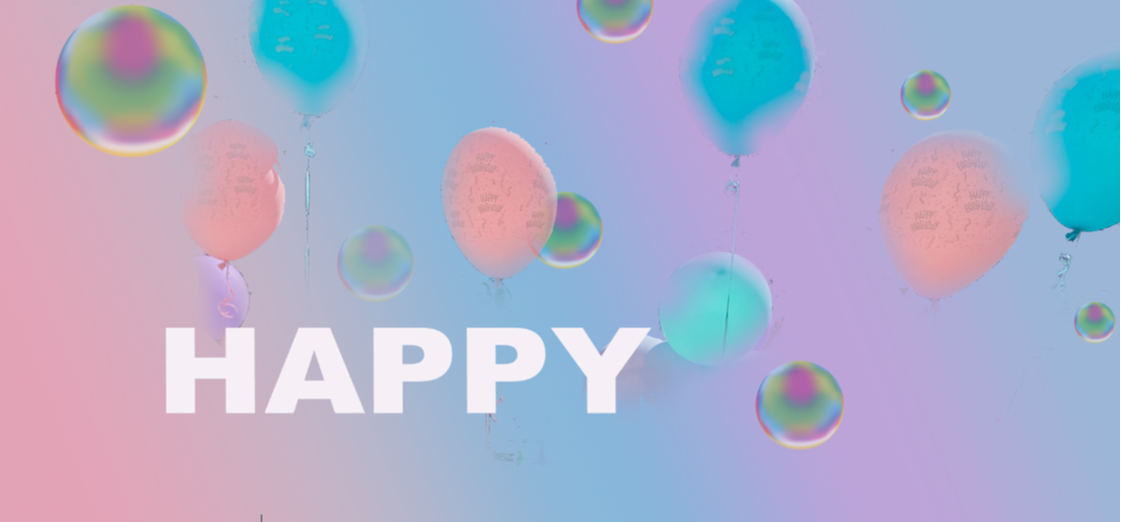
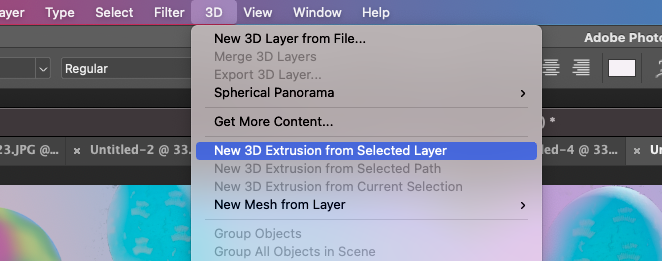
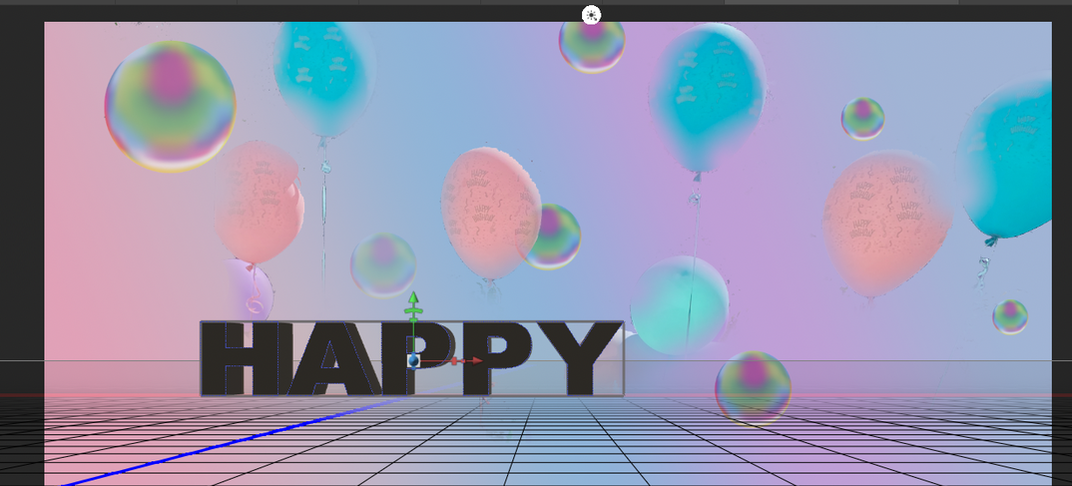
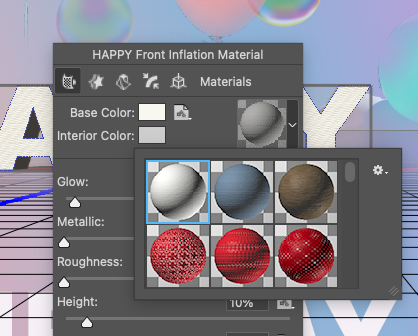
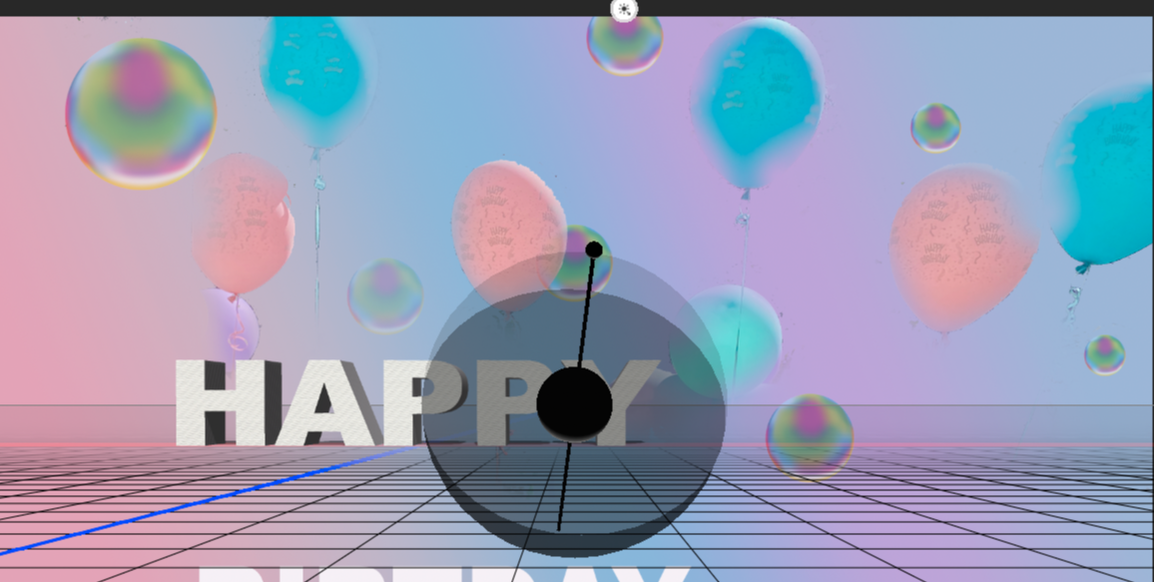
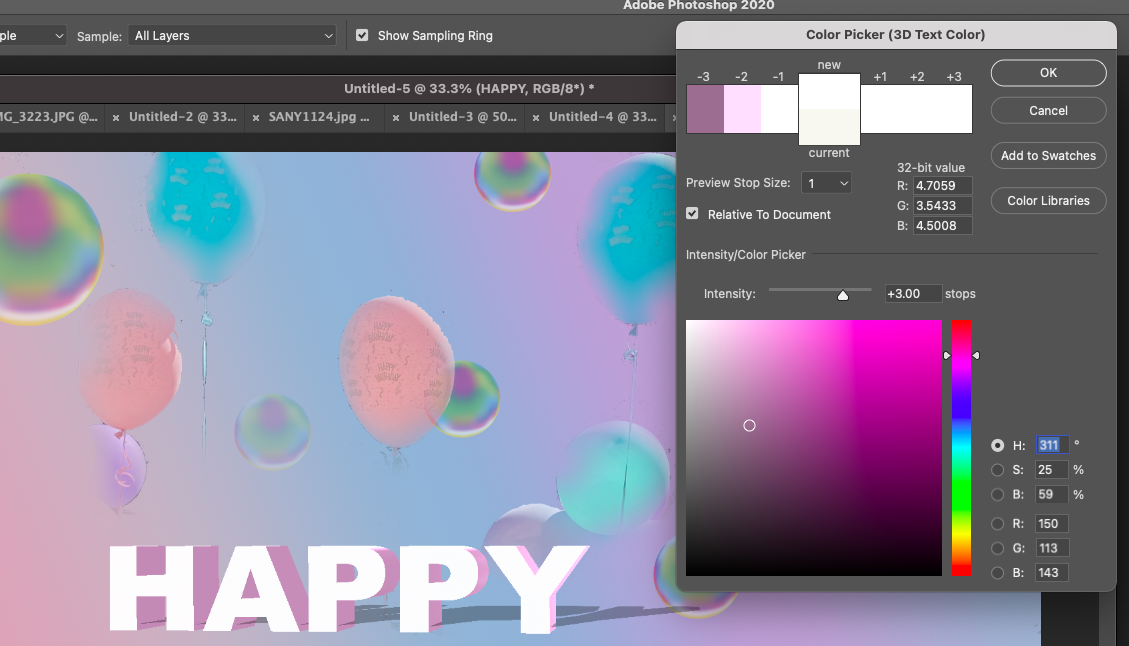
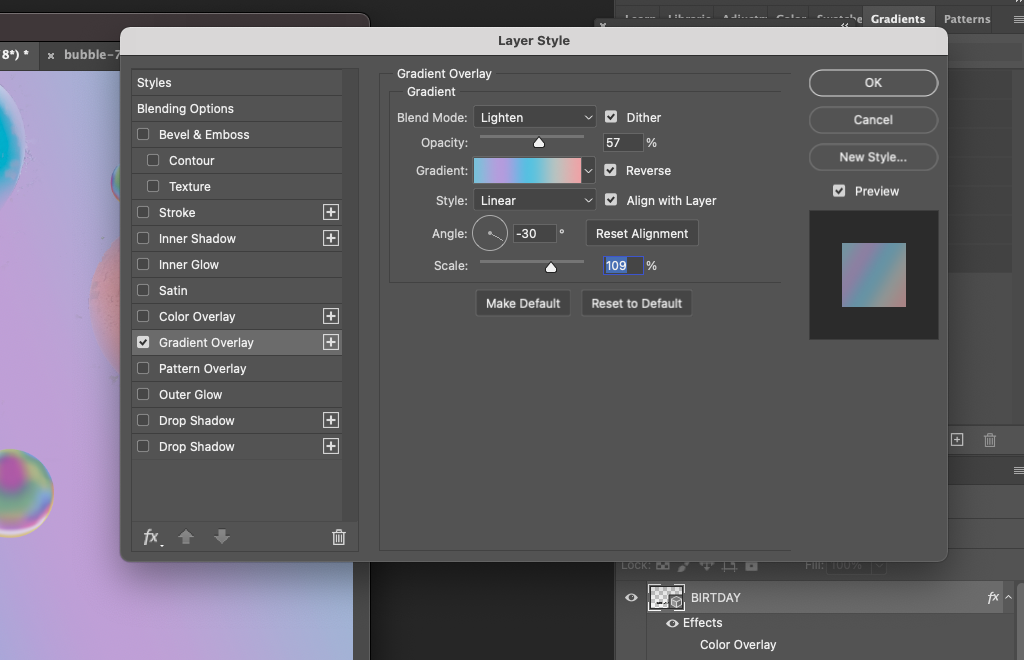
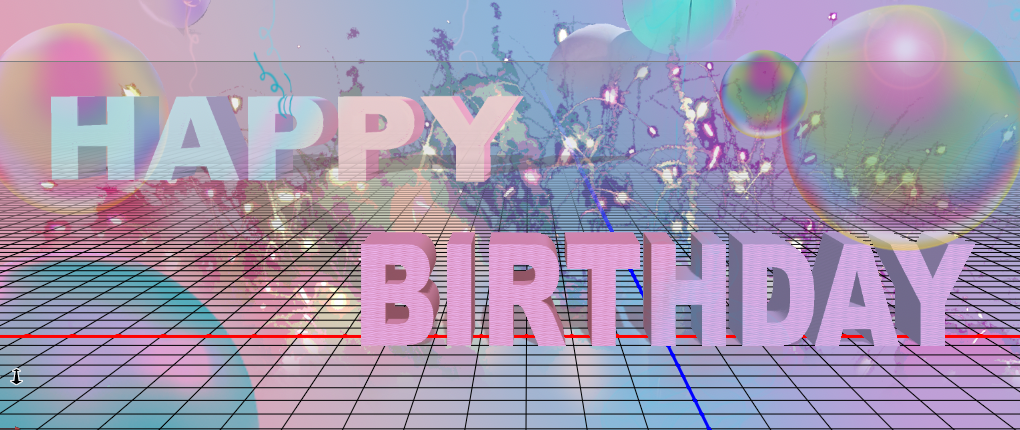
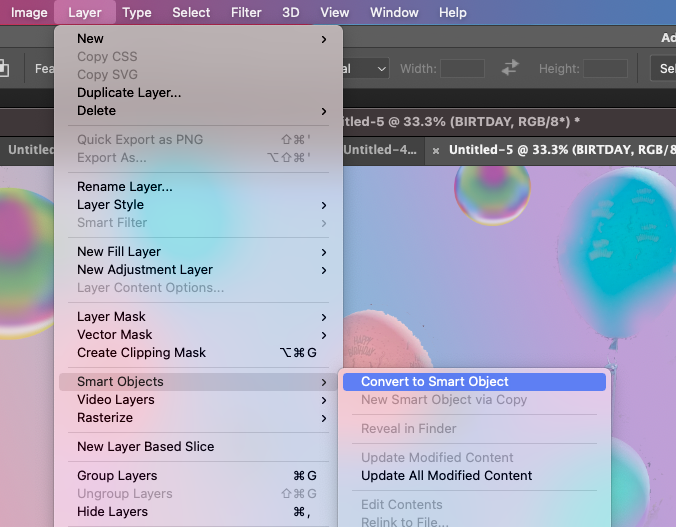
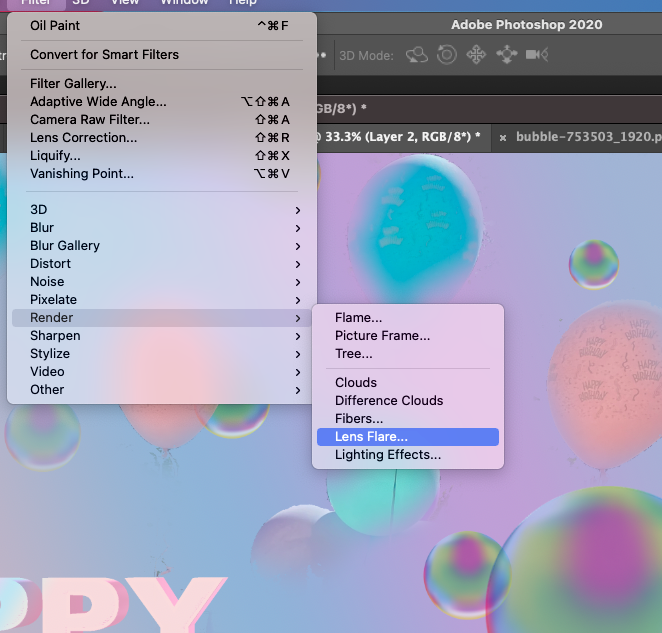
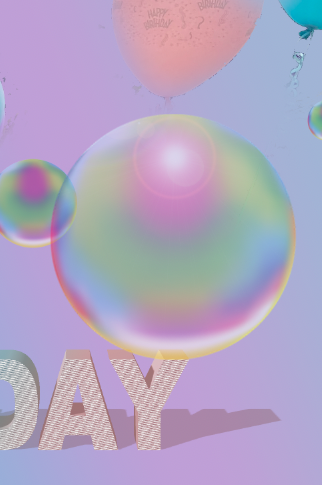
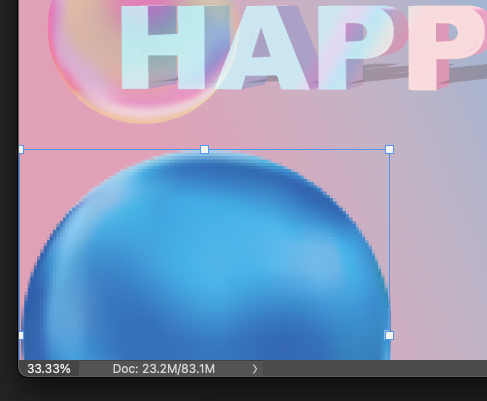
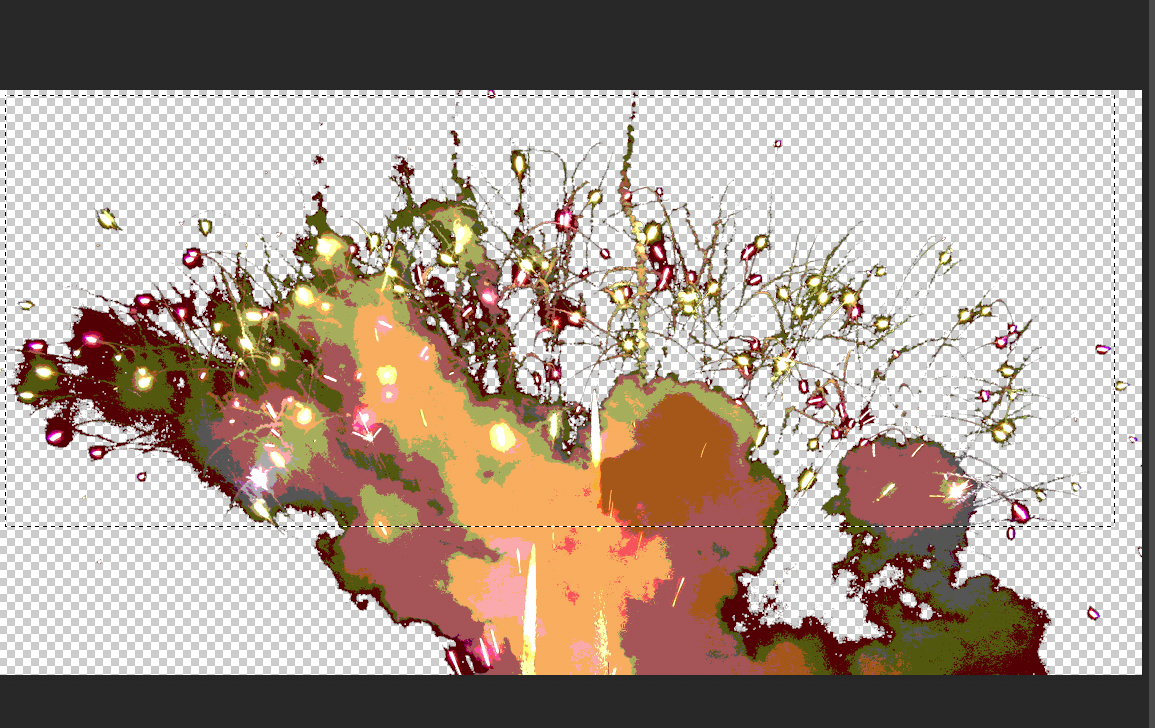
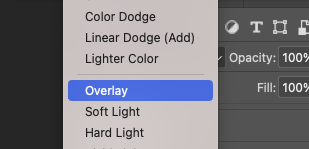
How to create Birthday card image with Photoshop! Today I would like to show you how to make a simple happy birthday card image in Photoshop. The image I made is a fancy image in pastel tones. If you like the picture, please continue reading! First, I open the birthday related photo, I took a picture before. And then with magic eraser tool, I removed the background like this. After that, copy the bubble image and then paste between balloons. I merged all of the bubbles layers at once. Then named each layers like below. Next, change the background with Gradient Overlay as follow as below. Write down each text such as HAPPY and BIRTHDAY to convert to 3D image. Go to the New 3d Extrusion from Selected Layer. Change the text materials for basic, white one. And adjust the light angle to show the shadow properly. Change the backside of letters color from black to pink. Retur to the 2 D workspace and then go to the blend options to change the letter's color. In my case, I changed it with gradient overlay like below. And then convert the BIRTHDAY text to 3D image as same way. Also return to the 2D workspace (Essentials), and then change the color with Gradient Overlay. Go to Layer---> Smart Objects---> Convert to Smart Object on your happy birthday text. If you want to move them, you have to convert it to smart object. Like below screen, I moved them slightly down. 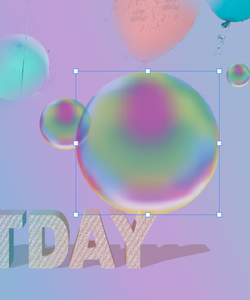 And then make the another bubble. Put it on the Y. Go to Filter---> Render---> Lens Flare to make a lightning effect. And make anther bubble like this. 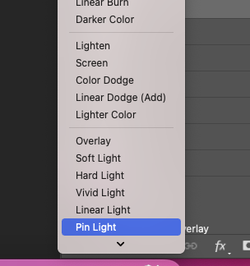 Adjust the screen mode from normal to Pin Light. Almost done! Open the firework's image and copy the part of it. Paste it on the layer and adjust it to Overlay. Here is the final image! Happy Birthday !!
0 Comments
Leave a Reply. |
Myungja Anna KohArtist Categories
All
Archives
July 2024
|
Proudly powered by Weebly

 RSS Feed