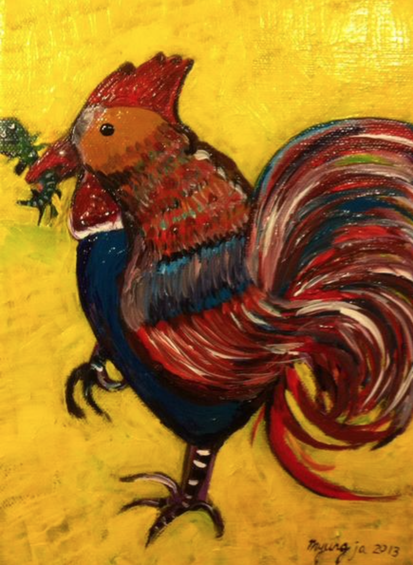
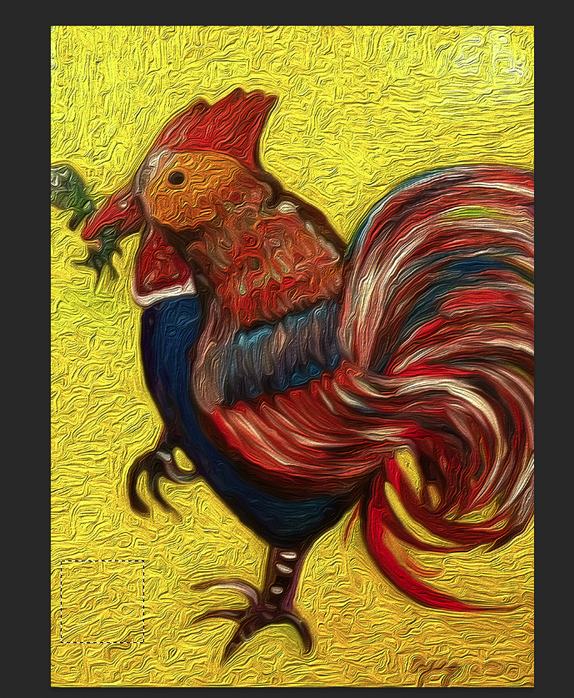
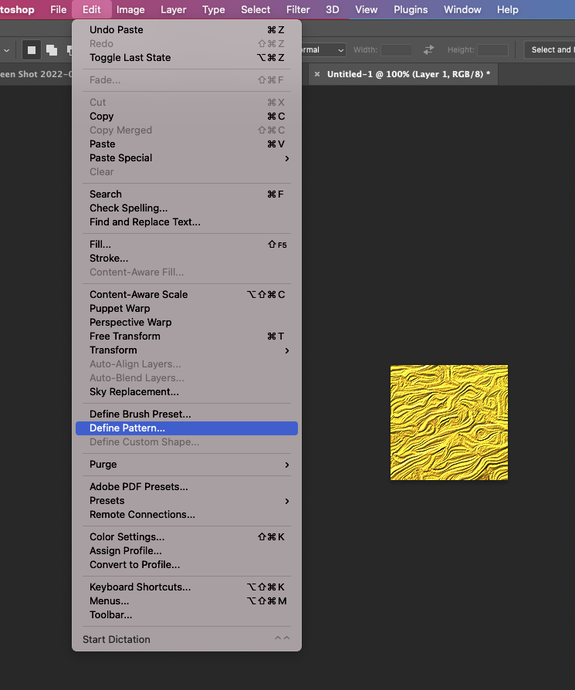
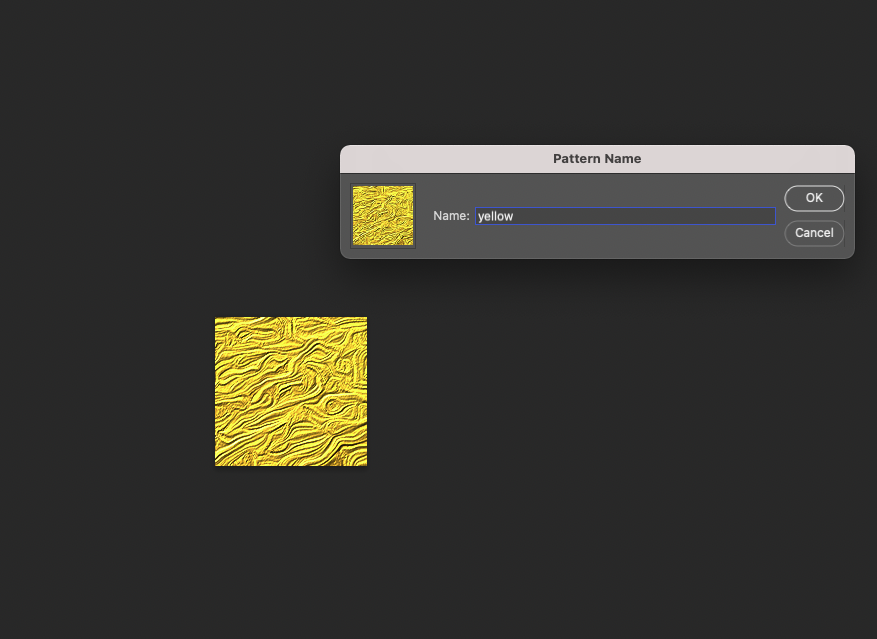
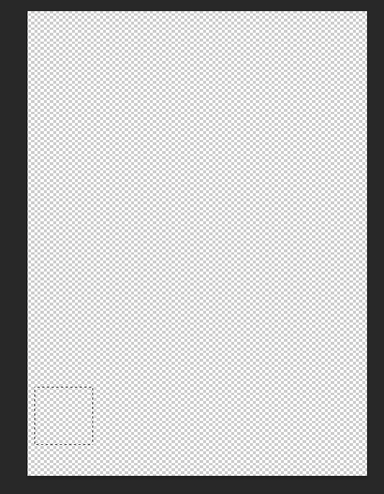
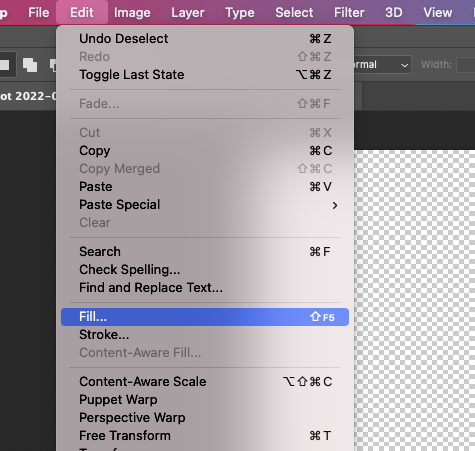
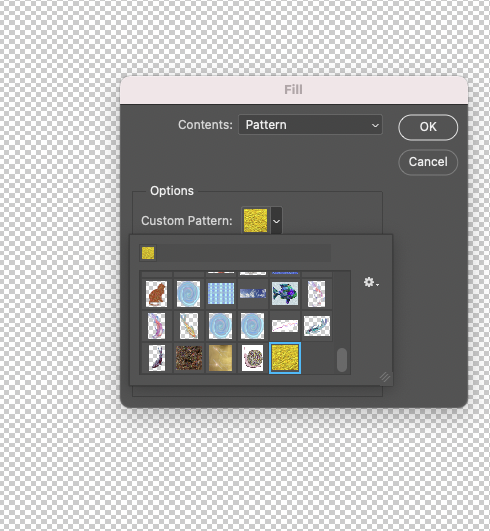
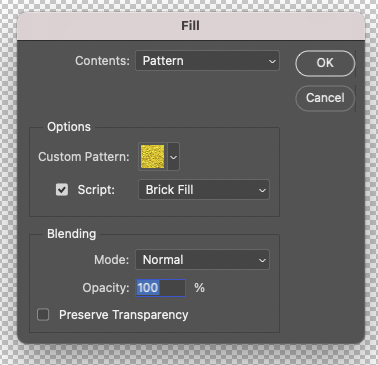
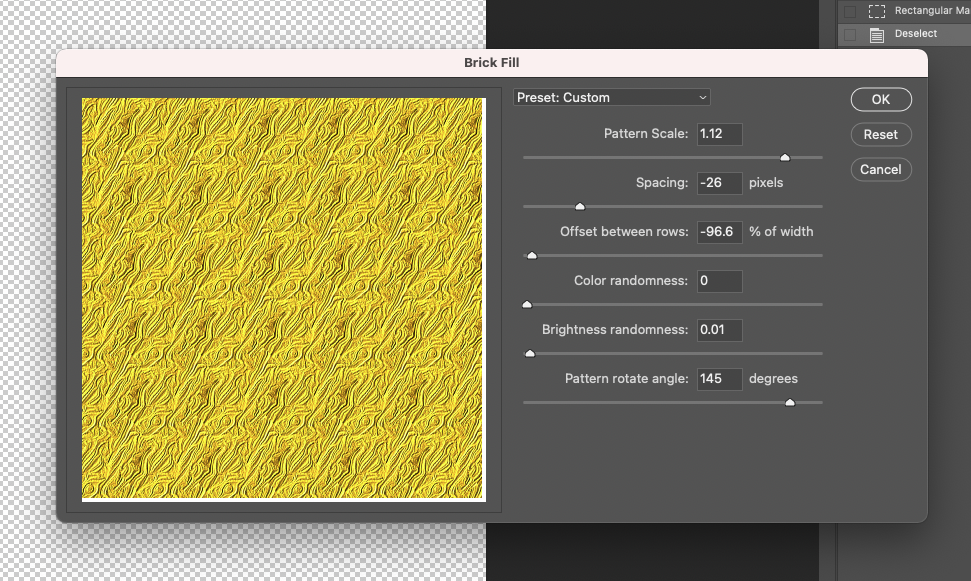
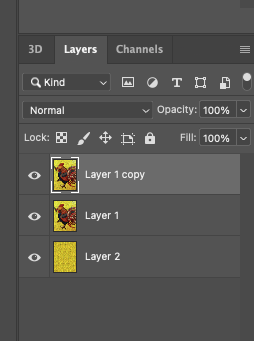
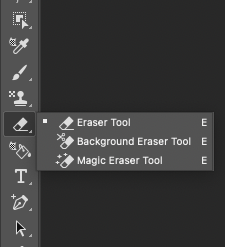
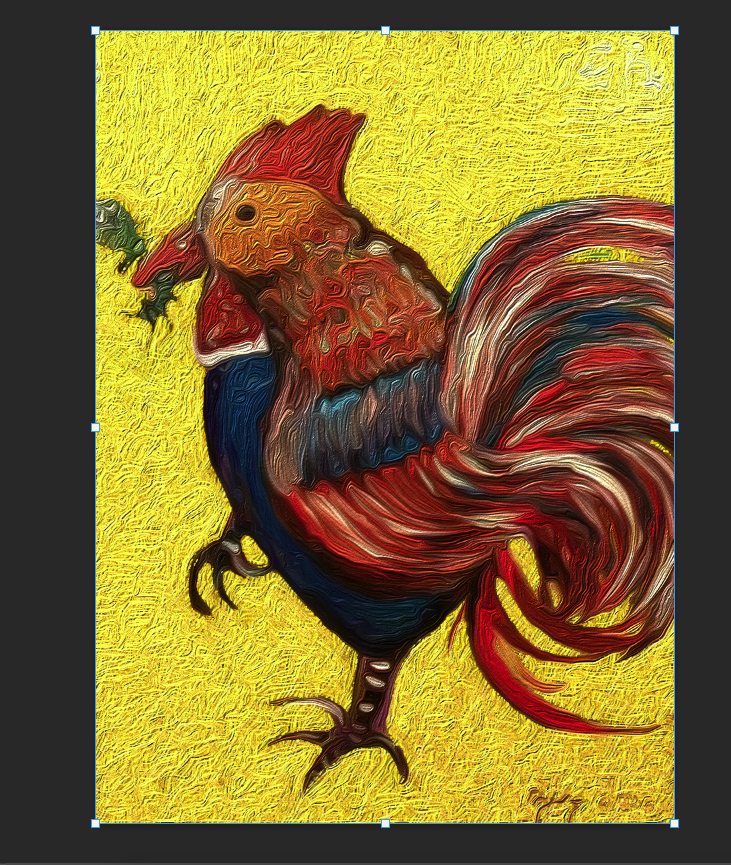
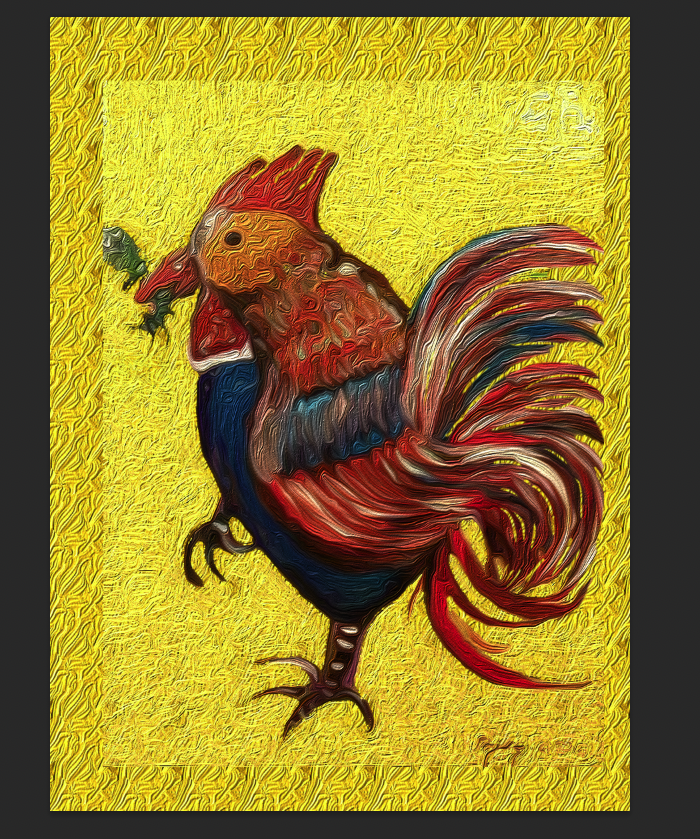
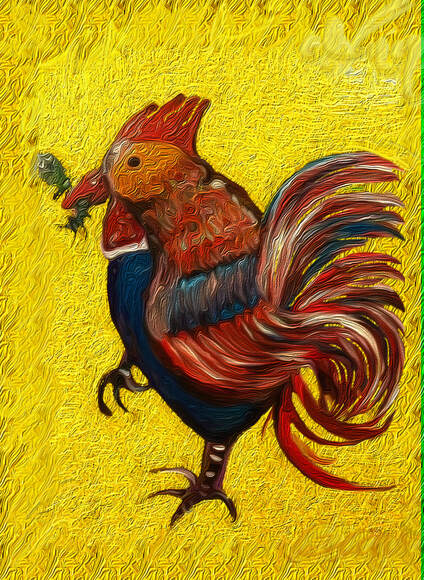
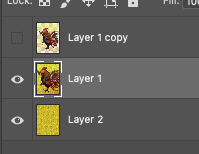
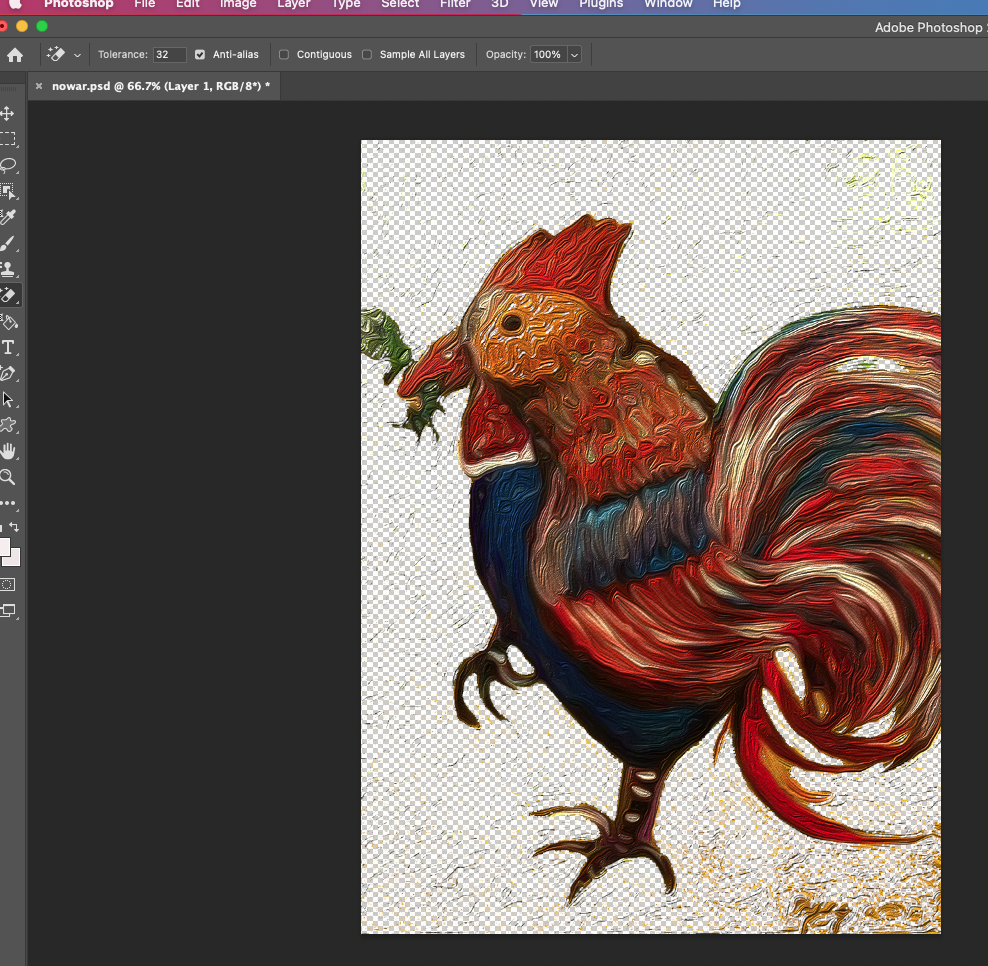
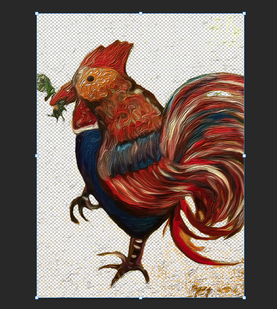
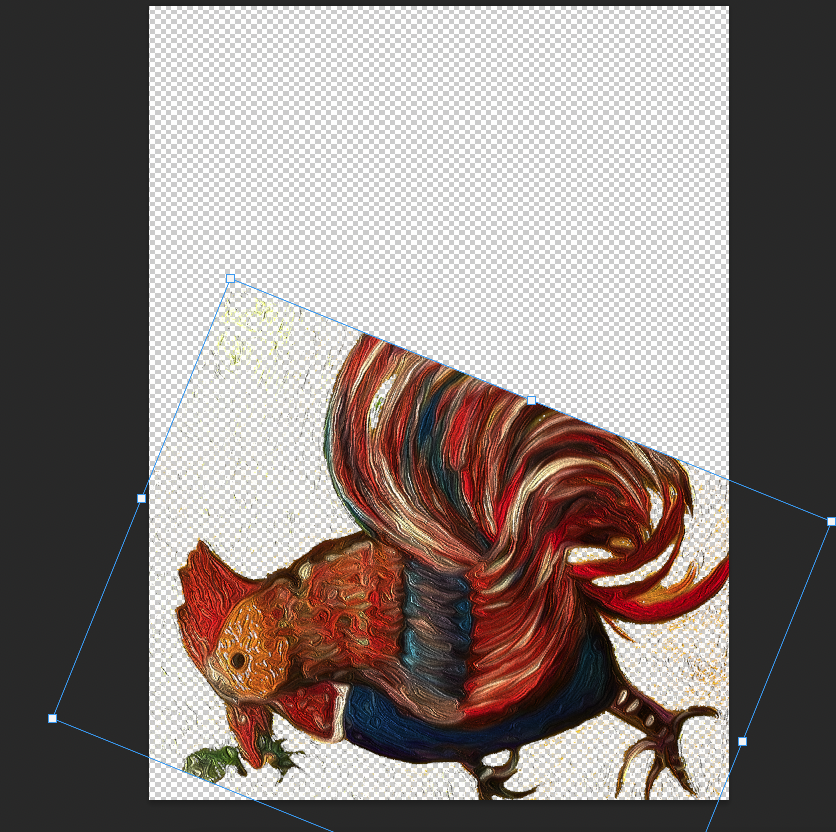
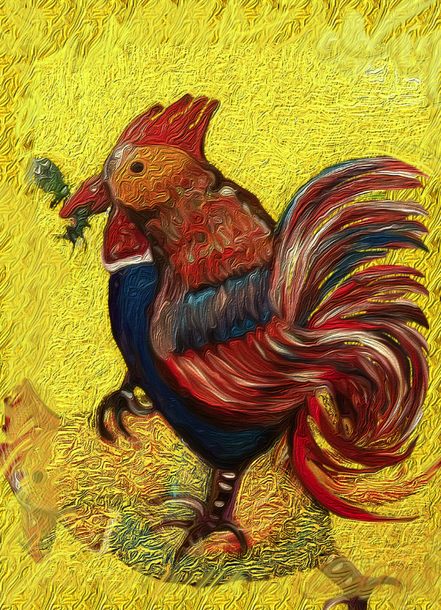
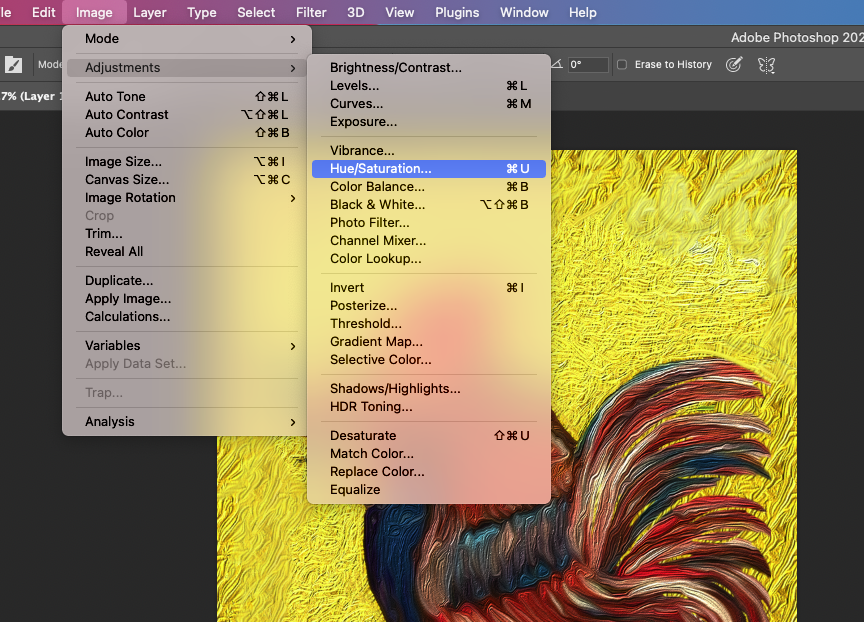
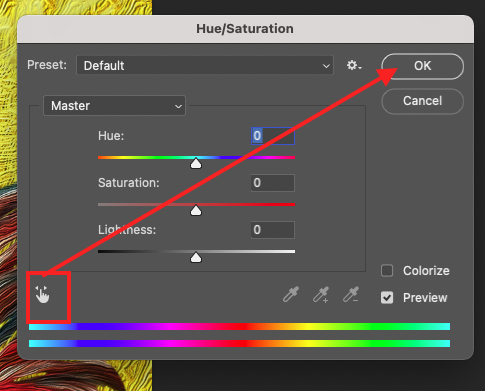
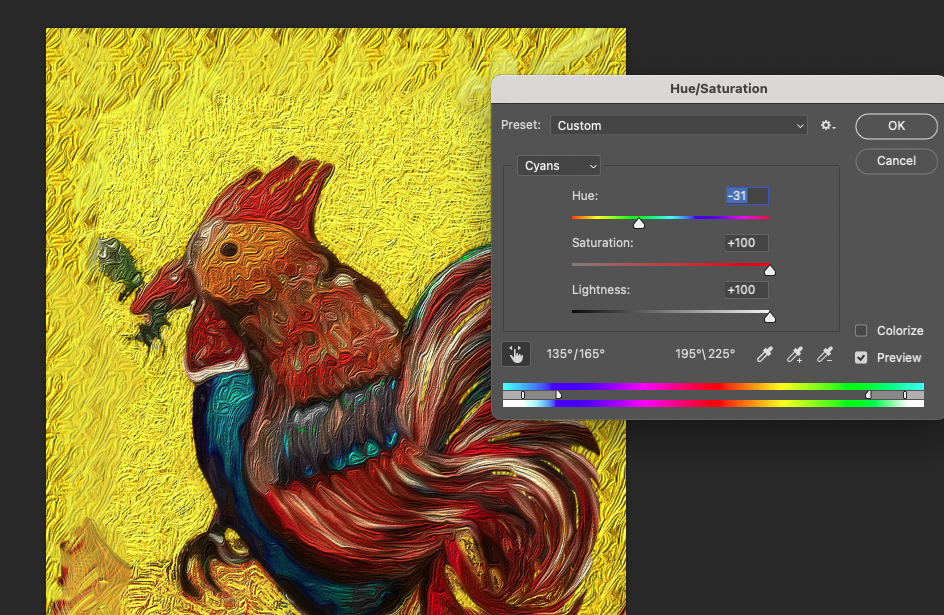
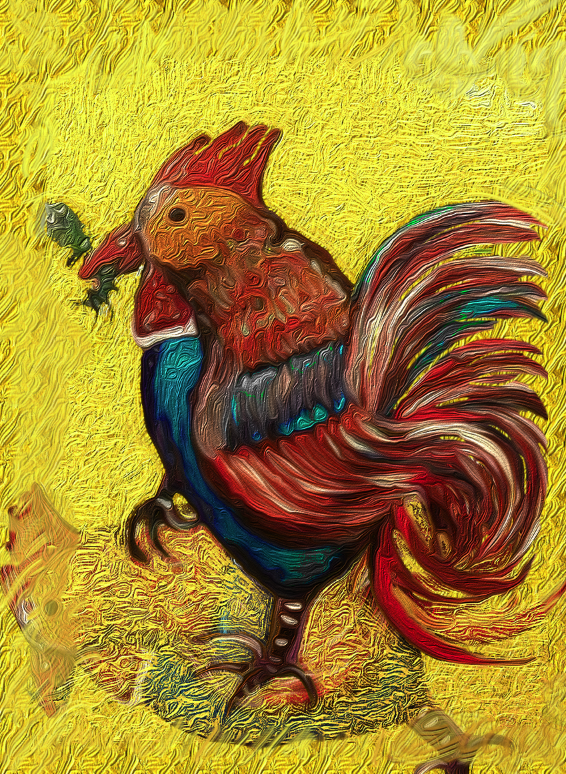
Converting analog pictures to digital work! Today, I would like to briefly show you the process of reforming a picture I drew on a canvas back into a digital image. The image of the painting to be reformed is a painting I drew with acrylic in 2013. The resolution is low and has lots of refection because it was taken with a digital camera in a hurry at the time. After importing the picture into Photoshop, use the small square-shaped selection tool to create a yellow background. Next, go to Edit--> Define Pattern and then make one of pattern as follow as below. Make new layer and Go to Edit ---> Fill to create new yellow background. For regular pattern, you can select the Option of Script as Brick Fill like below. And then duplicate one more same image like below to make a shadow. Select copied layer and erase background by using a Magic Eraser Tool. ( You don't need erase perfectly) Next, with Ctrl + T to adjust the size, you can resize the image. After resizing, you can select the Smudge tool for smoothing the edge. Select the original image to make a shadow. In my case, I will express the shadow as if it is kind of mirroring. Above the process, you can select a Magic eraser tool, and then delete the background like below. With Ctrl+ T, you can move the image like this. Here is the result after that. Last, I'd like to change the specific area such as the belly of rooster, and then I want to show you how to do it. Go to Image---> Hue/ Saturation. Usually, you use it for changing whole area. But if you click the red-rectangle area, you can adjust the color only you select and use with Spode it. You can make sure the area like below. Here is the result !
0 Comments
Leave a Reply. |
Myungja Anna KohArtist Categories
All
Archives
July 2024
|
Proudly powered by Weebly

 RSS Feed