How to create Etsy banner easily: Big sizeCreating a visually appealing Etsy banner with a larger size can help make your shop stand out. Here's a step-by-step guide on how to create an Etsy banner easily with a big size: Go to Edit shop like the hot pink colored mark: 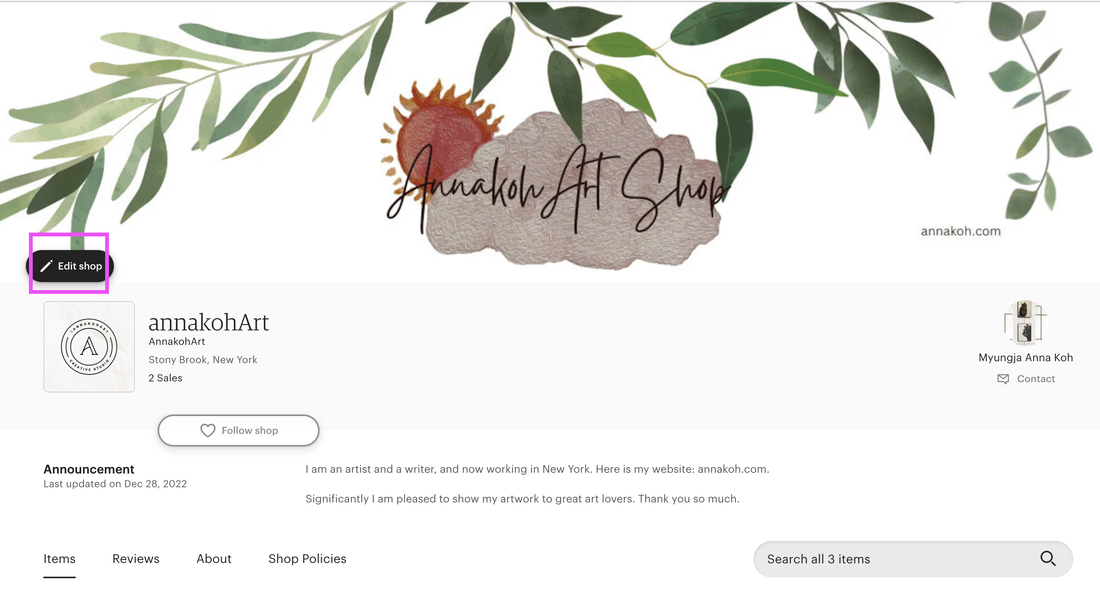 I used to go Canva.com to create a logo easily. Move to Canva.com and search words with Etsy banner and then you can find many styles templet like below. 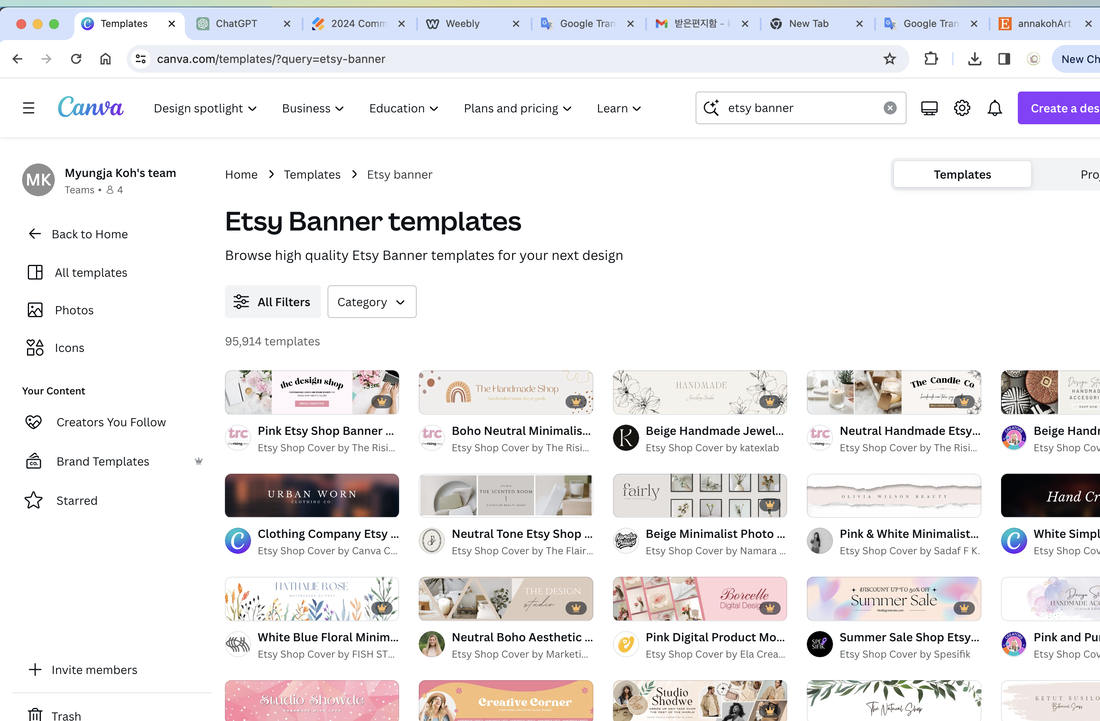 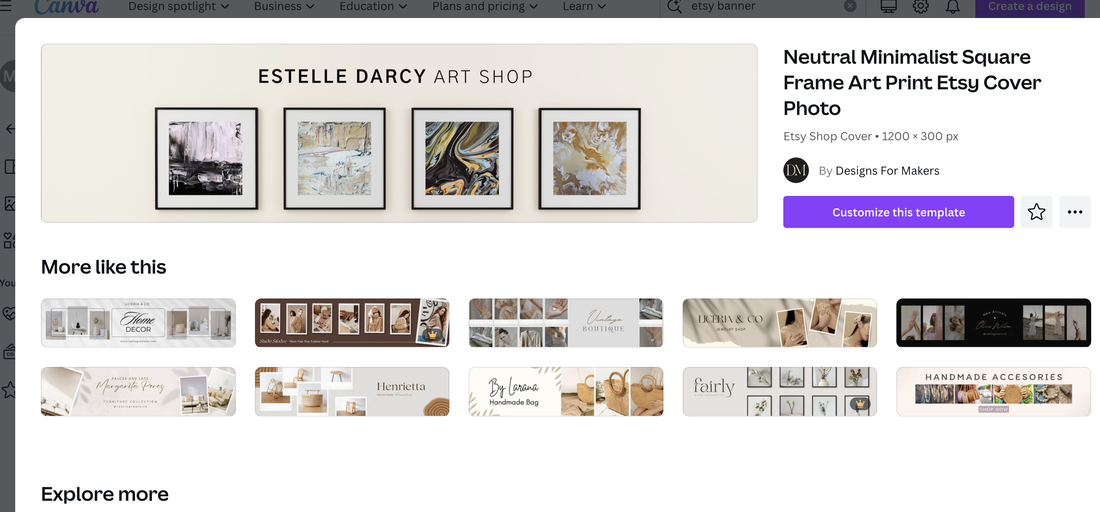 I choose one of them and customized like below. 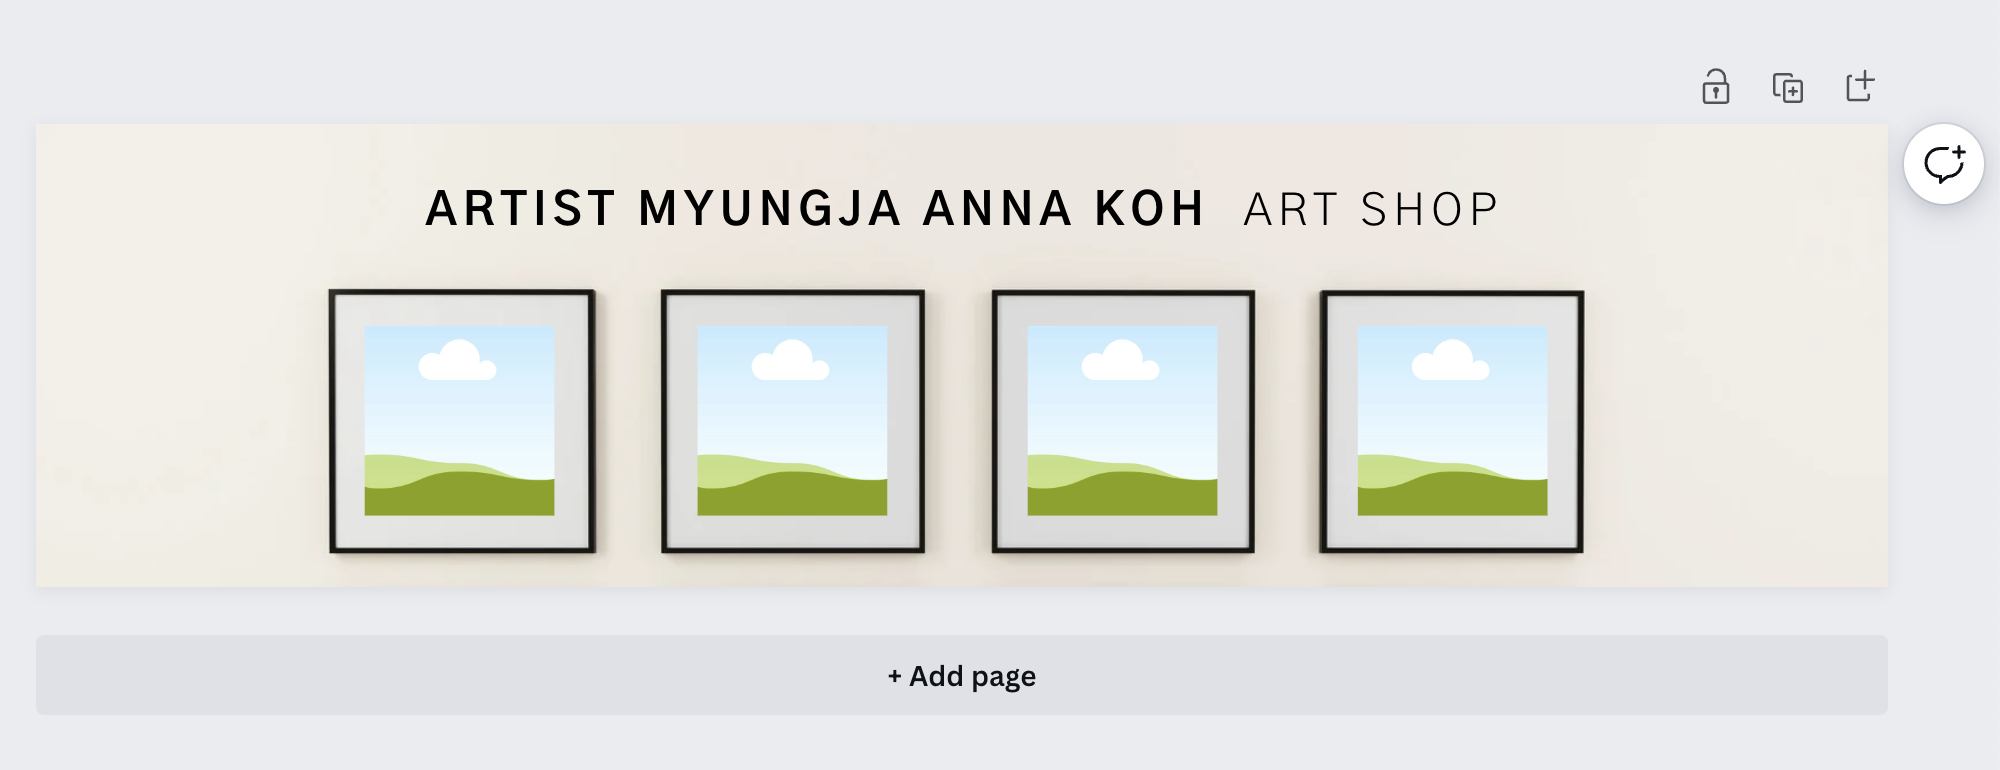 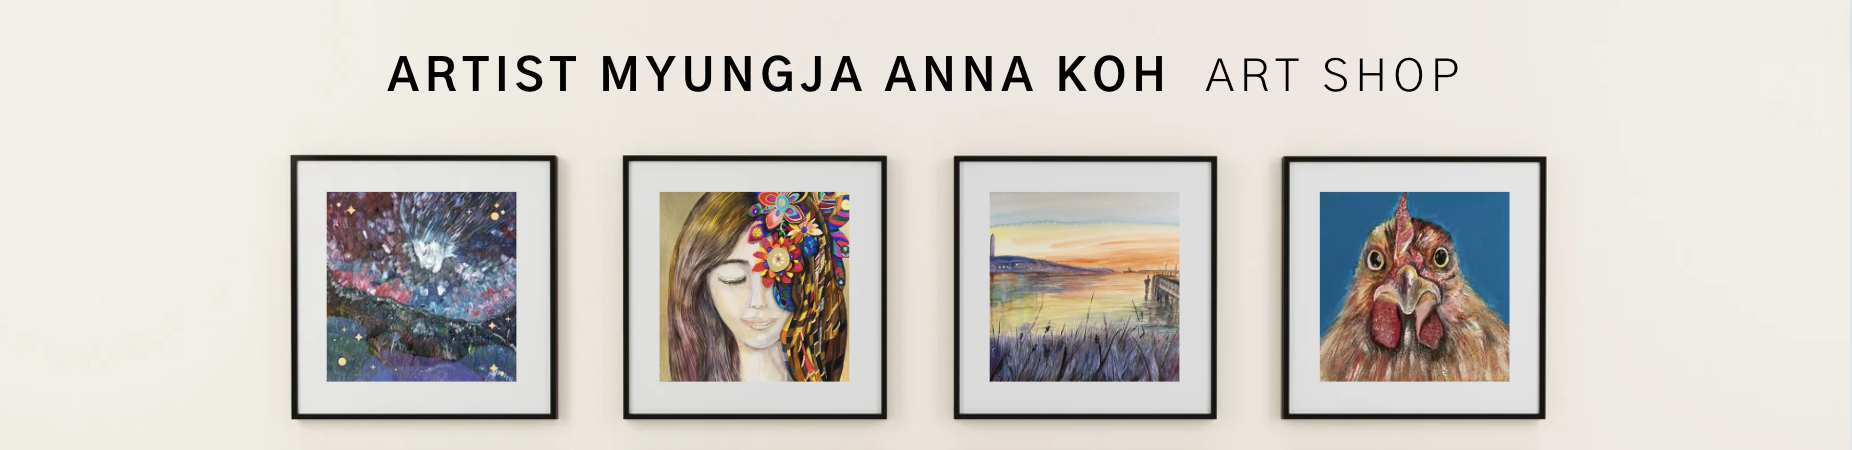 Important things to remind of making a clear banner. 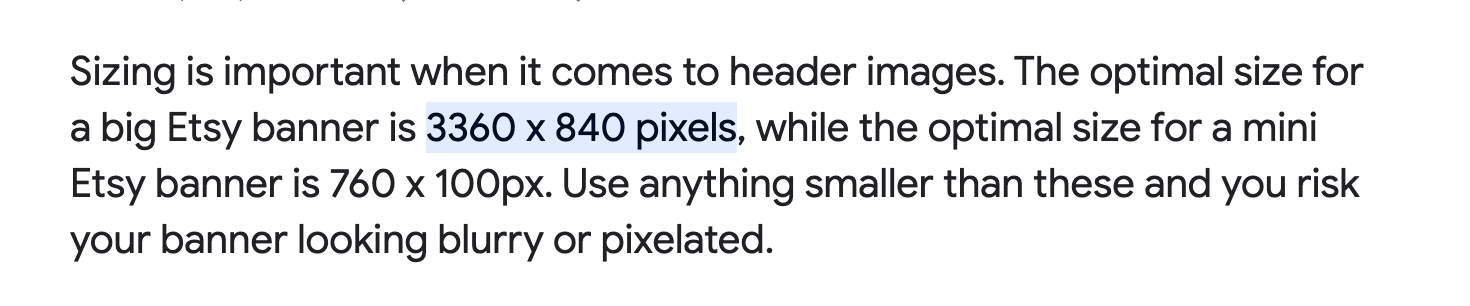 To avoid making a blurry banner, please make your file size like below: 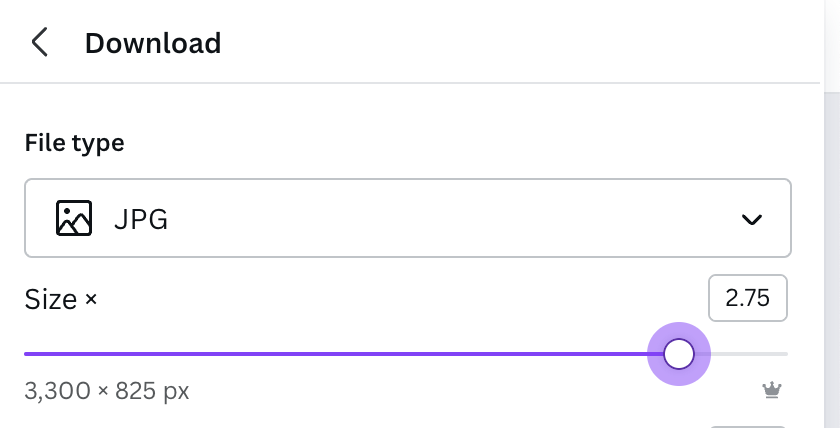 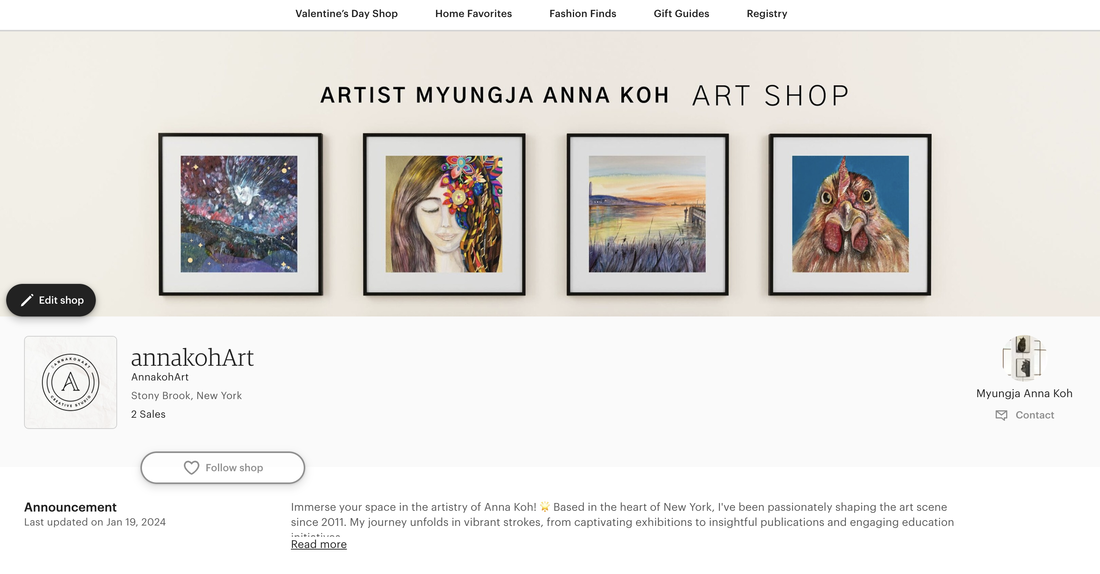 Immerse your space in the artistry of Anna Koh! 🌟 Based in the heart of New York, I've been passionately shaping the art scene since 2011. From captivating exhibitions to insightful publications and engaging education initiatives, my journey unfolds in vibrant strokes. The banner in an Etsy shop serves as a visual ambassador, embodying the essence of the seller's brand and acting as the digital storefront's welcoming facade. Its importance extends far beyond a mere decorative element; it plays a pivotal role in shaping the overall shopping experience and influencing customer perceptions.
First and foremost, the banner serves as the initial point of contact between the seller and the potential buyer. In the vast marketplace that is Etsy, where countless shops vie for attention, a compelling and well-designed banner becomes the proverbial handshake, making a lasting first impression. This visual handshake is instrumental in capturing the interest of visitors and inviting them to explore further. Beyond aesthetics, the banner encapsulates the brand identity of the shop. It is a canvas upon which the unique personality, style, and values of the seller are painted. Whether through the choice of colors, fonts, or imagery, the banner communicates a distinct message about the products and the artisan behind them. Consistency in branding, as reflected in the banner, cultivates recognition, fostering a sense of trust and loyalty among customers. The banner also serves a functional role in providing essential information at a glance. Shop names, taglines, or promotional messages can be strategically incorporated, aiding in immediate brand recall. This quick conveyance of information is particularly valuable in a fast-paced online marketplace where attention spans are fleeting. Moreover, the banner can act as a promotional tool, communicating sales, discounts, or special announcements. Its prime real estate at the top of the shop page makes it an effective space to showcase the latest offerings or entice customers with limited-time promotions. This dynamic aspect of the banner keeps the shop fresh, encouraging repeat visits and engagement. In essence, the Etsy shop banner is a multifaceted asset that goes beyond mere aesthetics. It encapsulates the seller's brand identity, makes a lasting first impression, provides essential information, and serves as a dynamic promotional tool. It is the visual cornerstone of an Etsy shop, contributing significantly to the overall success and customer engagement within the bustling digital marketplace.
0 Comments
How to create a Etsy Logo easily.Today I’m going to share how to create a simple logo for an Edge store. The size of the edge logo must be at least 500 x 500 pixels.  I used to go to the Canva site canva.com, like below, to make a logo. * If you want to move to the Canva site, please click the below screen. 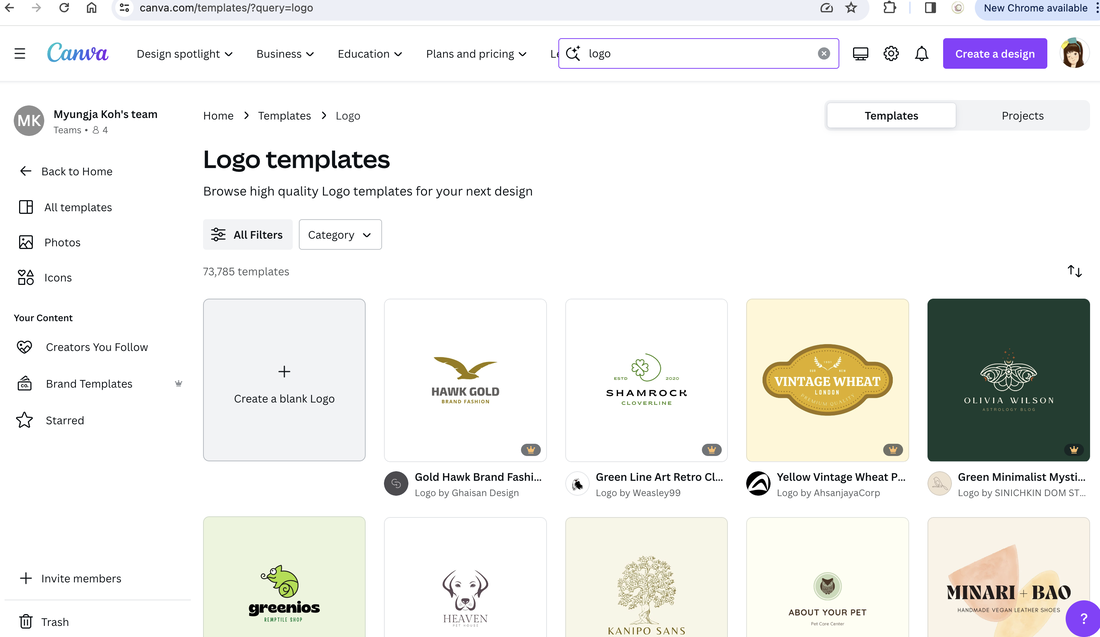 Create or customize your logo with Canva templet. Move to 'Magic Switch' for resize it. 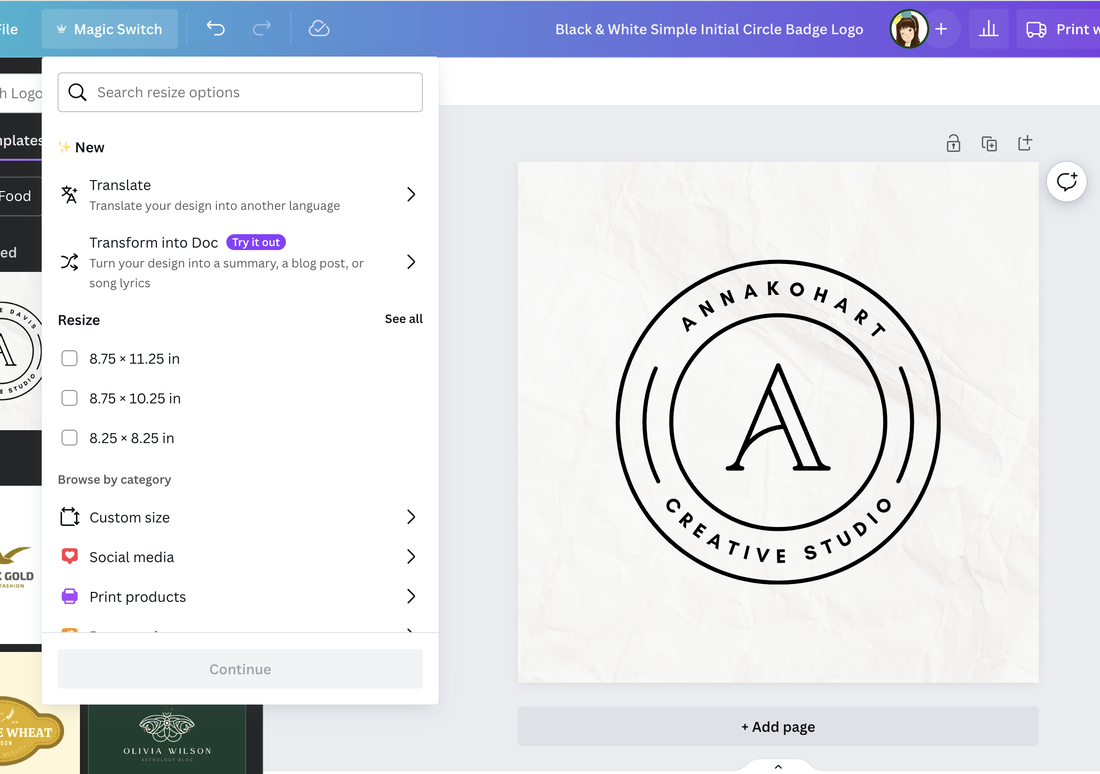 In my case, I made it as a minimal size like below. 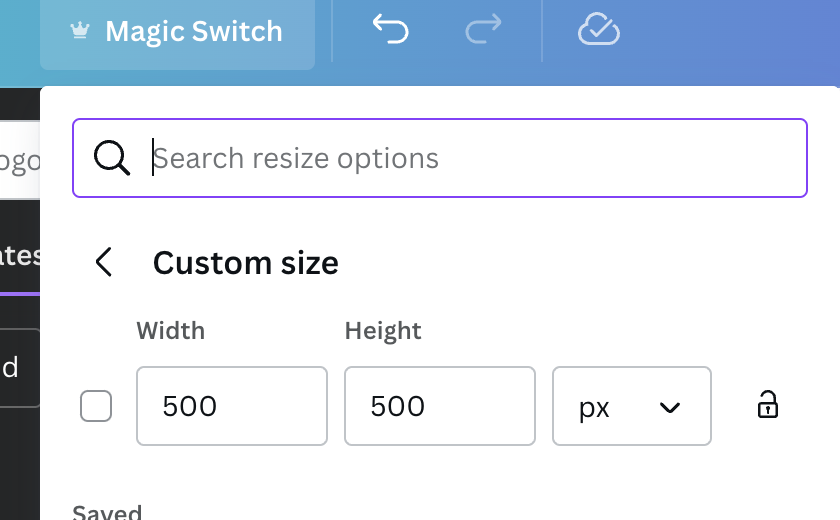 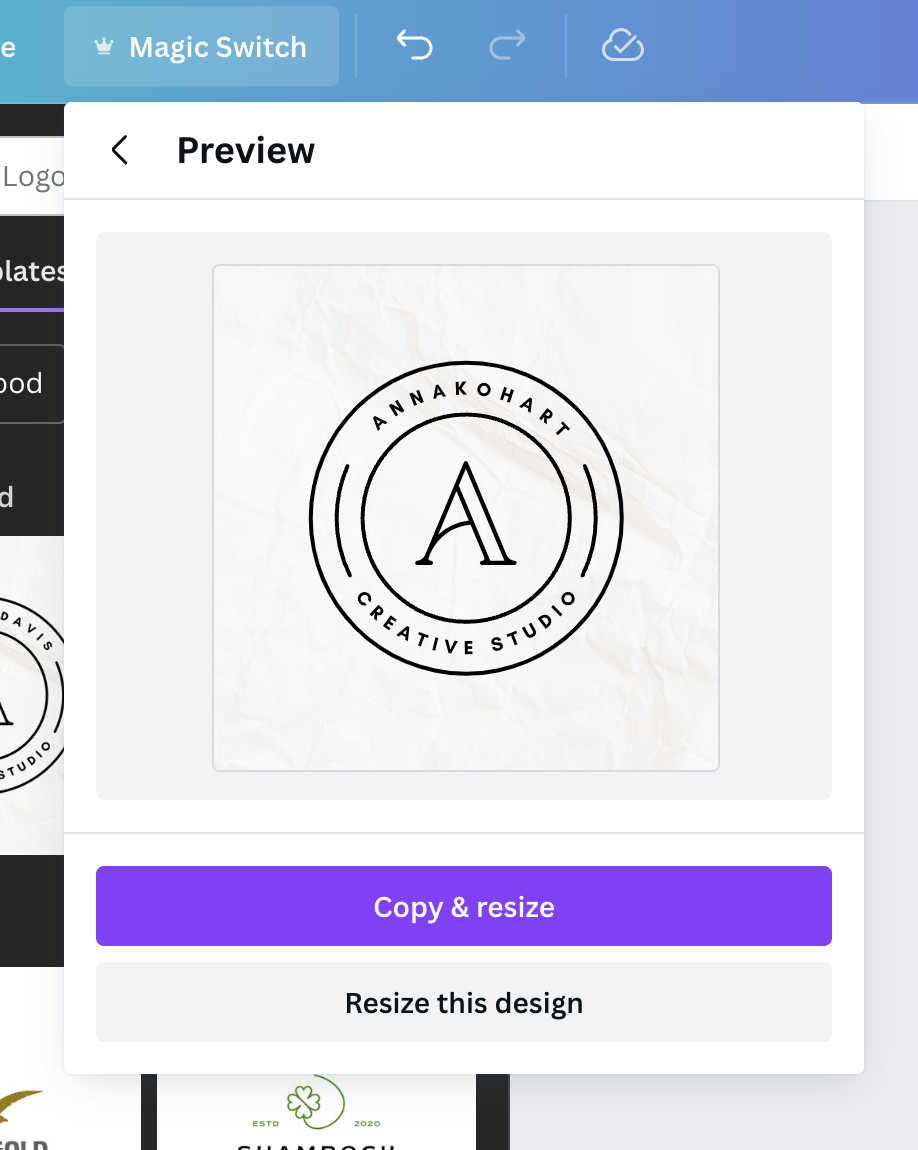 Check it through a preview window. 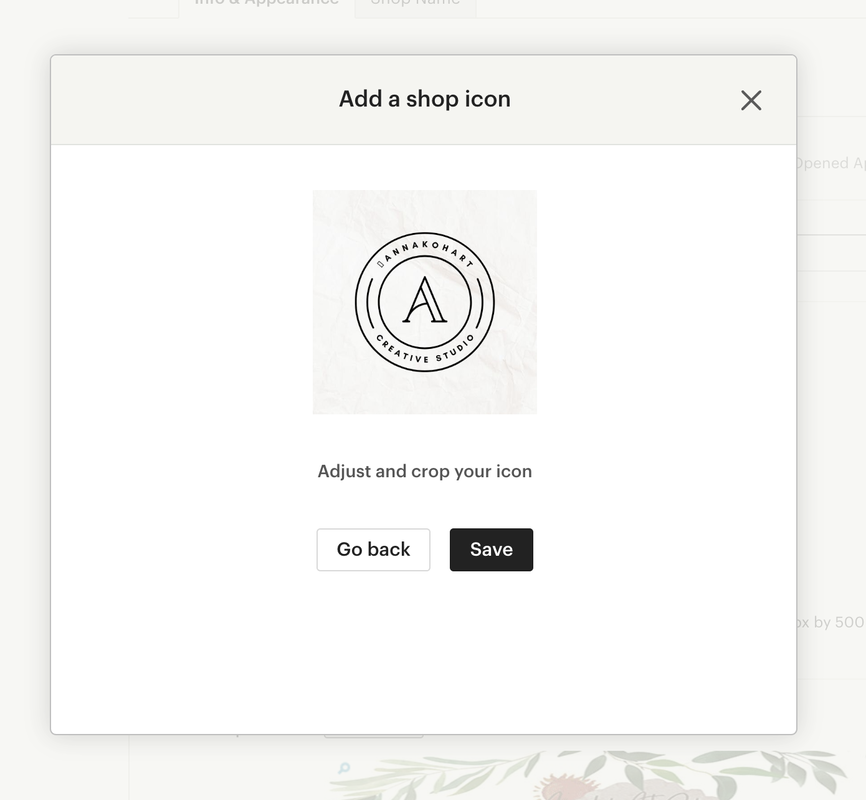 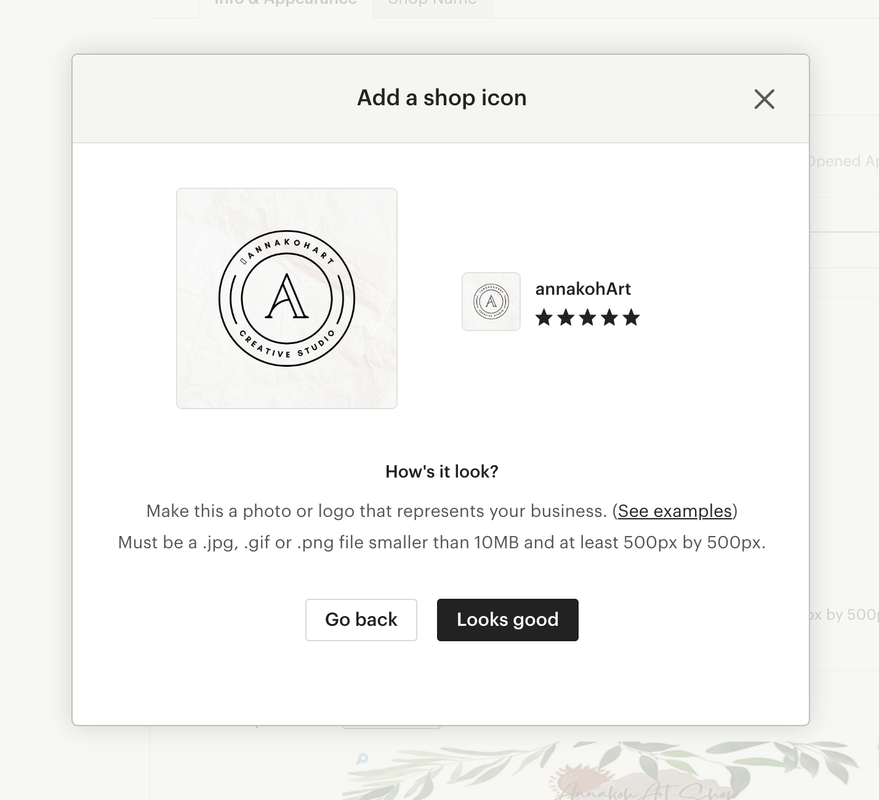 Here is a result! 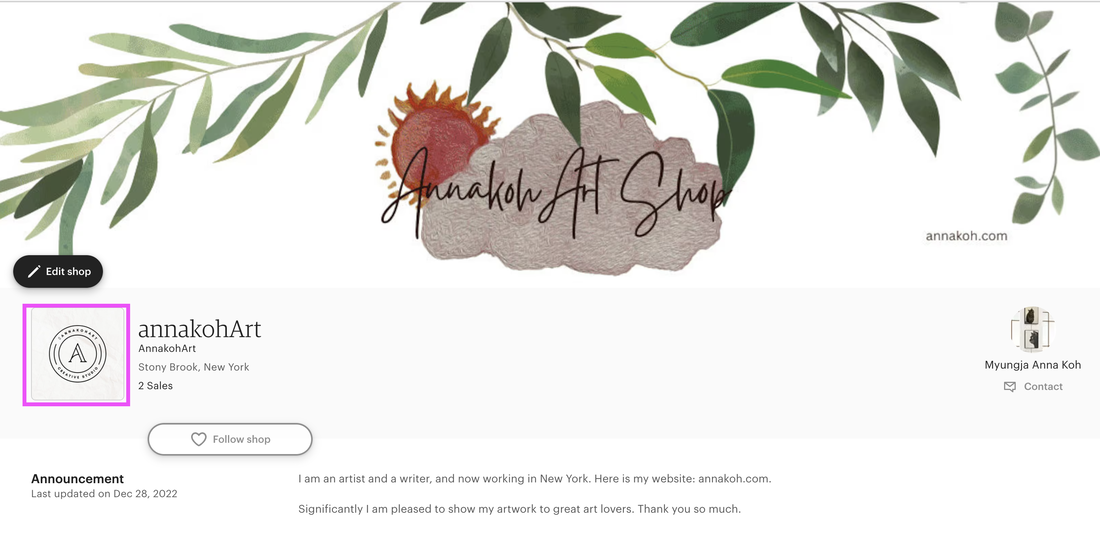 Why setting categories is important in KDP publishingWhen publishing with KDP, you will see the option to set a category as shown below. On the Amazon Store, open the Categories drop-down menu at the top of the page to view available categories and click on your preferred option. 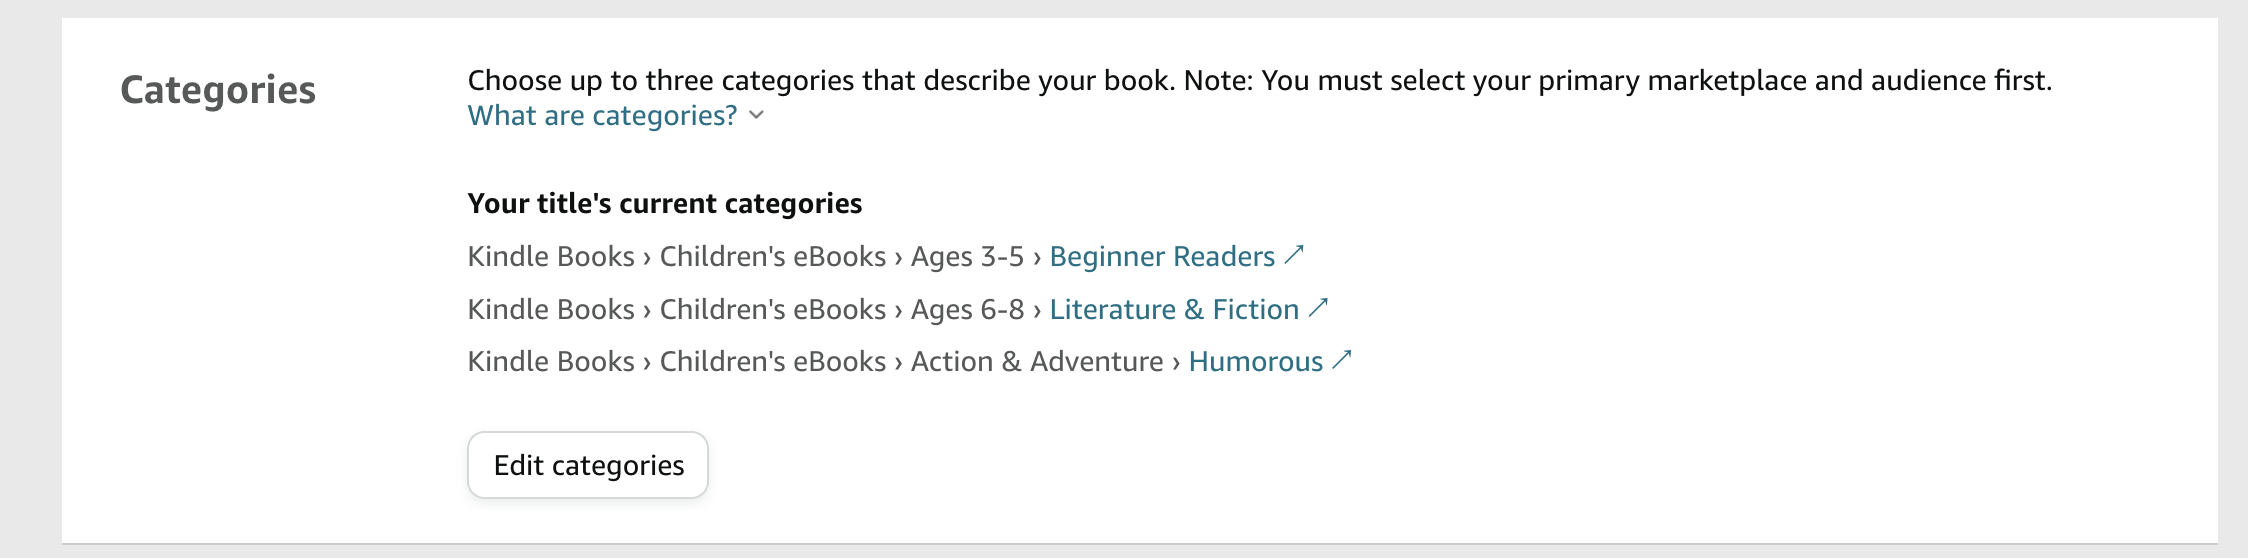 Of course, it is also very important to set keywords as shown below. 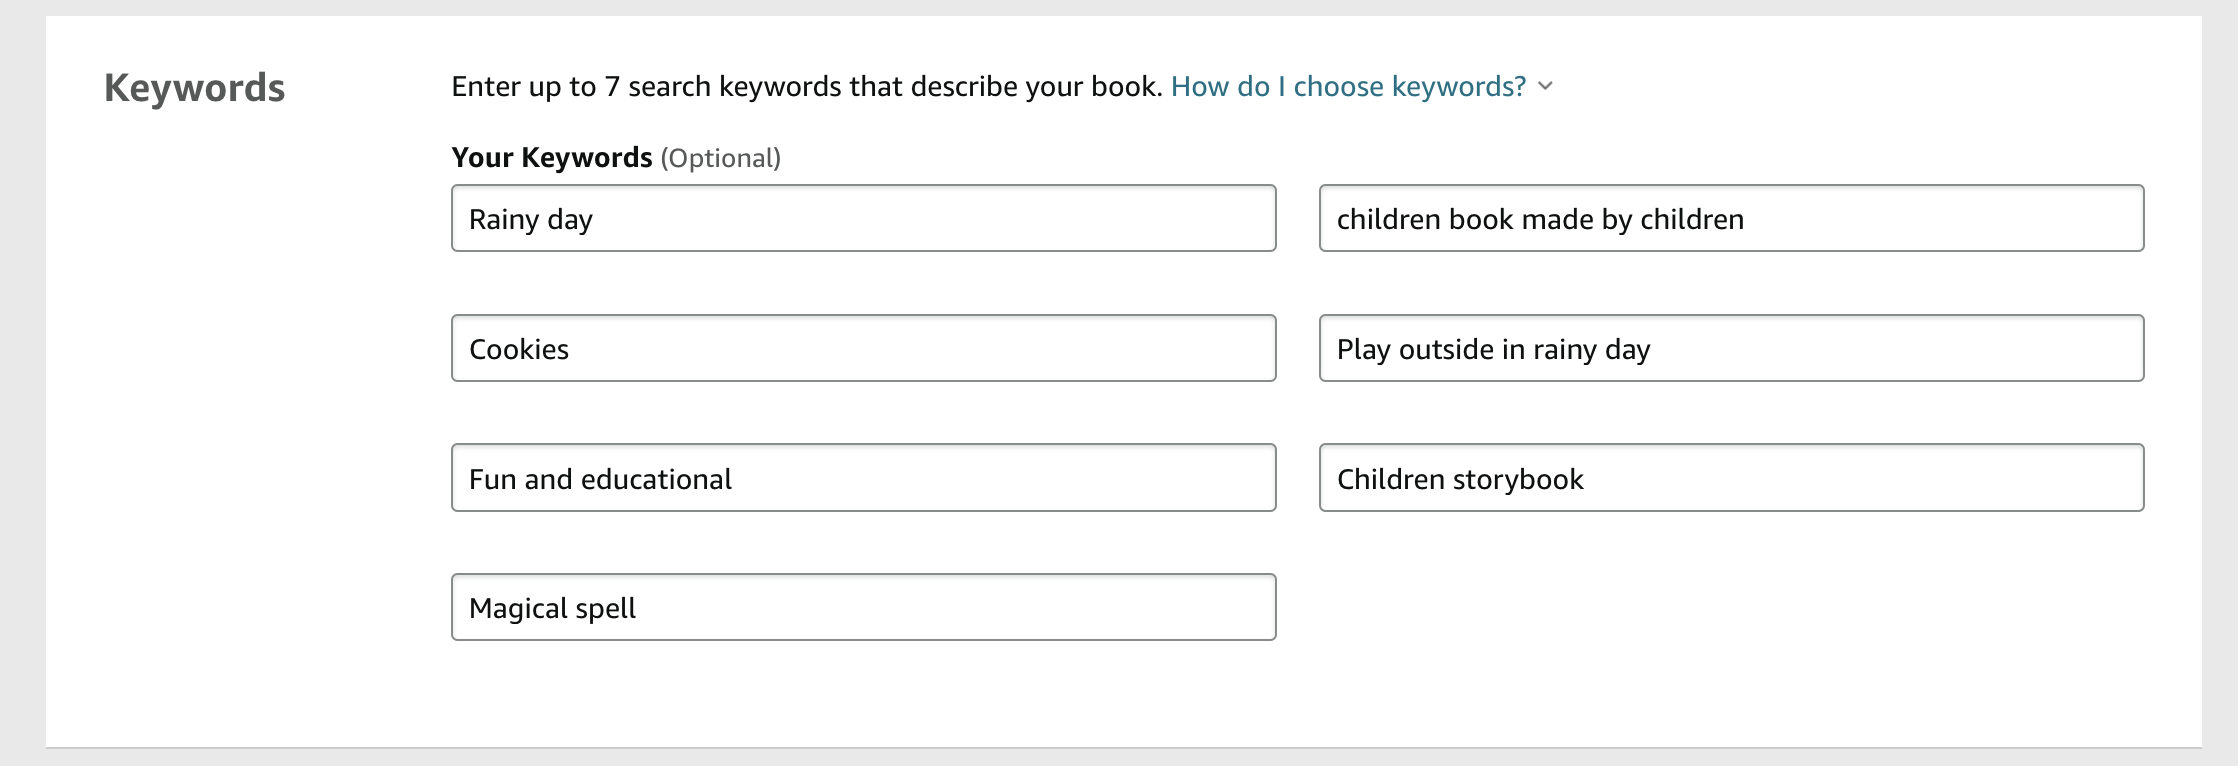 If you make good use of the niche market in the category setting, the probability that your book will enter the bestseller list and be read by more people increases, as shown below. 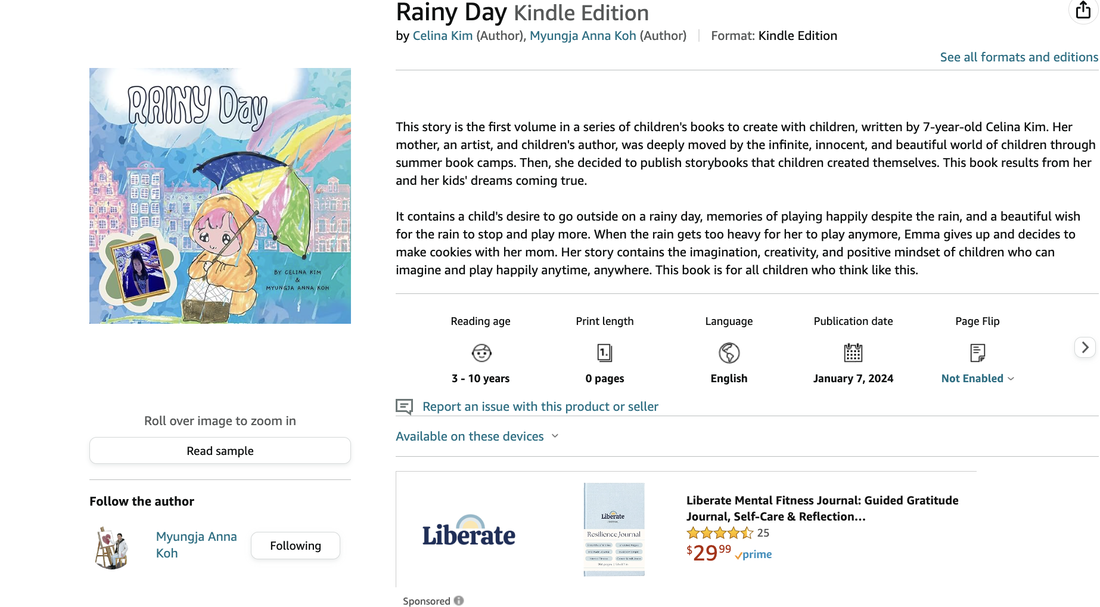 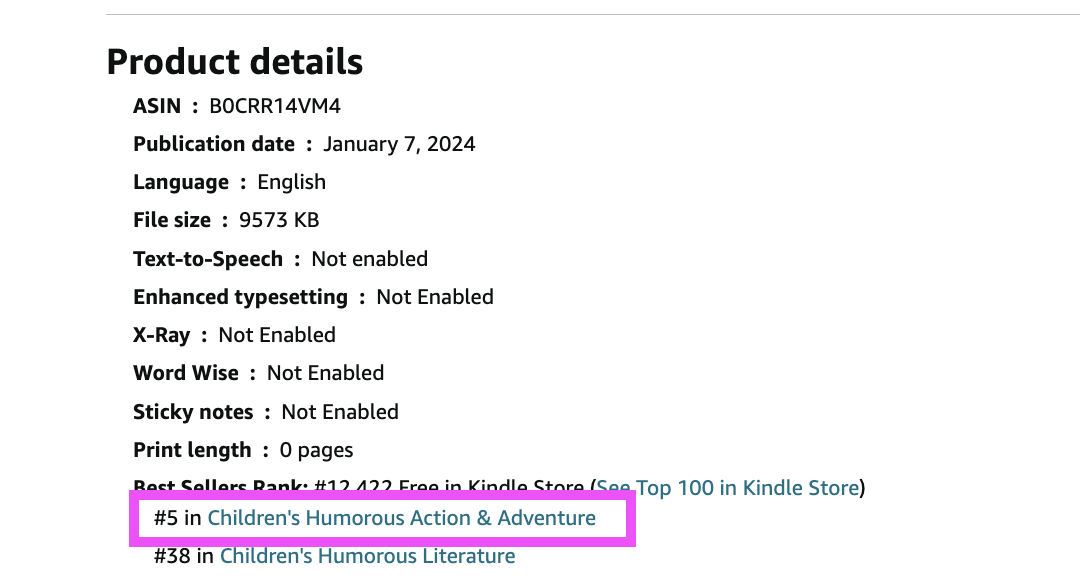 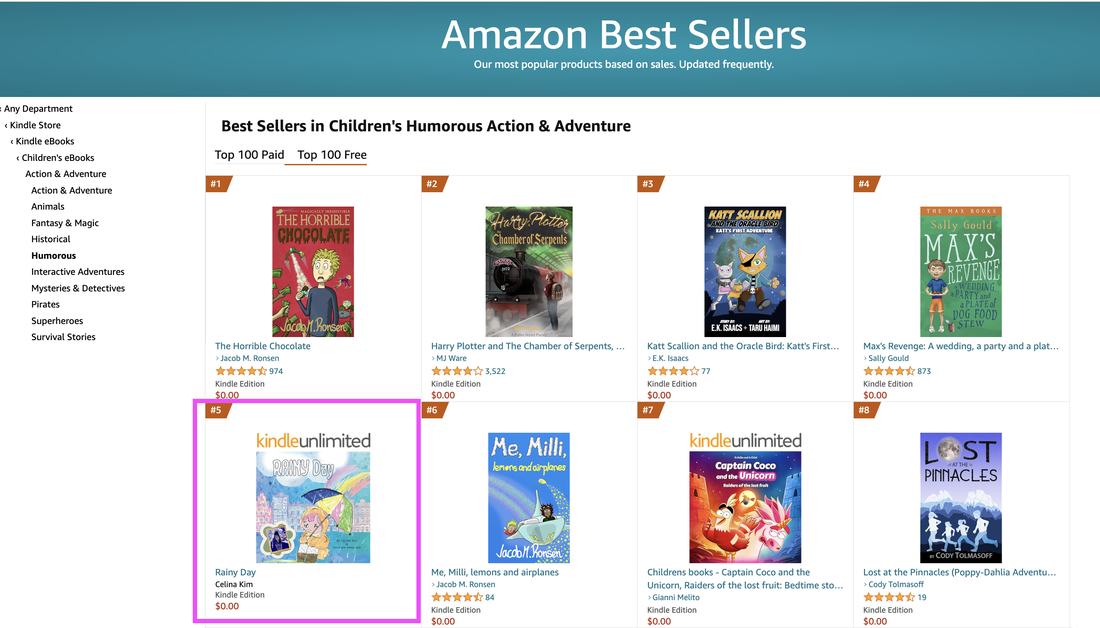 Best of all, a free book my child and I recently wrote ranked #5 on the bestseller list in the humor and adventure category.
How to merge Amazon Author Page.As shown below, I published a total of 7 books with Amazon KDP Publishing. However, I only see 6 books on my Amazon Author Central page. The reason is because I created two duplicate author pages. Today we will learn how to separate these two pages. 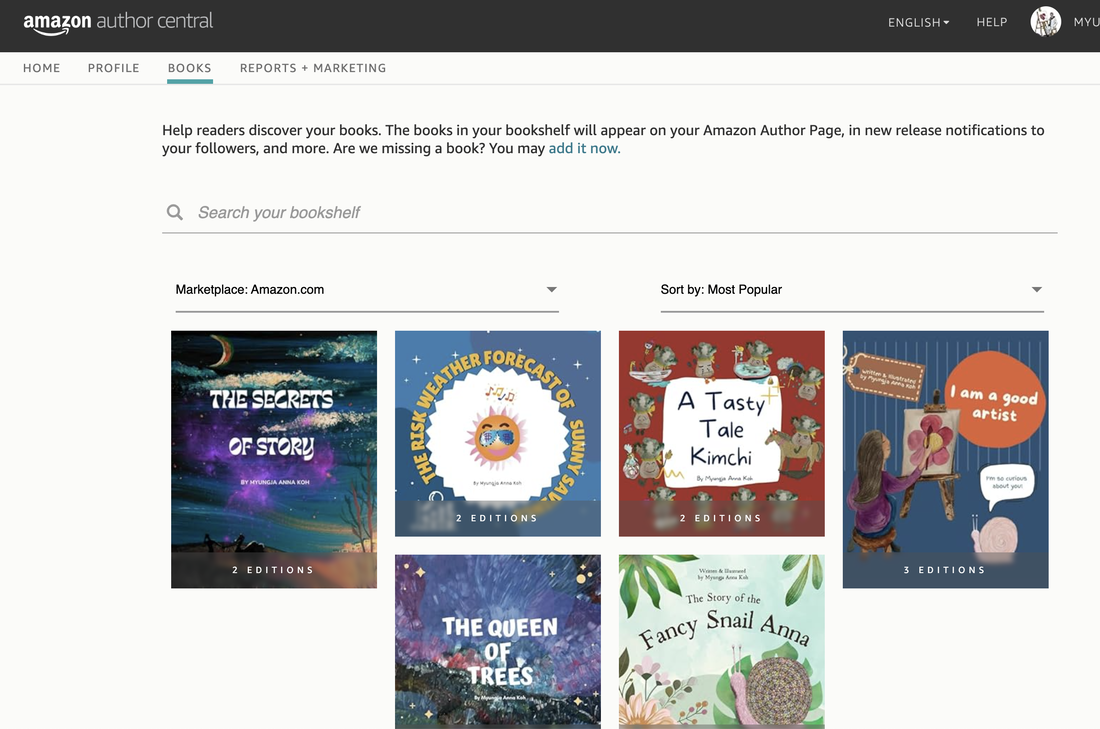 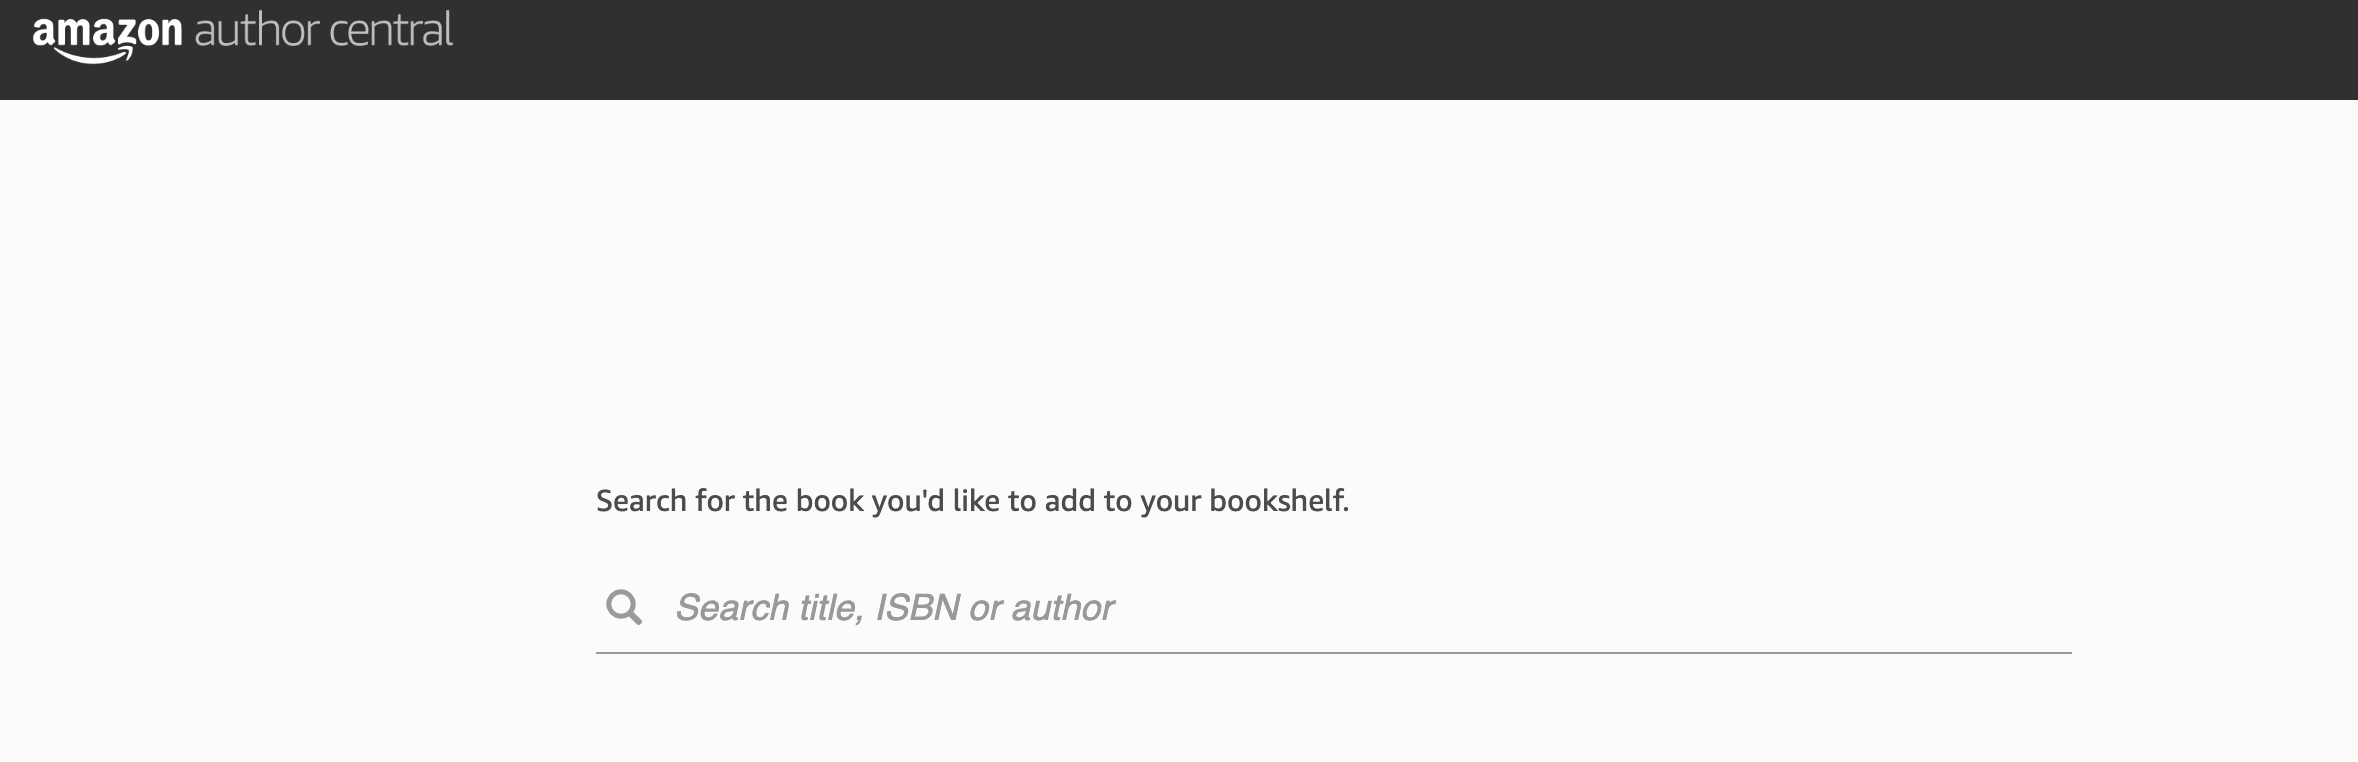 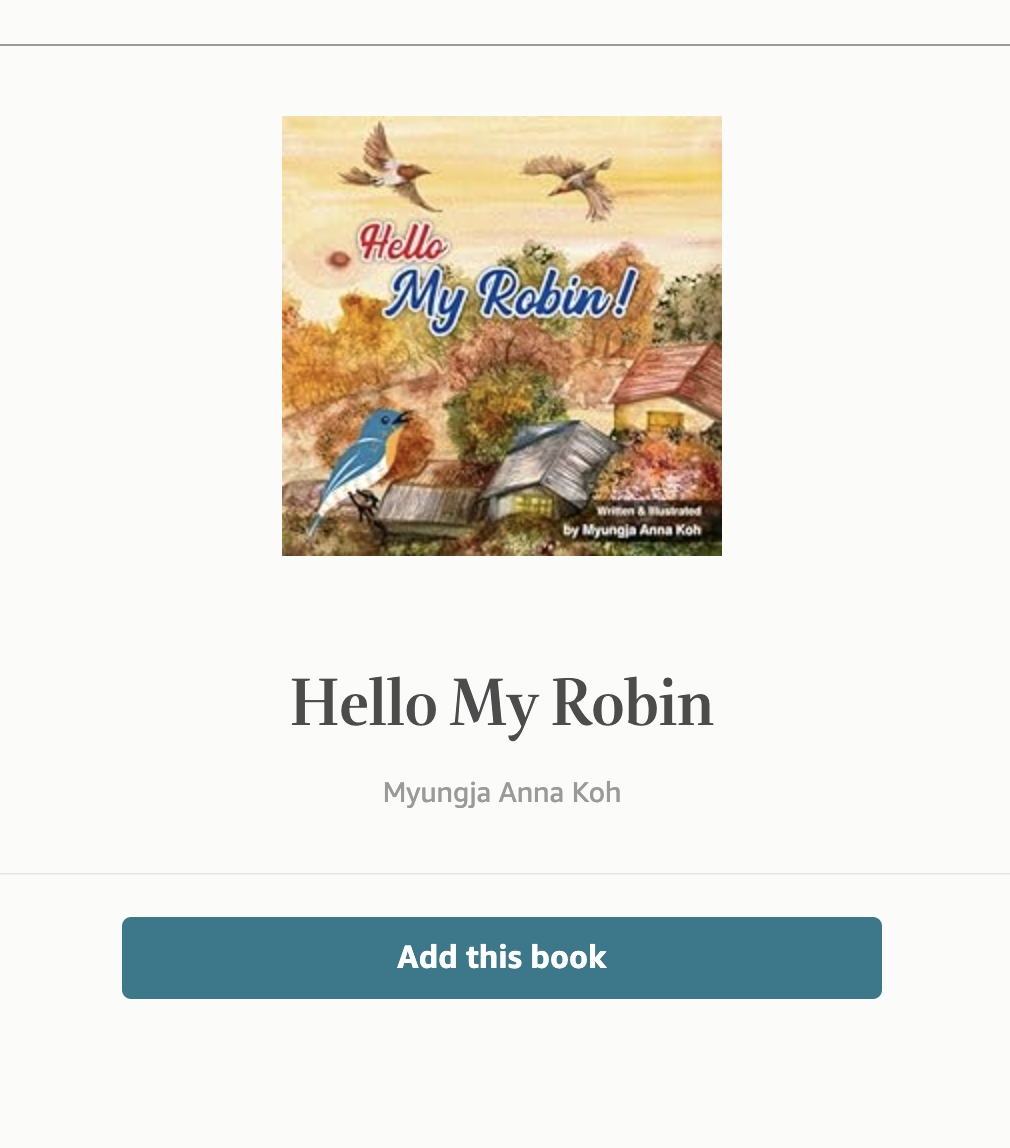 If you have created duplicate author pages, you will see the message below: 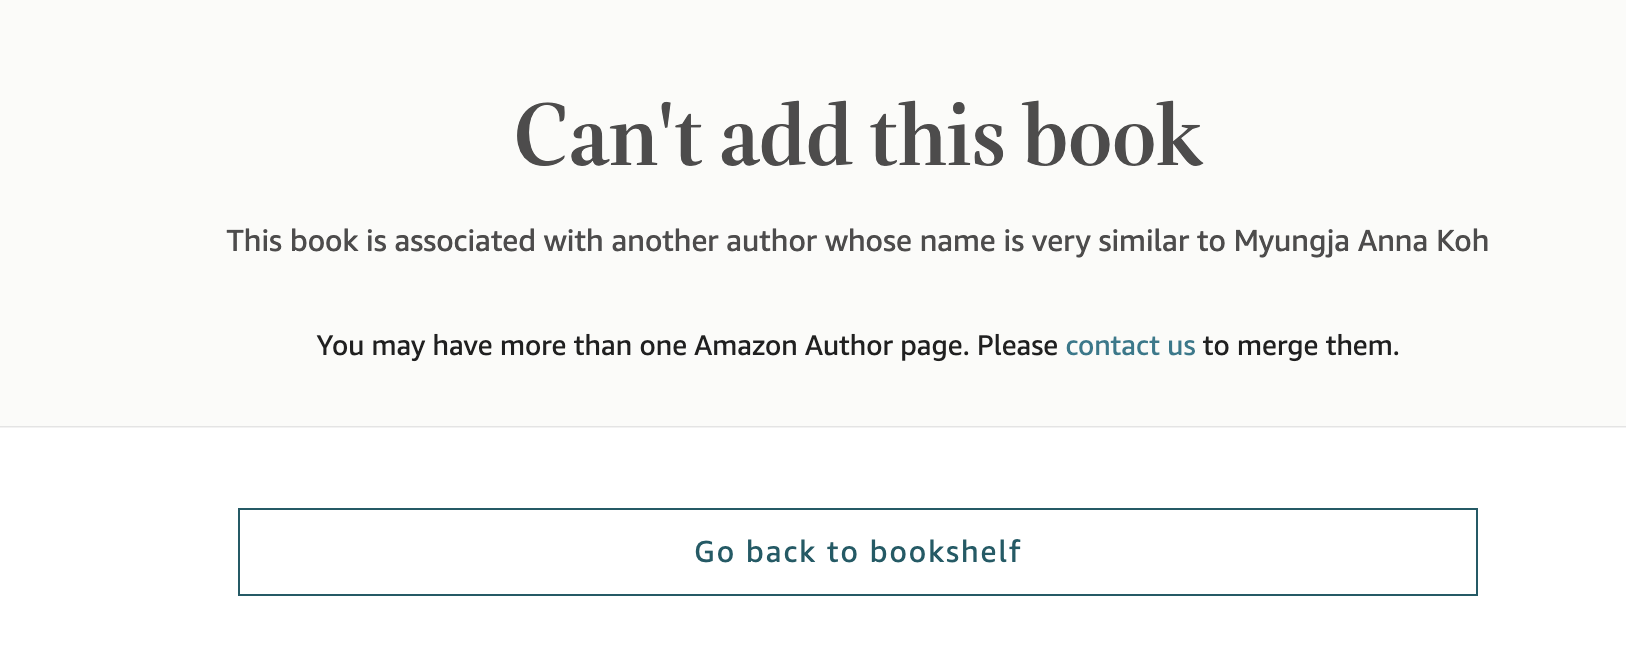 Troubleshooting is simpler than you might expect. First, go to the Amazon Author Central page. First, go to your Amazon KDP site, go to Marketing, and then go to the Author Central site. 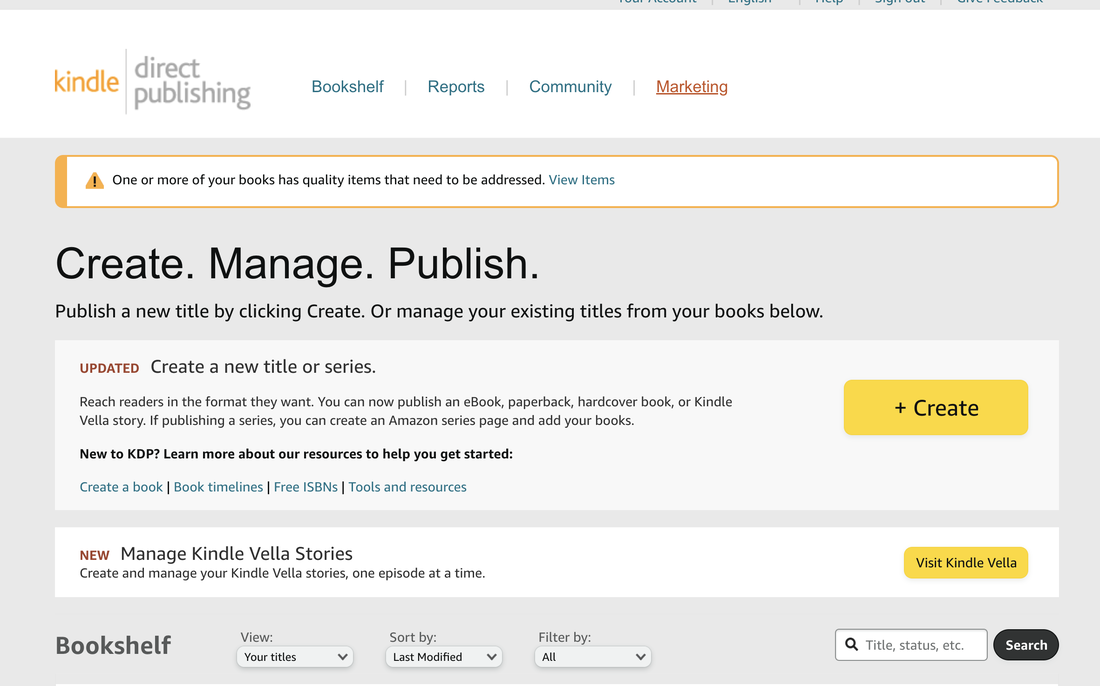 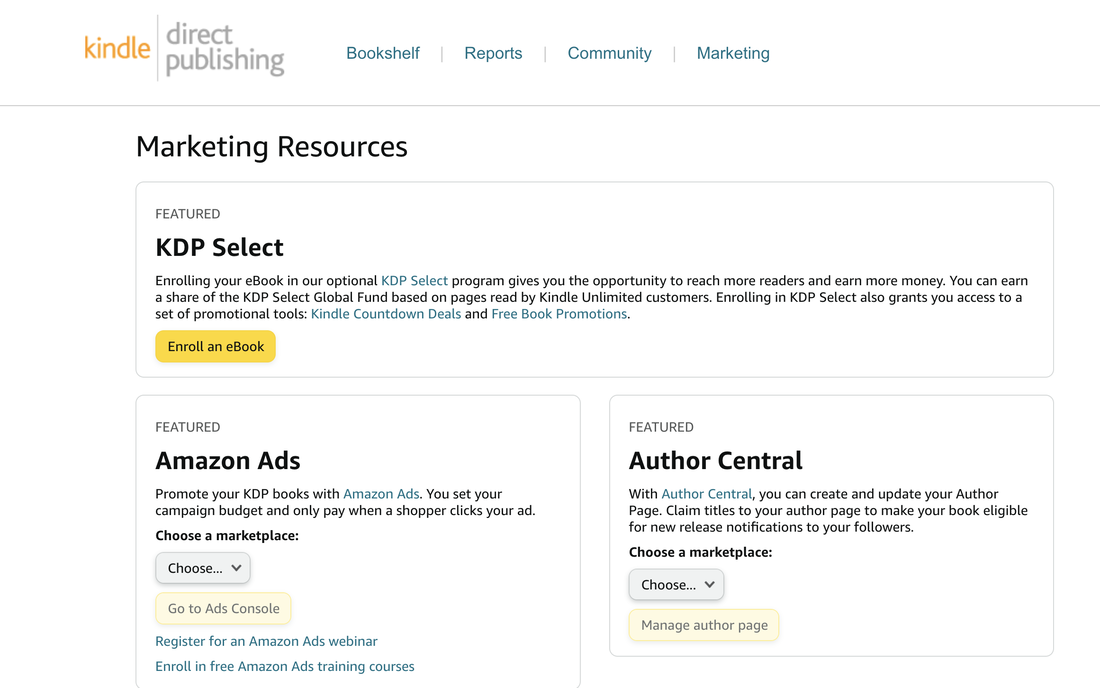 Then click Contact Us right below the homepage. 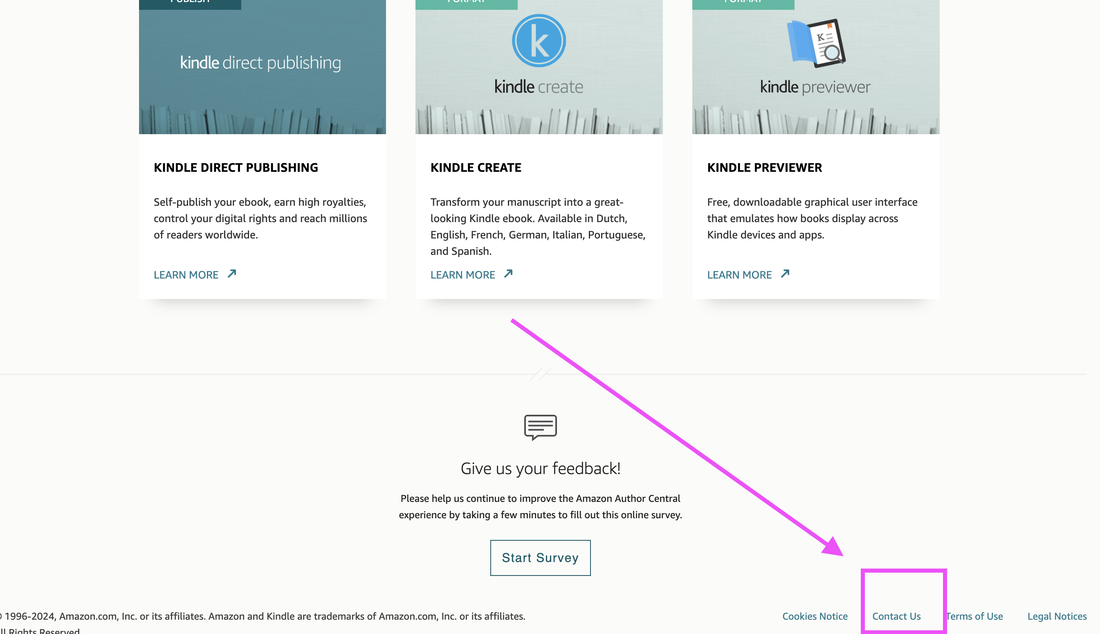 On the Contact Us page, click on the link for duplicate author sites by clicking on the author profile. 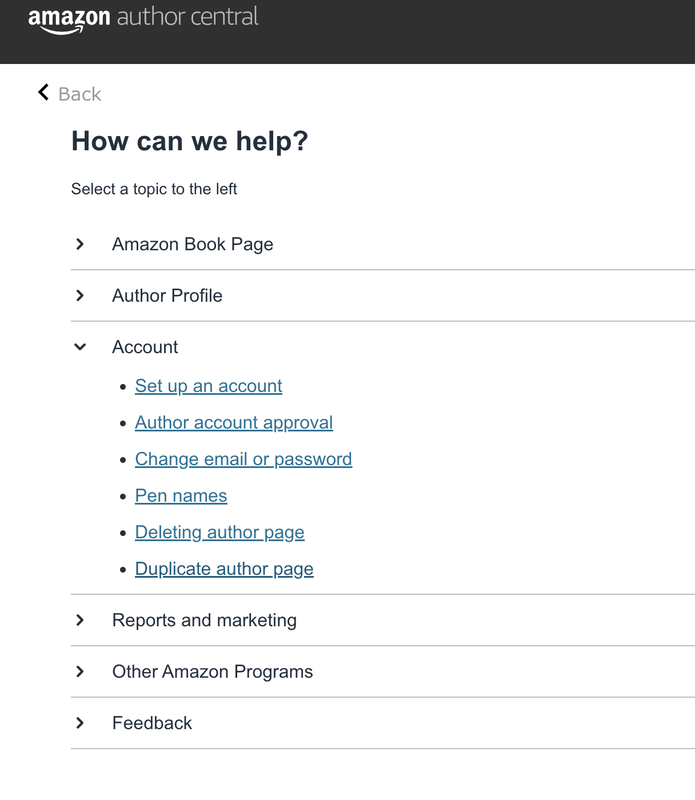 All you have to do is follow the instructions below and write down the link to the current author page and the duplicate author page and send it to us. 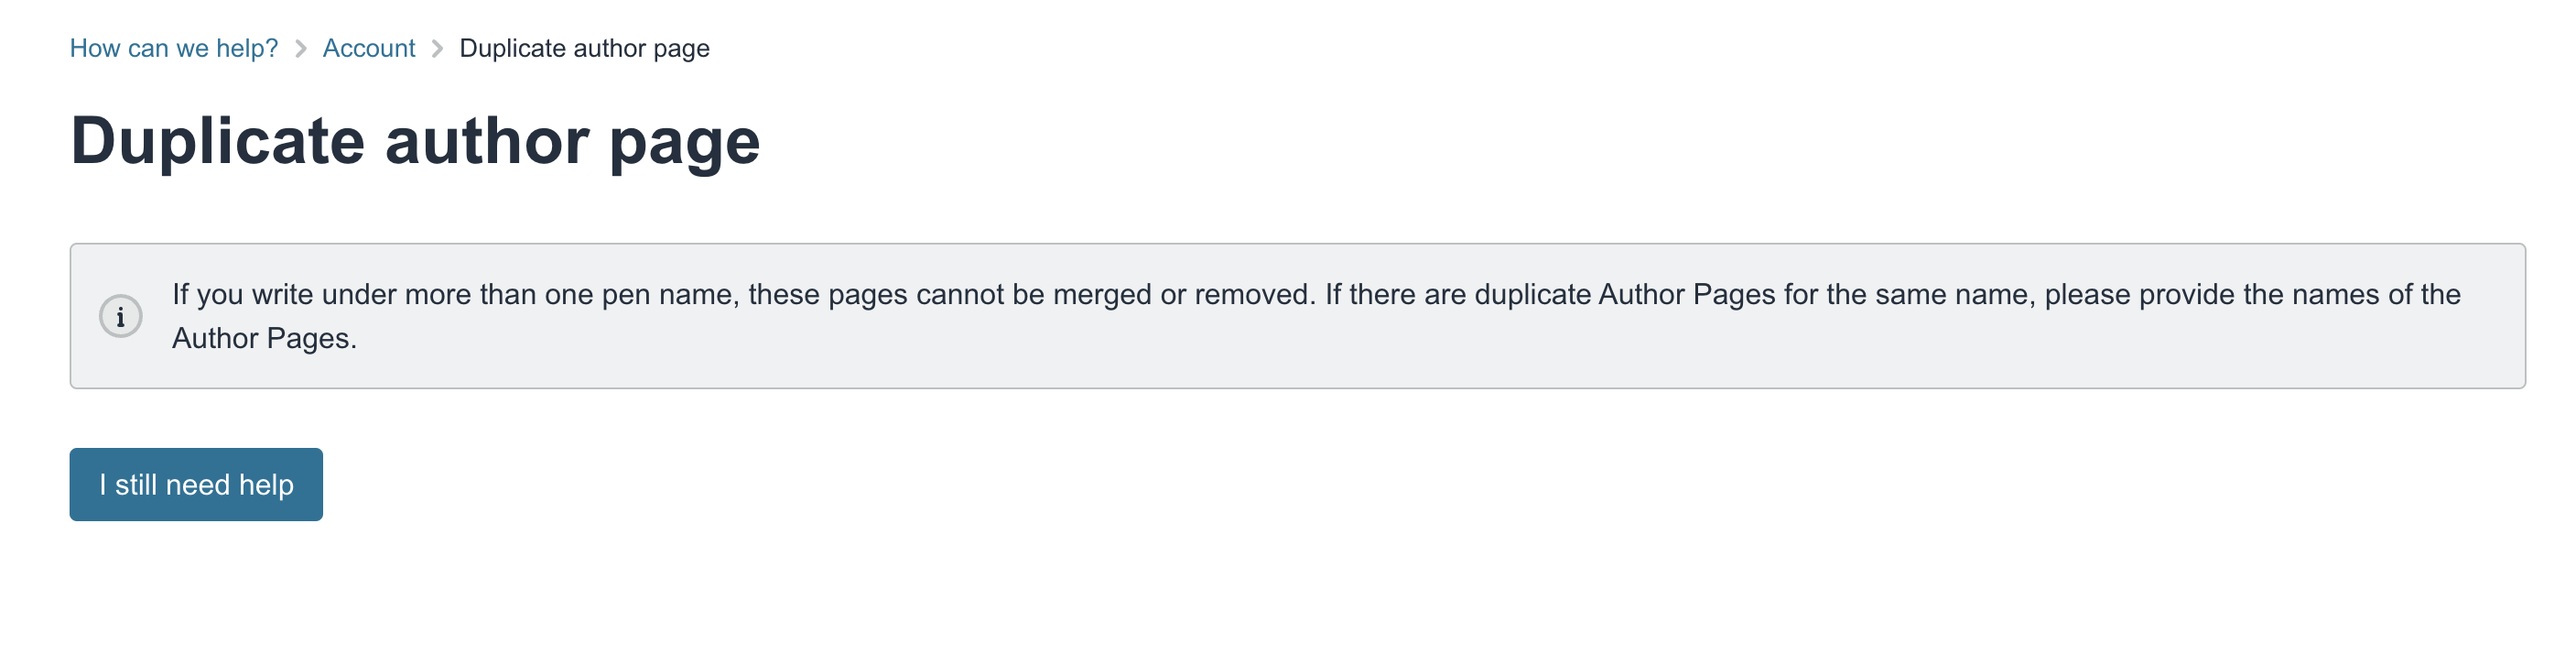 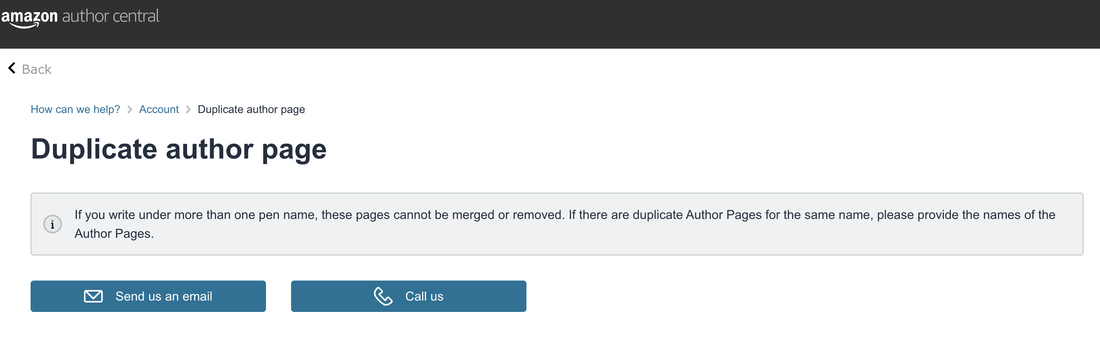 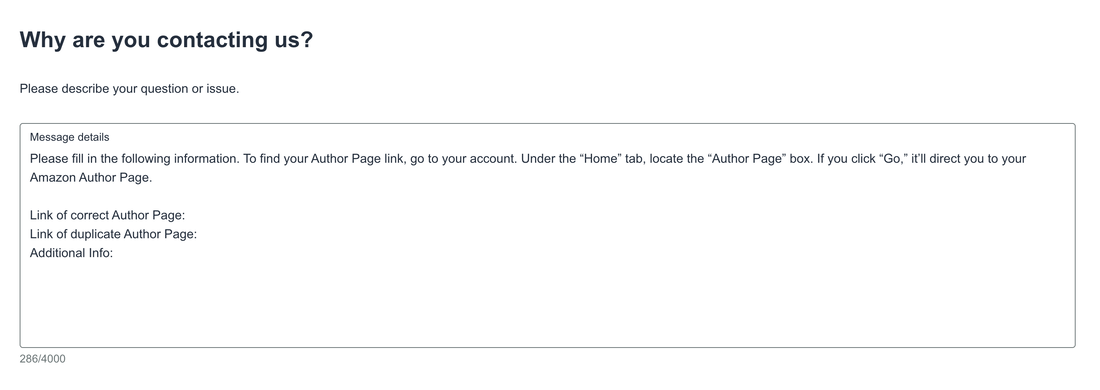 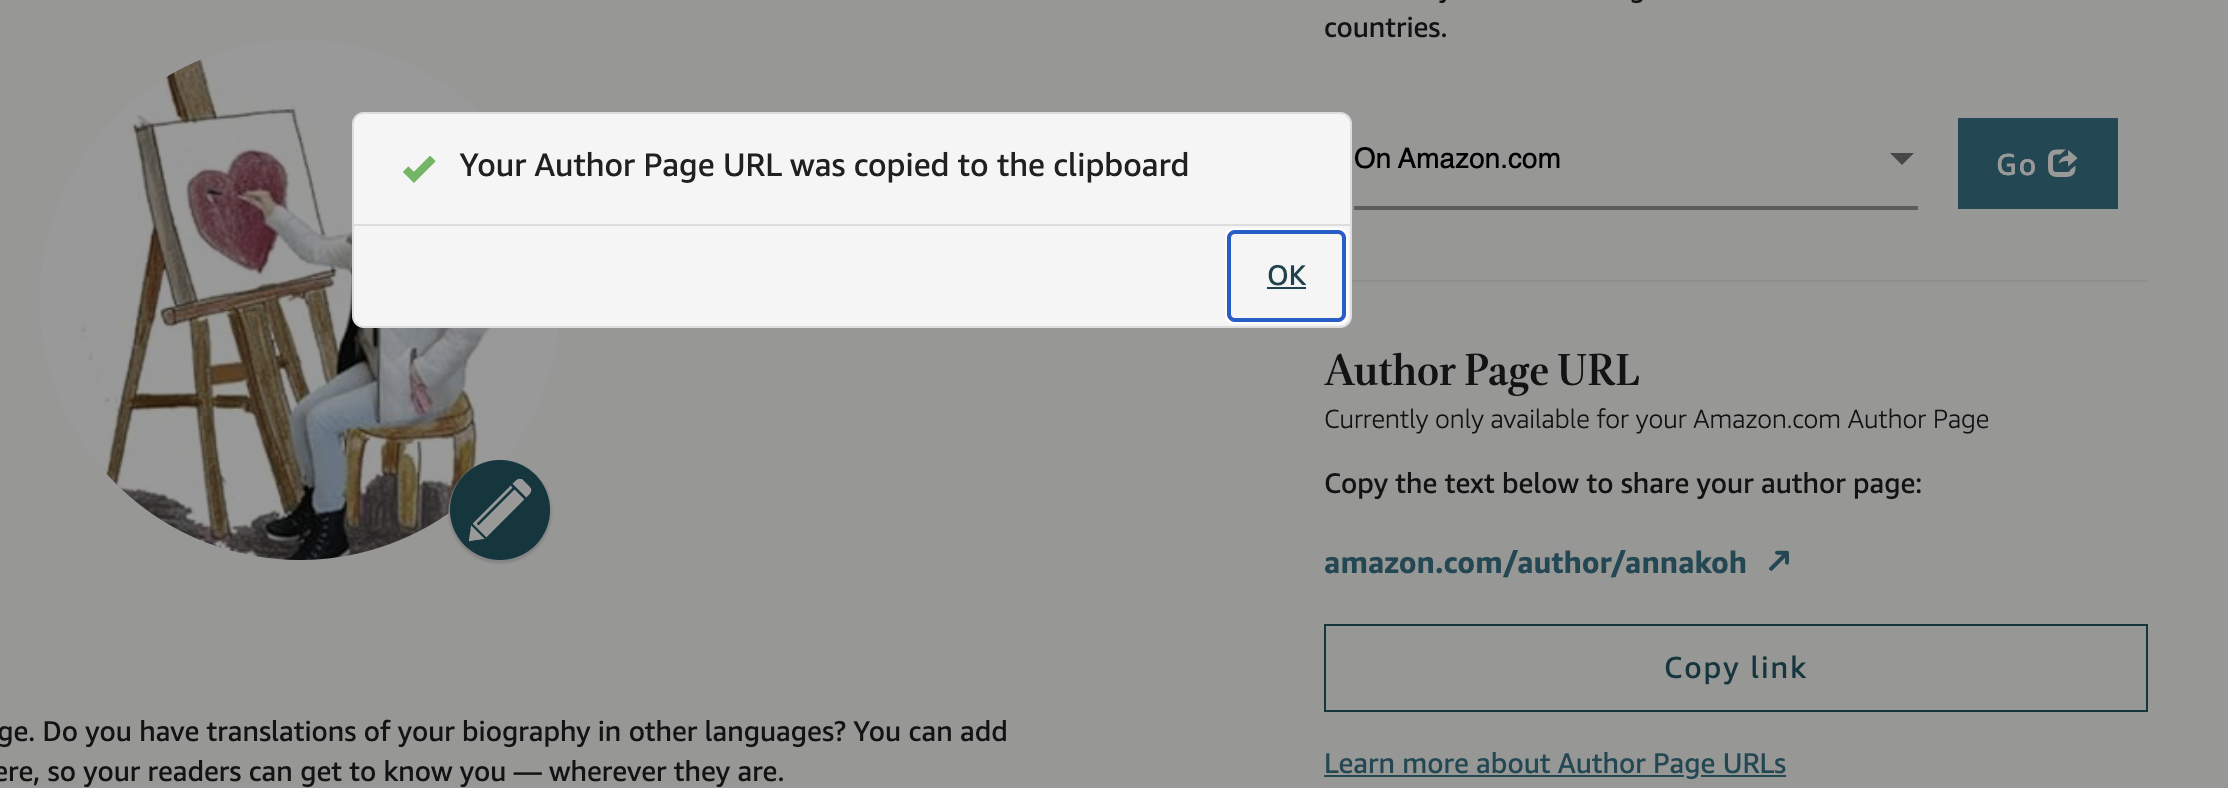 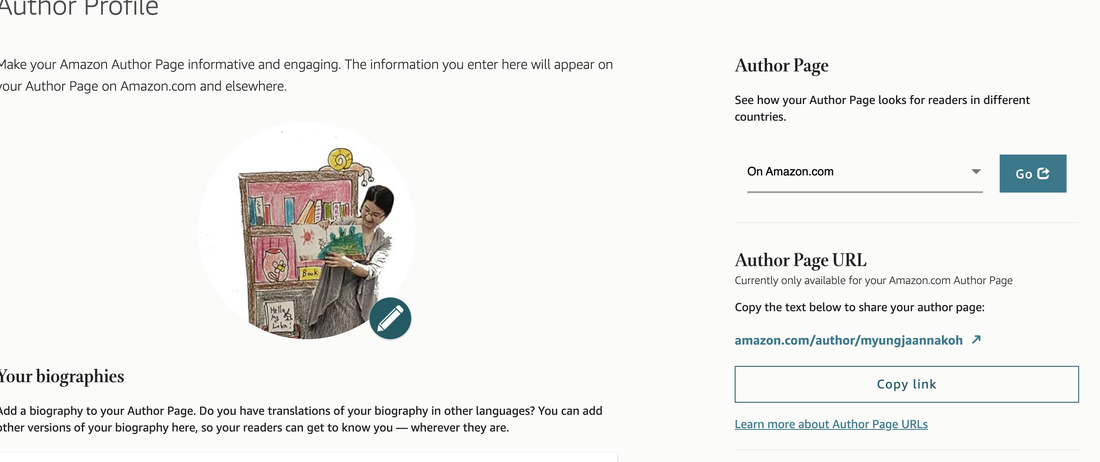 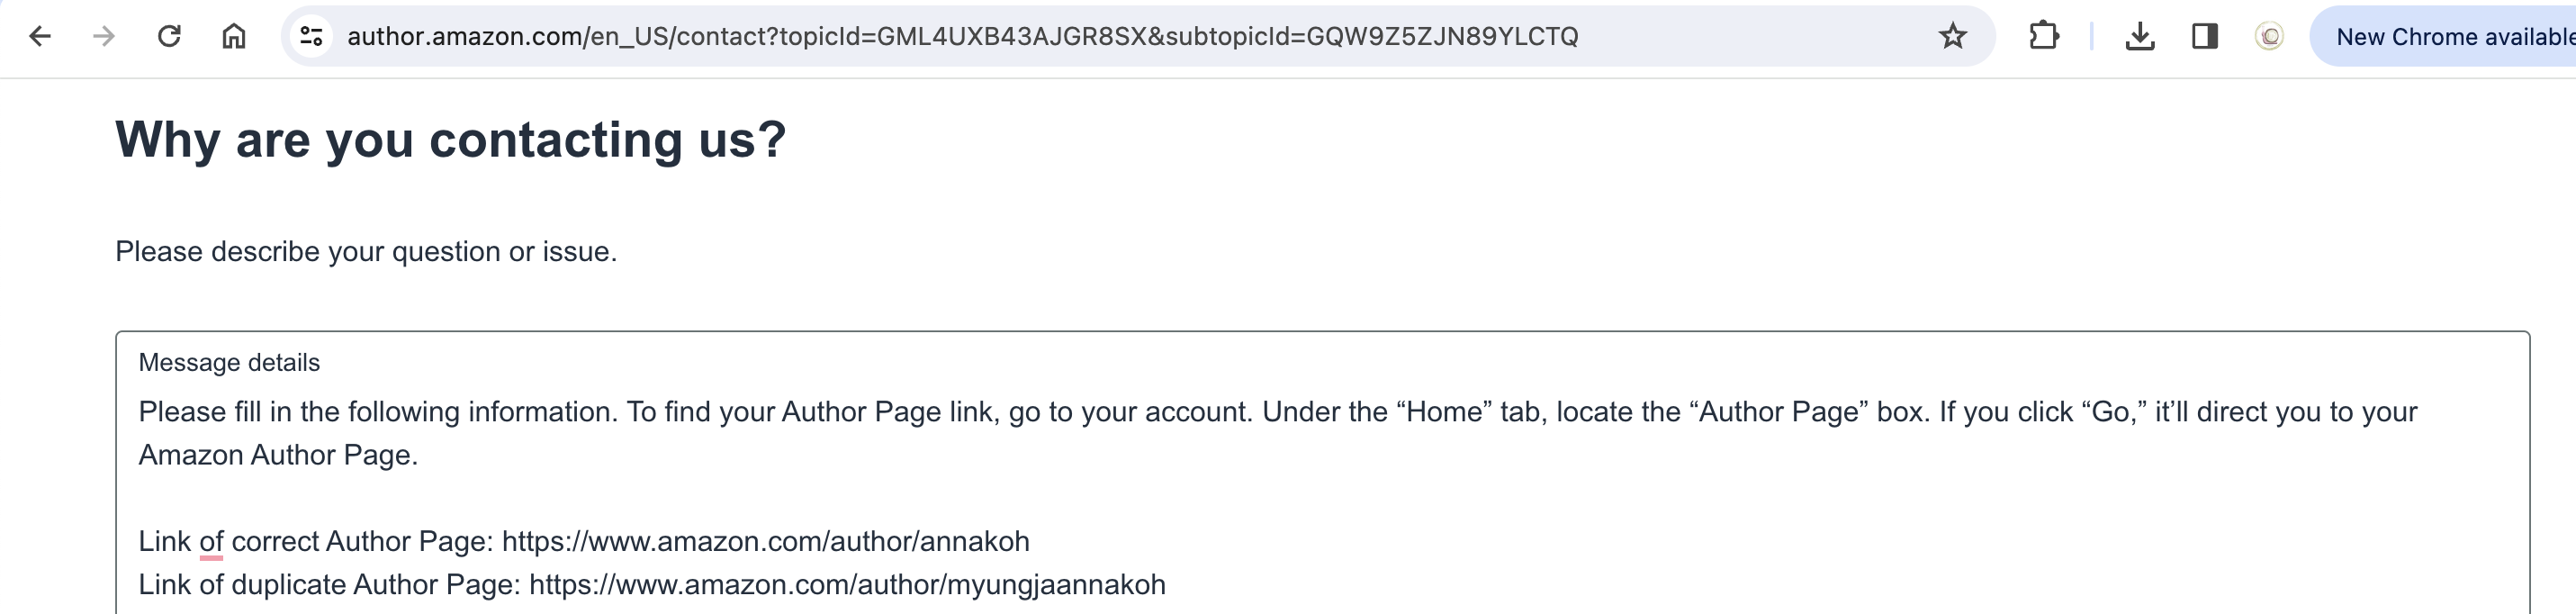 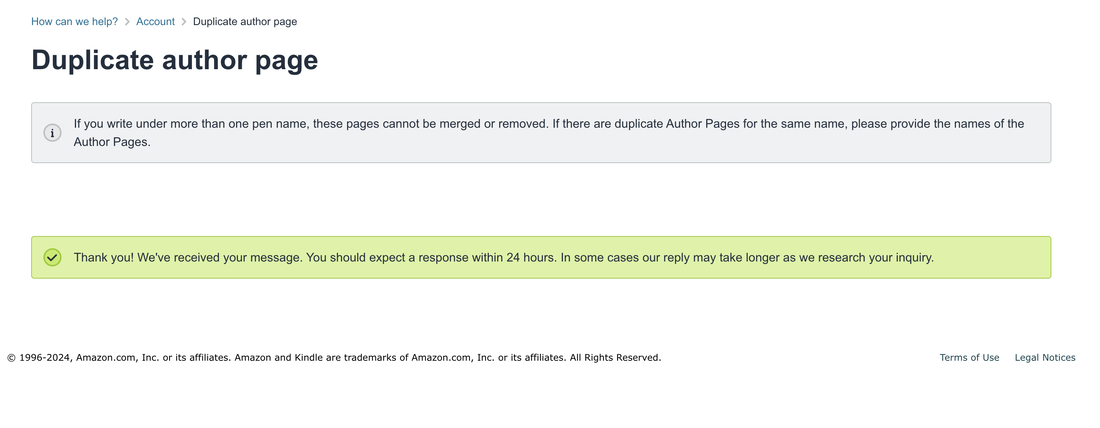 In my case, I've attached below screenshot! After 2 hours, I can check the result. 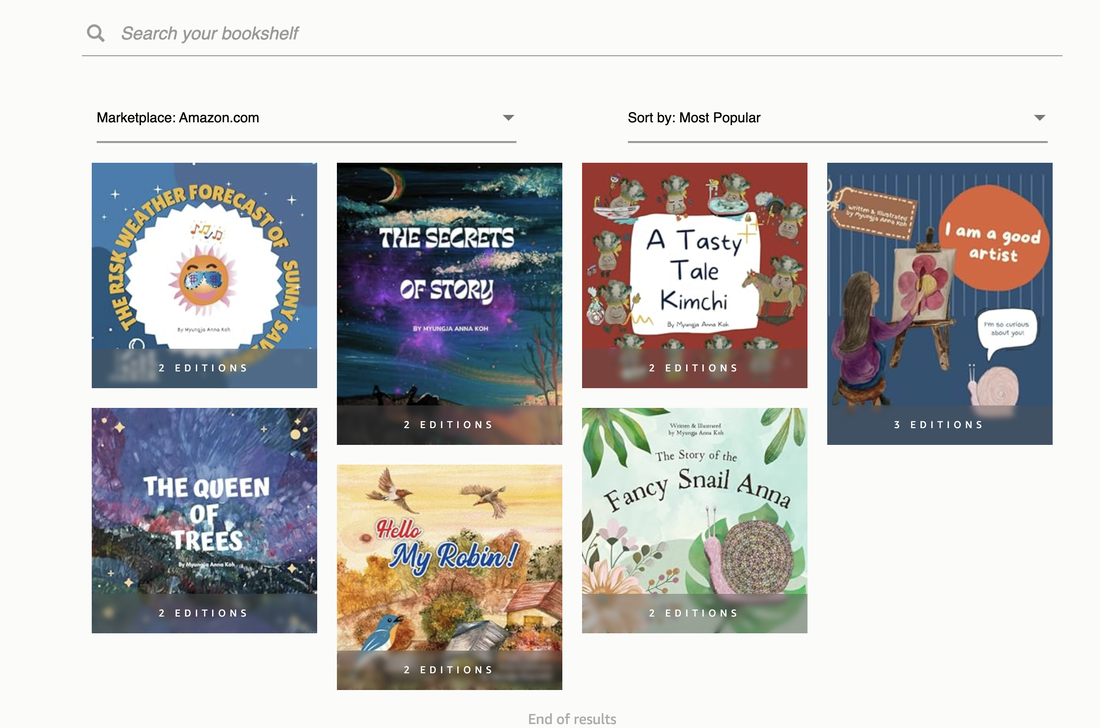 How to get Verified on Google Knowledge Panelmportant to note that not everyone or every entity is eligible for verification. Google Knowledge Panel is primarily used to provide information about well-known entities, public figures, and organizations. Here are some general steps that may help:
Below is an example of the above procedure. 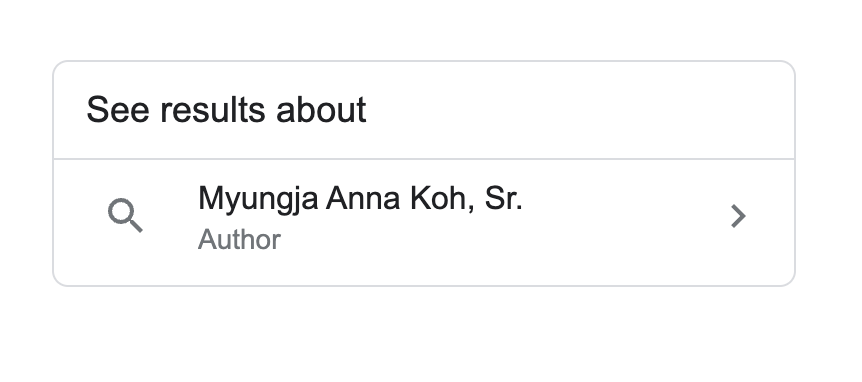 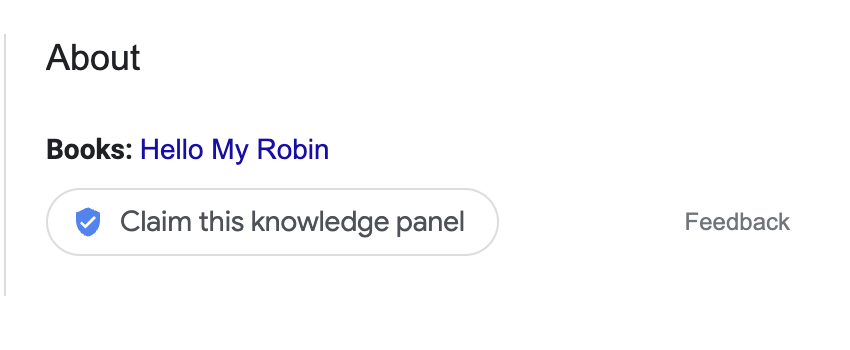 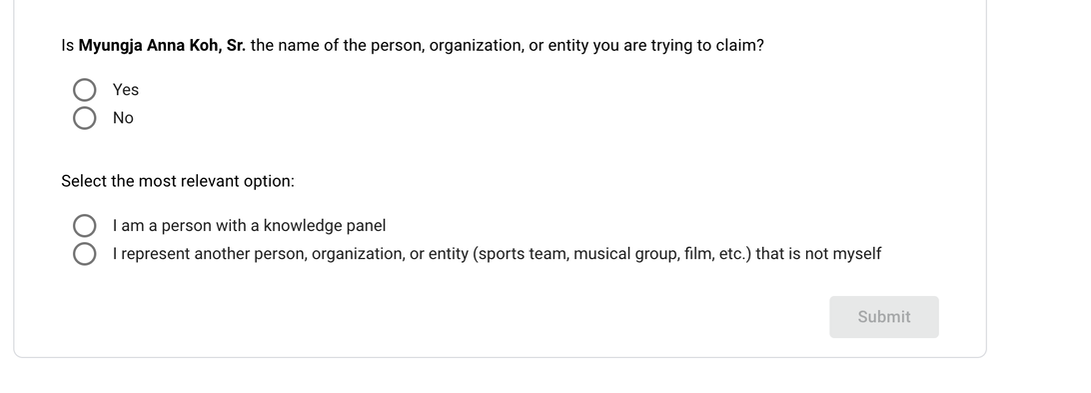 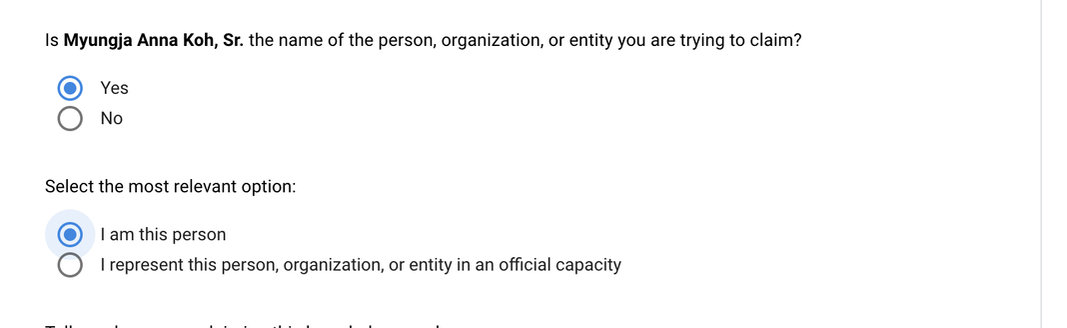 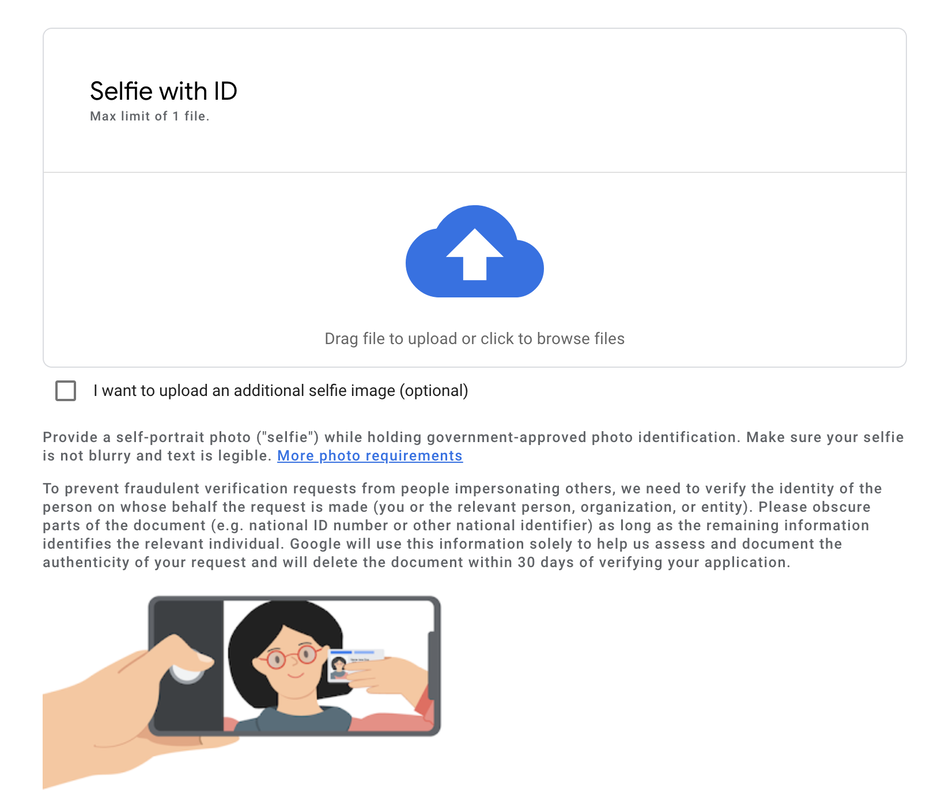 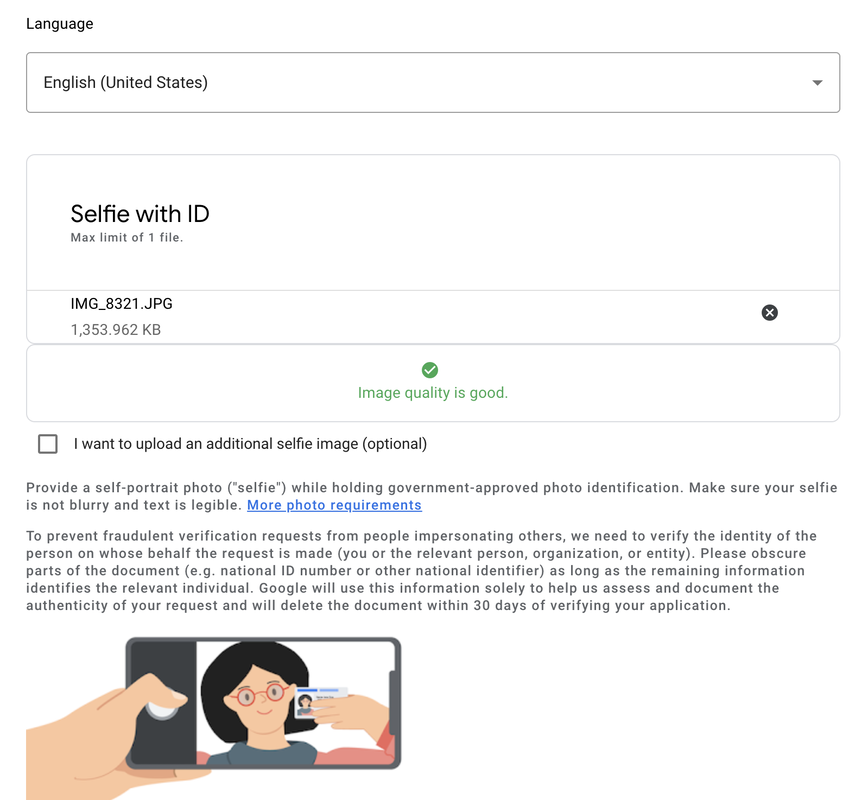 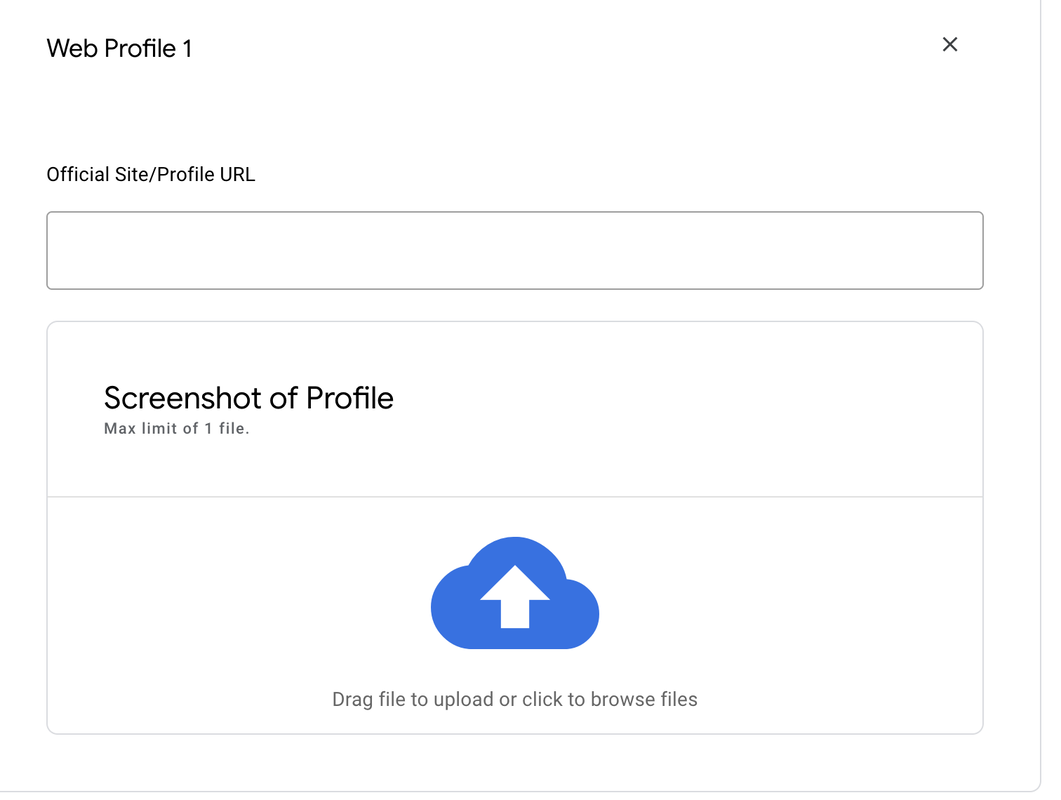 I am attaching the screenshot below 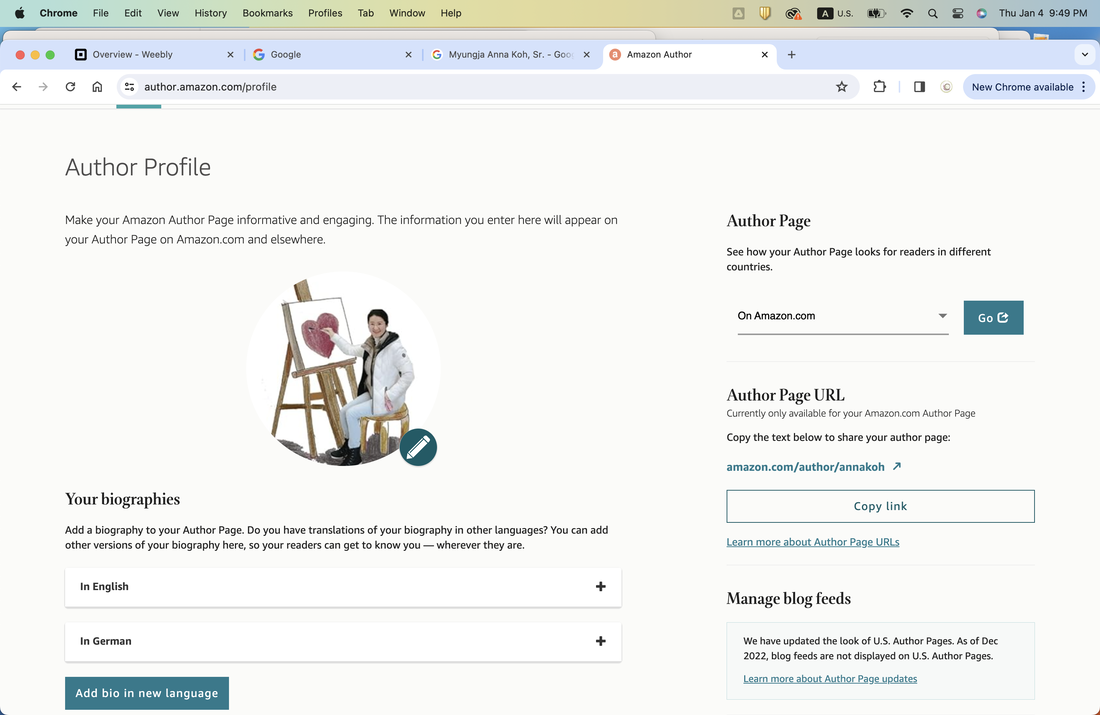 Check the confirm message!
|
Myungja Anna KohArtist Categories
All
Archives
July 2024
|

|
Tutorial |
 RSS Feed