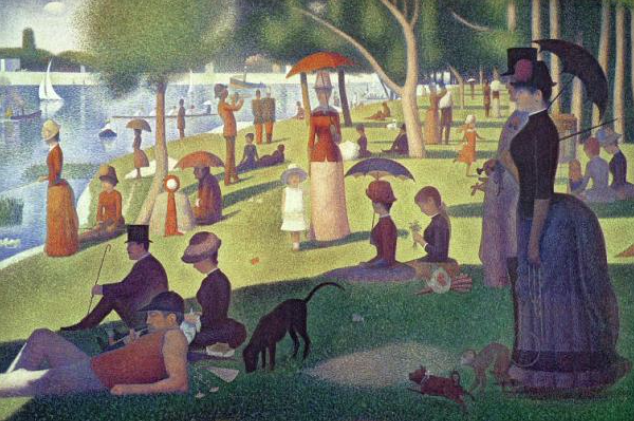
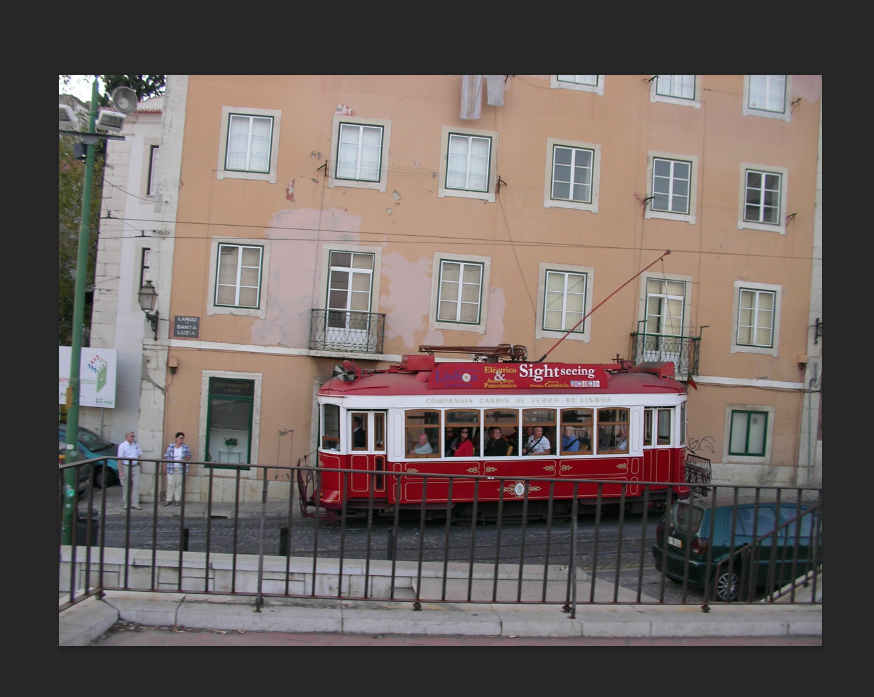
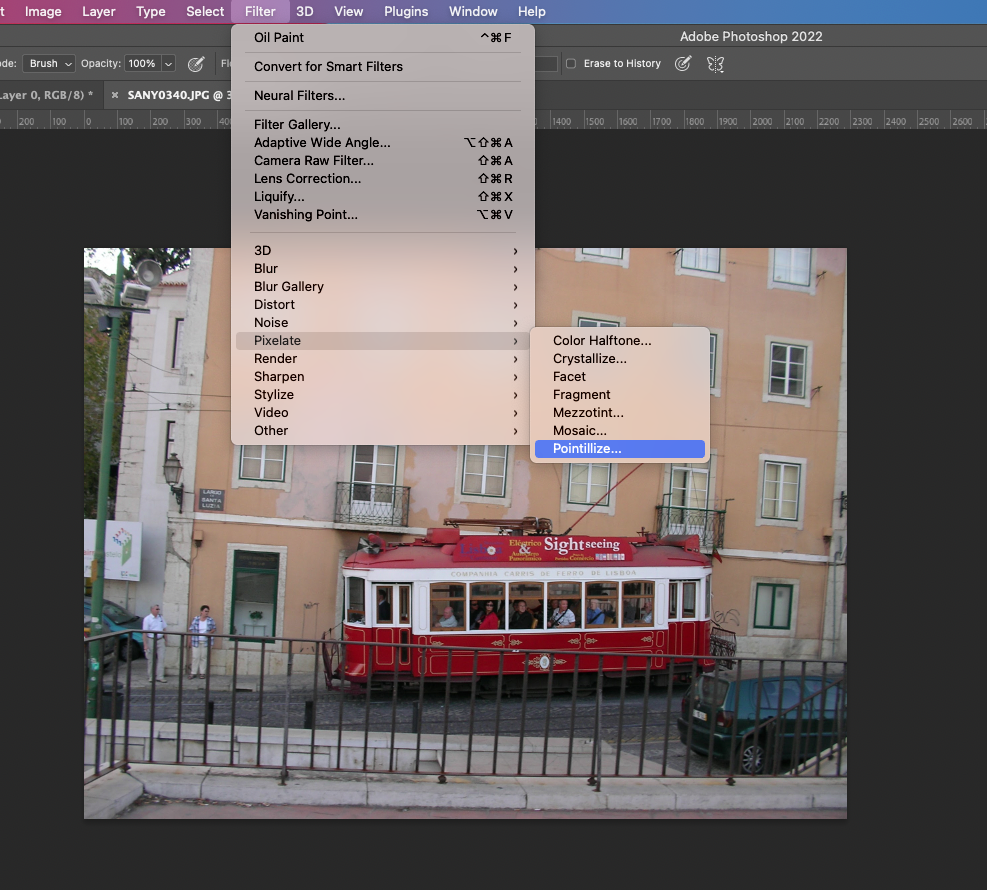
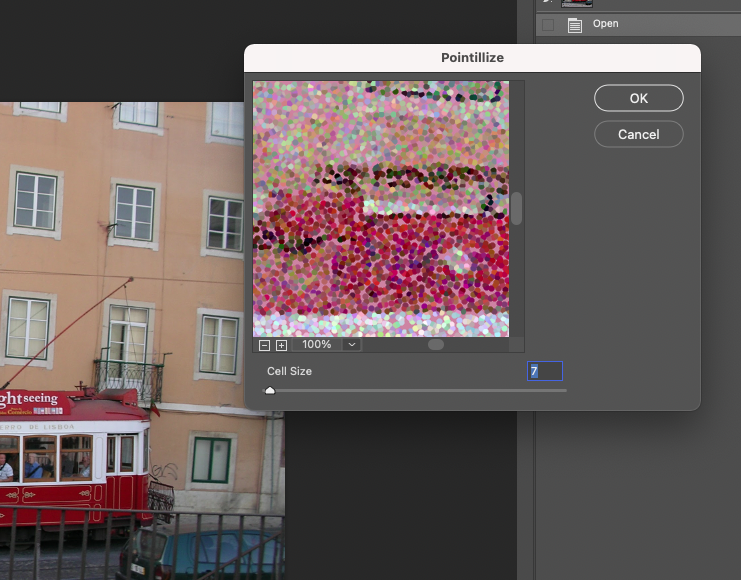
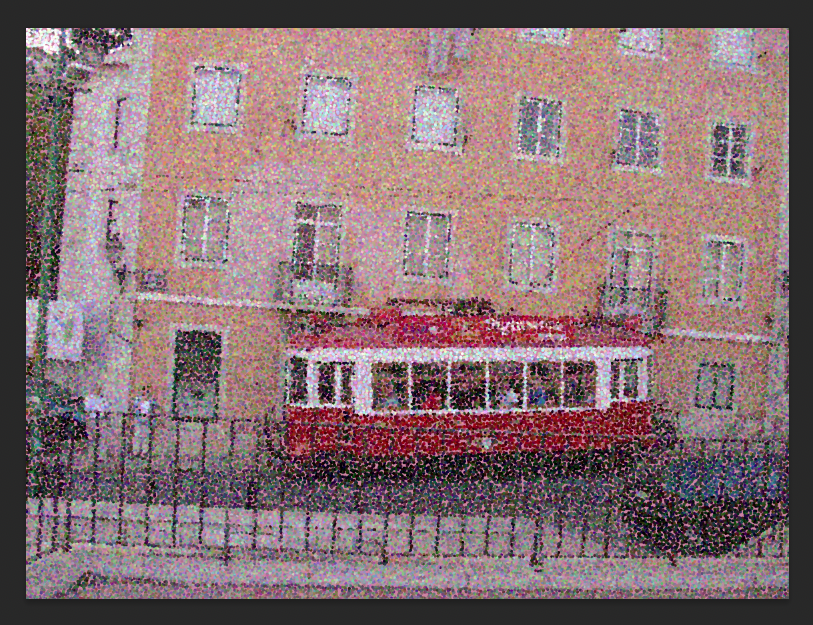
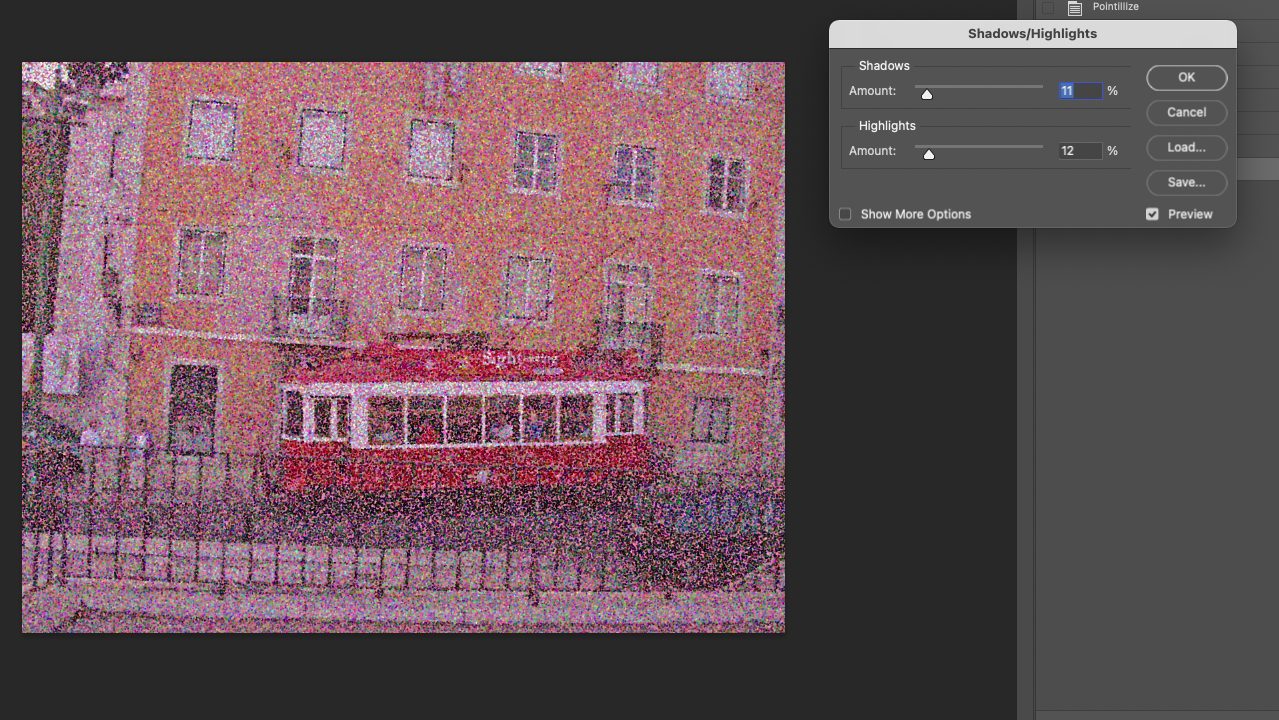
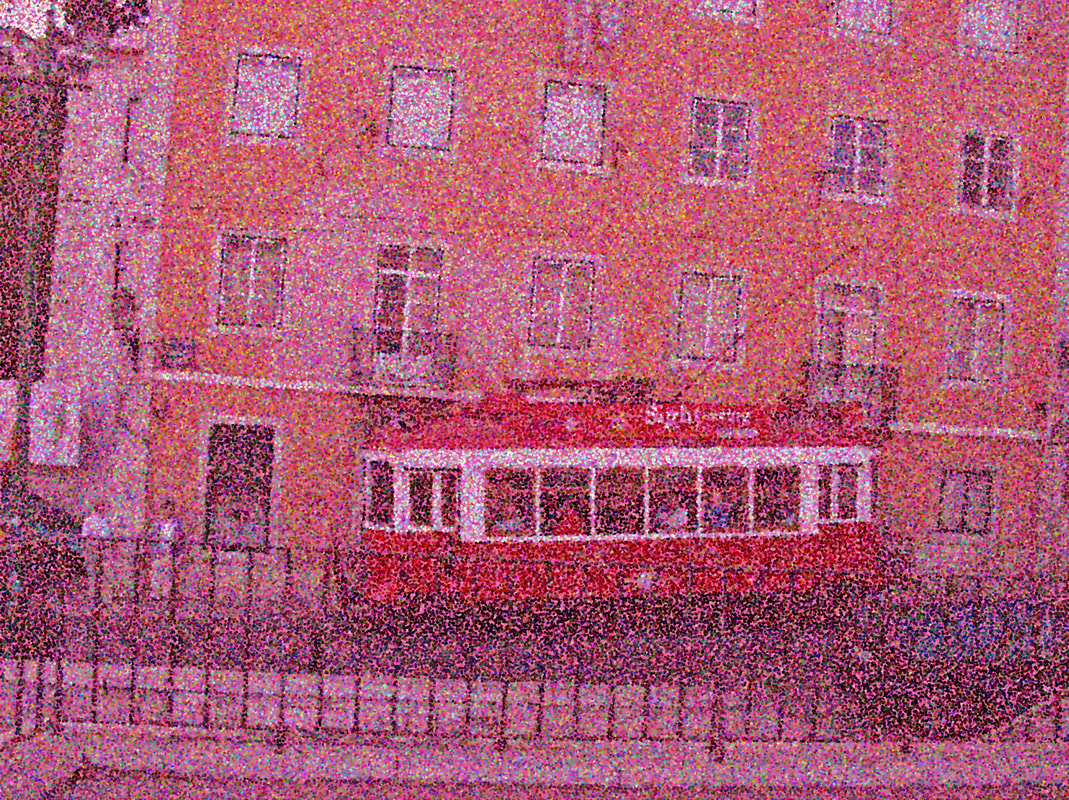
Let's make it look like Seurat's painting in Photoshop In the mid-19th century, the invention of photography and the advent of optics forced painters to explore new art. Before photography was invented, painters' attention was focused solely on how realistically they depict reality. Painters who had no choice but to seek new art, one of them was Impressionism, which drew objects that change subtly according to the light of the sun in a bright outdoor environment. What the Impressionists wanted to paint was light. The reason why the Impressionists wanted to paint light was because they believed that all things in the world had their shape revealed by light, and that the feeling and shape changed according to the strength and weakness of light. The Impressionists tried to quickly paint the instantaneous image of an object that was changed in a strange moment by the rays of the sun. However, the Impressionists tried to paint a picture as bright as light, but they could not avoid making the picture cloudy. In 1886, a painter who could solve this problem of Impressionist art appeared, and he was Georges Seurat (1859-1891). The above picture is Seurat's masterpiece <Sunday Afternoon on the Island of Grande Jatte; A Sunday Afternoon on the Island of La Grande Jatte>. Seurat, like his senior Impressionist painters, was interested in the reproduction of sparkling light. Seurat painted in a way different from that of his predecessors, Impressionists. Seurat did not simply capture the impression of light and transfer it to the canvas. Instead, he persistently analyzed light scientifically. Then, I took a color dot and transferred it to the canvas. Georges Seurat, who understood better than anyone else, that colors become cloudy due to subtractive mixing, did not mix colors. Instead, he overcame the problems of Impressionism by using the pointilism technique of painting small dots of pure color. Today I would like to change one of my travel images to something similar to Seurat's pointillism. Below are some street photos I took during my trip to Portugal. I'm trying to change this seemingly ordinary photo using pointillism. First, move Filter---> Pixelate like below. You can resize the cells to any shape you want. Then, adjust the saturation, contrast, brightness, etc. to get the image you want. Seurat spent two years drawing one work. Because I had to complete the painting by making small dots on a large canvas that is over 3 meters high. Would Seurat be happier if Photoshop had existed at that time? Below is the finished look.
0 Comments
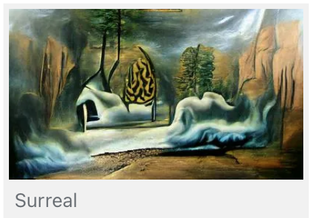
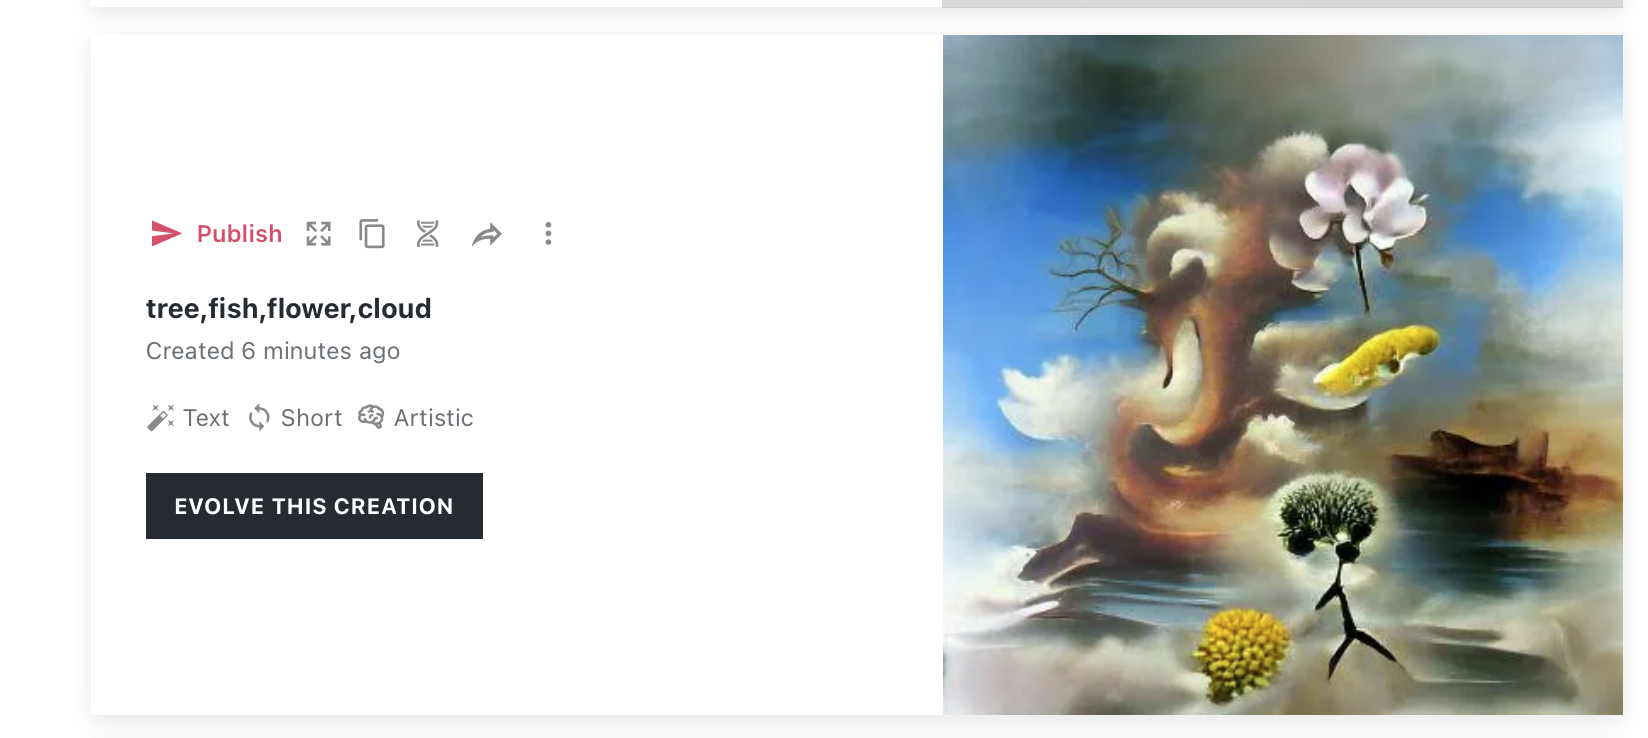
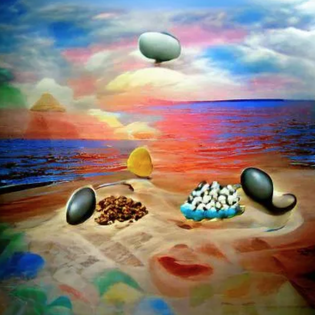
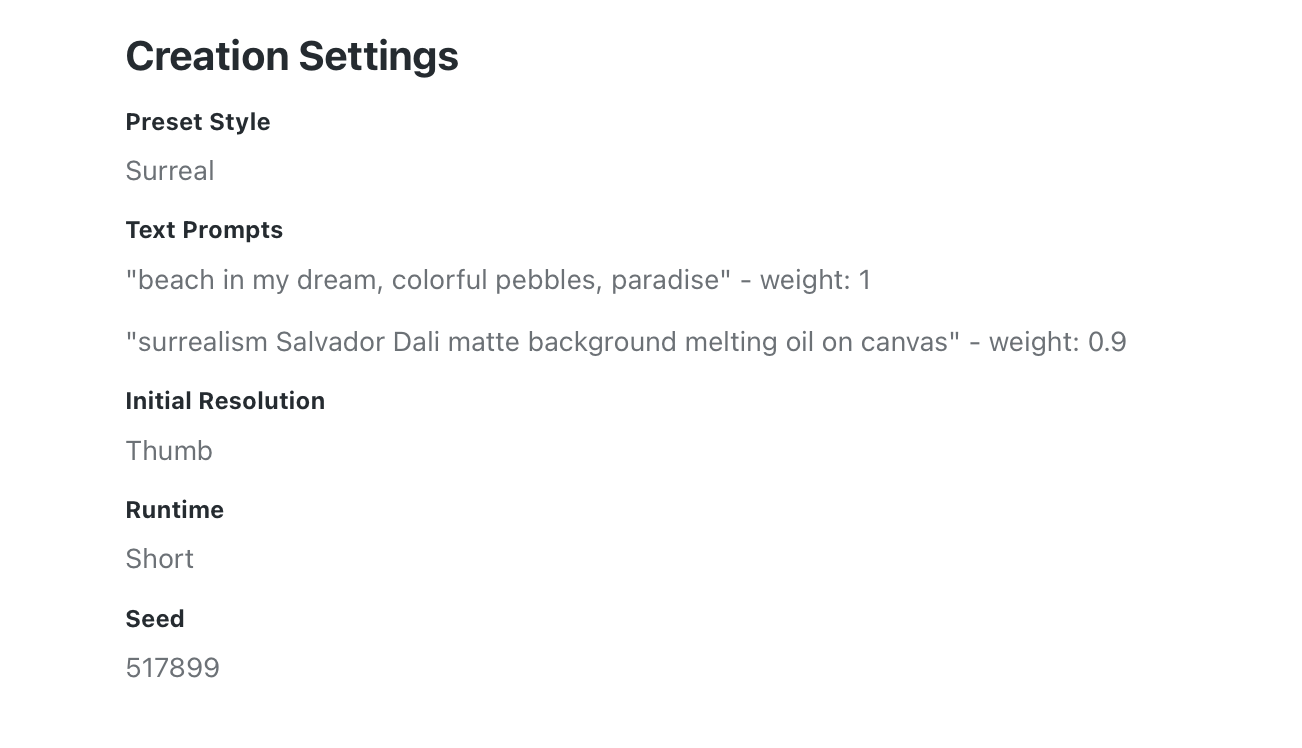
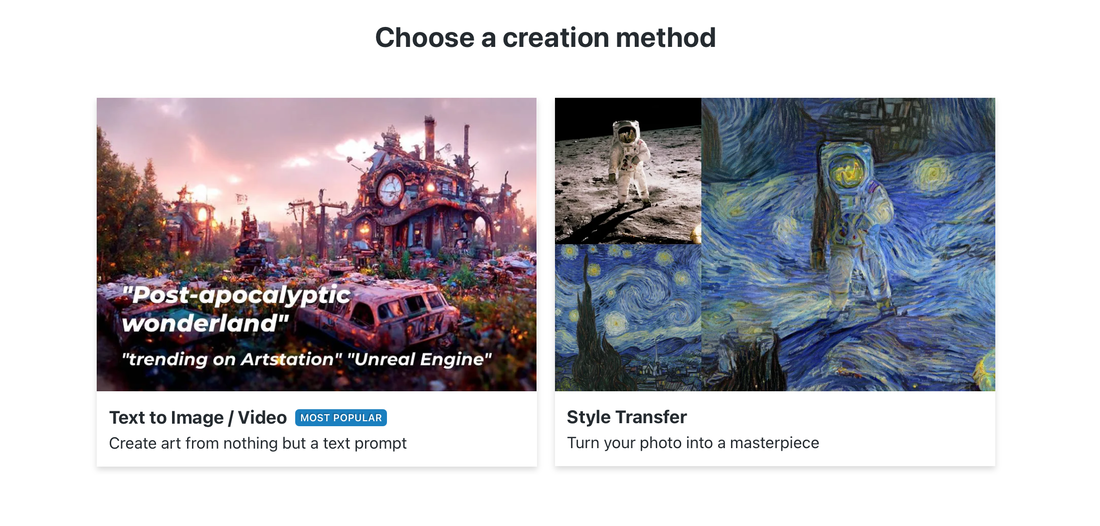
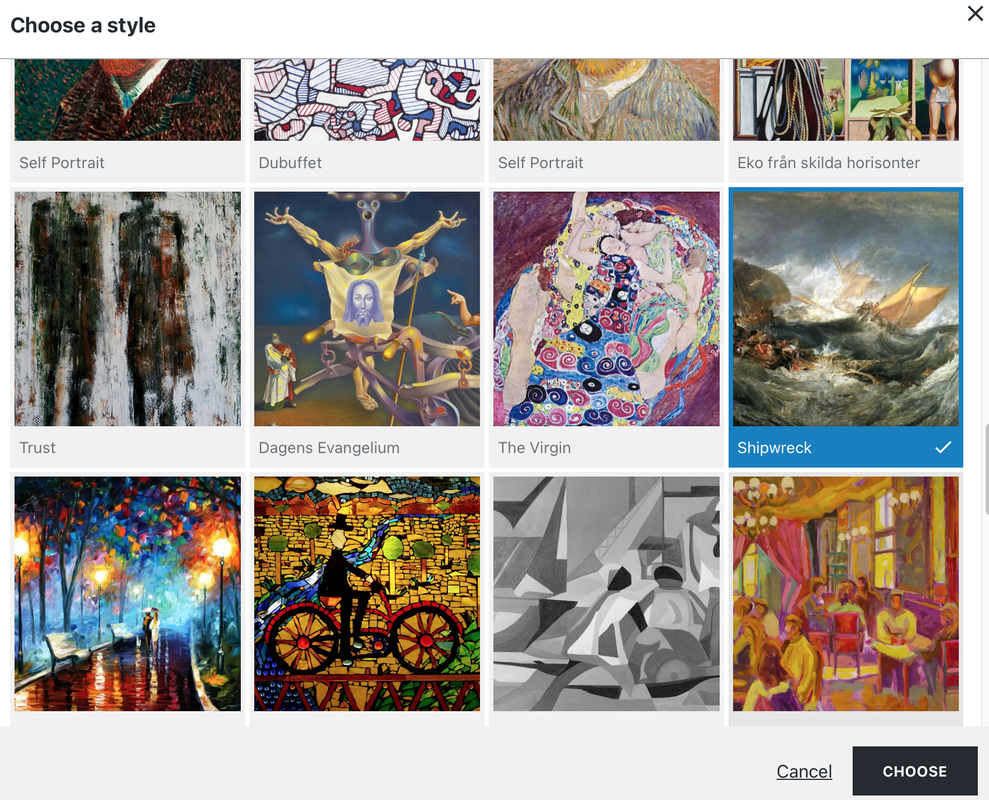
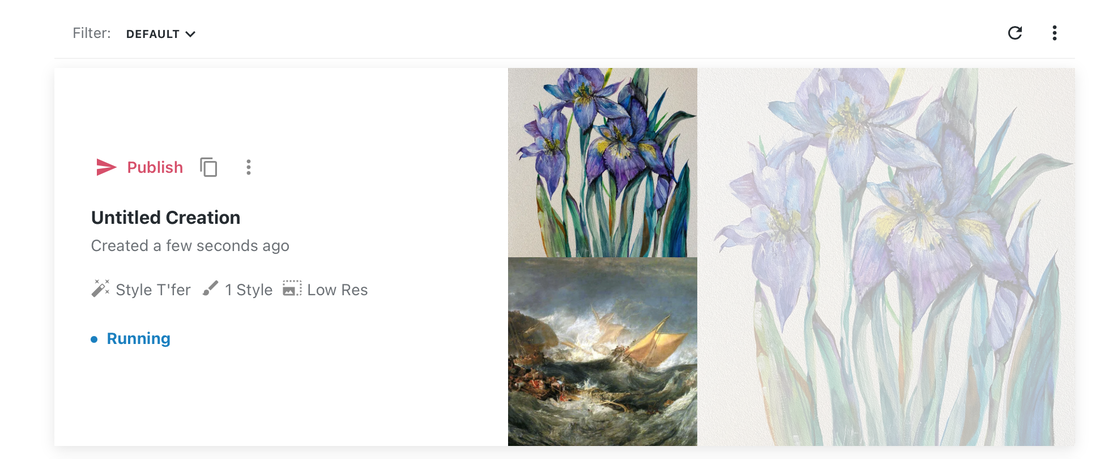
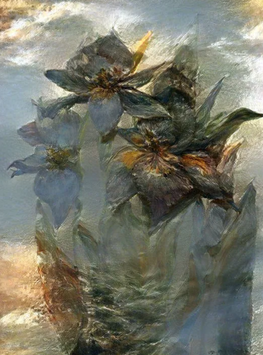
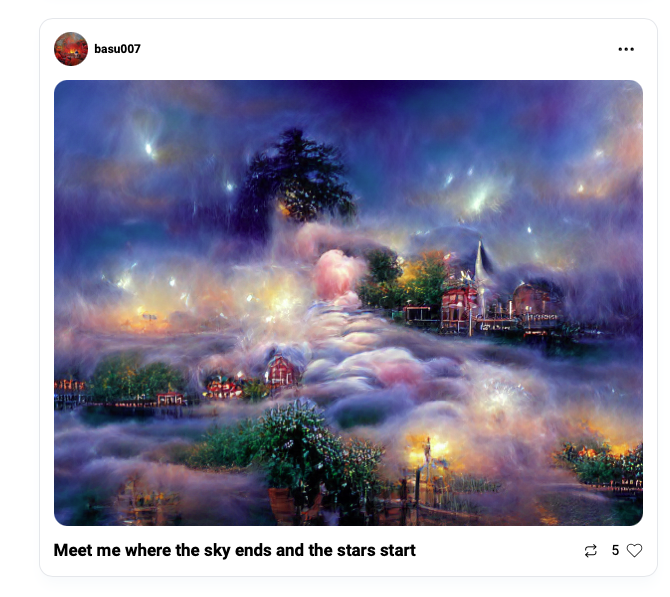
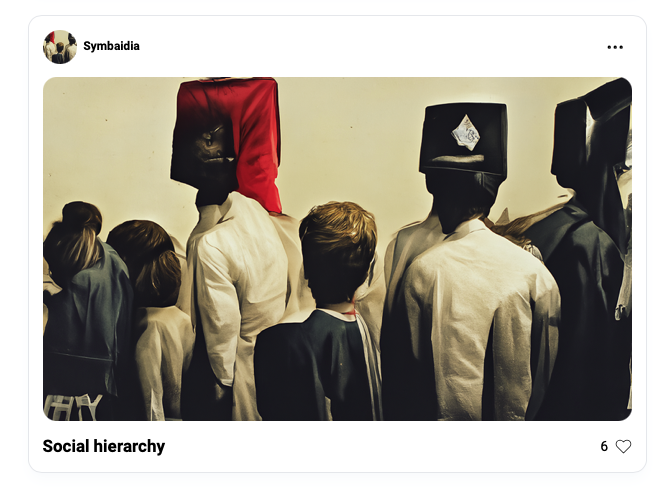
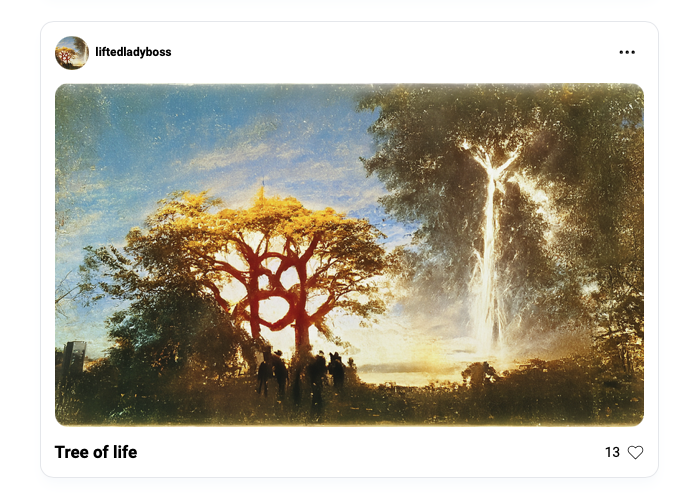
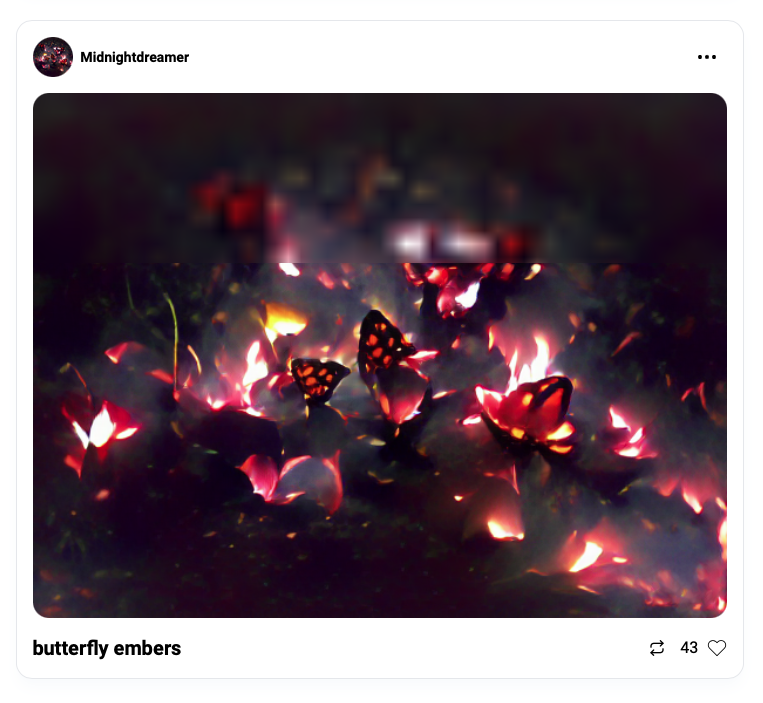
AI Art Creator Site Review Today, I would like to introduce the Night Cafe site, a site for drawing based on artificial intelligence. First, select one of the two styles as shown below. On the left, enter text about what you want to draw. On the right, the image is transformed to fit the style of the painters of the past.  Enter the word to be expressed in the text input box of the site above. Be as detailed as possible. Then choose the form you want to express. In my case, I chose Surrealism. Let's go back to the first screen and look at the service that changes your image to another style of painting. You have to click Style Transfer on the right image. Then, select the style of the image to be replaced at the bottom.First, you have to choose your image to apply styles to transfer. In my case, I choose my iris image like below. And here is another site, named Starryai. For creating your AI-based works, you have to put your texts, which can be described what you want to see. Below is the results from the users.
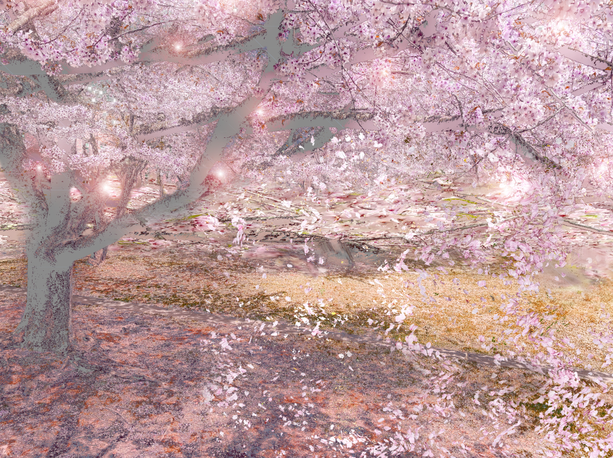
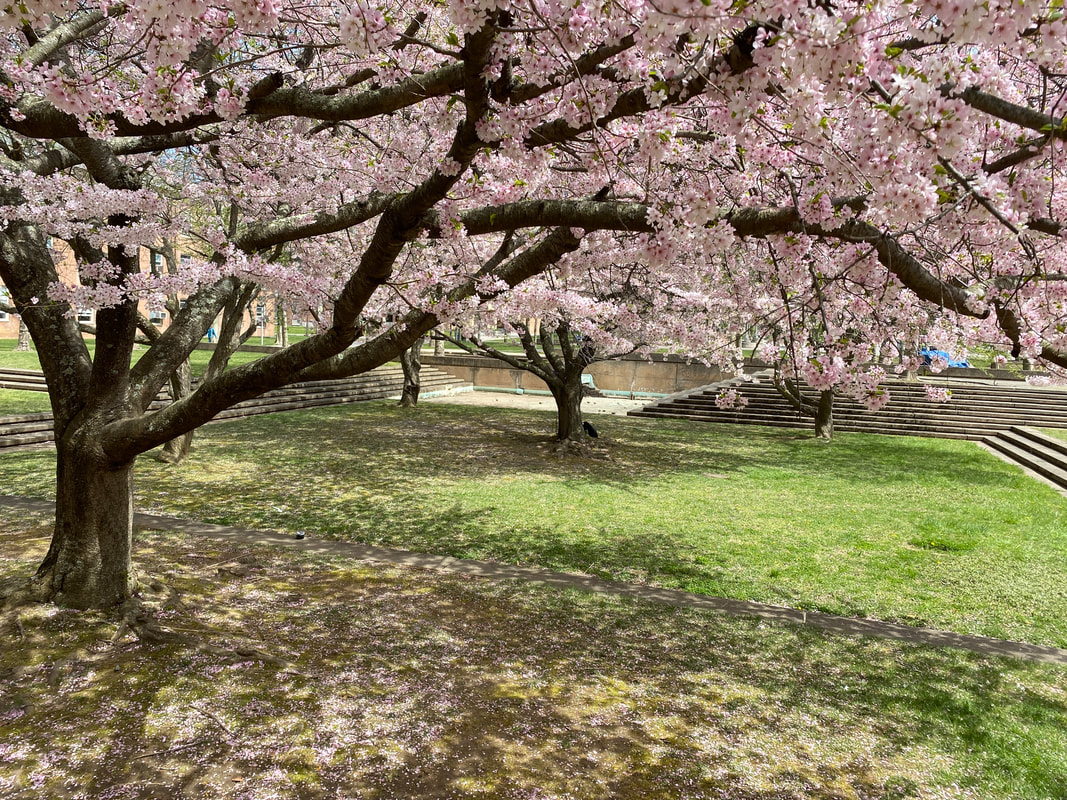
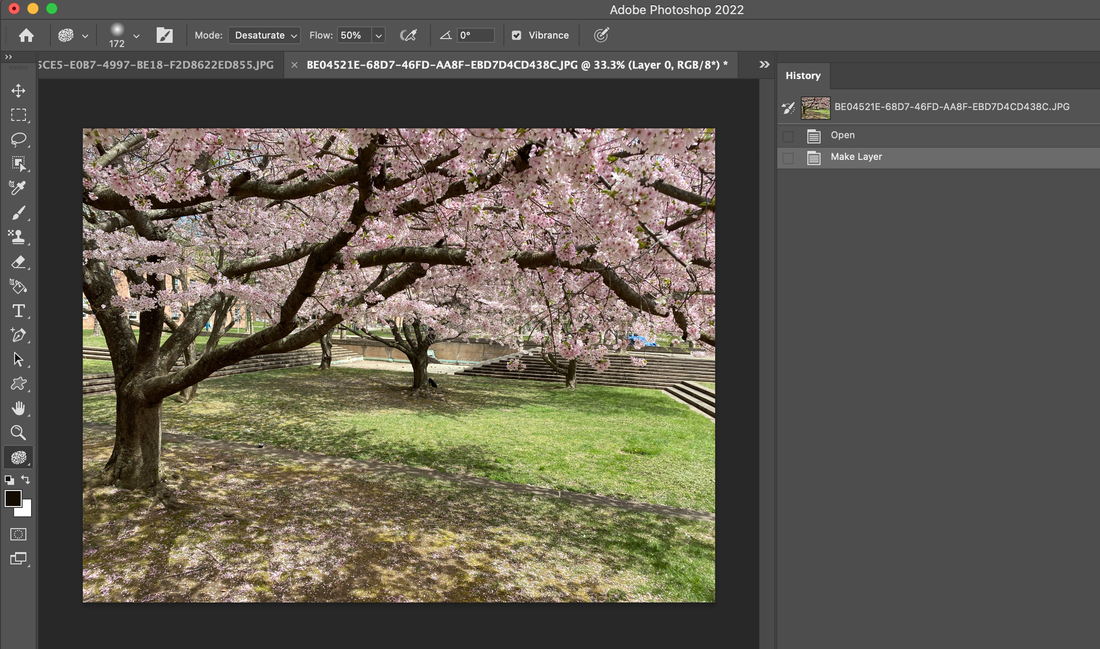
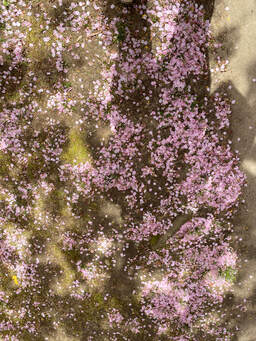
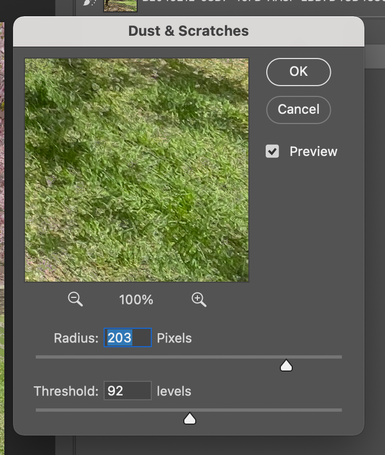
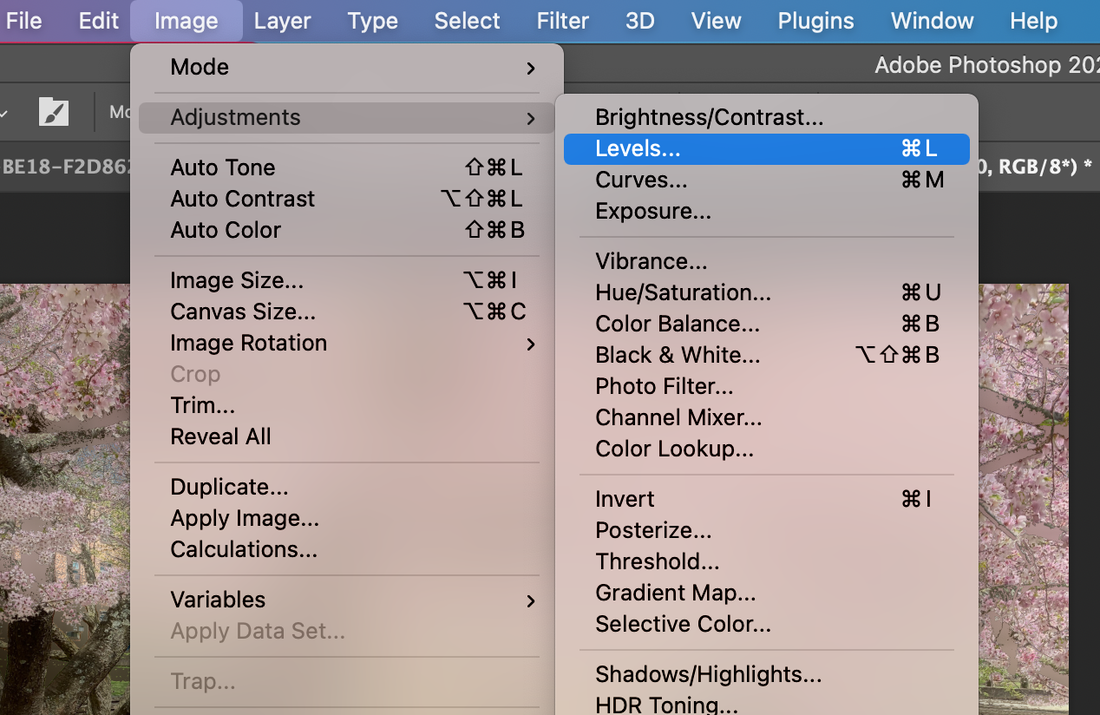
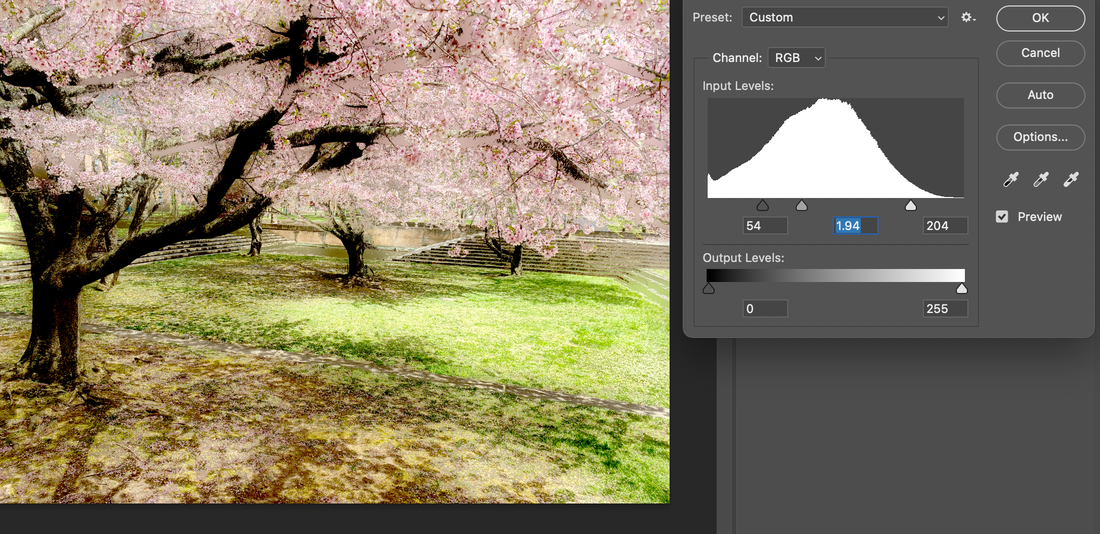
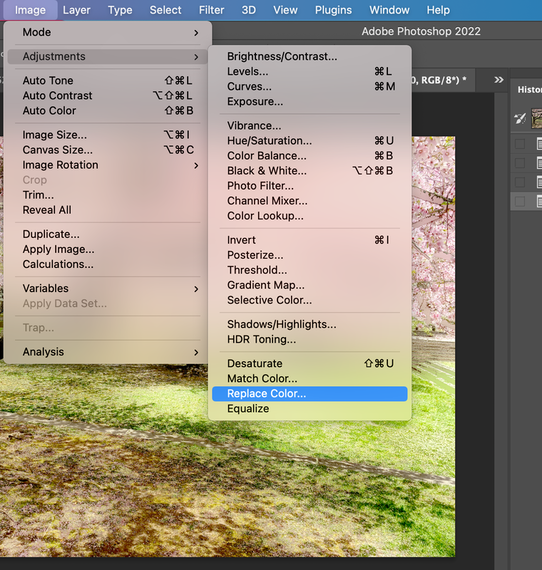
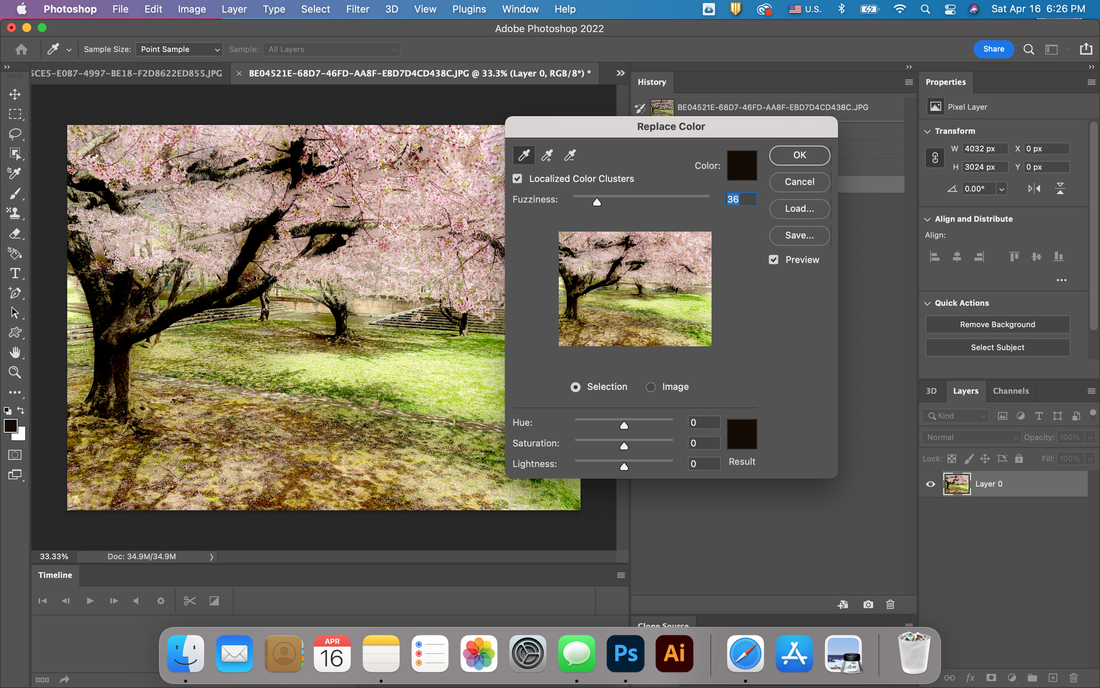
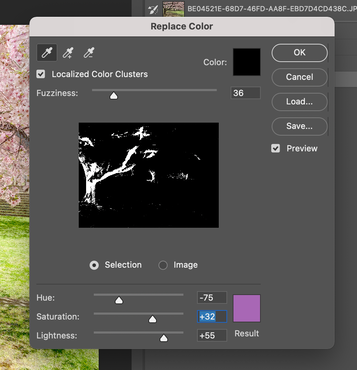
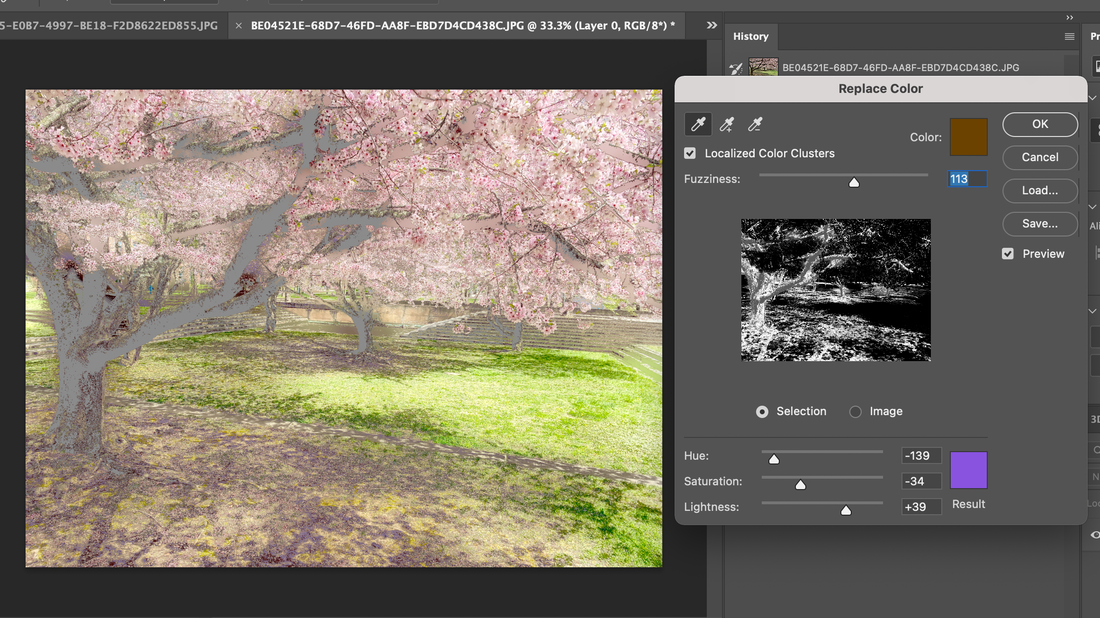
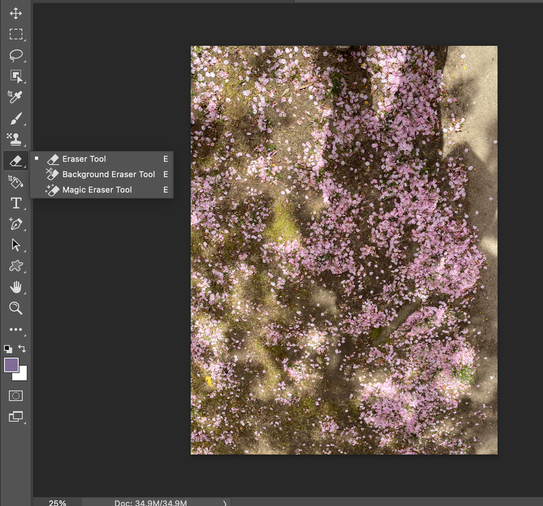
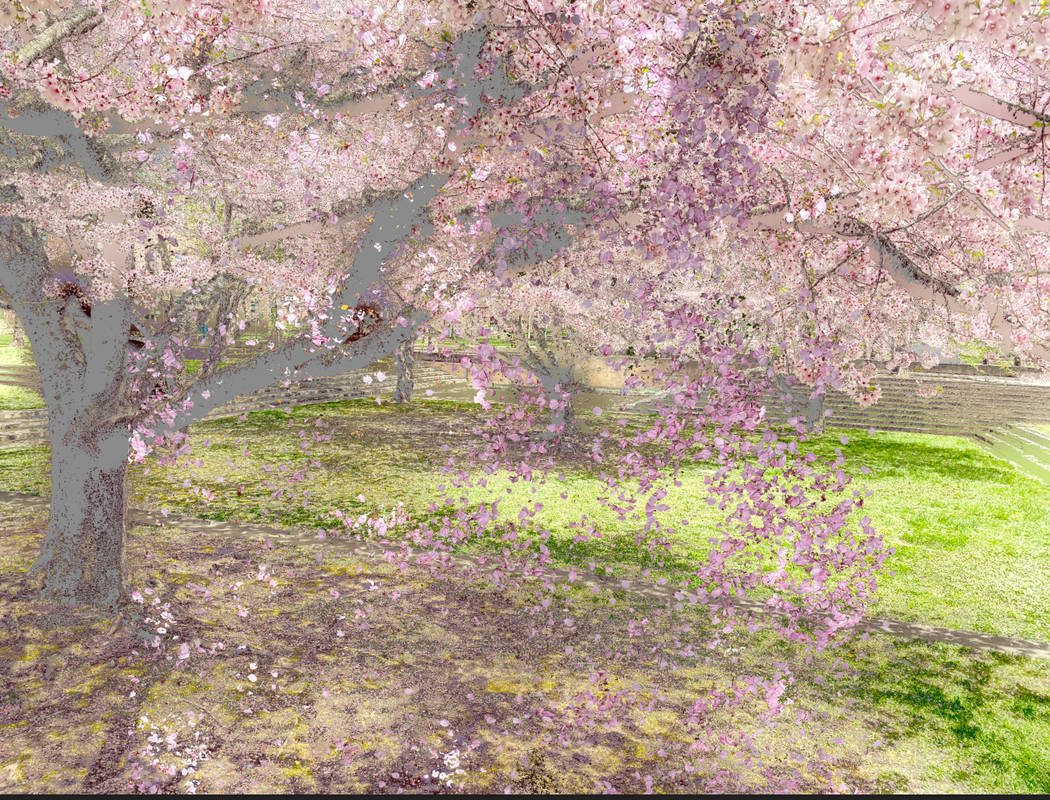
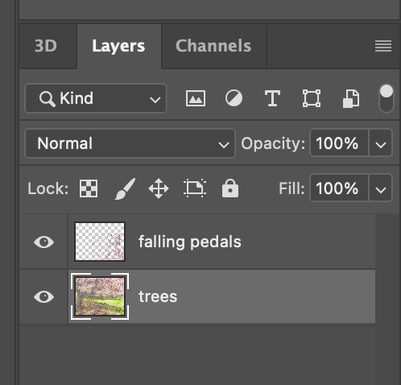
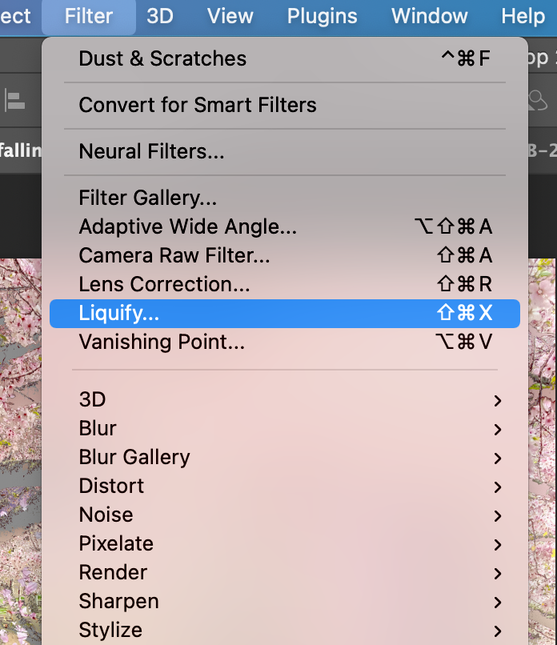
How to make a bright spring digital image with Photoshop! When spring comes, be sure to take pictures of cherry blossoms. Because it is so gorgeous and beautiful. Today, I would like to show you the process of turning these stored photos into bright, fairy-tale-like digital works. 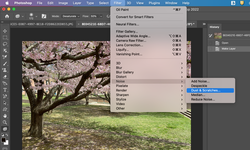 First step, go to Filter--> Noise---> Dust & Scratches for expressing fancy vibe. Next, go to Image---> Adjustments---> Levels for letting image bright. And then go to Image--> Adjustments again and for this time, you have to go Replace Color to change black branches to different color. With color Pipette, you can pick the black branch and tree body and adjust the color such as Hue, Saturation and Lightness like below. Below is the result from change the replacement of the selected color. And also I open another photo. I took a photo for expressing falling pedals from the trees. It is the ground after the flowers falling down. 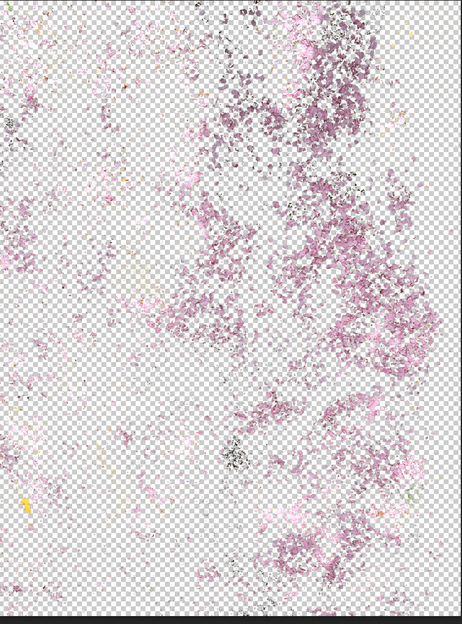 By using Magic eraser tool, you have to remove the background image and left only pink pedals. And copy and paste it on the first making image. In this time, I made each layer's name as follow as below. For expressing flying pedals, I go to Filter--> Liquify with selecting the falling pedals layer.
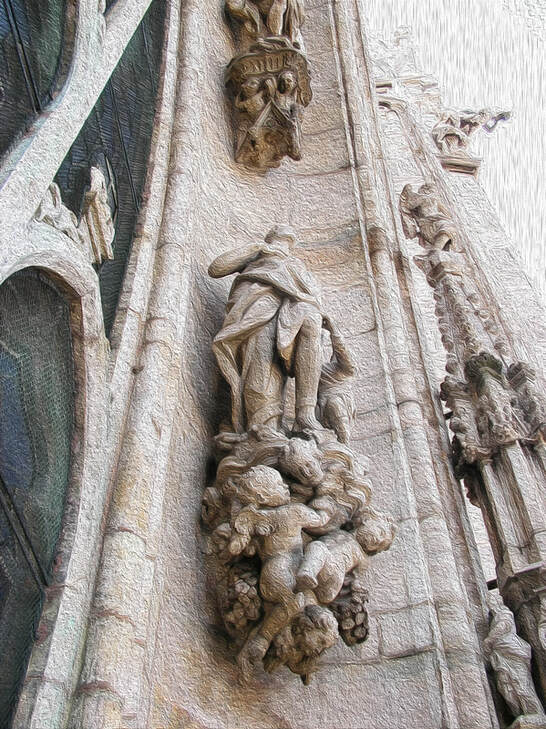
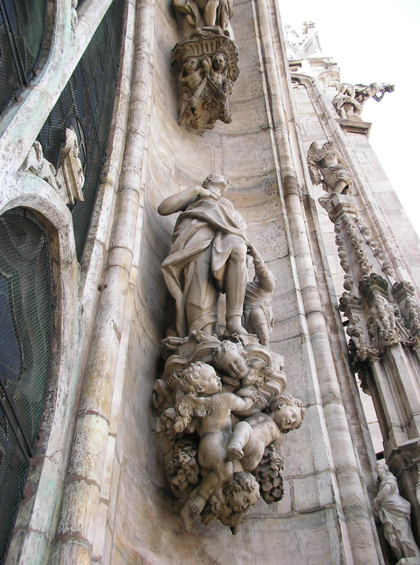
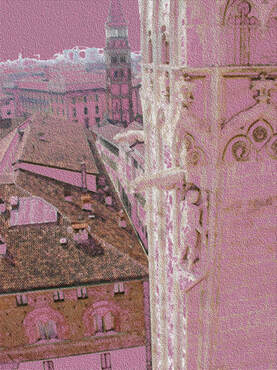
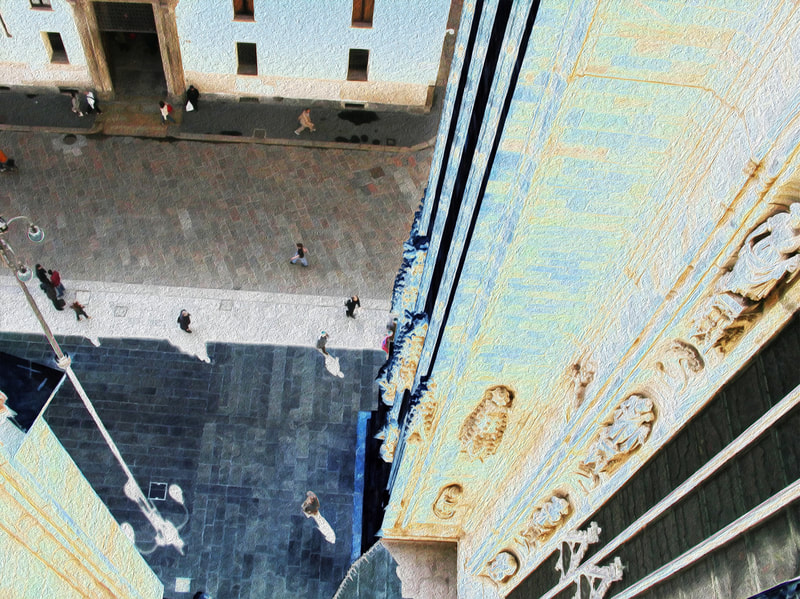
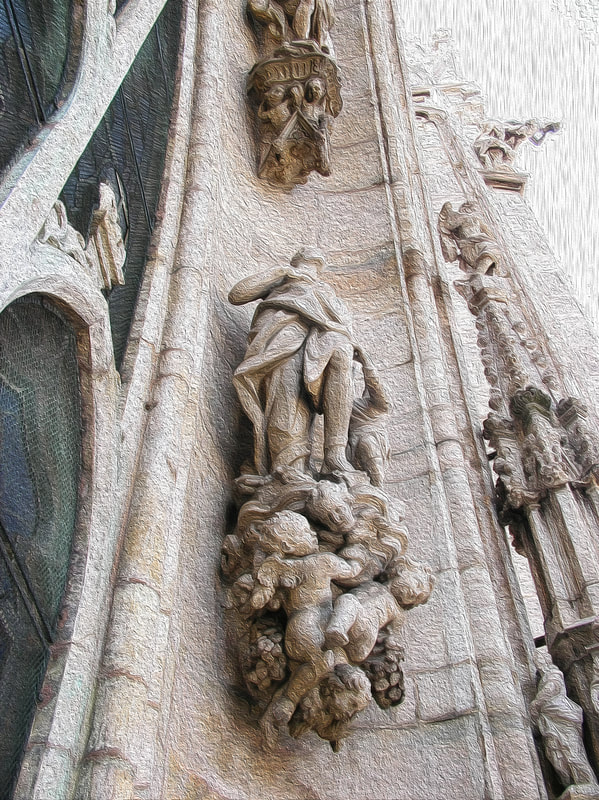
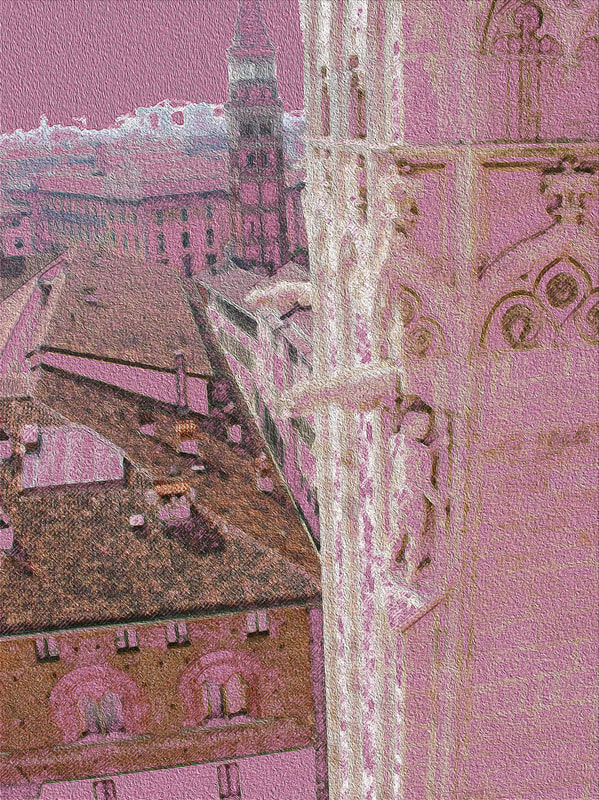
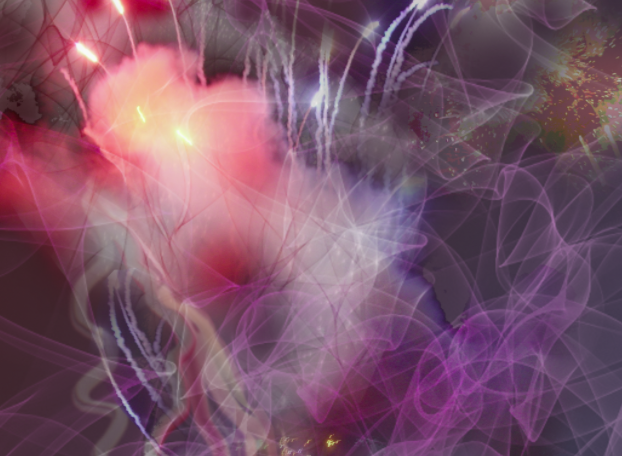
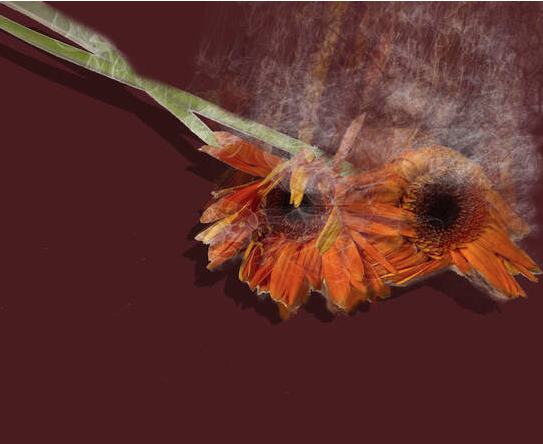
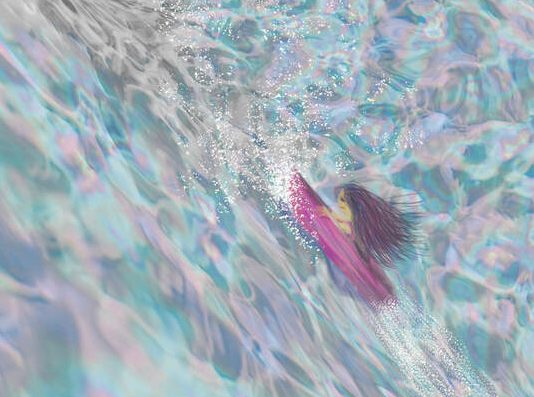
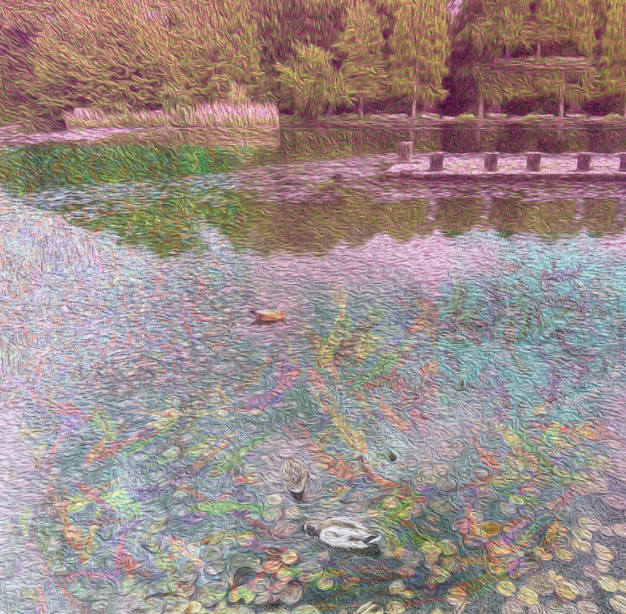
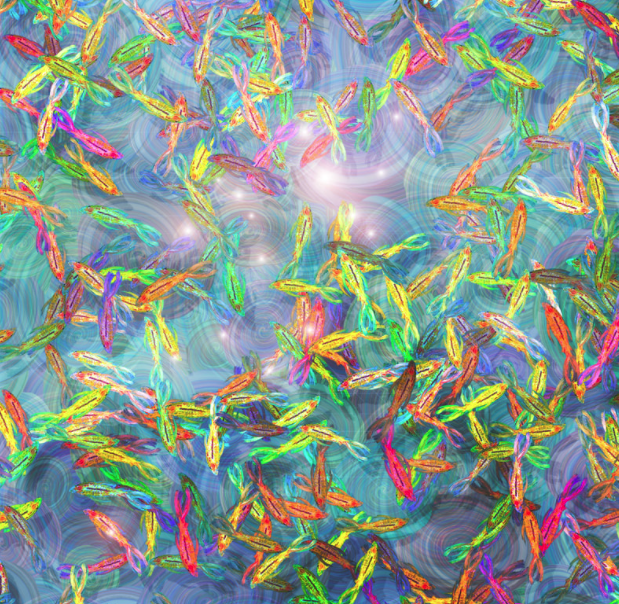
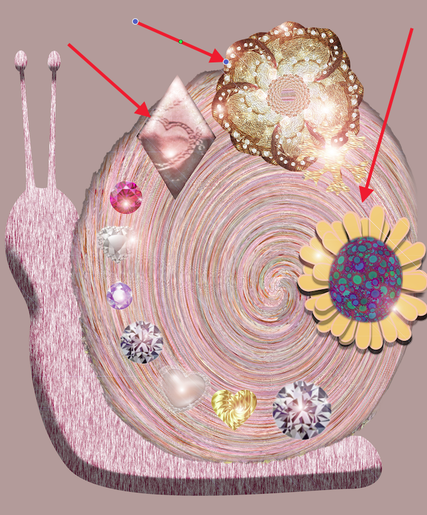
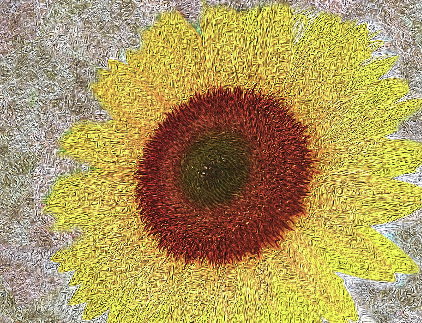
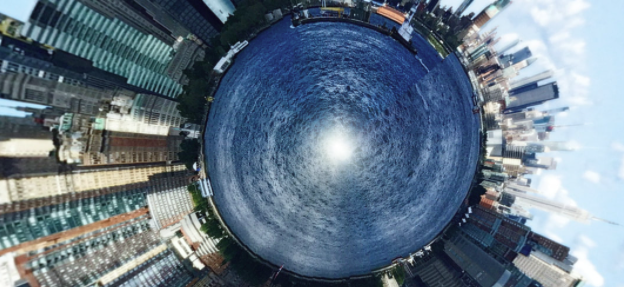
How to make Digital Artworks with Photoshop. Today, I would like to summarize and show you some digital art I've been working on recently. As you know, Weebly does not have a function to show them all in one page as shown below. Since there is no pagination function, it is difficult to check the number and contents of the pages you have created. Despite these difficulties, I am working hard to find a way. |
Myungja Anna KohArtist Categories
All
Archives
July 2024
|
Proudly powered by Weebly



















 RSS Feed