
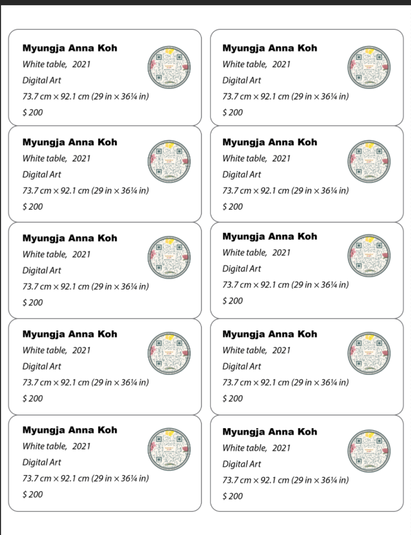
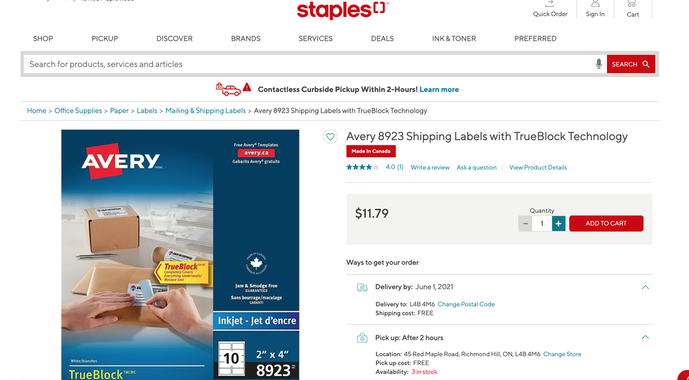
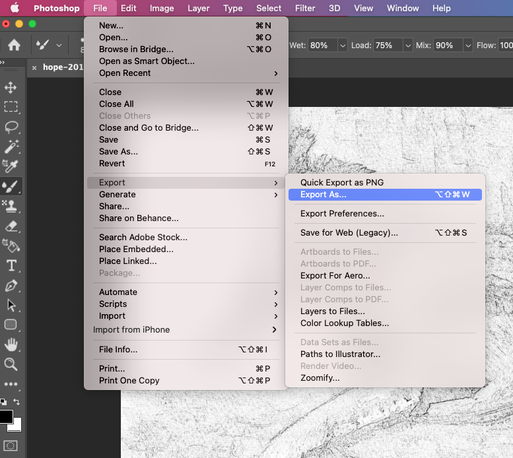
How to make a label for selling artworks Yesterday I brought my work to be displayed for member showcase in the Mills Pond Gallery. The gallery director, Mrs. Alison, always welcomes me, as an immigration painter, with kindness. She has worked for a company selling paintings in Korea, Hong Kong, and Japan. That is why she has a deep understanding and insight into Asian culture and artwork. Most of all, as you know, if you attend an exhibition, it's common for artists to place a picture on a table and sign a list . But Mrs. Alison is different , and she must show deep affection and interest in the paintings that the painters bring. I learn from seeing her professional attitude.  If you go to the download site below, there are various types of templates that can be printed out on label paper. In my case, I chose the Photoshop version. (Click on the homepage below to go to the site)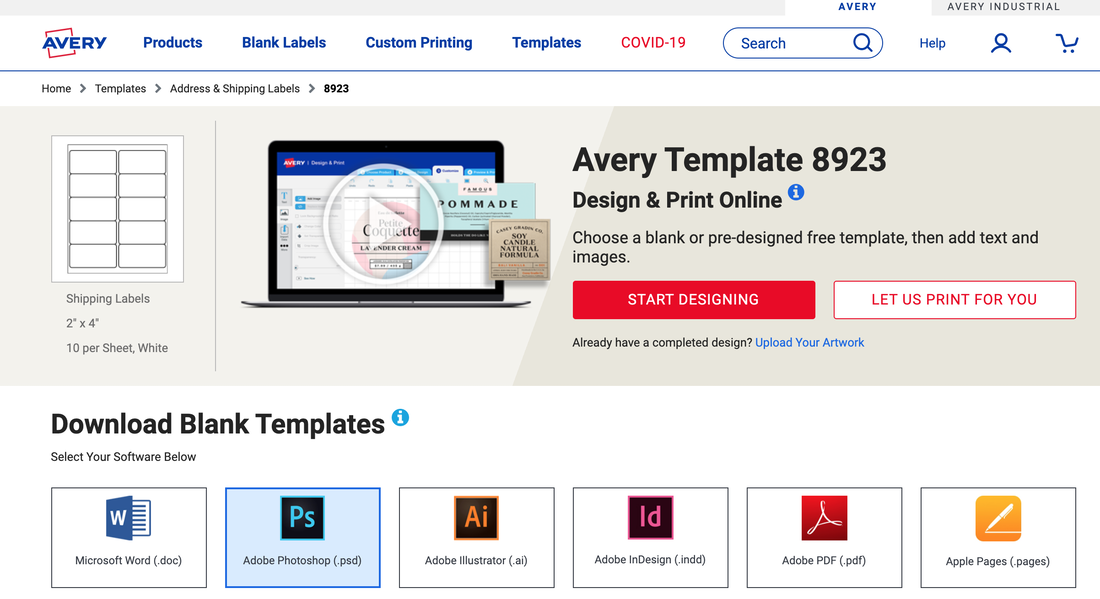 Free artworks label template Below is the screen when clicking on Photoshop. (It's 2 x 4 inches and uses Avery template 8923)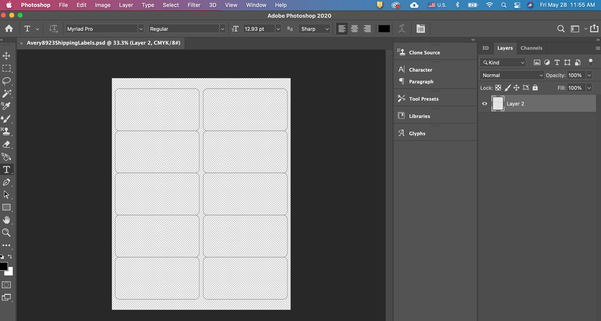 Label template for Photoshop In my case, I inserted flowcode that can read all the information simply by scanning at the far right. In addition to the picture information, I have included my email and website information.When a customer is interested in my drawing and wants to contact you, you can tap this code with your mobile phone and it will be automatically sent to you via email. 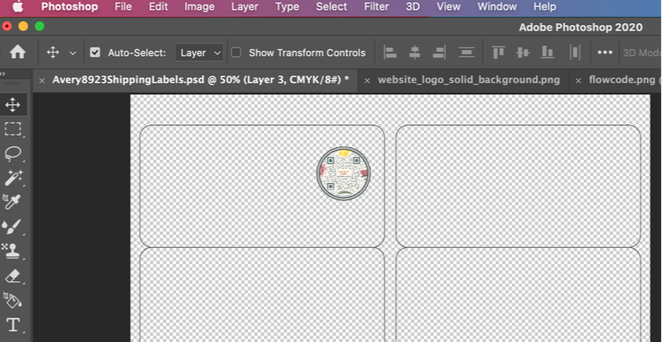 Flowcode uses the latest in QR technology to bring you fast, reliable, and direct connections. Flowcodes have a 9% higher scan rate than generic QR codes. They also allow for unlimited scans and never expire. Additionally, It is a secure Way to use QR Codes. There is no app needed to scan a Flowcode! Anyone can scan a Flowcode using just the camera on their smartphone. 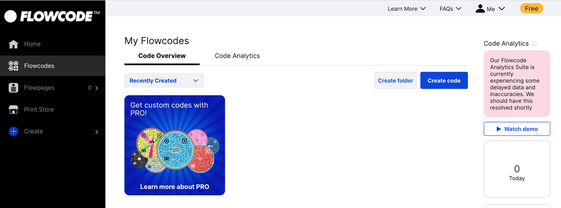 Flowcode site Suppose you look at the blog post How To Label Artwork in an Exhibition, a well-organized professional article on labeling works for exhibition preparation. In that case, it is good to refer to the following : 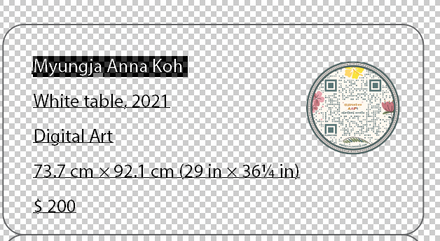 I put all the information in the 10 label fields. 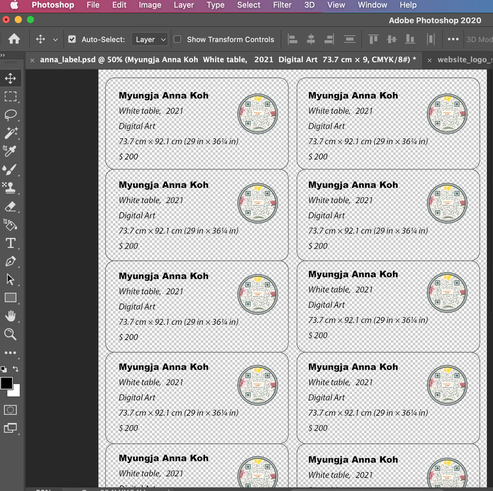 Then go to the layer flatten image and compress the file. |
 |  |
However, recently, when you upload your logo, font, design, etc., the site has developed as POD(Print-On-Demand), in which the company prints it and sells it to customers. For this type of sale, it is necessary first to show the results of the product to customers and promote it. This task is called Mockups. It's a term that anyone who works in the design world knows well.
A full-sized structural model built to scale chiefly for study, testing, or display. 2: a working sample (as of a magazine) for reviewing format, layout, or content. The dictionary meaning of the mockup is as follows.
(Merriam Webster dictionary)
Artists often use Mockups that simulate your work before turning it into a product to create portfolios.
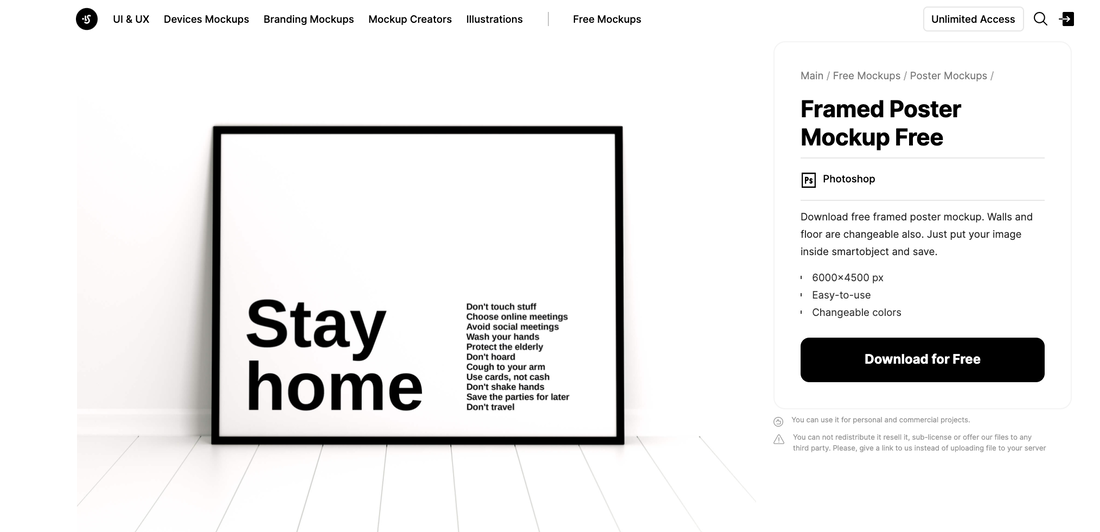
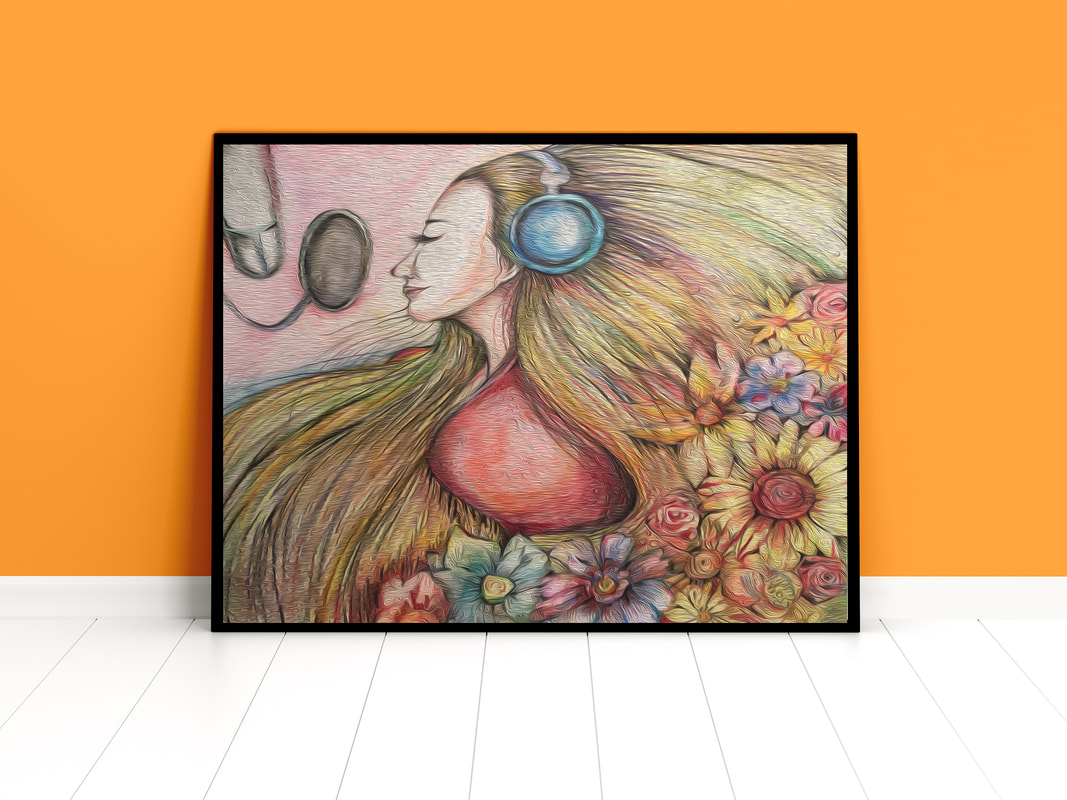
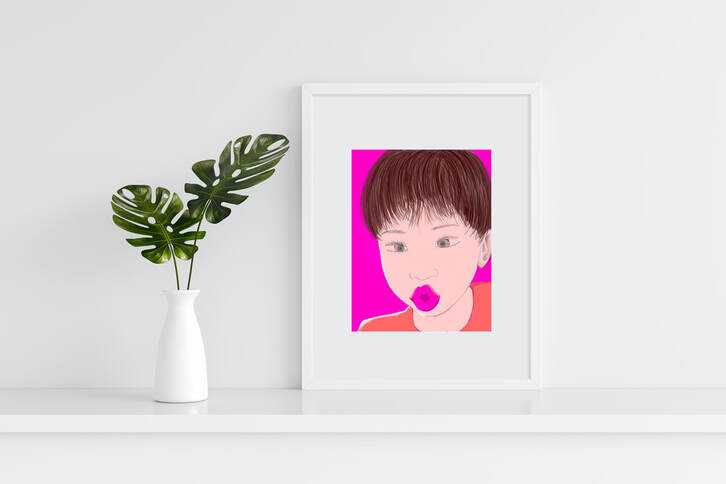
There are many mockup sites on the Internet that anyone can use conveniently. But, of course, if you use a paid site, the visual effect will be more excellent. Also, instead of making a mockup using an editing frame such as Photoshop, you can easily make it by simply pressing a button with a simple app or program installation. However, here I show you how to create a mockup using a free mockup file by Photoshop. So, first of all, I'll show you one of my works in a frame.
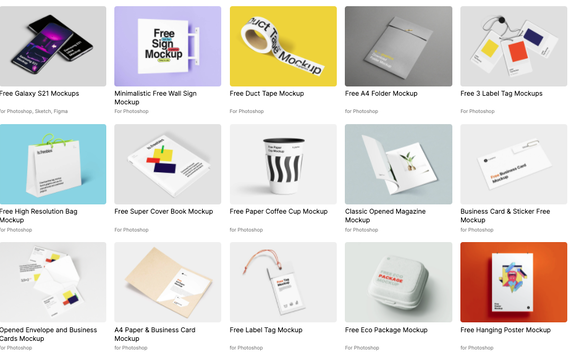
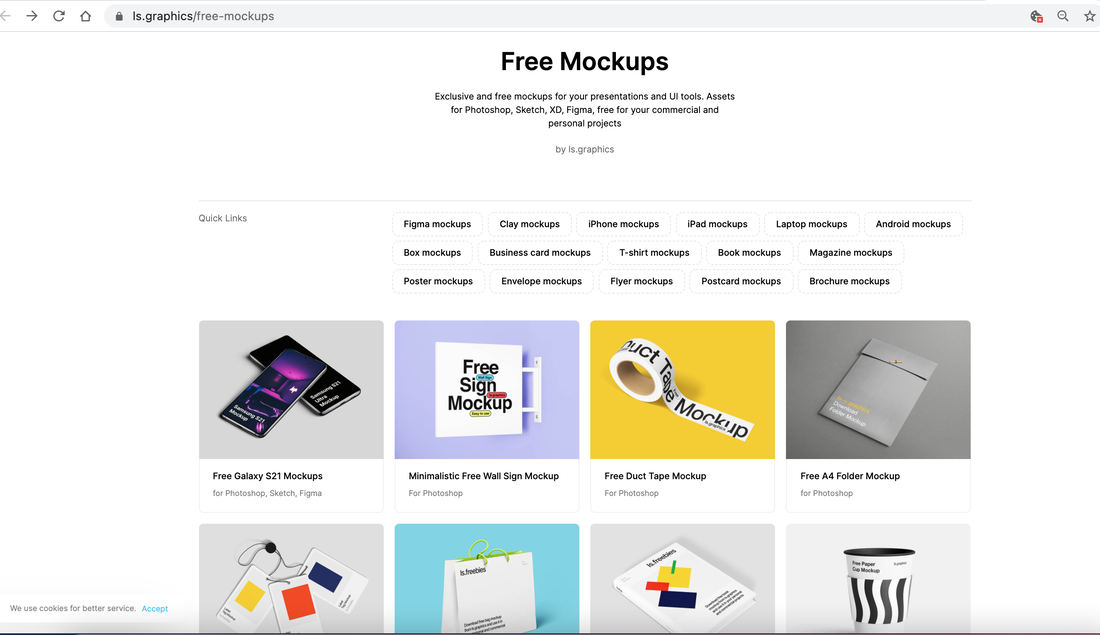
Below is one mockup site I use.
In addition to frames, there are many types of mockups such as tapes, beverage bottles, bags, iPhone cases, etc.
I chose a free mockup that I like. (Click the blow screen, if you want to get the same)
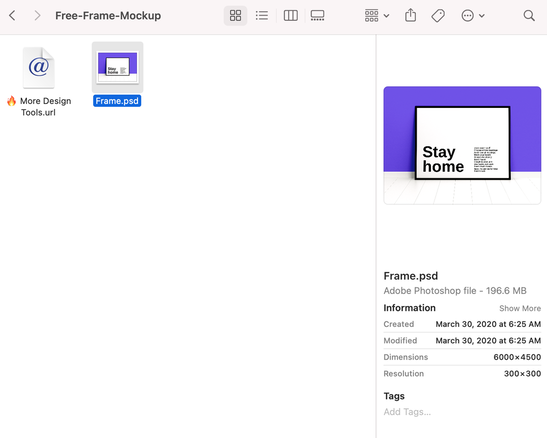
If you download the zip file and run it, you can check the PSD file as follows. I am a very grateful site designer. When I use a site like this, I should do free sharing, so I work hard.
When you open the Photoshop file, you can see the following screen.
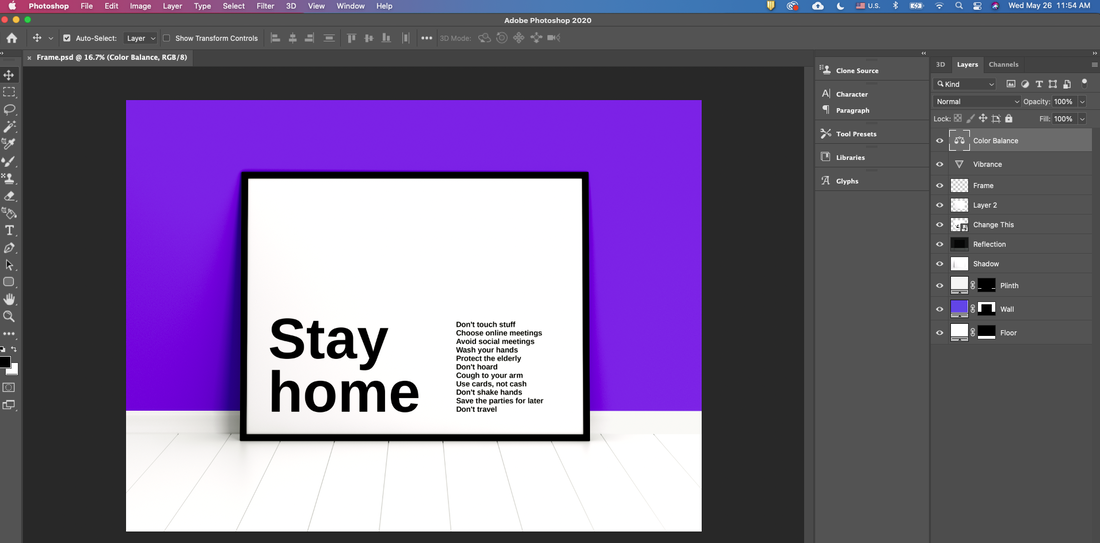

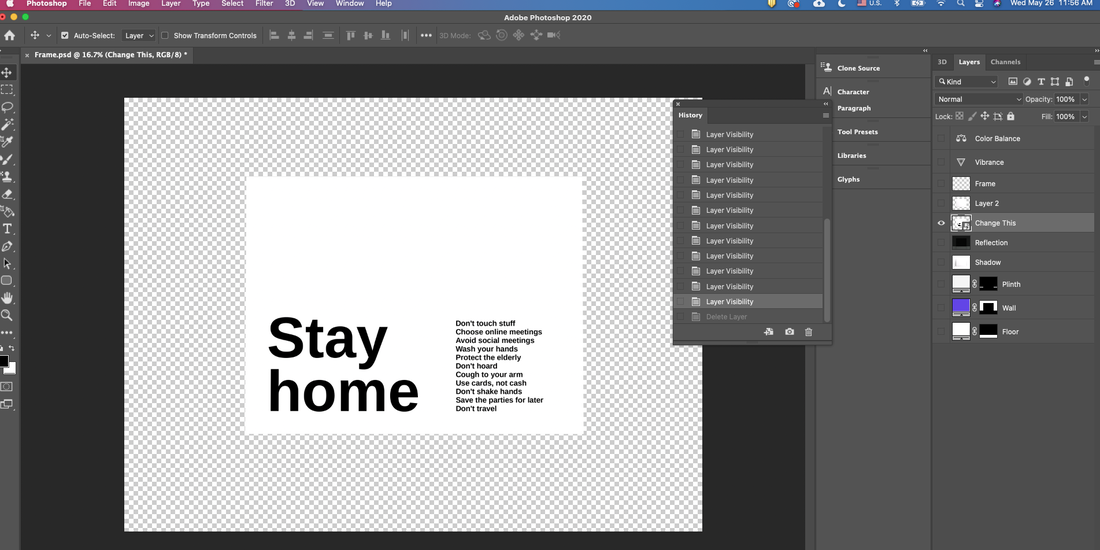
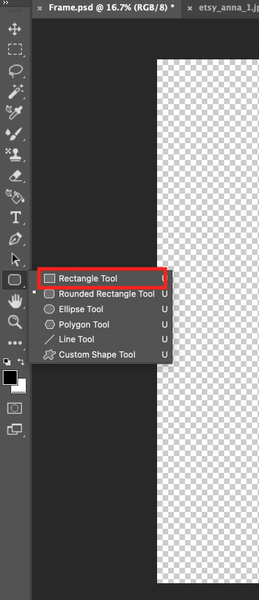
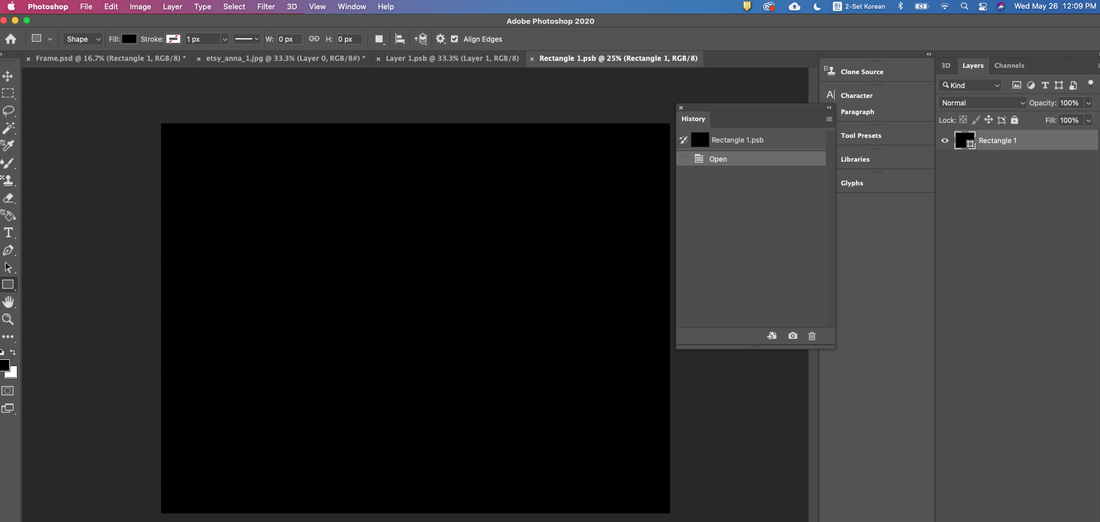
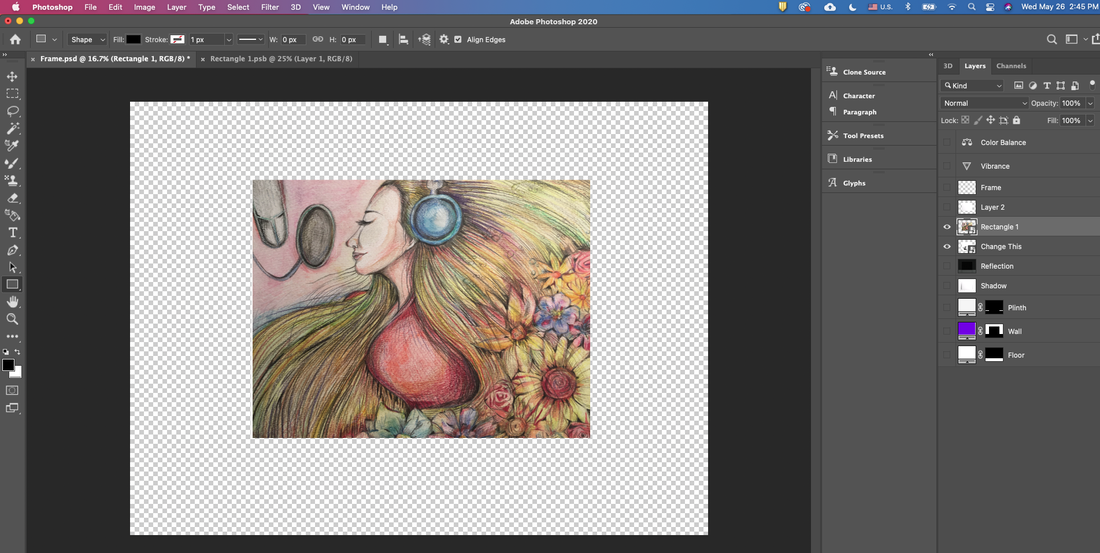
Take out the square frame from the left menu and draw a square to fit the stay home screen.
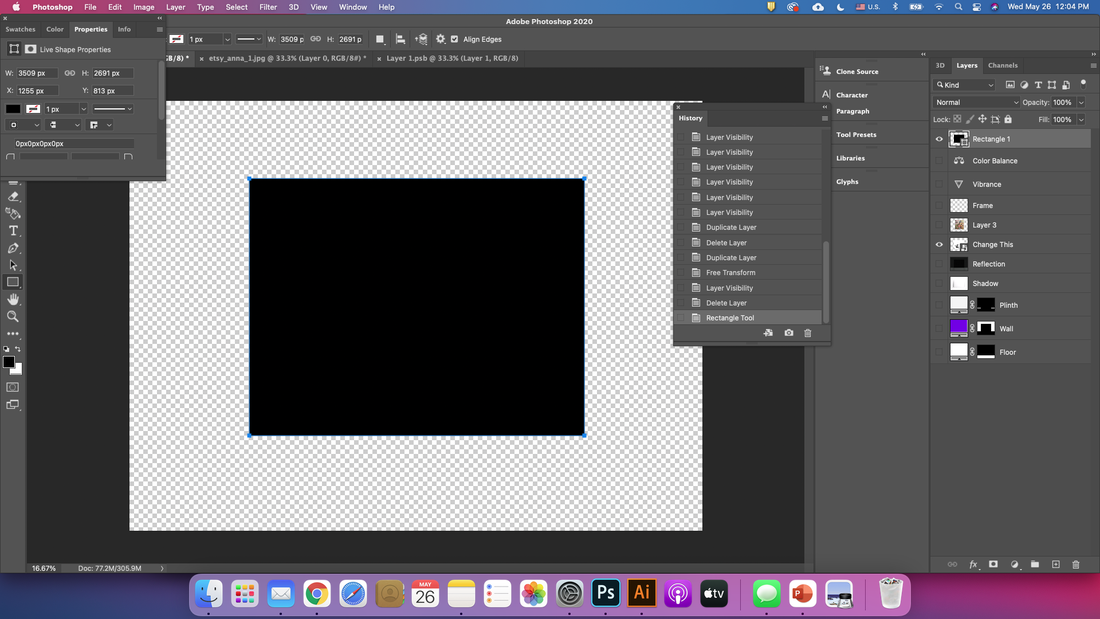
After then, you go to right side, layer panel, and click the right on the layer .
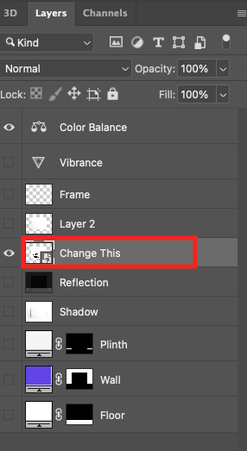
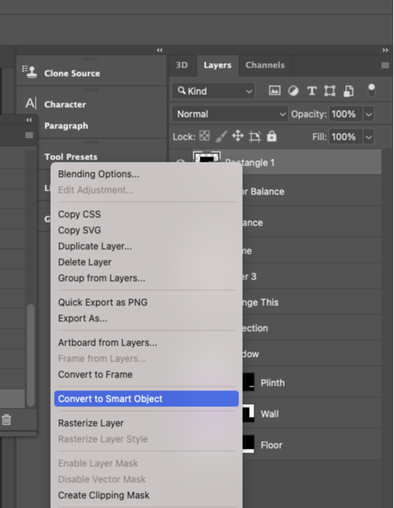
You click "the Convert to Smart Object".
Double-click the Smart Object icon in the Rectangle Layers panel in the Layers panel. This will open a new file with the square original. Carefully press the red square part like the below.

This will open a new file with the square original. (I named it, New Square screen)
It’s almost over now. Cheer up !!!
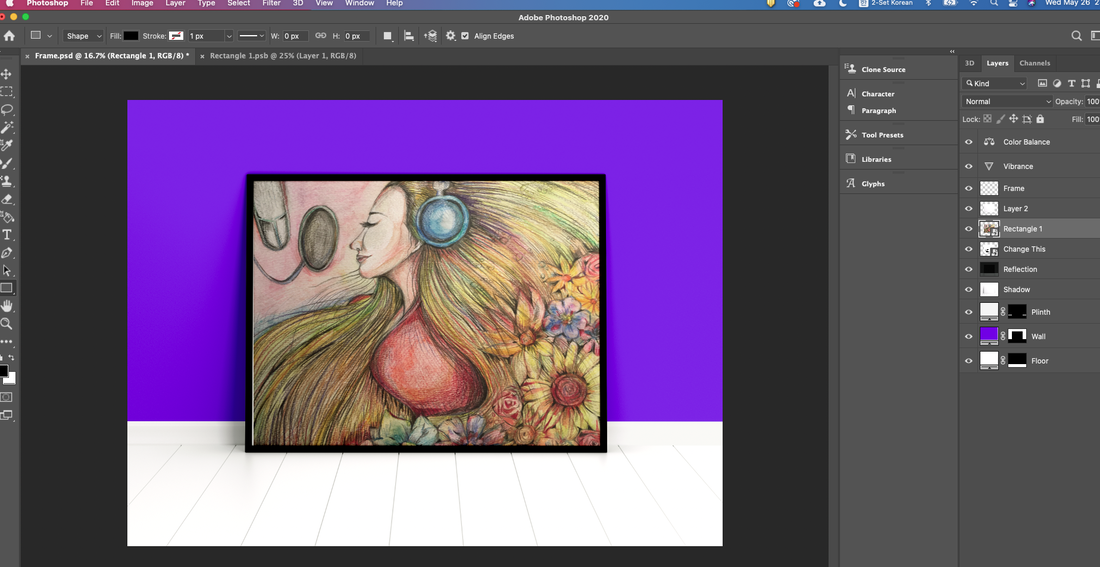
Now load the picture to be framed. ( Ctrl + O, Cmd + O)
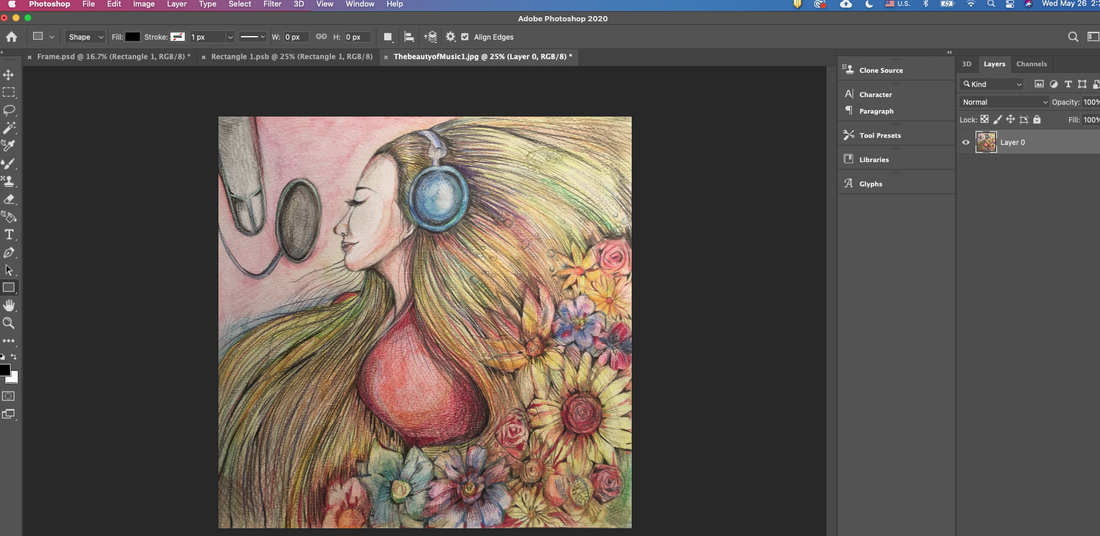
If you have followed well, you will see a screen like the one below.
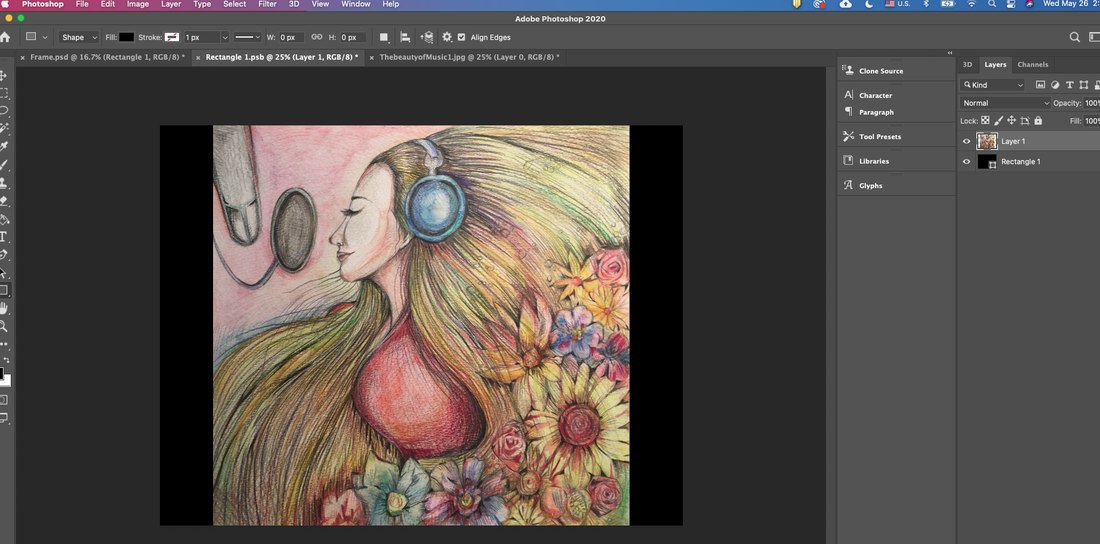
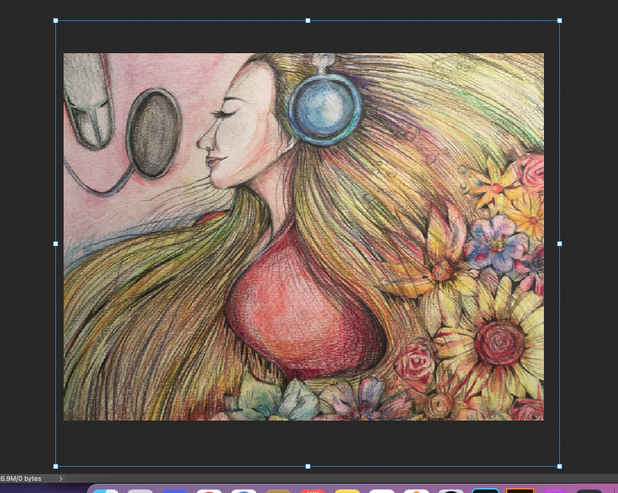
Press the Ctrl + T or Cmd + T key to resize.
I will only stretch the right part, so hold down the shift key and pull it out
After then , you saved it with Ctrl + S or Cmd + S, and return to the first step like the below.
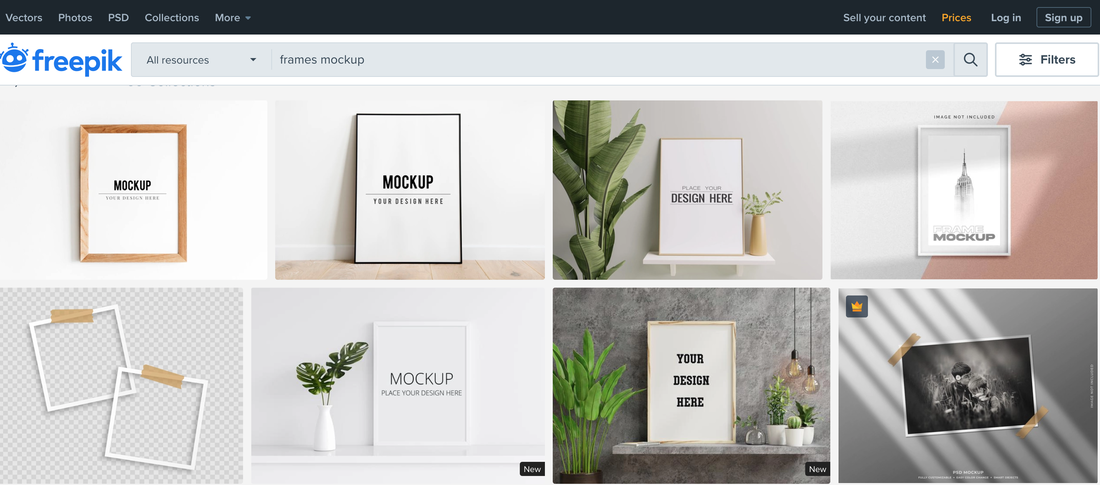
Also, if you go to the site below for your reference, you can download many different types of free frame mock-ups that artists need. (https://www.freepik.com/free-photos-vectors/frames-mockup)
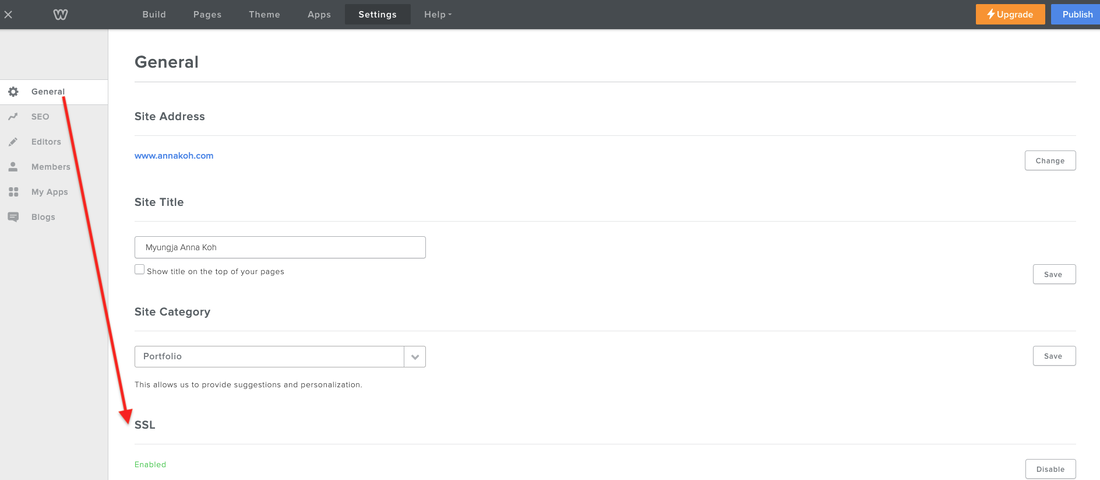
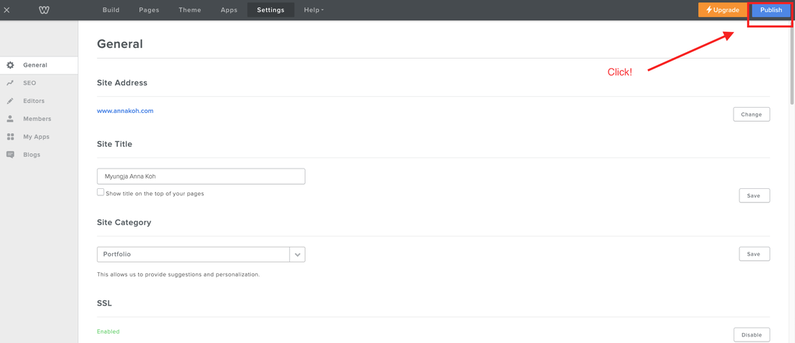
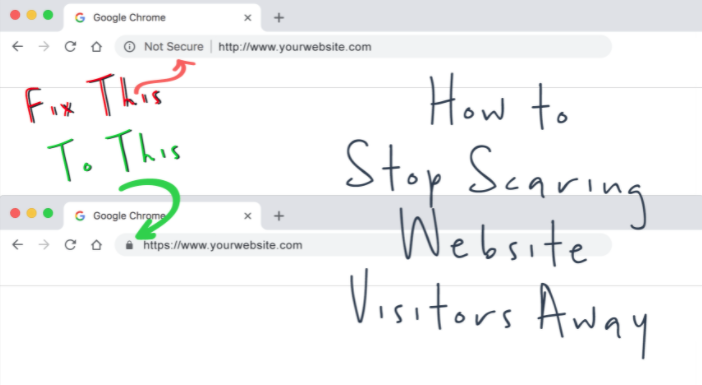
How to solve the not secure problem in Weebly

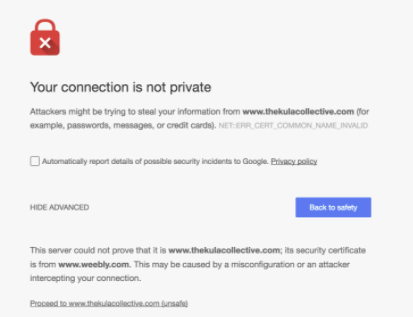


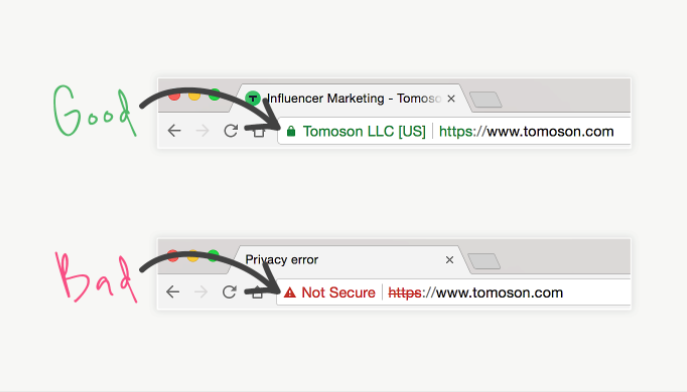
If it isn't the problem with Weebly, and if it has other technical issues, there is a good Blog by Tomoson detailed below. It's beneficial.
https://www.tomoson.com/blog/not-secure-website-fix/
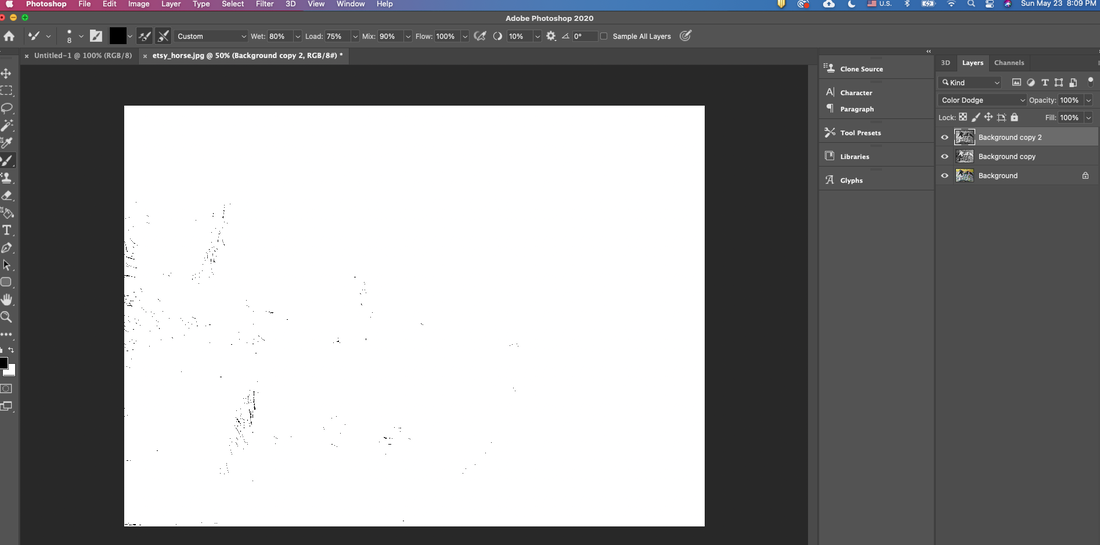
How to make coloring pages in Photoshop.
So today, I'll show you the process how you can make own painting into a coloring book using Photoshop. If you don’t have a picture, you can use a photo. Are you ready ?
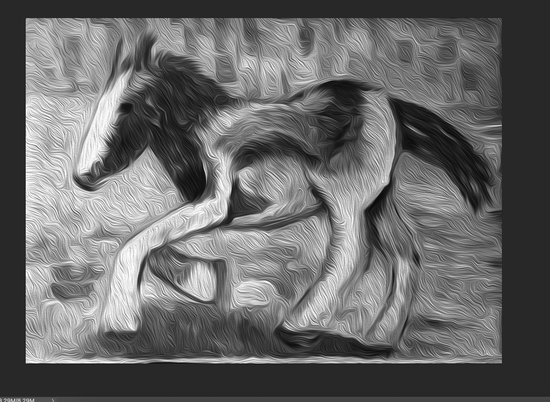
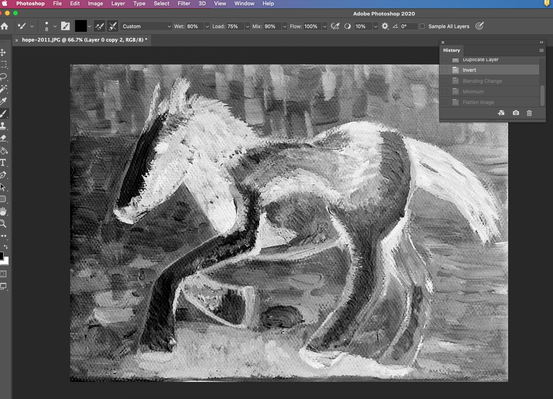
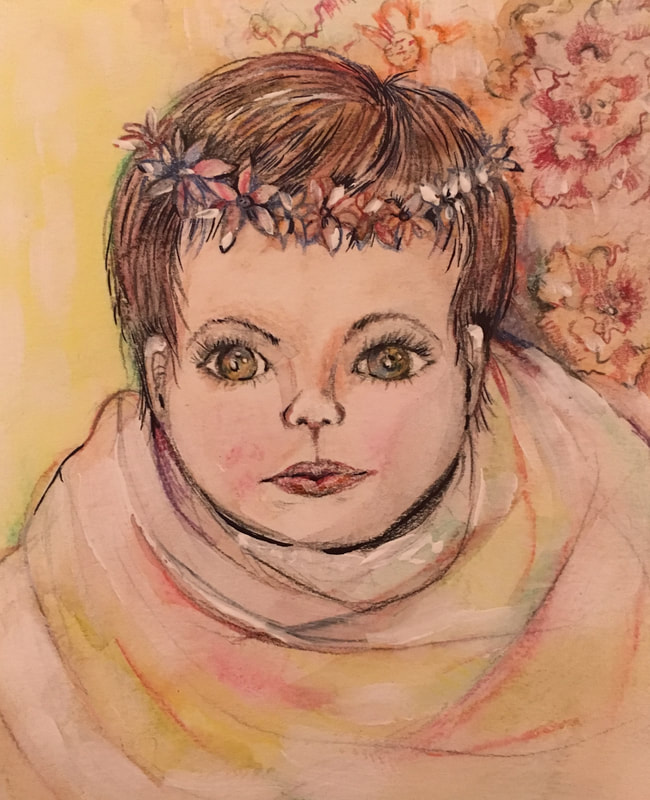
I am using photoshop cc 2020 version. So I will explain based on this version. First, open Photoshop and load the image you want to make into a coloring page. The shortcut key is ctrl+O. I brought up the image I drew in 2011 called "Hope". It's a picture that was sold in the first exhibition, but someone bought it to give her a daughter. Like the words in this picture, I hope that the girl is running strong with a beautiful dream.
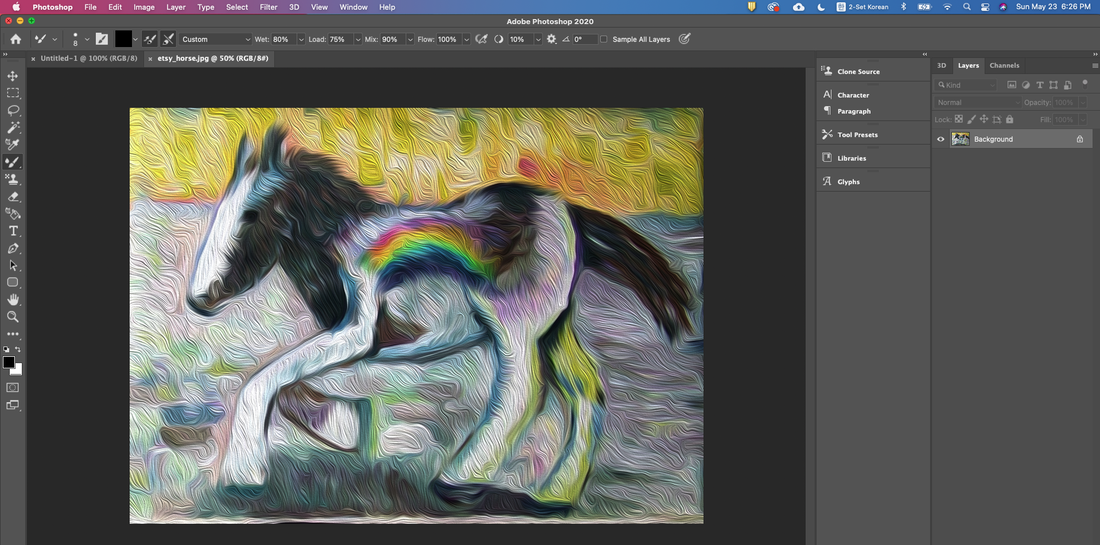
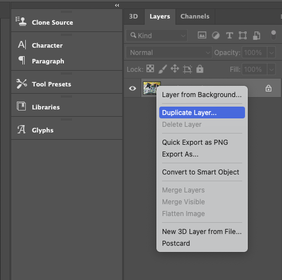
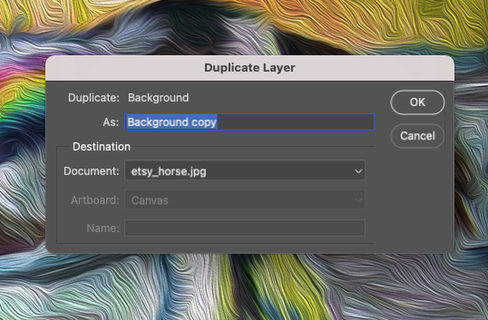
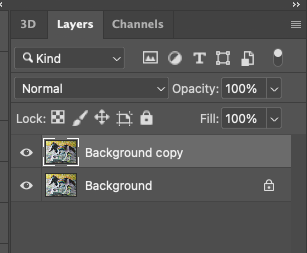
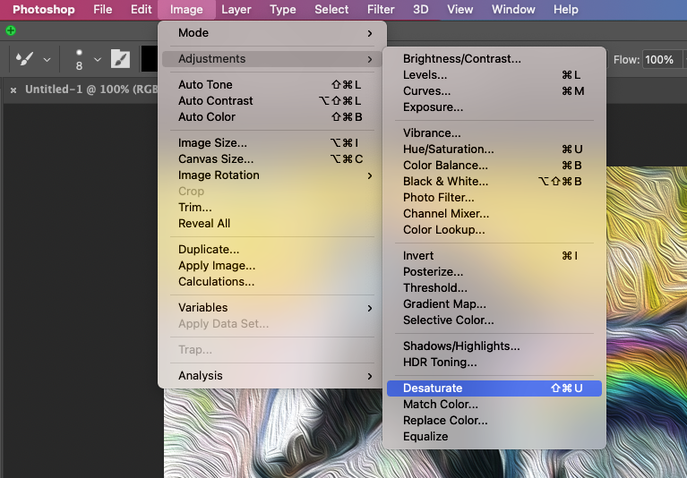
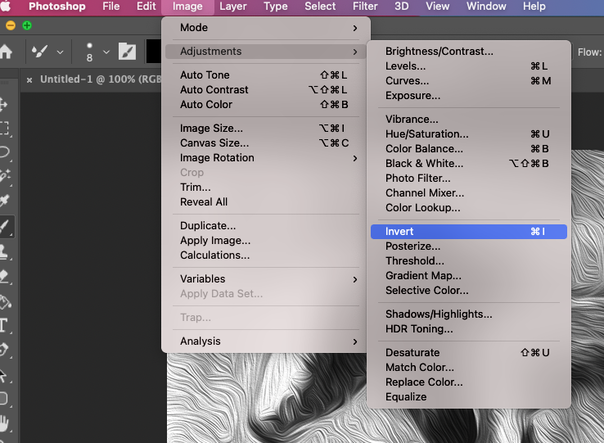
Image - Adjustments - Desaturate
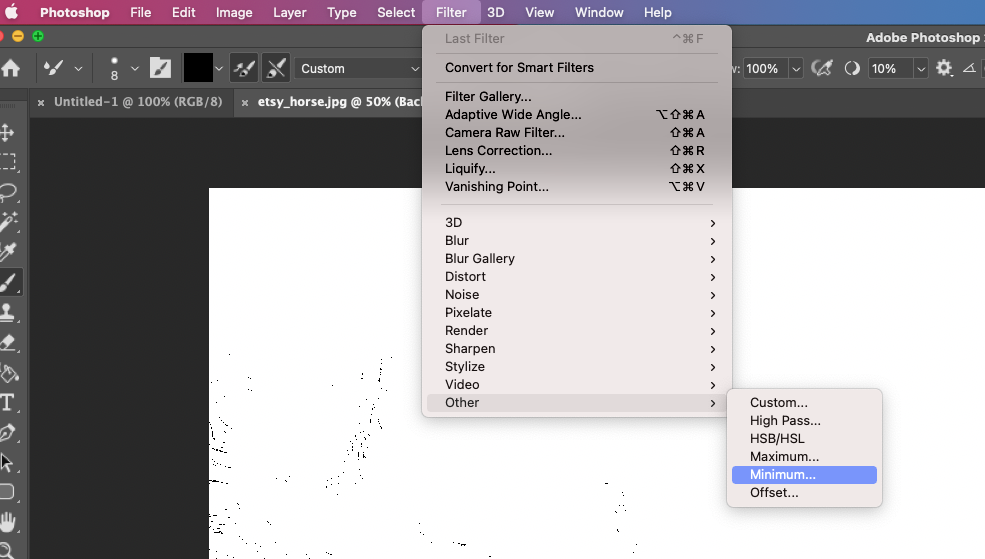
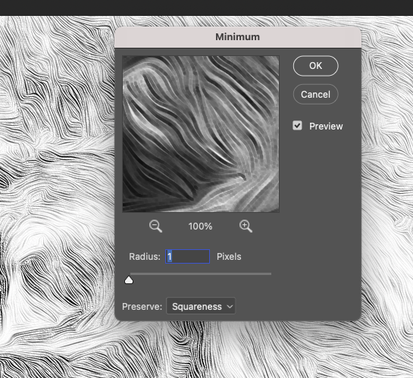
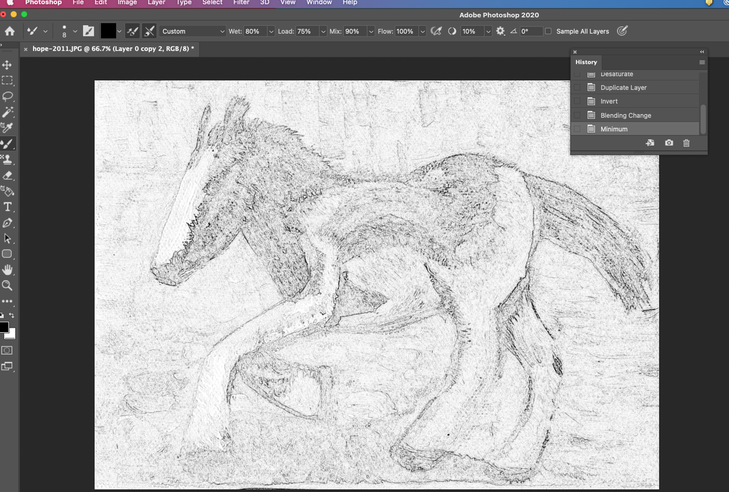 If Radius 1 | 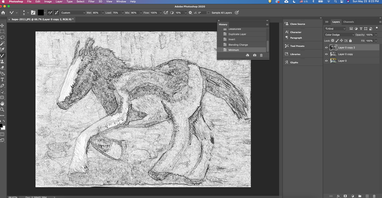 If Radius 3 |
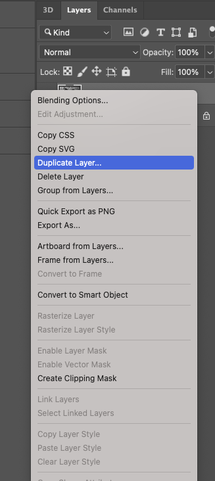
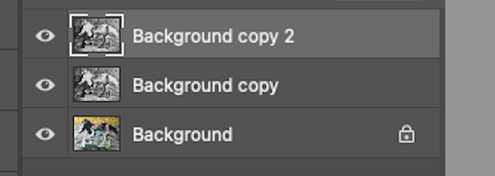
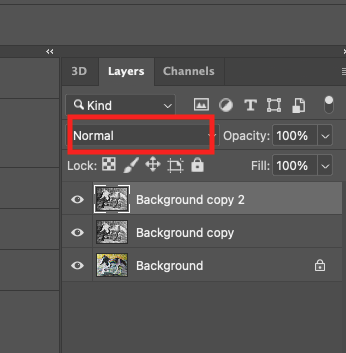
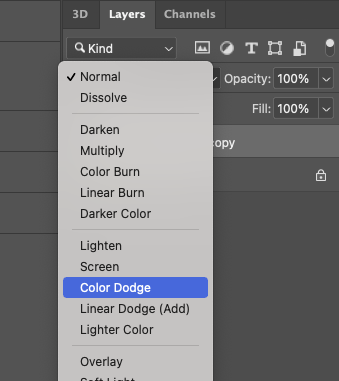
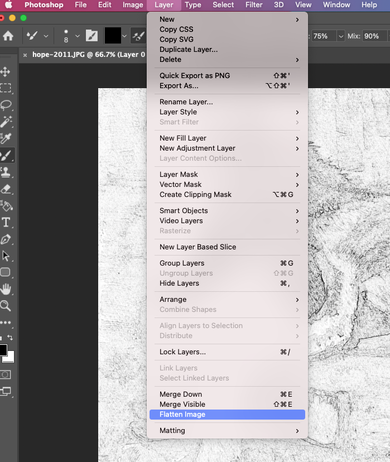
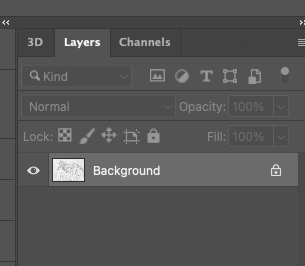
Please go to the upper menu like this : layer - flatten Image
 Before | 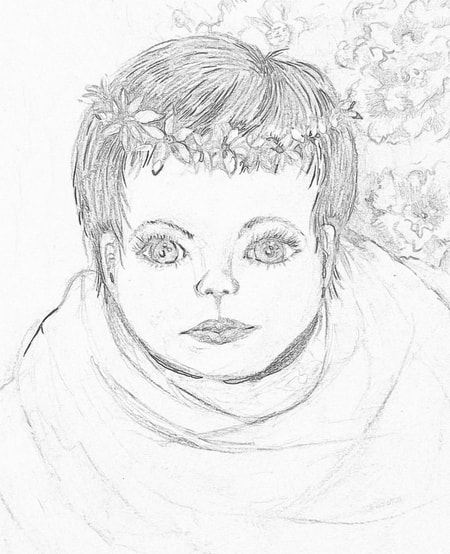 After |
Weebly review
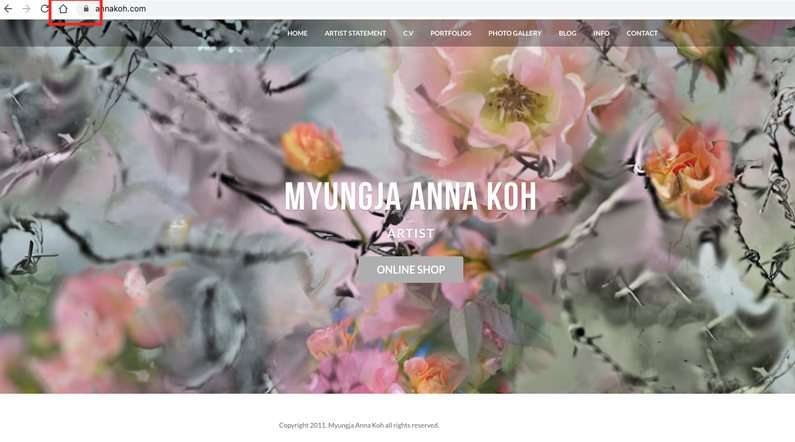
However, when I first started to create my homepage, my son, Minsi, introduced Weebly free website builder. I worked in a different profession in Korea, debuted as a painter in Germany, and moved to New York again, so many people are curious about the process. Whenever they asked, I often answered, but at some point, and I thought that I should build a homepage and write it down there. So, for a moment, I would like to write down what I felt while using Weebly, a free website builder.
 front page by weebly  blog site | 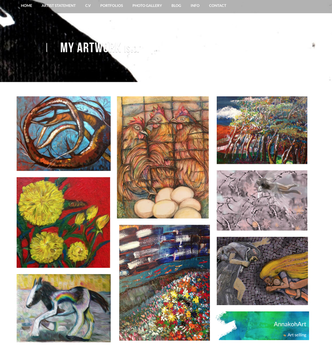 Portfolio page by using gallery 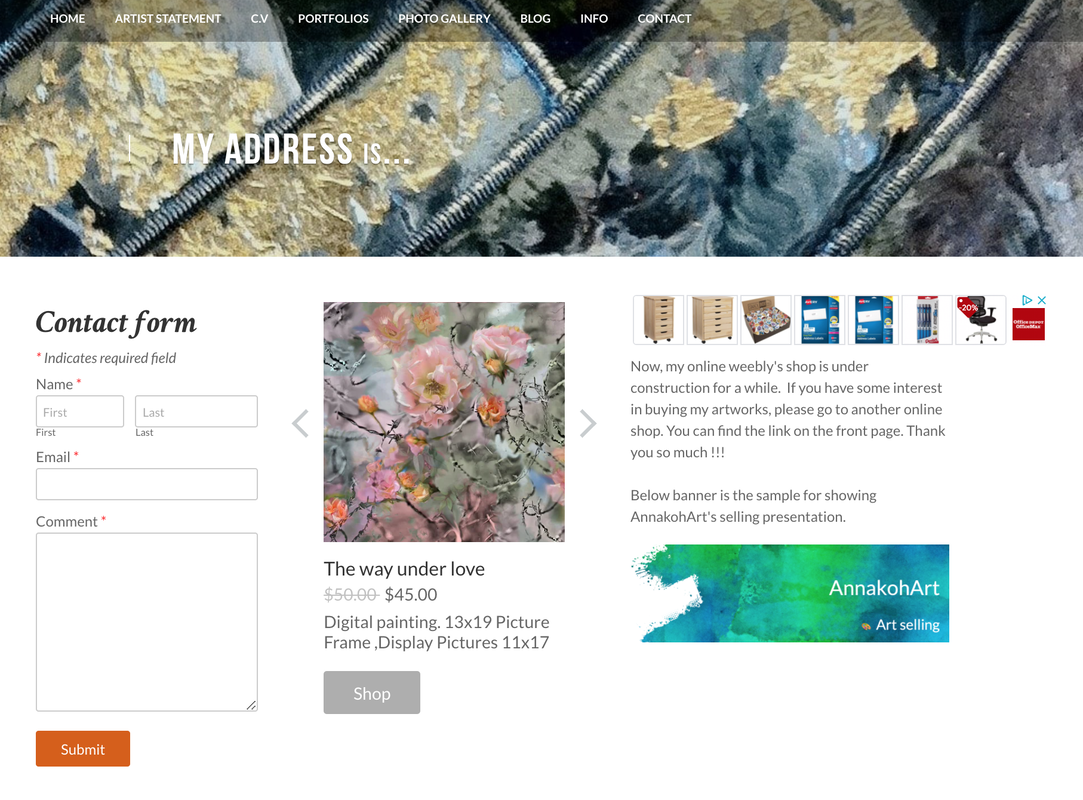 contact info, product selling |
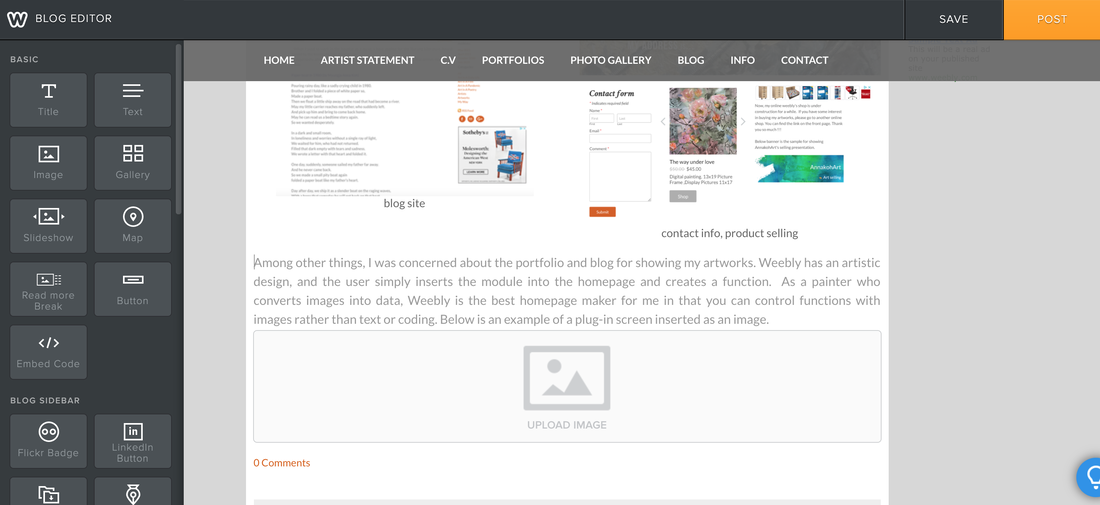
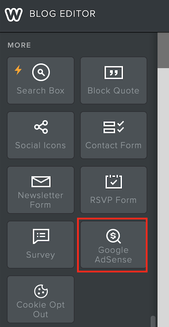 After applying for Google AdSense and getting approval, you can insert it in the desired place. | 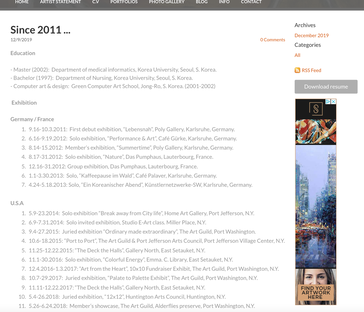 Examples of pages with AdSense applied |
 |  |  |  |
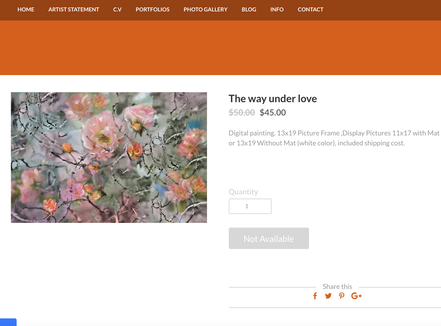
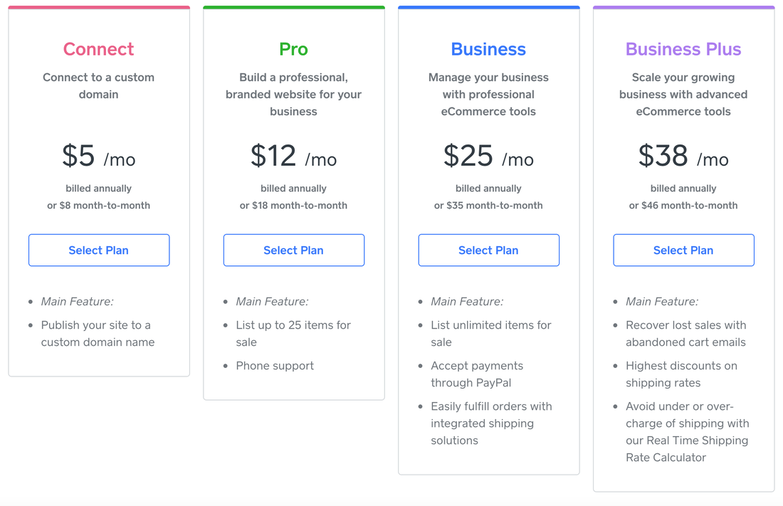
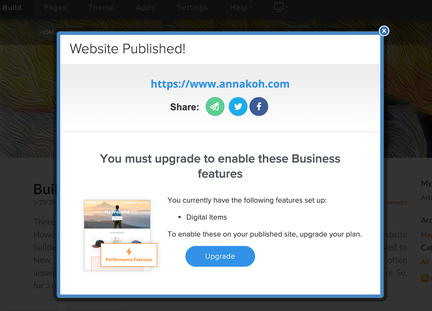
Before anything else, If you want to upgrade your site to sell things for business use, you can refer to the information below.
And the most important service is that when I ask for solving a problem by email, the answer comes well. However, using the chat window is not helpful because AI works too much.
Myungja Anna Koh
Artist
Categories
All
Art & Data Analysis
Artist Opportunities
Book For Artist
Coloring Book
Daily Art
Digital Art
Drawing
EcoArt
Educational Theatre
Guinea Pig
Illustrator
IT Tip For Artist
K-Culture
KDP
Marketing For Artwork
Photoshop
Travel
Weebly
 RSS Feed
Archives
July 2024
June 2024
May 2024
April 2024
March 2024
February 2024
January 2024
December 2023
November 2023
October 2023
September 2023
August 2023
July 2023
June 2023
May 2023
April 2023
March 2023
February 2023
January 2023
December 2022
November 2022
October 2022
September 2022
August 2022
July 2022
June 2022
May 2022
April 2022
March 2022
February 2022
January 2022
December 2021
November 2021
October 2021
September 2021
August 2021
July 2021
June 2021
May 2021