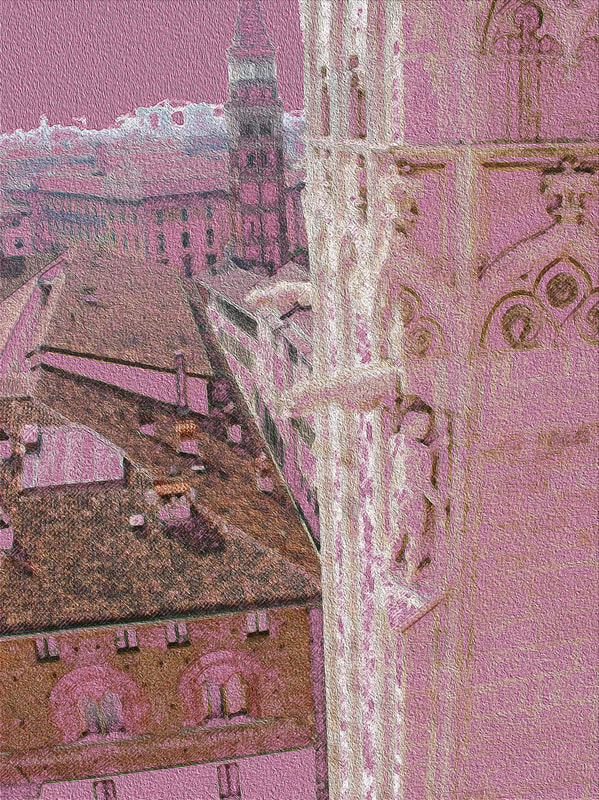
Digitalization from Milan Cathedral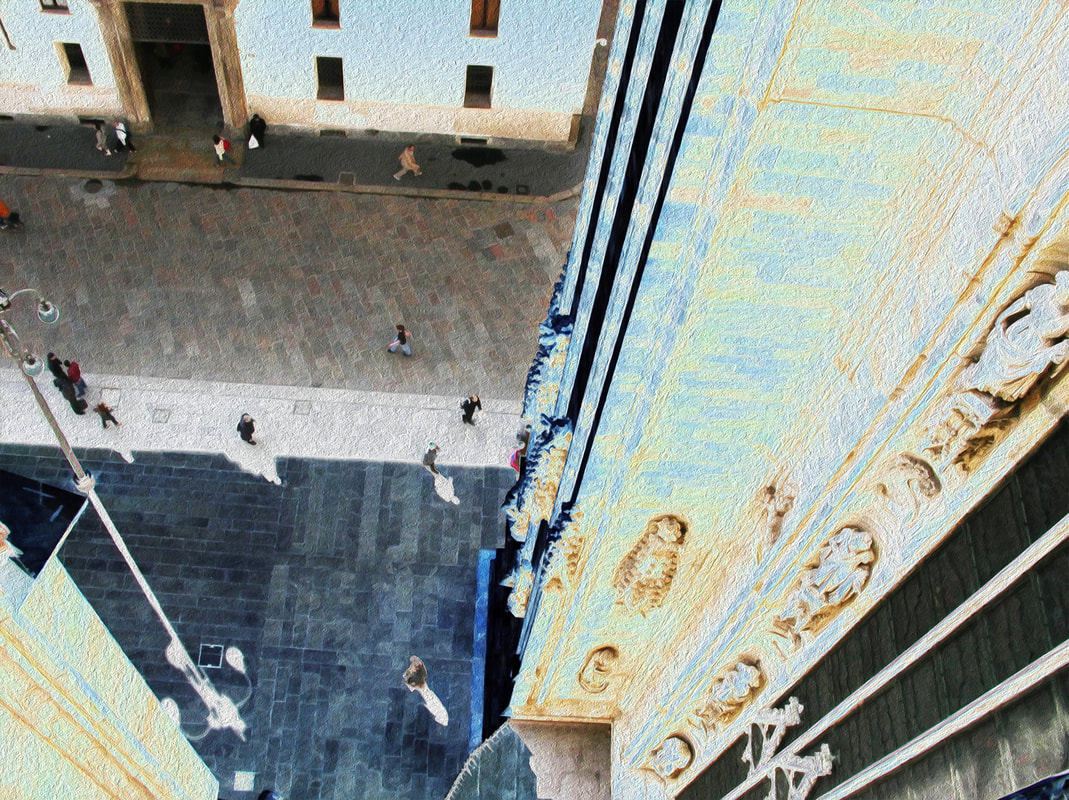 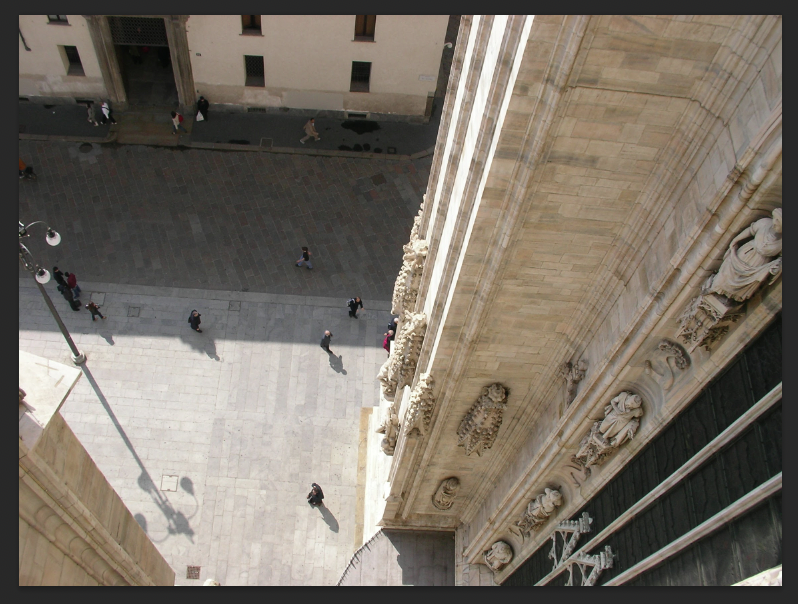 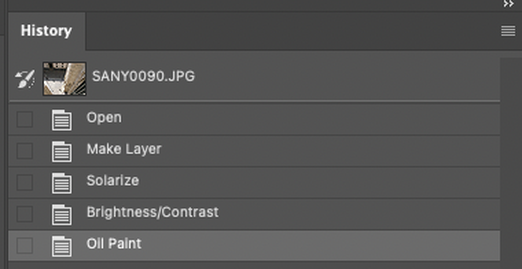 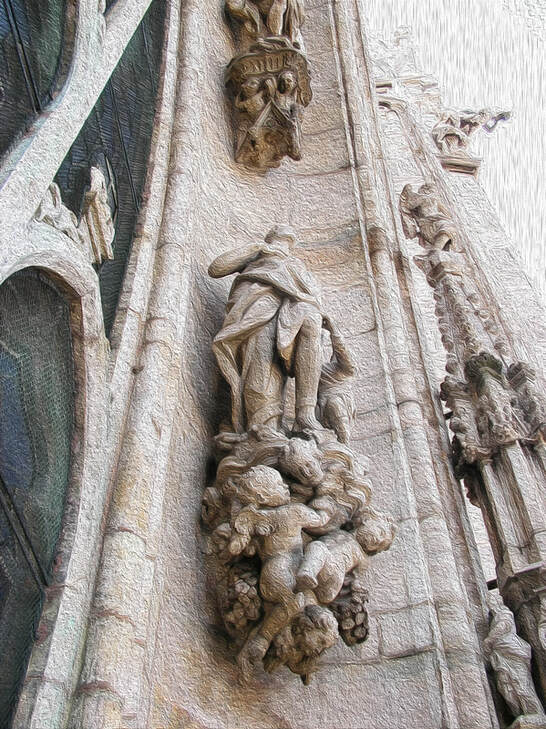 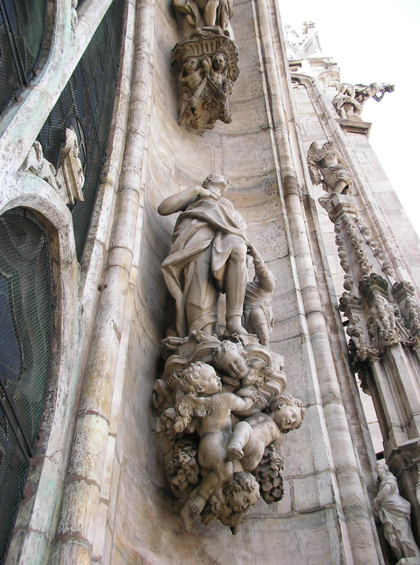 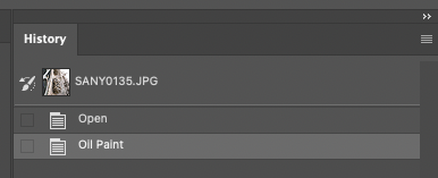 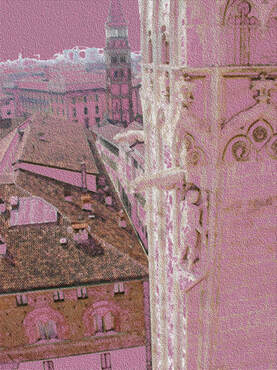   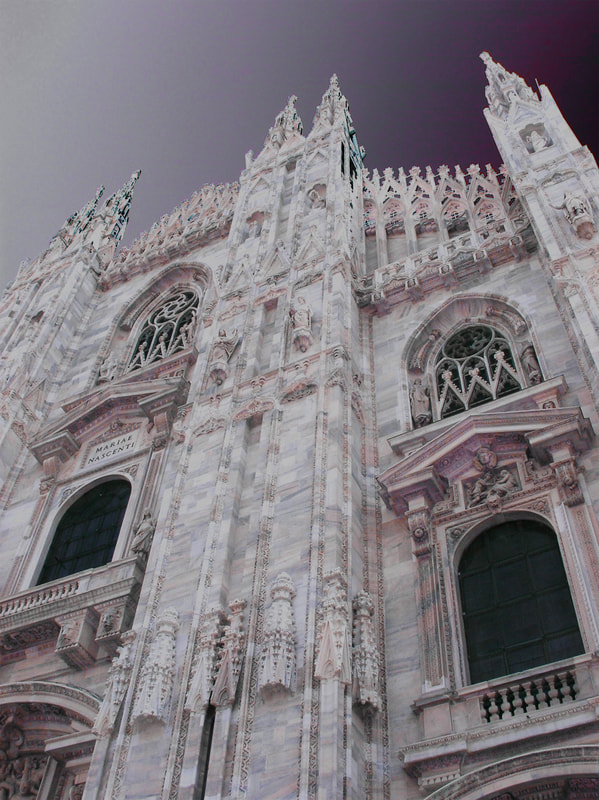 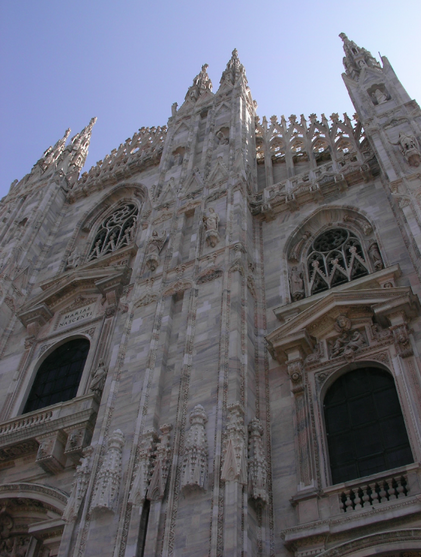 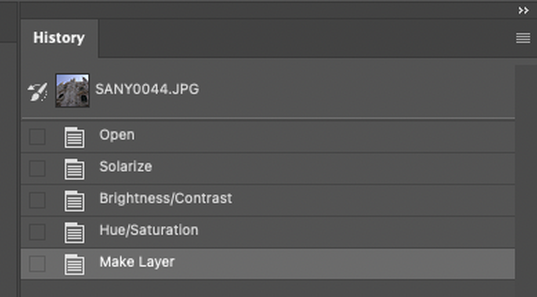
0 Comments
Refine edges around hair in Photoshop! Today, we will change the background color of the model image below. Usually, when changing the background of a photo of a model with fine or curl hairs as shown below, it is not easy to change the background cleanly. 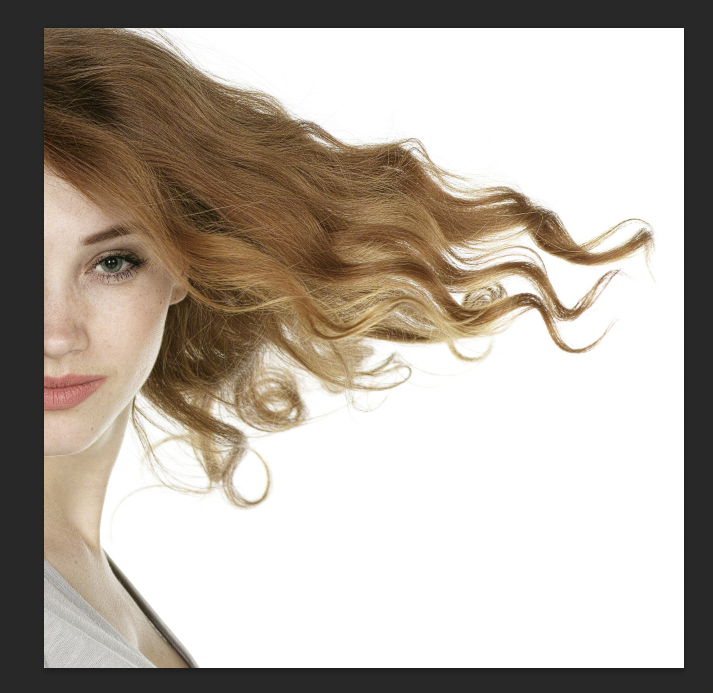 The space between the fine hairs will remain in the previous color as shown below. 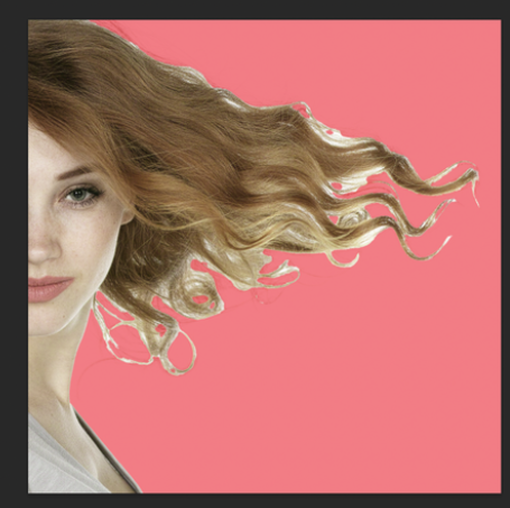 The tip below is to arrange the unaltered space in between so that the background can be changed more naturally and cleanly. First, you have to choose Object Selection Tool on the left side bar. 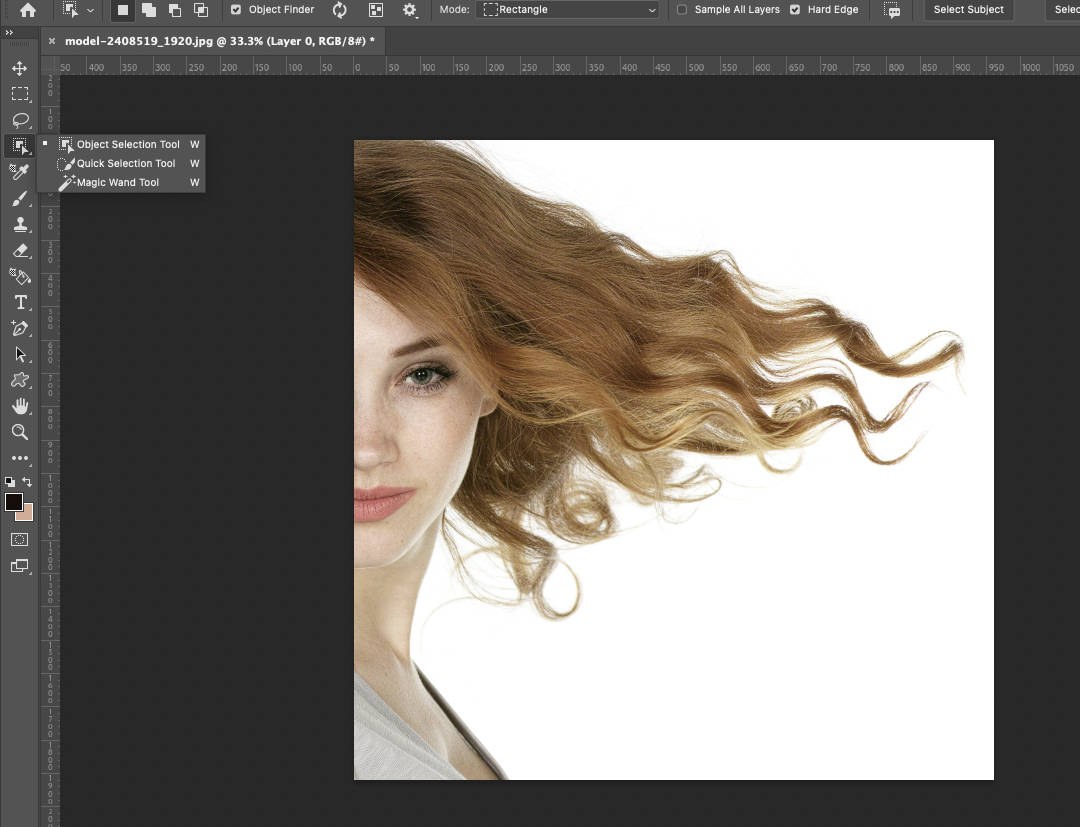 If you click the body part, you will see blue filed as below. It means that it was selected by that tool. 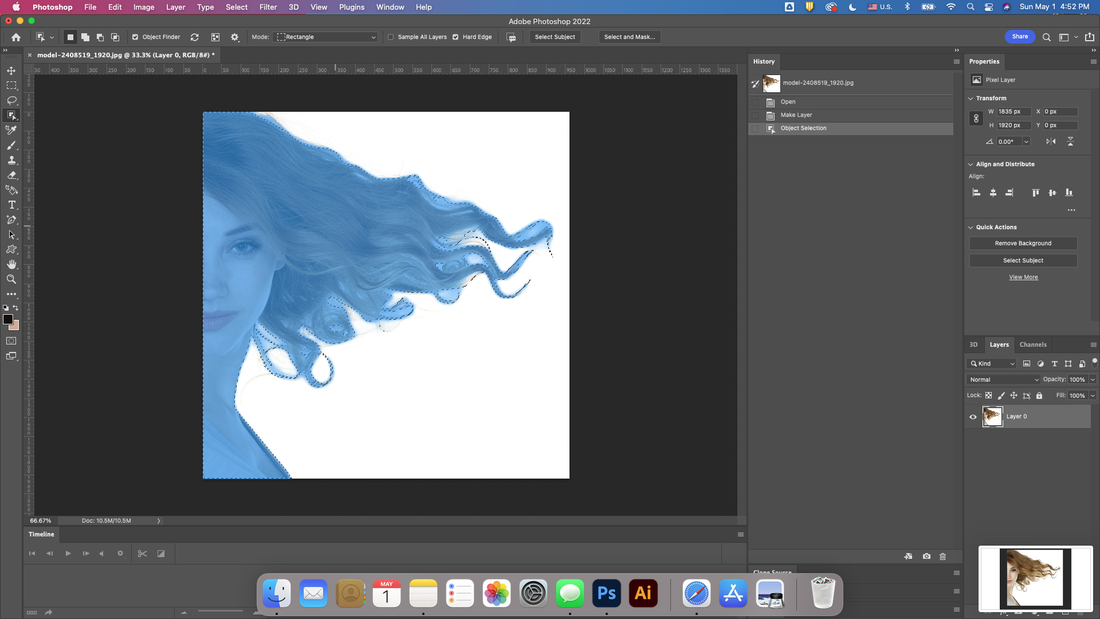 Next, go to Select and Mask menu with click on the right side of the top menu bar like below. 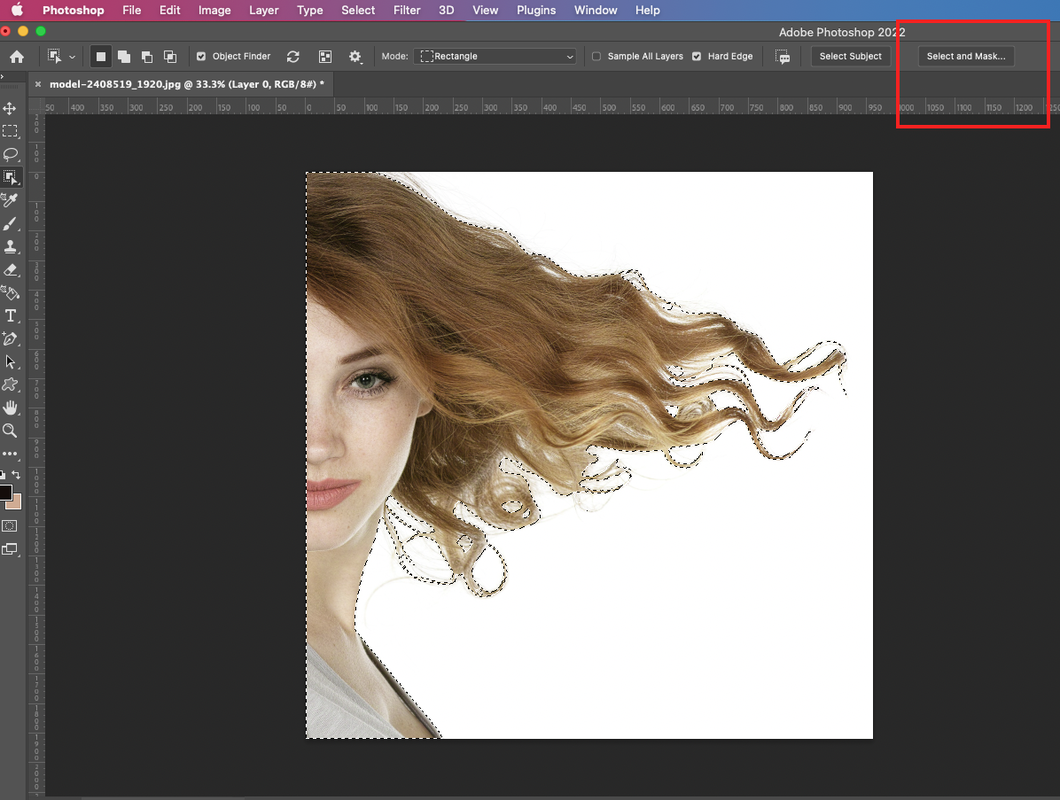 You have to pay attention to see the right side bar. 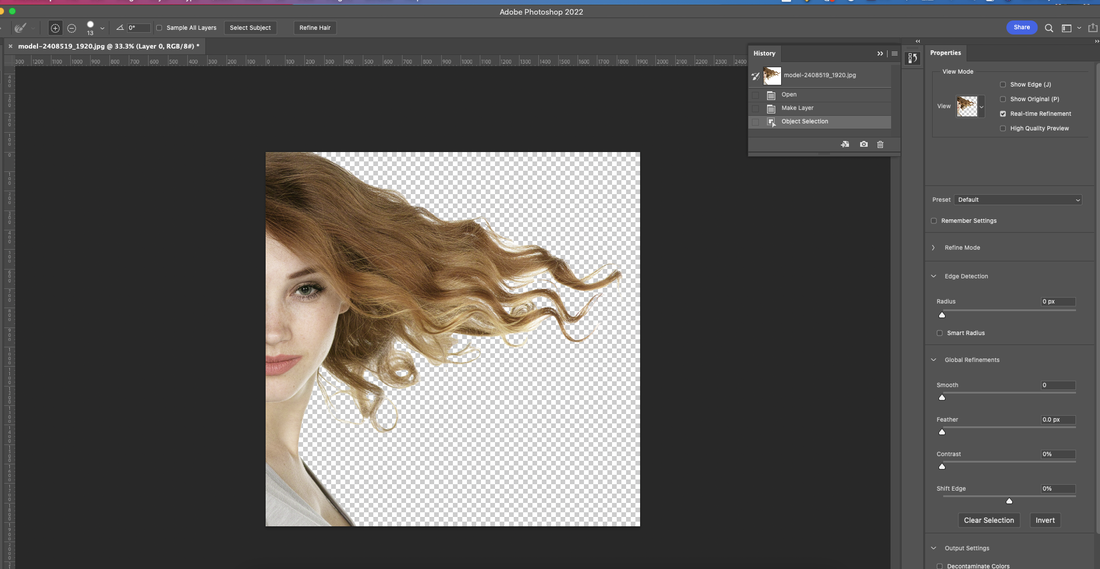 Click the View option of Properties and drop down to select it. Choose the Overlay(pink one). 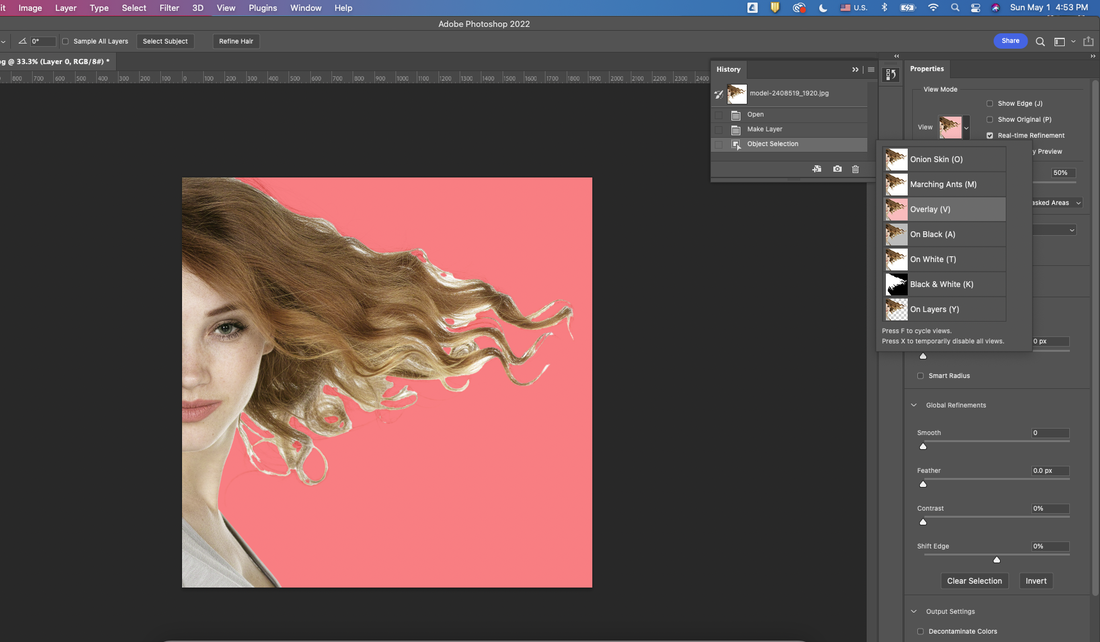 And then you have to choose second icon on the left side bar to refine edges. 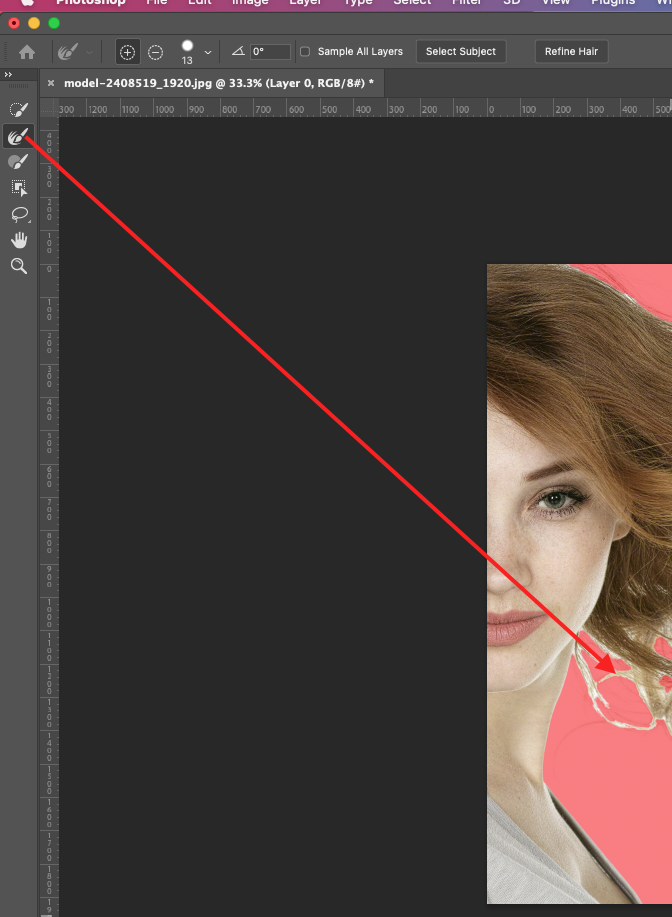 Below is the result after applying the tools. 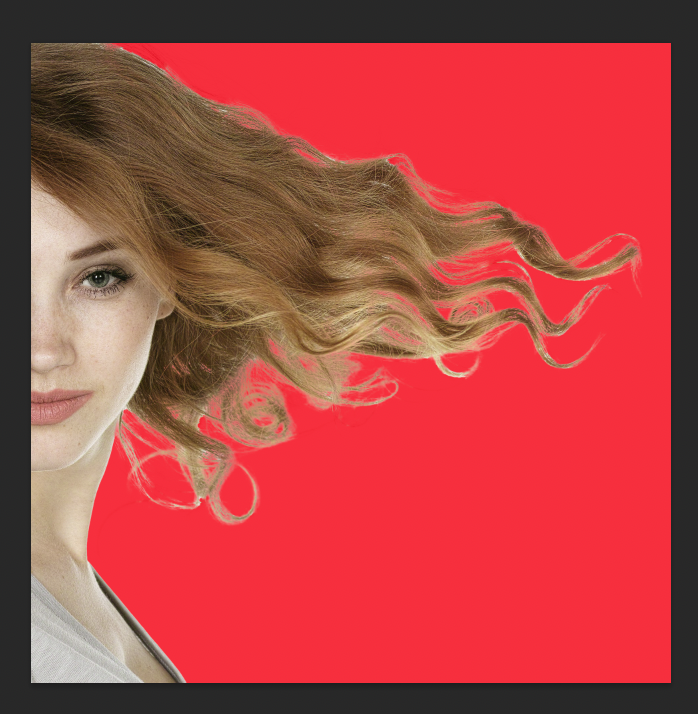 Here is the comparison before & after.
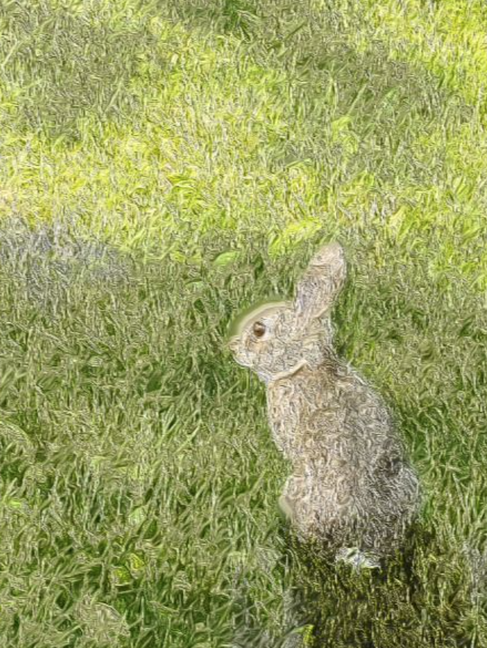
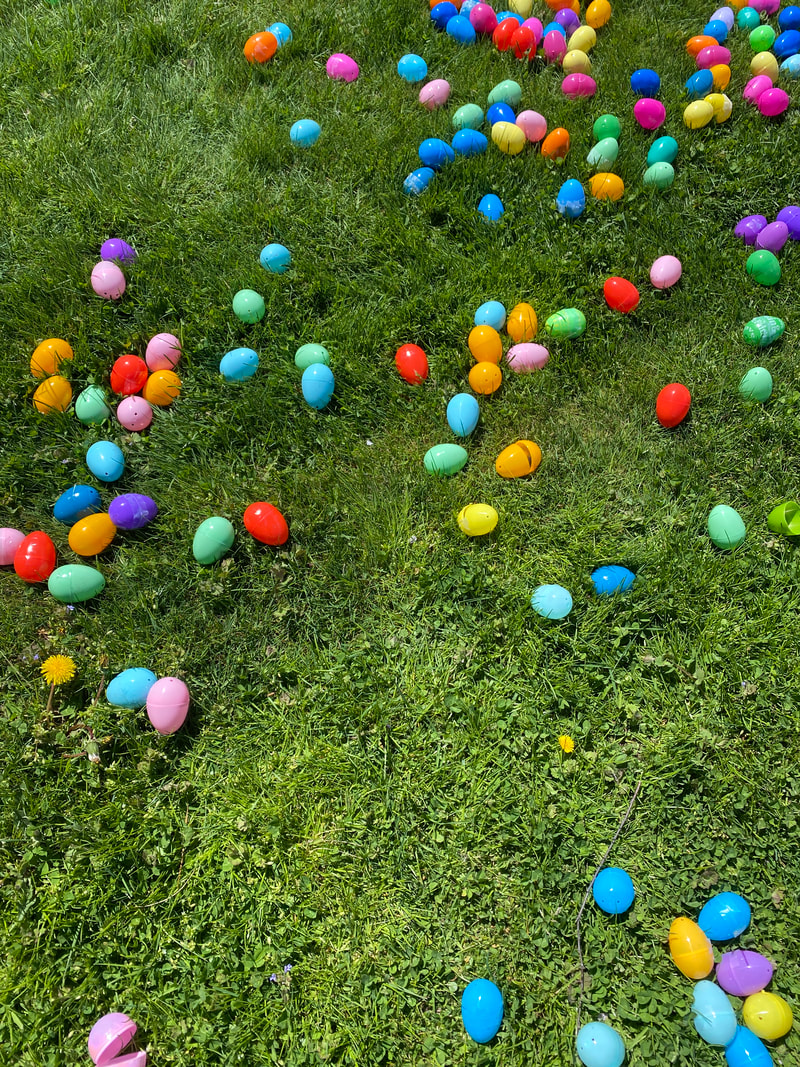
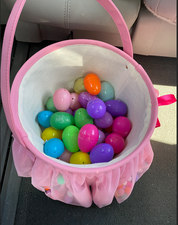
Go to output option and click the New Layer with Layer mask to change the background color. 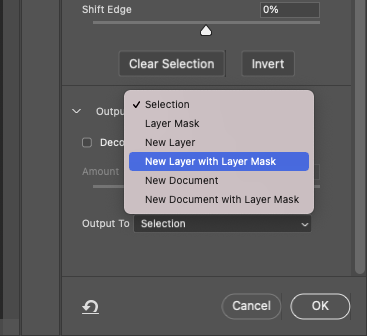 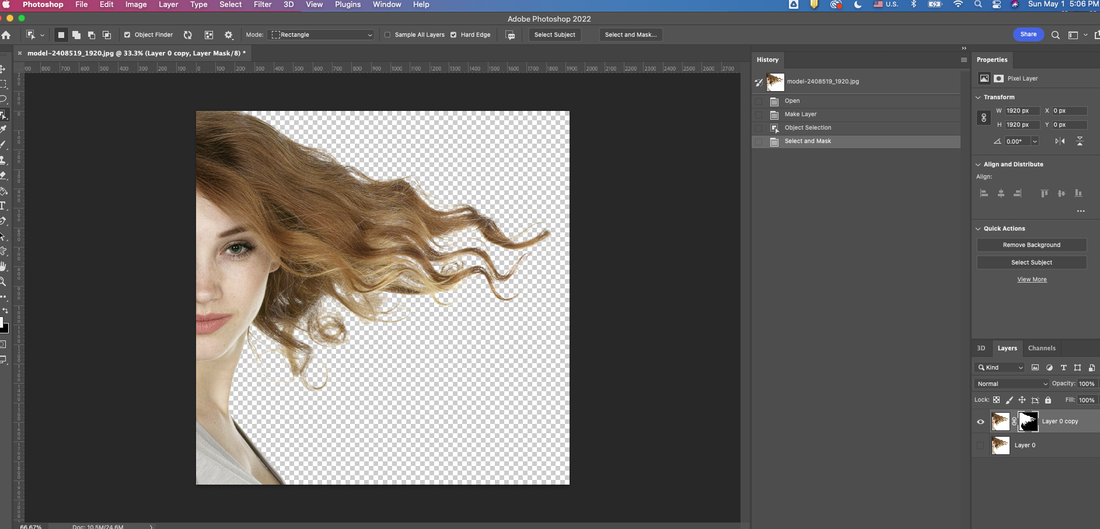 If you see the result like below, it would be succeed. 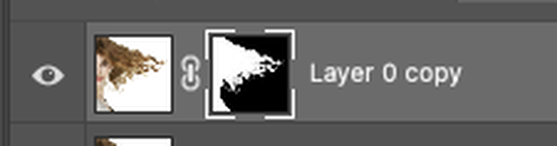 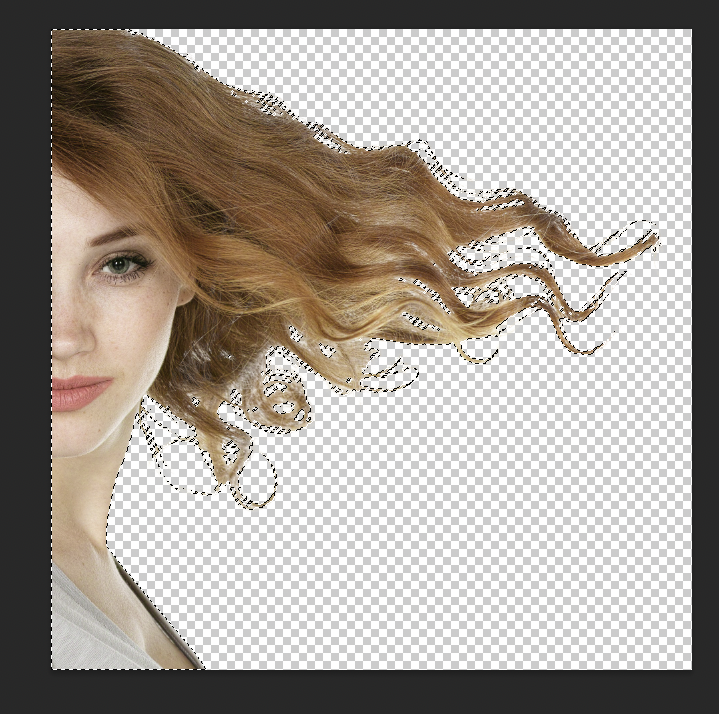 Here is the result after changing the background color. 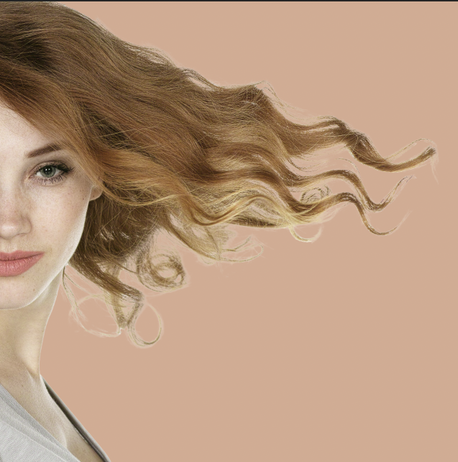 Today, I will create an Easter Bunny image by combining the two different photos below into one photo.
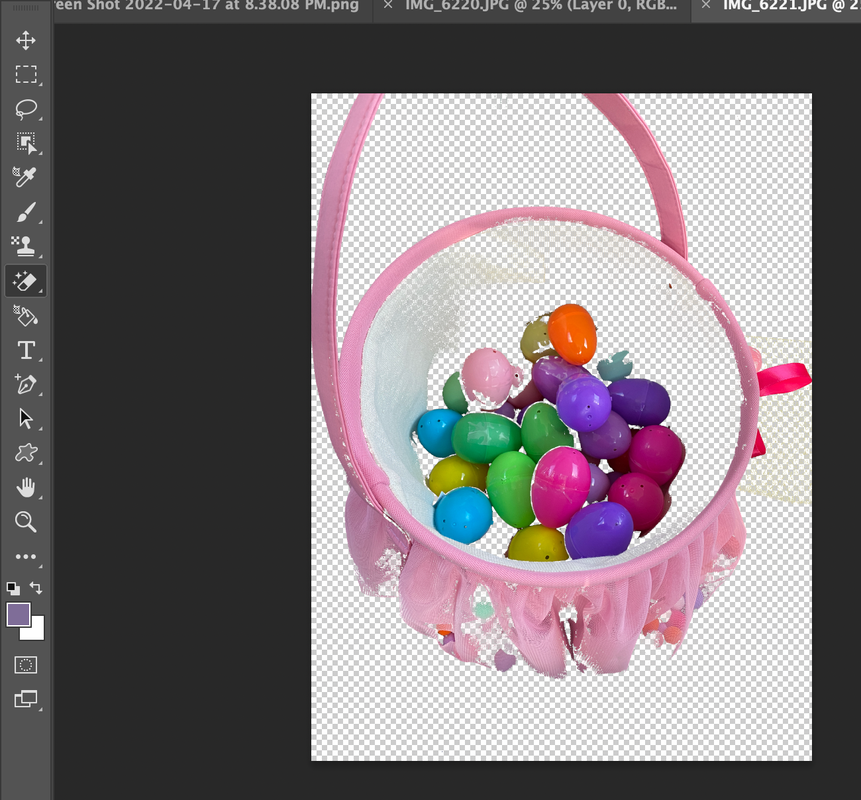
Let's make a different image by simply compositing two photos. Below is a history log that briefly shows how the combination was done. 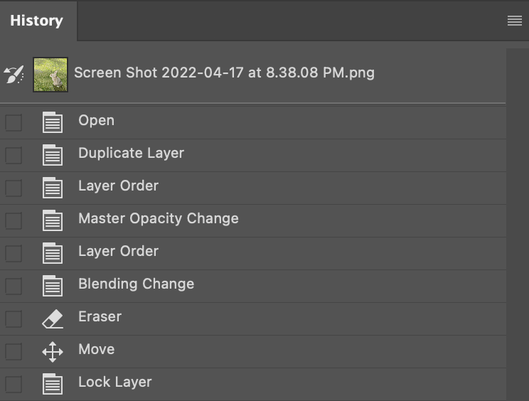 First, load a picture of a scene where an egg is dropped on the grass. Erase the background using the Magic Eraser tool. 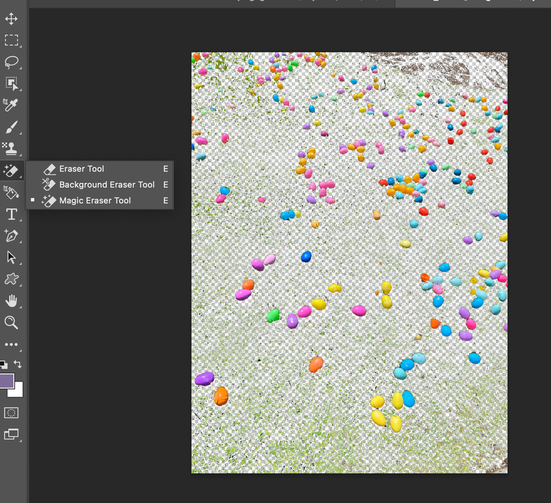 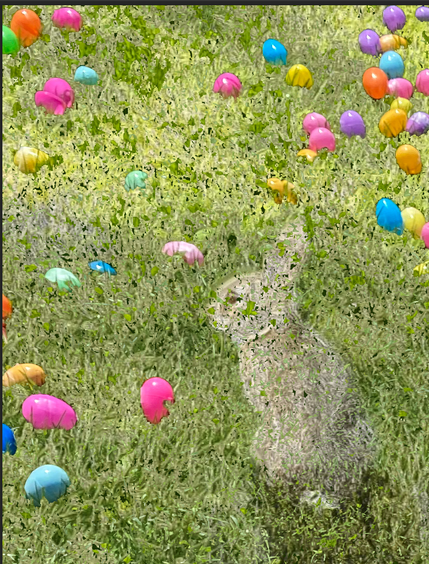 If you paste as shown left image, a new layer is created and the photos become one. However, if you do compositing with just pasting it like above, the picture becomes unnatural. The one used at this time is the blend mode change. In my case, I changed it to a pin light and erased the unnatural parts cleanly with the eraser tool. 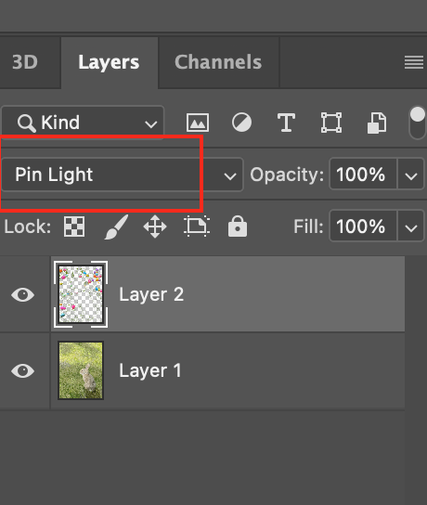 Below is a naturally synthesized image. Now let's add a basket here. 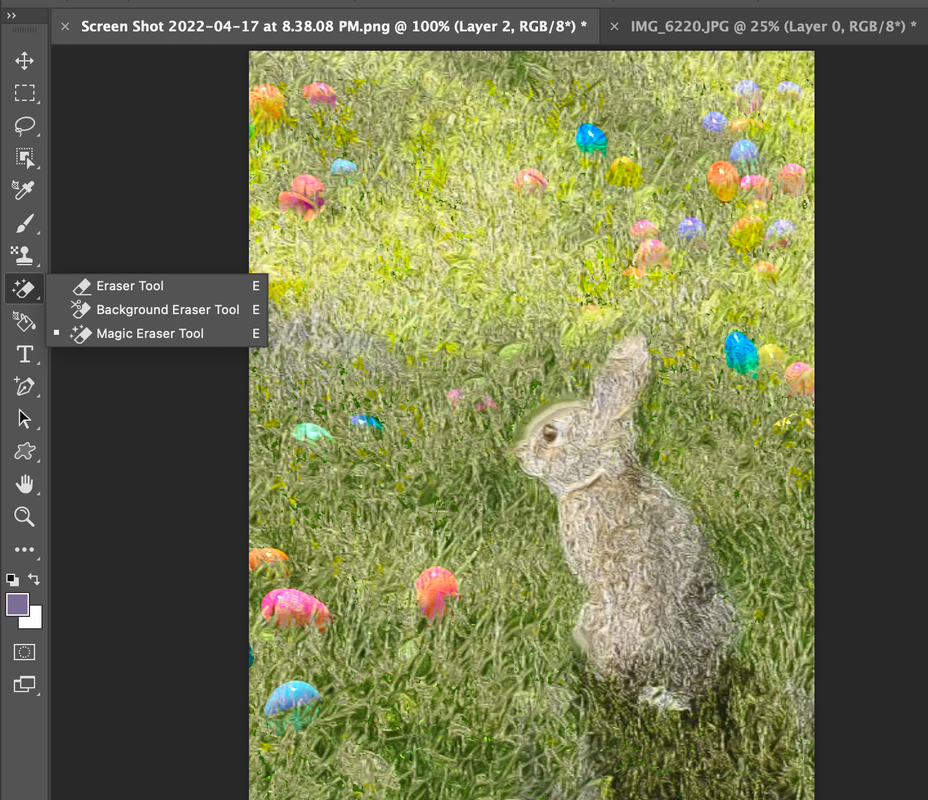 Import the basket image and clean the background with the Magic Eraser tool.
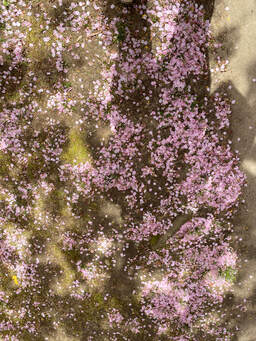
Then, find a suitable location, paste it, and adjust the size. 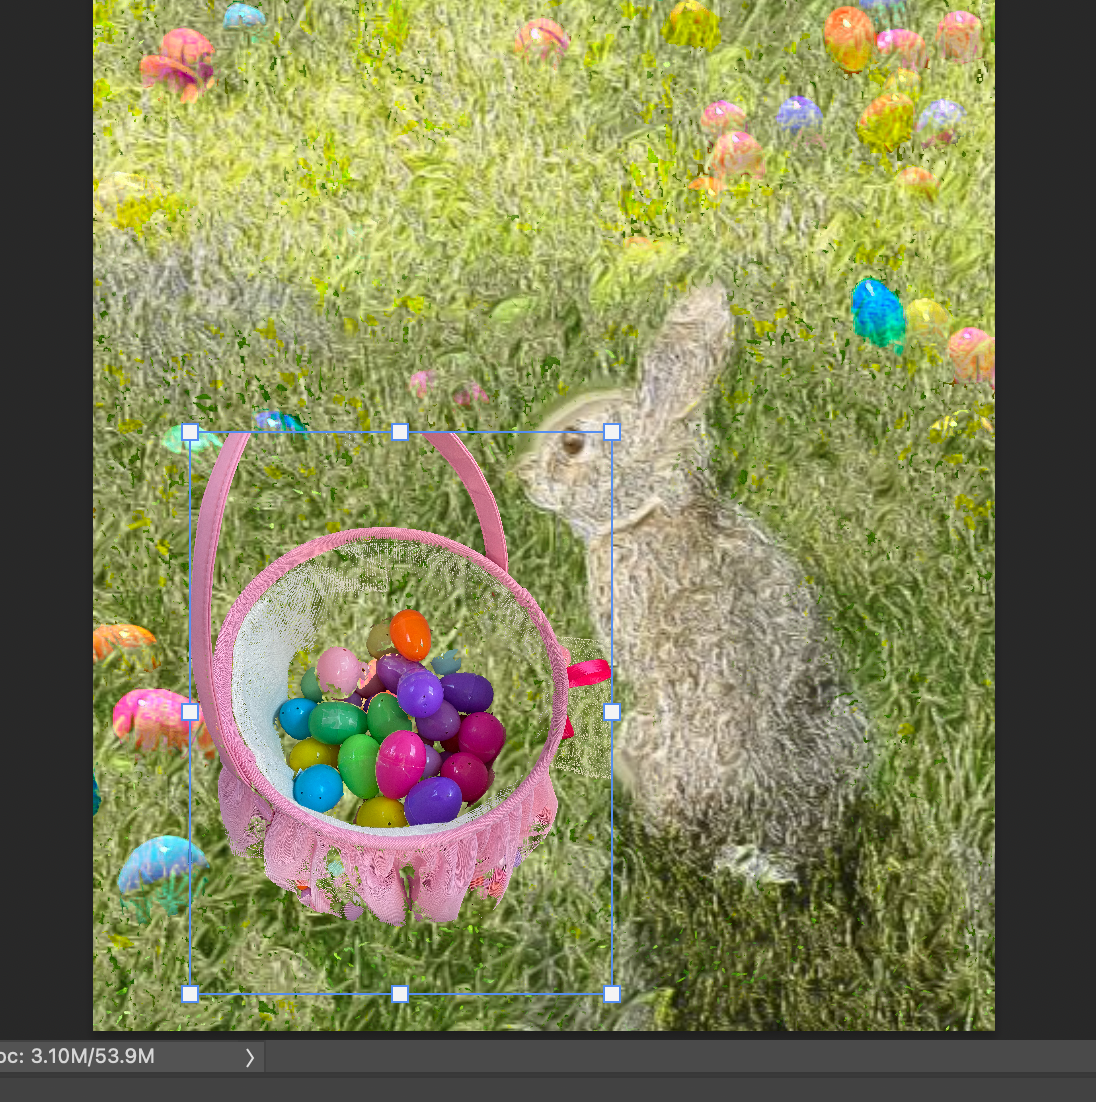 Because the photo image is imported, there is a gap between the original image and the imported image. To eliminate this gap, the imported basket image is naturally changed using the oil paint function, one of the effects of the filter. 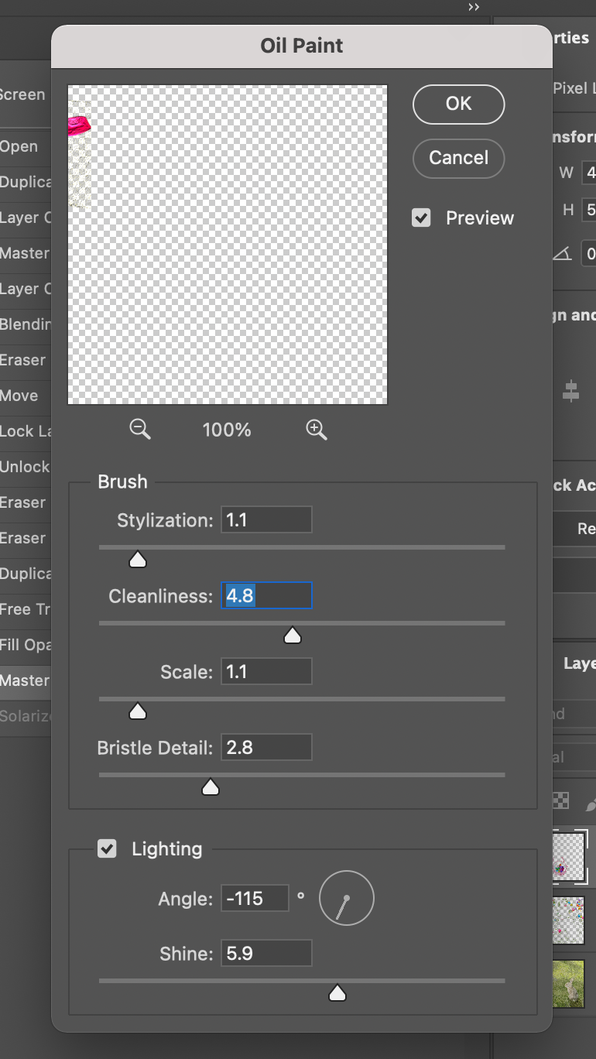 And use the brush tool to fill in the unnaturally empty areas. 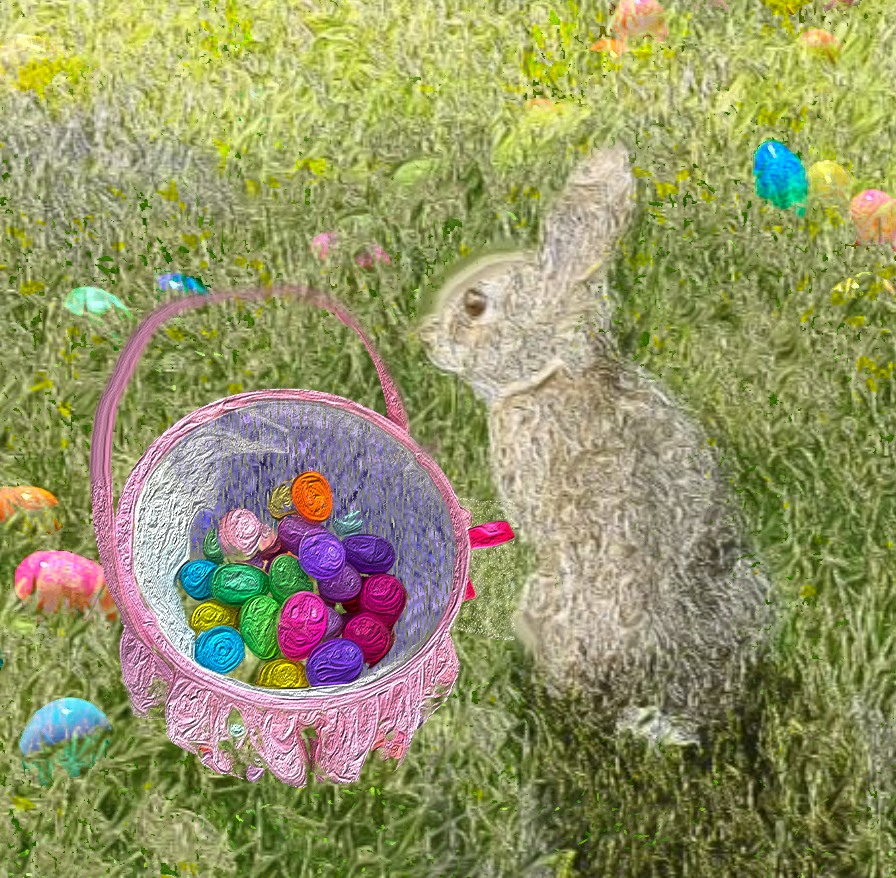 The whole perspective was broken because the basket suddenly came forward. In other words, only the front part of the original layer is copied to increase the contrast. It looks more natural when the front is dark and the back is flowing. 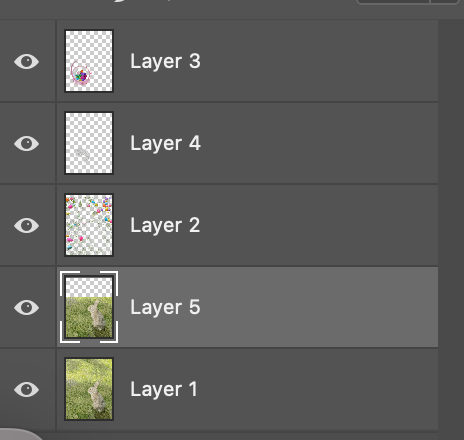 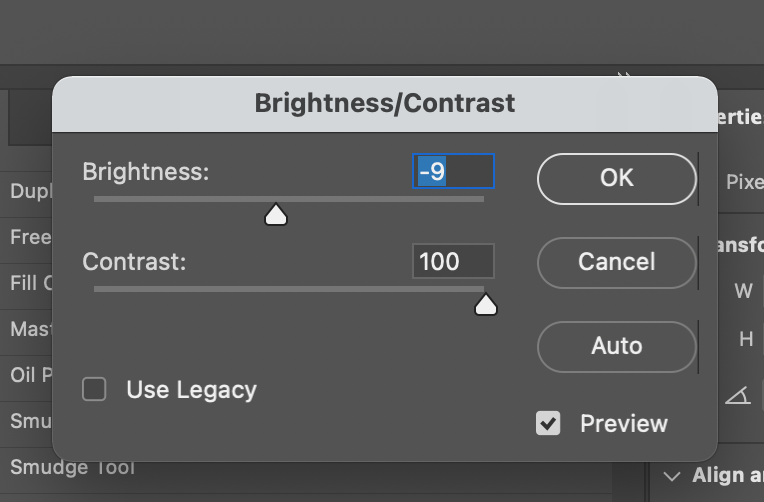 Here, considering the perspective, the eggs in the back are small and blurred, and the eggs in the front are dark and large. 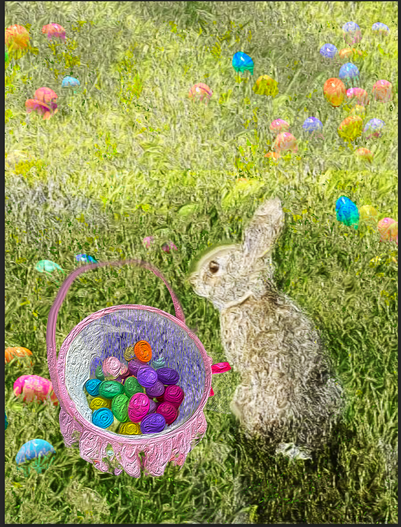 Below is the finished image. 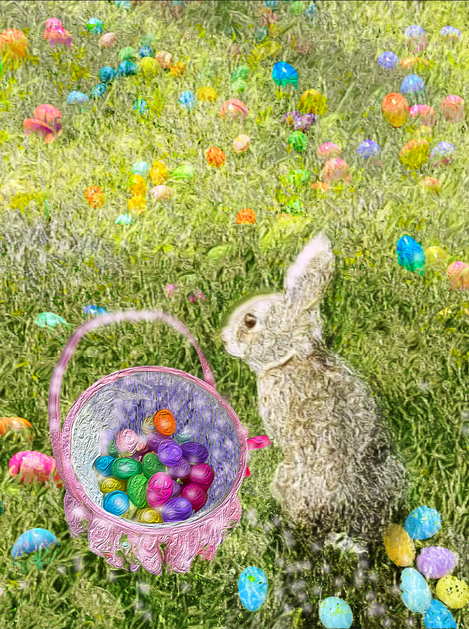 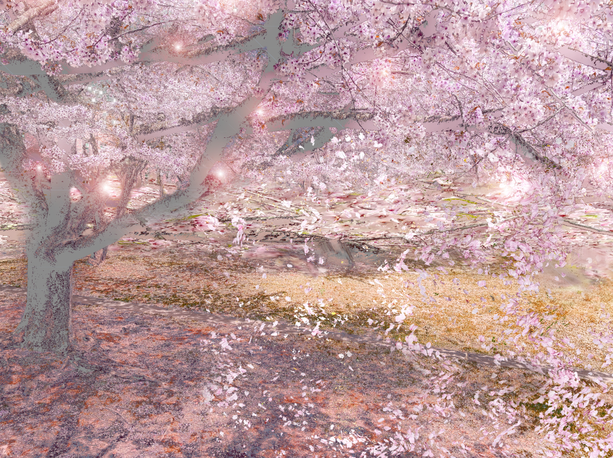 Bright spring, Myungja Anna Koh, 2022 How to make a bright spring digital image with Photoshop! When spring comes, be sure to take pictures of cherry blossoms. Because it is so gorgeous and beautiful. Today, I would like to show you the process of turning these stored photos into bright, fairy-tale-like digital works. 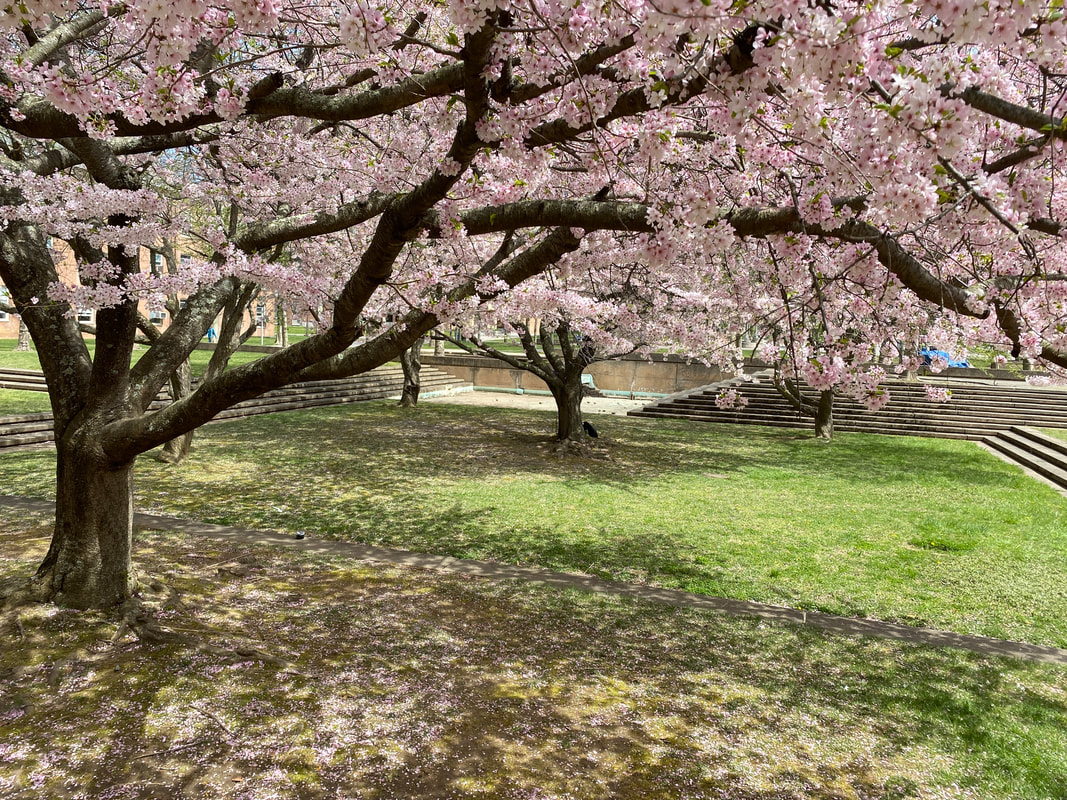
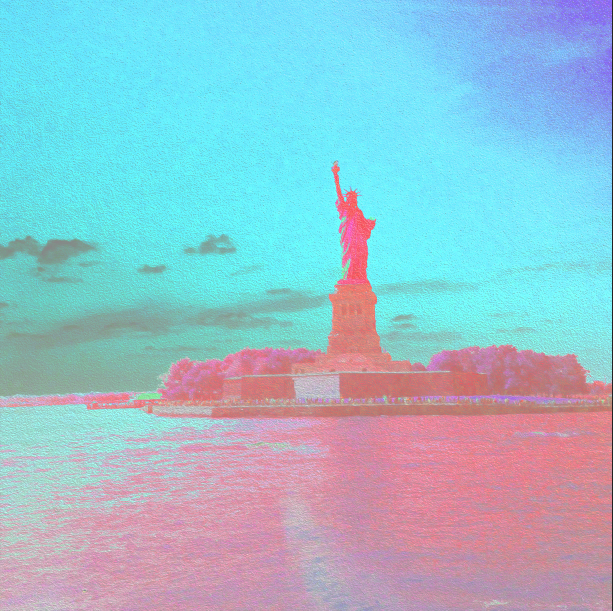
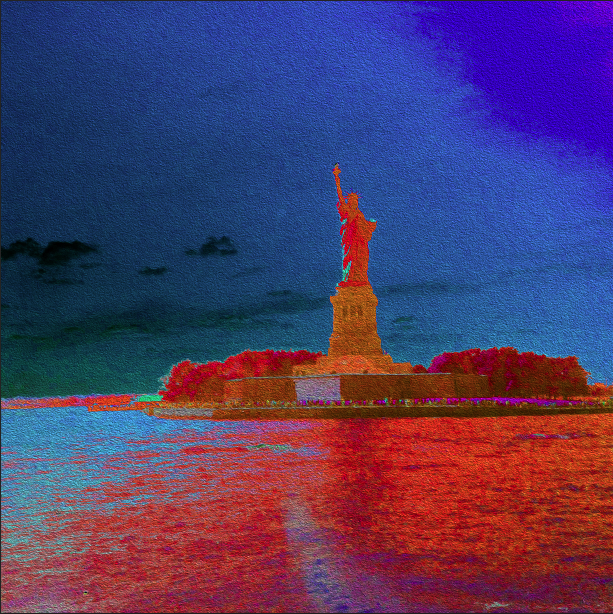
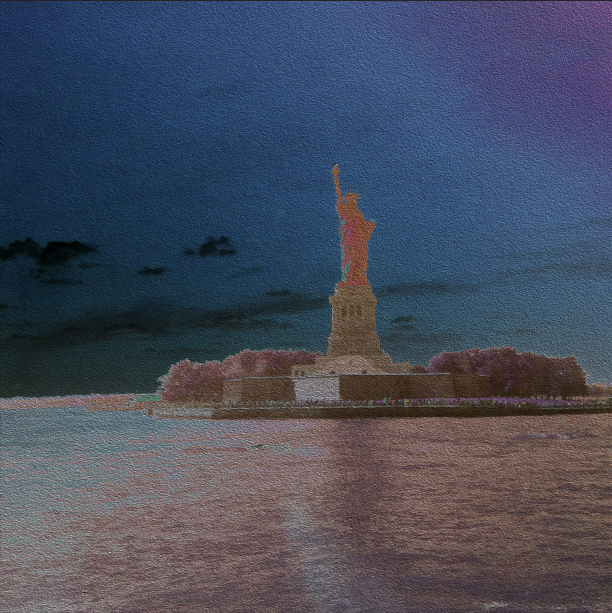
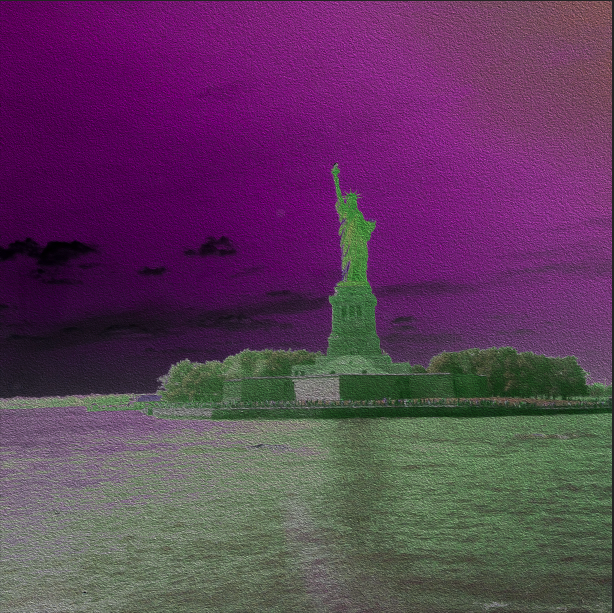
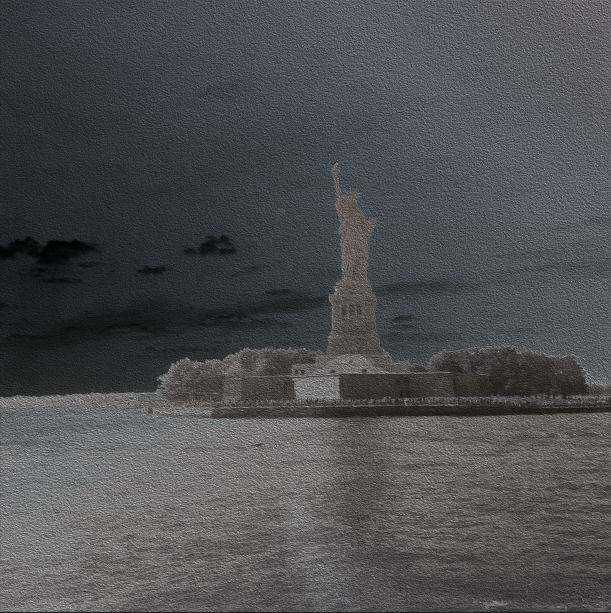
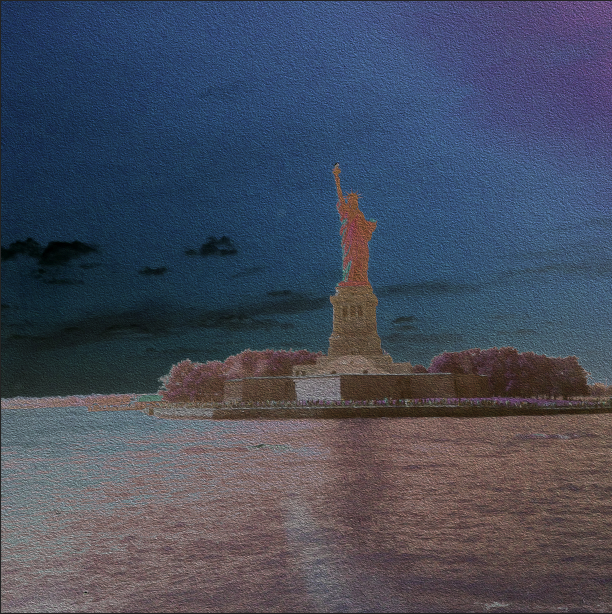
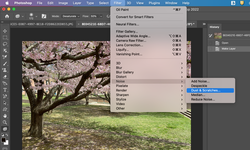 First step, go to Filter--> Noise---> Dust & Scratches for expressing fancy vibe. 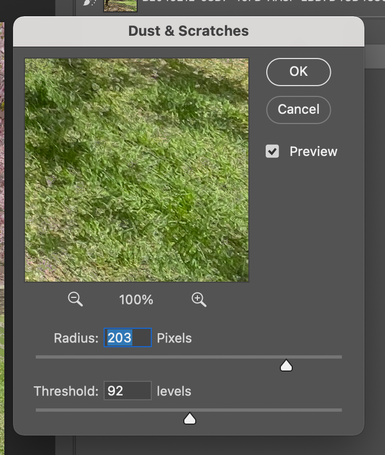 Next, go to Image---> Adjustments---> Levels for letting image bright. 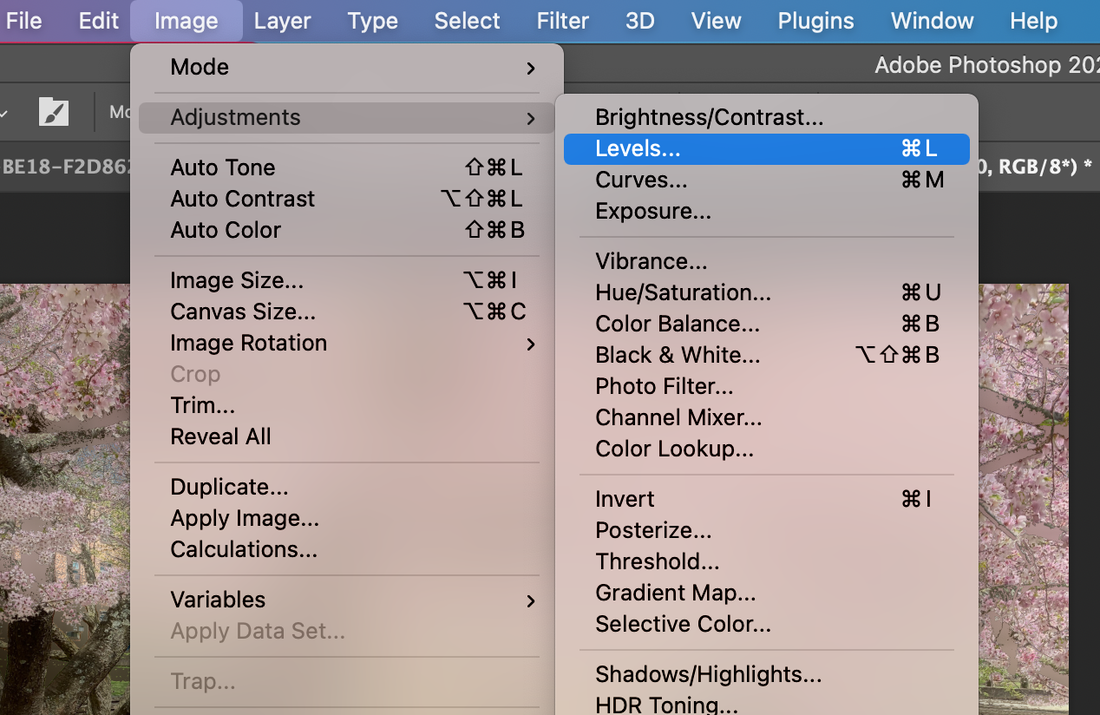 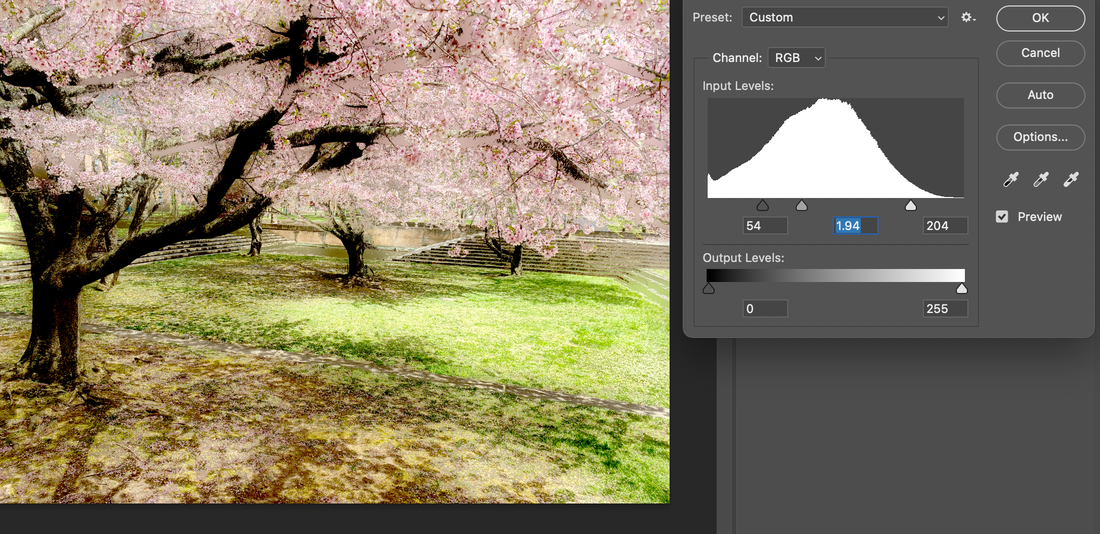 And then go to Image--> Adjustments again and for this time, you have to go Replace Color to change black branches to different color. 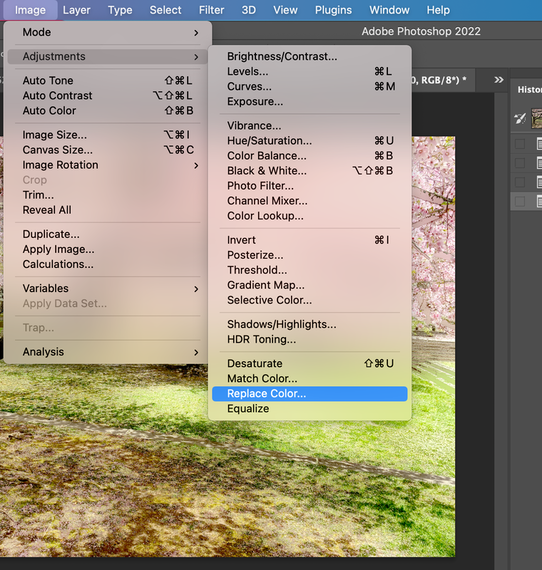 With color Pipette, you can pick the black branch and tree body and adjust the color such as Hue, Saturation and Lightness like below. 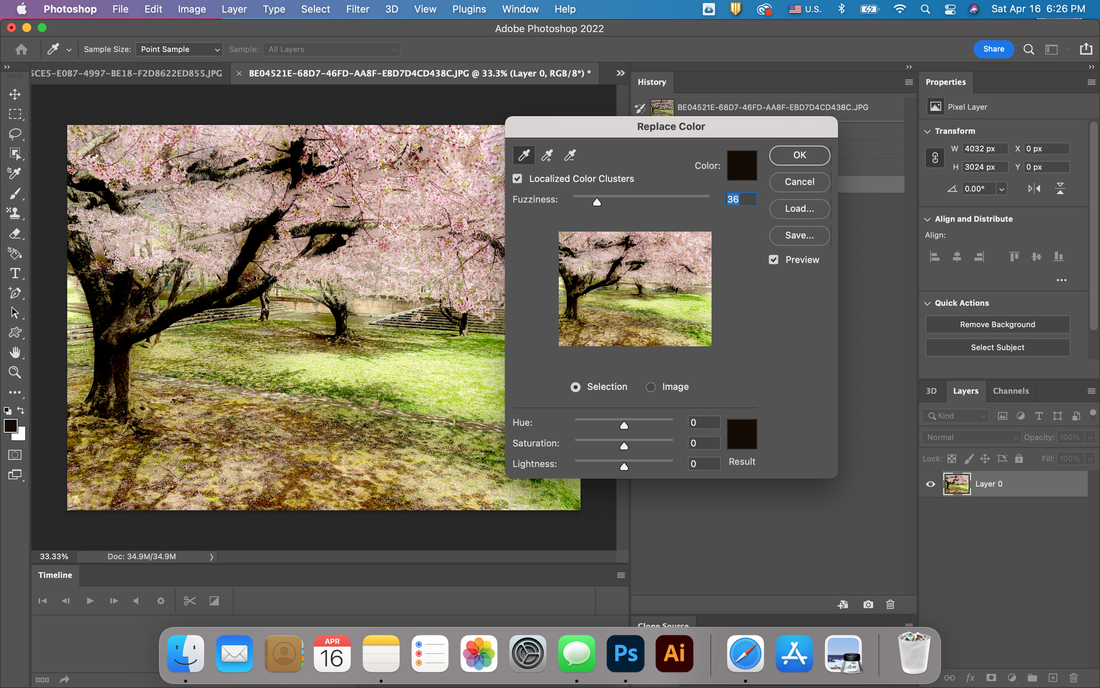 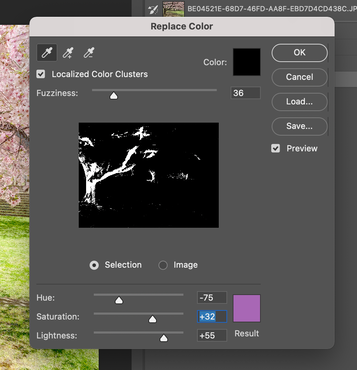 Below is the result from change the replacement of the selected color. 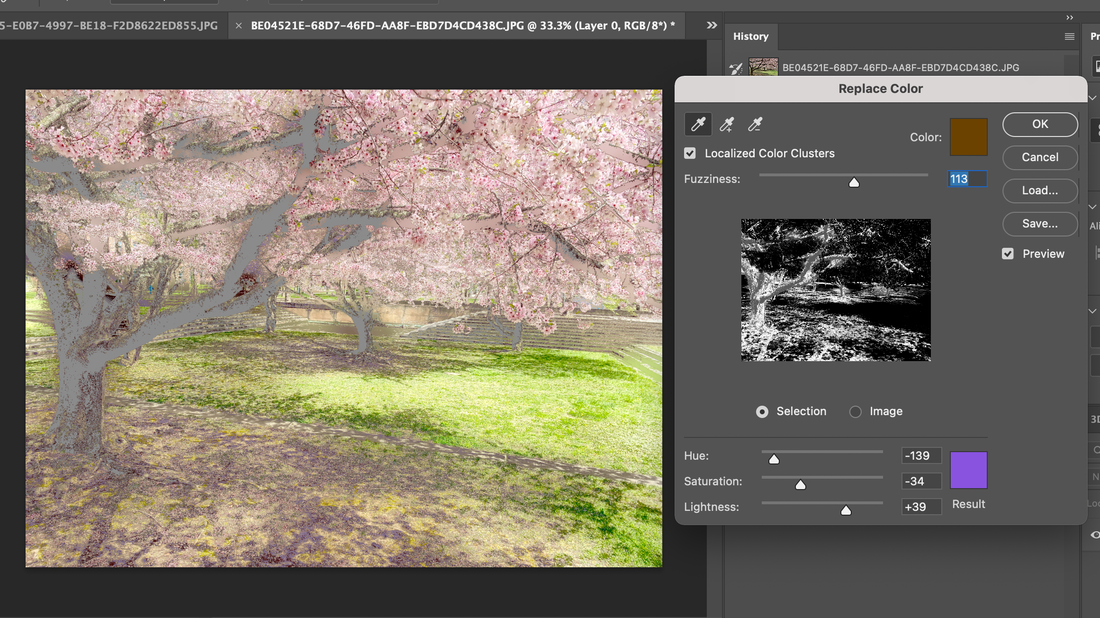 And also I open another photo. I took a photo for expressing falling pedals from the trees. It is the ground after the flowers falling down. 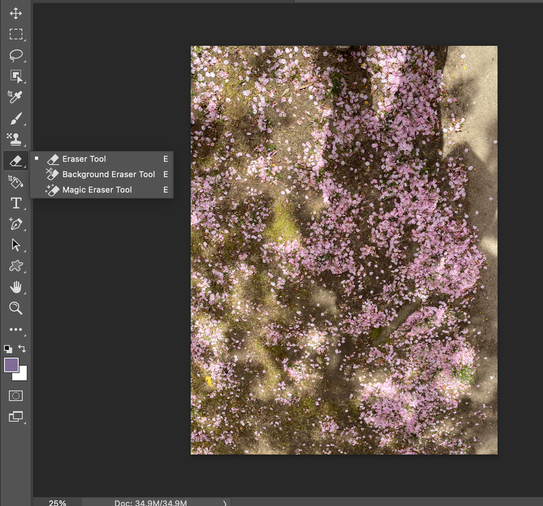 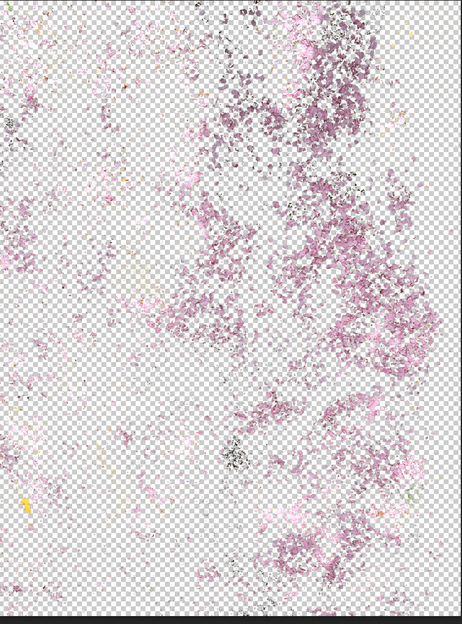 By using Magic eraser tool, you have to remove the background image and left only pink pedals. And copy and paste it on the first making image. 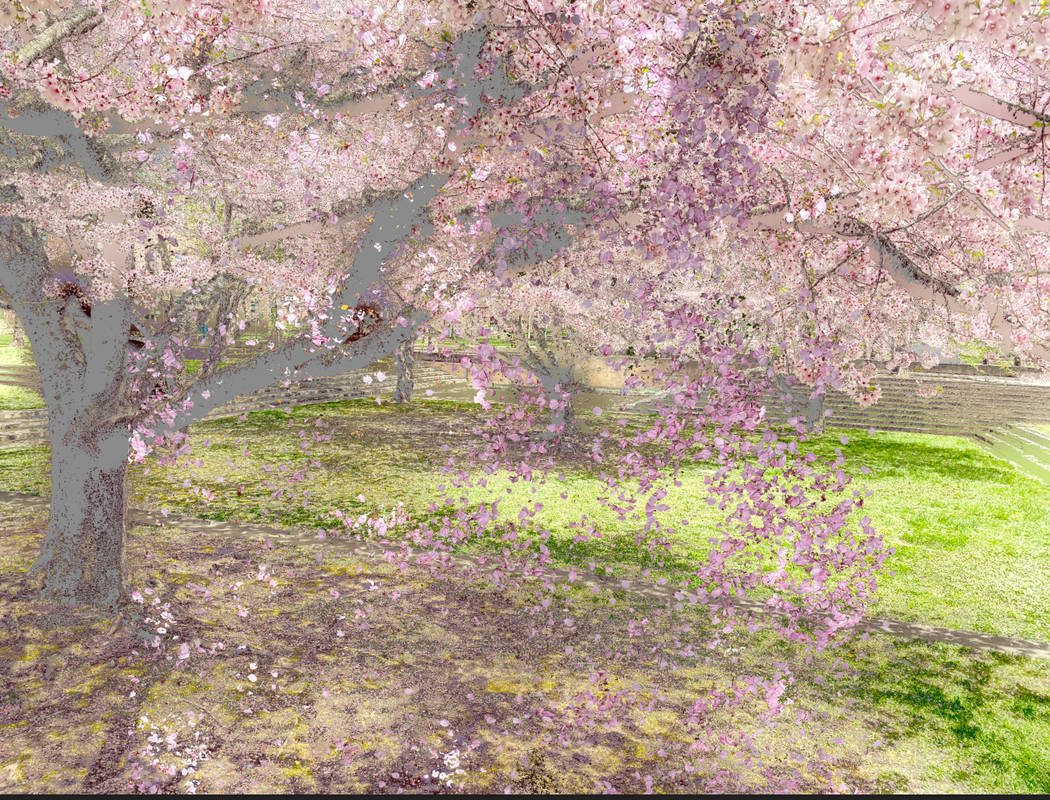 In this time, I made each layer's name as follow as below. 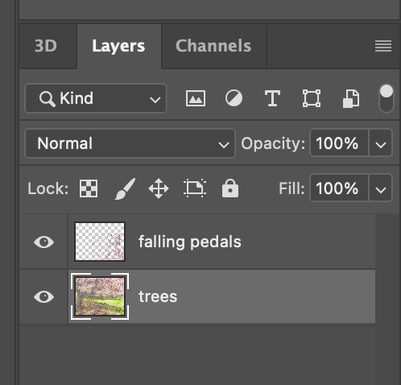 For expressing flying pedals, I go to Filter--> Liquify with selecting the falling pedals layer. 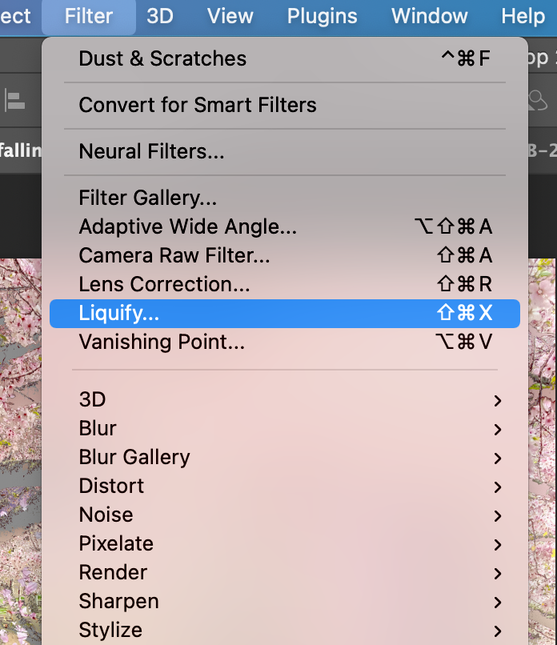 Turn shabby photos into great ones with Photoshop! Today I would like to show you how to convert a photo of the Statue of Liberty in New York into Photoshop. I digitally recreated some of the photos I took while visiting the Statue of Liberty that were shabby and I was afraid to erase them. You can digitally convert the simple, plain photo above into a variety of colors as follow as below. I converted it like this: The pink color of the Statue of Liberty is my daughter's point of view. She recommend the color strongly. 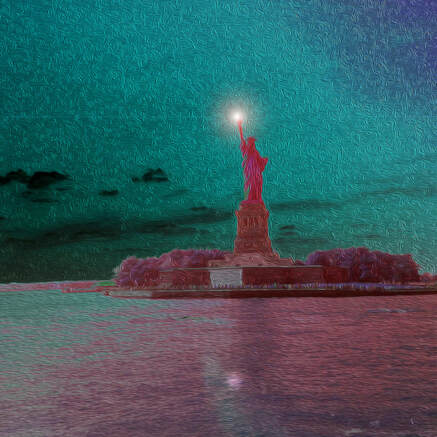 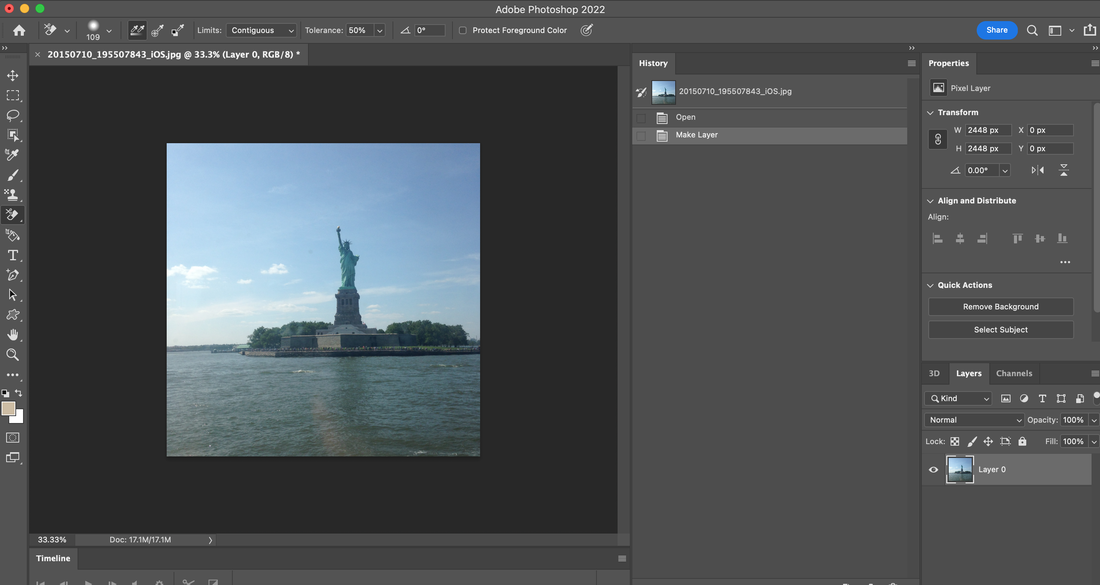 First, import the photo as above. And go to Filter---> Stylize---> Solarize. 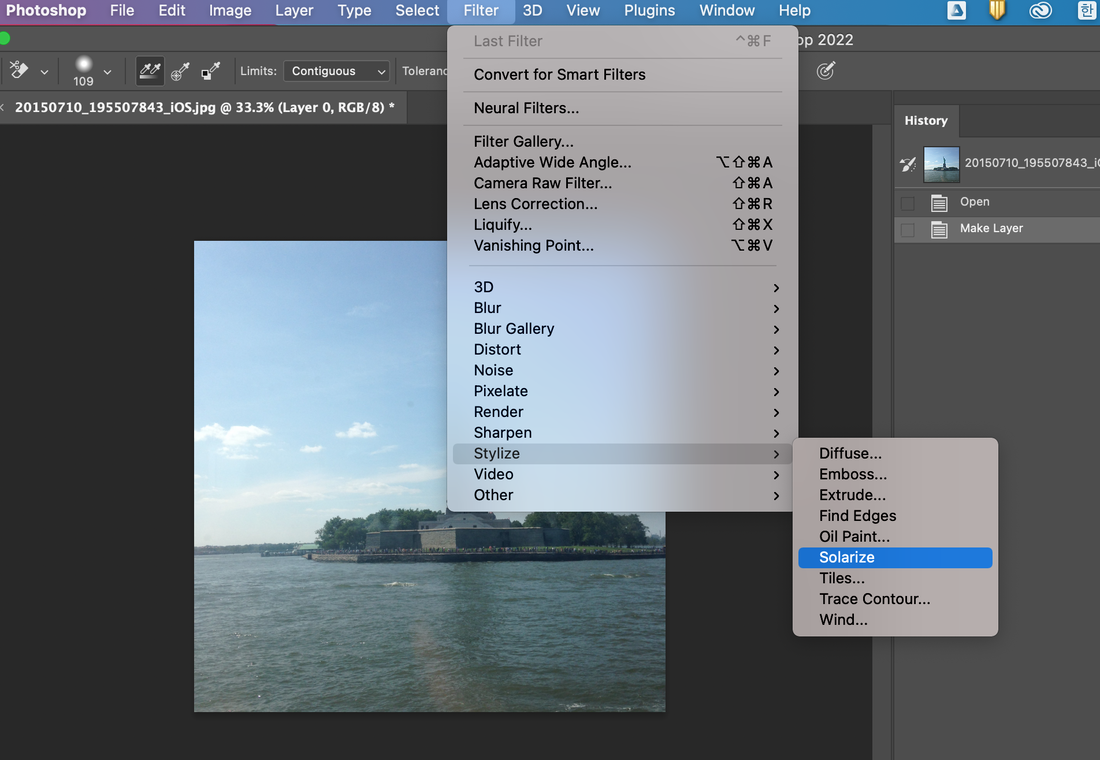 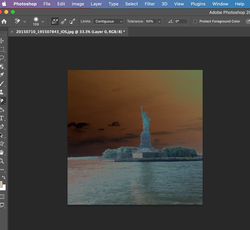 Above is a result after solarize effect. And next, you can go to Image---> Adjustments---> Hue/Saturation. 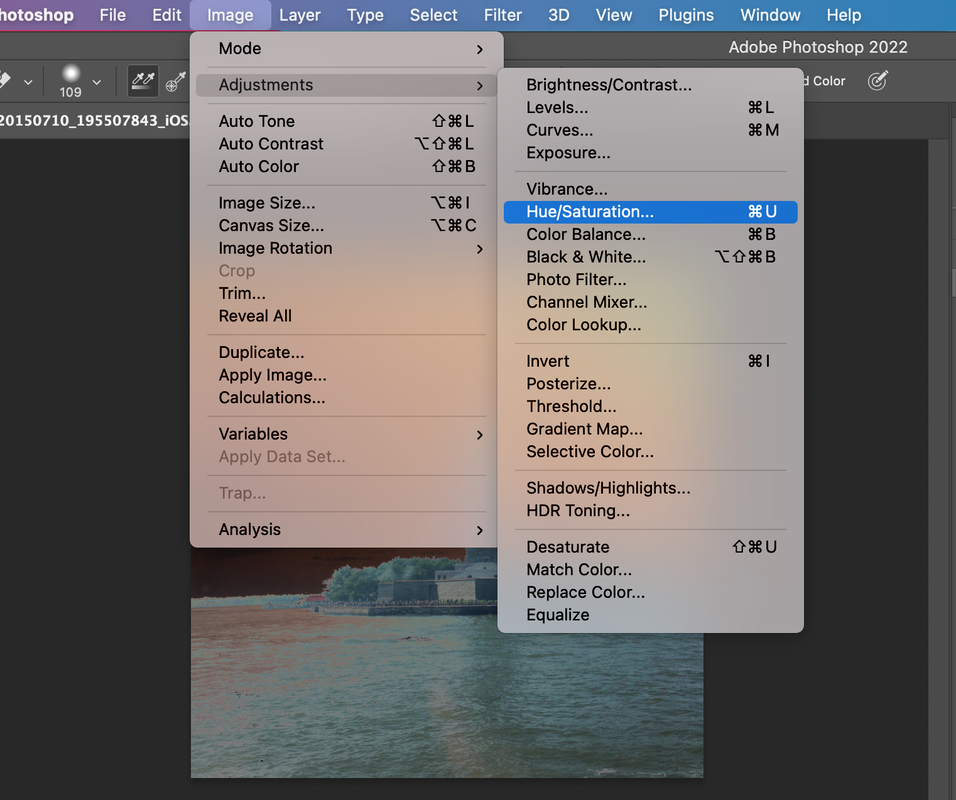 And then adjust the value of Hue/Saturation/Lightness like below. 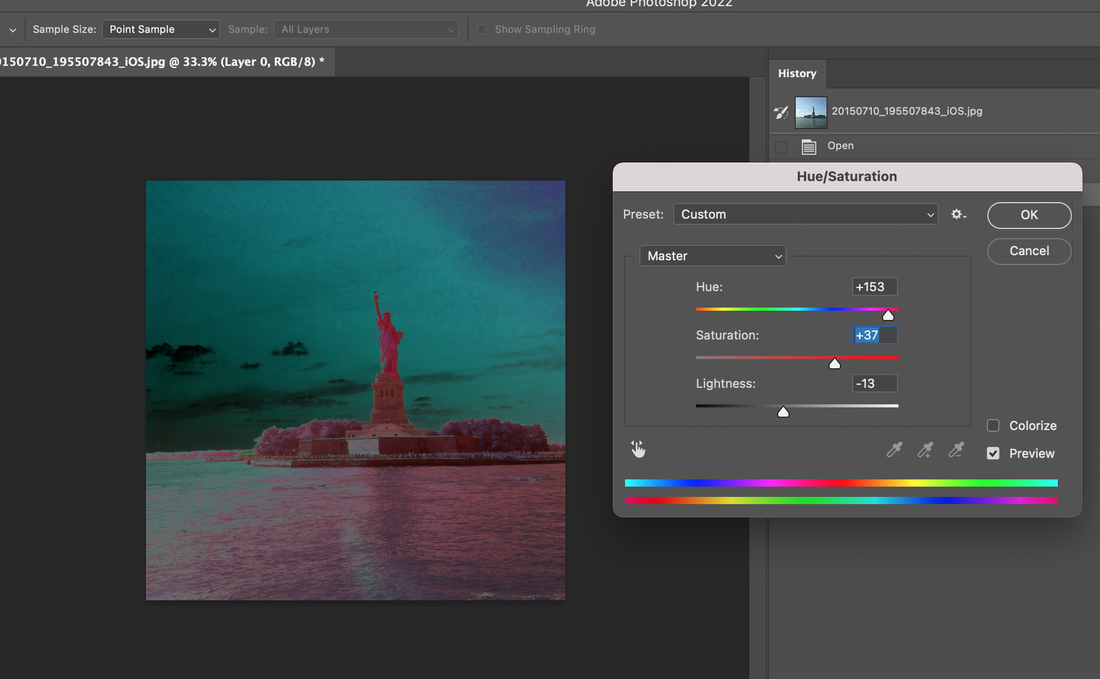 For more effect, go to Filter--->Stylize---> Oil paint. 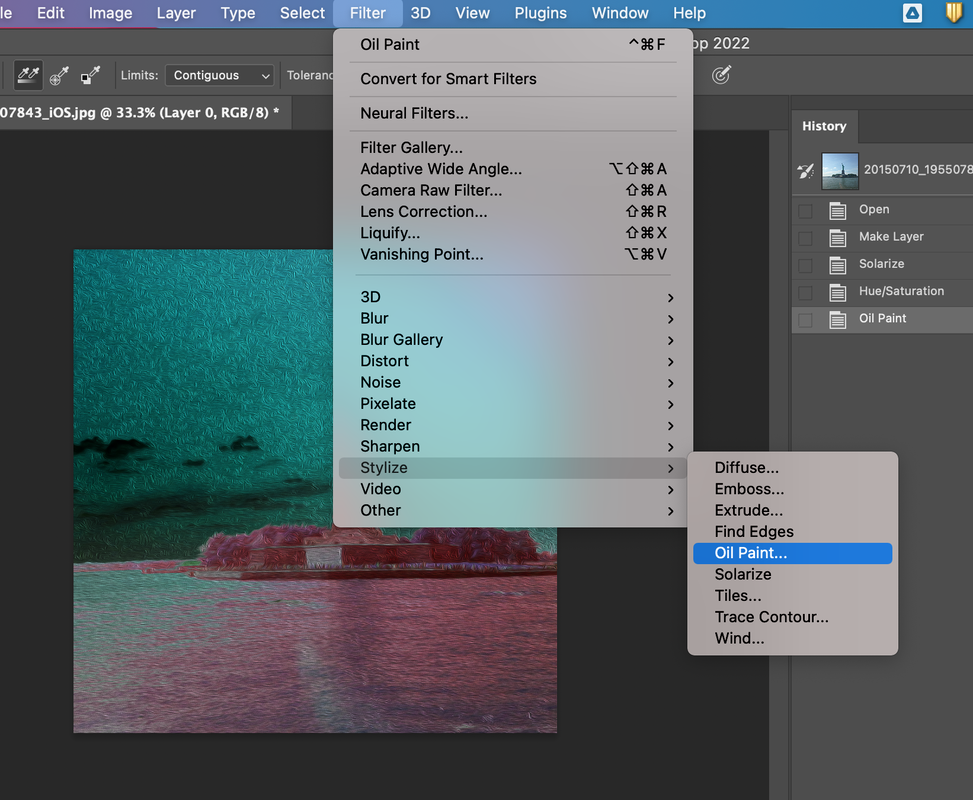 And then adjust the value of Stylization/ Cleanliness, Scale, Bristle Detail and Lighting. 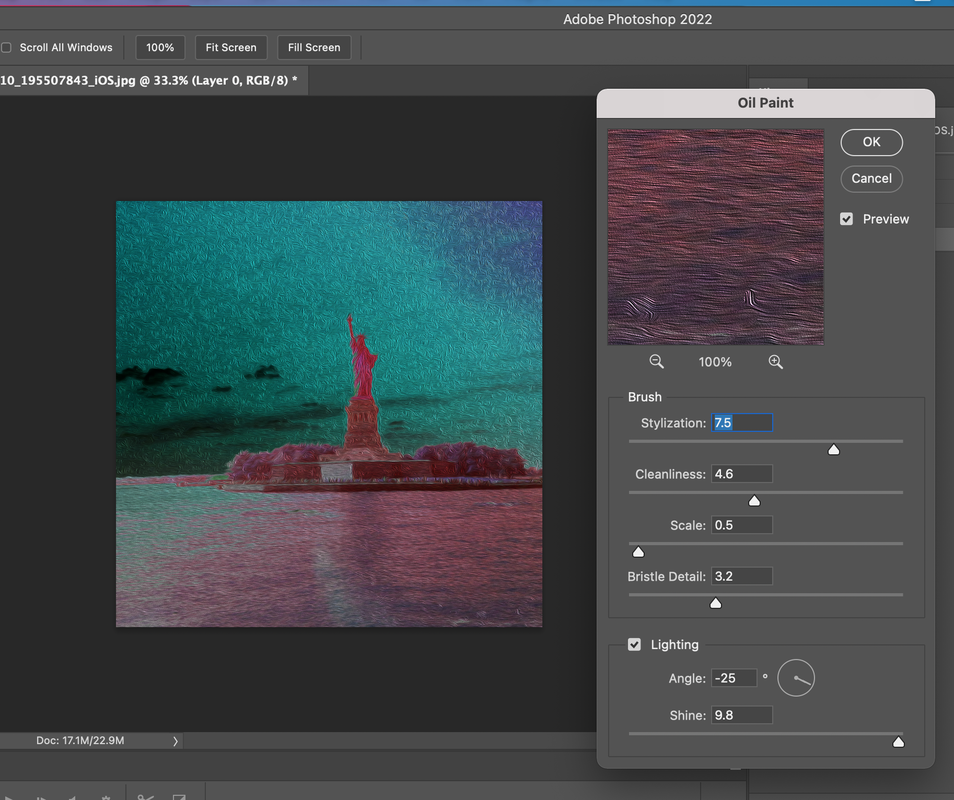 And go to Filter---> Render---> Lens Flare for express a lightning behind the torchlight. 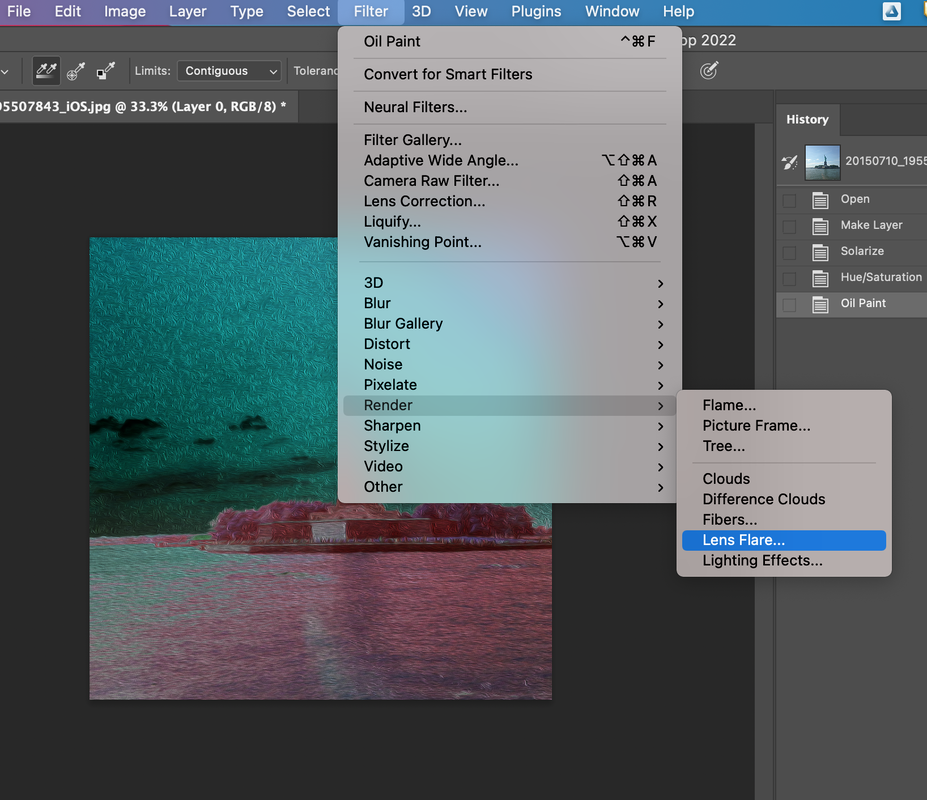 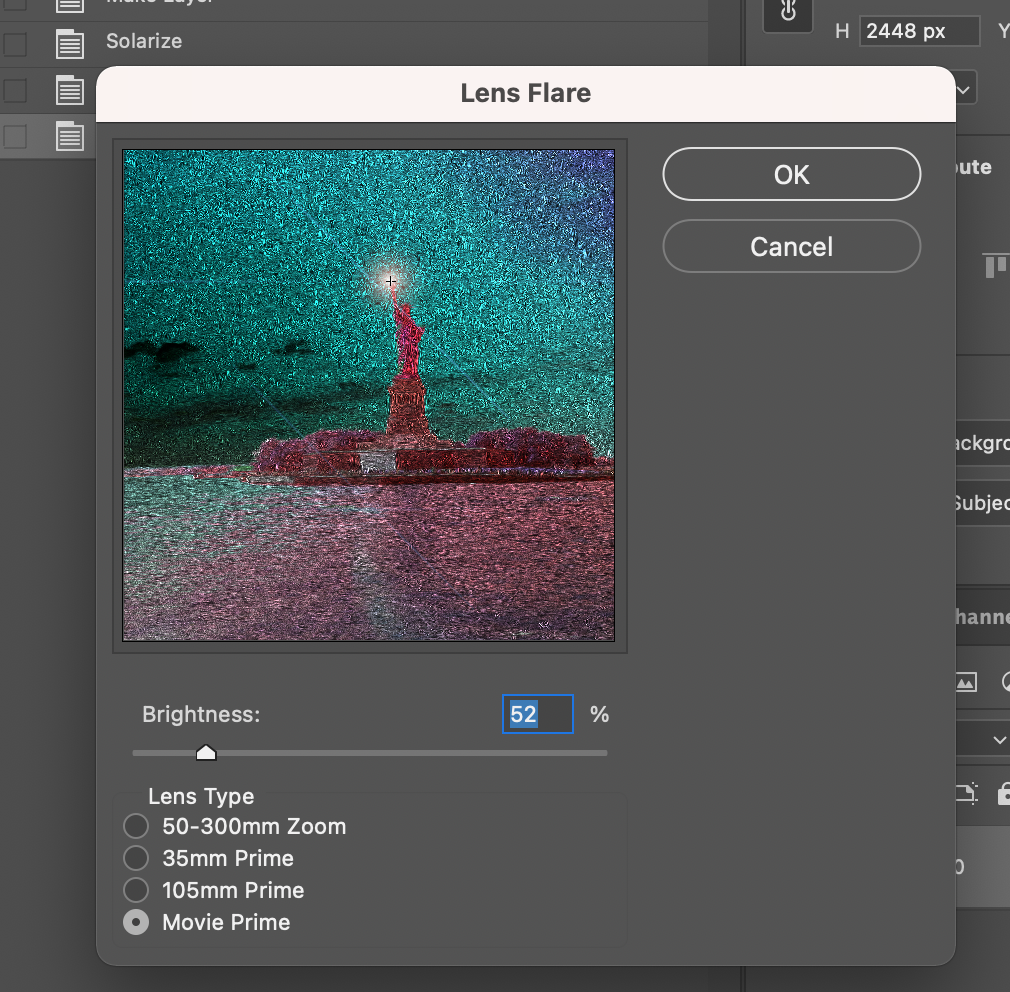 Last, you can add a touch for reflection from the lightning on the river. 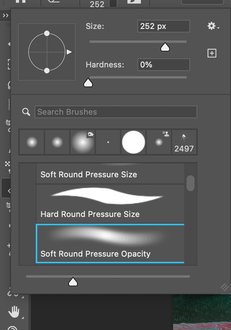 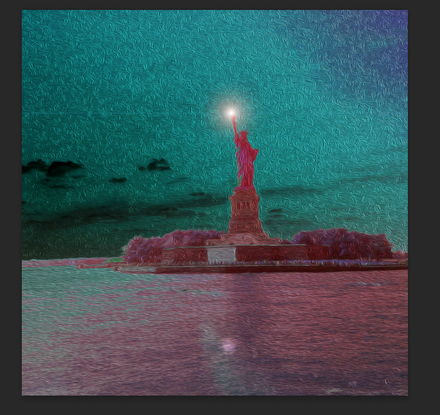 Below is the final result.  |
Myungja Anna KohArtist Categories
All
Archives
April 2024
|

|
Tutorial |


 RSS Feed