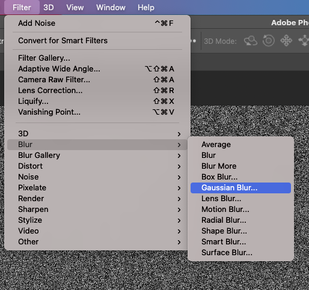
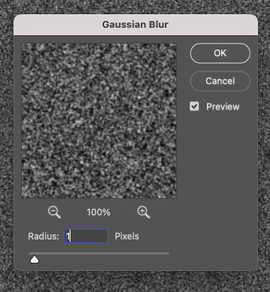
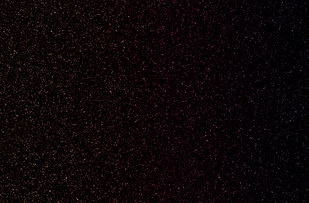
How to create a galaxy image in photoshop In the last post, I made the homepage intro image using the gallery image I made in advance. Go to related post ! Images of our galaxy are actually available from free image download sites like Pixabay. However, I recommend making your own if possible. Because if you want to express your digital art creation through Photoshop more artistically, it is best to avoid using images created by others as much as possible. Because if you borrow someone else's image too much, it's like the crow with the feathers of several birds in Aesop's fables, and it loses its true color. As this becomes a habit, Photoshop is only a tool for compositing, and it becomes increasingly difficult to use it as a tool to create artworks. 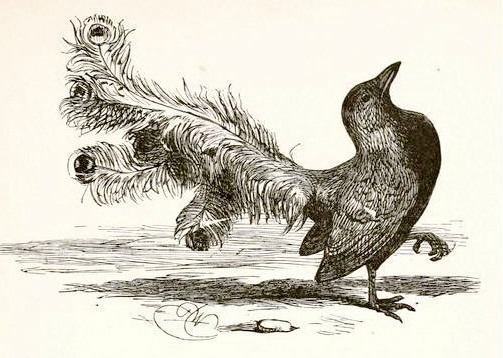 Source: Aesop's fable: borrowed plumes In this sense, today, I would like to introduce you to making a gallery image yourself with Photoshop. First, open a new document in Photoshop and change the background color to black.  Add noise to the background black layer. Go to Filter menu---> Noise--> Add Noise 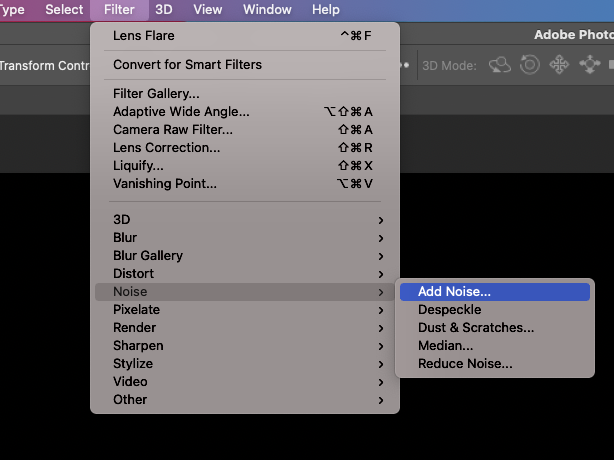 And then you can adjust the value like below. 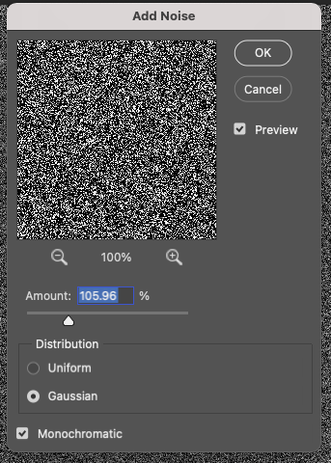 Here is the result screen. 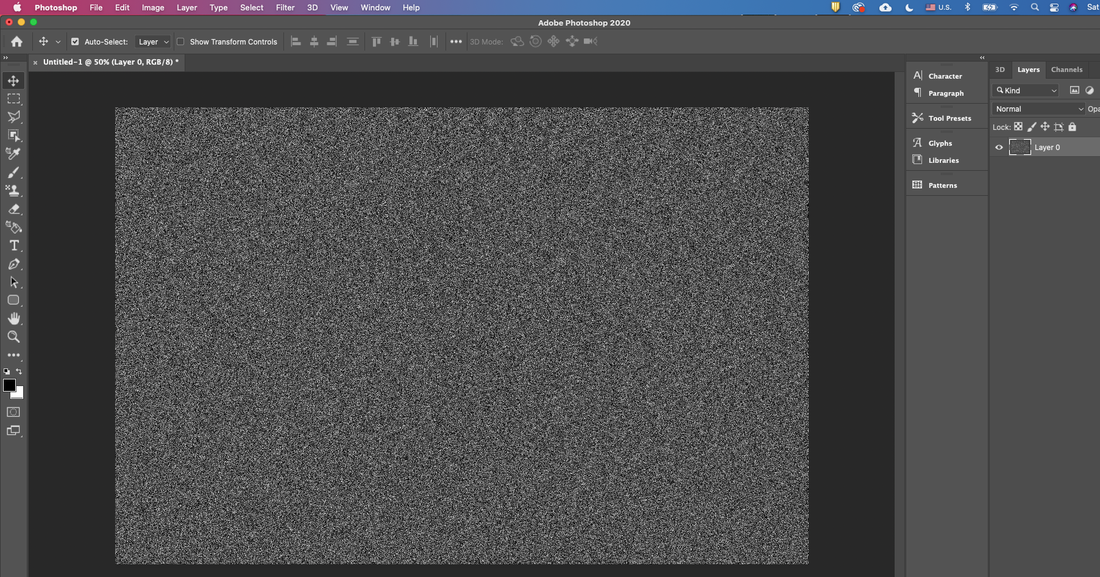 Next, you can click the menu, Filter--> Blur--> Gaussian blur and adjust the value 1 px like below.
And then click the menu, Image ---> Levels. 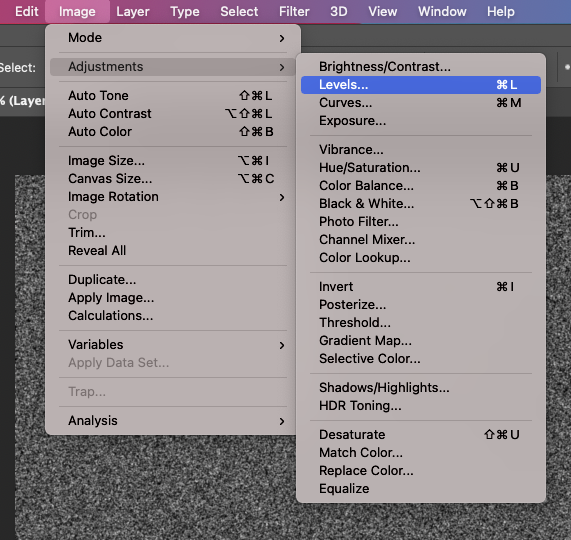 Next, for seeing blinking stars, you can adjust the value like below. 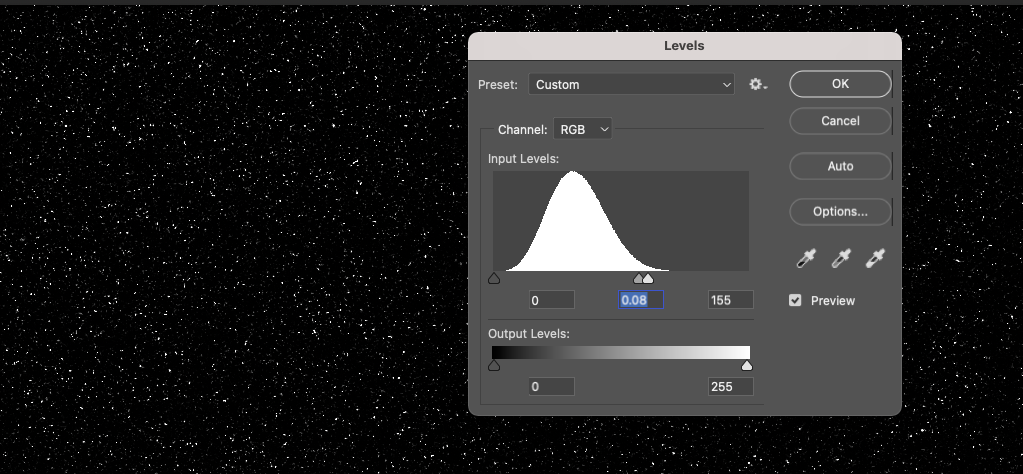 And add the new layer for gradiation.  And click the Gradient tool. 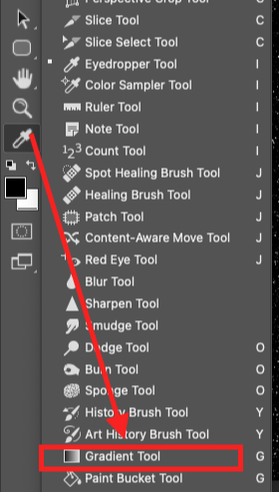 Select the gradient color like below, and then you can choose also the color as you wish. 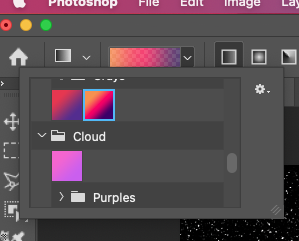 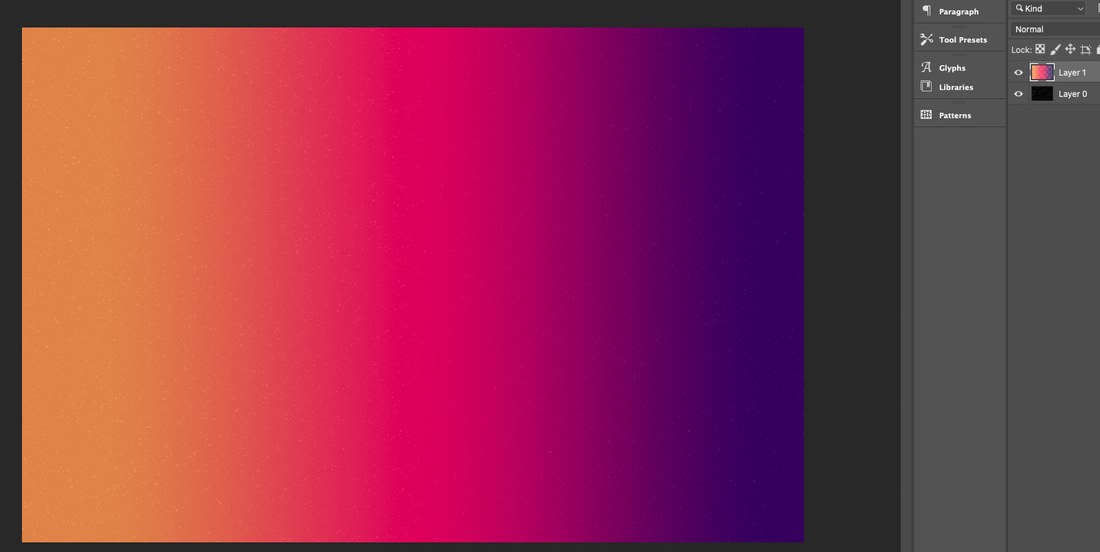 And then you can click the right side layer window like below. (drop down the menubar and click the Soft Light for colorful stars)
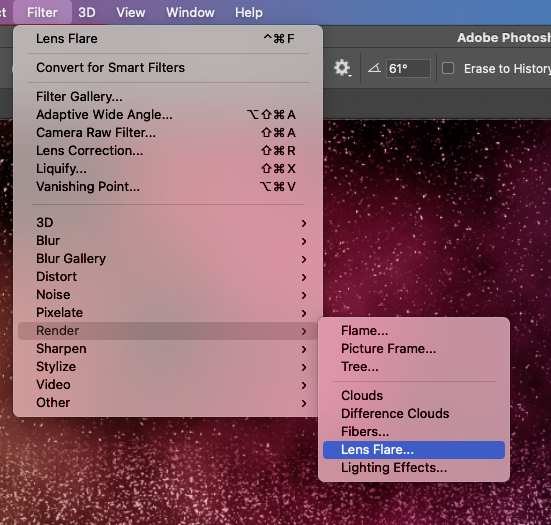
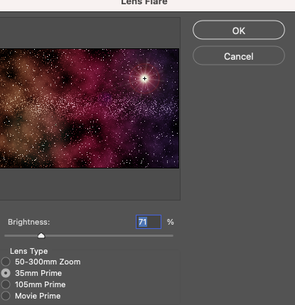
Then perform the following steps to represent the outer space more realistically. First copy the layer from Layer 0 (Cmd + J) and click on the black layer(Layer 0 copy) and go to the Render ---> Clouds of the filter. 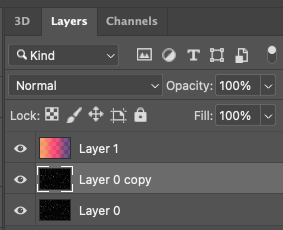 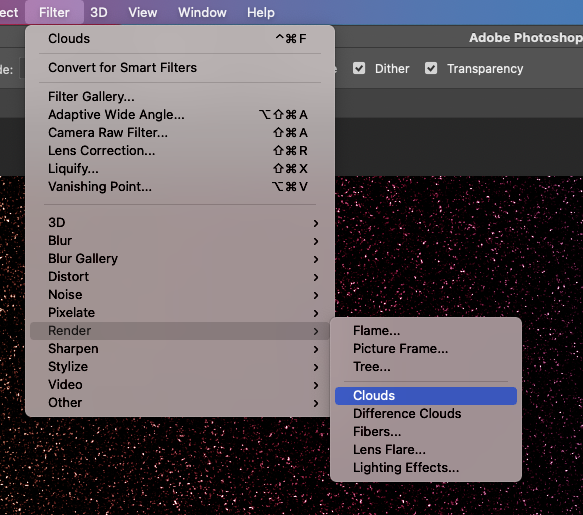 Here is the result screen. 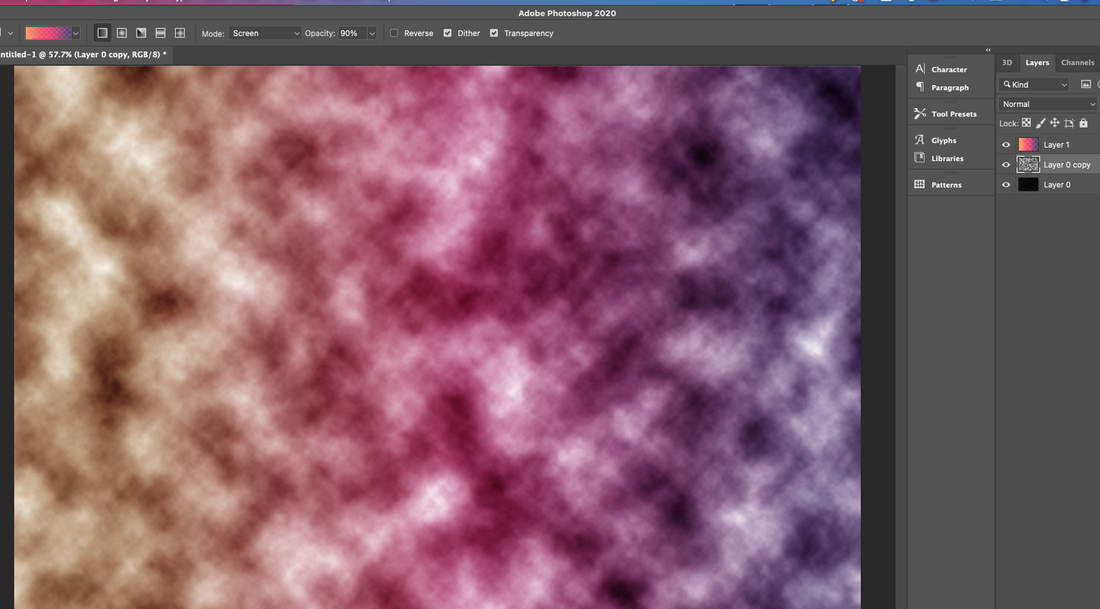 And then adjust the value on the right layer window like below. 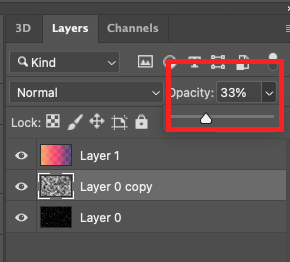 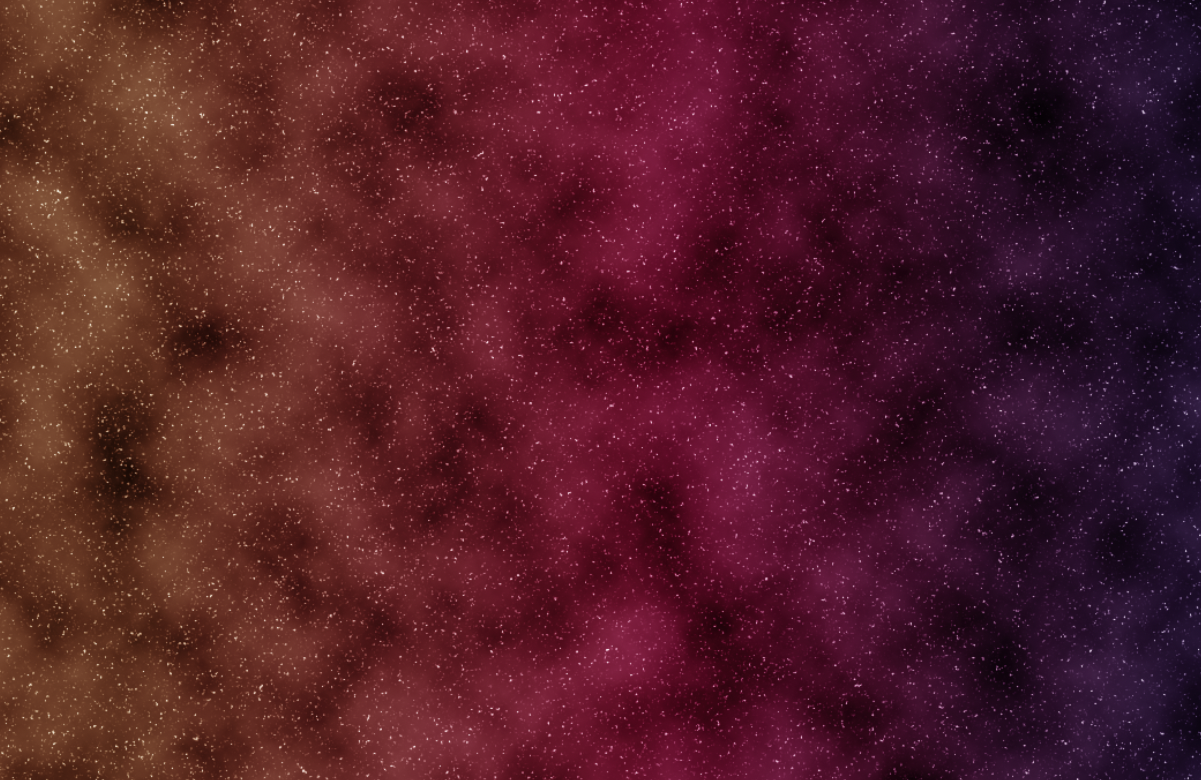 Next, you can use Eraser tool for arrange the shape of clouds like below. 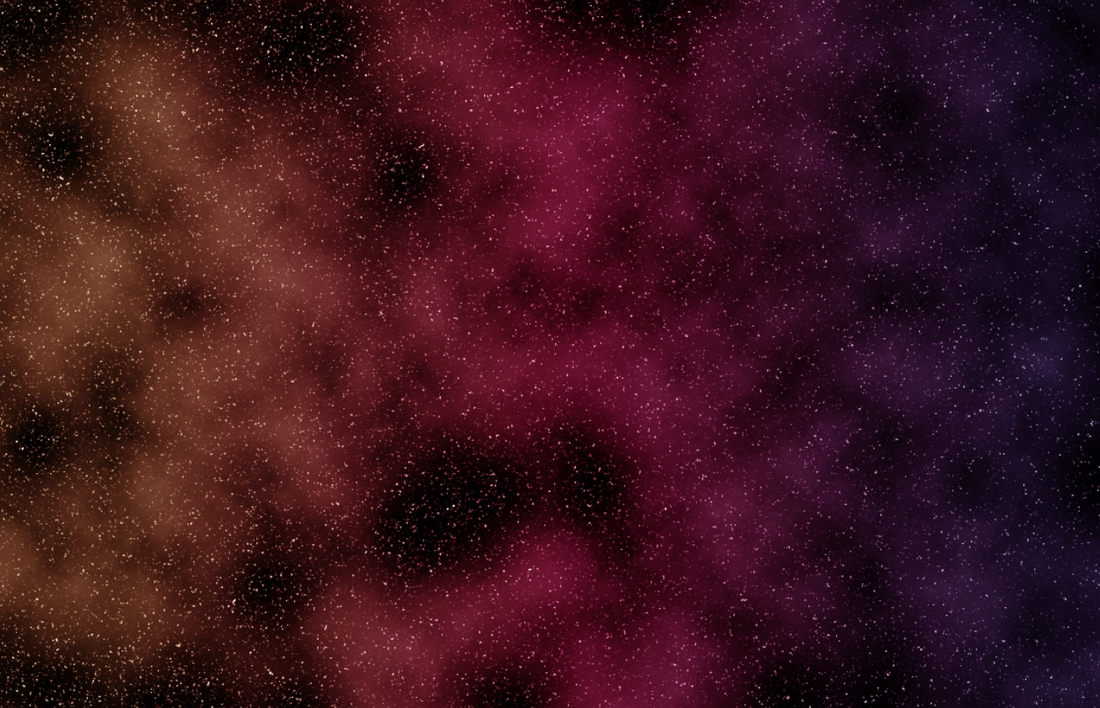 And in general, there are galleries in the space. Copy the space of the first layer using the square selection tool to express the galley like a bright band in the middle.  Then, only the selected band part adjusts the brightness to the brightest. 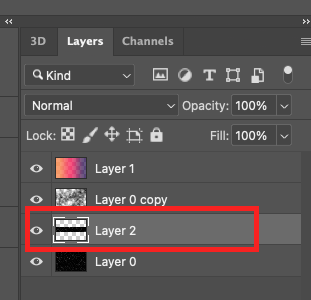 Below are the steps for adding the Milky Way. 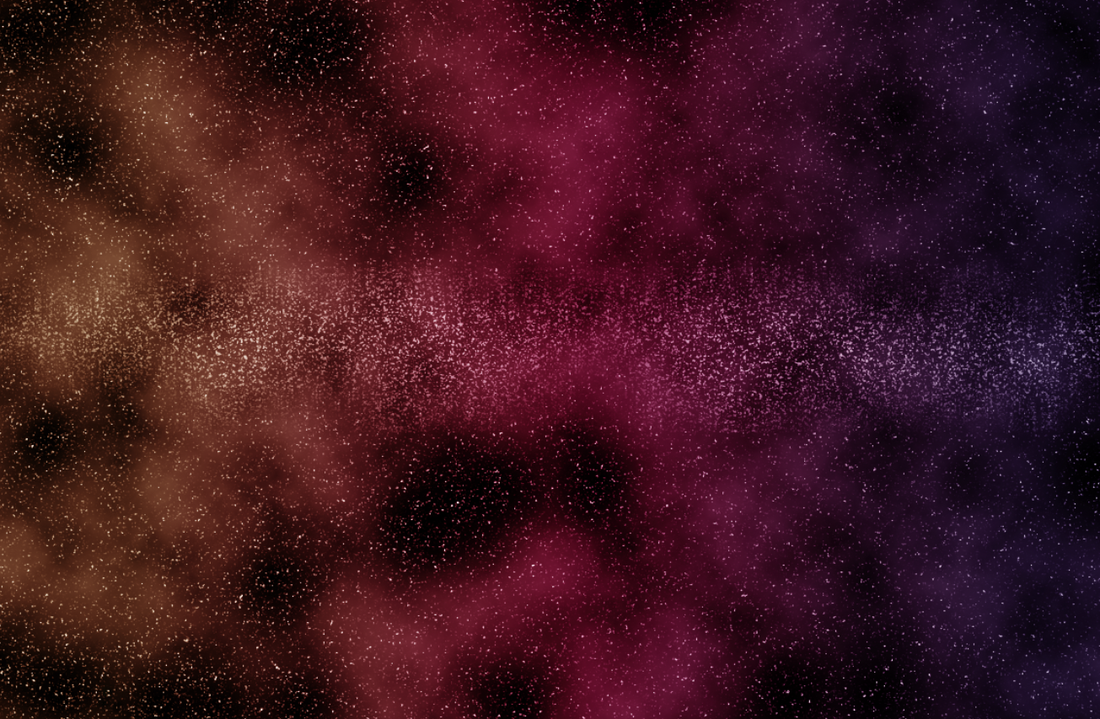 Now, finally, we take advantage of the filter's lens flare feature to create a mysterious atmosphere.
Finally, the finished screen. I hope you all make the universe even better than me. 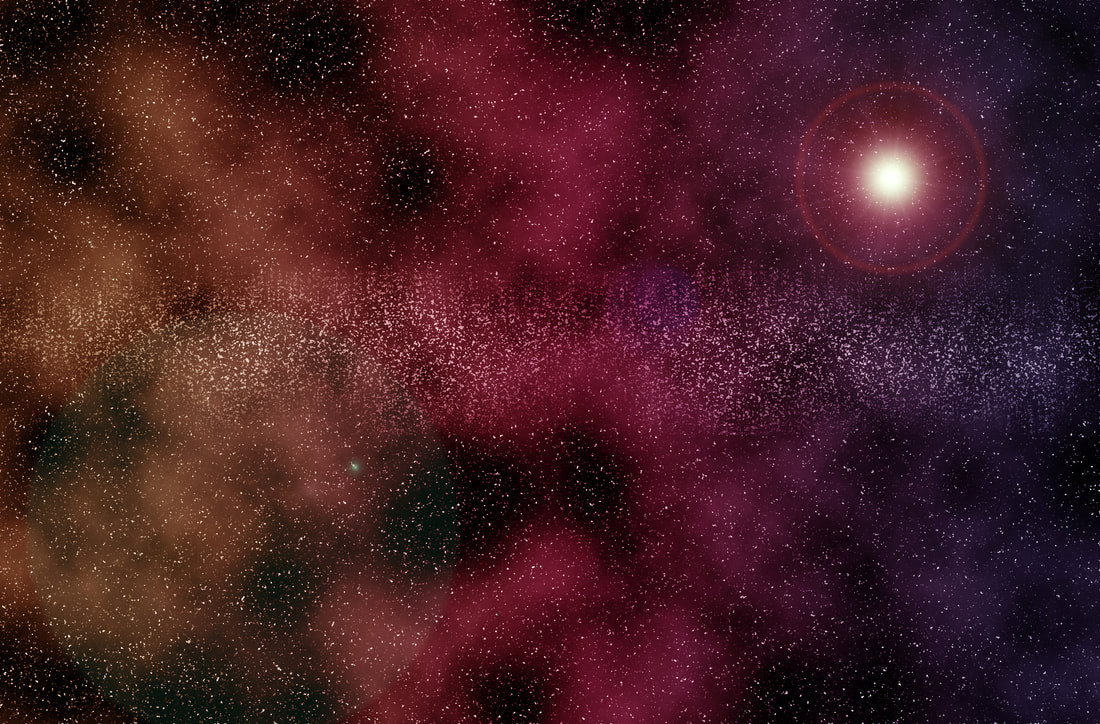 For instance, here is the galaxy image with adding other image and effects. 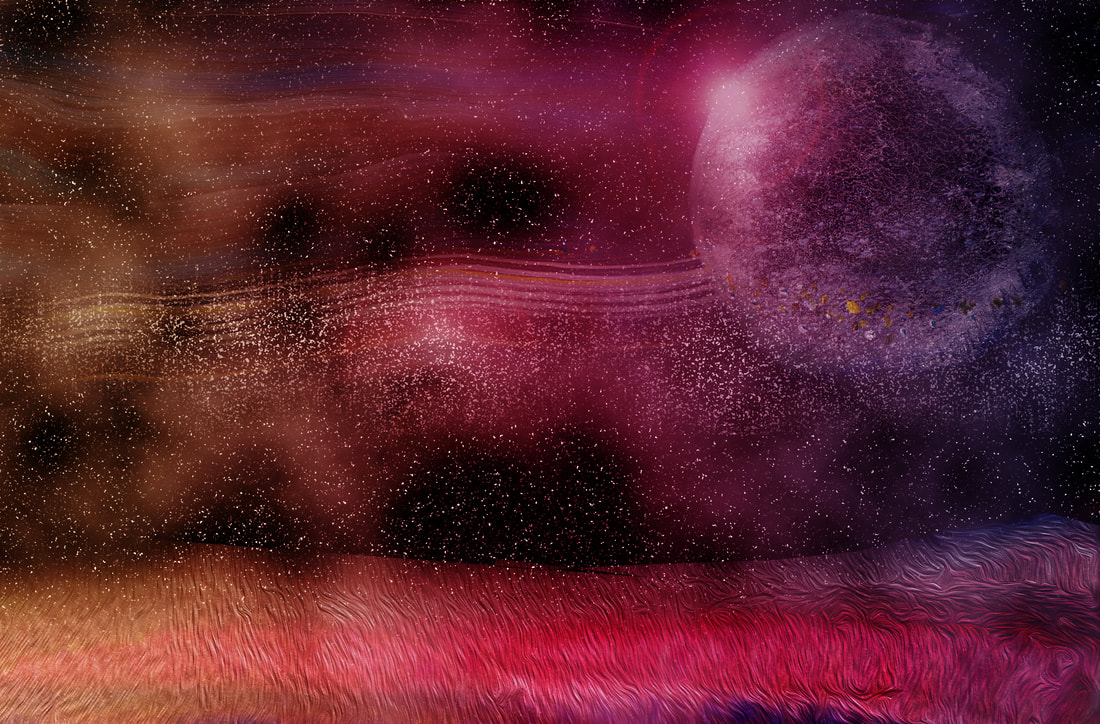
0 Comments
Leave a Reply. |
Myungja Anna KohArtist Categories
All
Archives
July 2024
|

|
Tutorial |

 RSS Feed