How to create high resolution image files: Example with Photoshop 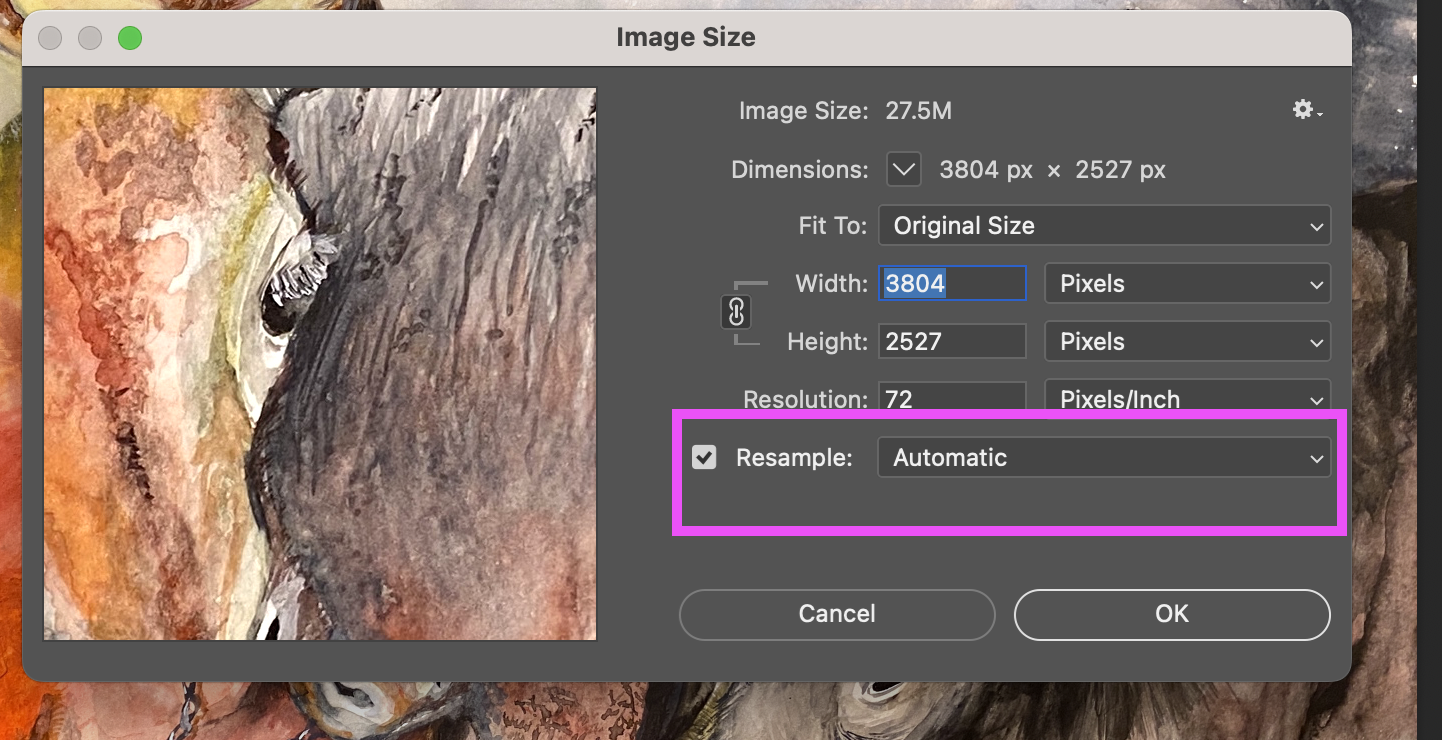 you'll want to know the right way to increase the dpi of a photoshop image. Click File > Open > Choose your file. Next, click Image > Image Size, set the resolution to 300 if it is less than 300. Click resample, and choose Preserve Details (enlargement) on the drop-down menu. 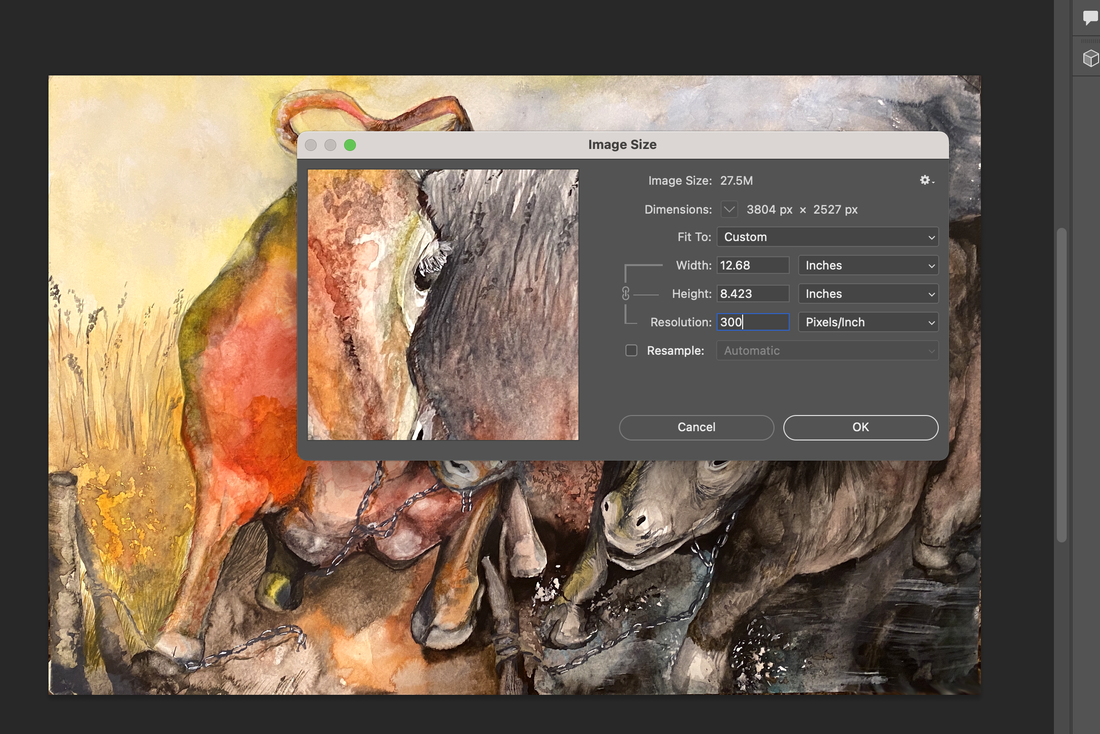 Creating a high-resolution image file with 300 dots per inch (dpi) involves a few key steps. Here's a simple guide to help you achieve this:
0 Comments
How to easily create a moving banner of the shape and size you want.How to capture a portion of the screen
 Next, load the captured image into Photoshop. From now on, you just need to create an image here that suits your purposes. 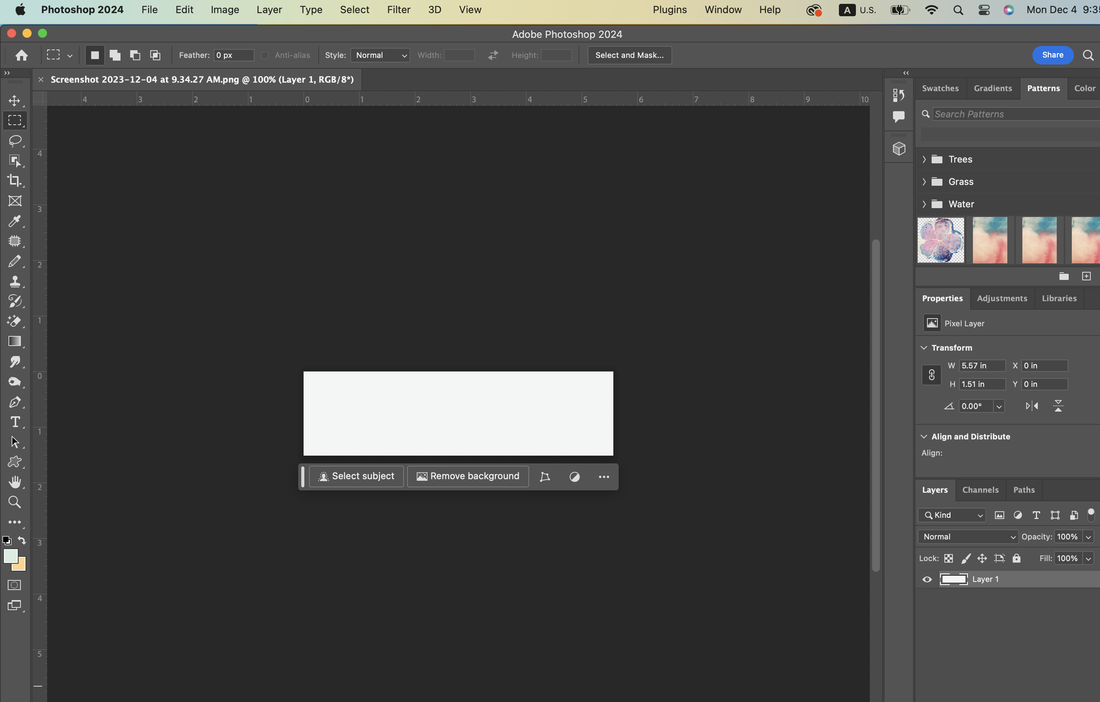  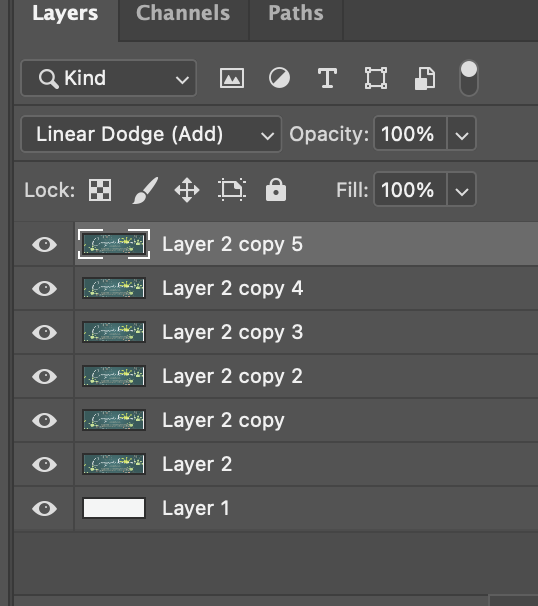    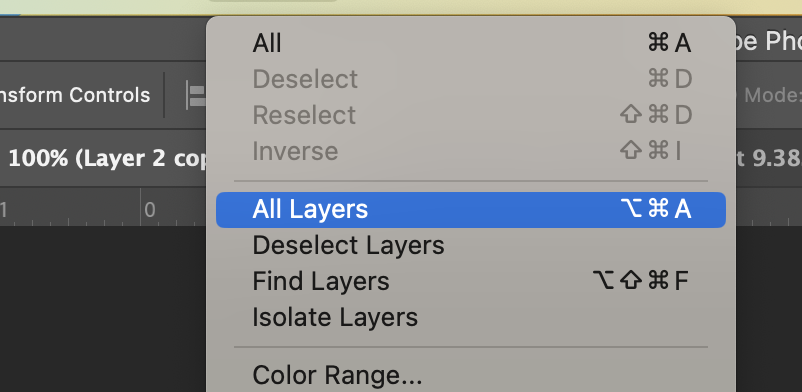   Below is what my site looks like with a banner.  How do I edit multiple images at once in Photoshop?Below is an example of loading multiple image files at once and editing them at once. In my case, I would like to show you how to batch-change image files from RGB to CMYK, a printing mode. 1. Go to the File ---> Scripts---> Load Files into Stack. 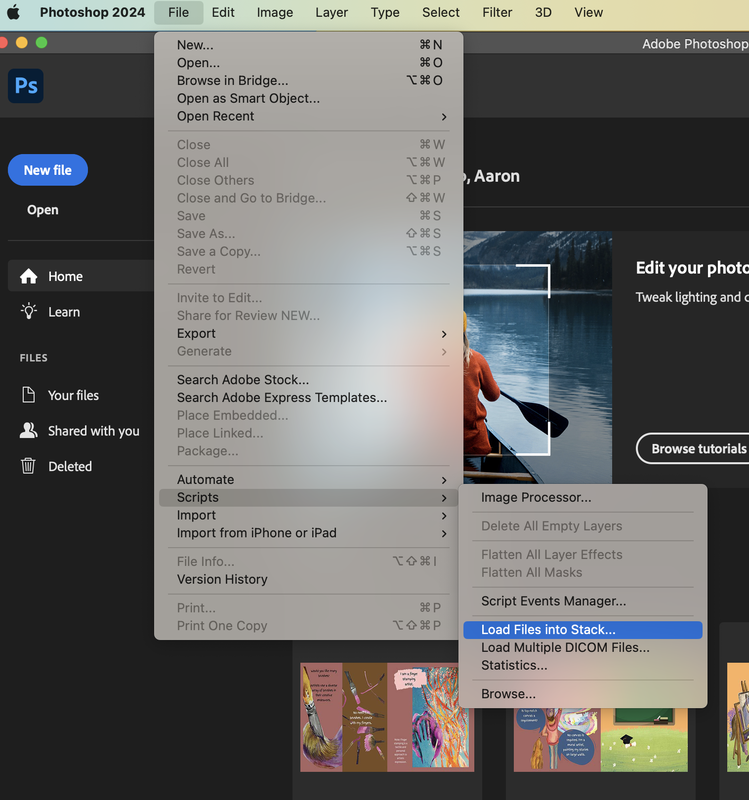 2. Through the Browse button, you can open your all images, which you want to edit at once. 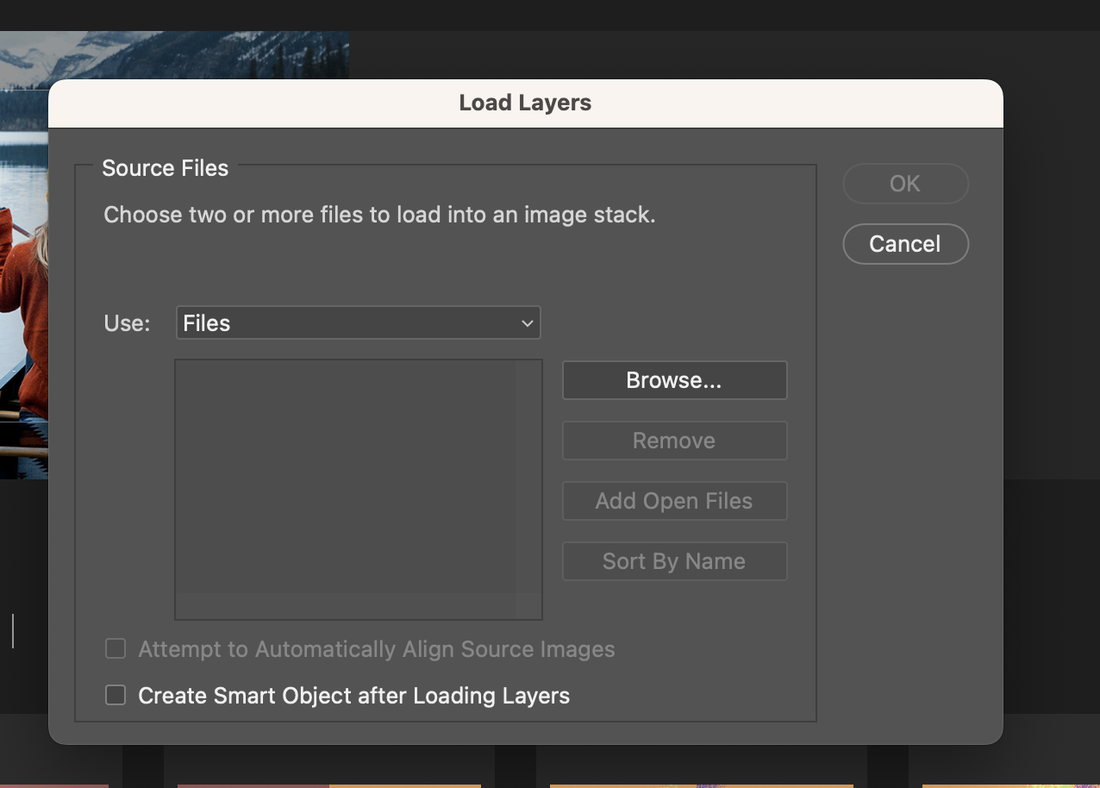 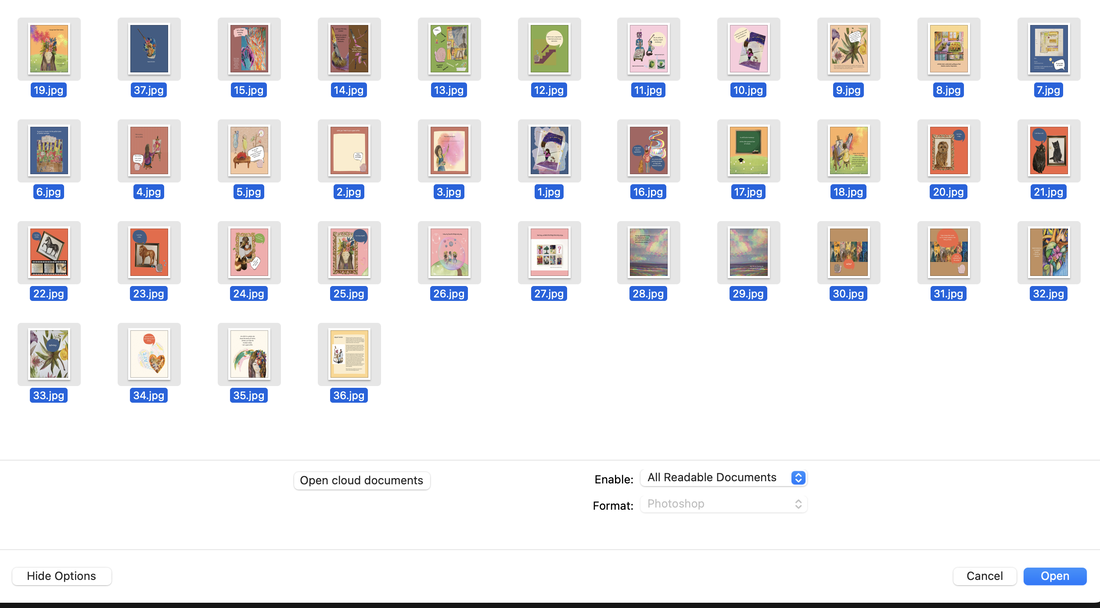 In my case, I would like to change the mode like below. 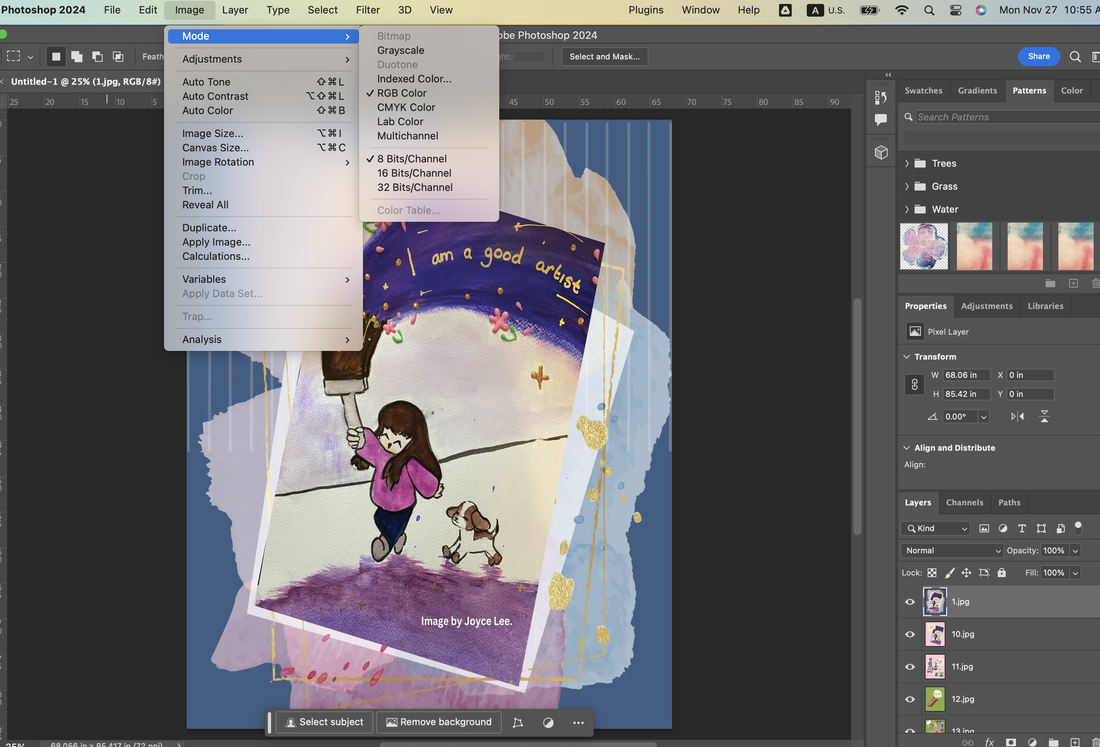 For mode changing, I clicked the 'don't merge' button. 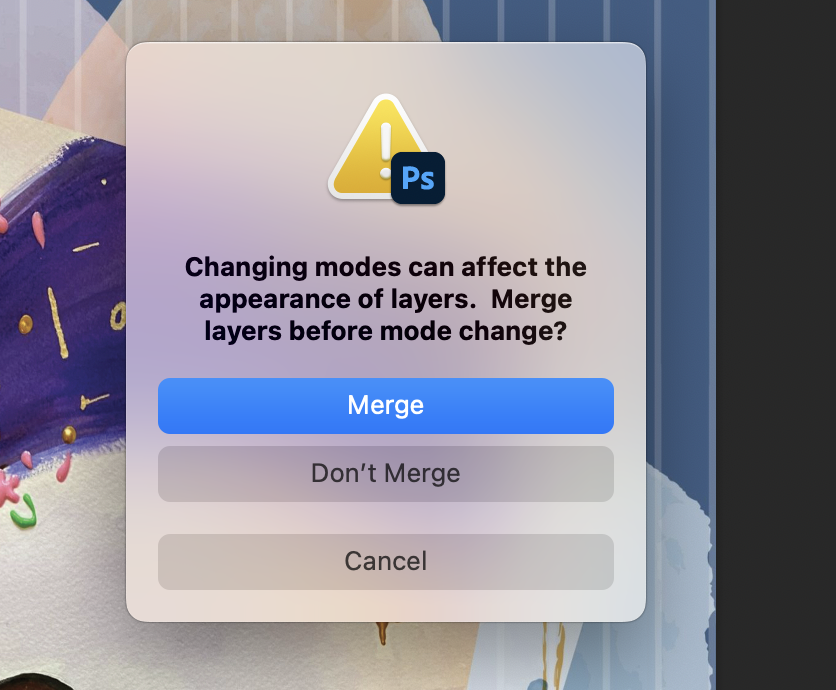 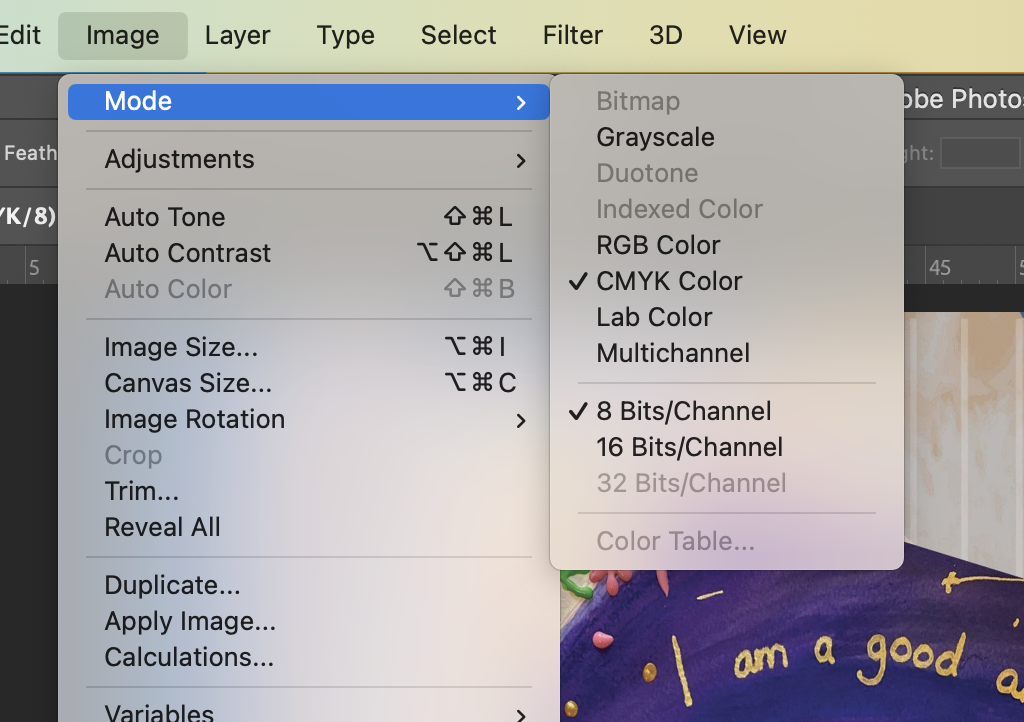 After changing the mode, I moved File---> Export---> Layers to Files. 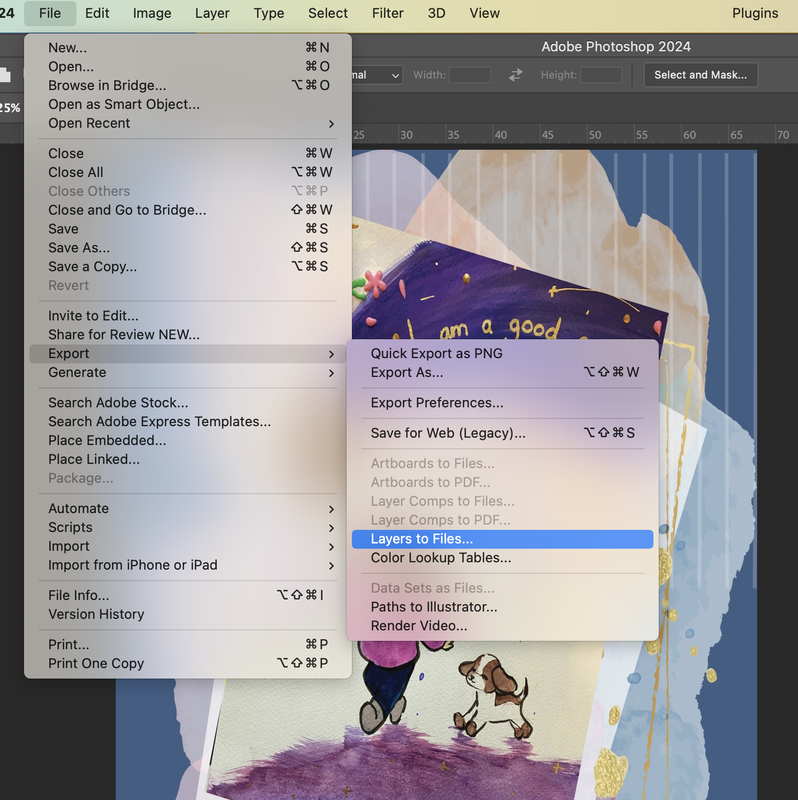 Save the file as a JPG file in the designated location. 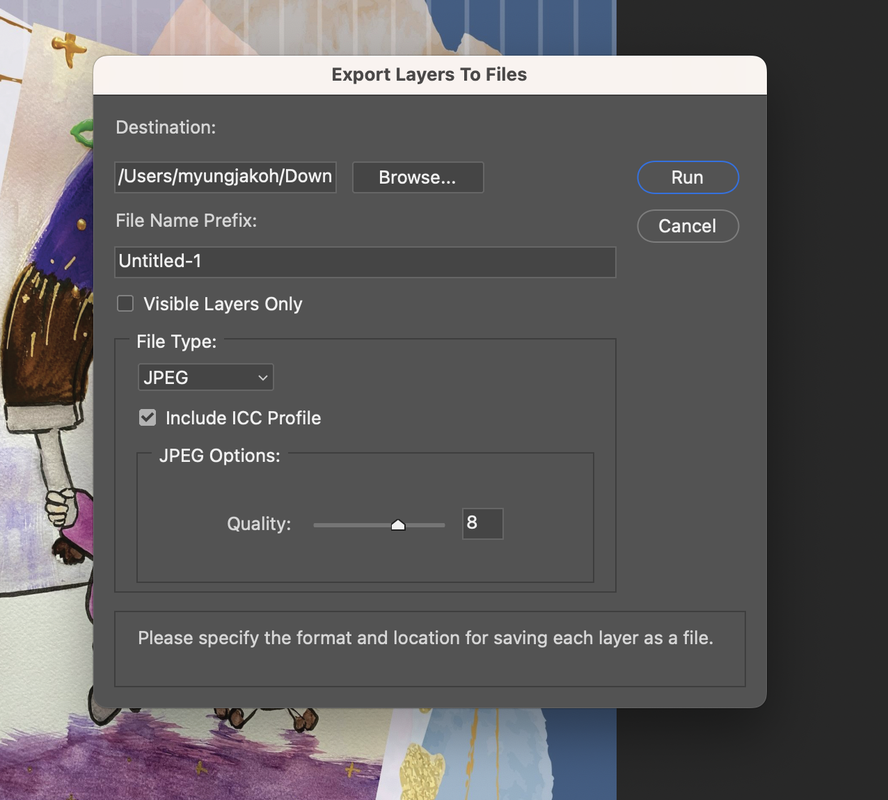 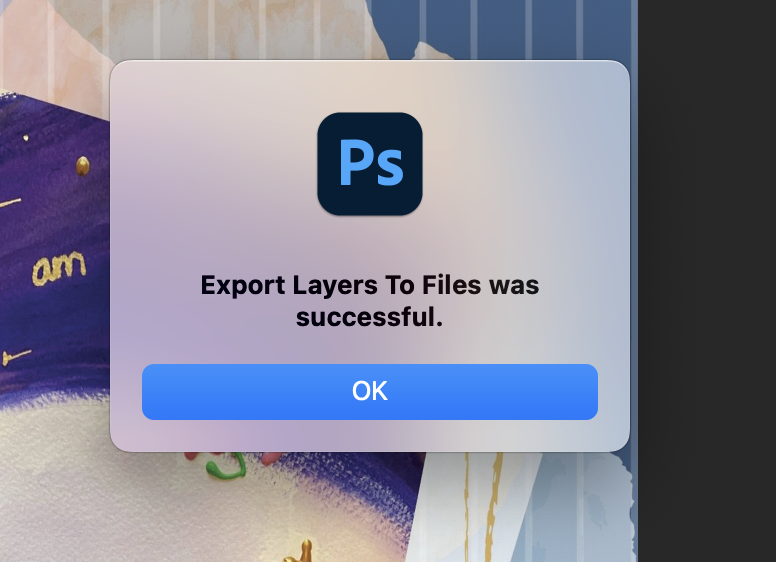 In my case, I converted all images to PDF. 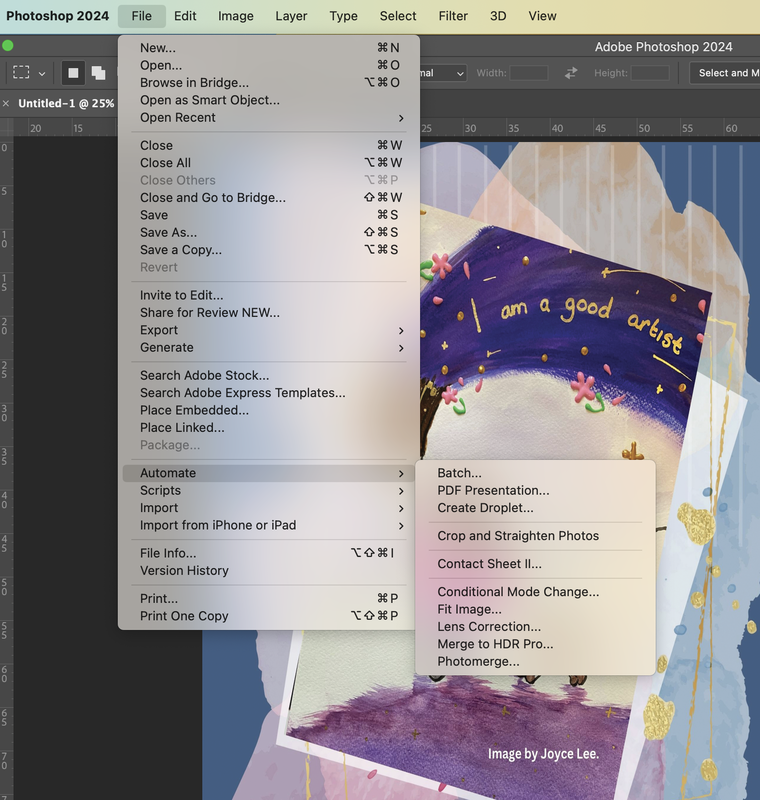 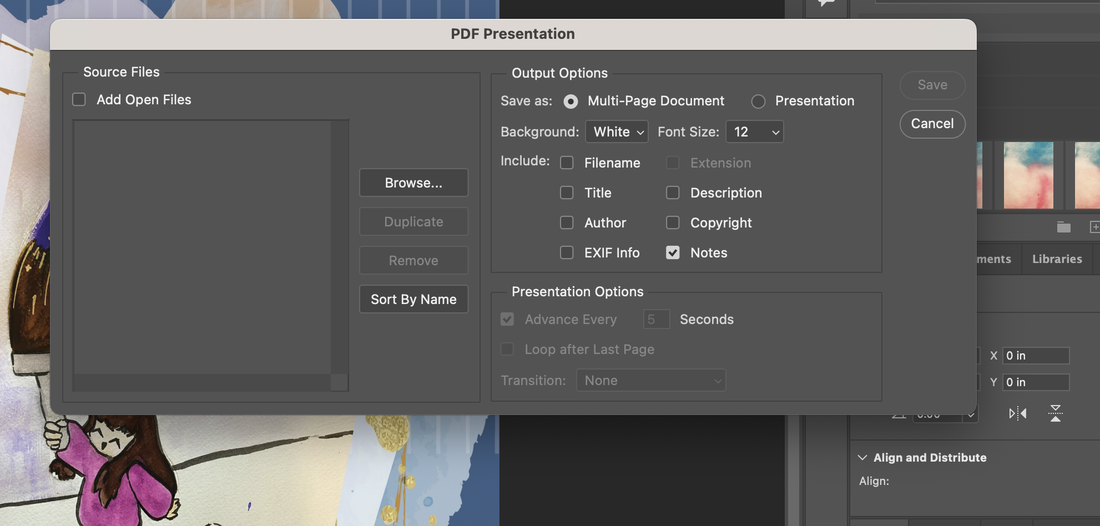 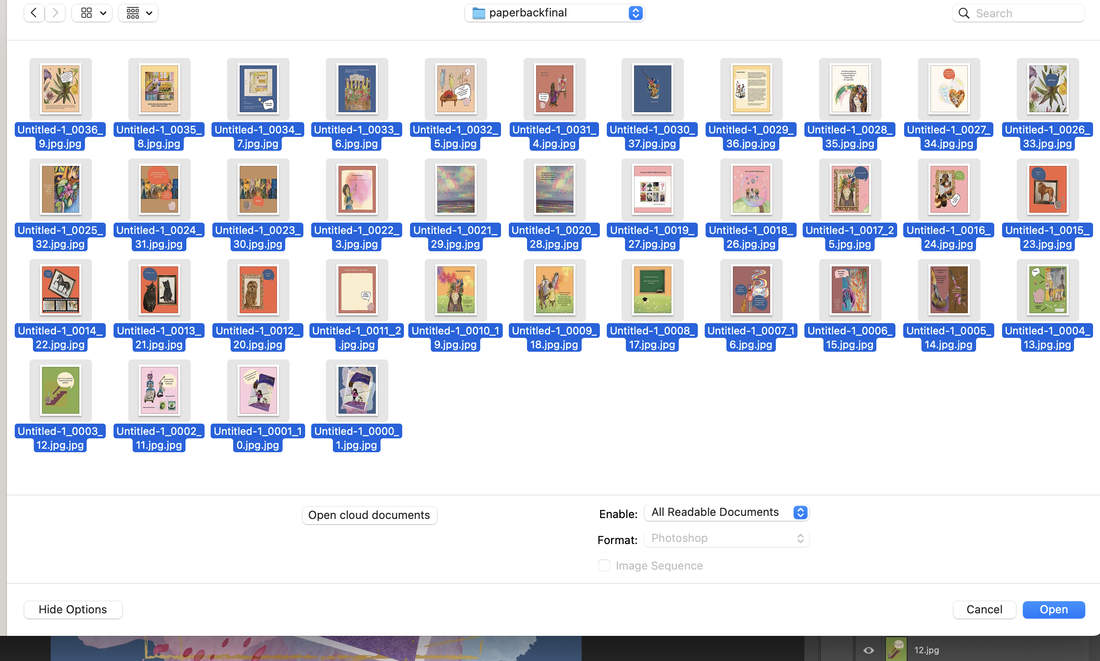 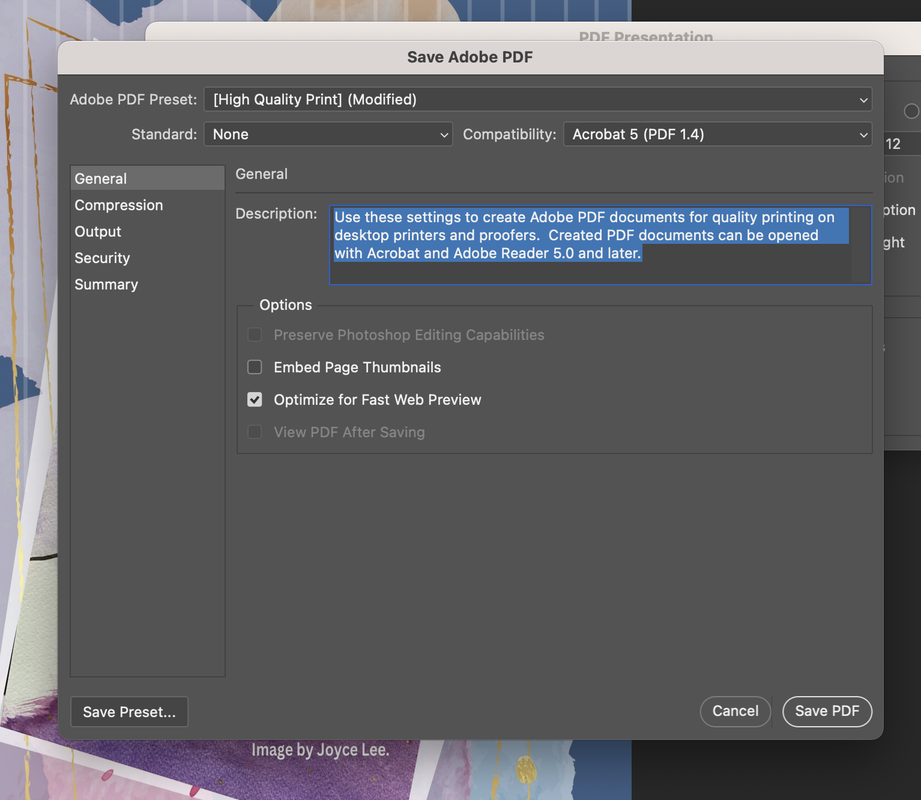 How to Convert Image Files to PDF Files with PhotoshopFirst, check to install Acrobat in your computer. 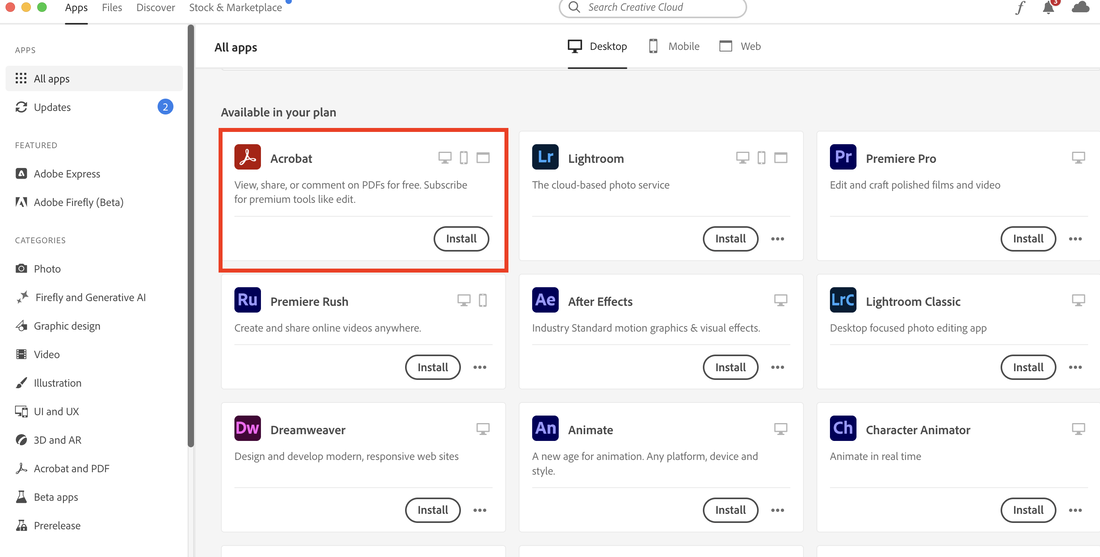 And then open your photoshop, and then go to File---> Automate---> PDF Presentation like below. 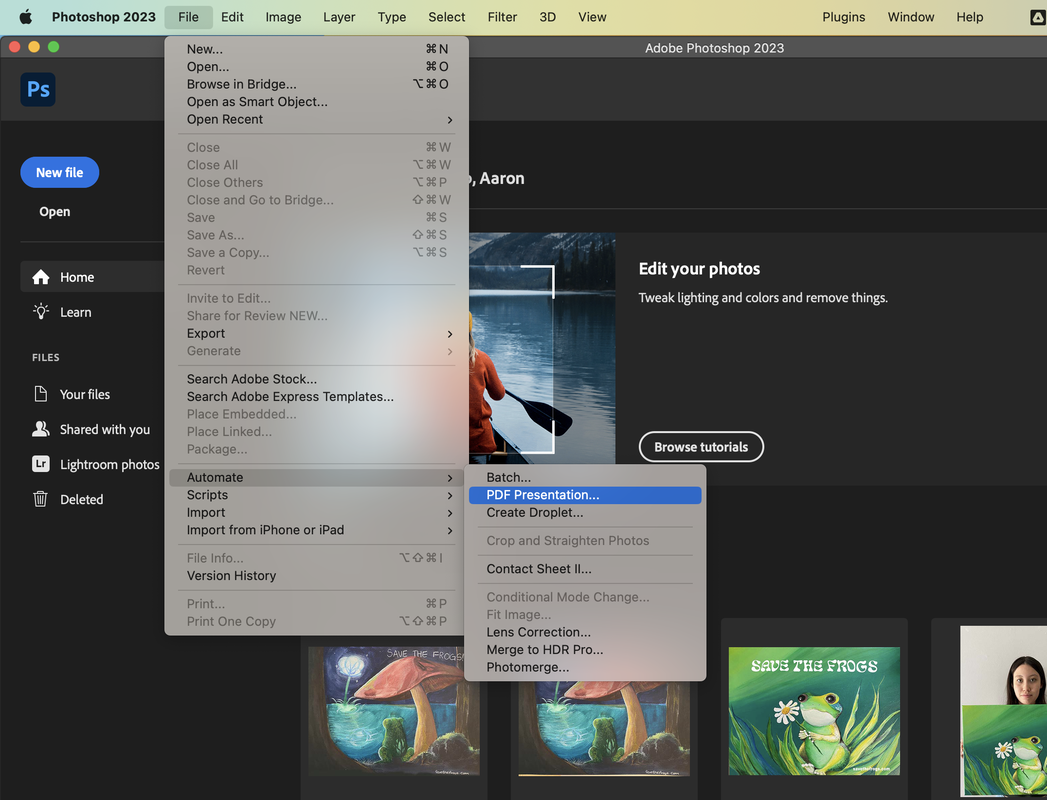 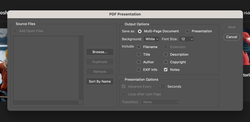   How to create a cracked and broken effect in Photoshop I would like to share a cracked and broken effect in Photoshop like the above. Here is the download file, you can text.
First, prepare your letter, which you would like to split and make a crack effect. 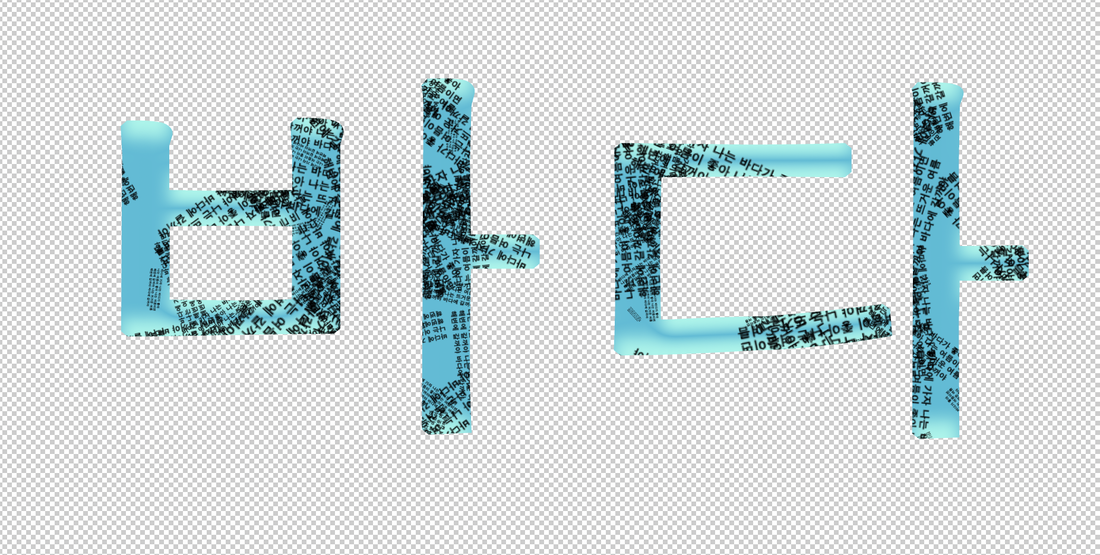 For just a case, I duplicated the files like below with shortcut, Command+J. 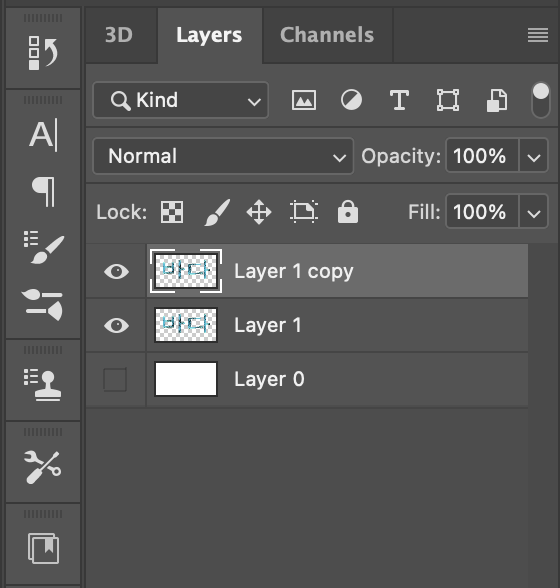 And then next, pick the Pen tool on the left side of Tool bar. 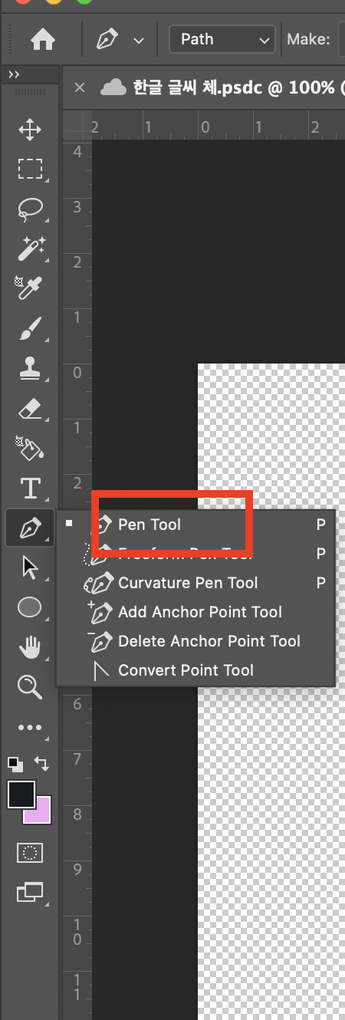 Then, draw your pen line as you wish to make an effect freely. 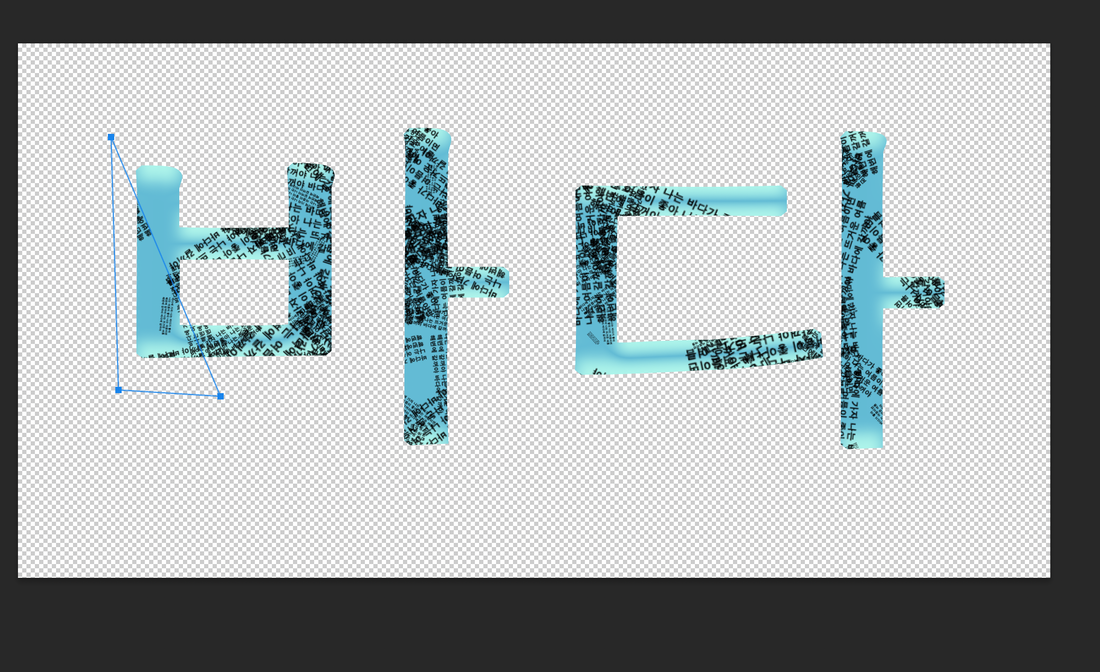 I finished the effects like below. 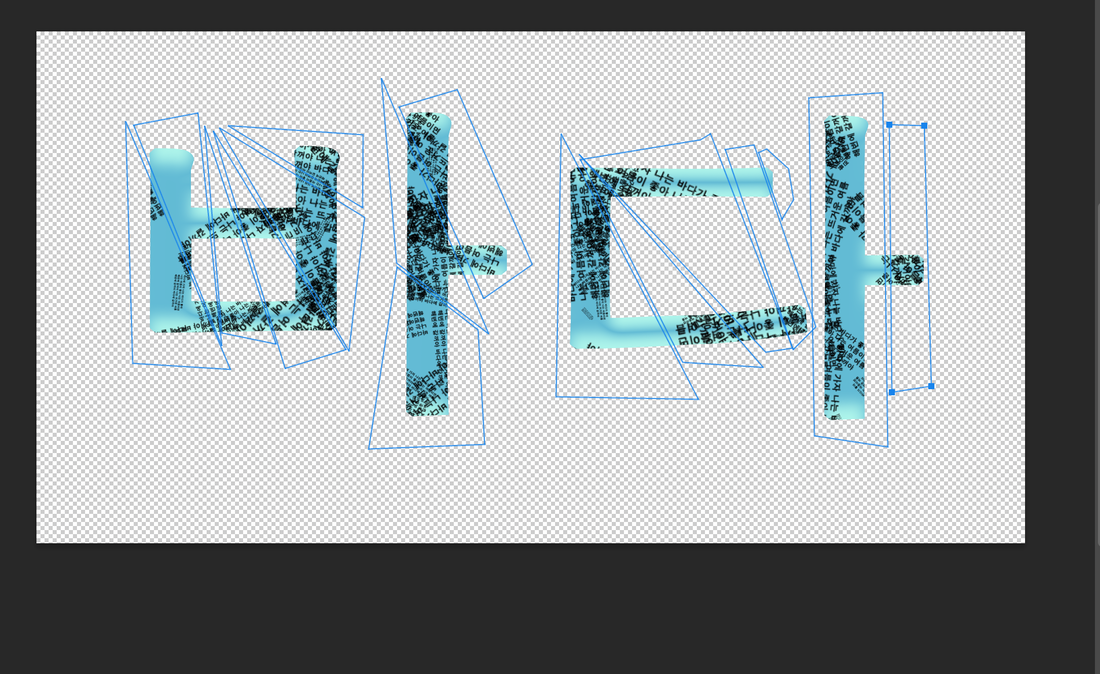 Last, you click on your right side of the mouse buttons, then go to Create Vector Mask. 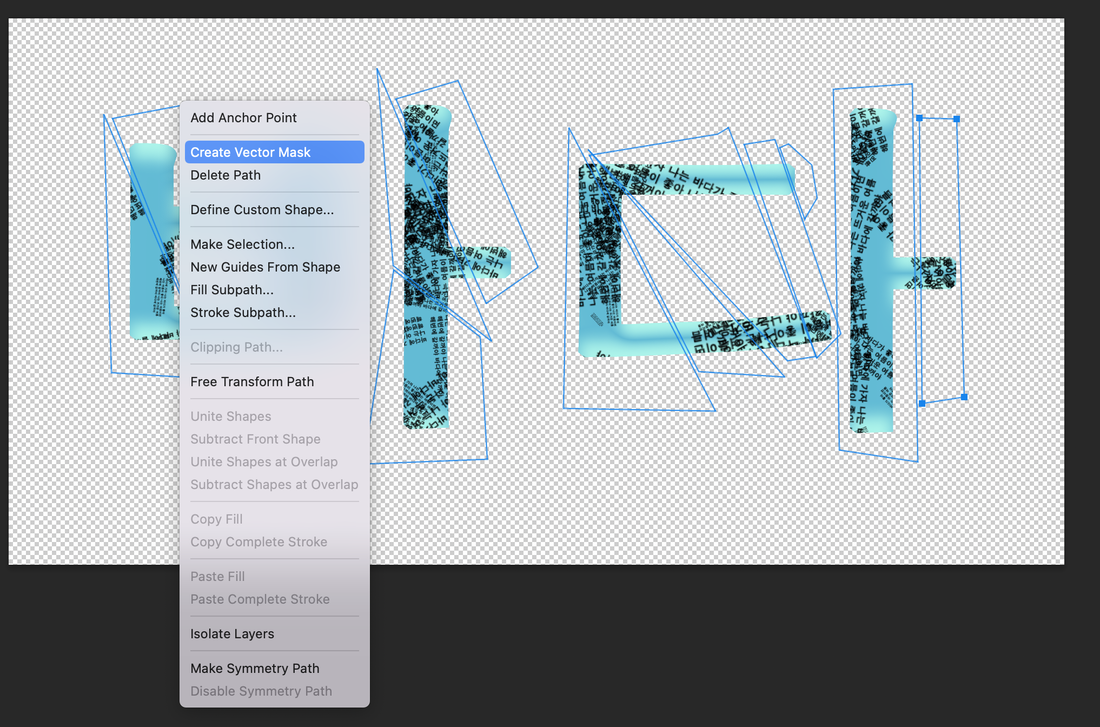 After then, you can make sure the result like below. 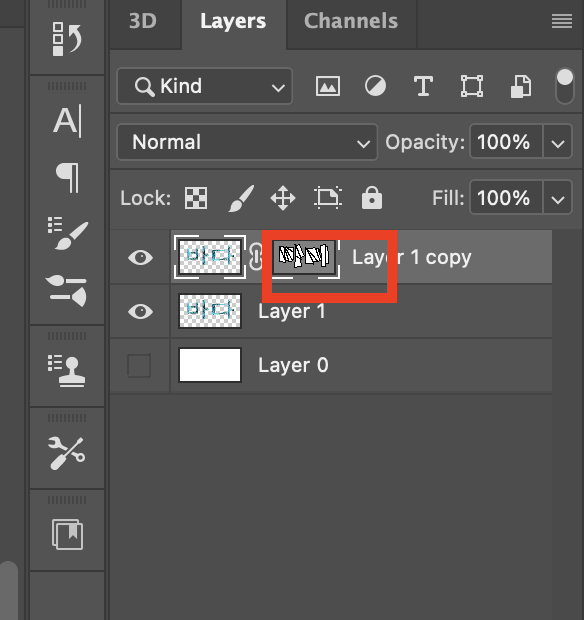 Click the layer to see your result. 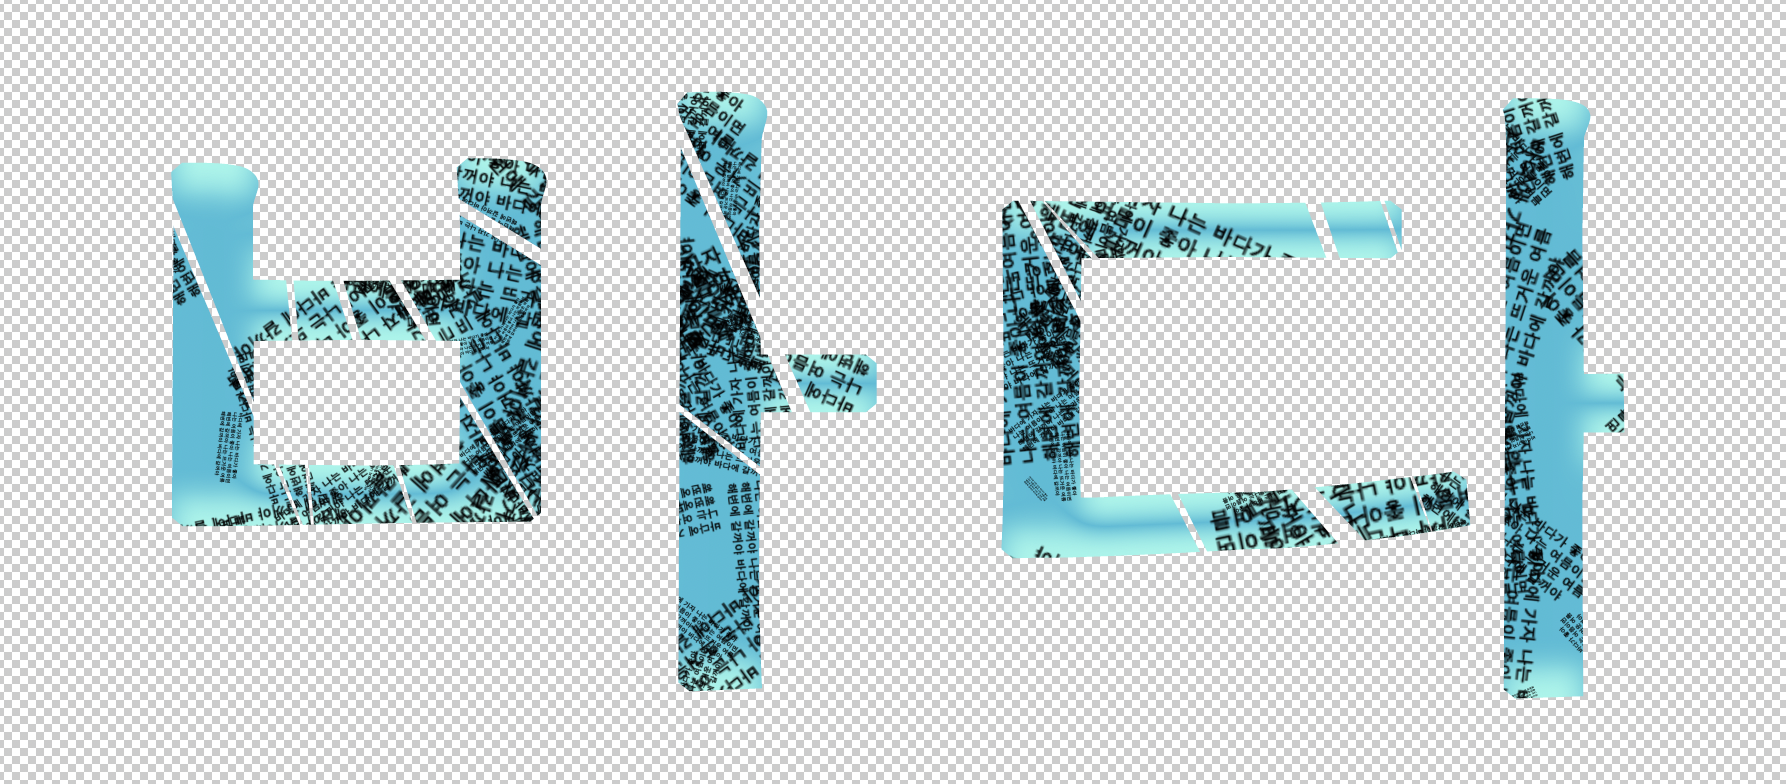  |
Myungja Anna KohArtist Categories
All
Archives
July 2024
|
||

|
Tutorial |
 RSS Feed