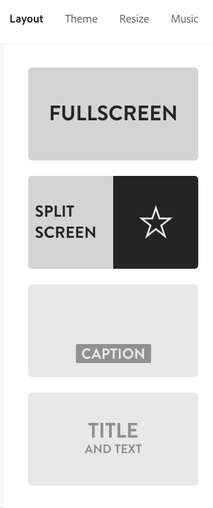
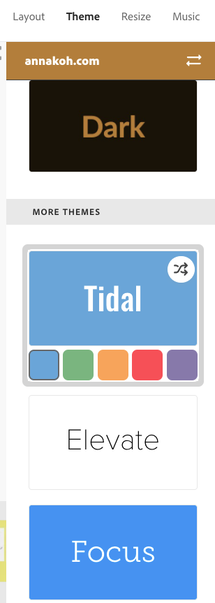
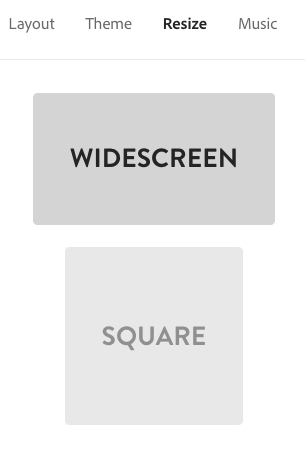
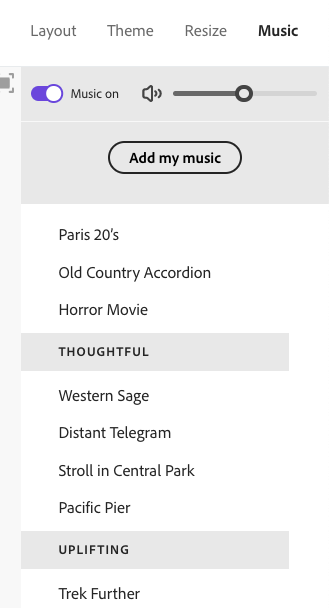
How to create a YouTube video for Tutorial! I recently made a YouTube video for a simple tutorial like below. Today I would like to share how to make a simple video using a template provided by Adobe Spark. First, go to the Adobe site to move the templet.  https://express.adobe.com/sp  And then, click the purple colored plus button on the top of left. Move to Video section. Next, choose the favorite templet for your purpose. In my case, I clicked the teach a Lessons. 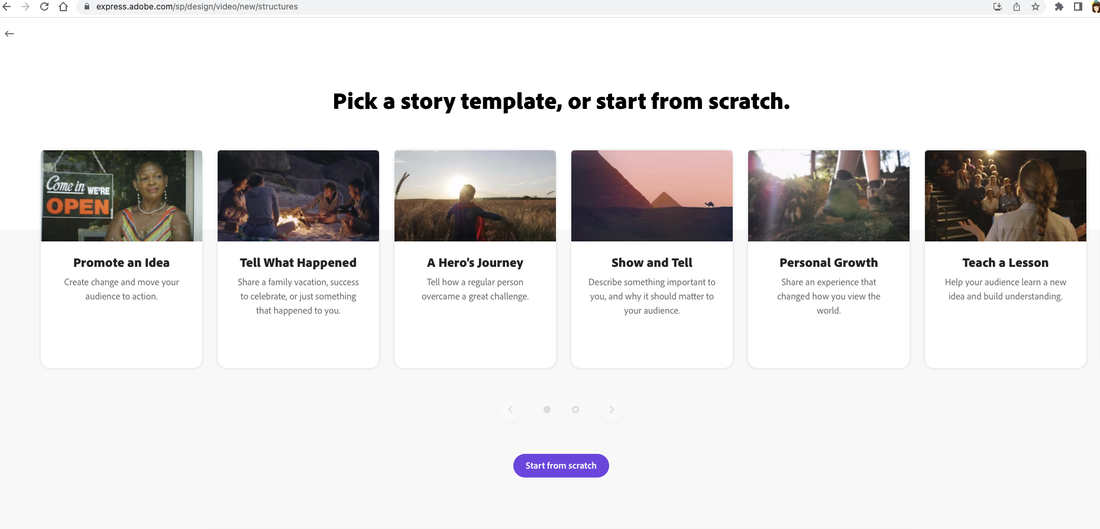 Below s the workplace to create a video frame. 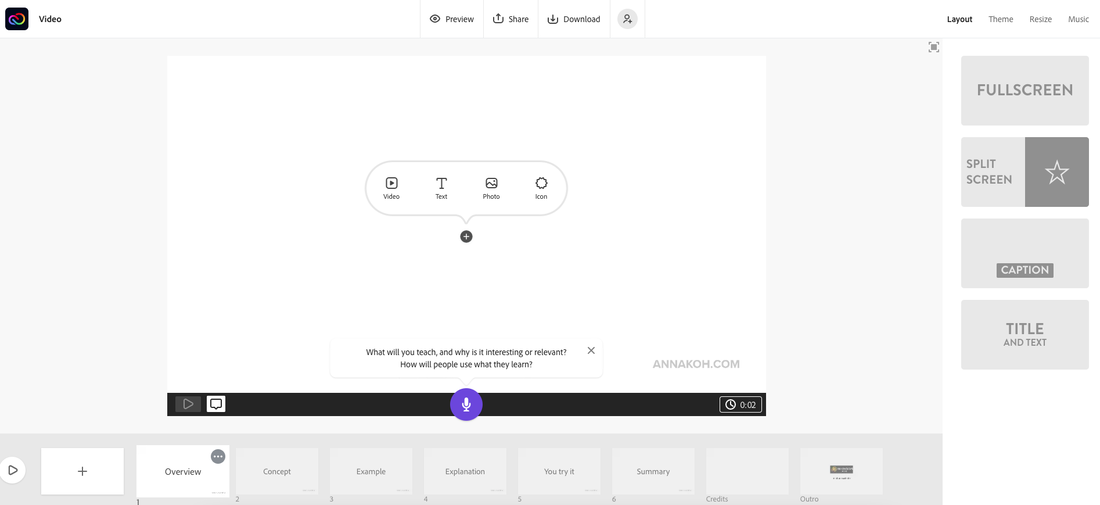 I selected the photo to upload previous made thumbnails. (Go to how to make a thumbnails) 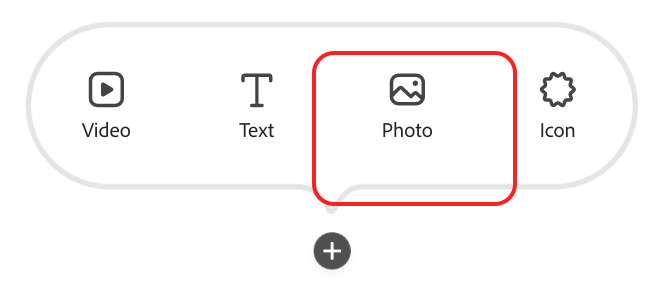 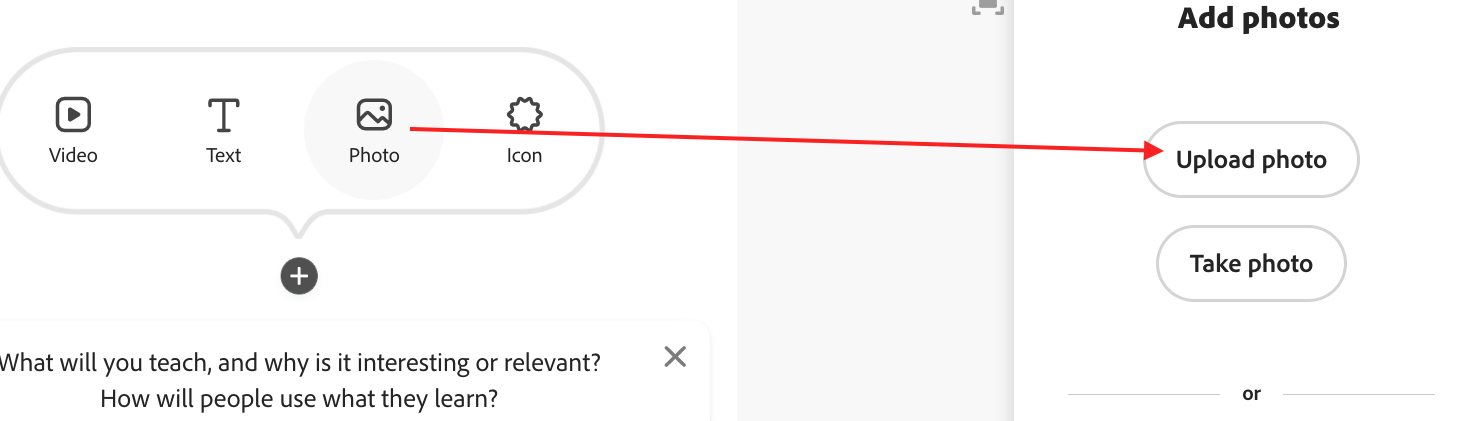 I finished to upload all of thumbnails like below. 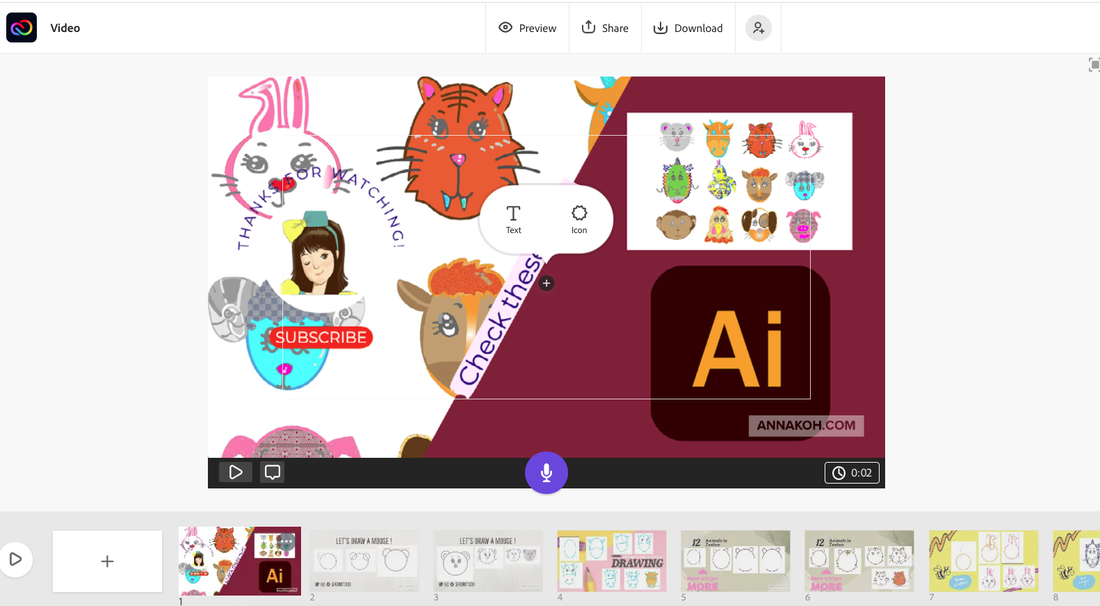 You can adjust the time frame to fit each screen. Also you can record to click the purple button with mic shaped icon. 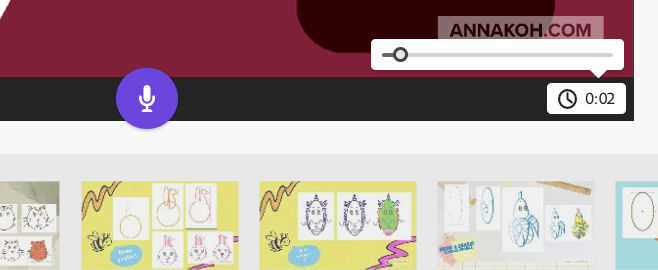 You can change the Layout, Theme, Size and also put the Musin in it.
Finally, you can download it to upload by YouTube channel.  If you select The Download, you can find below .mp4 file in your folder.  Next, go to the your YouTube channel. And then click the Create button on the right side of top. And click Upload videos. 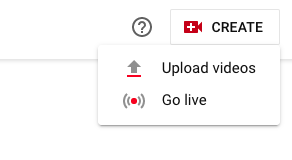 If you see below pop up window, click the blue button, select files and, then browse your video file. 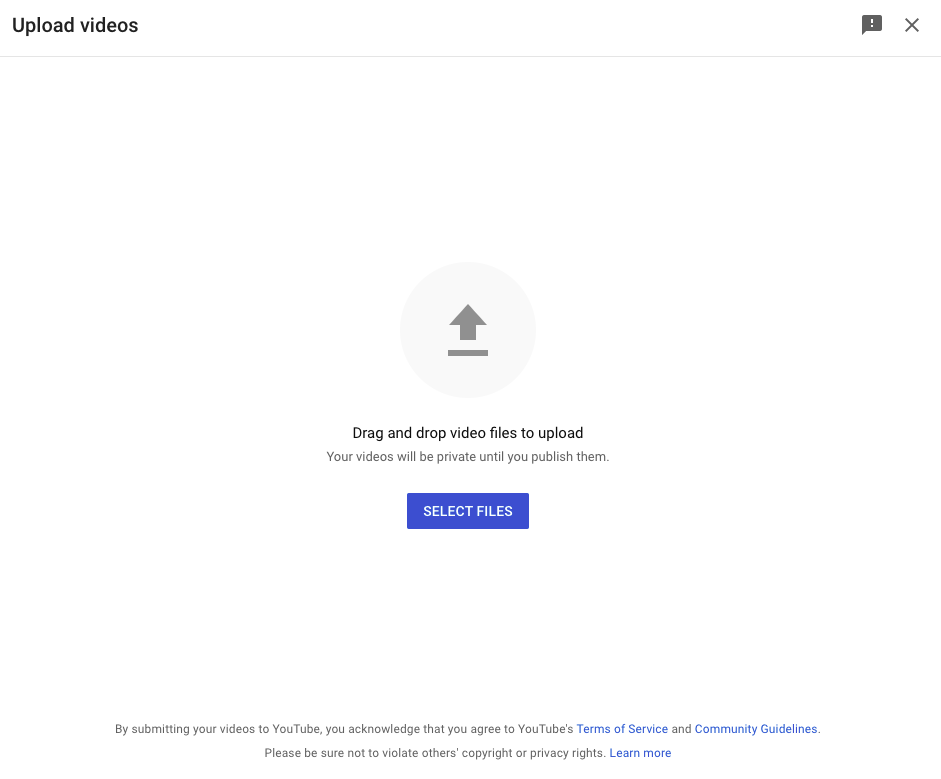 After passing several minutes for check-up, and you can find below screen. 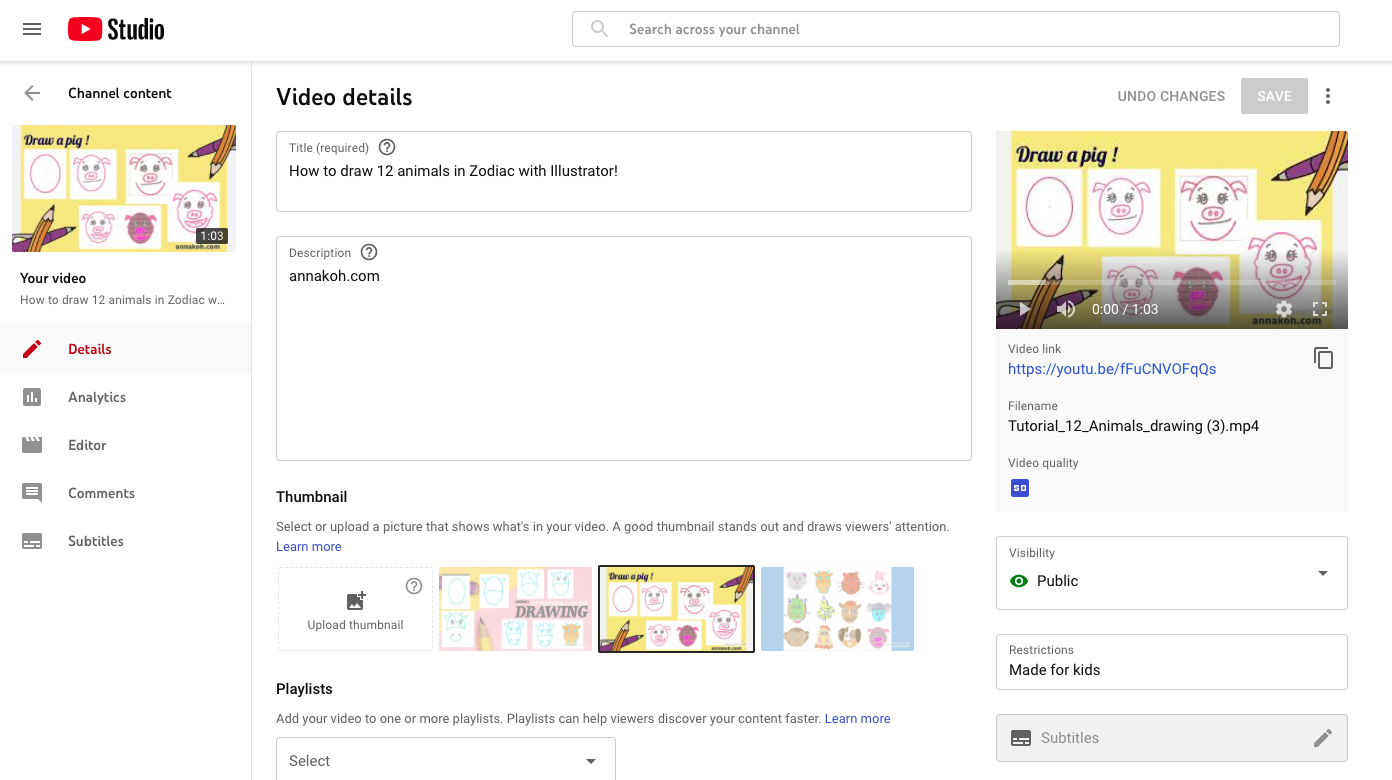 Also, you can change your default thumbnail. 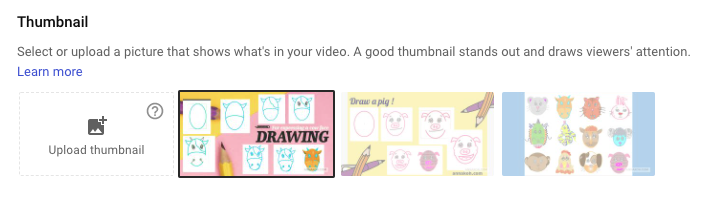 And check the target audience. 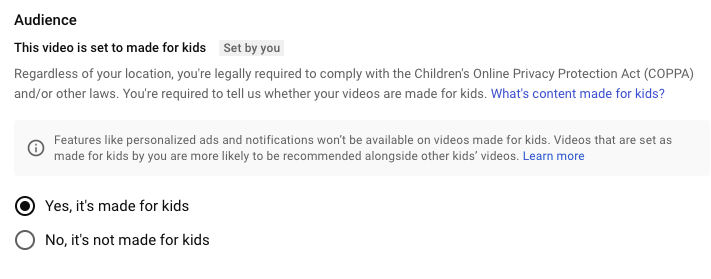 Here is the result. Enjoy making a your own video !
0 Comments
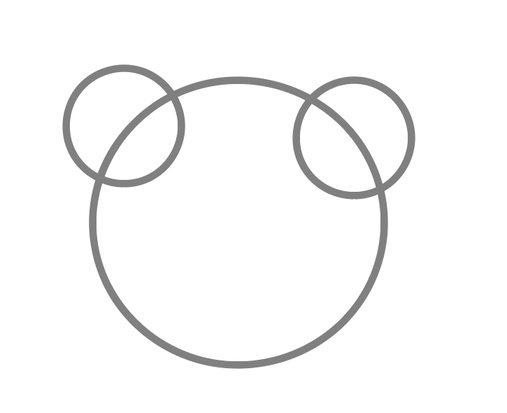
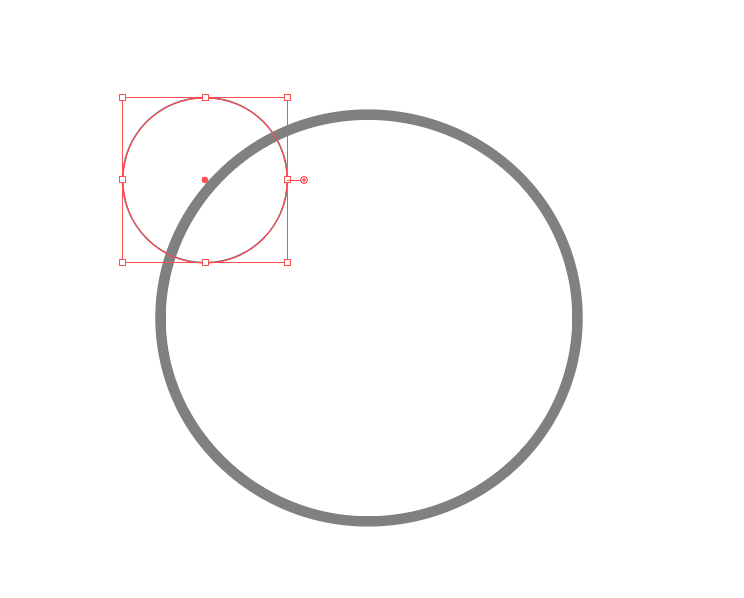
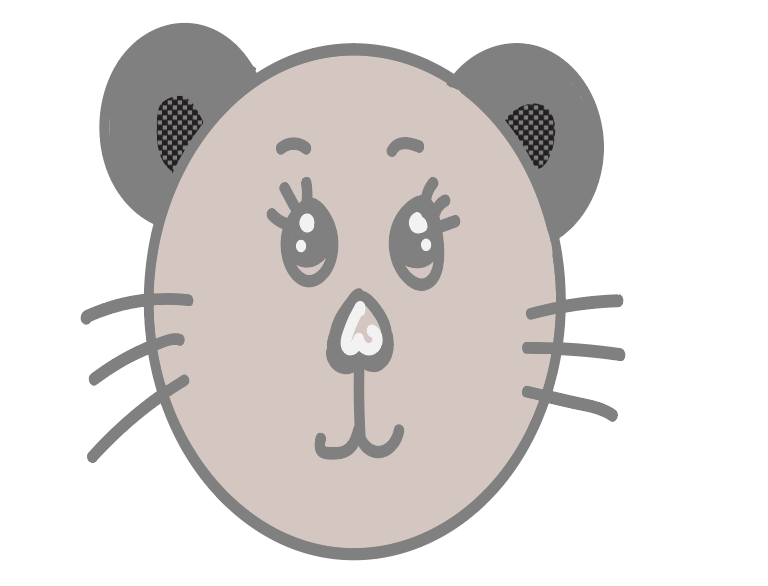
How to create a Youtube thumbnail for Tutorial! Today, I would like to introduce how to make a thumbnail for YouTube in a simple and easy way. Thumbnails are intended for tutorials that briefly show the process of making your own drawings First, you can go to the website, Adobe Spark like below. If you click the screen, and can go to the site directly. 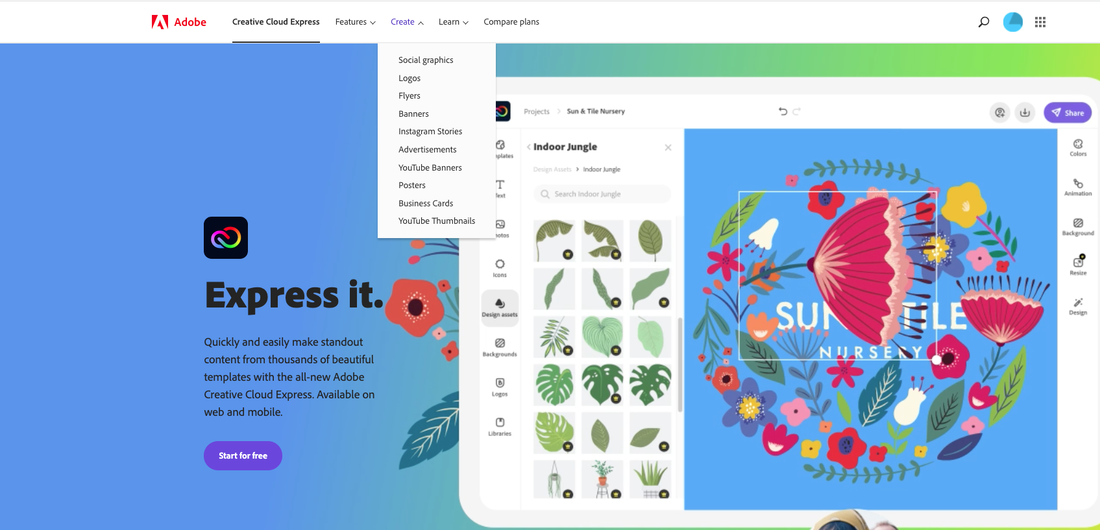 Go to Create menu---> YouTube Thumbnails. 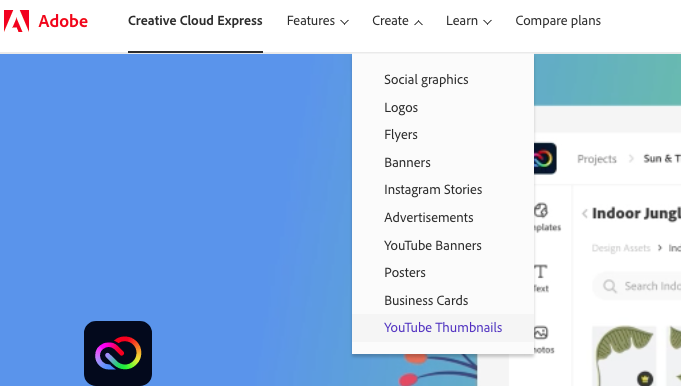  For creating it, just click the purple button, Create your own YouTube Thumbnail now!  Here is the workspace for making a short video clip! 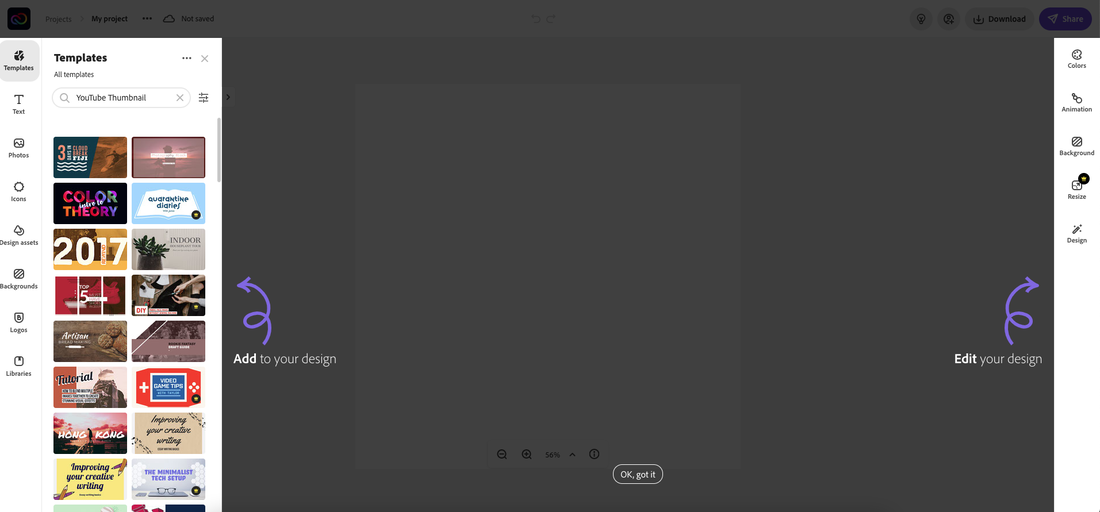 Next, choose the templet for your purpose.  You can easily change the image as shown below. 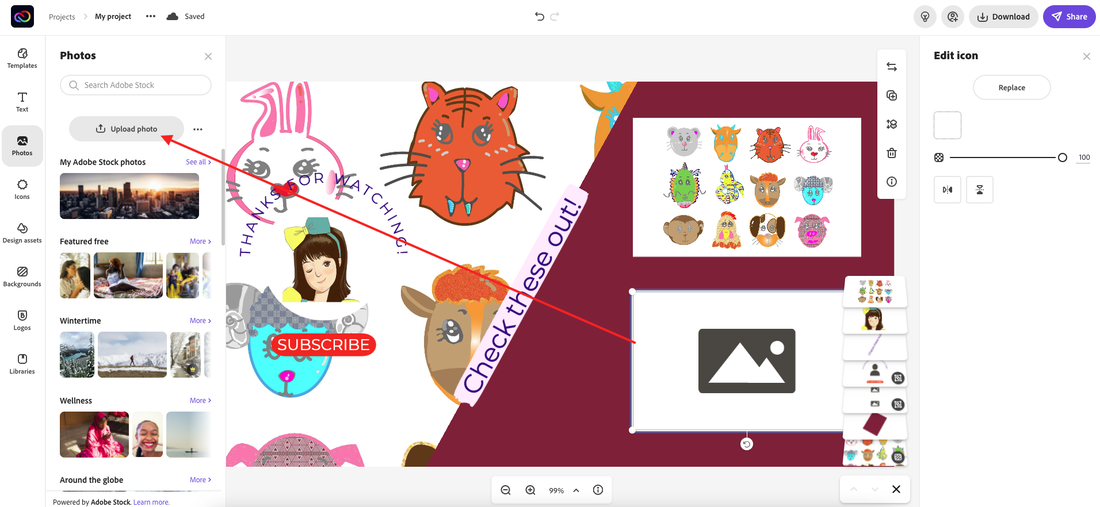  For making another page, you have to choose a proper templet again, and create it. 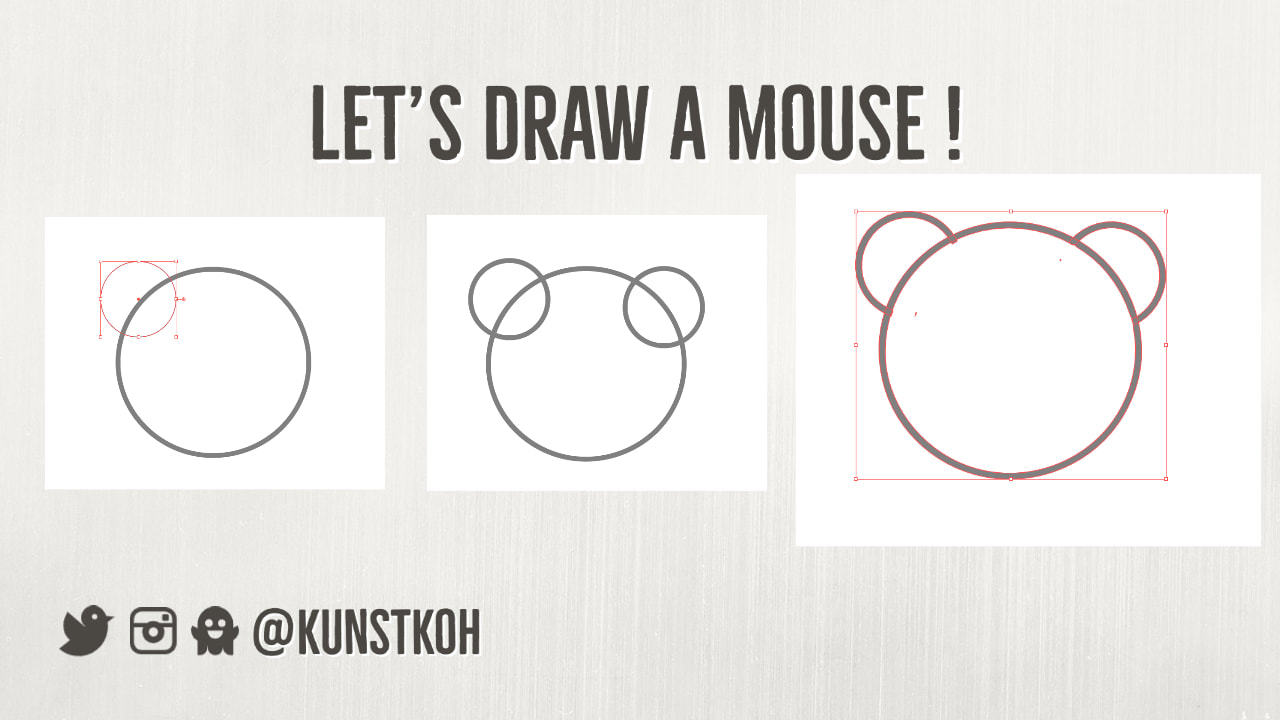 I made a duplicated image for reuse like below. 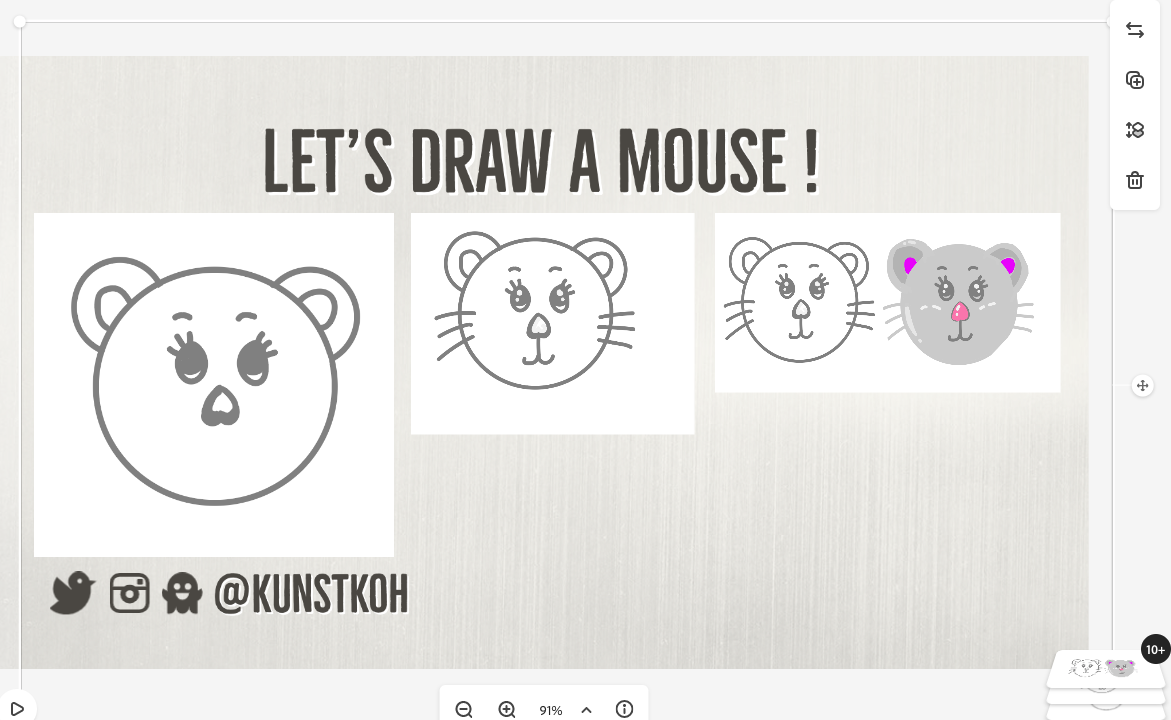 For making video clip, I clicked the Download button. And then make a JPG files.  To avoid monotony, make the next chapter with a different template. 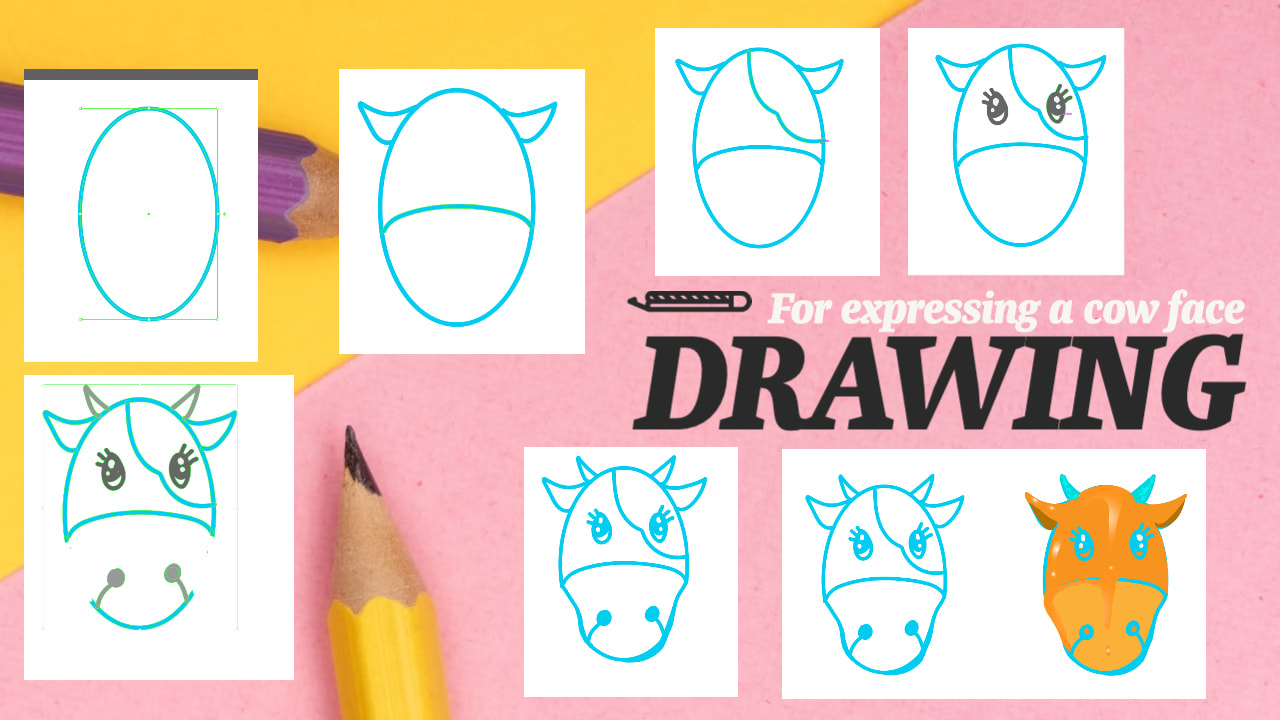 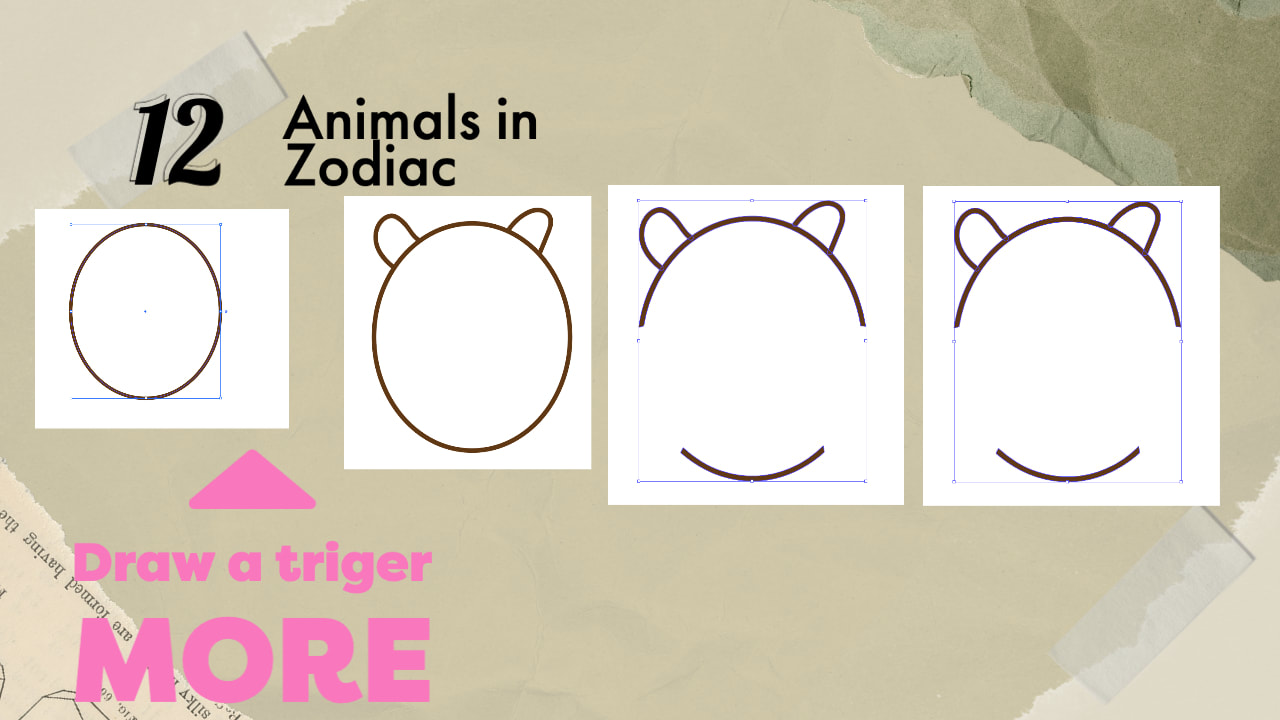 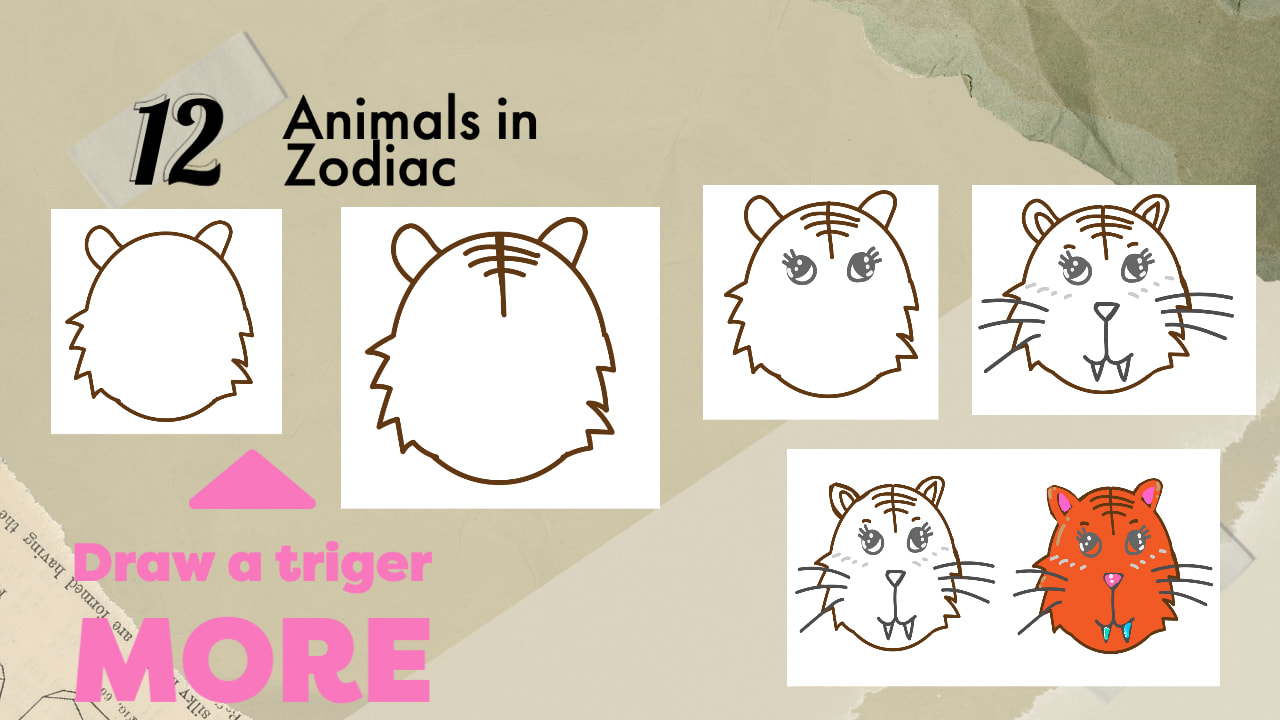    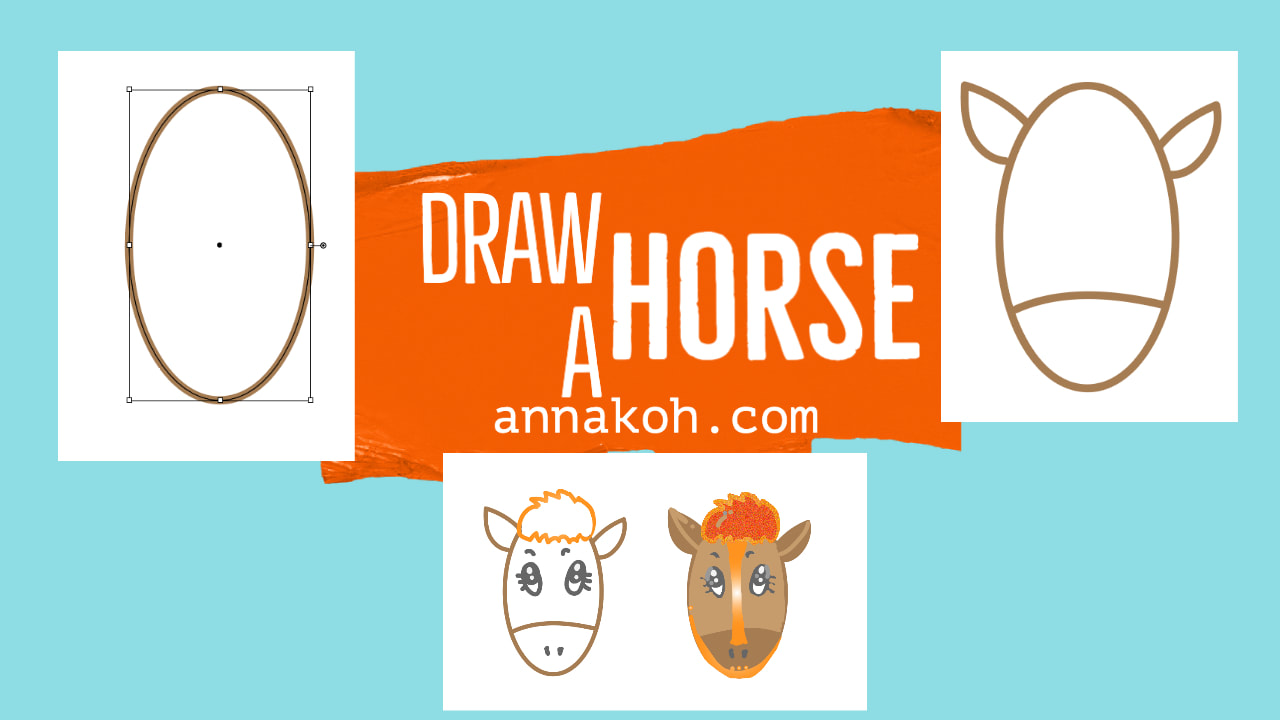    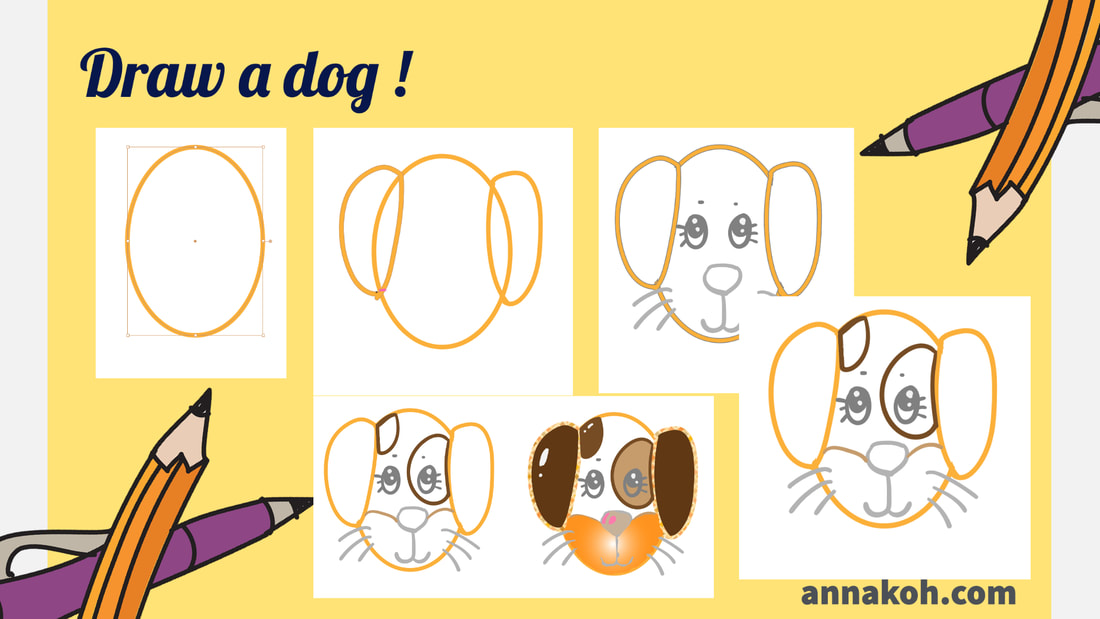 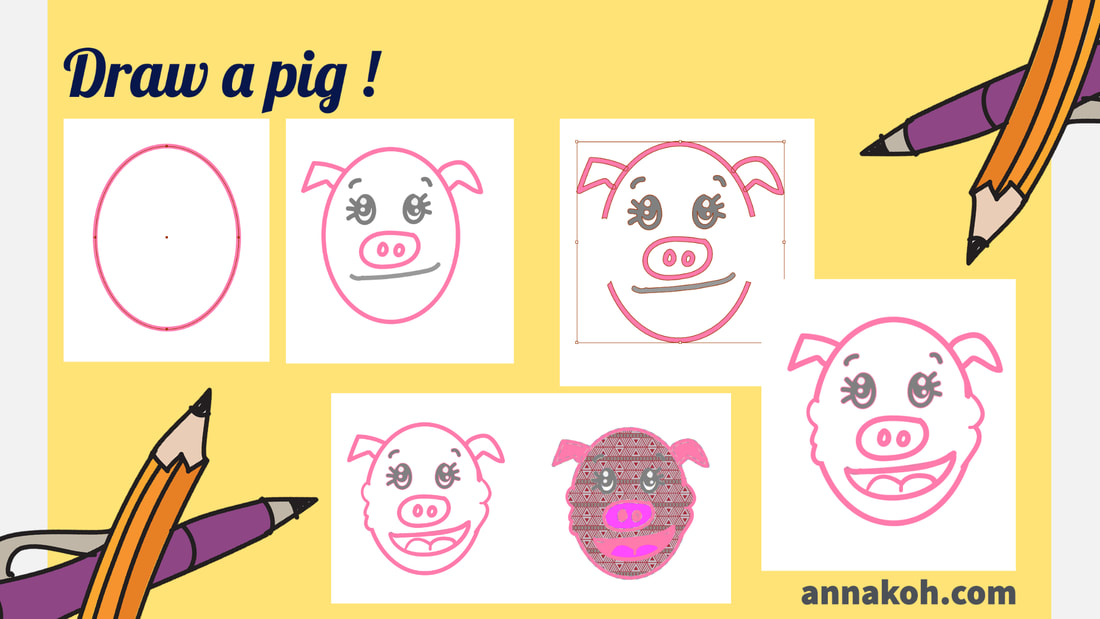 Create and save each thumbnail as above. The above files are going to be made into simple YouTube videos with Adobe Spark video making function. The making process will be posted later. How to draw and paint an animal with Illustrator!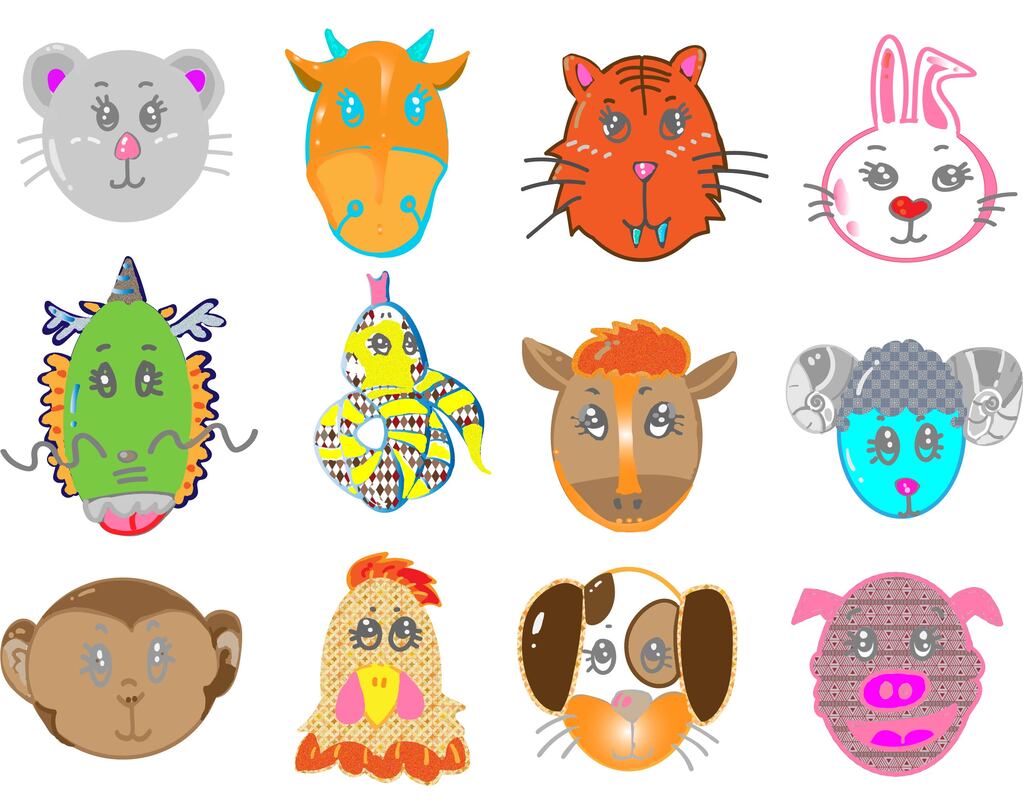 Today, I will try to draw a simple animal animations with Illustrator. The animals to be drawn are 12 symbolic creatures from the Zodiac. Related information has been posted on the blog. (Go to related blog) Most of all, I will explain the mouse face, which is the easiest to draw. First, draw a circle as shown below. After that, make the ears with small circles.
 You need to erase the ear line on the inside of the face. In general, if you just erase using the eraser tool, it will not work. The Illustrator erases by plane unit. So, when erasing a line like this, you must first designate this line as a path and erase it. In a nutshell, you have to go Object ---> Path---> Outline Stroke, and then erase it. 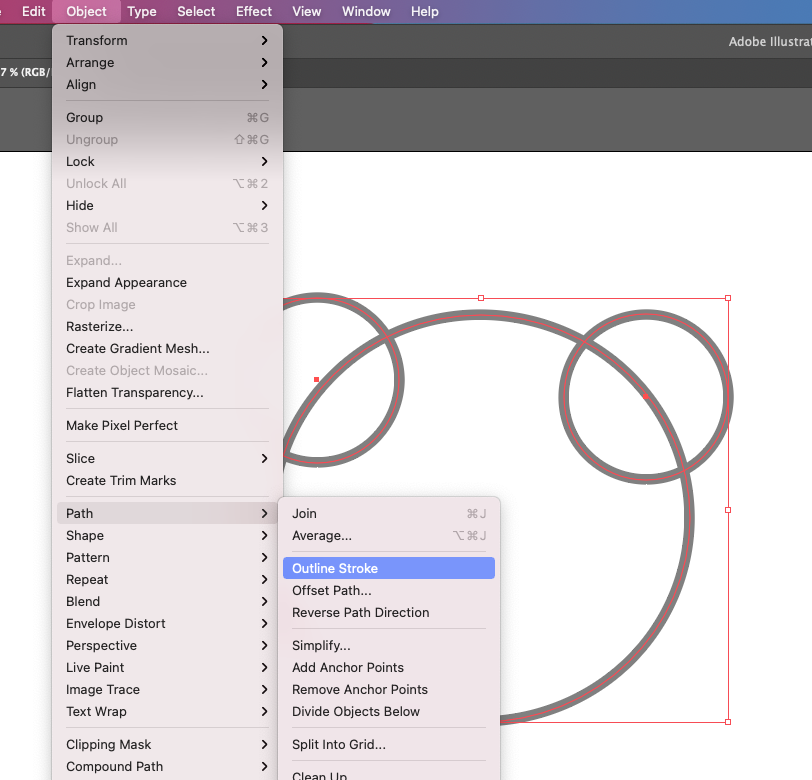 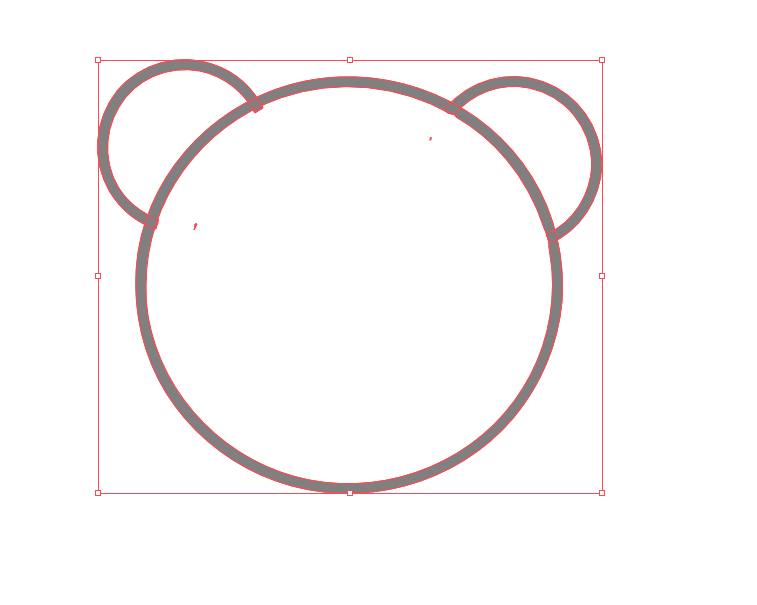 Next, complete the eyes, nose and mouth with the Blob Brush tool. 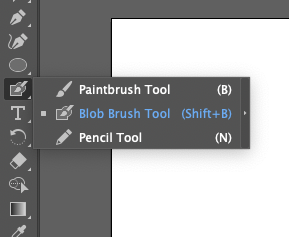 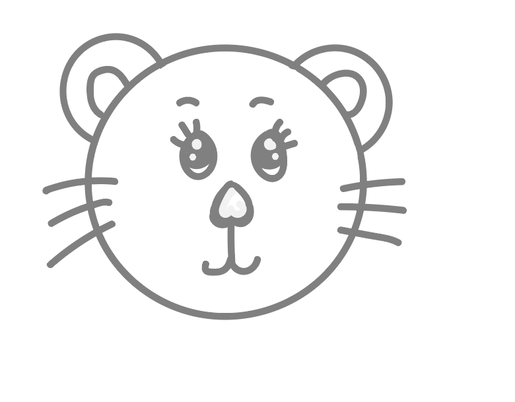 For painting the shape, you have to go Live paint pallet by click on the left sidebar.  If you feel some difficulty to find it, you can go Object---> Live Paint---> Make. 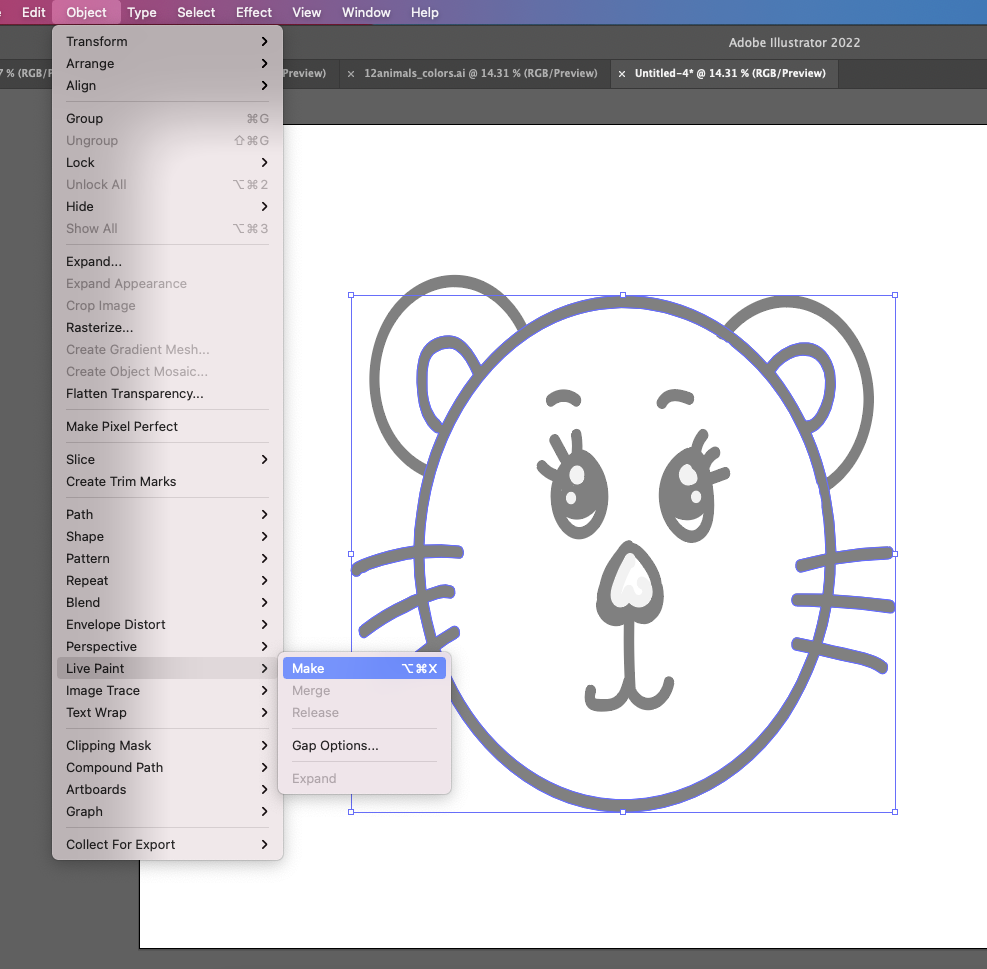 Specify a color to fill, and when the cursor changes to a paint bucket, click the corresponding face. If you want to use a pattern fill, you can also choose it like below! 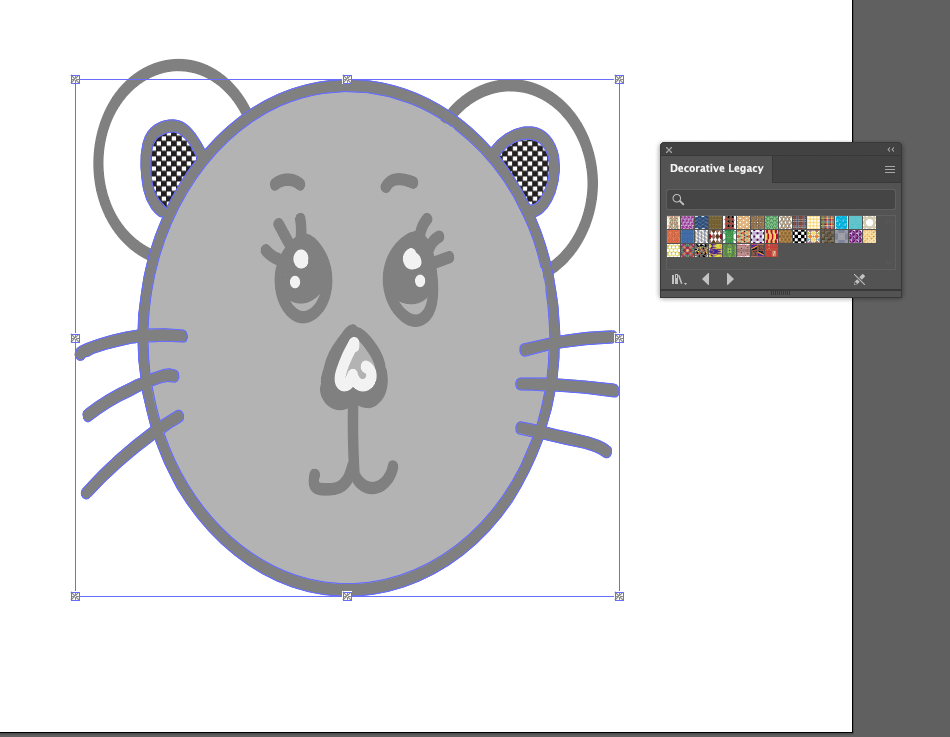 Sometimes, if the live paint function doesn't work like the ear wheel, create an area with the pen tool as shown below. At this time, create a new layer and draw on it. 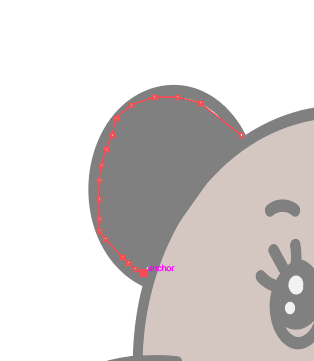   After drawing everything as shown below, change the order of the layers
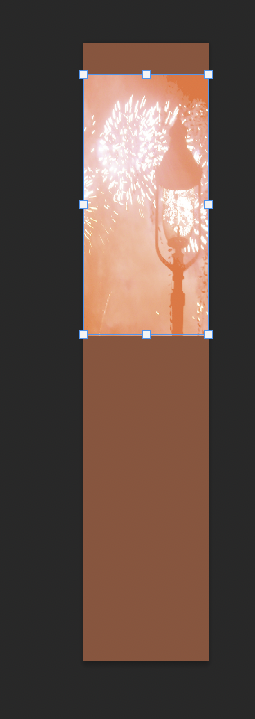
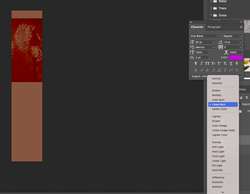
 Complete the details as shown the final image.  How to create a firework banner with Photoshop. Today I'd like to show you the process of creating an advertising banner that sparkles like fireworks that light up a dark sky like above. In my case, I selected the proper place where I put the moving banner on my website. 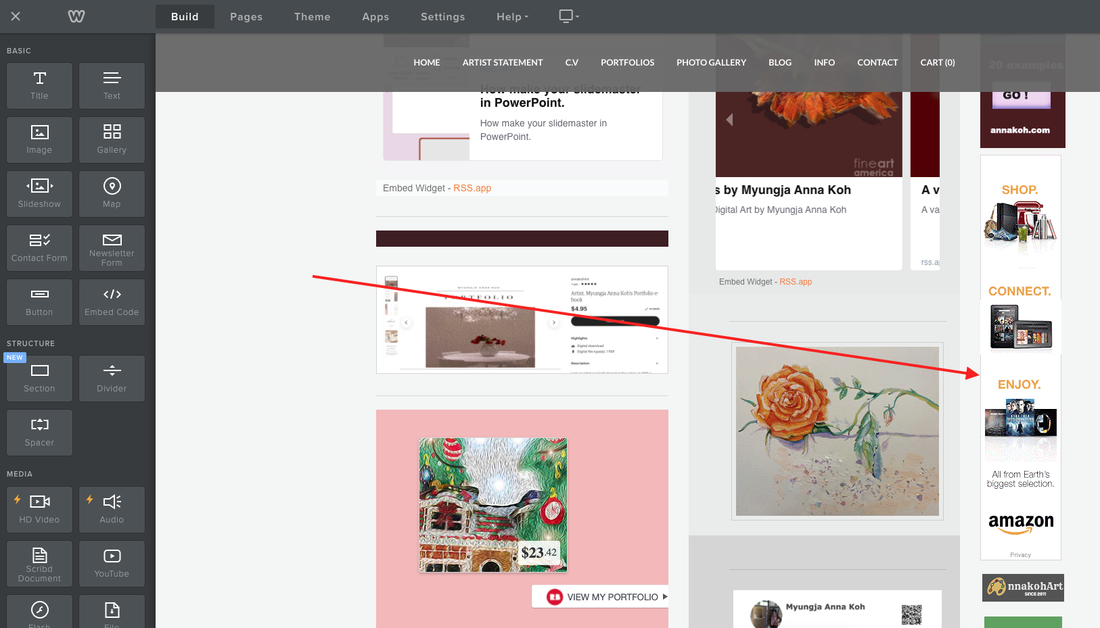 After determining the size according to the location, create the background. Then, load the image to be used for the background and paste it on the banner.
 And then with Command + J (MAC book), I duplicate two times and name them, image 2, image 3. 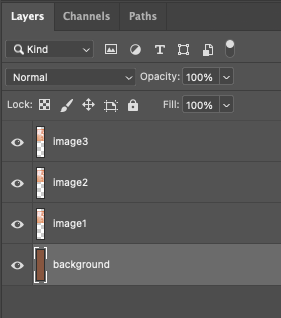
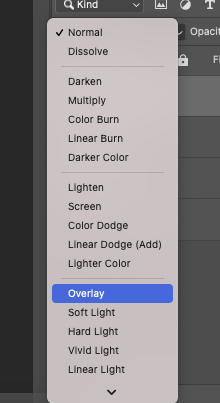
 After that, I wrote the text as follow as below. 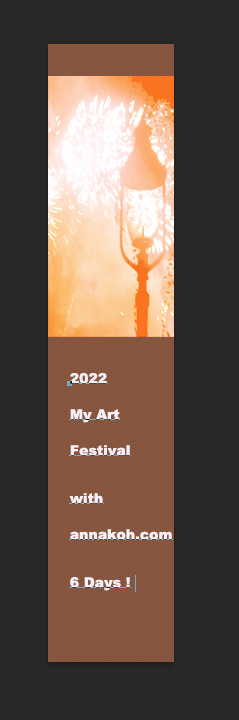 I also duplicated the text for changing the color and effect. 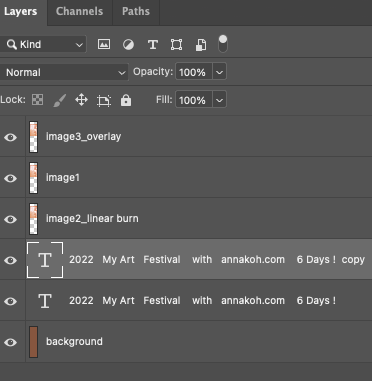 Select the copied text layer and go to blending options to change it. 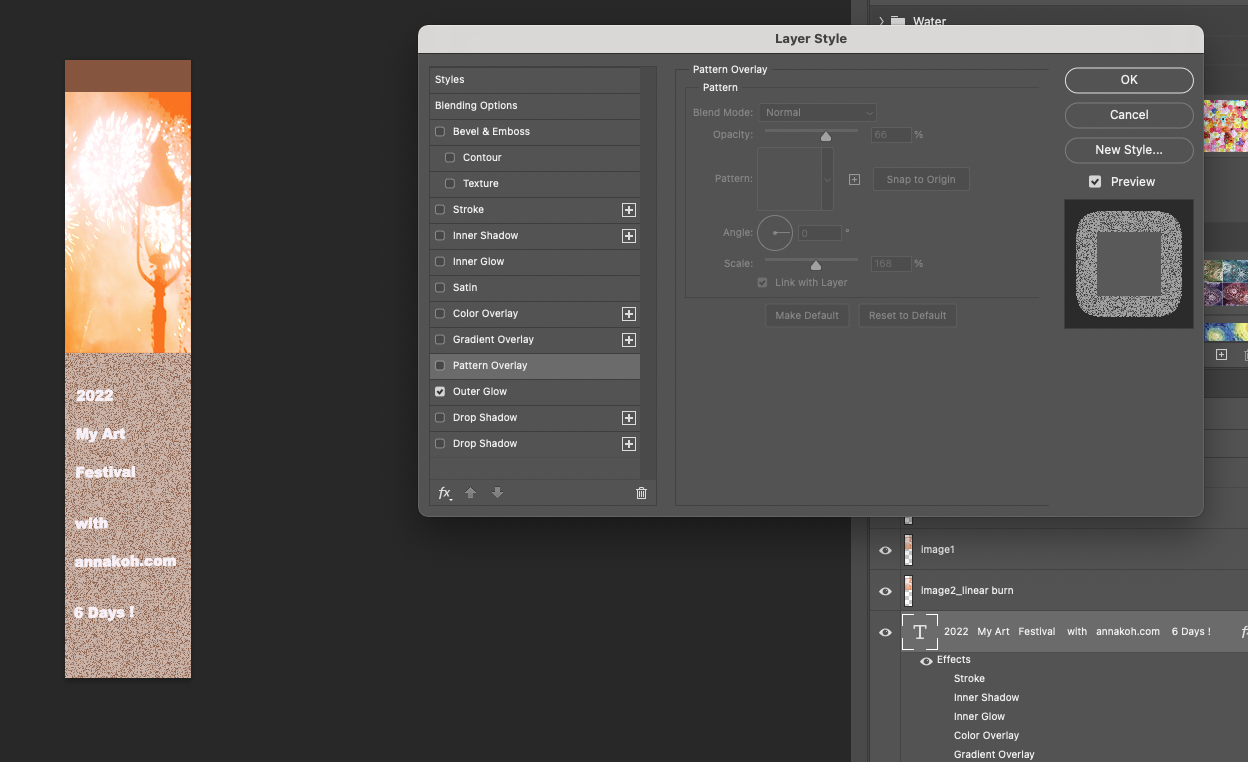 Adjust with Outer Glow and color the text from white to hot pink with Satin mode as follow as below. 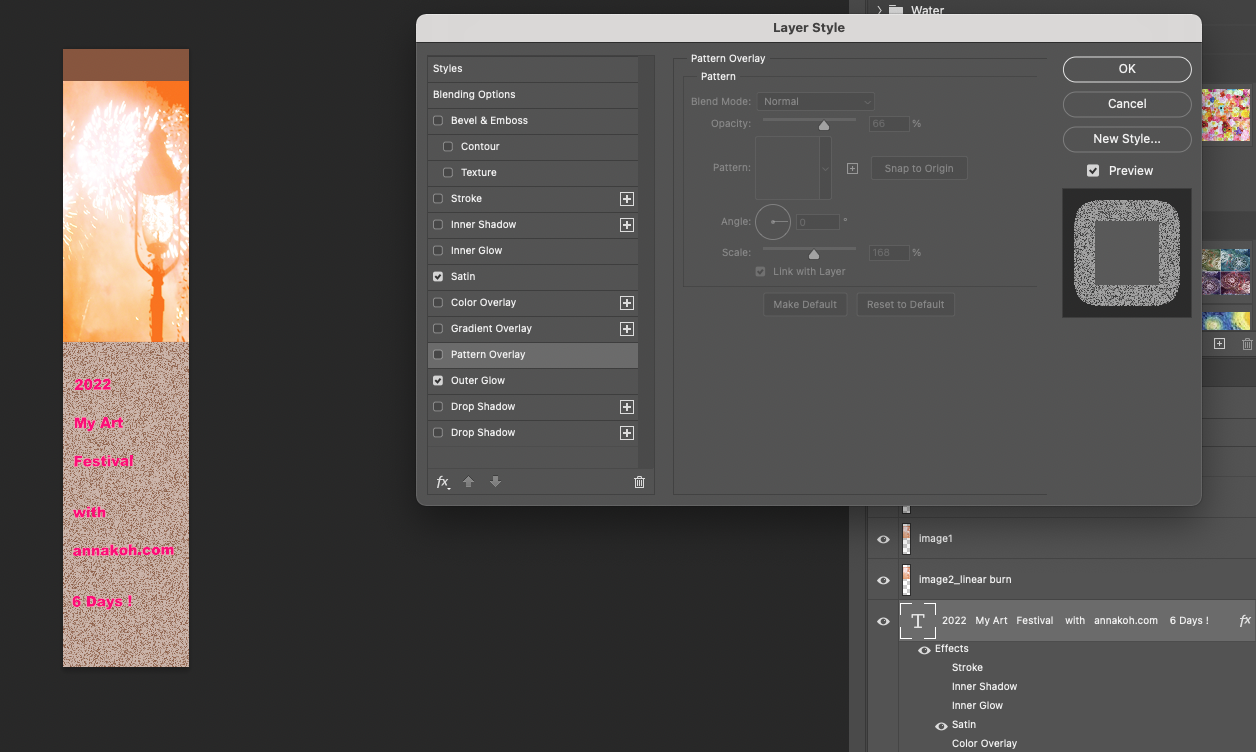 Also, I wote a more text on the bottom of the long shaped banner. 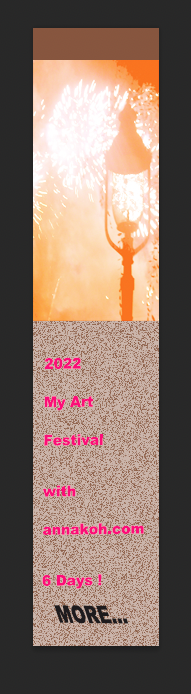 For the effect of firework, I copied some part of fireworks, and then created a new layer to paste it.  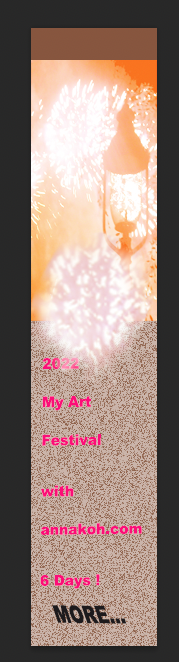 For making moving gif file, you have to turn off the eye shaped icon (next to each layer) except for showing the default like below. 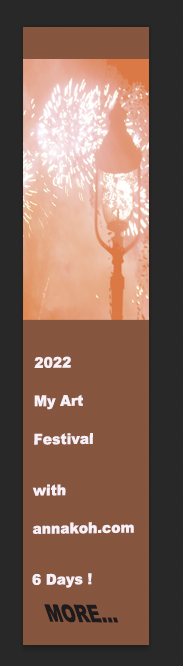 Next, go to Window ---> Timeline. 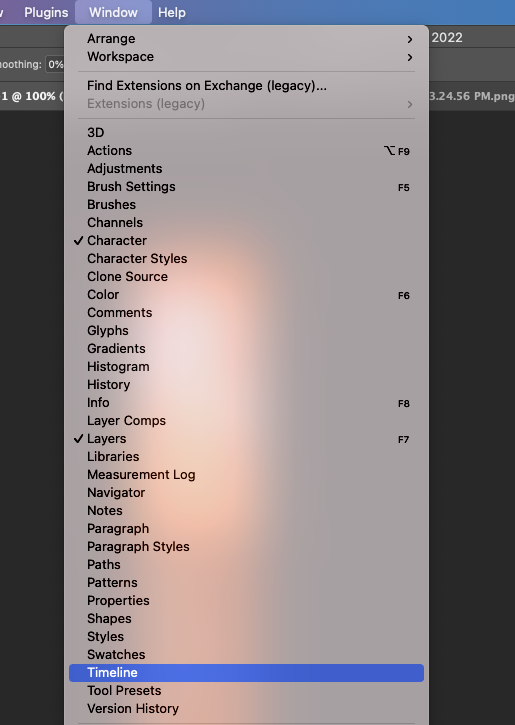 And then you can find the workspace for Frame animation. If you select the Create Frame Animation and click it double.  If your workspace changes like below, you have to click plus icon 8 times for making each frame work. 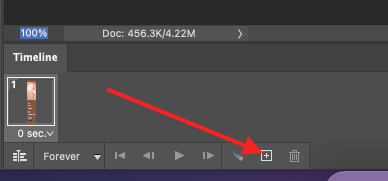 And You can see the below result. 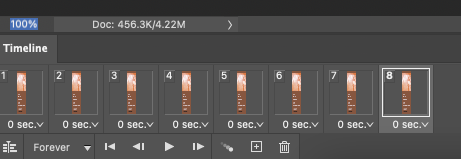 For efficient work, I changed each time at this time. 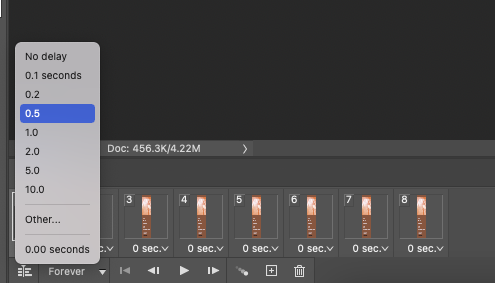 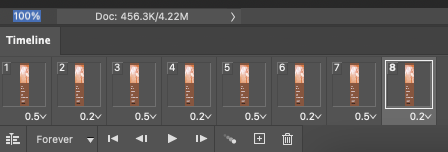 After changing the time, return to the first frame. Select the frame, and click the related layer with turn on or off the eye shaped icon on the layer panel of right side. 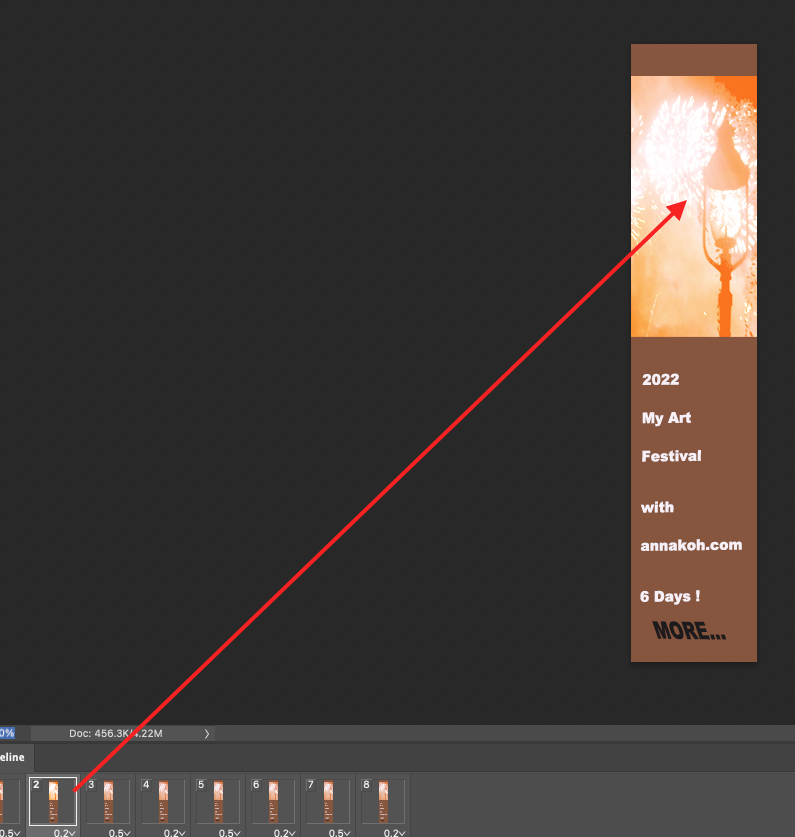 Lke below, I set the event per a frame with turn on or off the related layers. 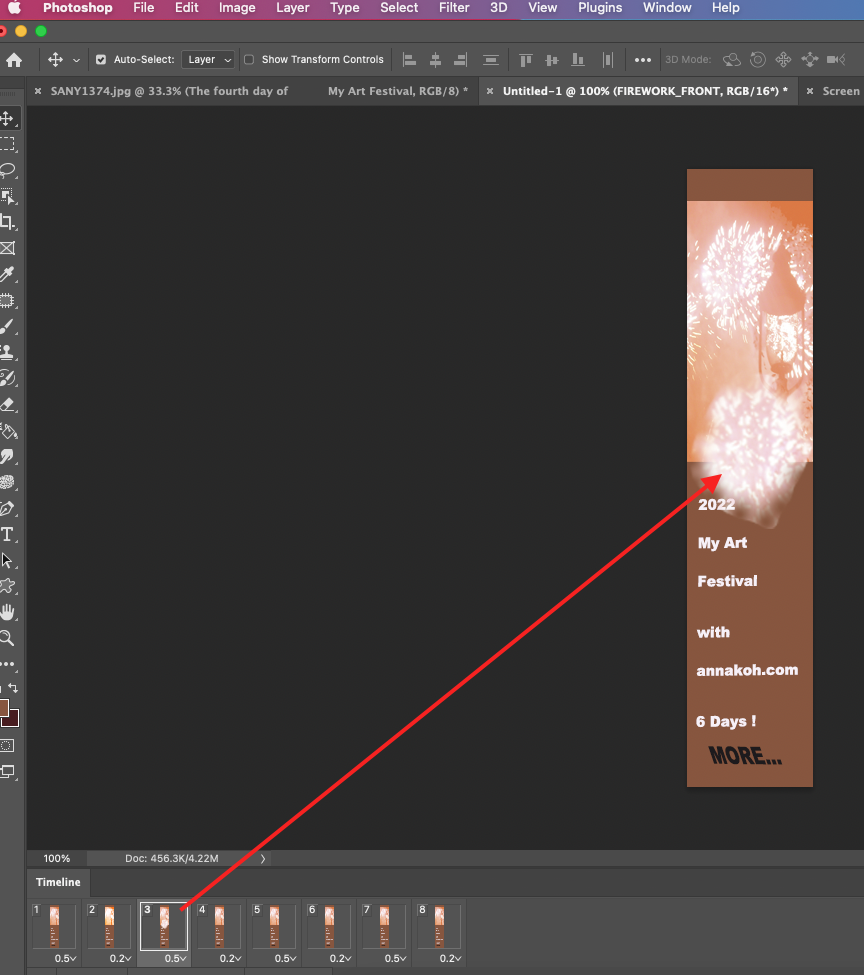 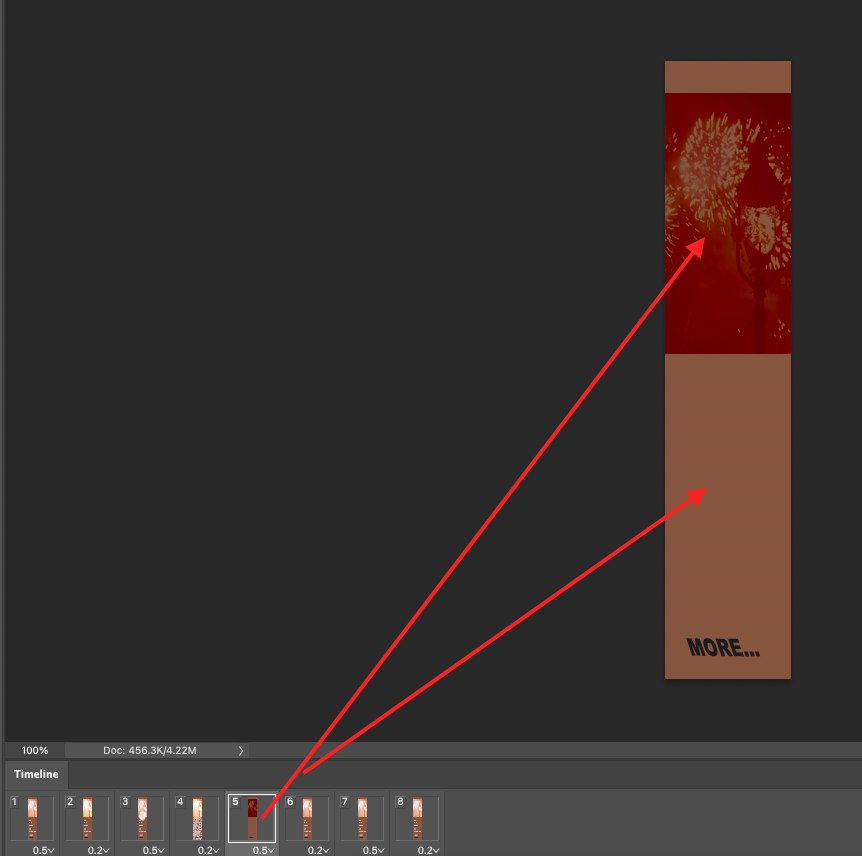 For saving as moving gif file, go to File---> Export---> Save for Web. 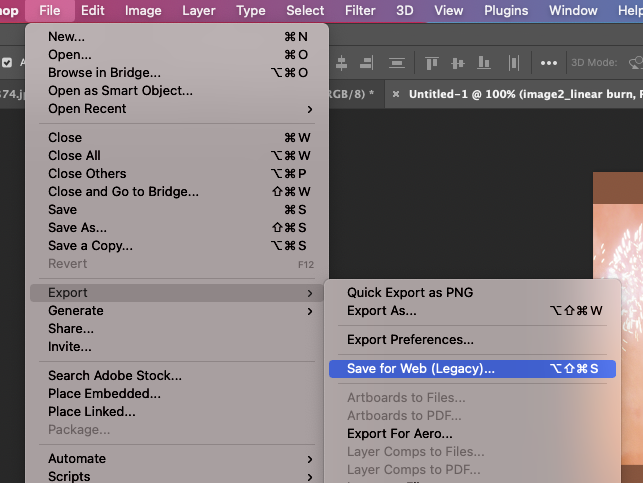 Click the Gif type and save button on the bottom. 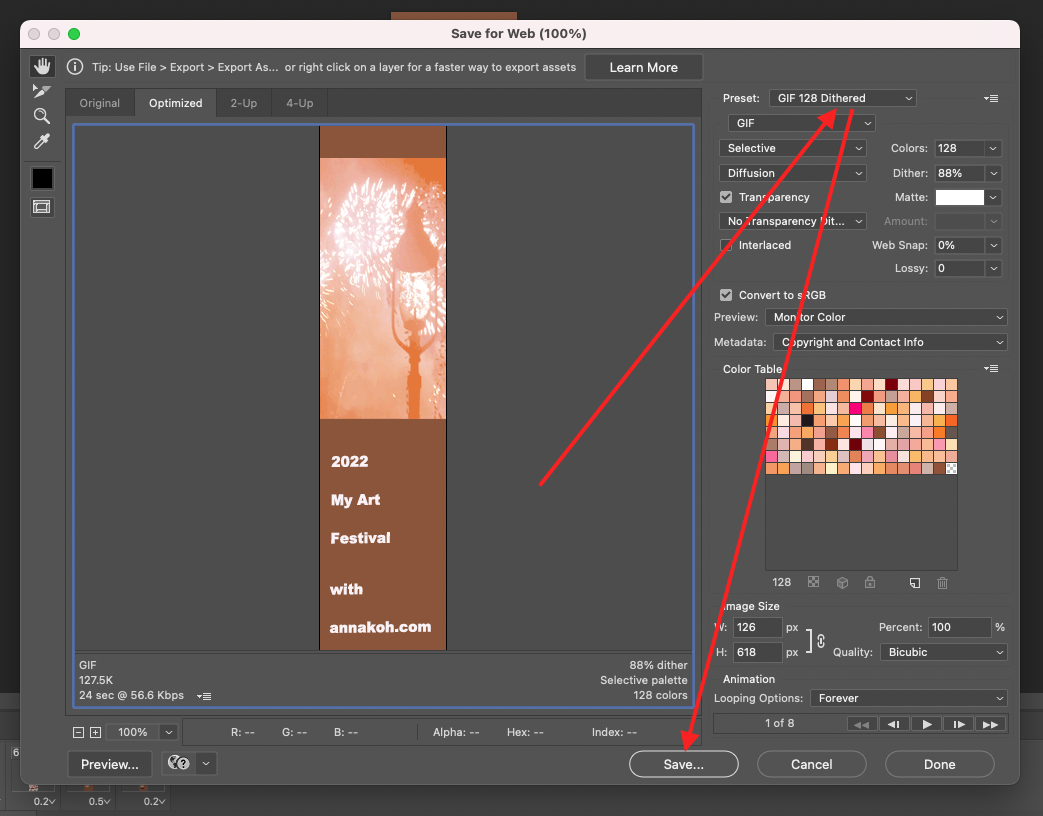 Make sure your output and enjoy showing the moving event banner! 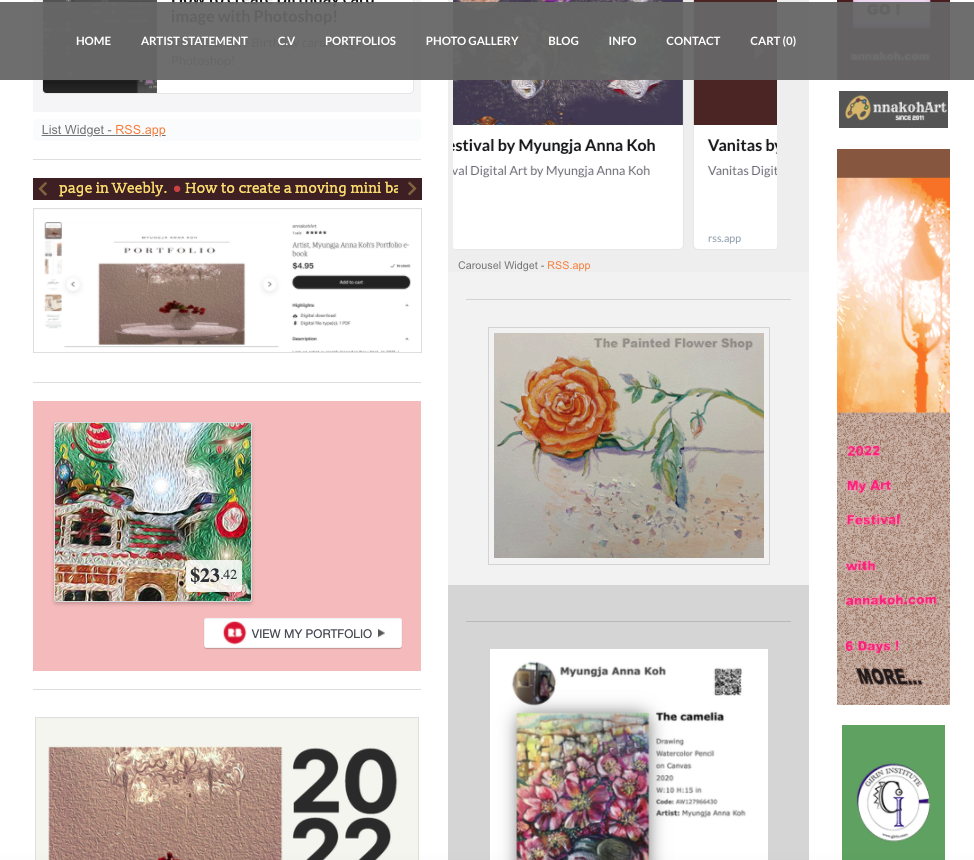 How to display multi posts on one page in Weebly. Today, I would like to share how to show Weebly's 20-page post on one screen. As a blog editor, Weebly has the advantage that anyone can easily create a great blog because there is no complicated coding knowledge due to drag-and-drop elements. I also like this feature. However, there is no pagination in other blog editors, that is, a function to easily show, search, or sort blog posts at a glance. At this time, many users seem to turn to third-party editors even though it has many advantages. I have been using Weebly for a long time and plan to continue using it if possible. So, how can we cover these shortcomings and use them? Recently, I made the following page in that sense. 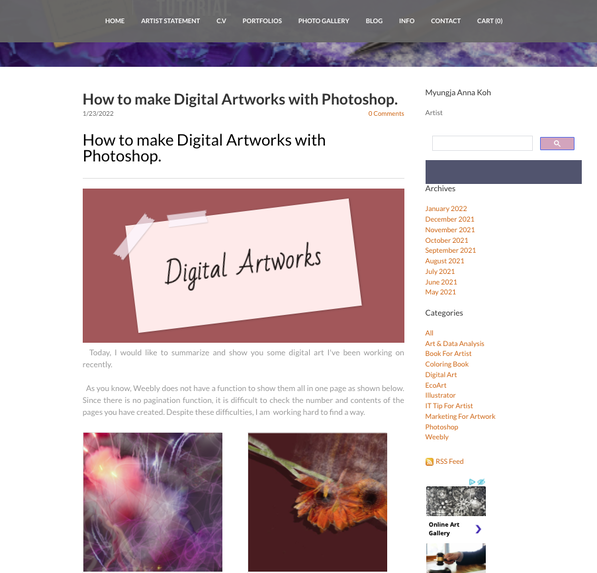 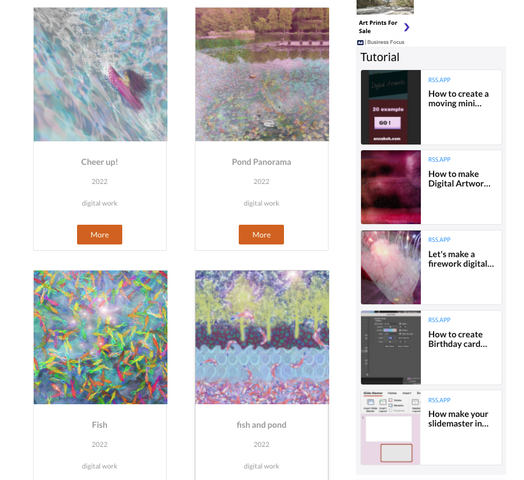 In other words, I wanted to show you on one page by organizing digital creations among the materials previously collected in Photoshop courses. All in all, it's about 20 pages long. Since Weebly does not have a function other than the category function, I made a separate page as shown below. Weebly recommends using the following apps instead of pagination or page organization in Weebly.  However, most of them are paid and are not practical if they are free. So, I made the design as above. First, download the Note feature of App Center. This function is neat and good because it is used instead of the table of contents and header images. 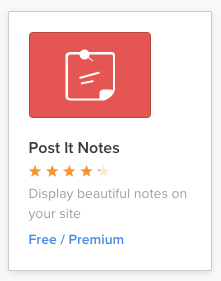 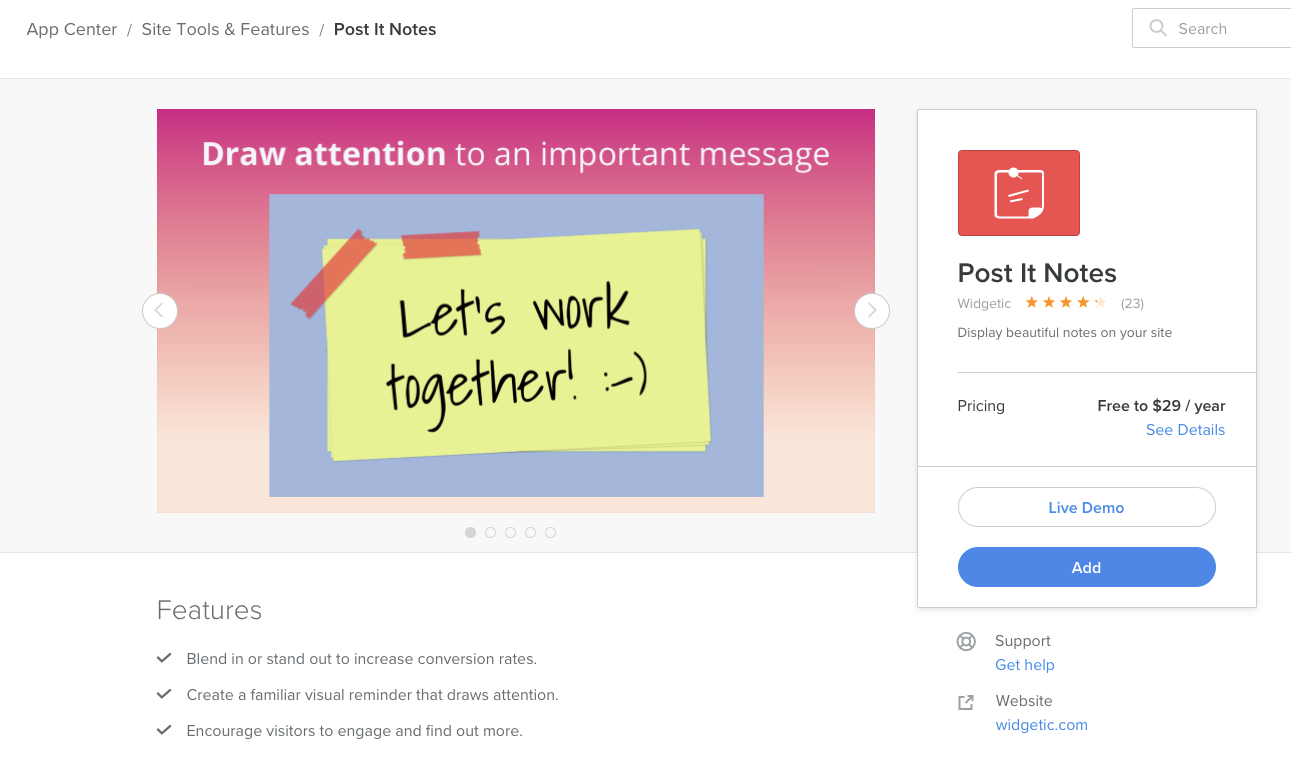 For using this app, you open the element and click the "edit" button. 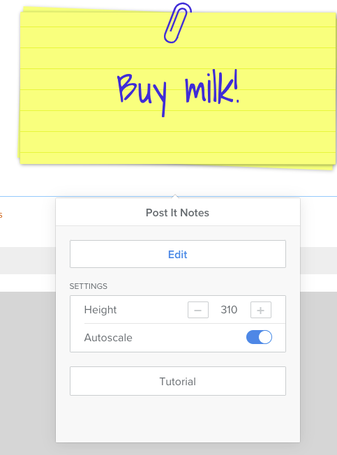 Next, choose the design.  And then, write the message and link your planned site to go. 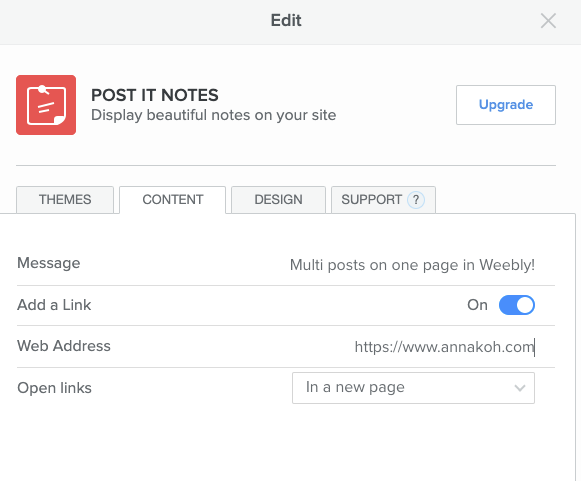 As below, you can also change the colors of background, paper and tape. 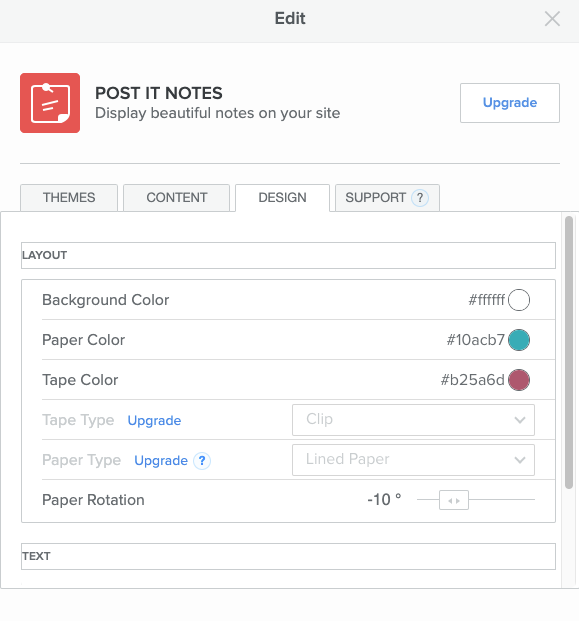 |
Myungja Anna KohArtist Categories
All
Archives
July 2024
|

|
Tutorial |


 RSS Feed