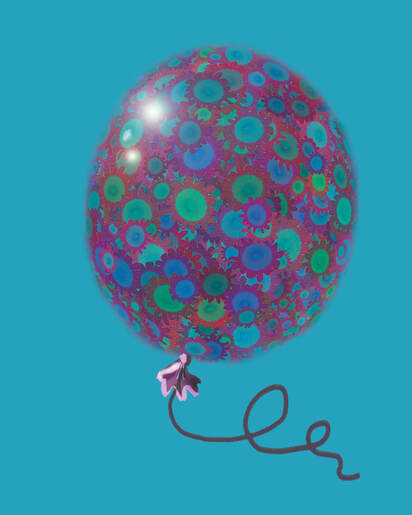
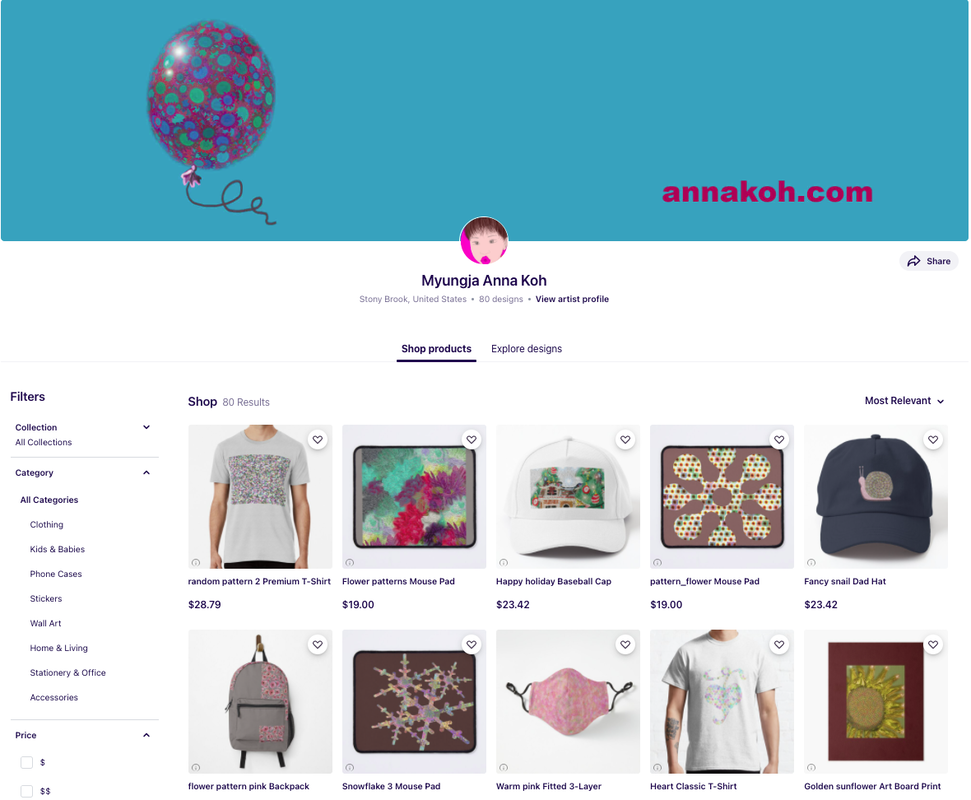
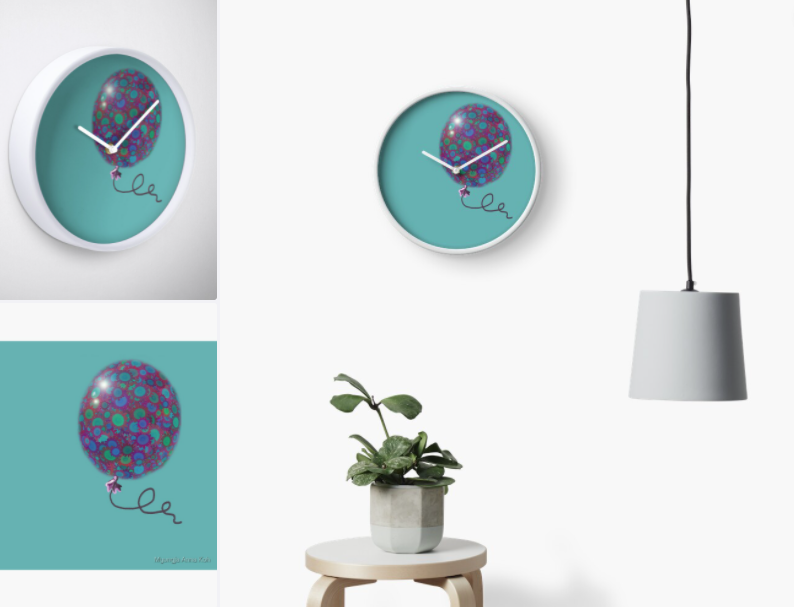
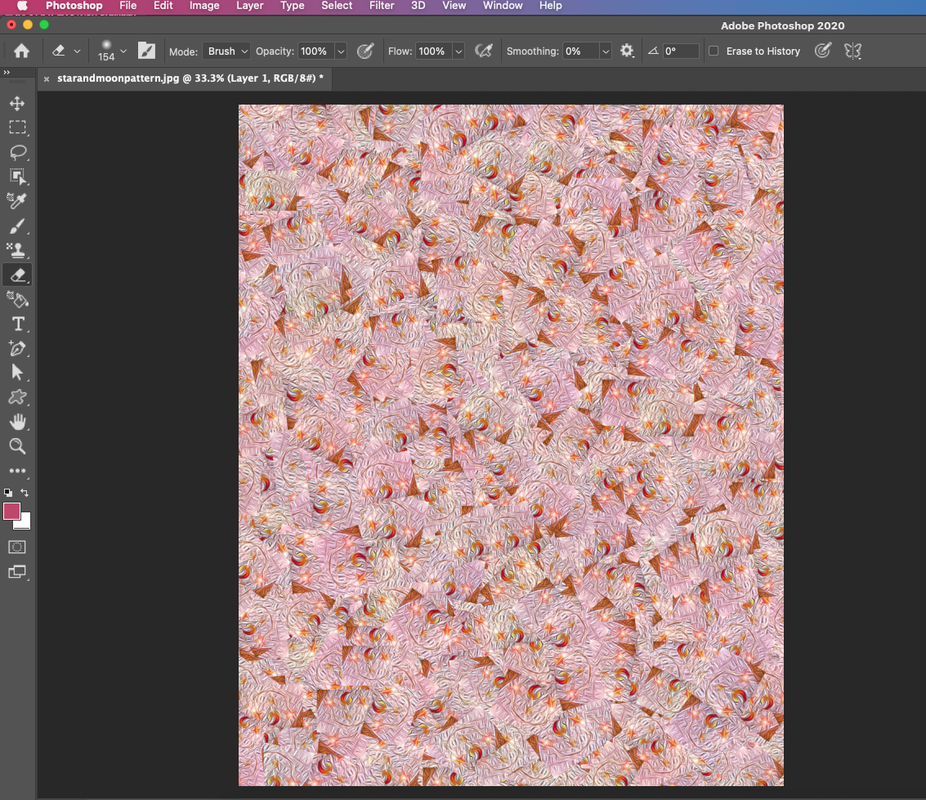
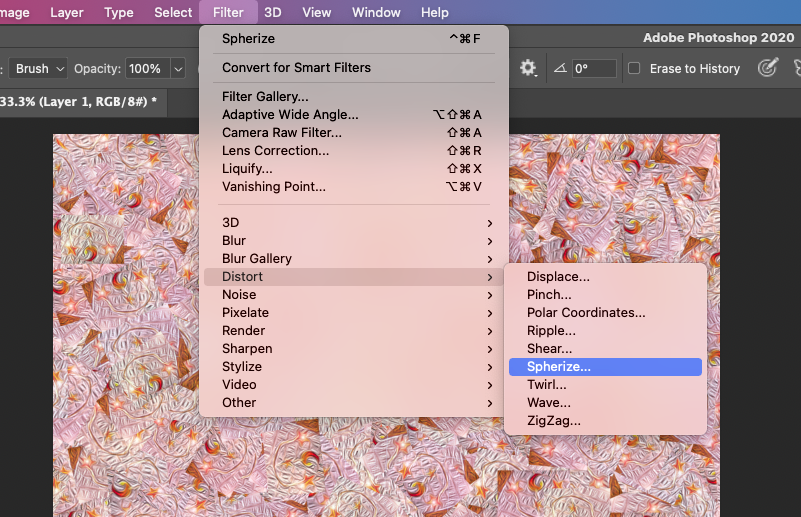
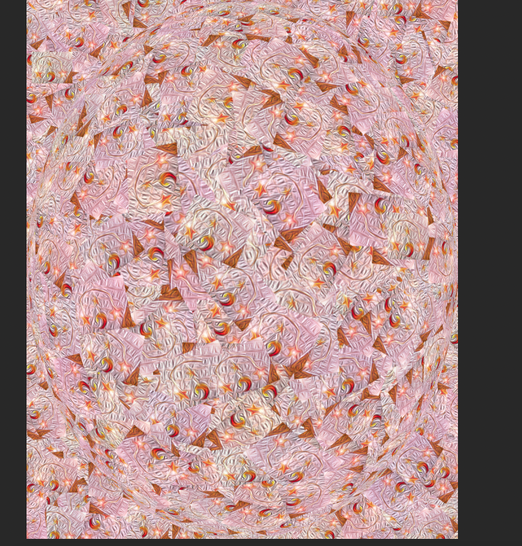
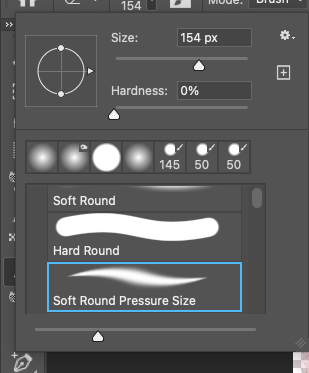
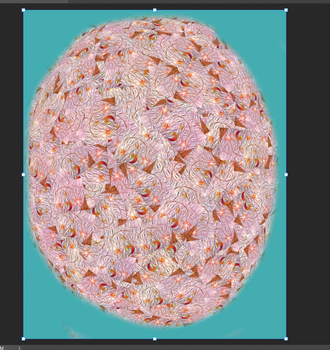
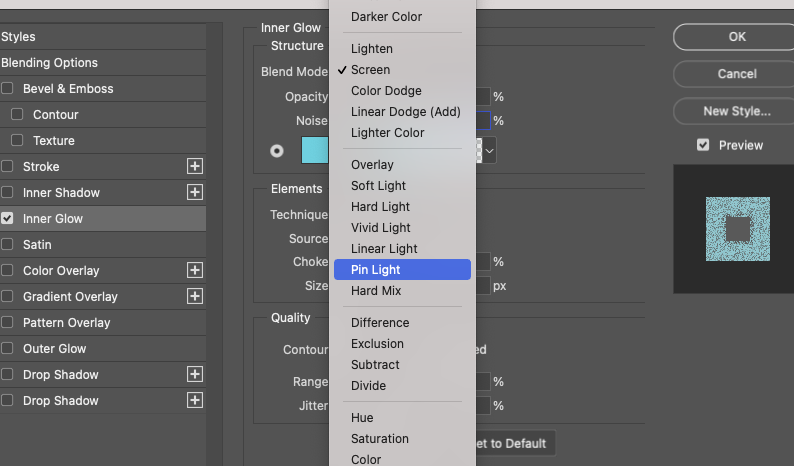
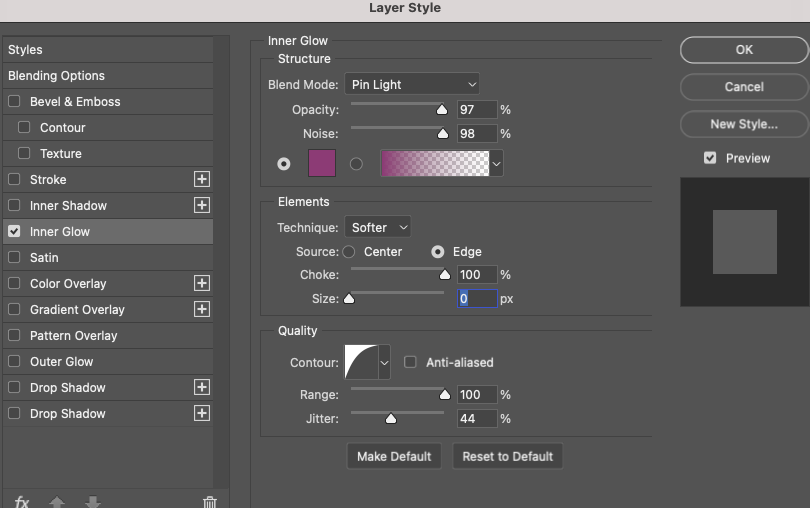
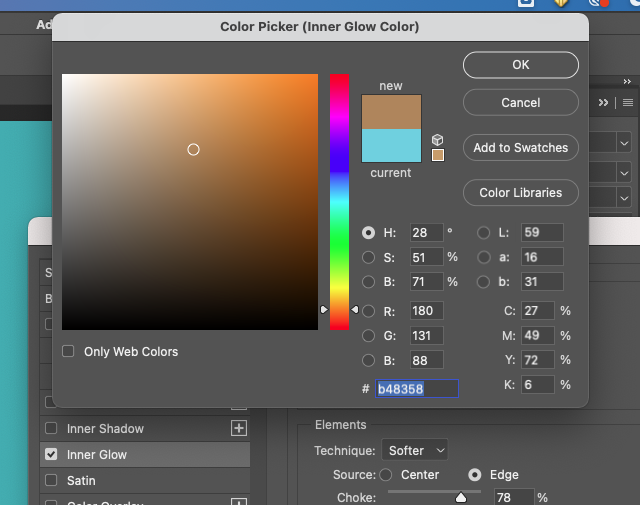
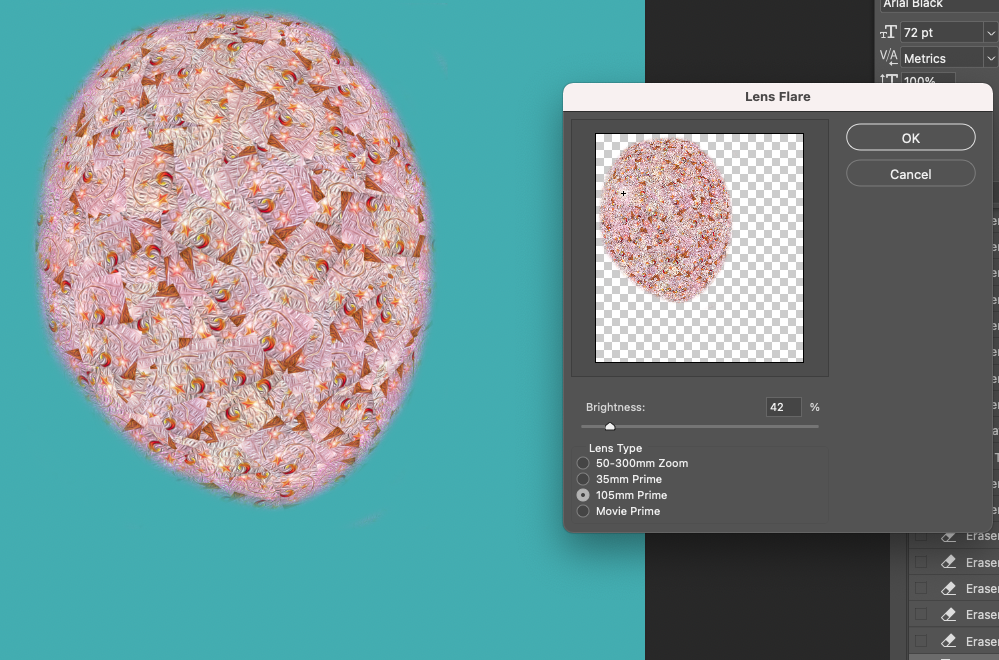
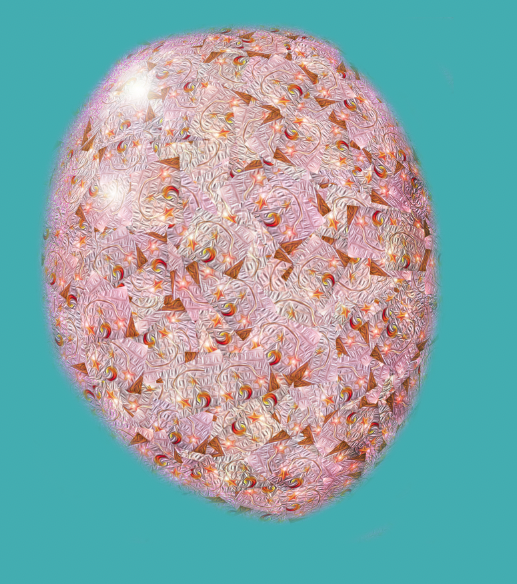
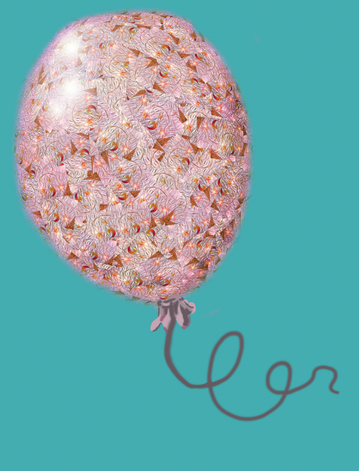
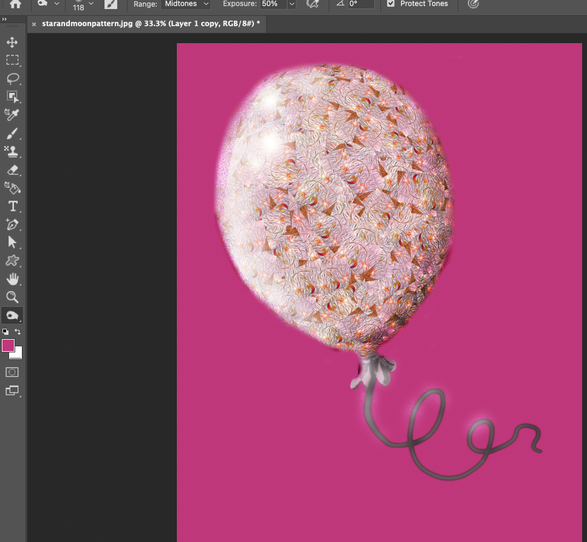
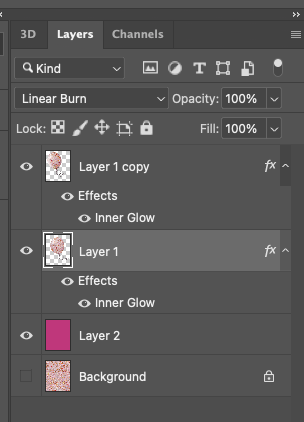
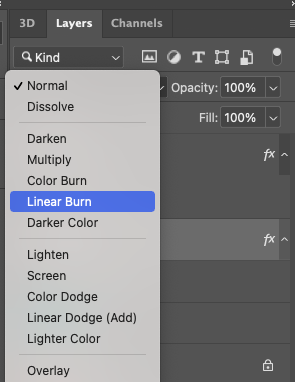
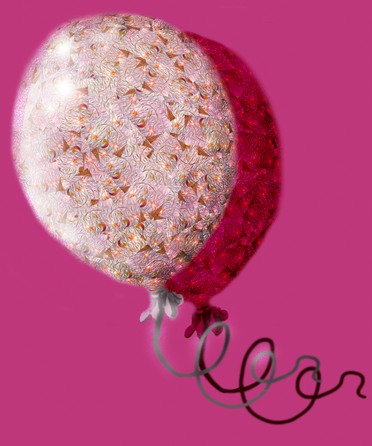
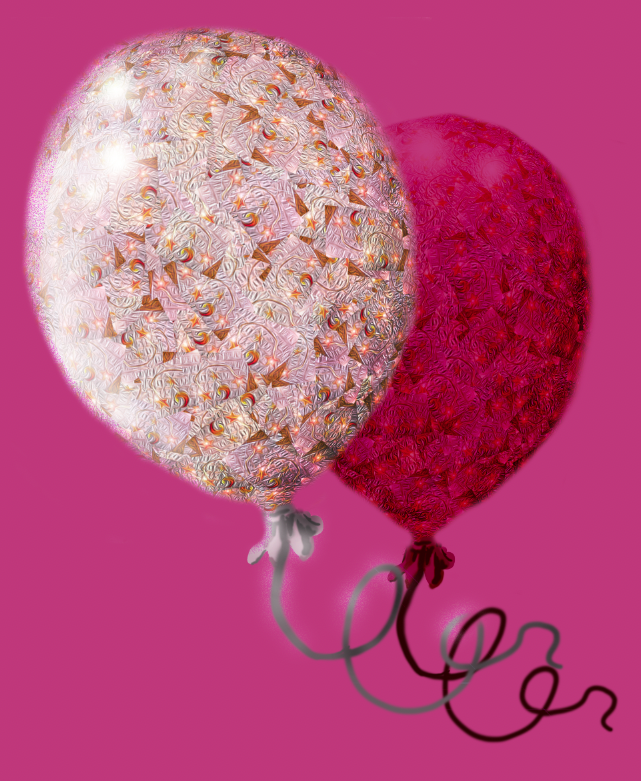
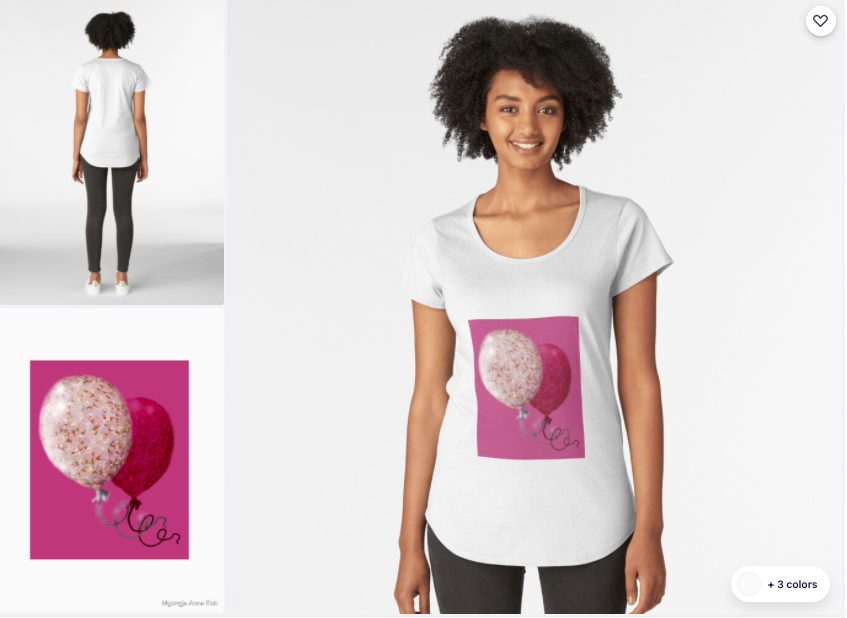
Create a Happy Balloon with Photoshop Today I am going to show you how to make a balloon in Photoshop. I made an image called Happy Balloons a while ago. I liked this image and uploaded it to the main banner of the Red Bubble site below. I made it with a few products and it's pretty good. What I like the most is the watch. Here is the related products: Today, I am going to try to make another Happy Balloon with a different image. First, I loaded the image below. And then you go to Filter--> Distort---> Spherize for forming a three-dimensional shape. You can see the result after applying the spherize function of distort like above, and then use the eraser tool for pick up the balloon line. Below is about the mode of Eraser. tool for removing the outline naturally. And then apply the blending options for the balloon image after click the layer. After applying the above blending options, and go to the Filter---> Render---> Lens Flare. And then draw the mouth and string of the balloon. Next, for three-dimensional appearance, I used the burn tool like below. Draw the dark side of the right with the tool. And then copy the layer with Ctrl + J like below. And then You have to change the mode of original balloon with Linear Burn. With Move tool, you pick the image, which is changed the red one, and then move slightly on the right side. Here is the output, I made it for a product in Redbubble site. Comments are closed.
|
Myungja Anna KohArtist Categories
All
Archives
July 2024
|
Proudly powered by Weebly


 RSS Feed