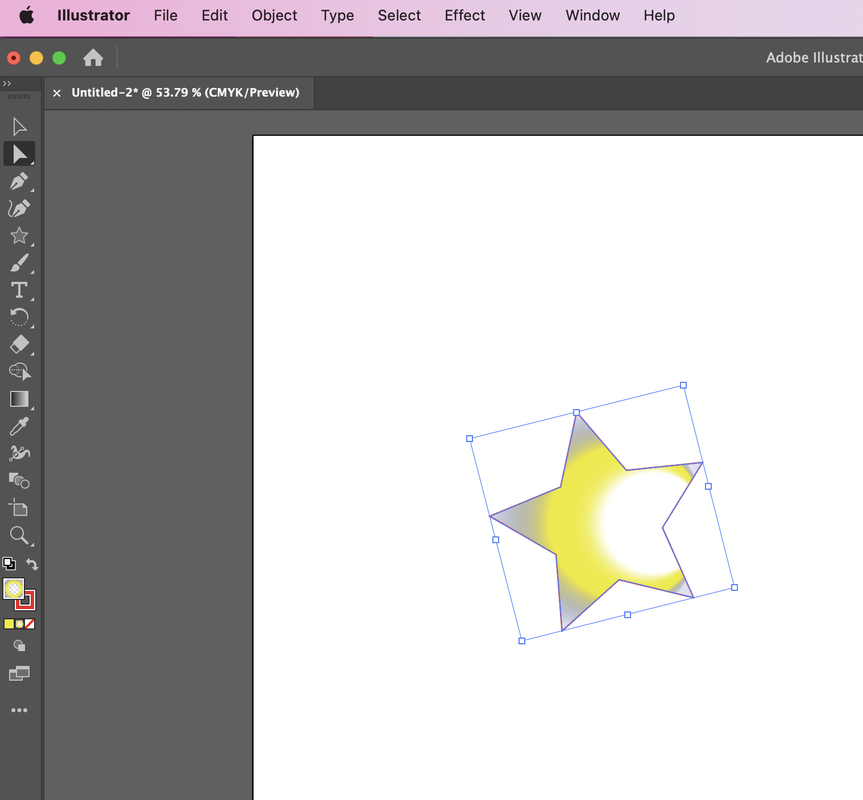
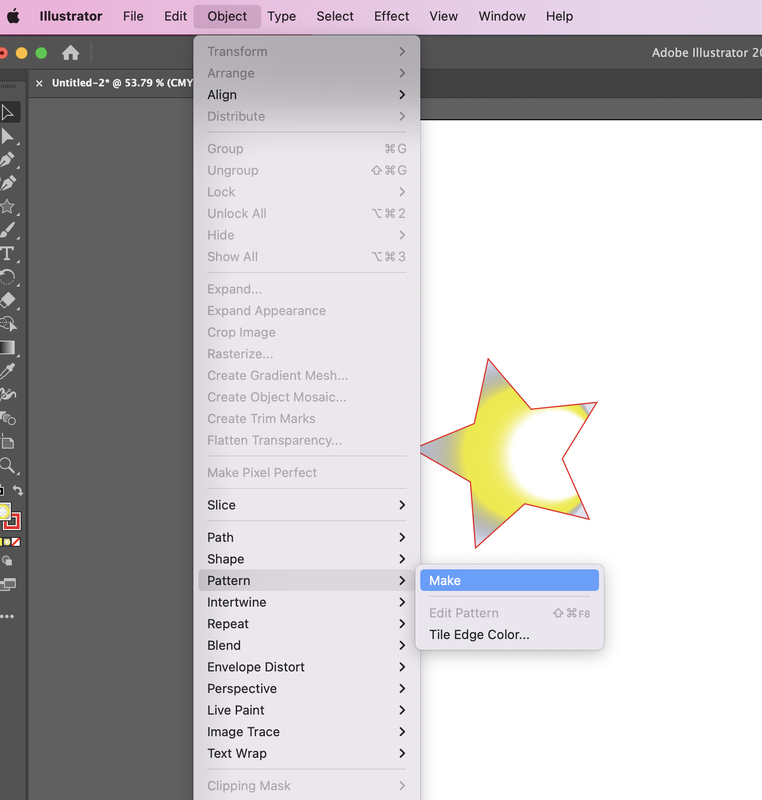
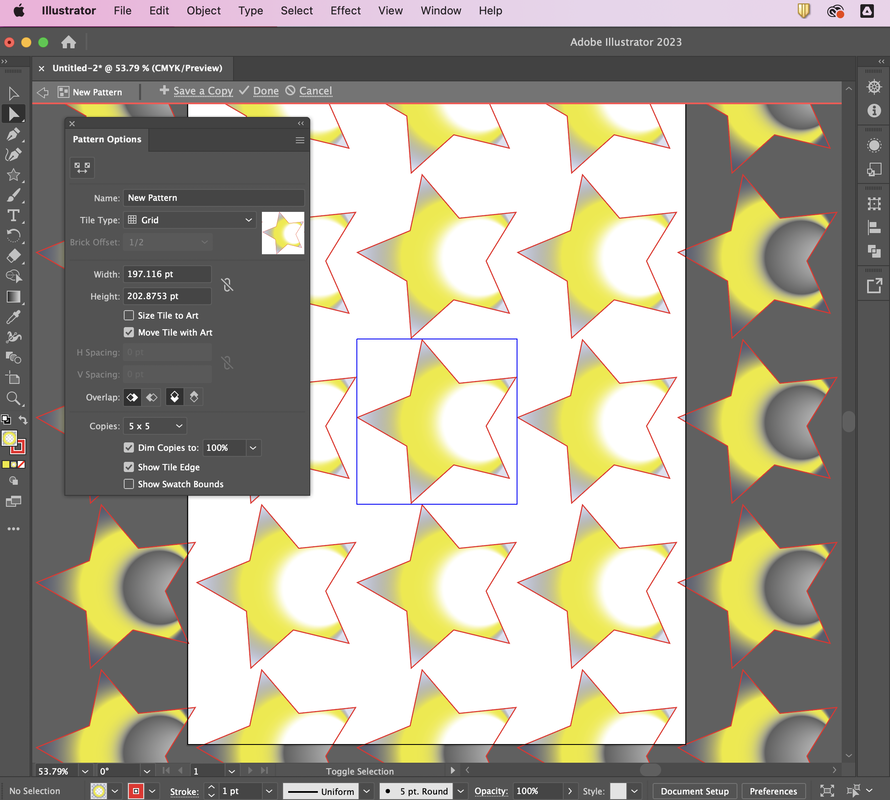
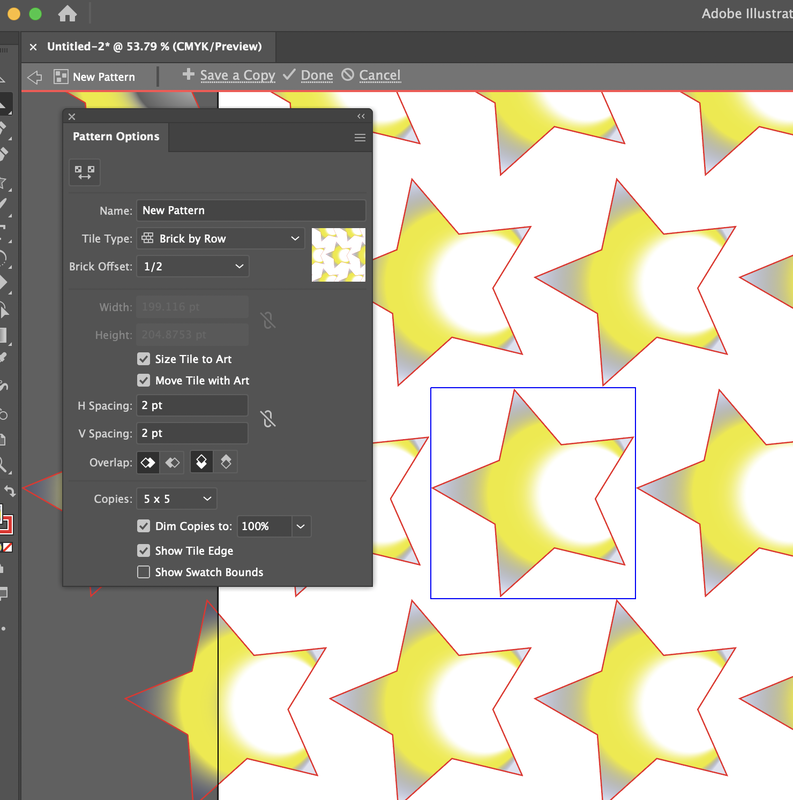
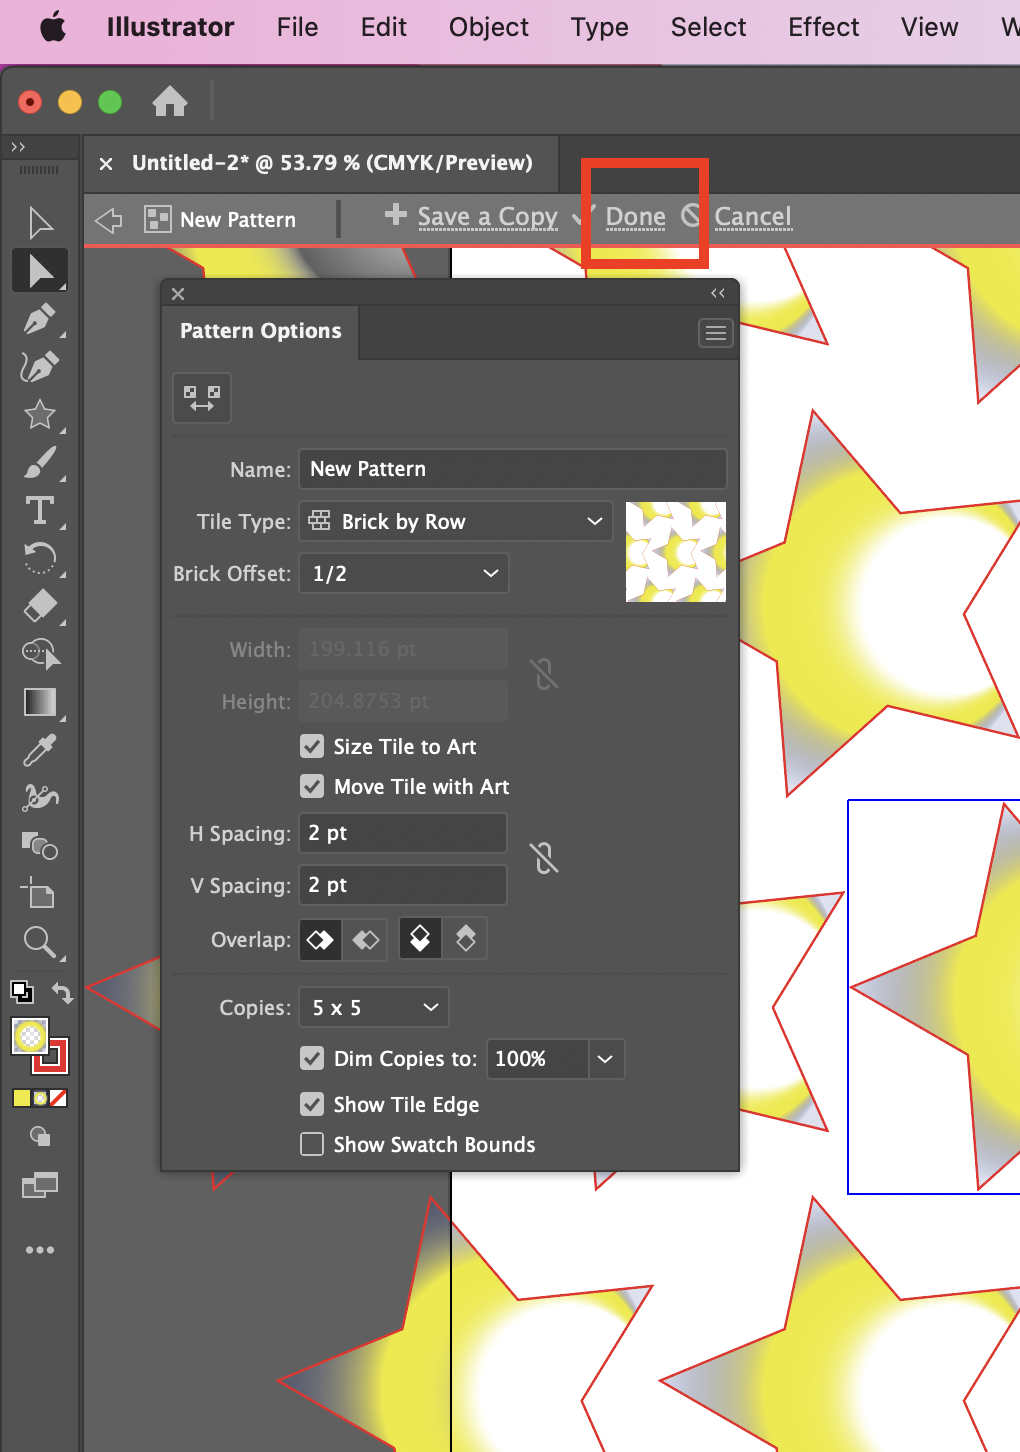
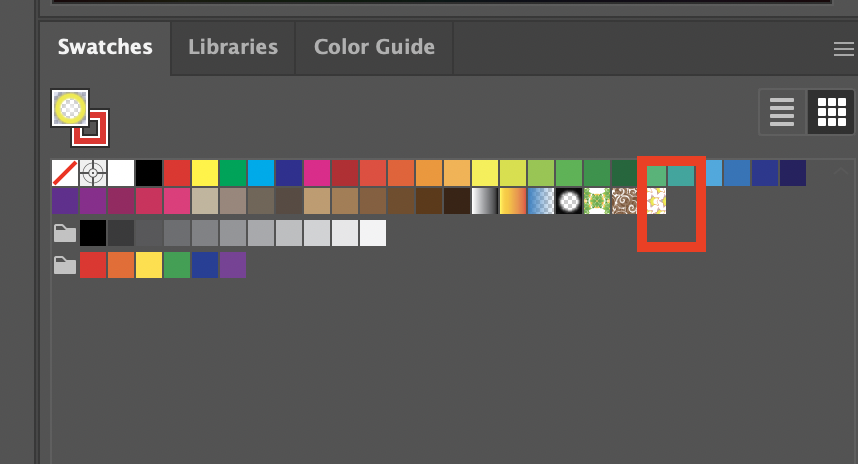
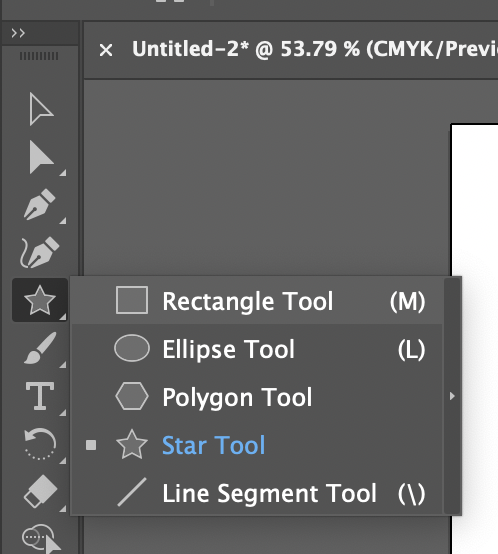
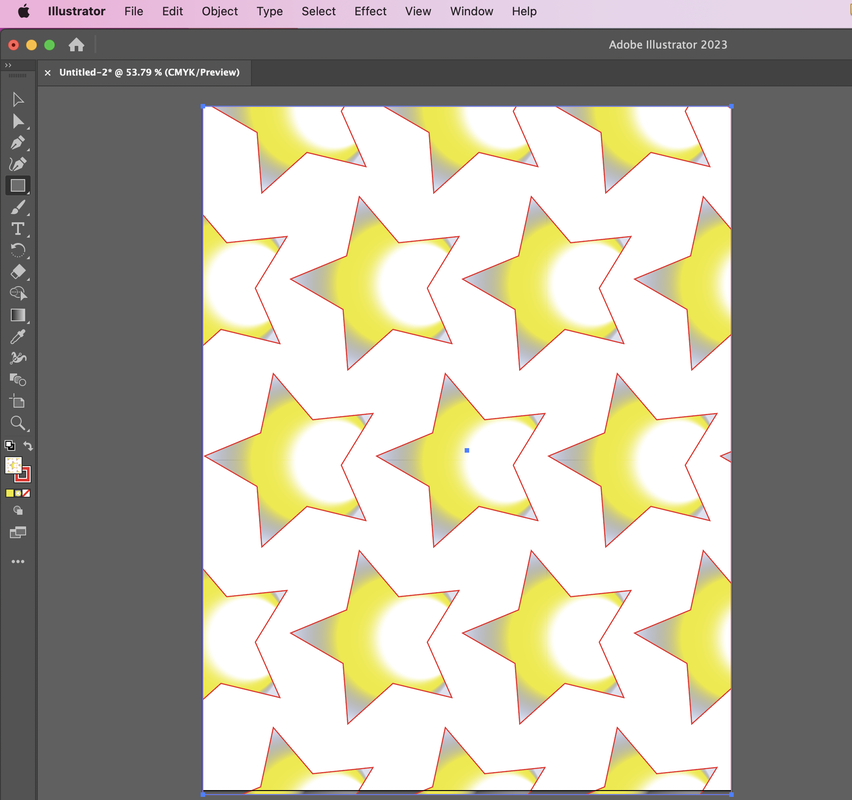
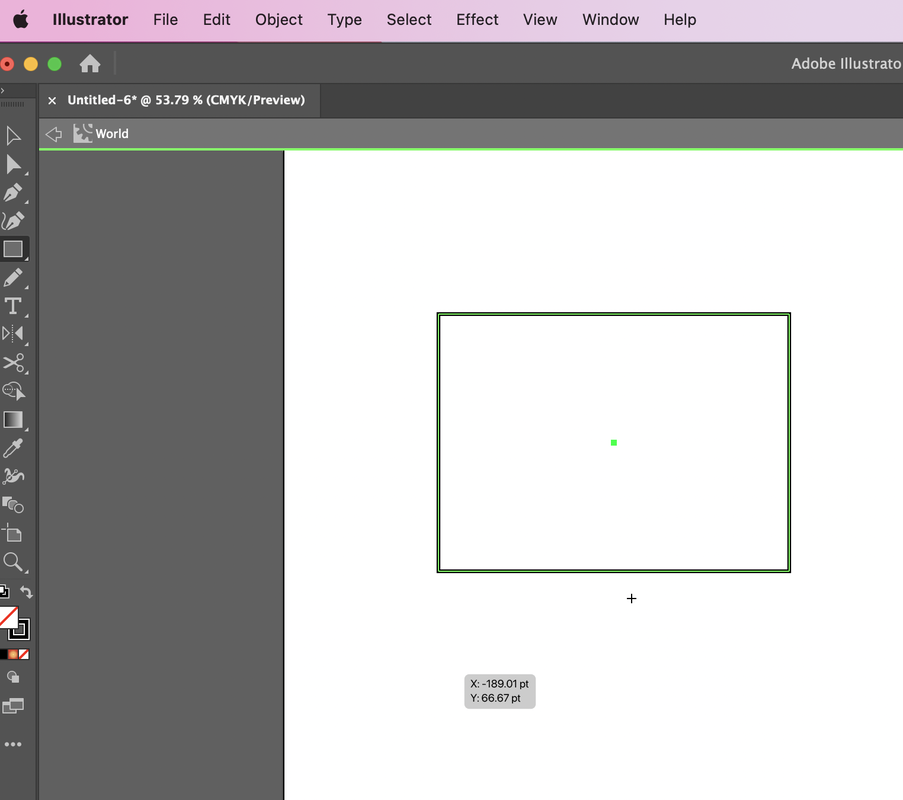
How to create a pattern with IllustratorFirst, create your own pattern like below, and select with direct selection tool. Go to Object---> Pattern---> Make. You can adjust the location, space and edit your pattern shape. After that, you have to click the 'Done' on the top of banner. Go to Swatches palette and click the pattern. And select the rectangle tool for checking your pattern. Here is your pattern sheet!
0 Comments
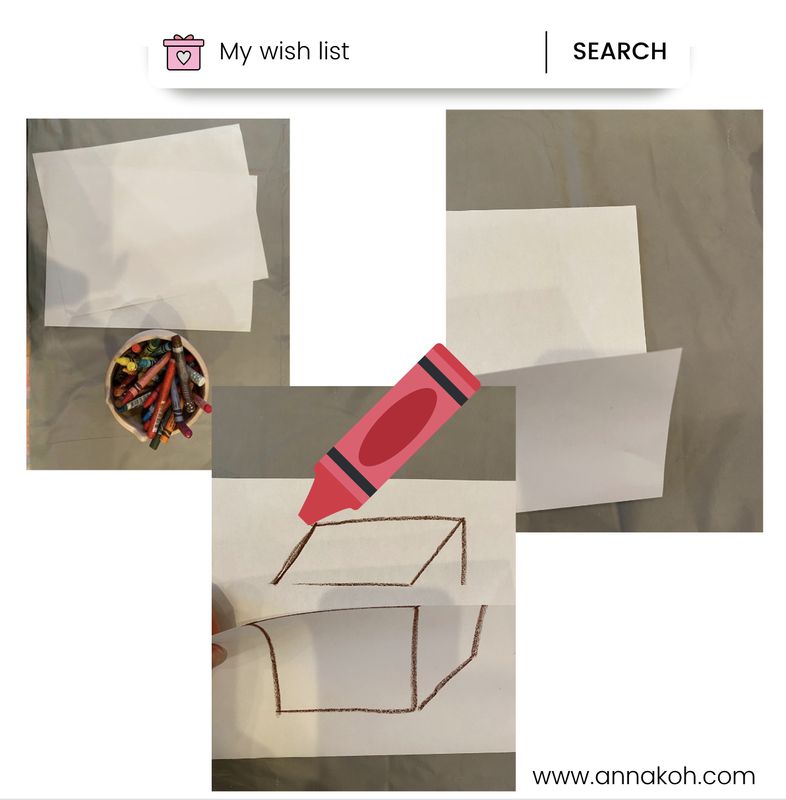
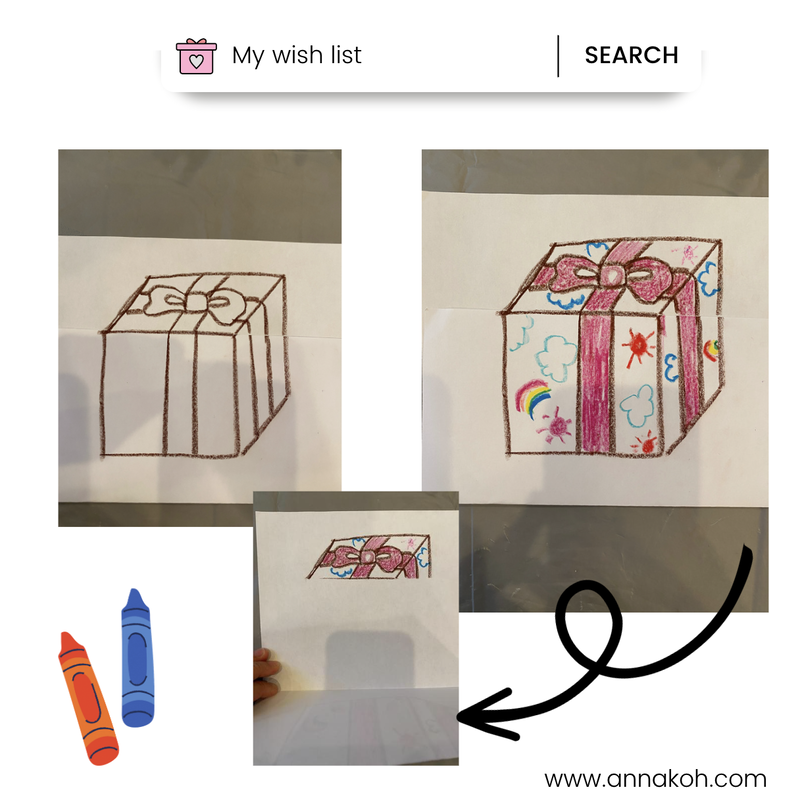
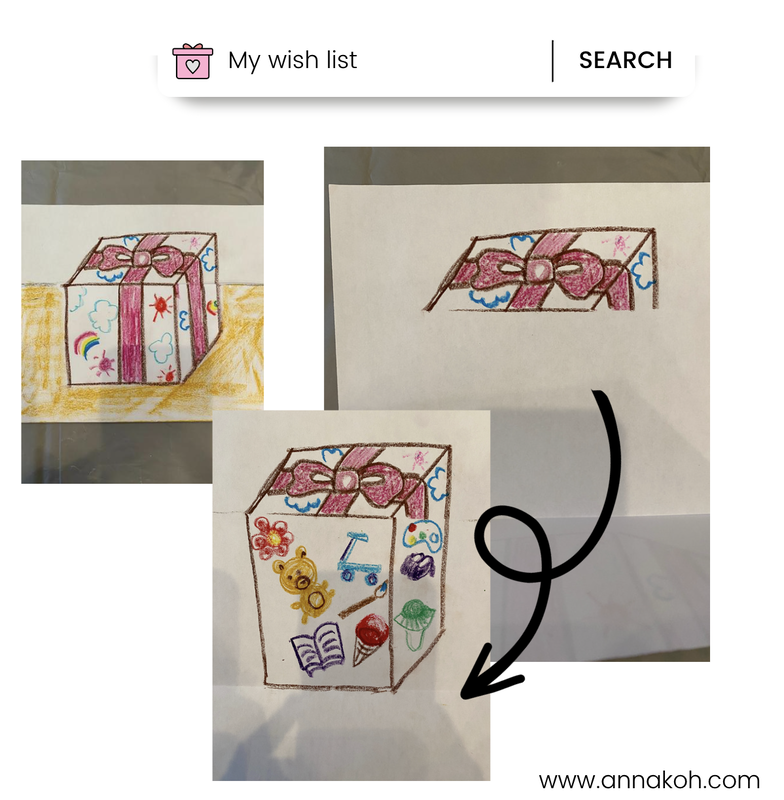
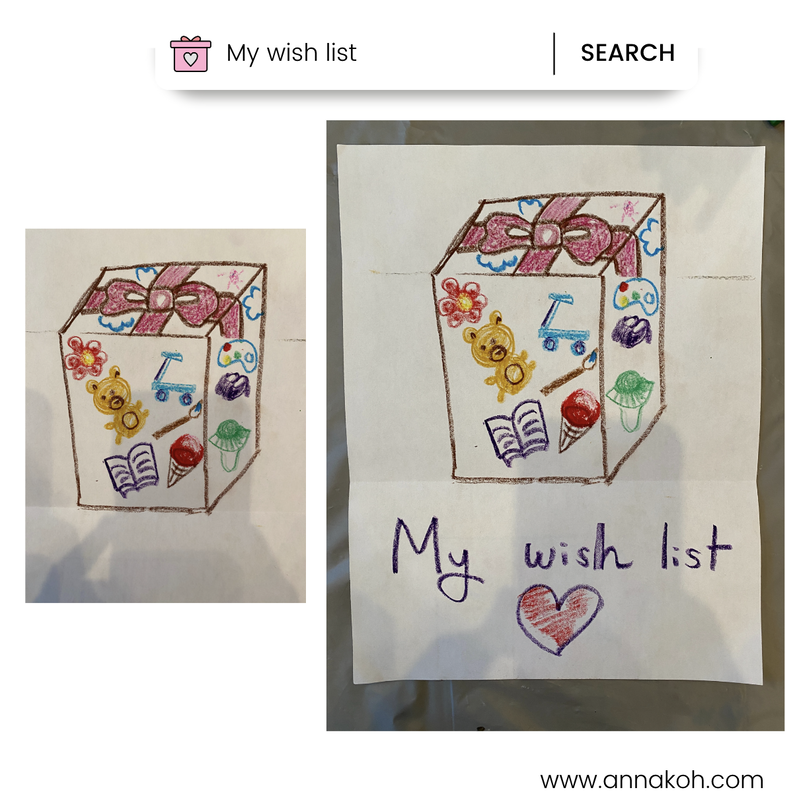
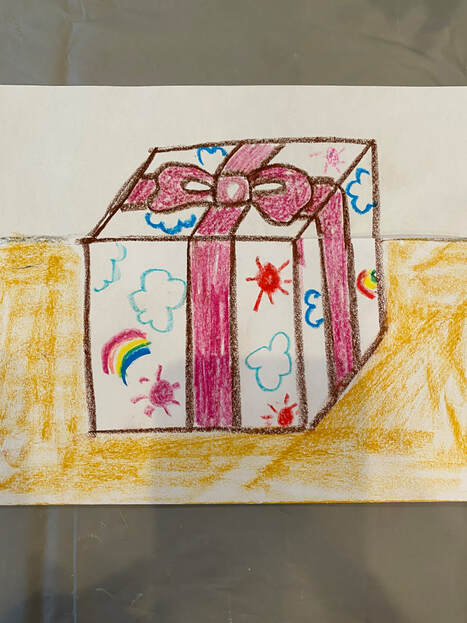
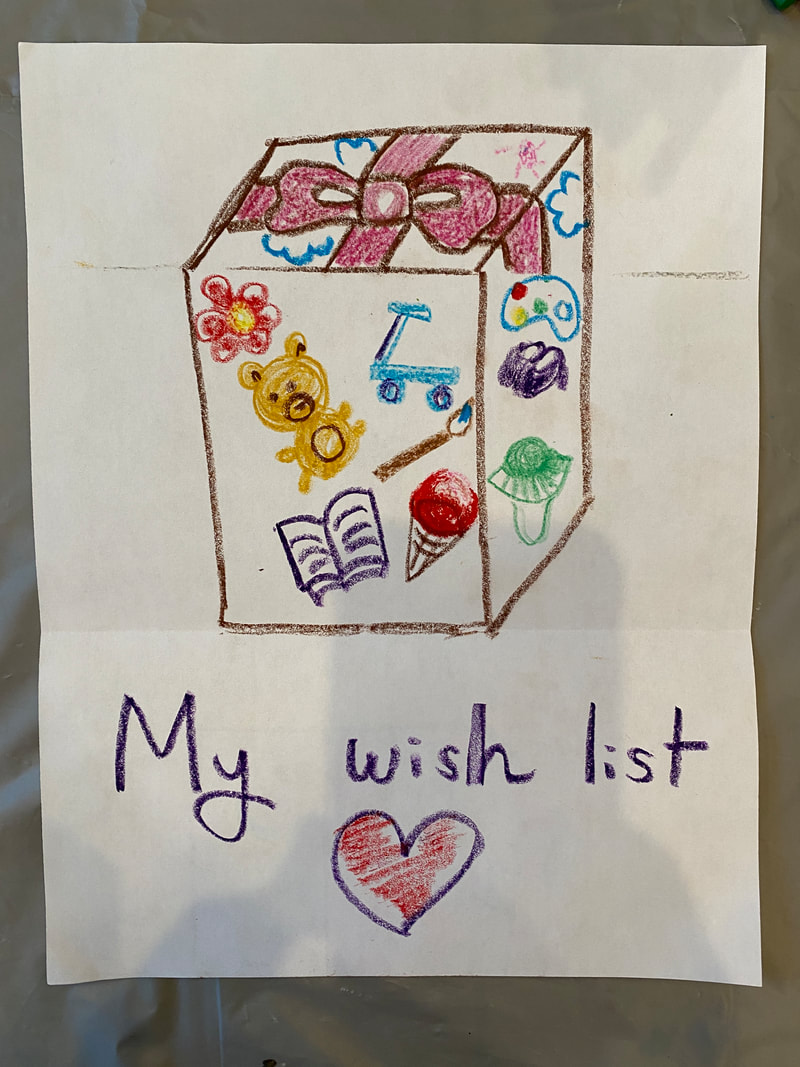
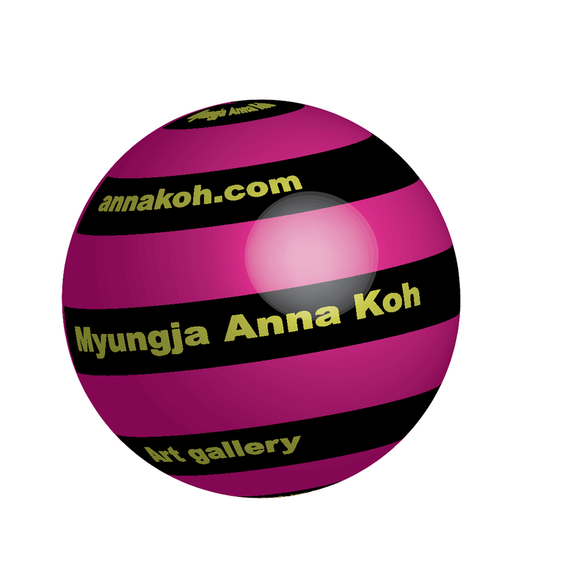
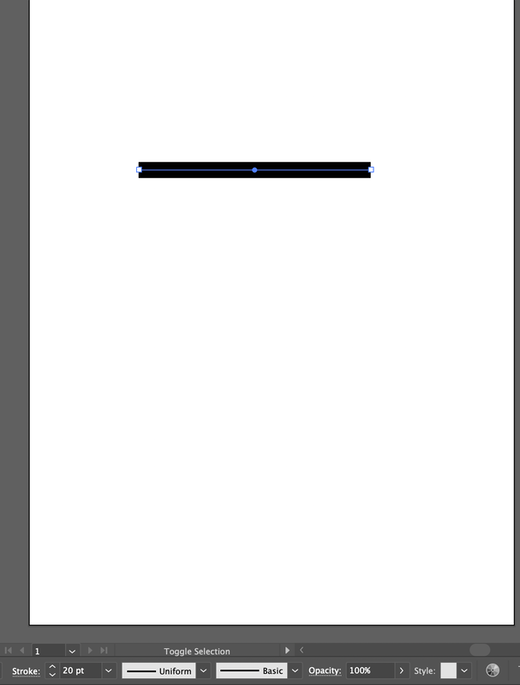
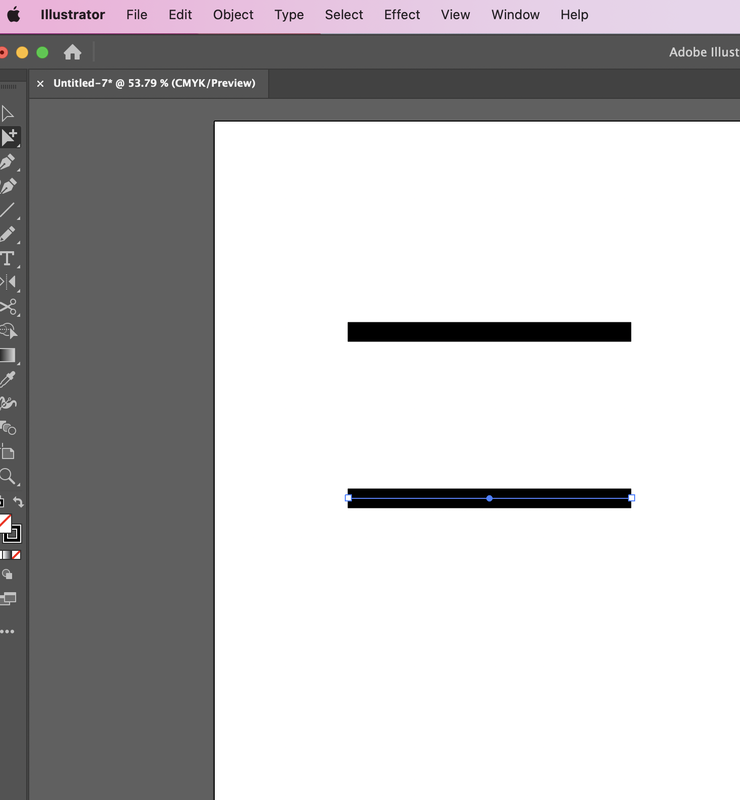
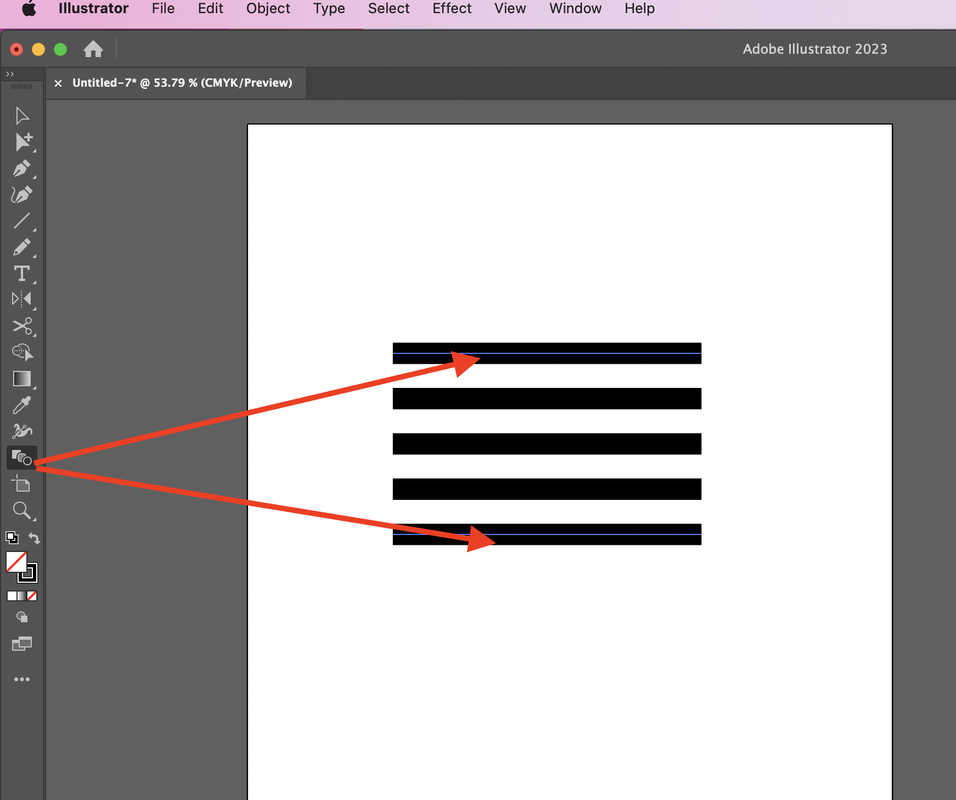
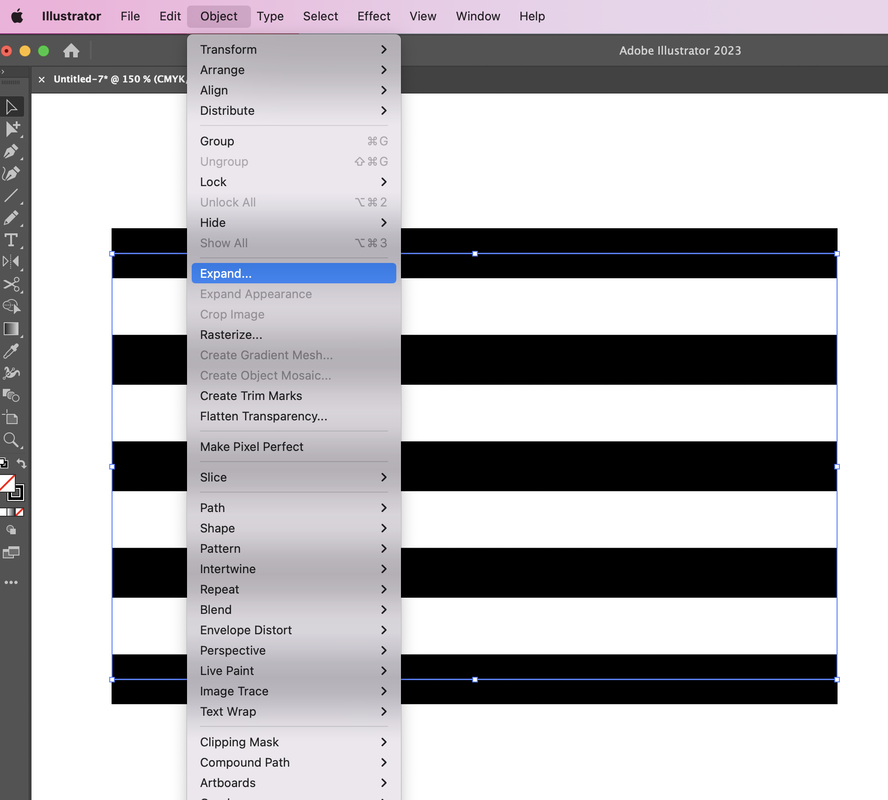
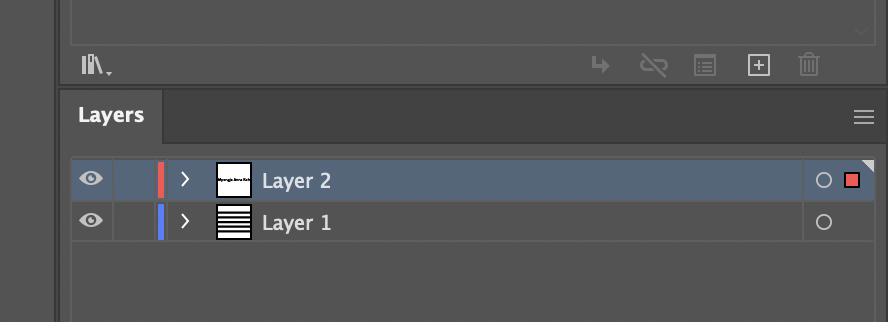
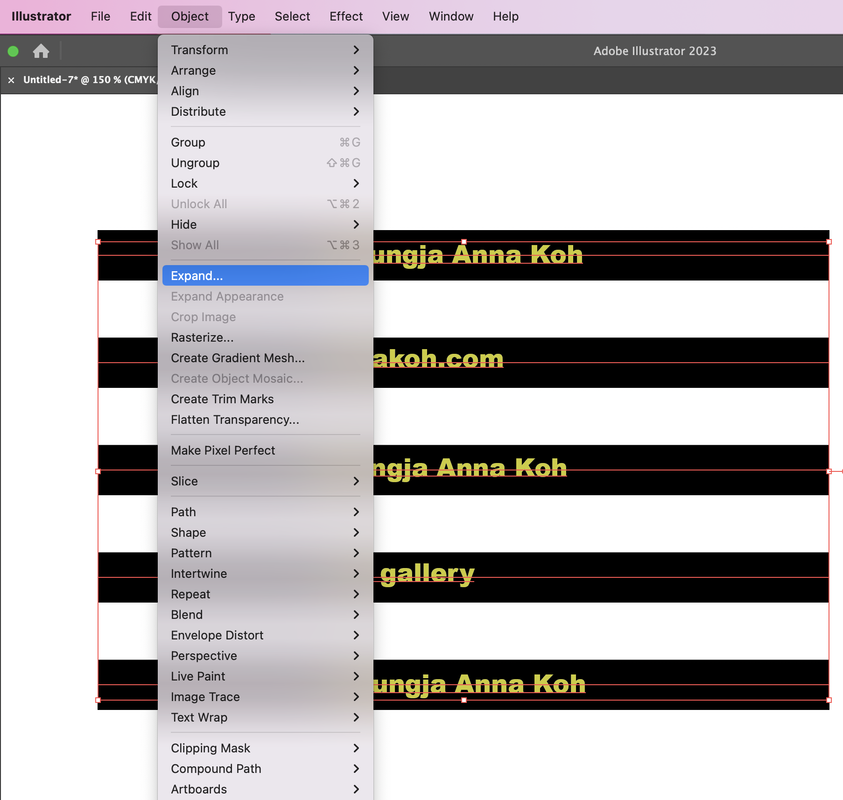
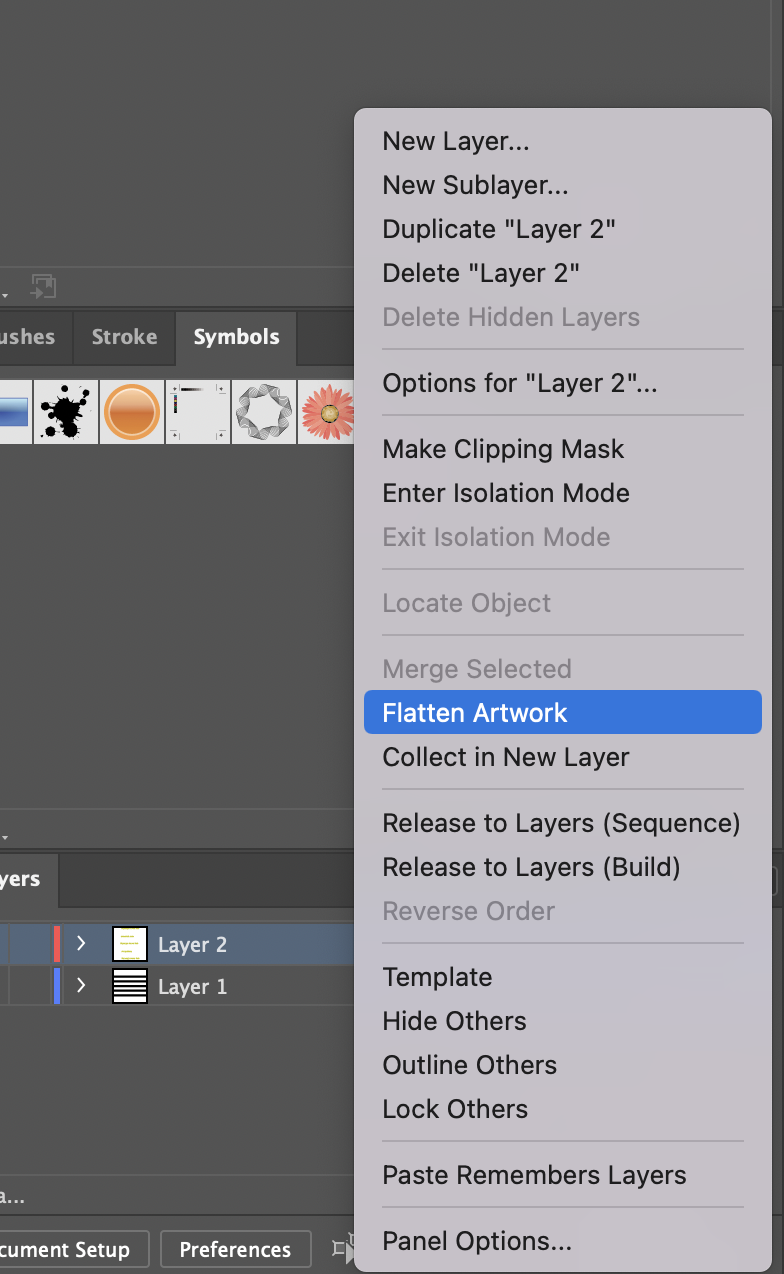
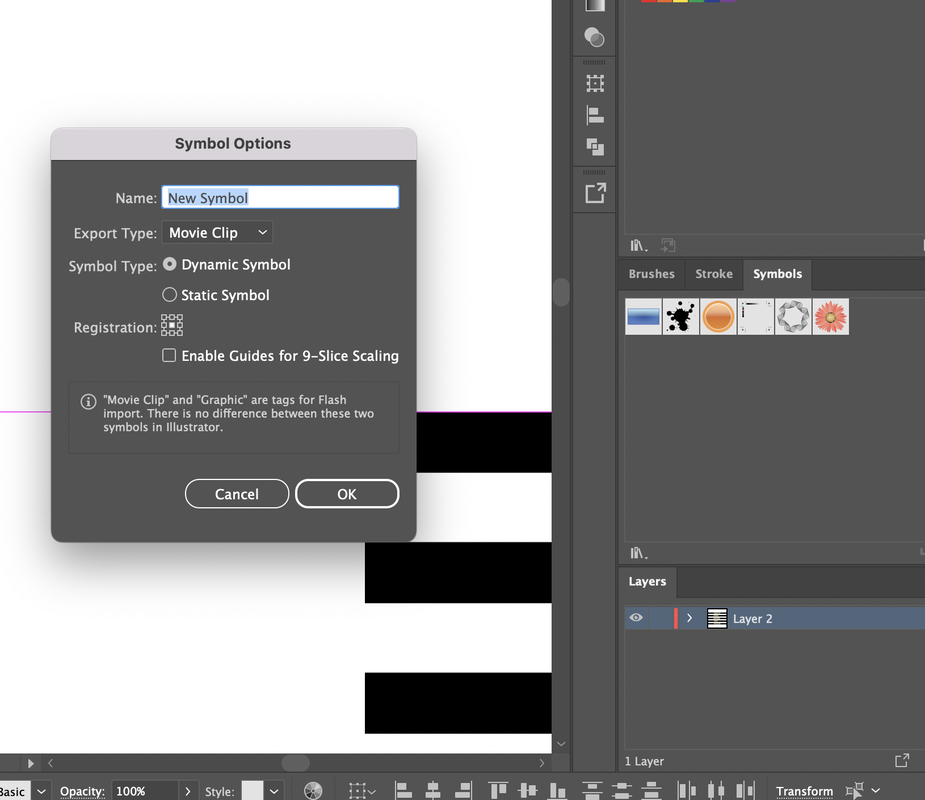
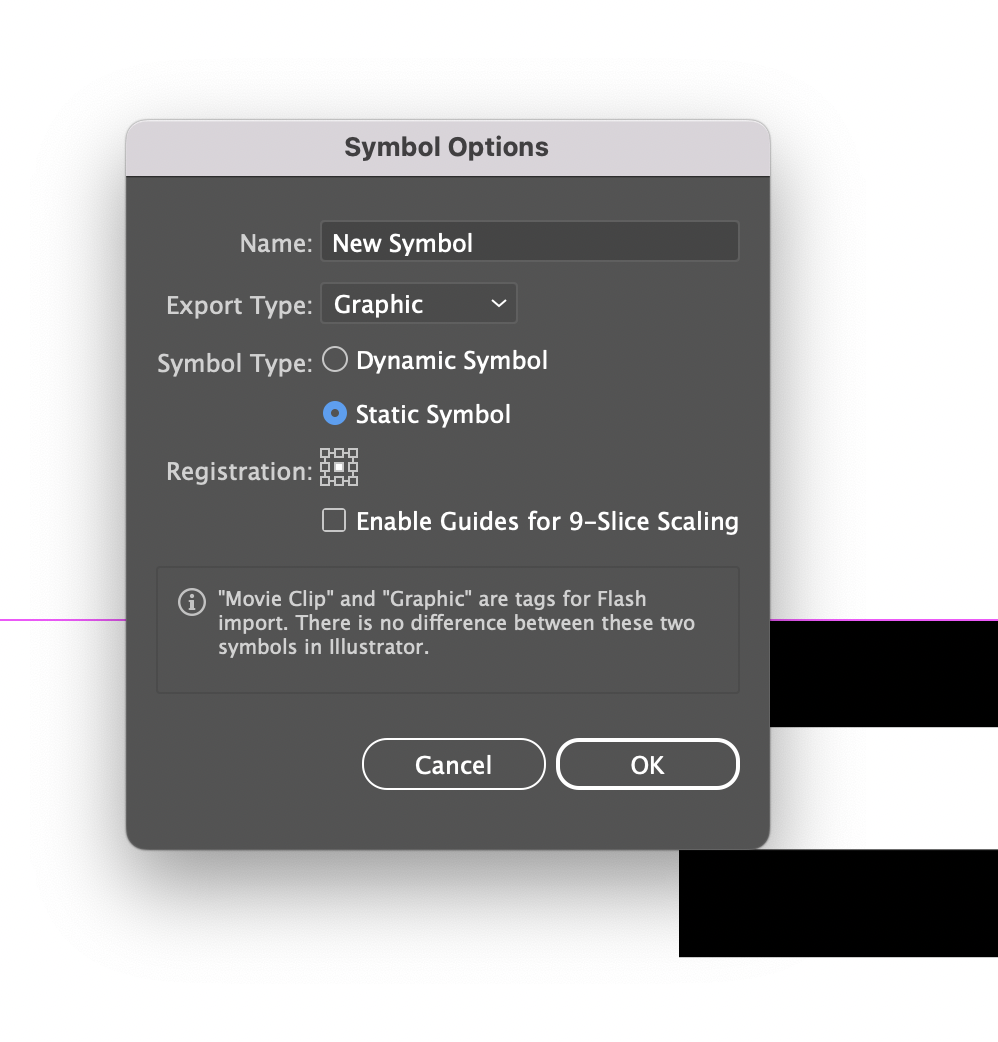
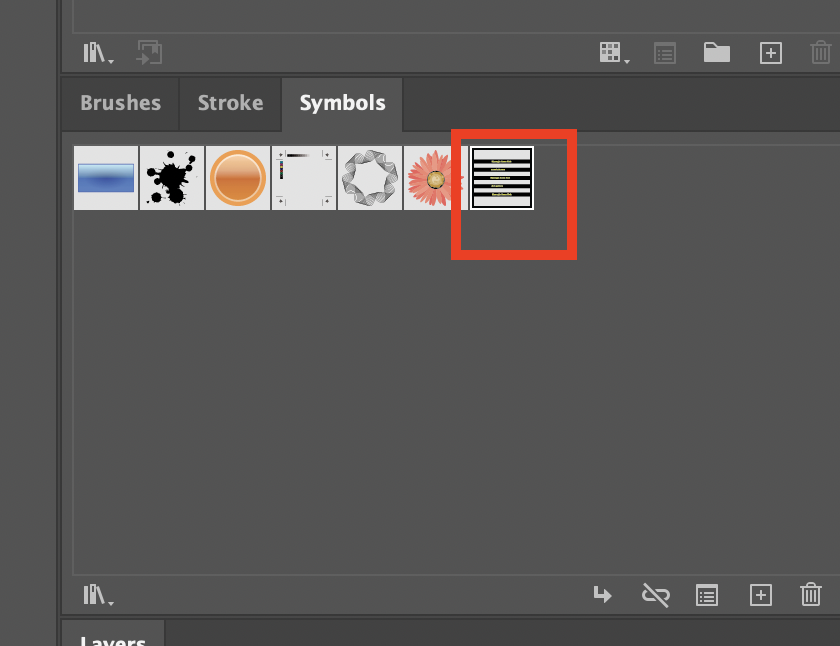
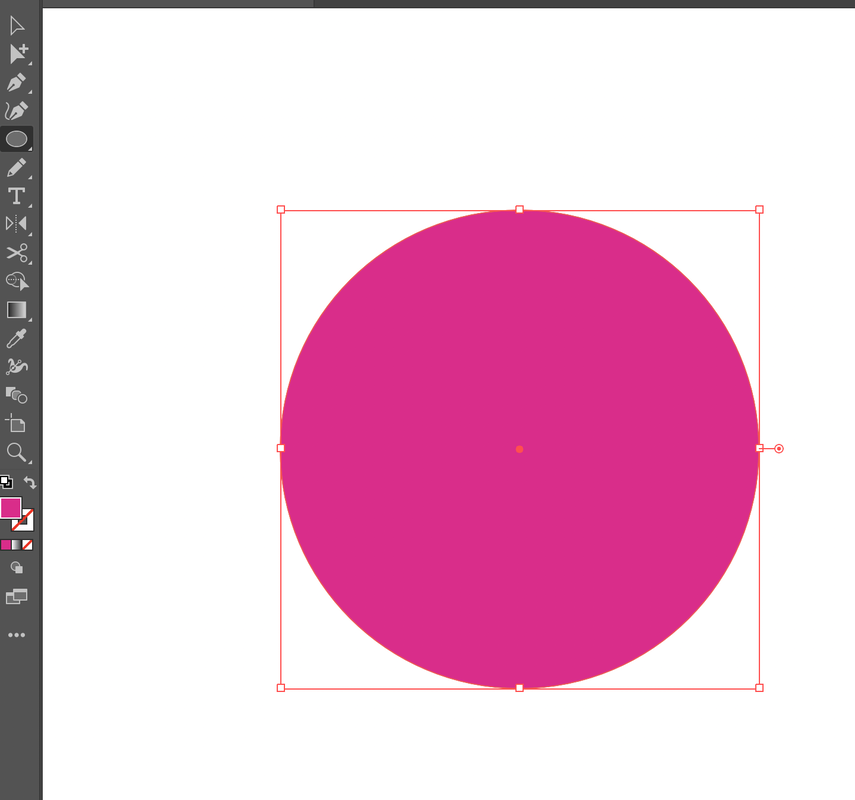
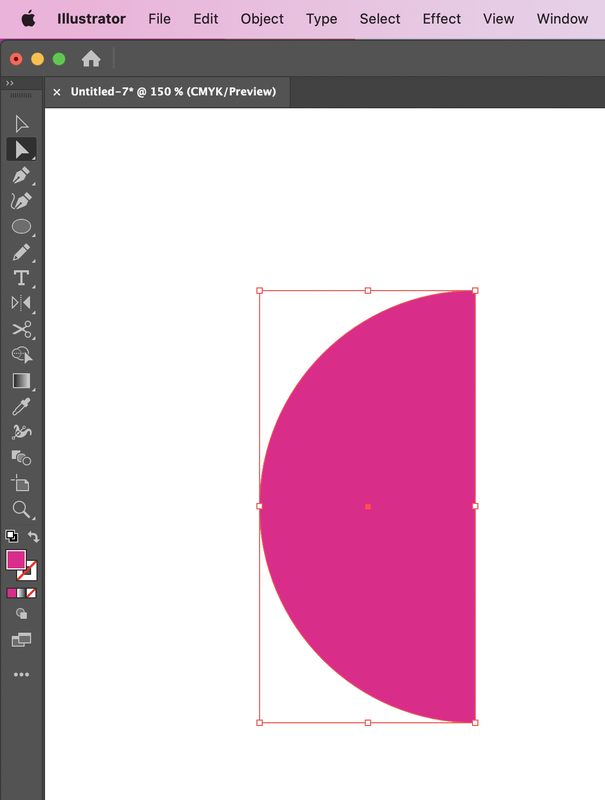
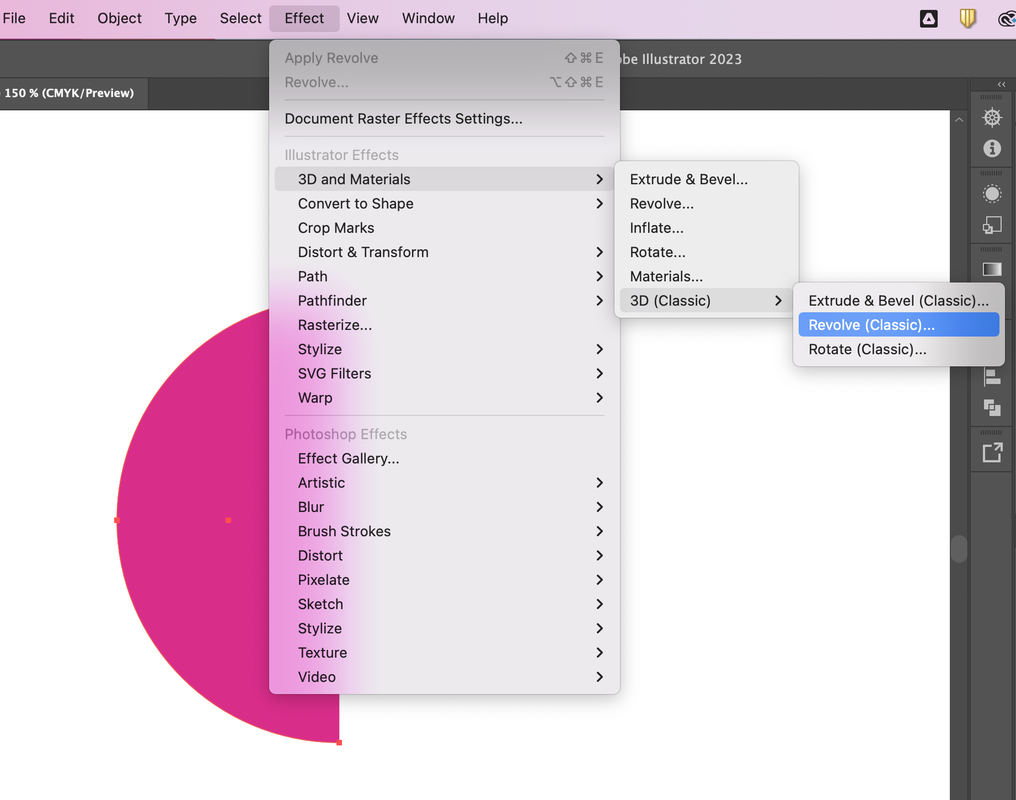
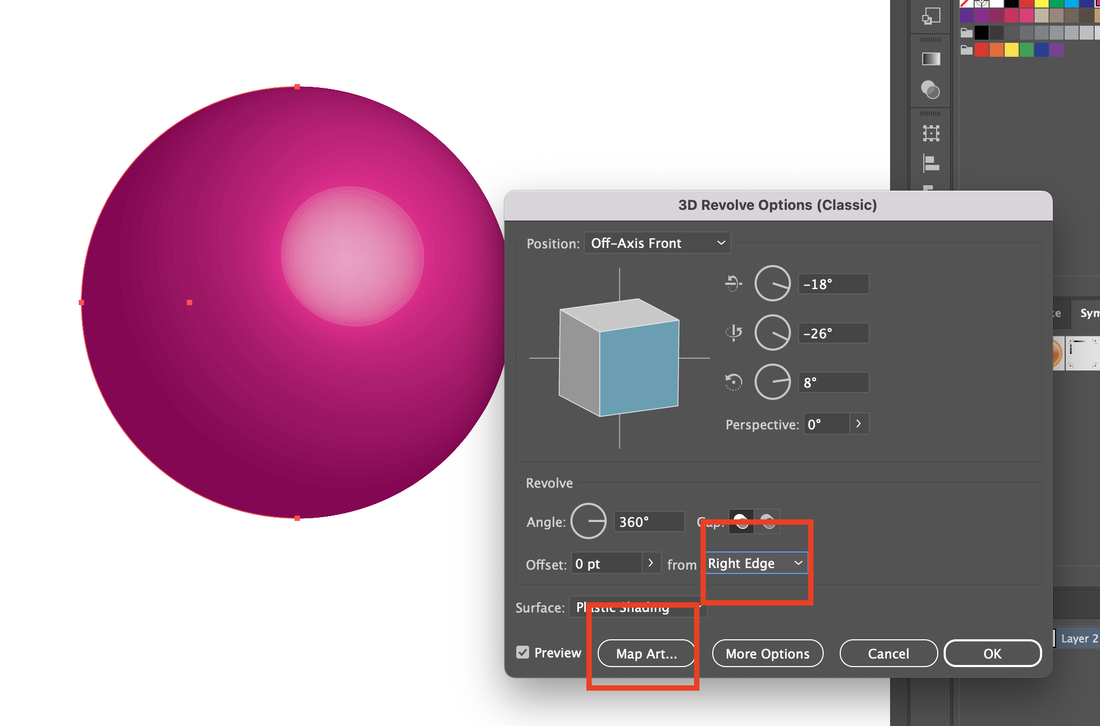
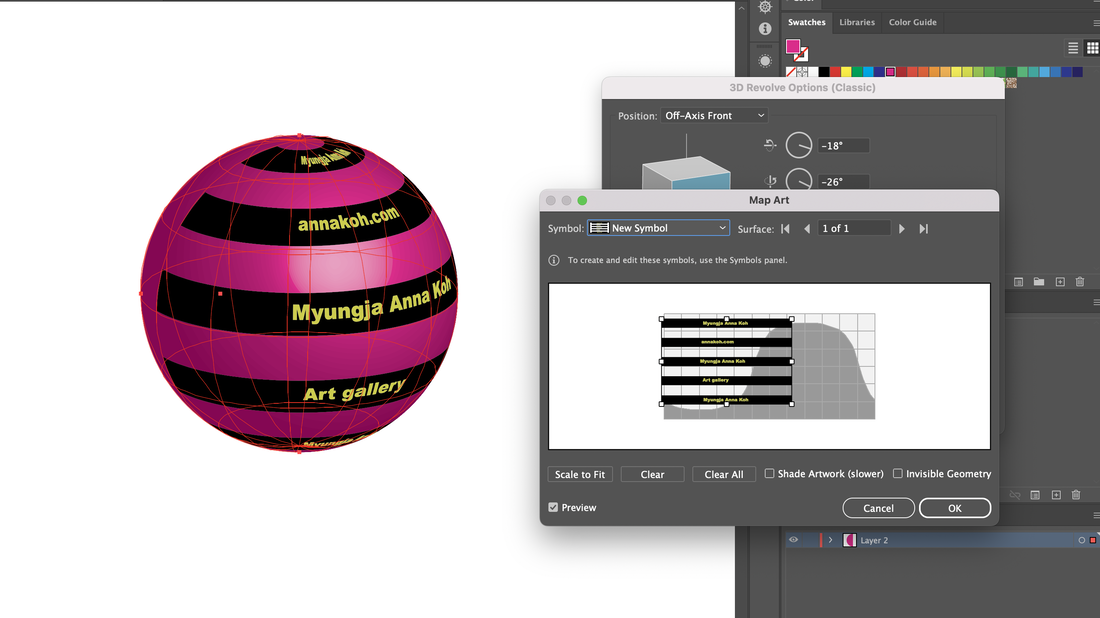
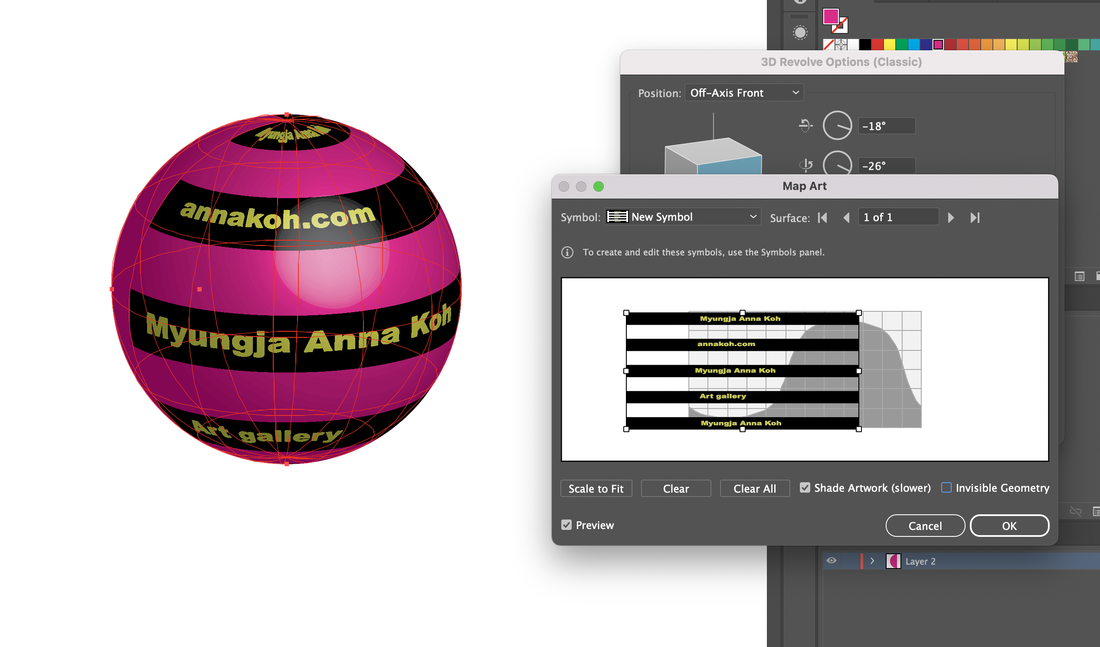
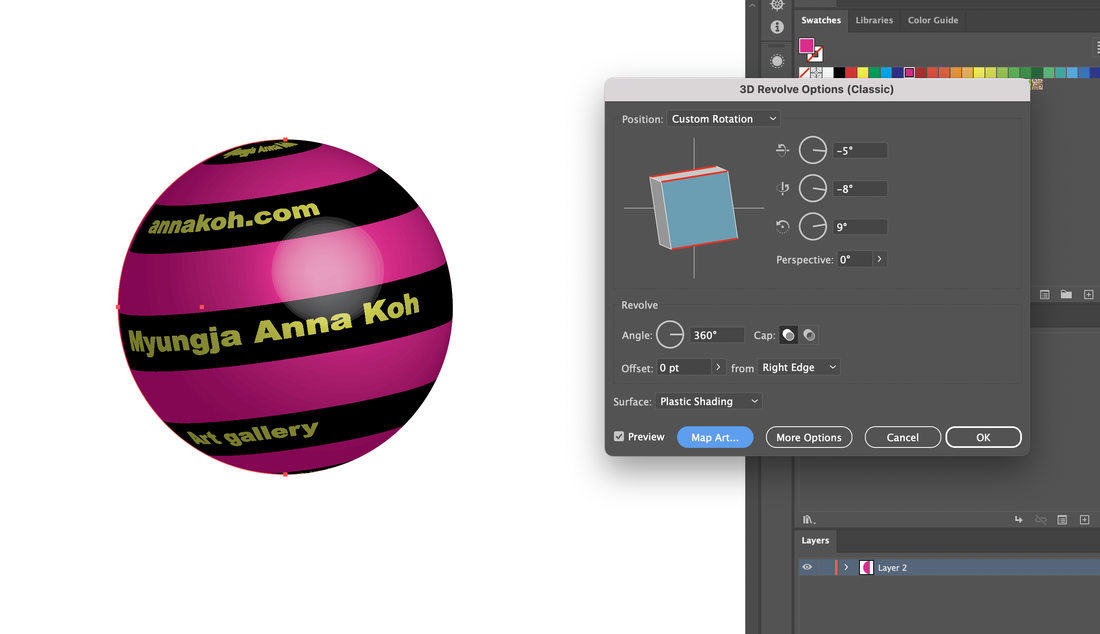
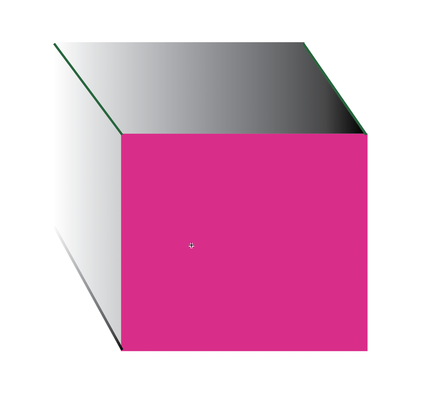
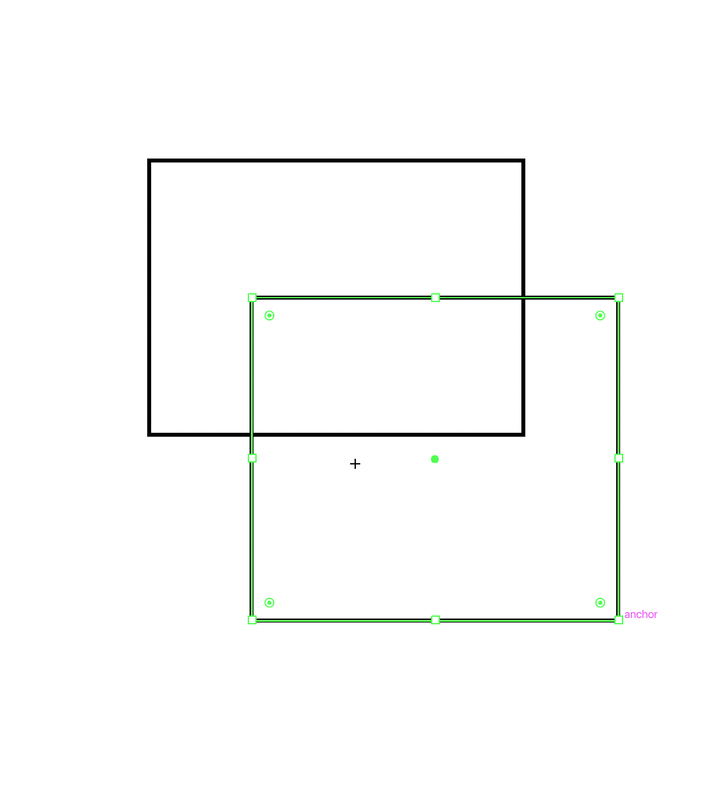
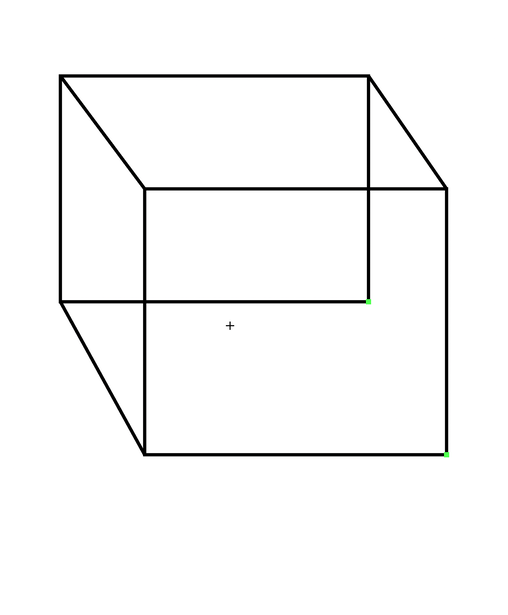
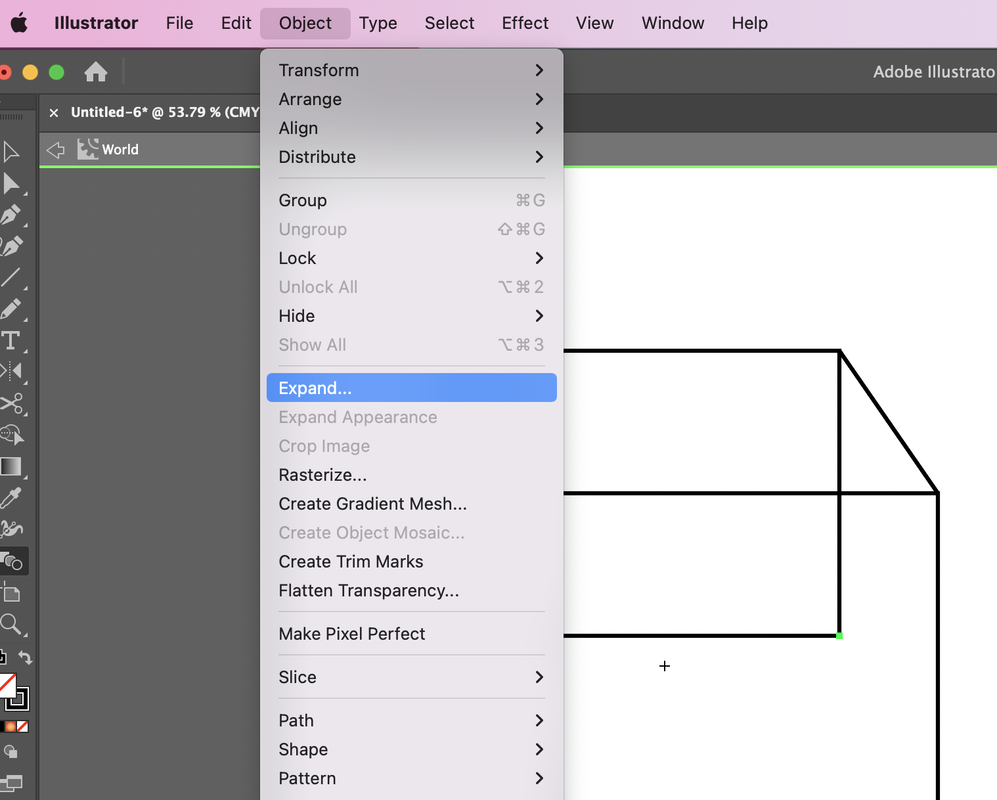
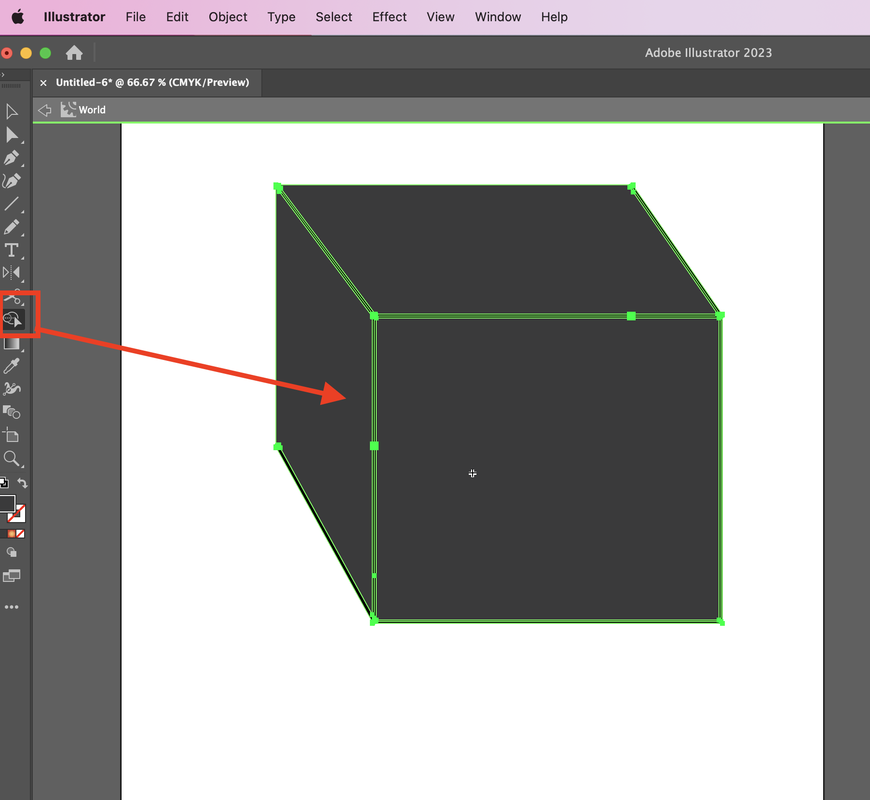
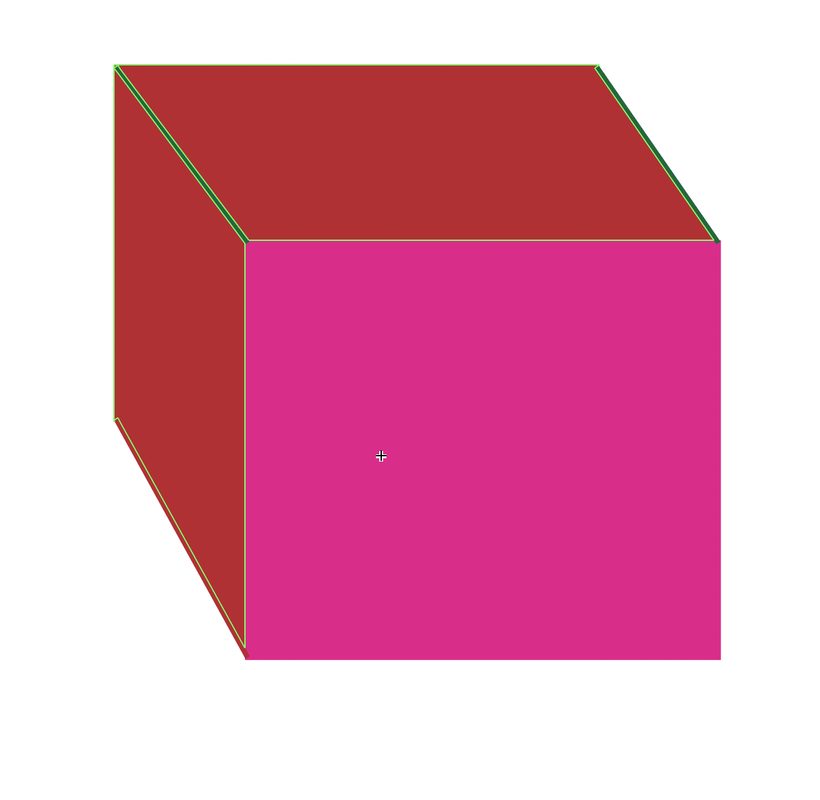
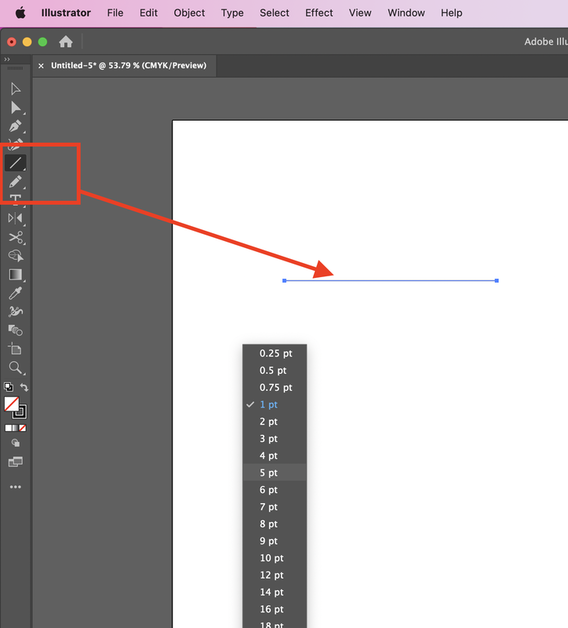
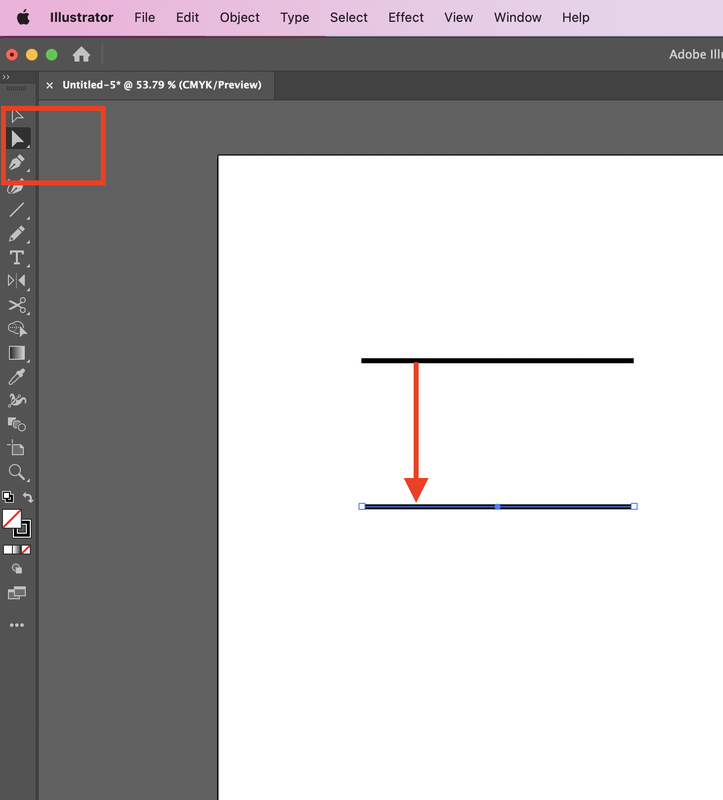
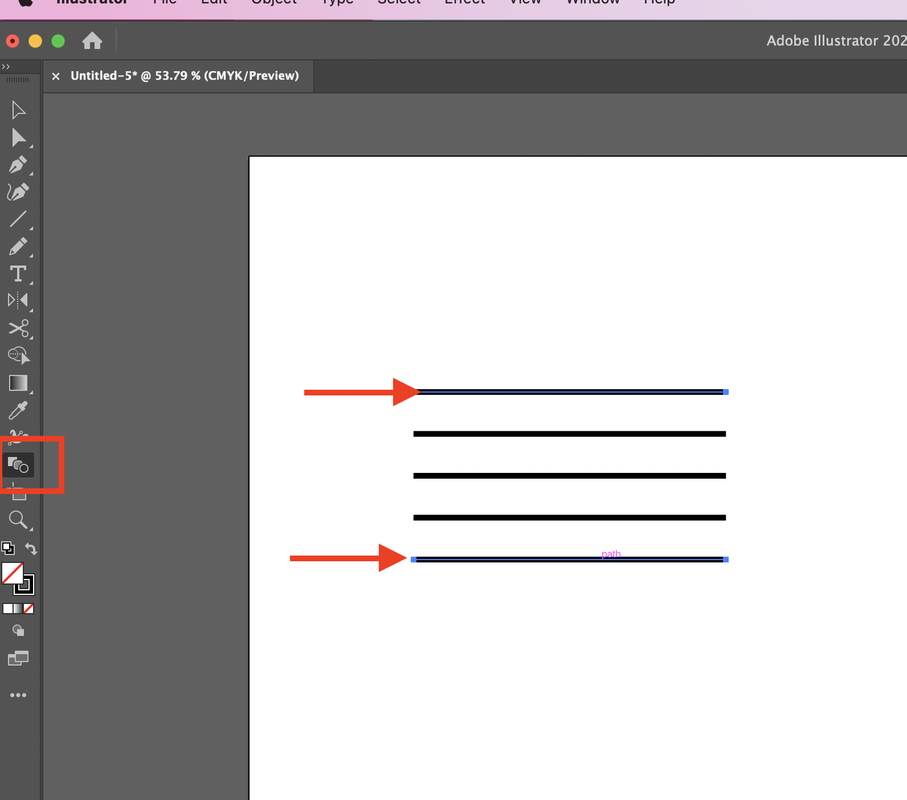
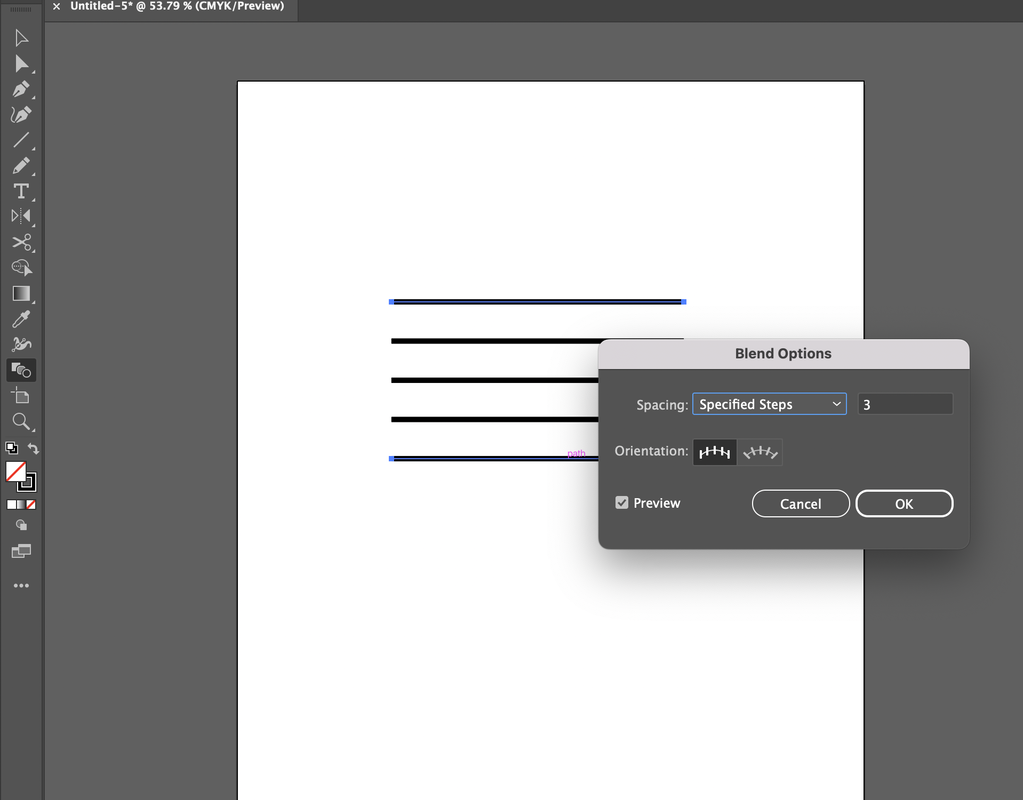
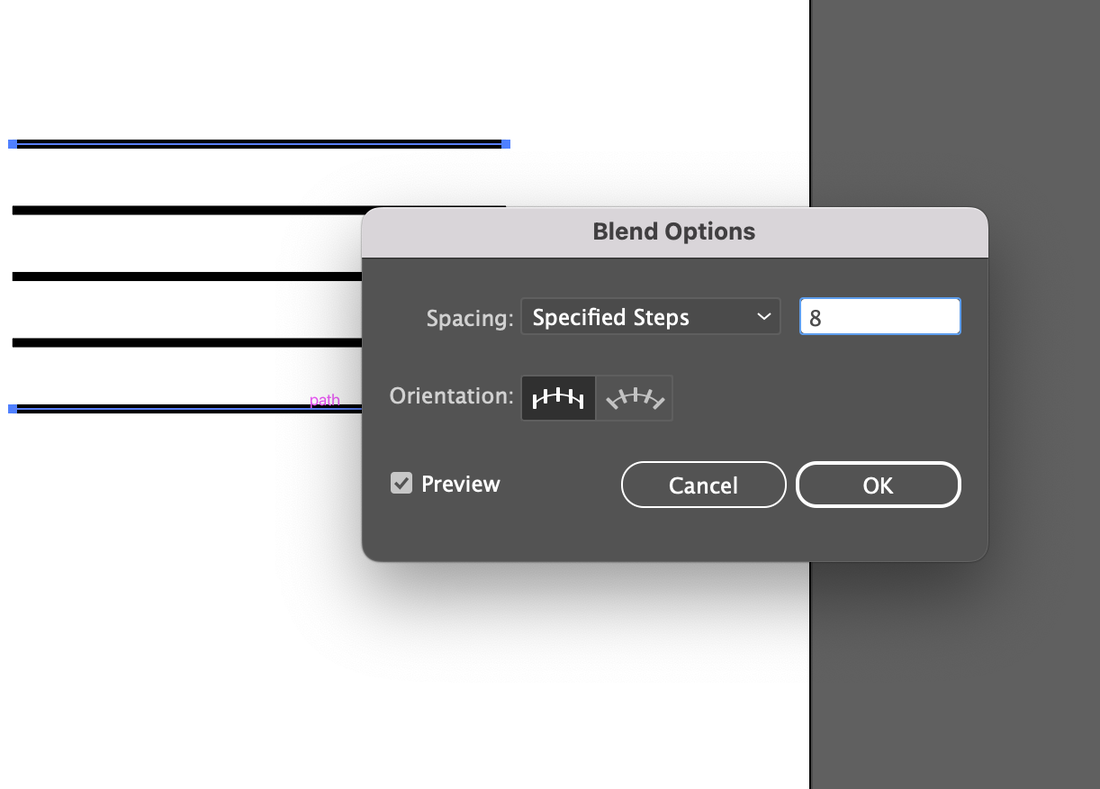
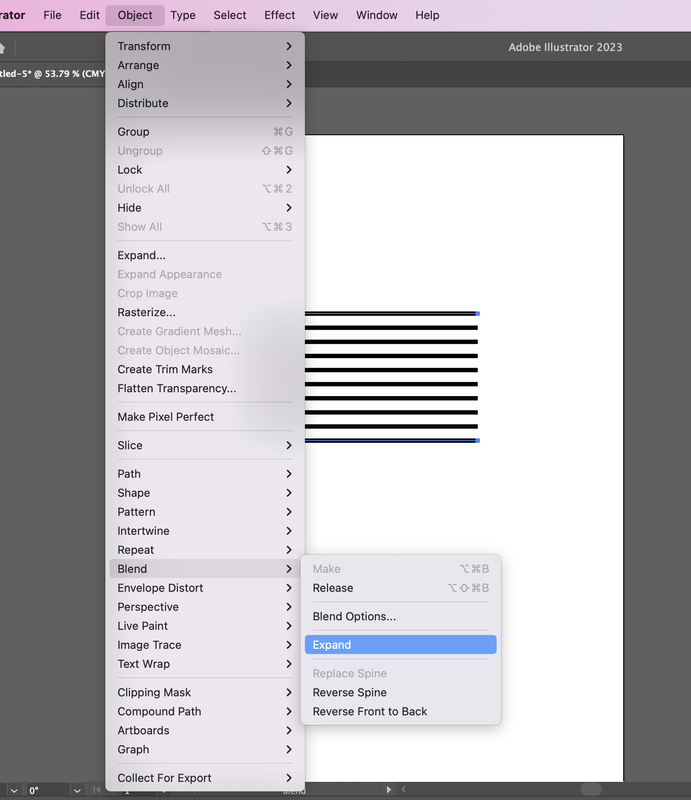
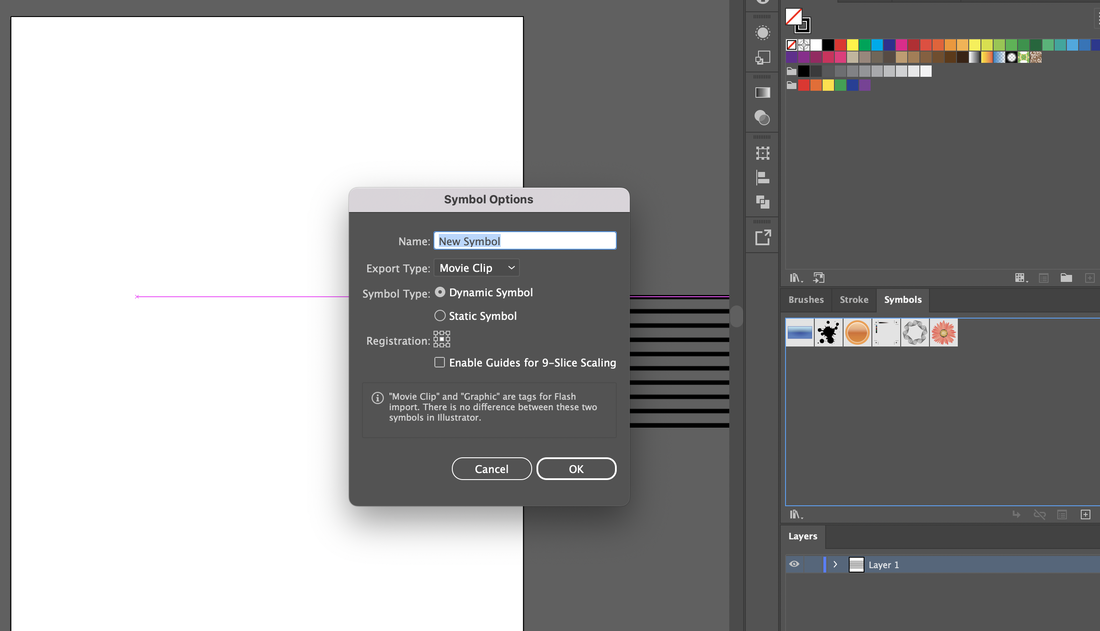
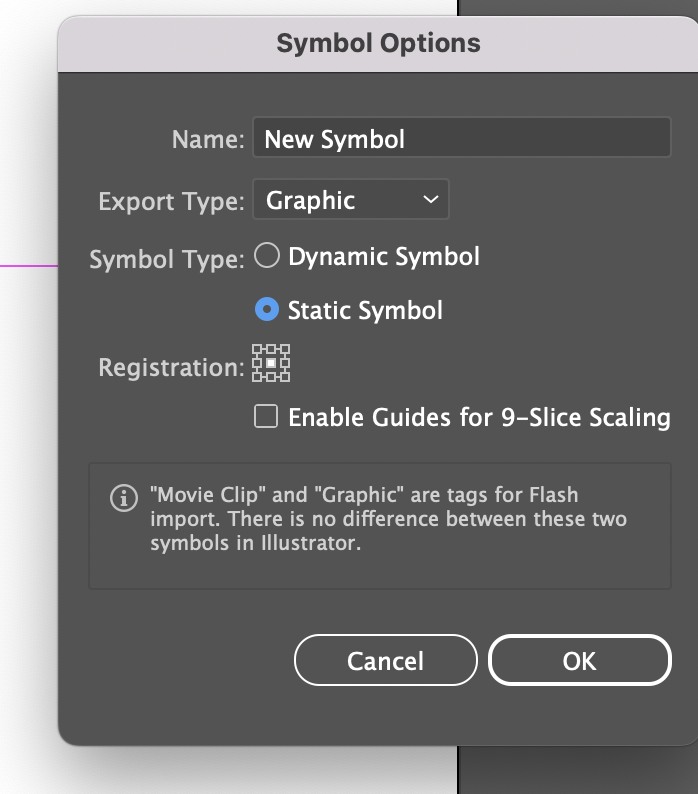
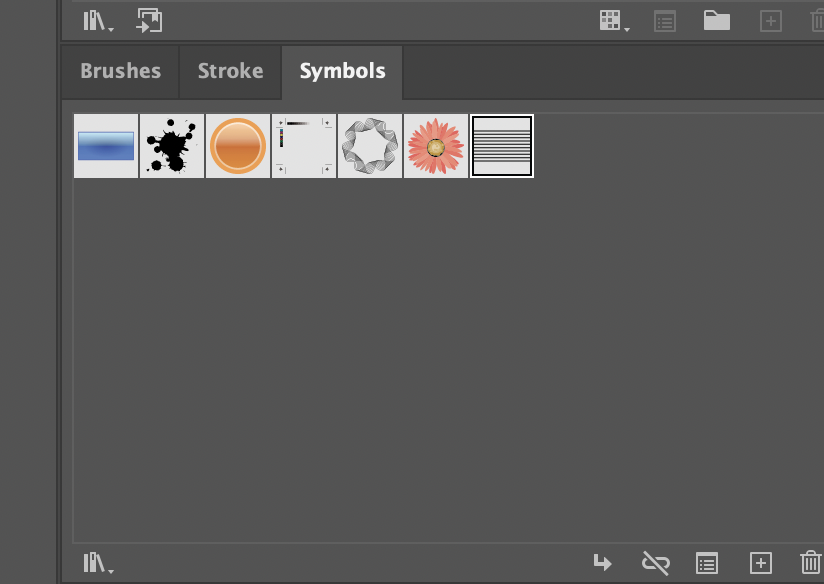
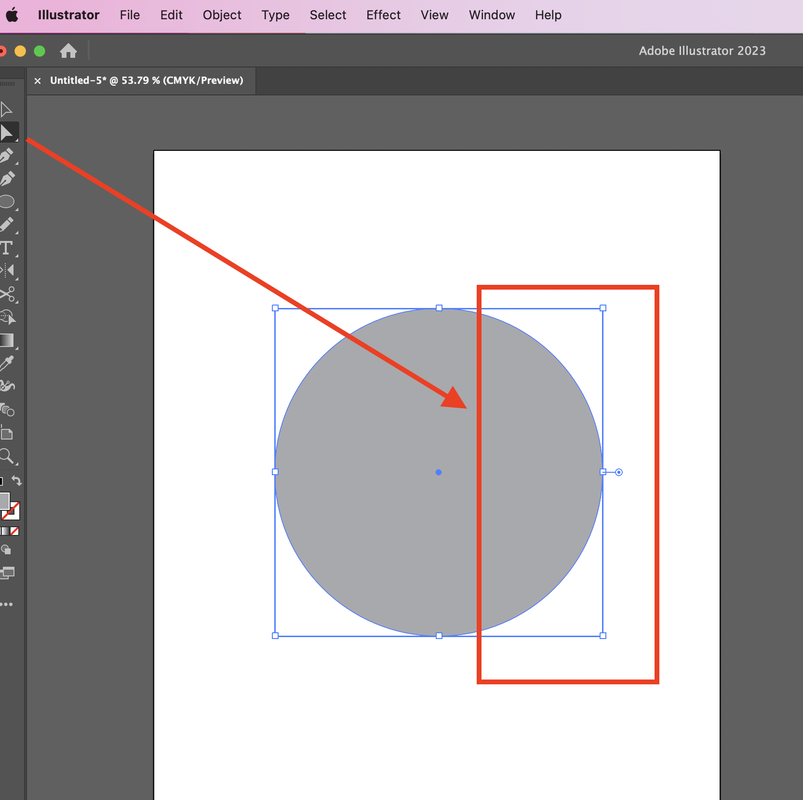
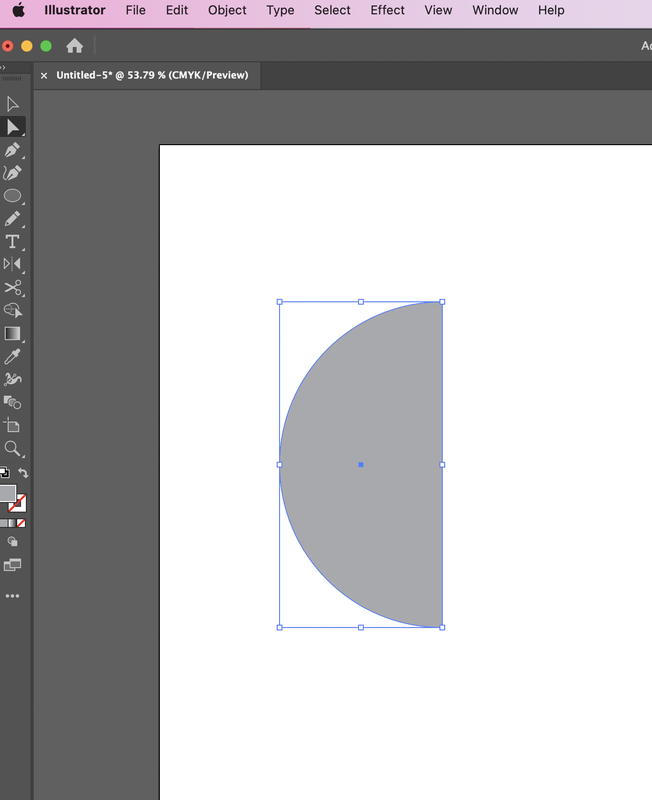
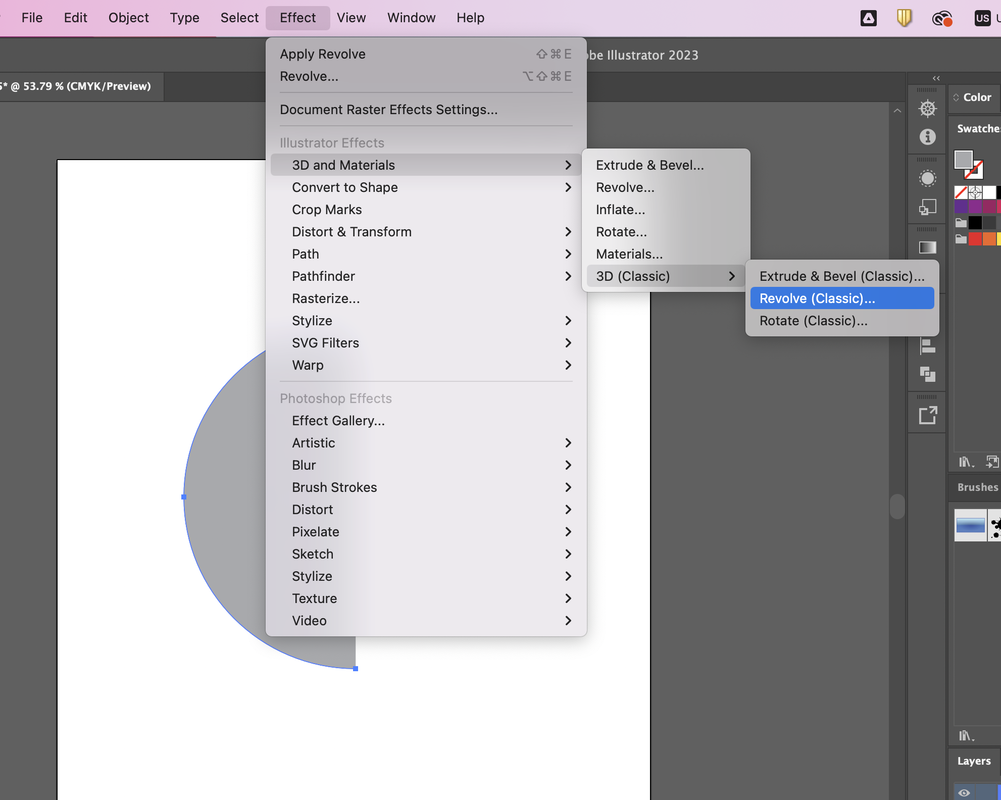
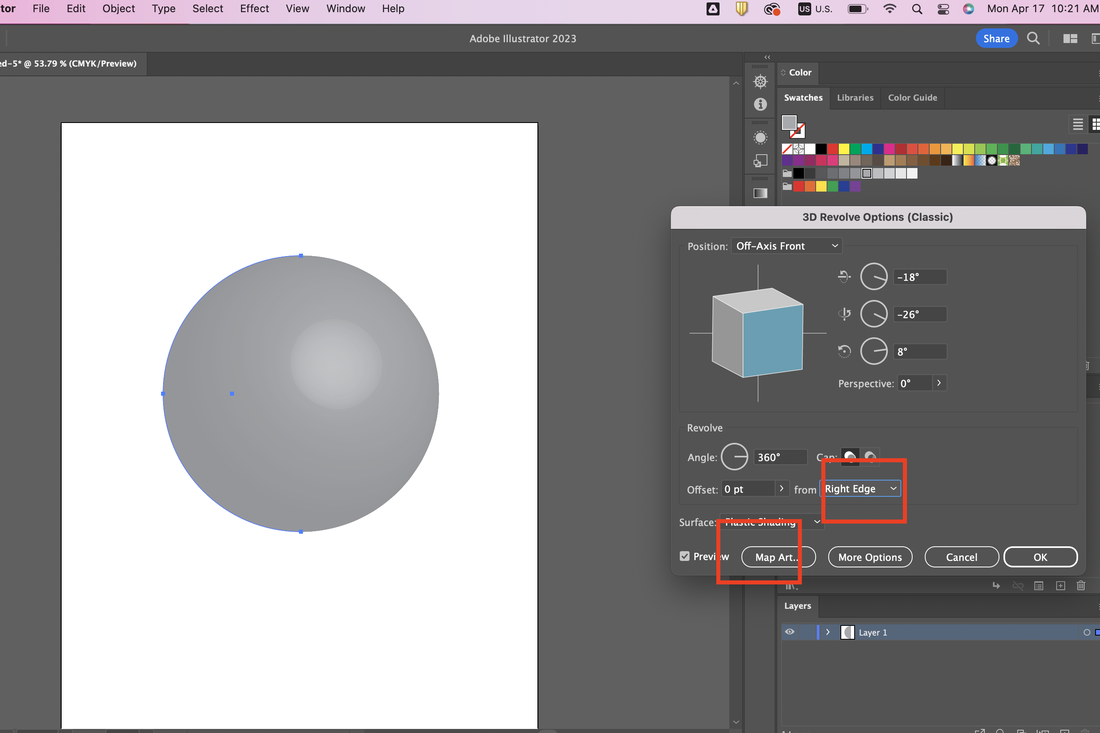
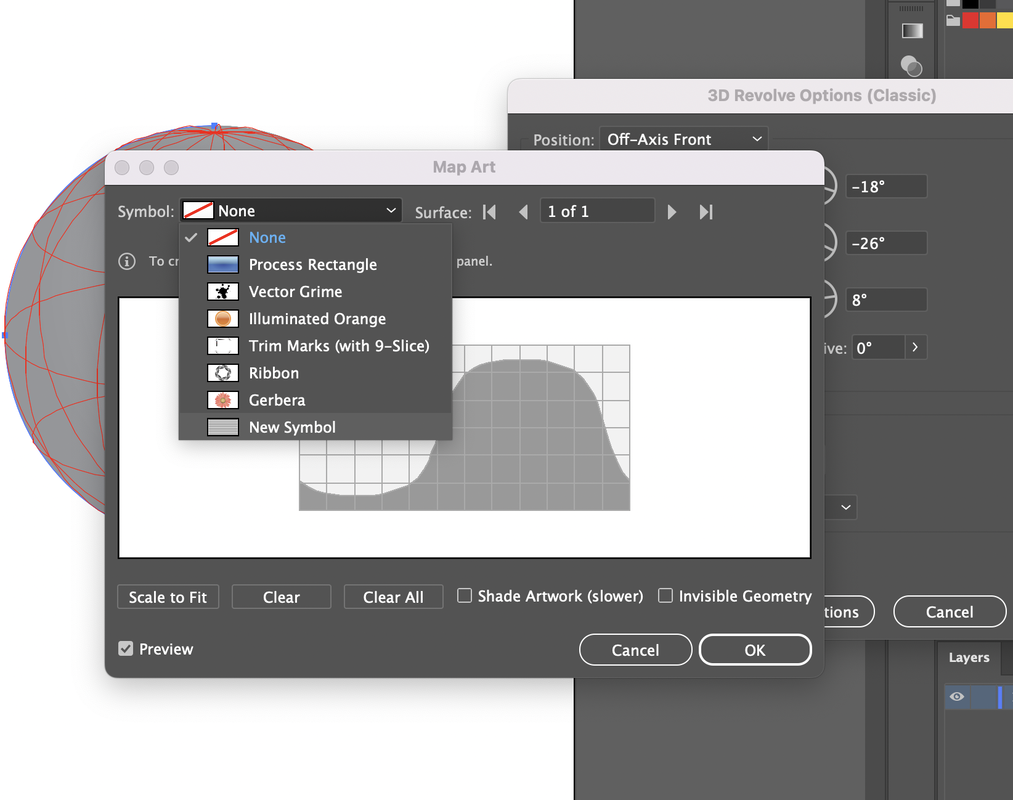
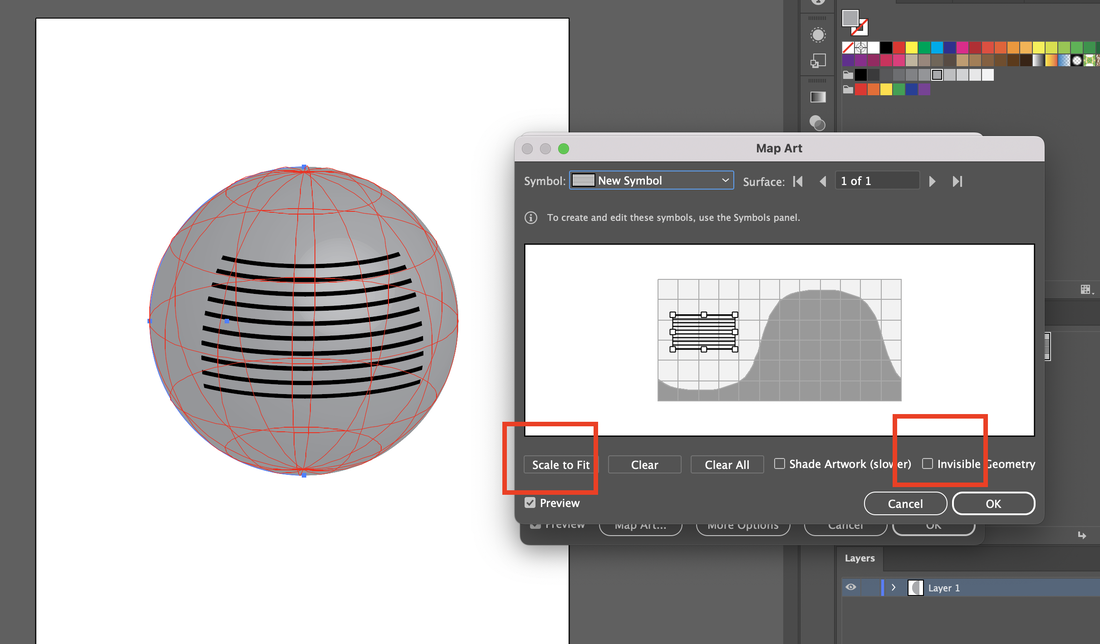
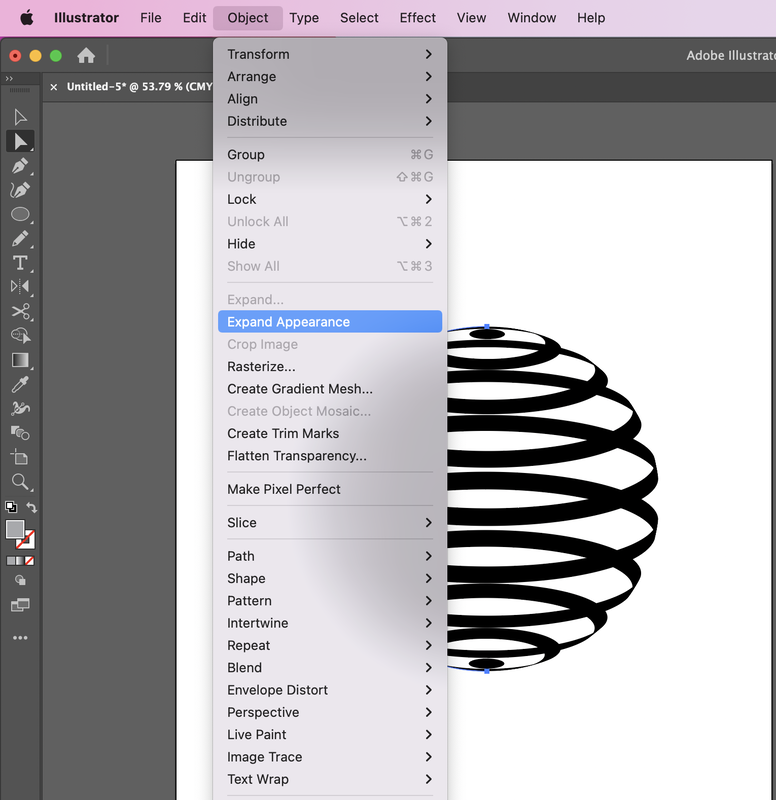
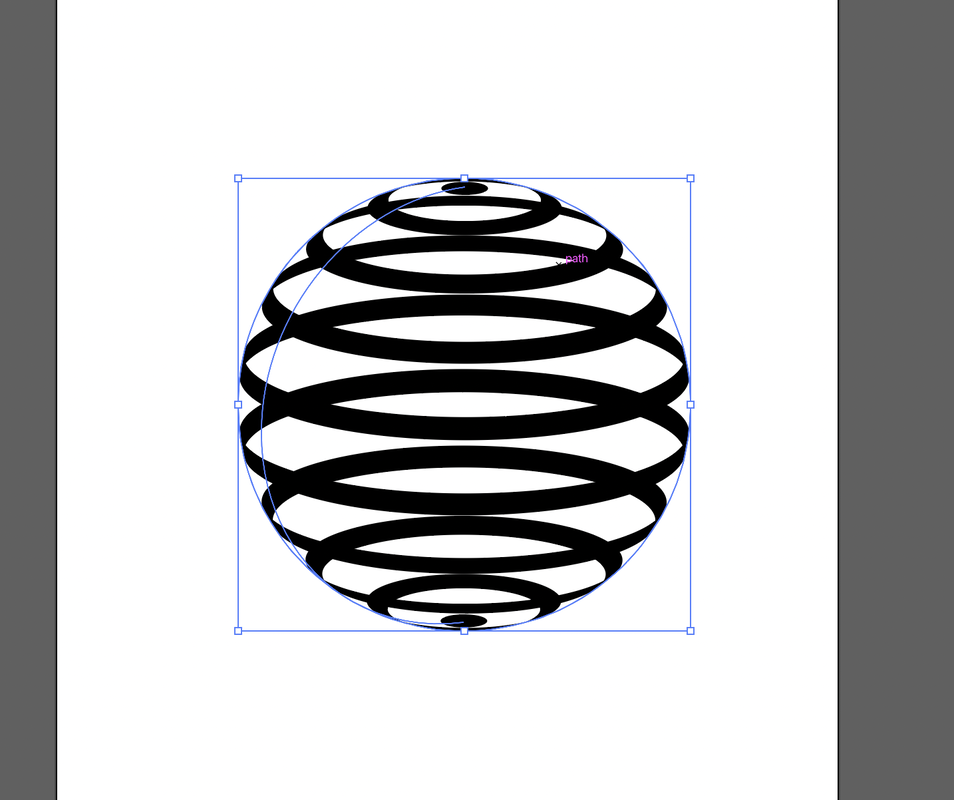
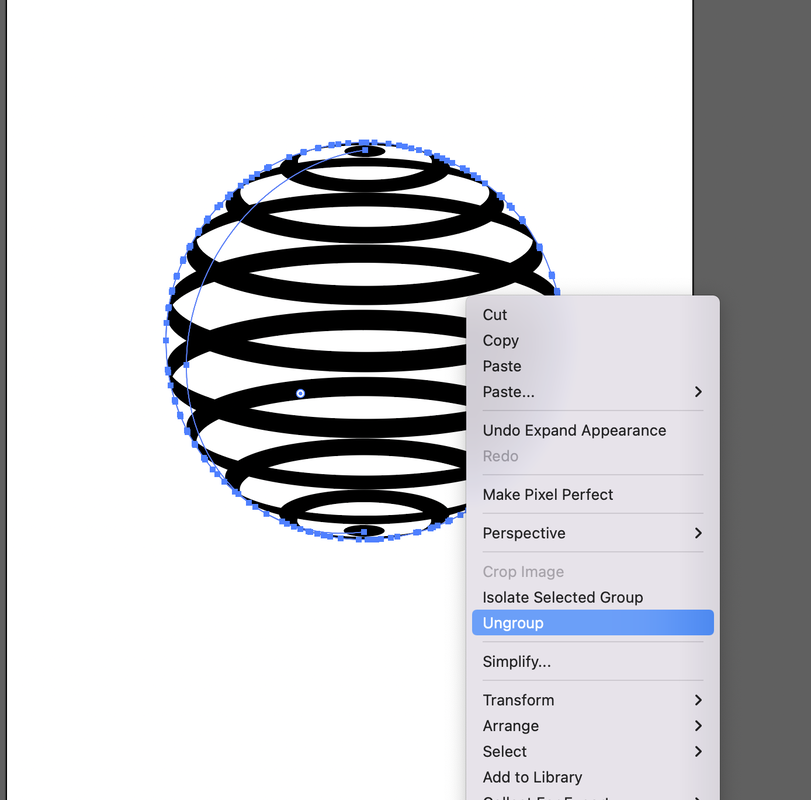
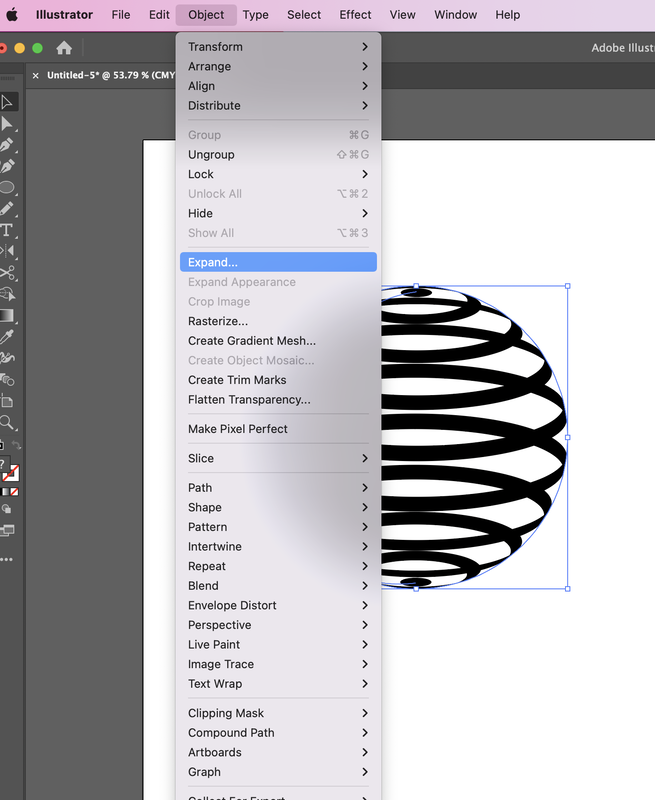
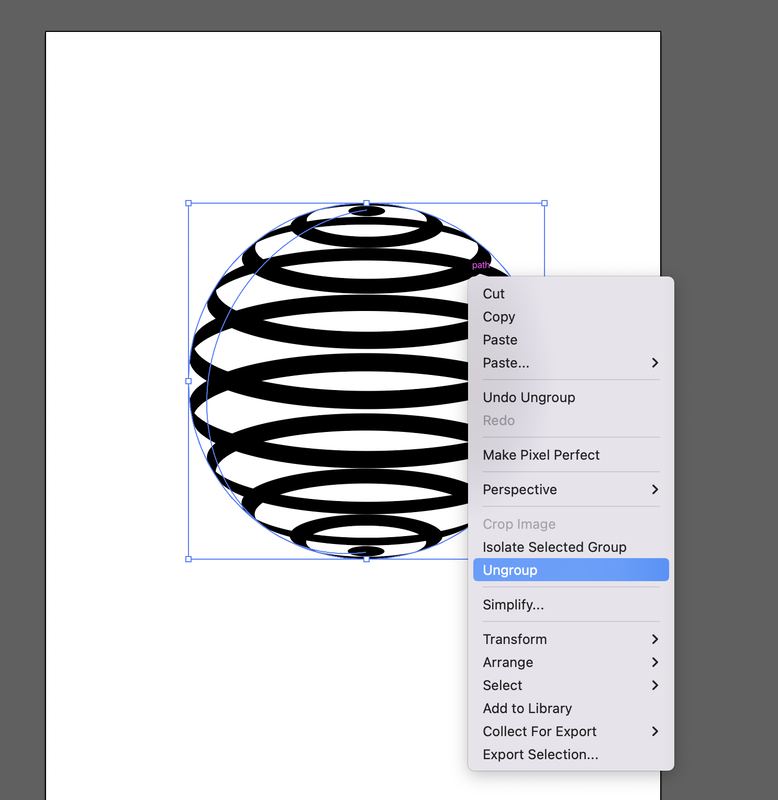
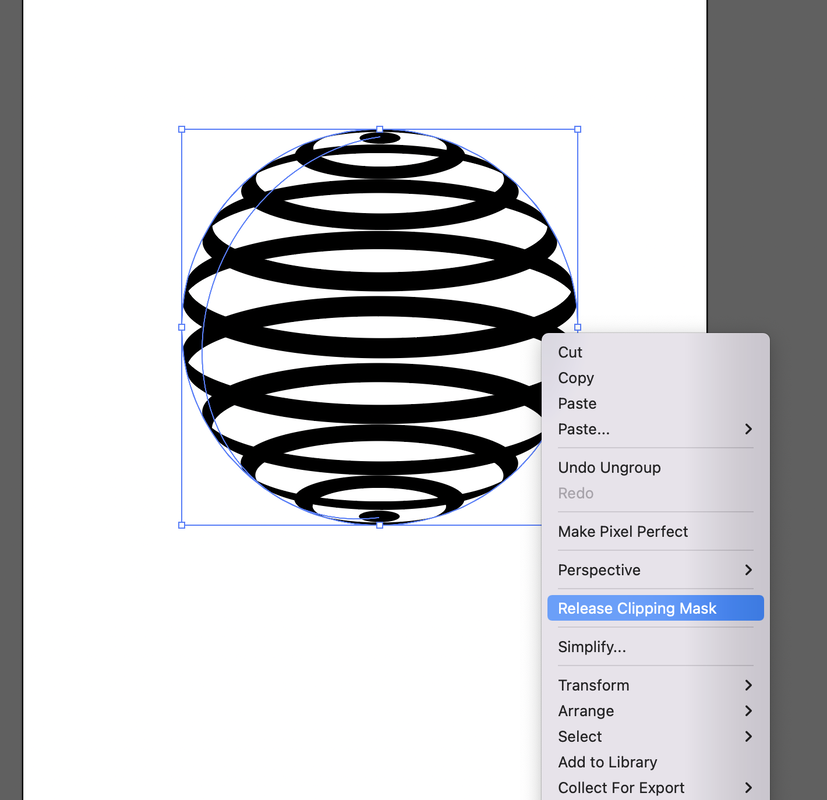
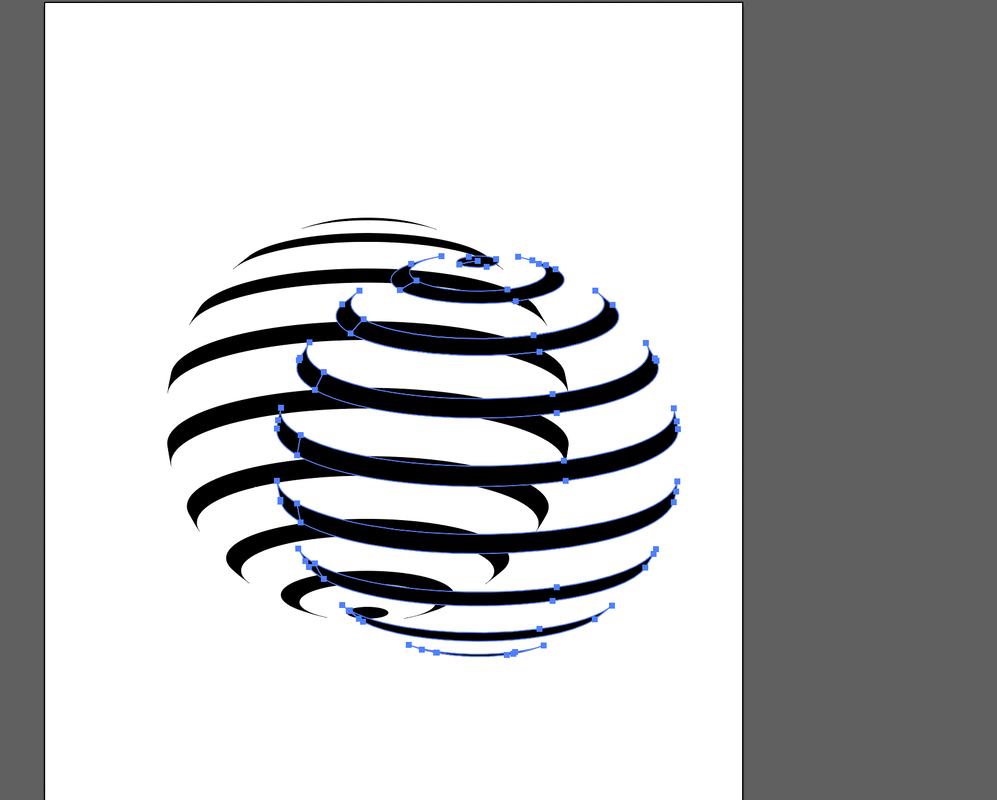
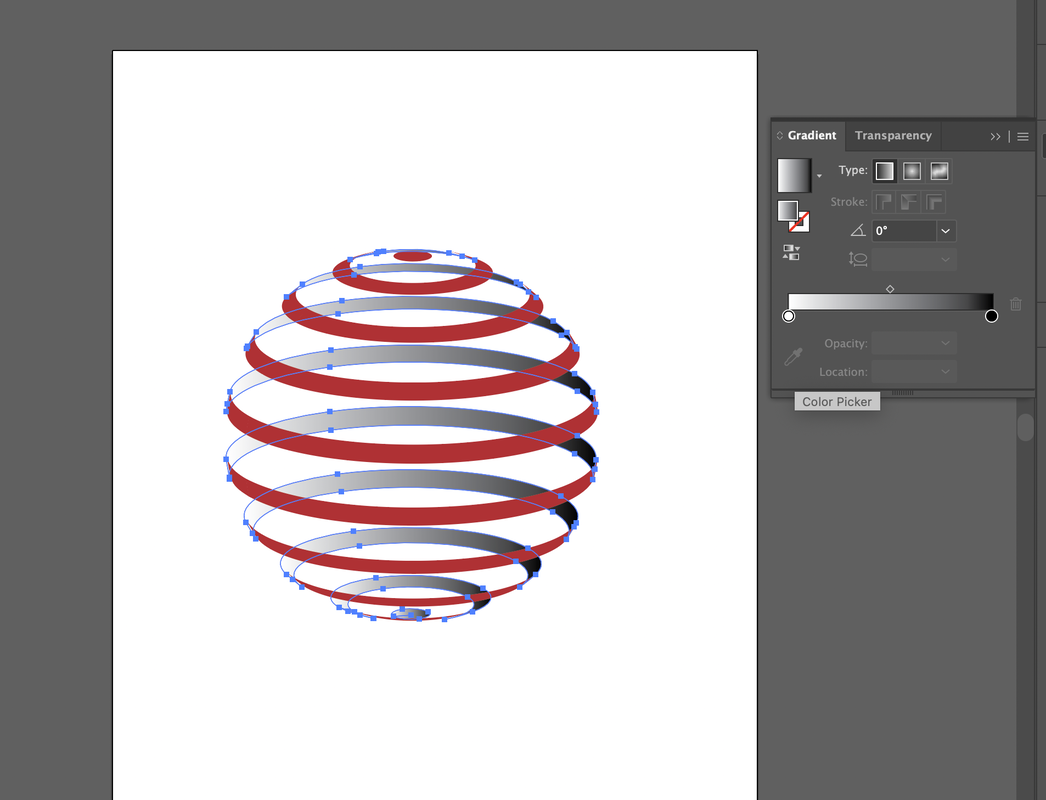
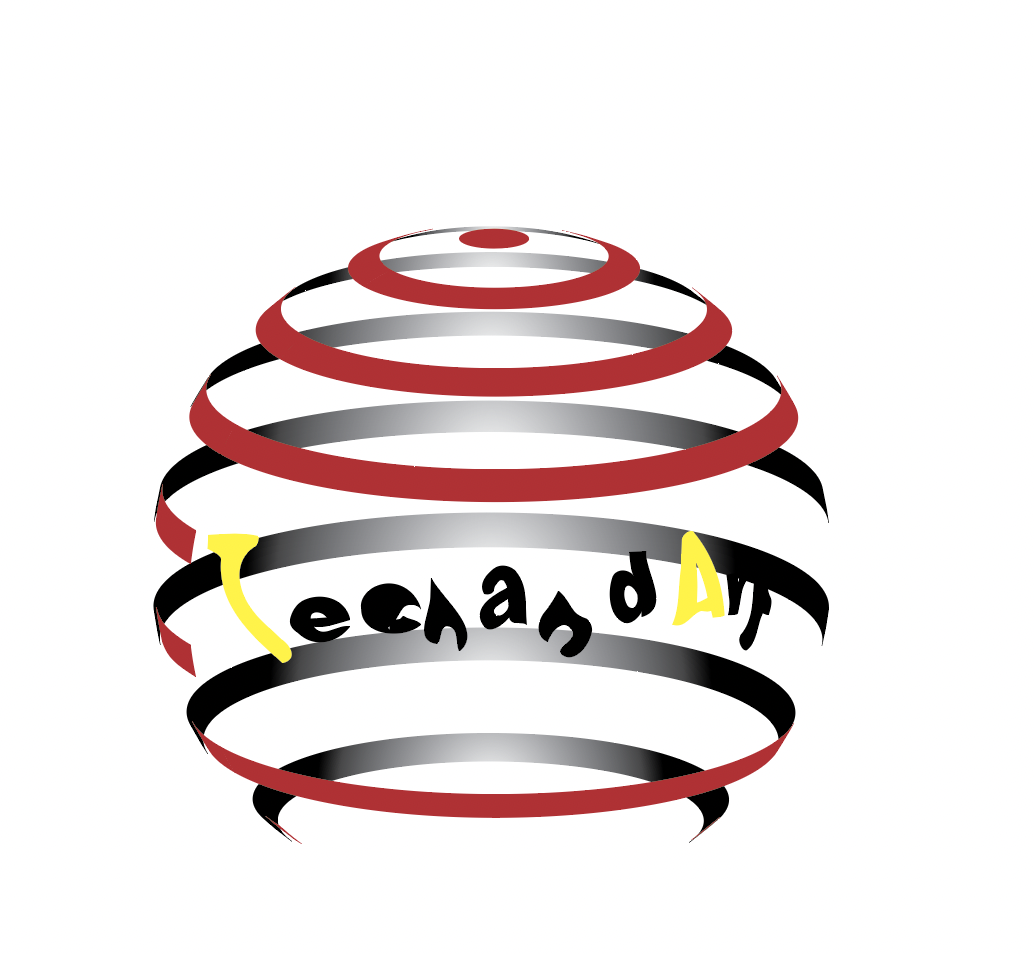
Children Art drawing with A4 paper, My wish listToday, I introduce a fun art game where you can draw with your children on A4 paper and listen to your child's wish list. First, prepare a A4 paper(New), and crayons. And then fold it from the bottom like a photo. Next, draw a gift box and even over the folded paper. After that, you can draw and paint your gift box. If you open the folded bottom, you can see the empty space under the top of a gift. Then paint the background of your first page. Next, you have to draw the other part of the gift bow with your wish lists. Here is the result after opening the box. How to create your sphere logo in illustratorHere is the way how to create sphere with your own letters in Illustrator. First, draw a line with stroke size 8 and duplicate it with option key like the right. Click the blend tool on the left toolbar and click on the line exactly between the two lines turn after turn. 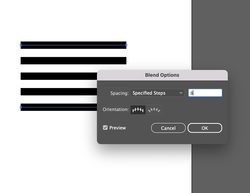 If you can doubleclick on the tool icon and you can adjust the number of specified steps. And then go to object---> expand. Next, make a new layer for creating your letters. After writing your letters, go to Object---> Expand. Flat your two layers to make a symbol. Dump your image to the symbols palette like below and select the static symbol and graphic. You can see the new added the symbol, you made by yourself. Then make a circle by using a circle shape tool. Click with a direct selection tool and select the half side and delete it. Go to Effect---> 3D(Classic)--> Revolve(classic) like below. After then, you can choose right edge and click the Map Art. Select the symbol, you made in advance. And then click the scale to fit to adjust the appearance. You can also rotate it by using the options Here is the result. How to create a cube in illustratorHere is the process how to make a cube with illustrator. First, draw a rectangle with a shape tool. Duplicate a rectangle with Option key and place it like a intersection. Draw a line for connecting between rectangles like below. And go to Object ---> Expand. Next, you can make a surface by using a shape builder tool to combine the complicated lines. And change the color ! How to create a 3D logo with IllustratorHere is the way how to create an above 3 dimensional logo in Ilustrator. First, draw a line by using one of shape tool on the left toolbar.(select a line) And then with option, you can duplicate the same line. Click the blend tool on the left toolbar and click the line exactly. After then, you can check if it has other lines between bonded lines. If you need more lines between them, you have to double click on the blend tool. Open the options box and go to Specified steps with 8 and then click the O.K! 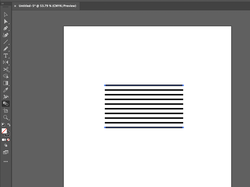 For making it a symbol, you have to go Object---> Expand. If you click the lines you made previously with the selection tool and then dump them into the Symbols' palette, you can see the below box. You have to click the Graphic and Static symbol to make it symbol. You can make sure it is on the symbols below. Next, draw a circle by using a circle shape with click a shift key for making exact circle like below and then make it only color without the stroke. After then, you can click the direct selection tool for deleting the half side of the circle. Then go to Effect---> 3d(classic)--> Revolve(classic) Choose the Right Edge---> click the Map Art Select the symbol, you made it previously and registered it on the symbol palette in advance. Then click the Scale to fit and invisible Geometry. Go to Object---> Expand Appearance. To change the color, you have to do ungroup. Go to Object ---> Expand. Ungroup again to seperate it with two sides. Go to Release Clipping Mask. The it will be seperated like below. You can change each colors, sometimes apply a gradient style on it. If it is ungroup condition, you can remove each part like below. Add the text and finish! |
Myungja Anna KohArtist Categories
All
Archives
July 2024
|
Proudly powered by Weebly





 RSS Feed