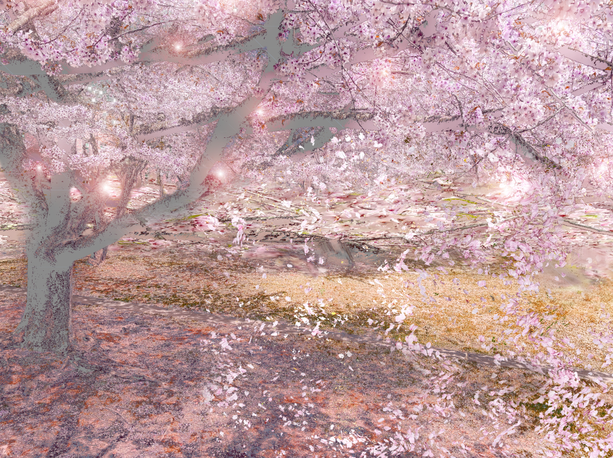
 Bright spring, Myungja Anna Koh, 2022 How to make a bright spring digital image with Photoshop! When spring comes, be sure to take pictures of cherry blossoms. Because it is so gorgeous and beautiful. Today, I would like to show you the process of turning these stored photos into bright, fairy-tale-like digital works. 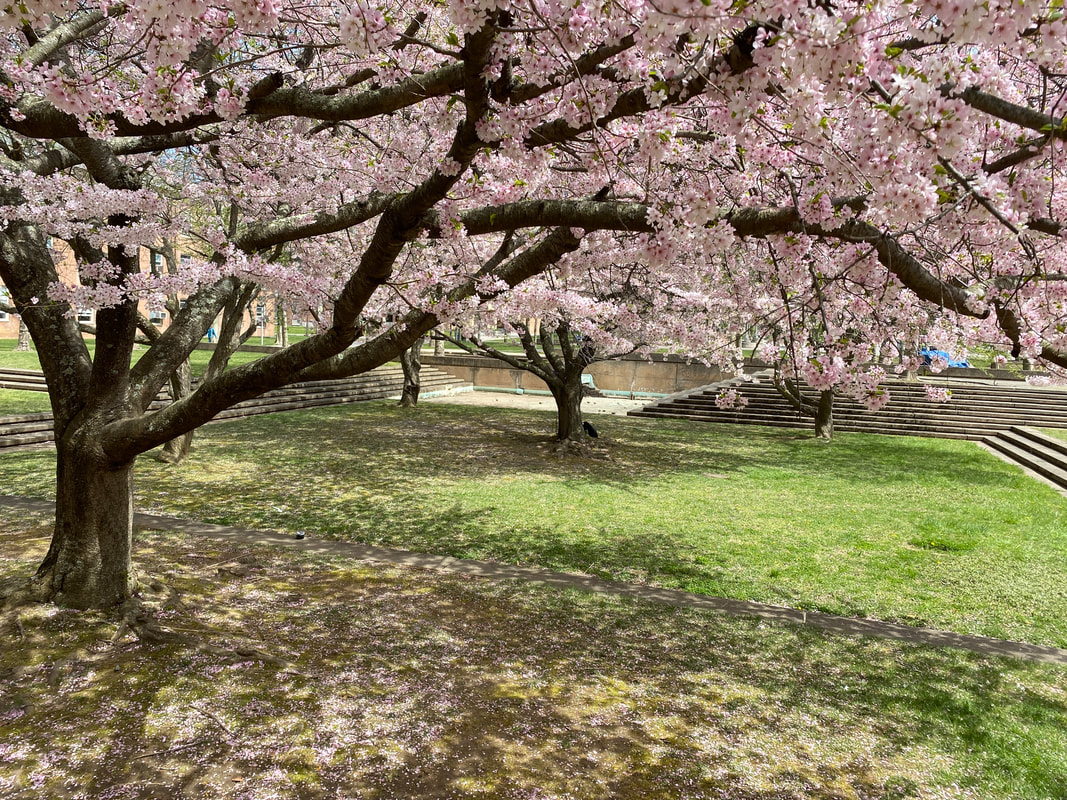
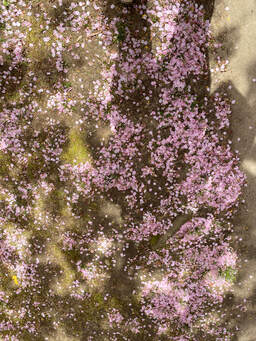
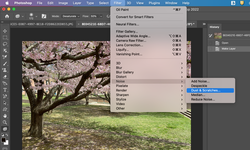 First step, go to Filter--> Noise---> Dust & Scratches for expressing fancy vibe. 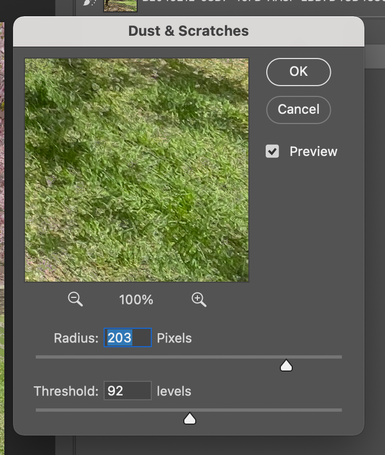 Next, go to Image---> Adjustments---> Levels for letting image bright. 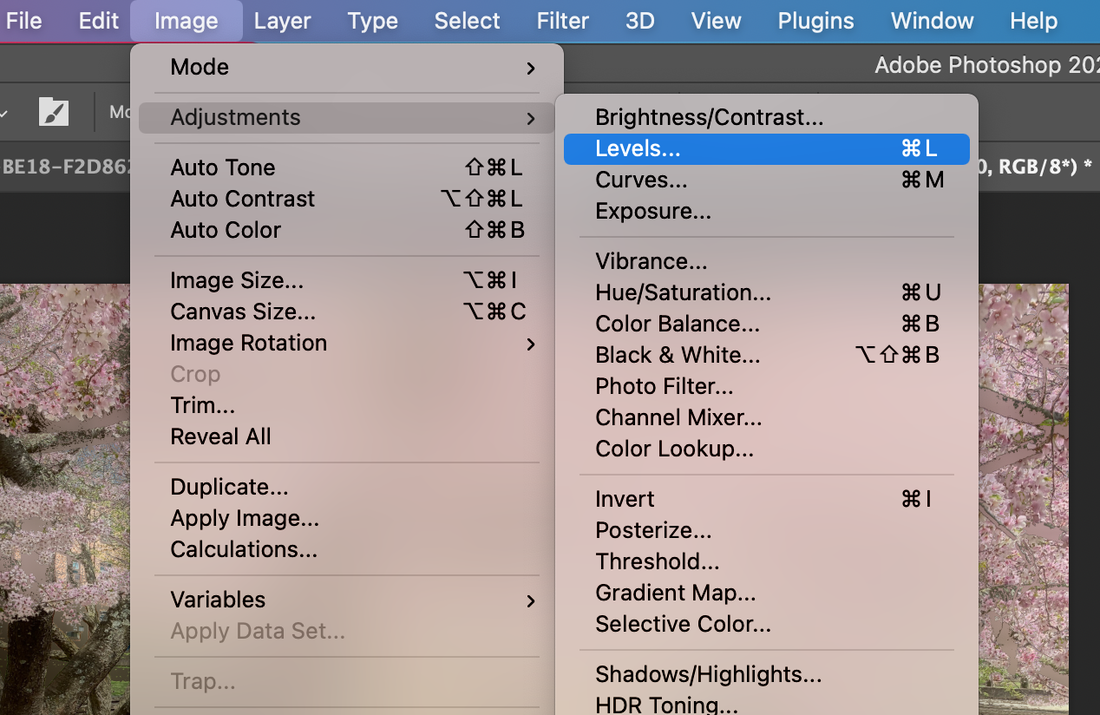 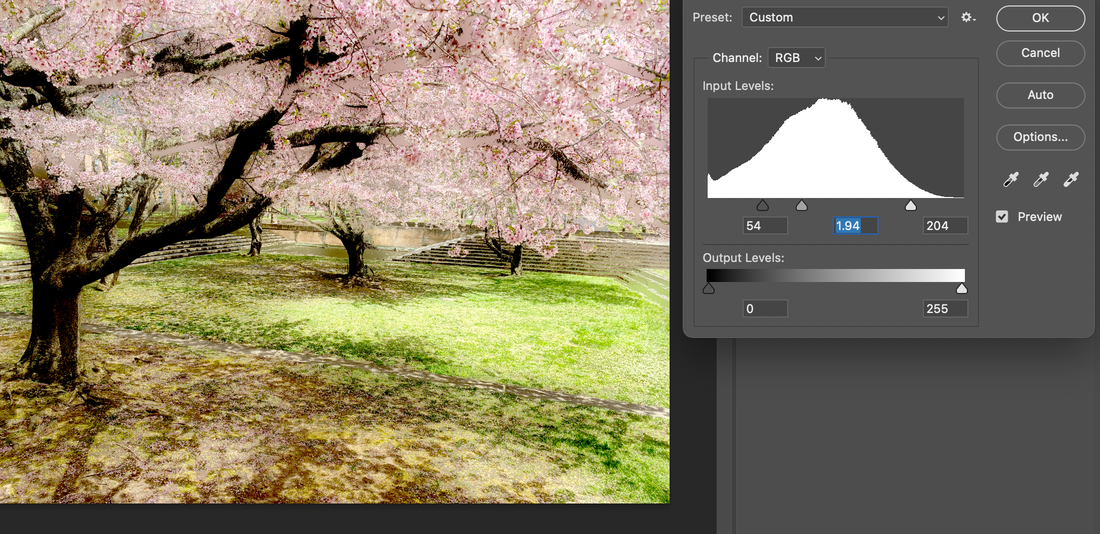 And then go to Image--> Adjustments again and for this time, you have to go Replace Color to change black branches to different color. 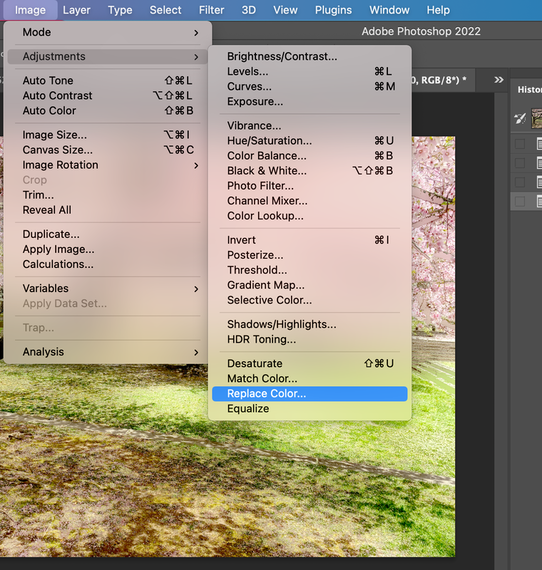 With color Pipette, you can pick the black branch and tree body and adjust the color such as Hue, Saturation and Lightness like below. 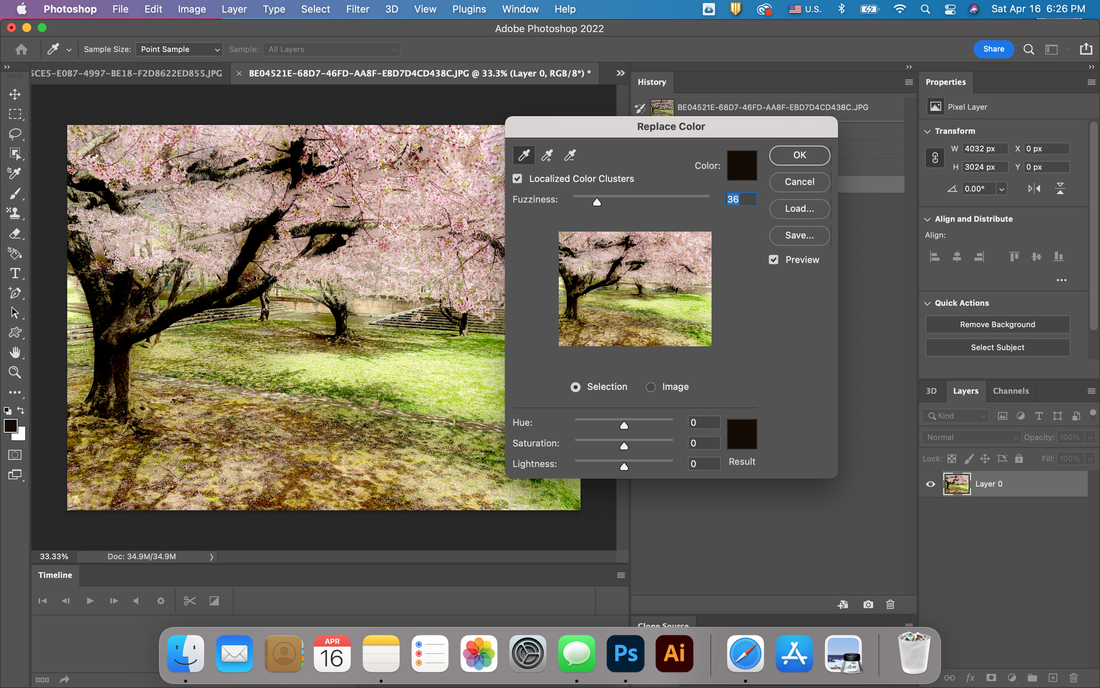 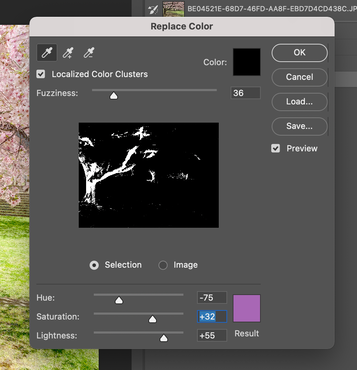 Below is the result from change the replacement of the selected color. 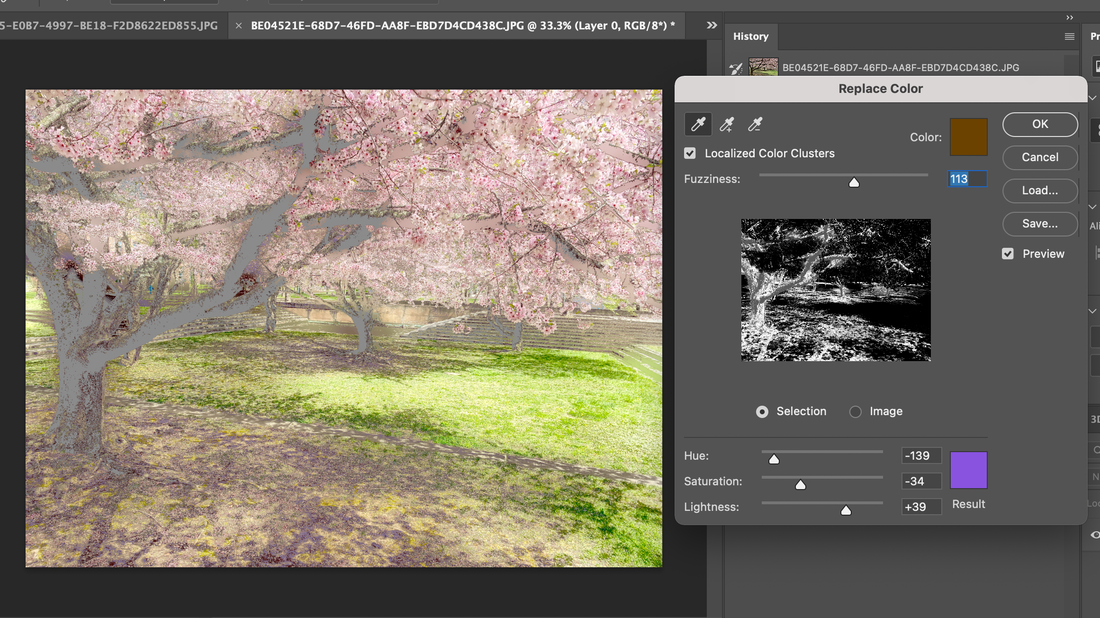 And also I open another photo. I took a photo for expressing falling pedals from the trees. It is the ground after the flowers falling down. 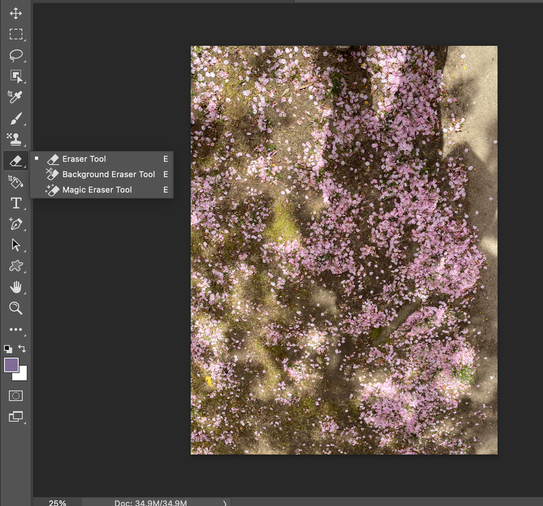 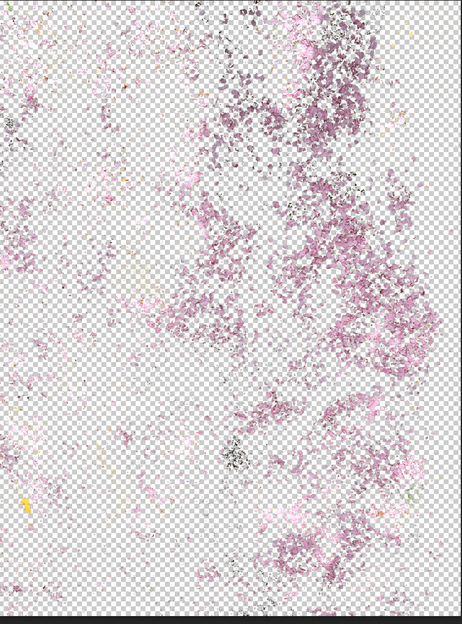 By using Magic eraser tool, you have to remove the background image and left only pink pedals. And copy and paste it on the first making image. 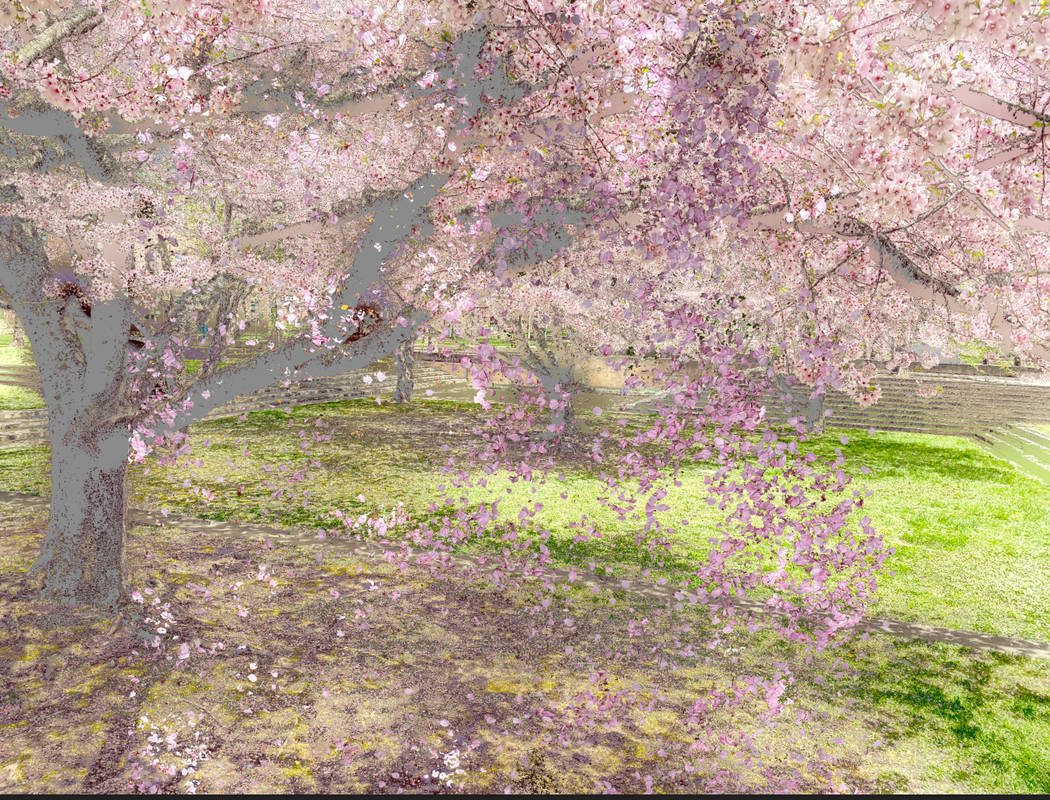 In this time, I made each layer's name as follow as below.  For expressing flying pedals, I go to Filter--> Liquify with selecting the falling pedals layer. 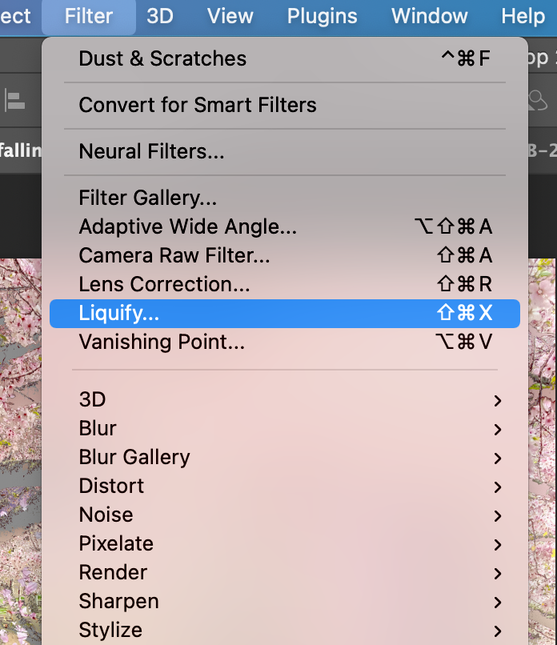 With moving tool, I made some waving like below. 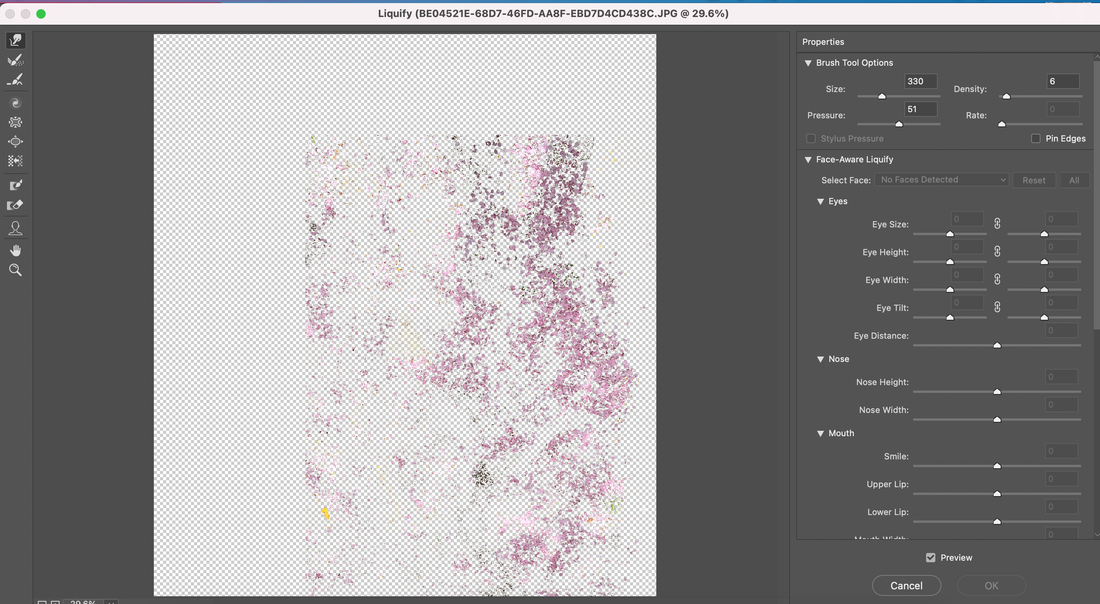 For describing the shiny falling pedals, I move to Image---> Adjustments---> Brightness/Contrast.  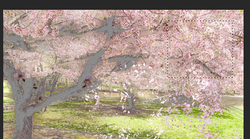 And then, I pick the some part of cherry blossoms with selecting tool like above. After that, I copy and paste on the trees layer. 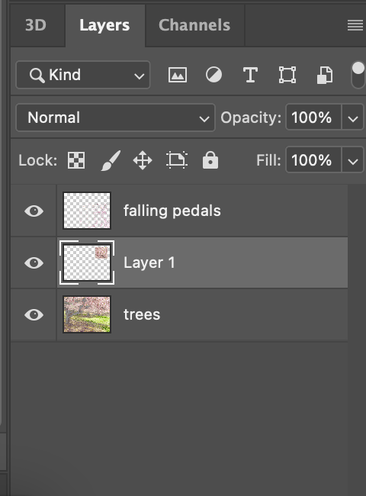 I will be replaced to middle area instead of other background. 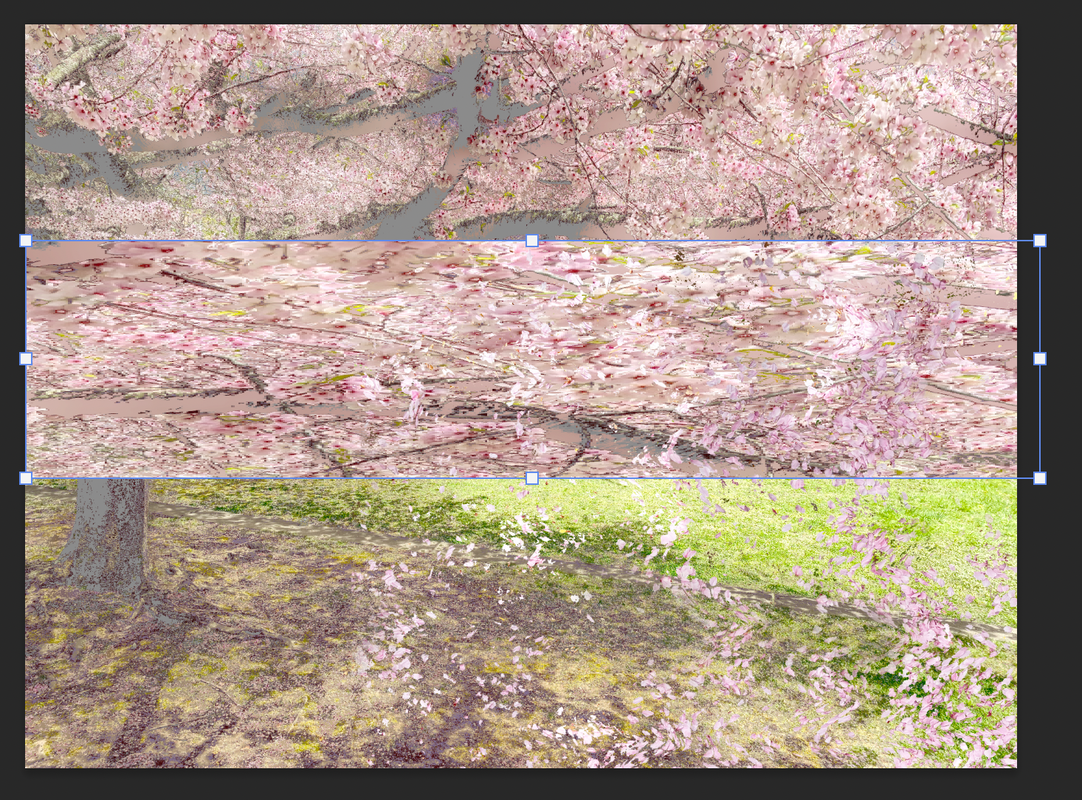 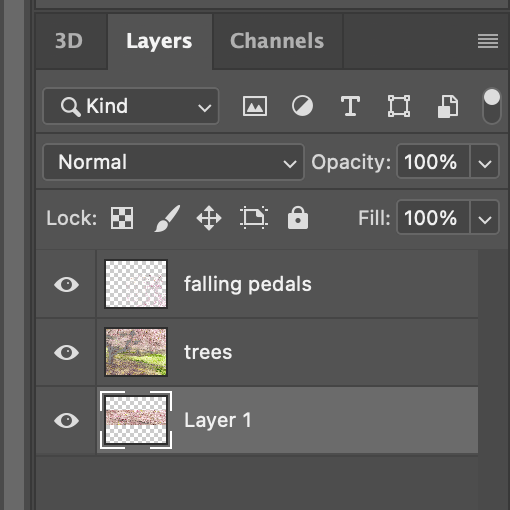 Look at this image, it looks a little perfect. For perfection, I change the light green color with changing the Hue and Saturation mode. 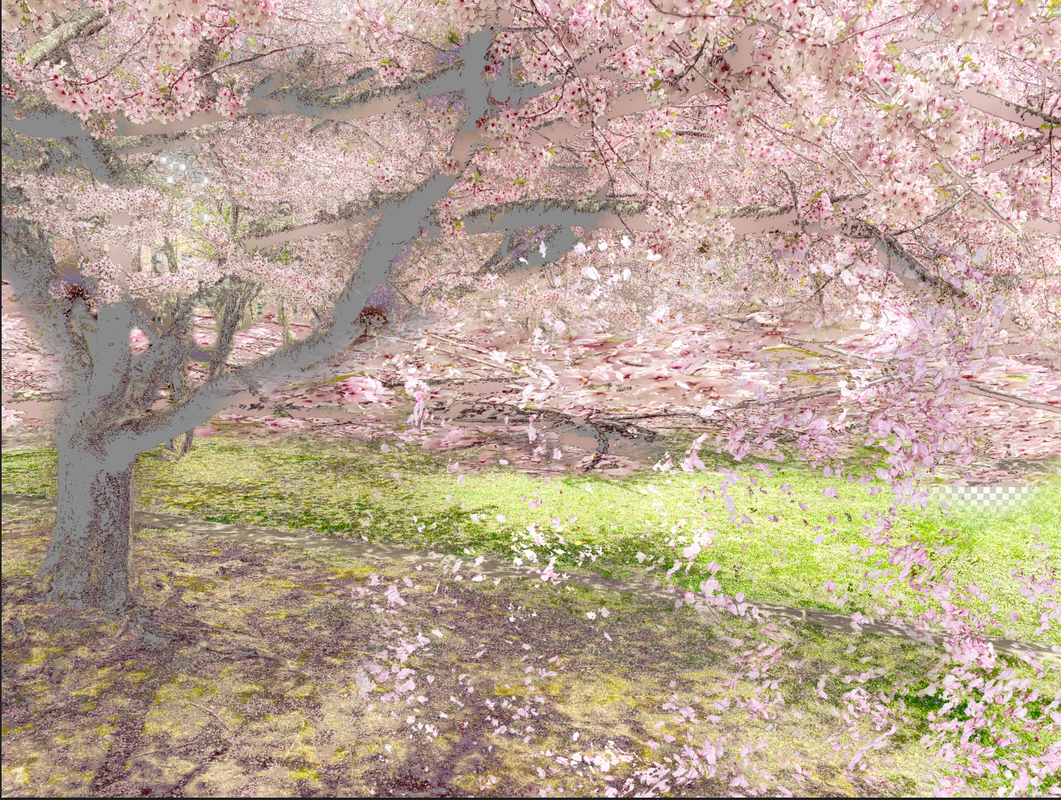 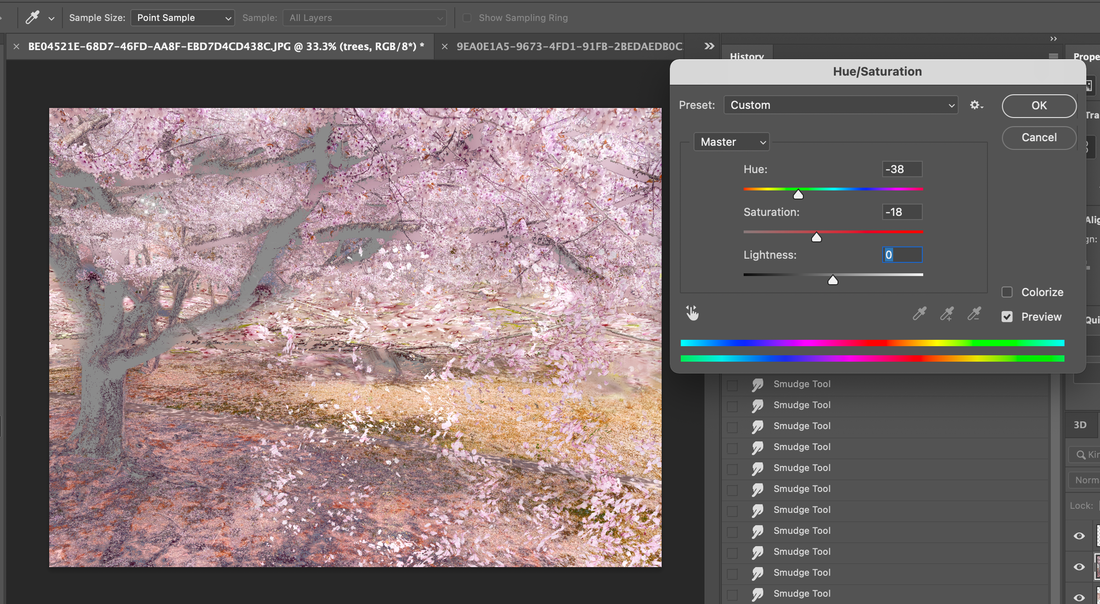 For effect of shining bright pedals, I made some lens flare effect as follow as below. 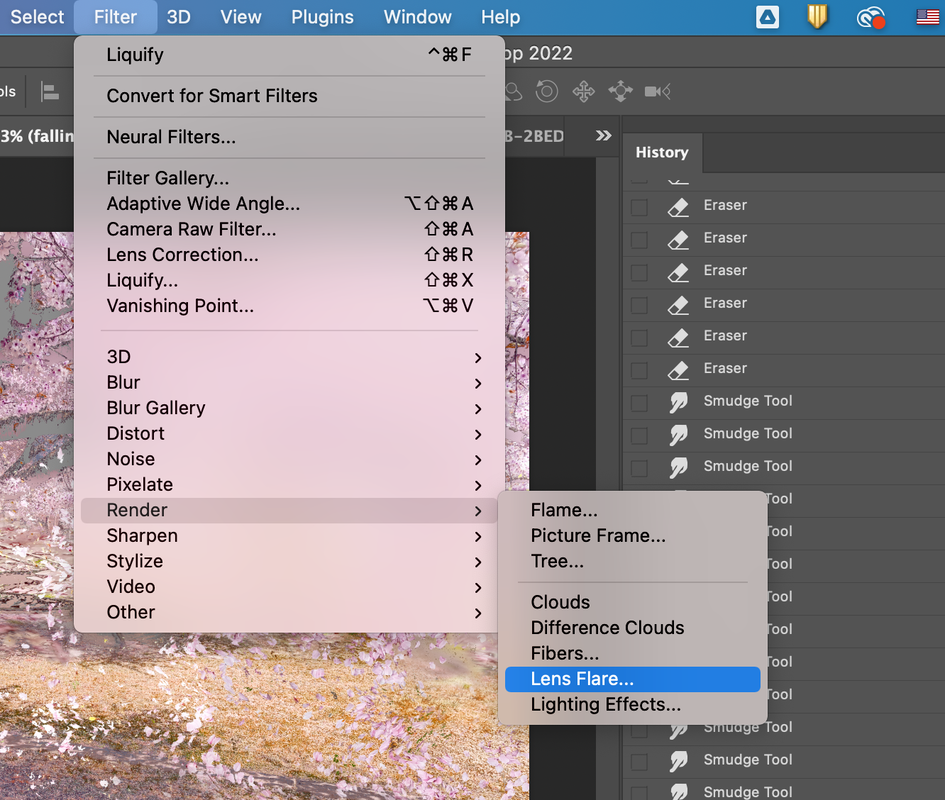 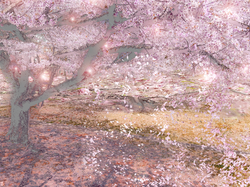 Here is the result!
0 Comments
Leave a Reply. |
Myungja Anna KohArtist Categories
All
Archives
July 2024
|

|
Tutorial |

 RSS Feed