How to make an animation gif file with photoshop easily. Below are the files that Joyce in 8th grade drew in watercolor and made various expressions with digital files herself. I want to show you how to turn this file into a moving animation file. First, go to file--> Scripts--> Load Files into Stack. 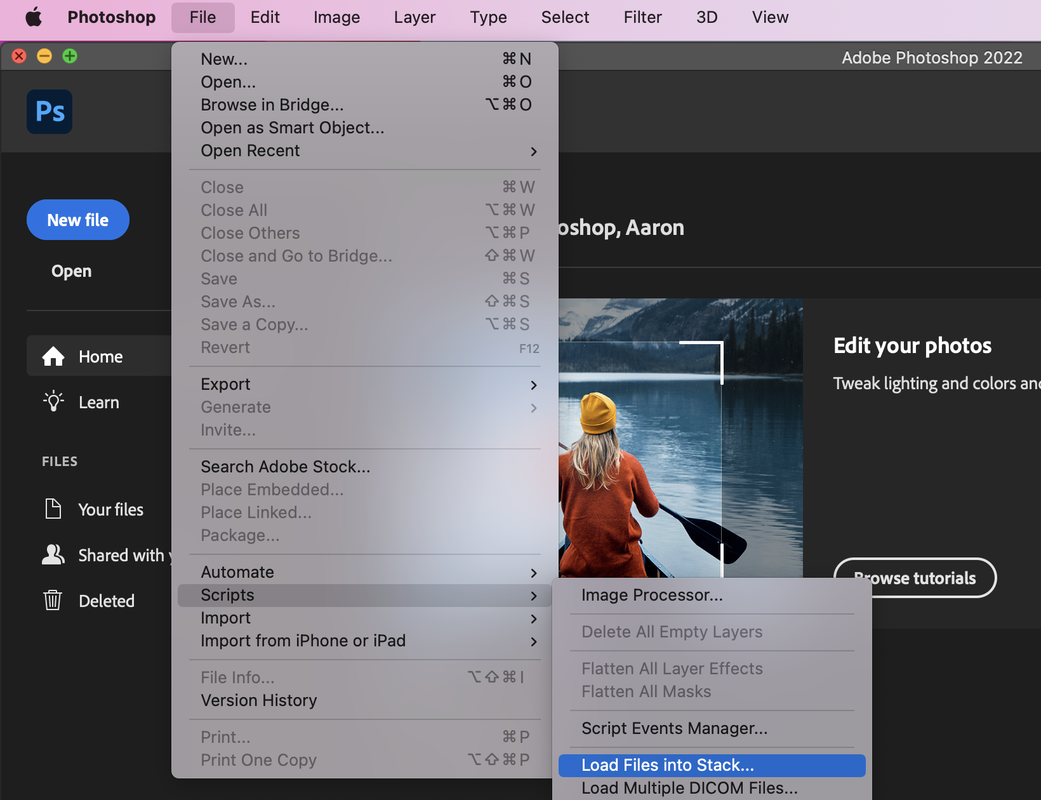 You can browse your files. 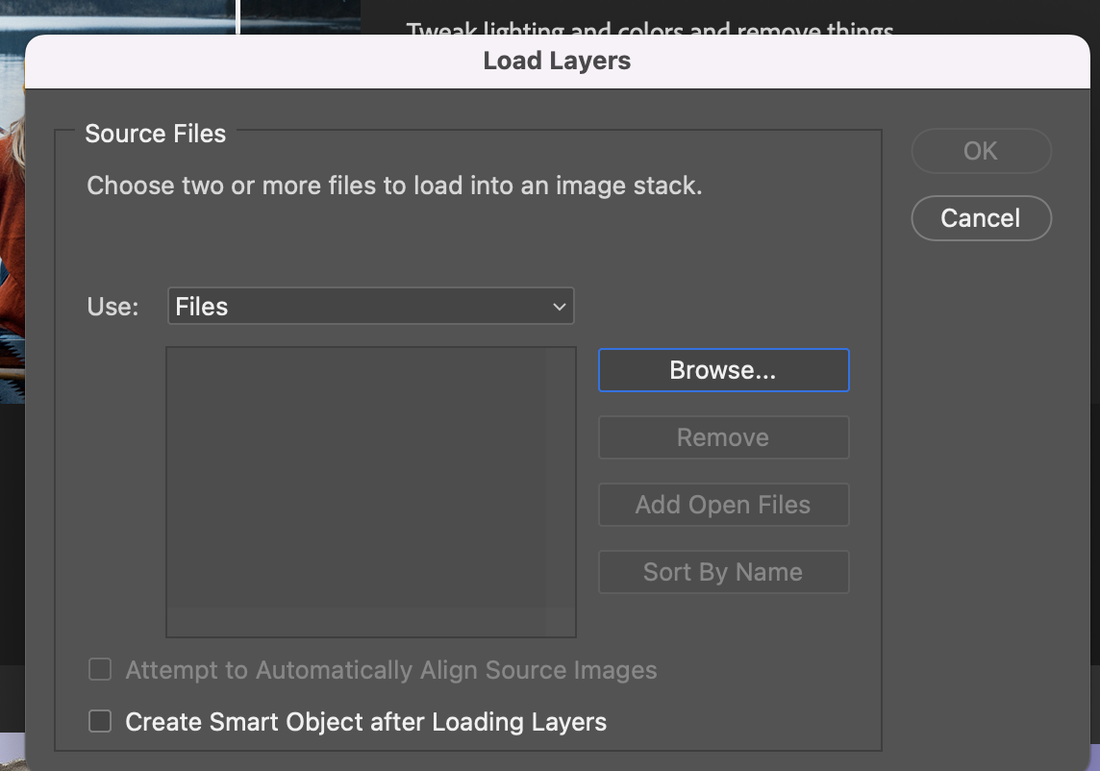 You can check the all files and click the OK button. 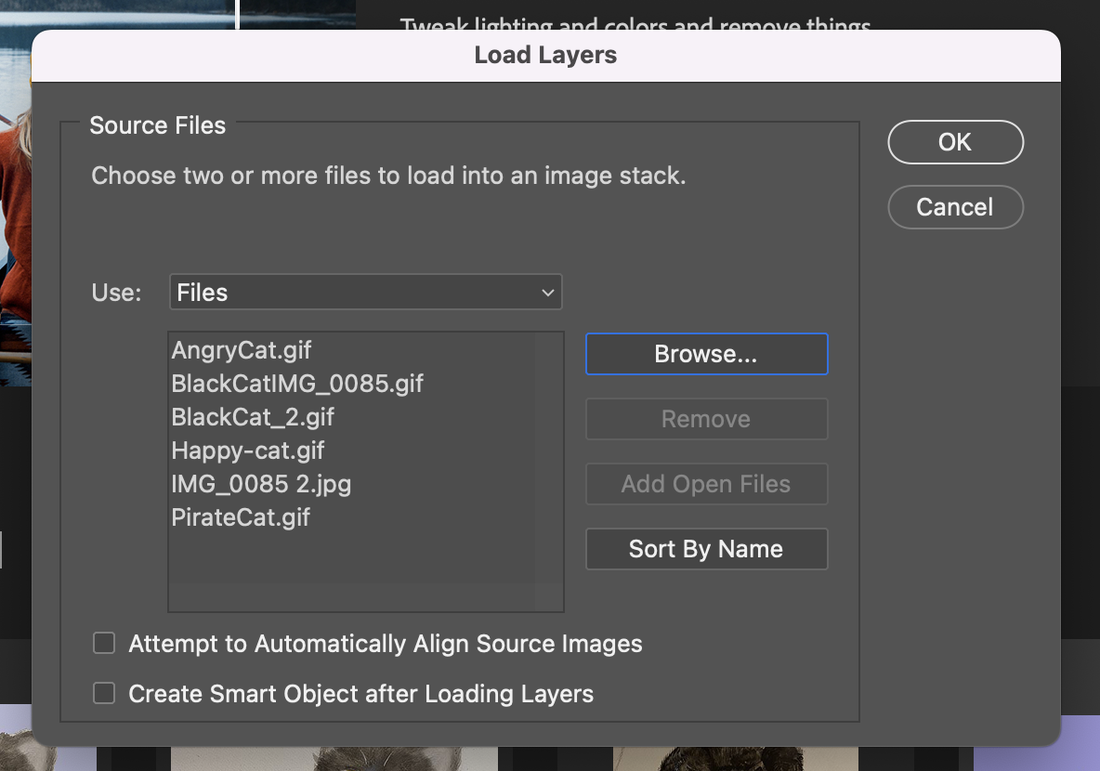 Go to window--> Timeline and double click the Create Frame Animation menu. 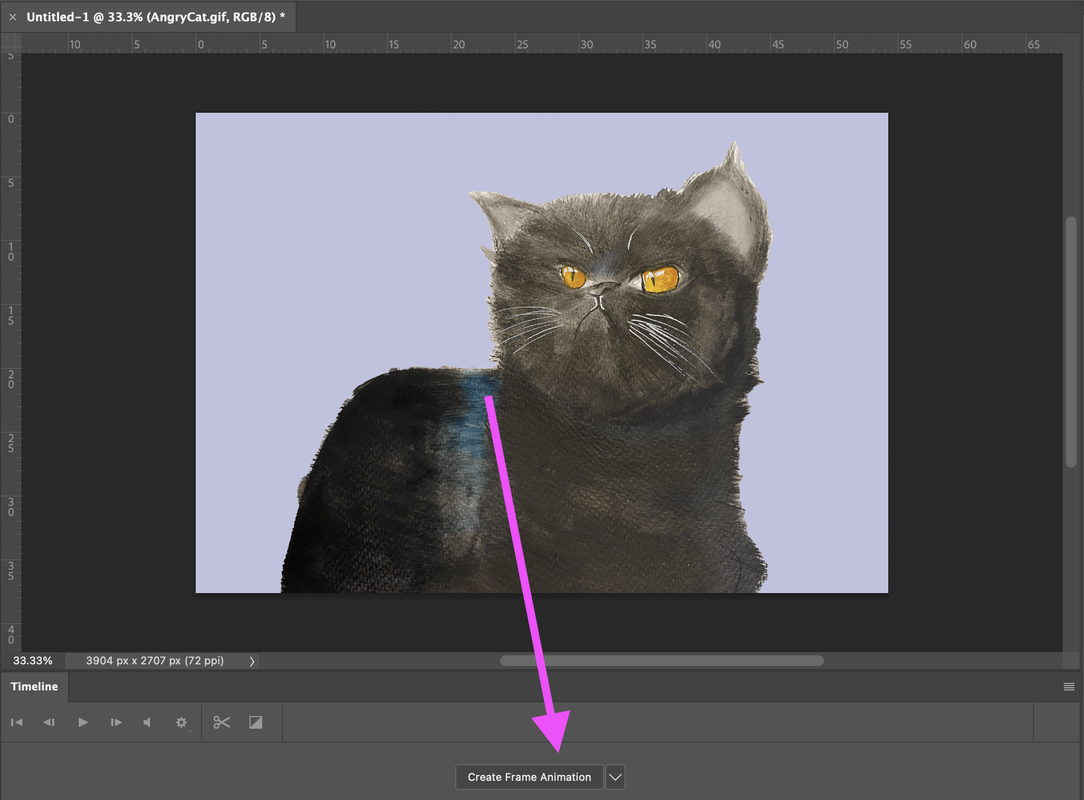 You can go to the below purple arrowed area. 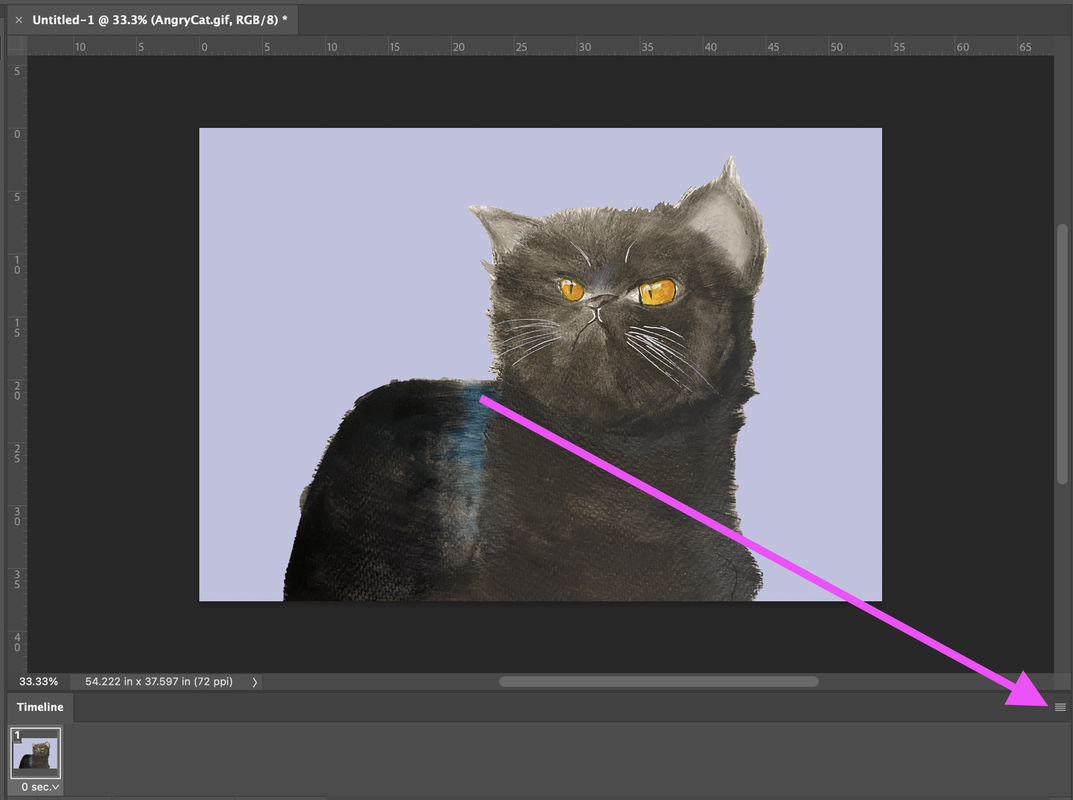 And check the menu with Create New Layer for Each New Frame. 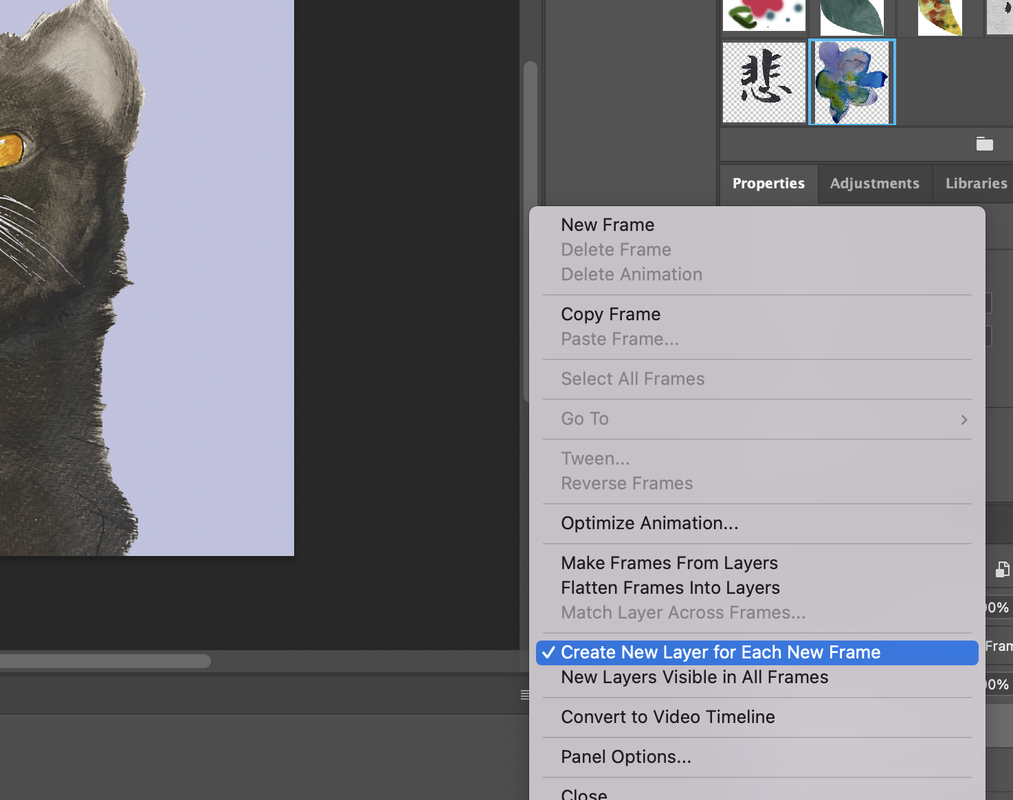 Go to Select ---> All Layers. 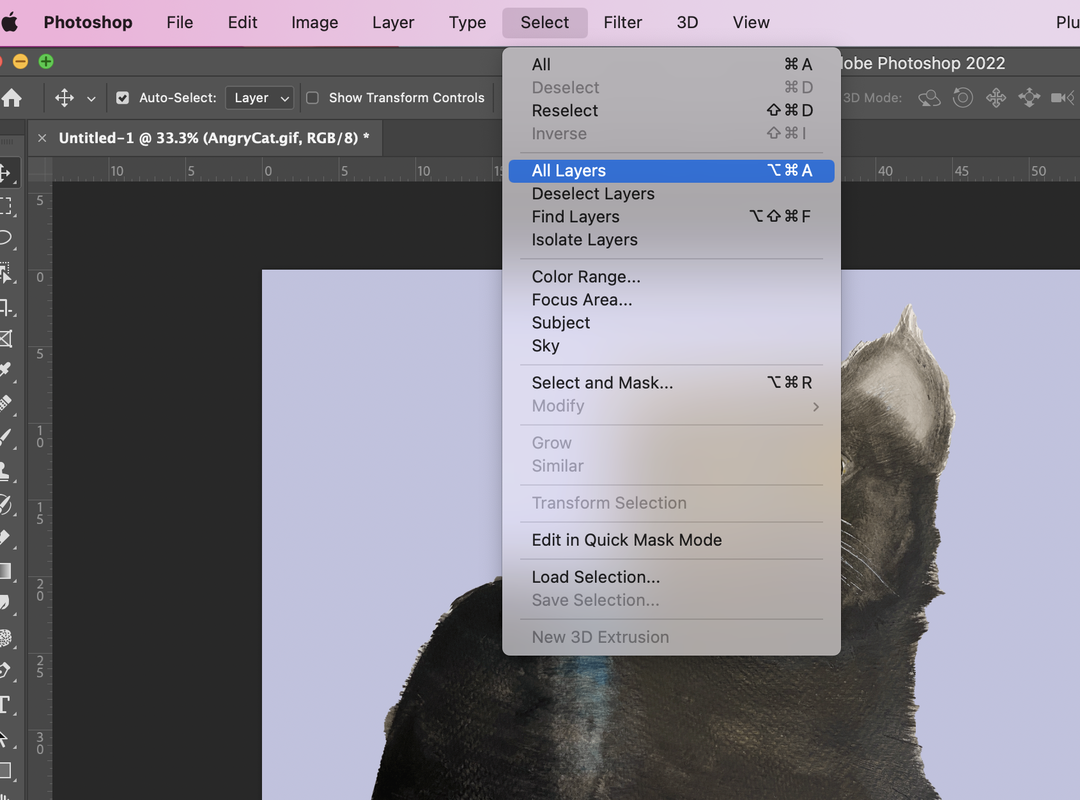 Then return to the menu and click the "Make Frames From Layers". 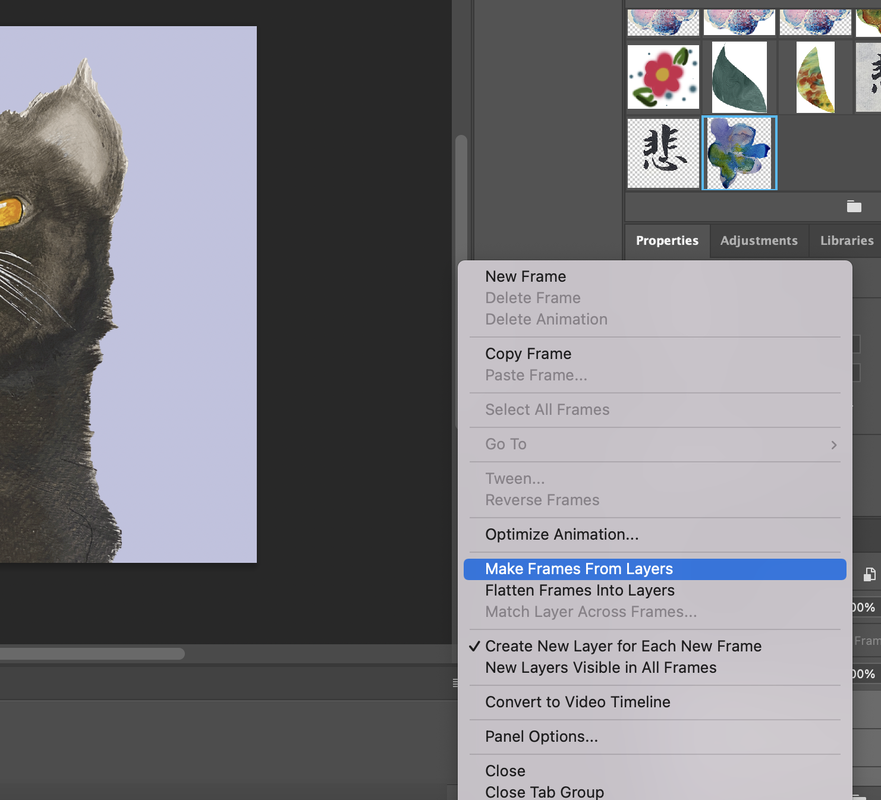 Check the moving cat. 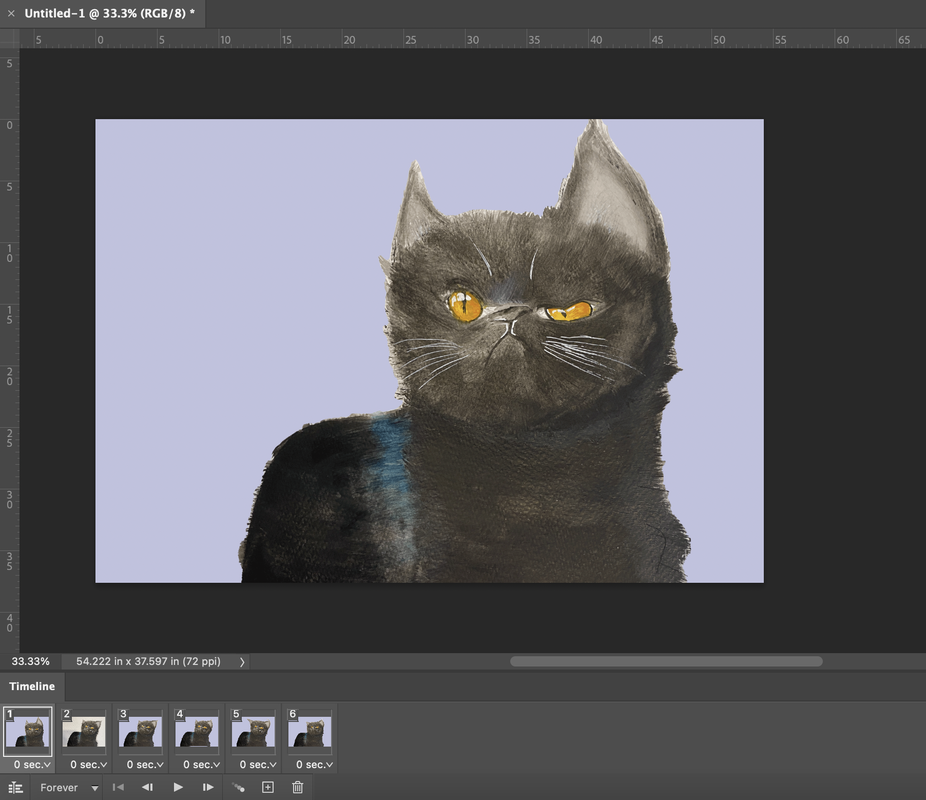 Go to the File--> Export---> Save for Web for saving as a moving gif file. 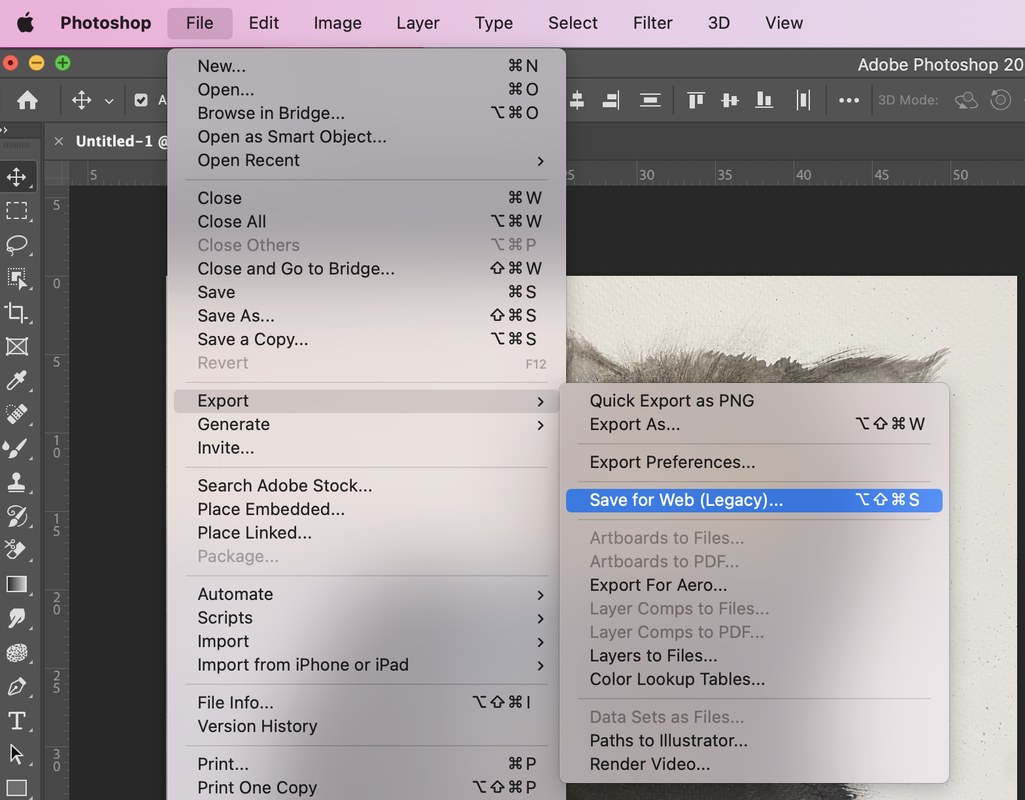 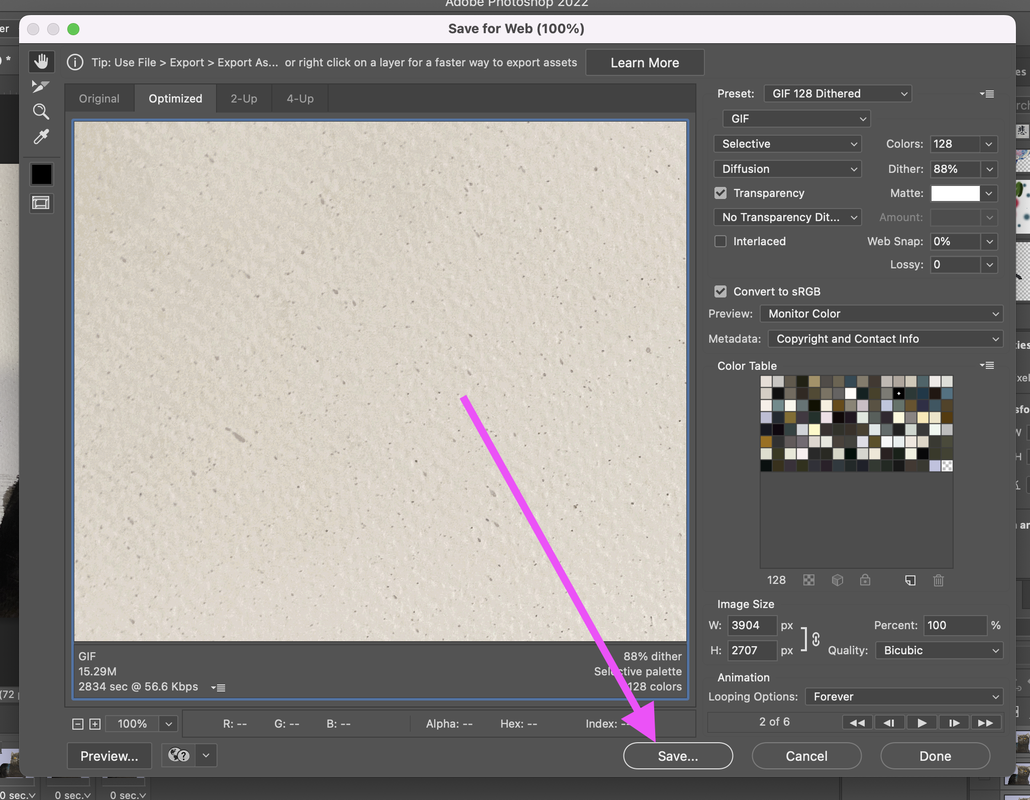
0 Comments
Character Creation 2: Napa cabbage, Porgy!  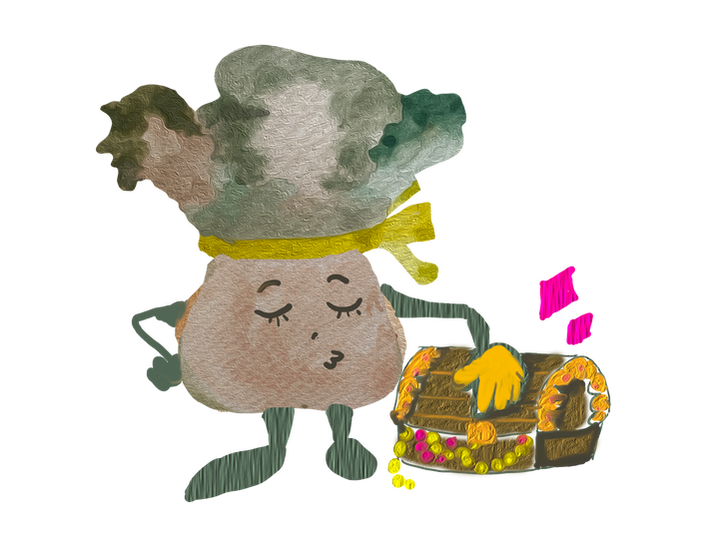 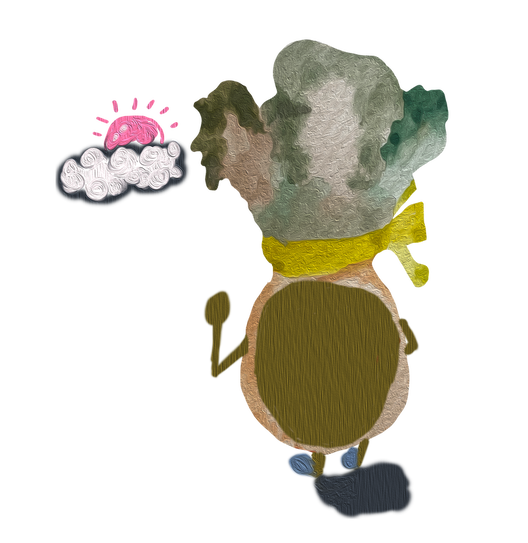 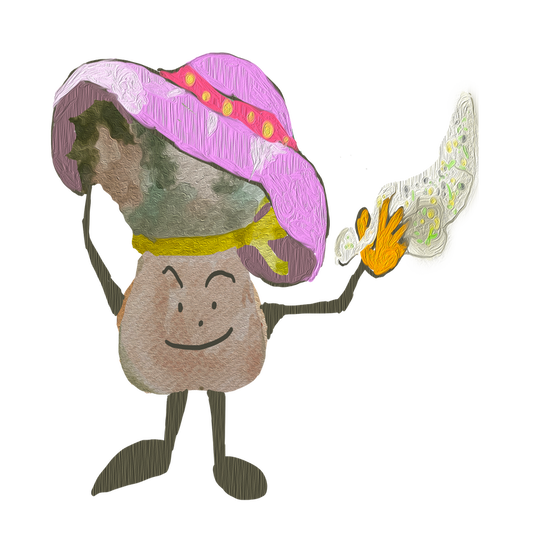  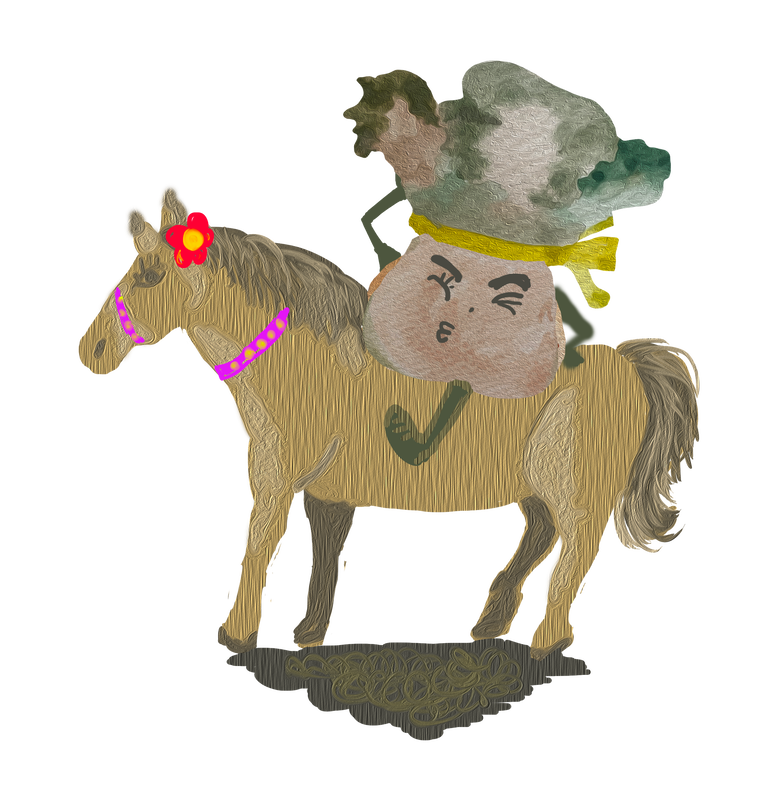   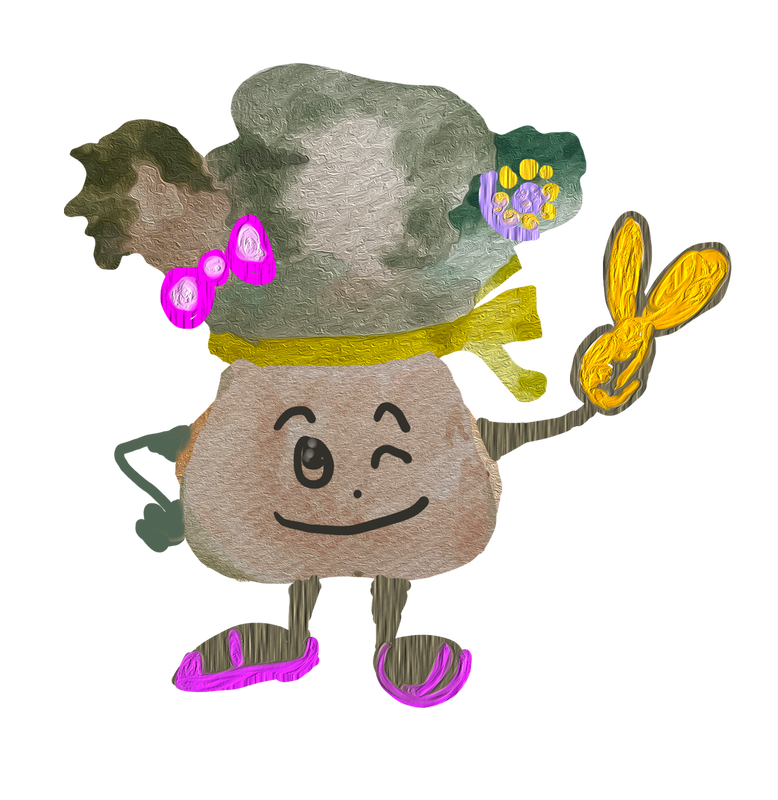  Character Creation: Napa cabbage, Porgy! 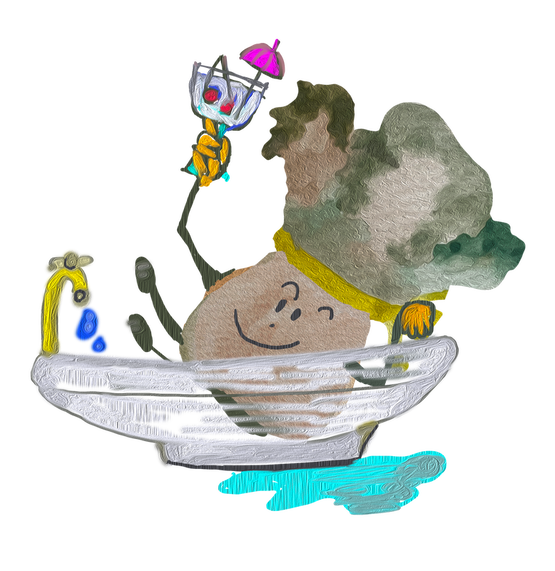  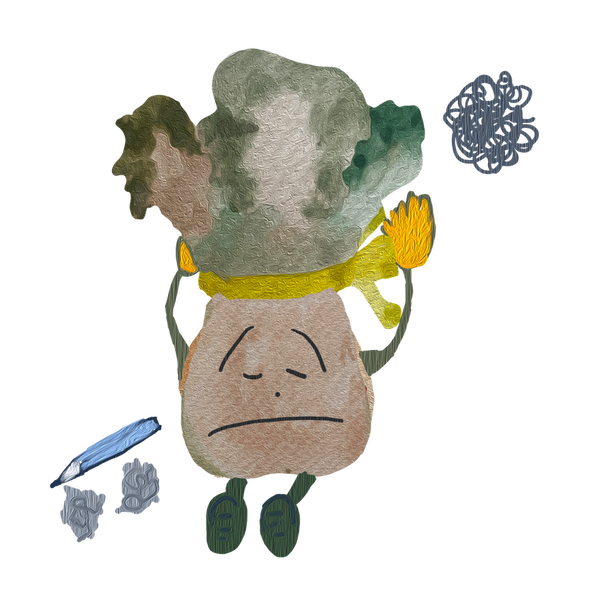    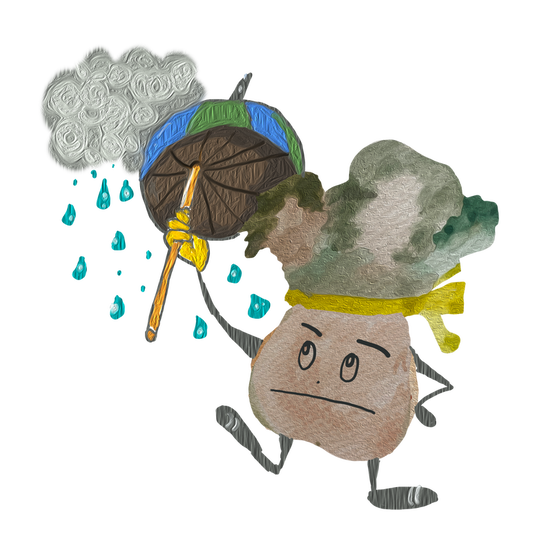     Let's make it look like Seurat's painting in Photoshop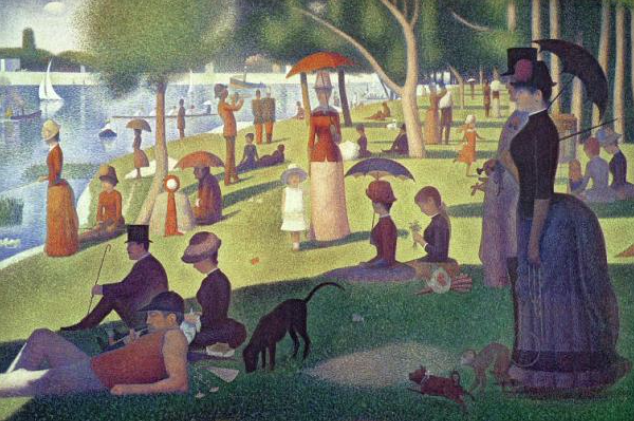 Sunday Afternoon on the Island of La Grande Jatte, Georges Seurat In the mid-19th century, the invention of photography and the advent of optics forced painters to explore new art. Before photography was invented, painters' attention was focused solely on how realistically they depict reality. Painters who had no choice but to seek new art, one of them was Impressionism, which drew objects that change subtly according to the light of the sun in a bright outdoor environment. What the Impressionists wanted to paint was light. The reason why the Impressionists wanted to paint light was because they believed that all things in the world had their shape revealed by light, and that the feeling and shape changed according to the strength and weakness of light. The Impressionists tried to quickly paint the instantaneous image of an object that was changed in a strange moment by the rays of the sun. However, the Impressionists tried to paint a picture as bright as light, but they could not avoid making the picture cloudy. In 1886, a painter who could solve this problem of Impressionist art appeared, and he was Georges Seurat (1859-1891). The above picture is Seurat's masterpiece <Sunday Afternoon on the Island of Grande Jatte; A Sunday Afternoon on the Island of La Grande Jatte>. Seurat, like his senior Impressionist painters, was interested in the reproduction of sparkling light. Seurat painted in a way different from that of his predecessors, Impressionists. Seurat did not simply capture the impression of light and transfer it to the canvas. Instead, he persistently analyzed light scientifically. Then, I took a color dot and transferred it to the canvas. Georges Seurat, who understood better than anyone else, that colors become cloudy due to subtractive mixing, did not mix colors. Instead, he overcame the problems of Impressionism by using the pointilism technique of painting small dots of pure color. Today I would like to change one of my travel images to something similar to Seurat's pointillism. Below are some street photos I took during my trip to Portugal. I'm trying to change this seemingly ordinary photo using pointillism. 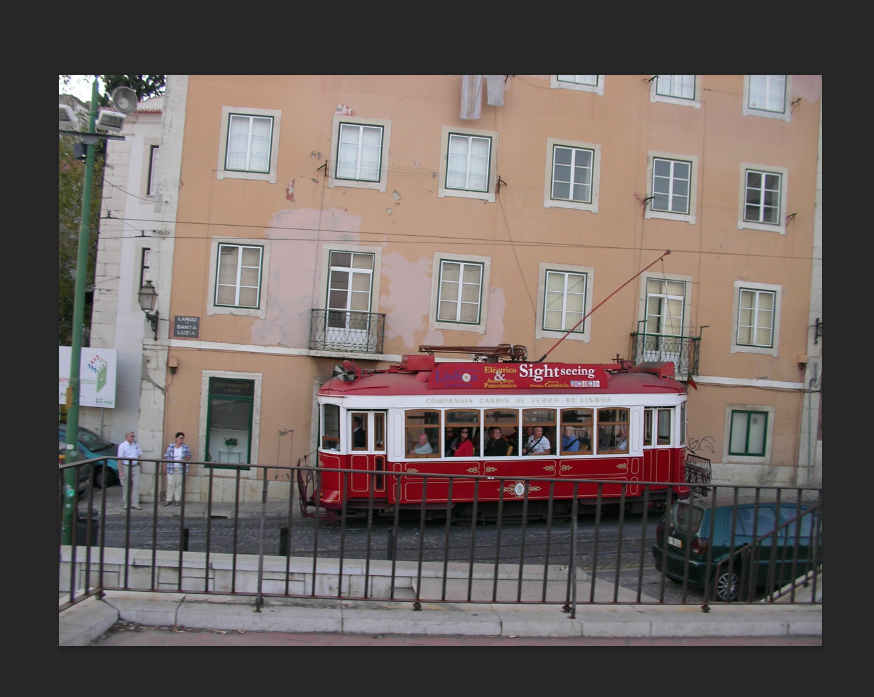 First, move Filter---> Pixelate like below. 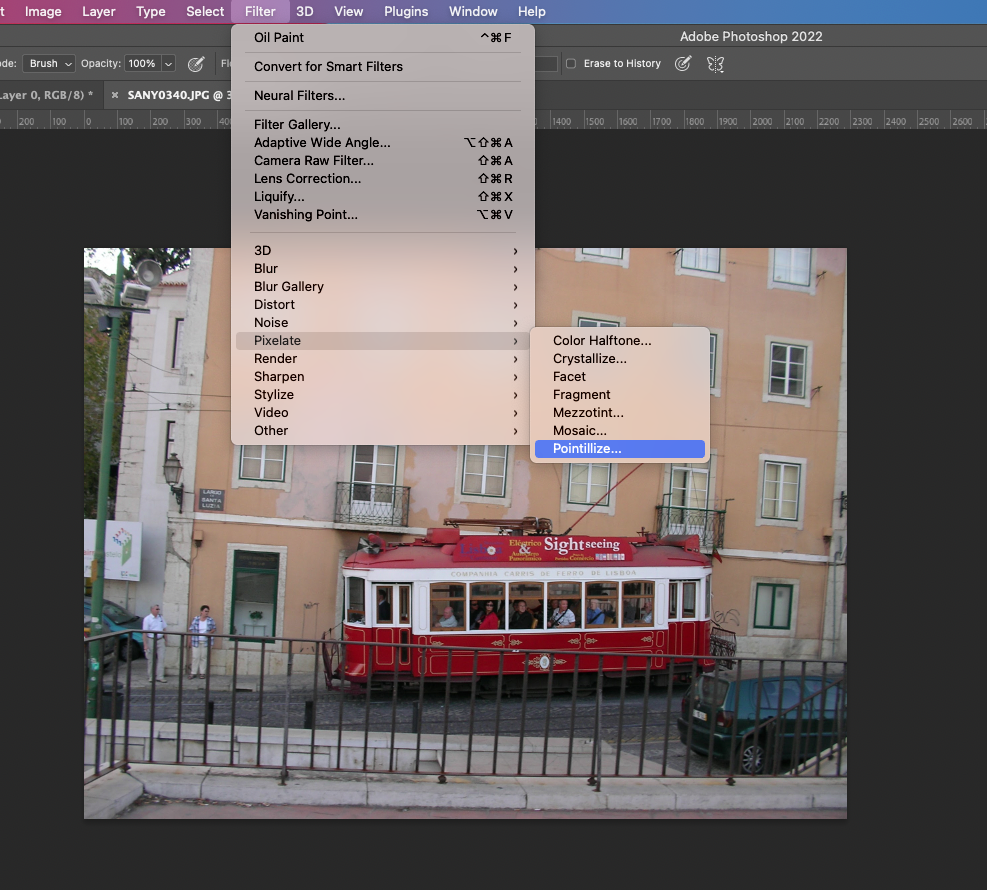 You can resize the cells to any shape you want.  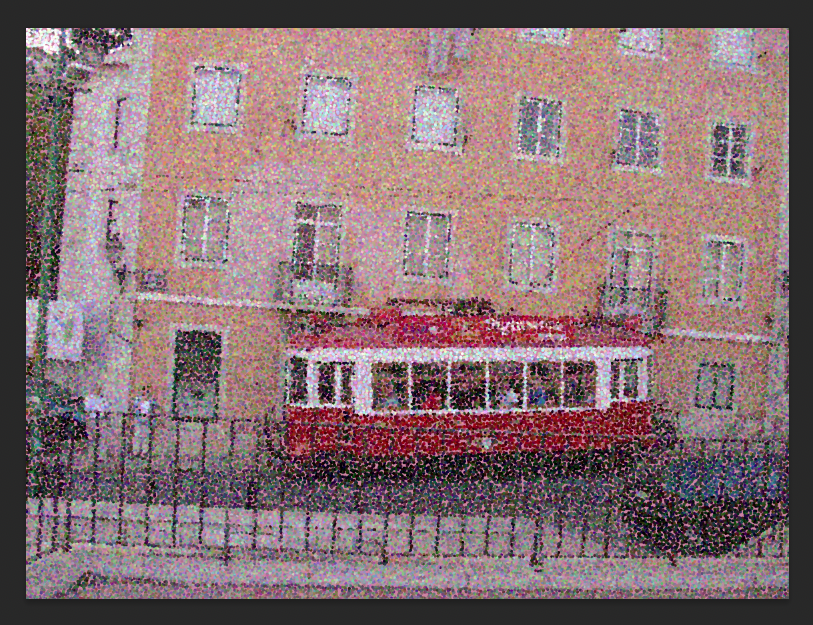 Then, adjust the saturation, contrast, brightness, etc. to get the image you want.  Seurat spent two years drawing one work. Because I had to complete the painting by making small dots on a large canvas that is over 3 meters high. Would Seurat be happier if Photoshop had existed at that time? Below is the finished look. 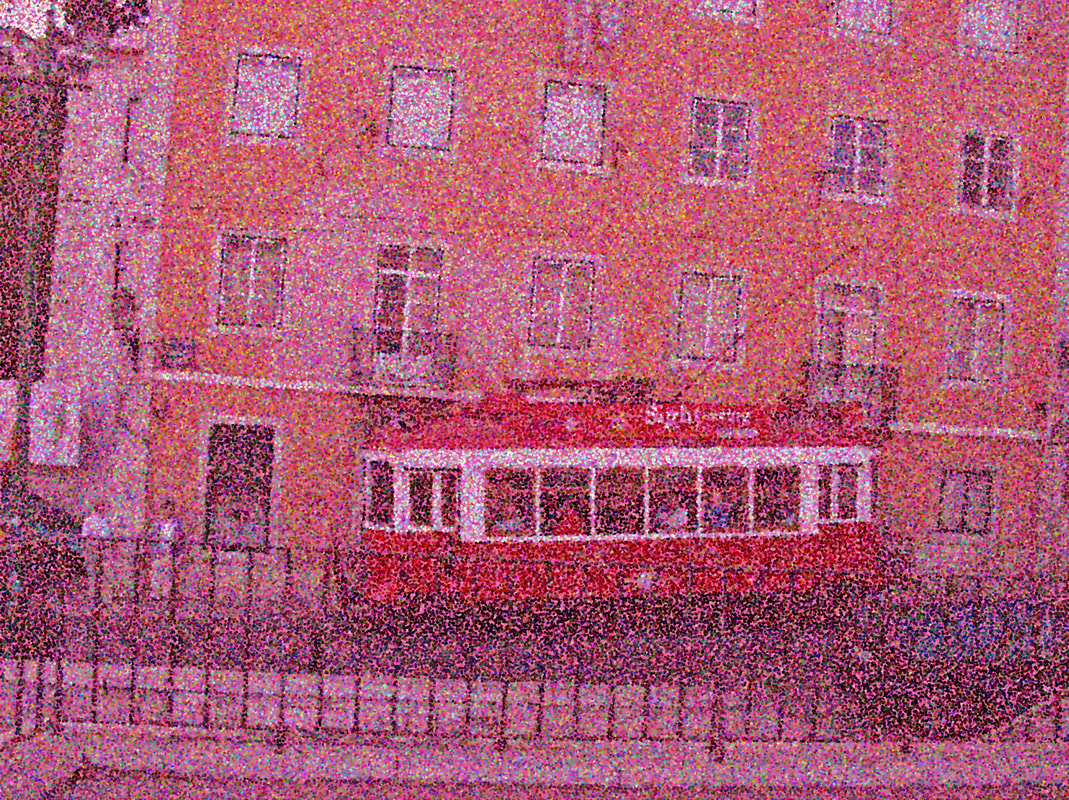 Sea story, digital art, seascape with various feelings The sea is not always shaped the same. The shape of the sea is constantly changing, such as the rushing waves, the wind, and the colors created by the sun's rays. With these changes, the sea approaches us in various ways. I took the time today to create a digital image of this feeling of the sea. 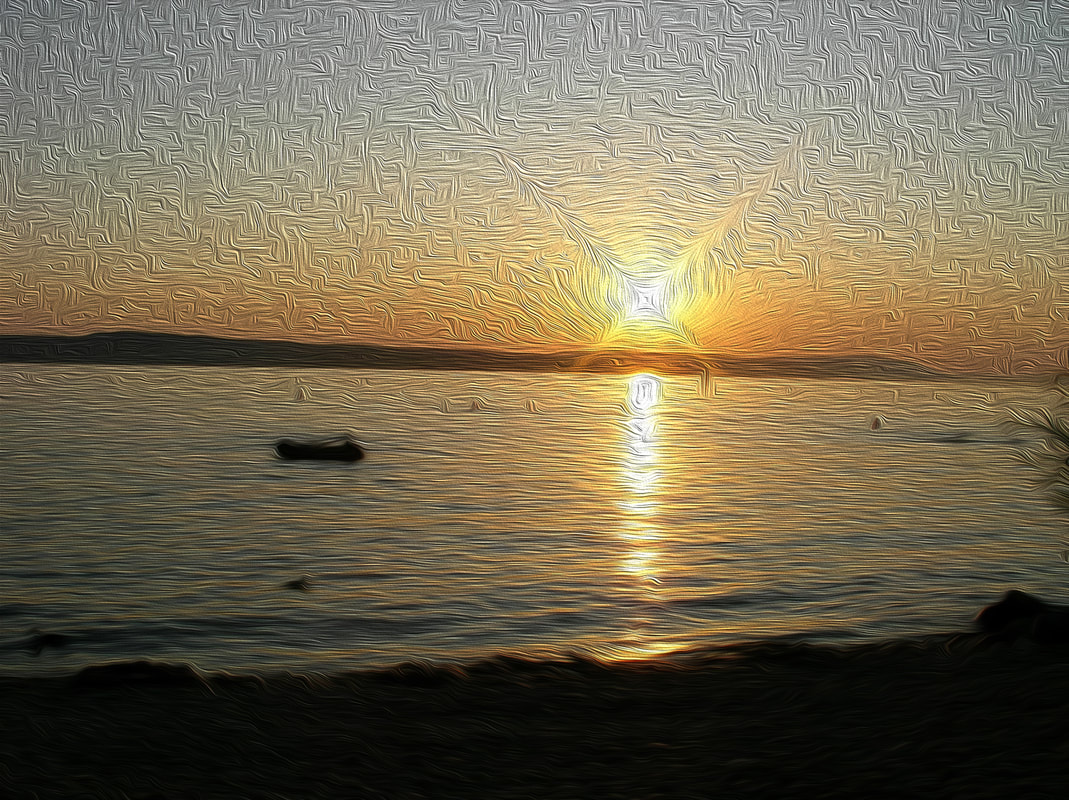 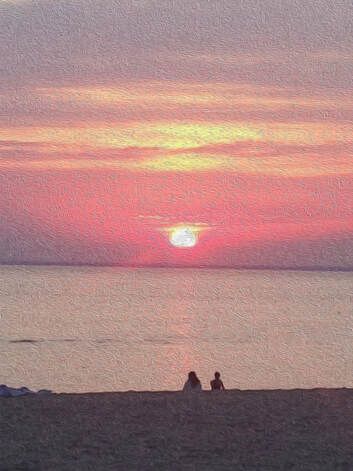 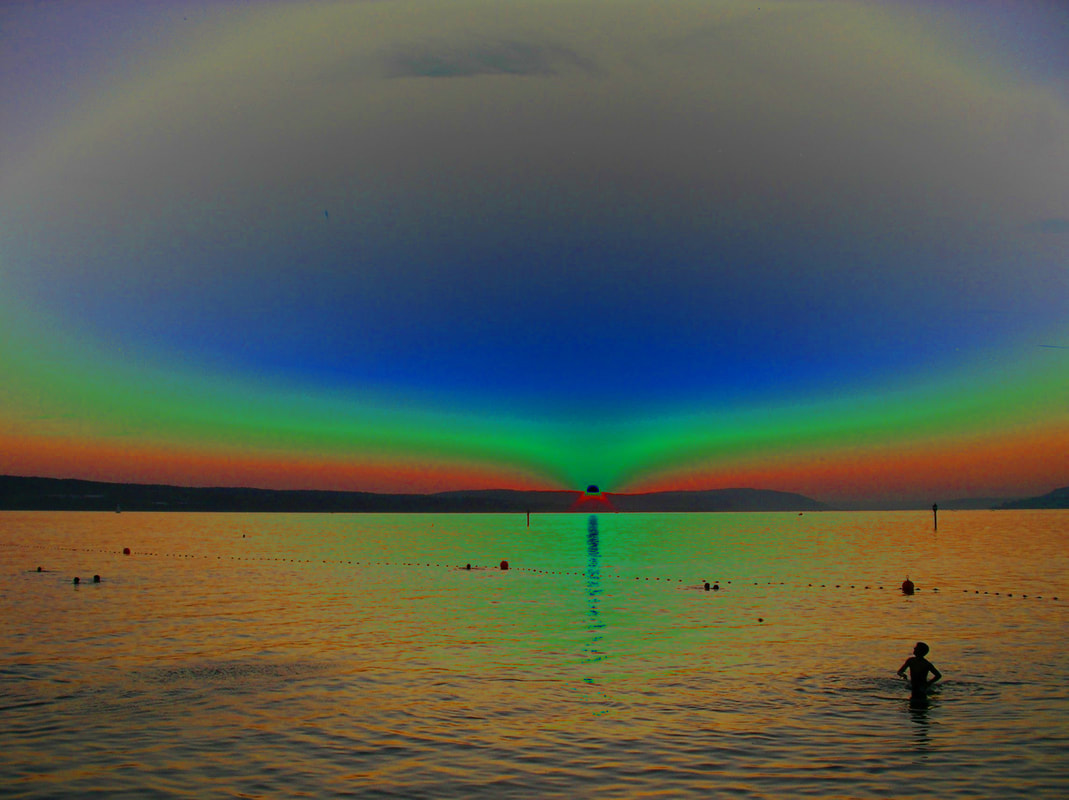  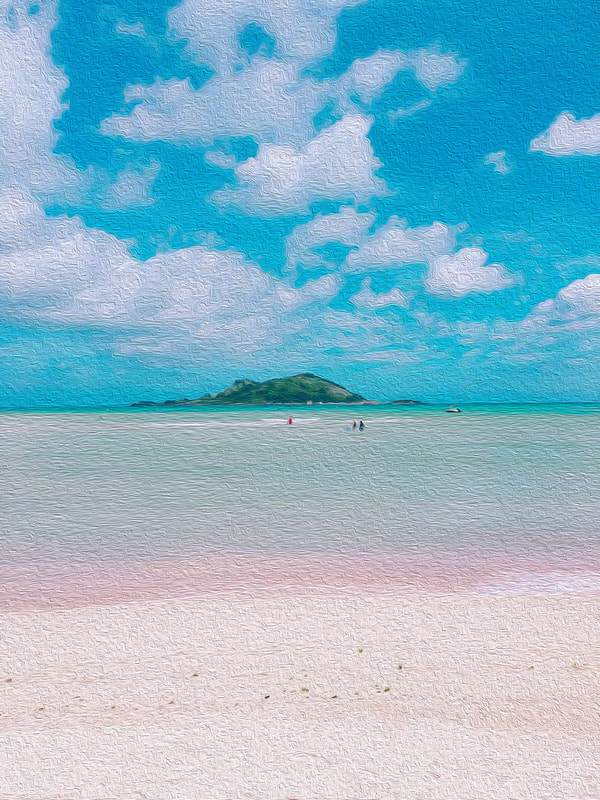 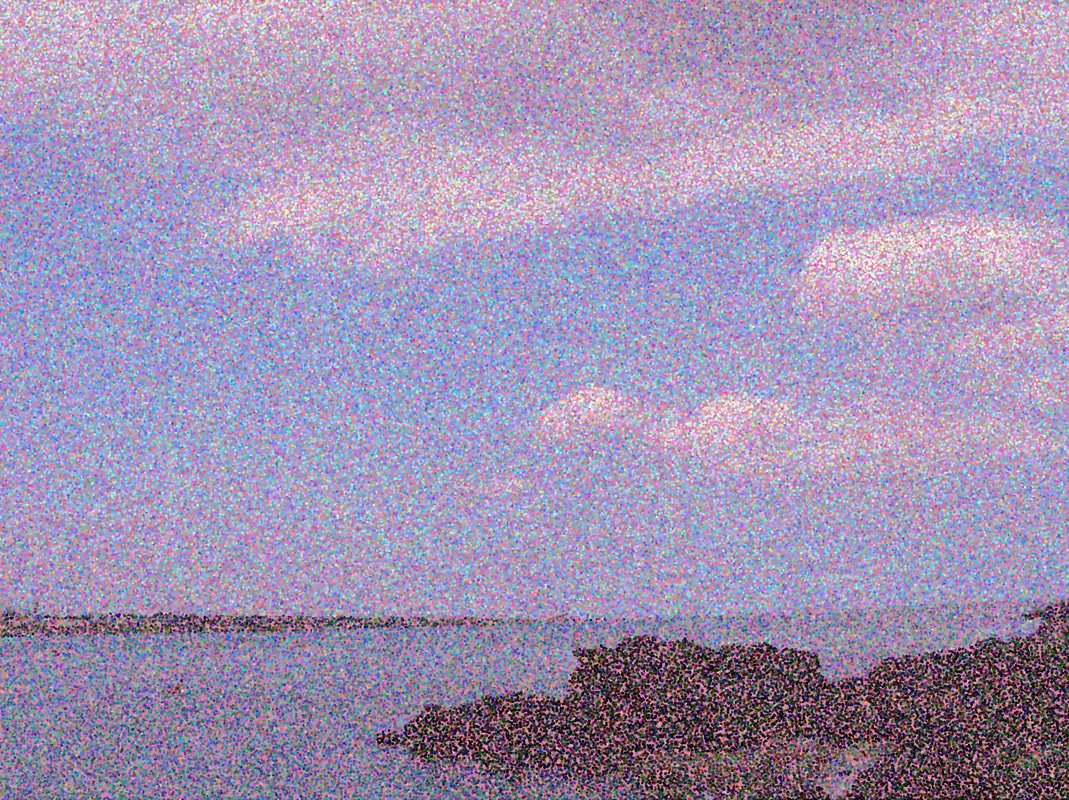   |
Myungja Anna KohArtist Categories
All
Archives
April 2024
|

|
Tutorial |


 RSS Feed