Refine edges around hair in Photoshop! Today, we will change the background color of the model image below. Usually, when changing the background of a photo of a model with fine or curl hairs as shown below, it is not easy to change the background cleanly. 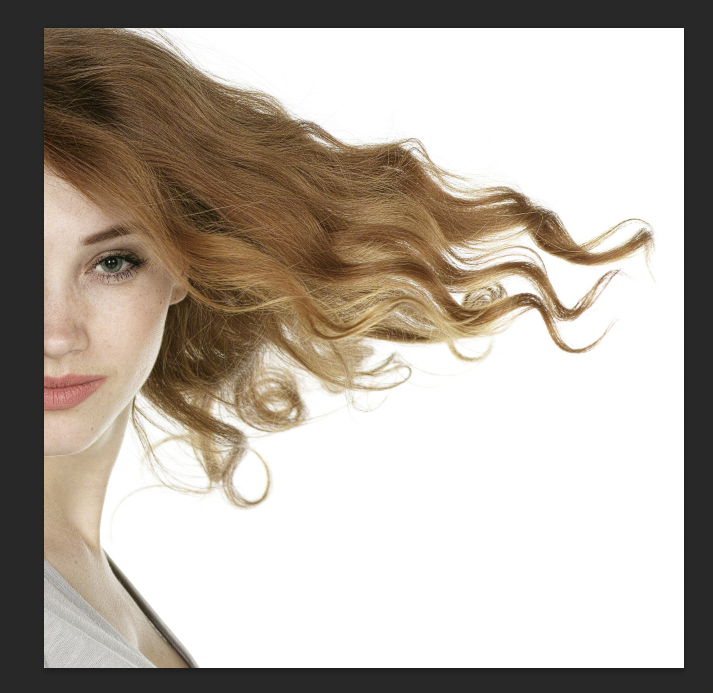 The space between the fine hairs will remain in the previous color as shown below. 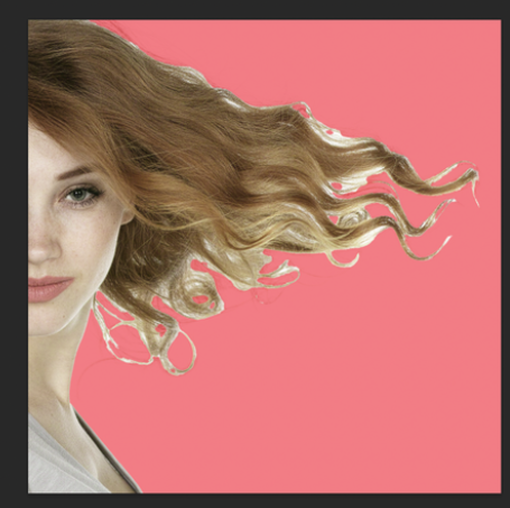 The tip below is to arrange the unaltered space in between so that the background can be changed more naturally and cleanly. First, you have to choose Object Selection Tool on the left side bar. 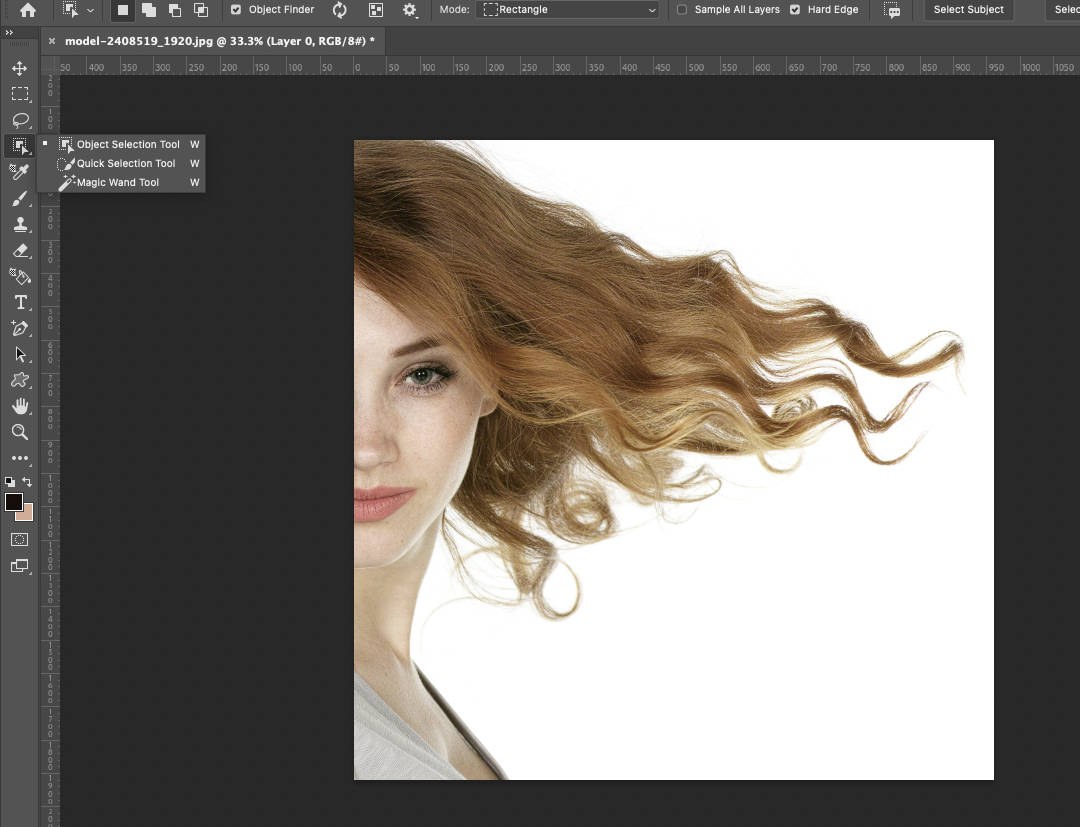 If you click the body part, you will see blue filed as below. It means that it was selected by that tool. 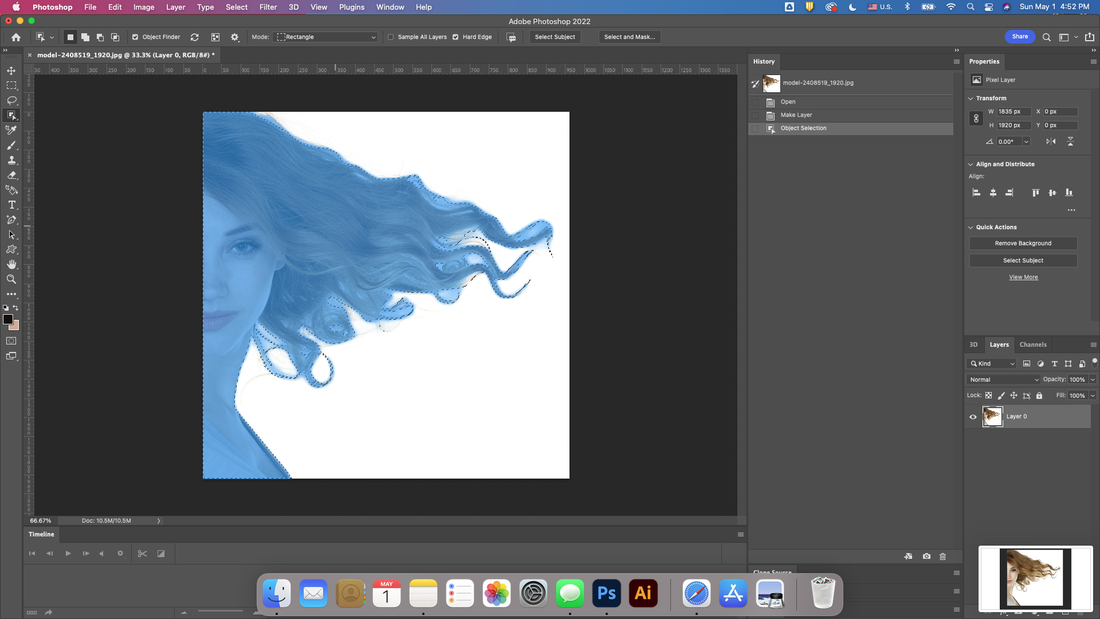 Next, go to Select and Mask menu with click on the right side of the top menu bar like below. 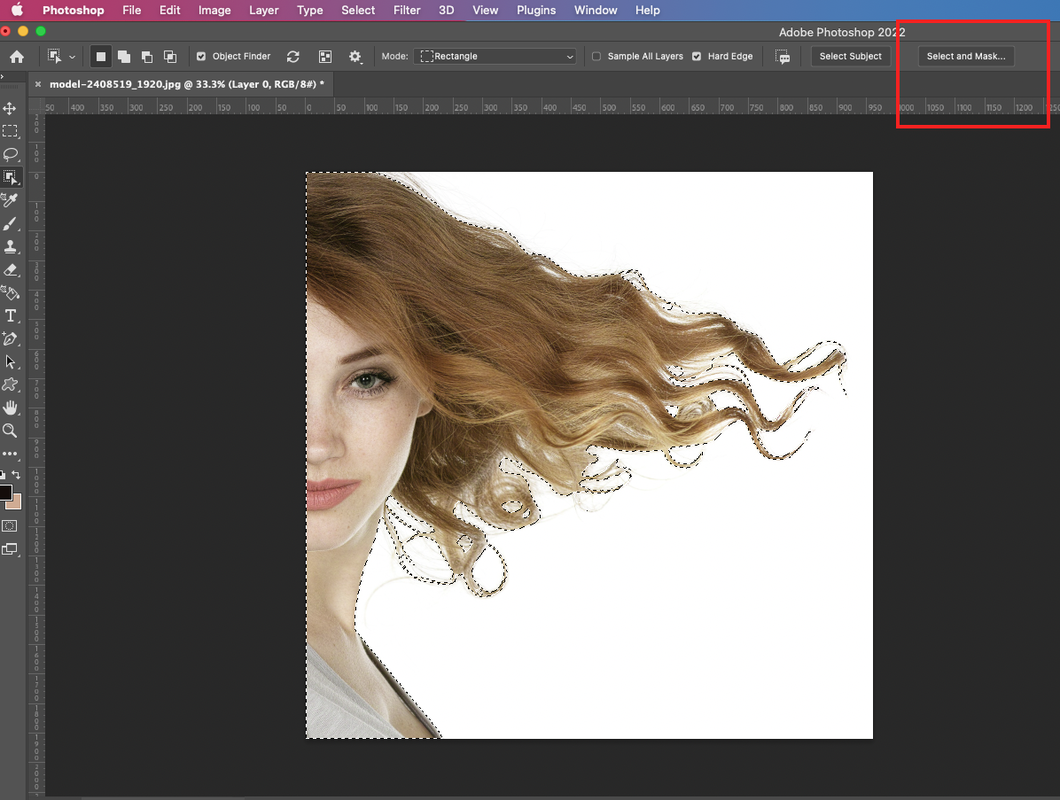 You have to pay attention to see the right side bar. 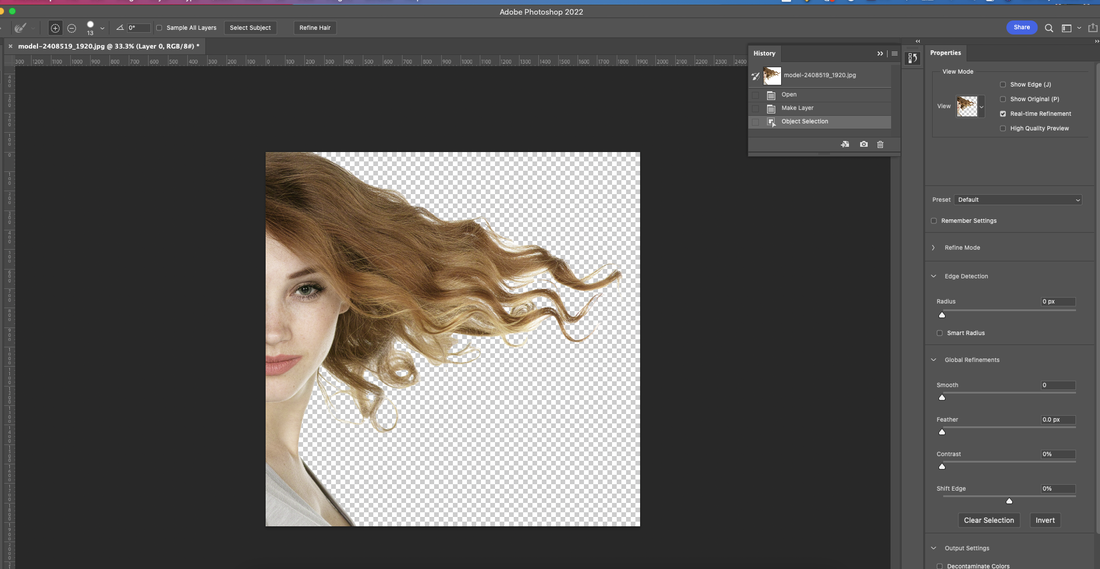 Click the View option of Properties and drop down to select it. Choose the Overlay(pink one). 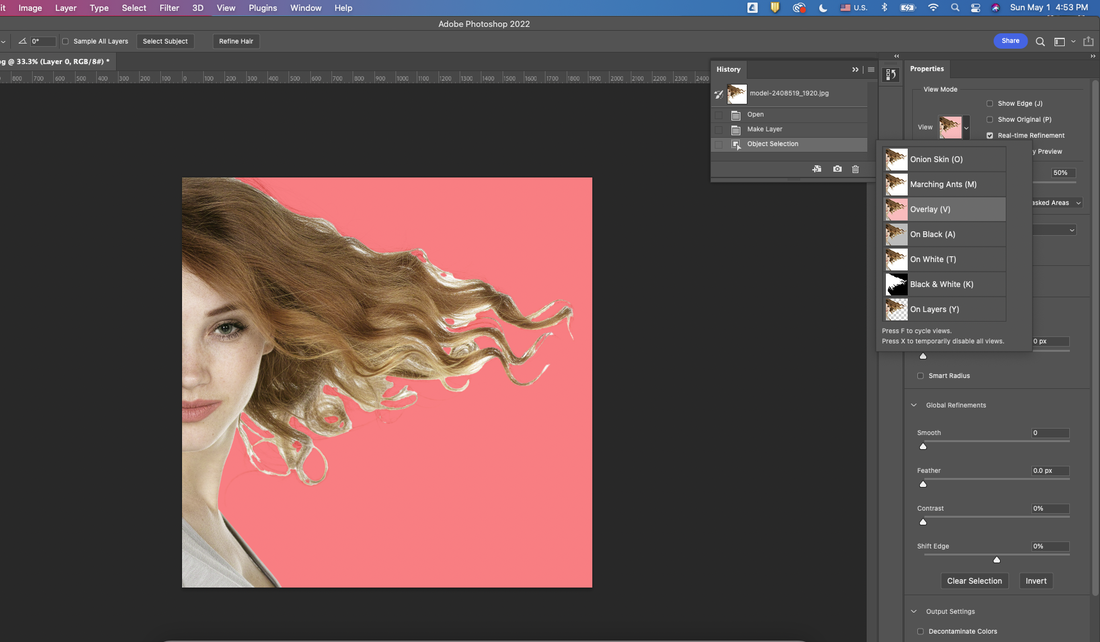 And then you have to choose second icon on the left side bar to refine edges. 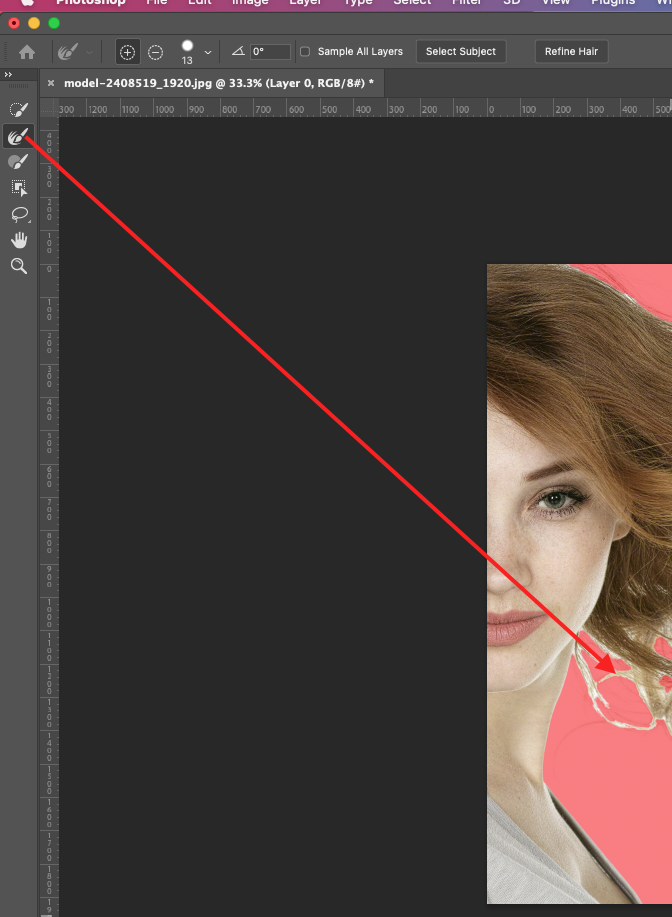 Below is the result after applying the tools. 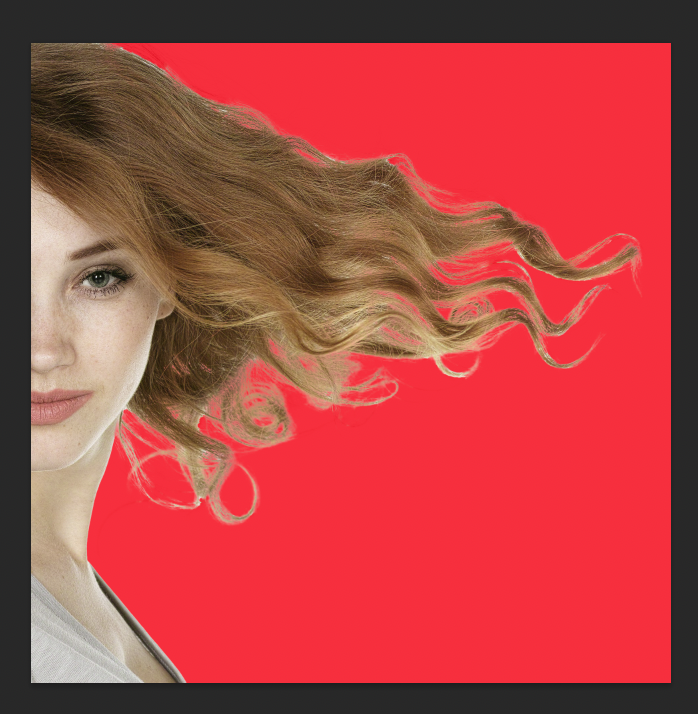 Here is the comparison before & after.
Go to output option and click the New Layer with Layer mask to change the background color. 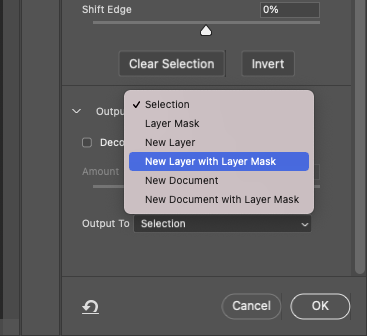 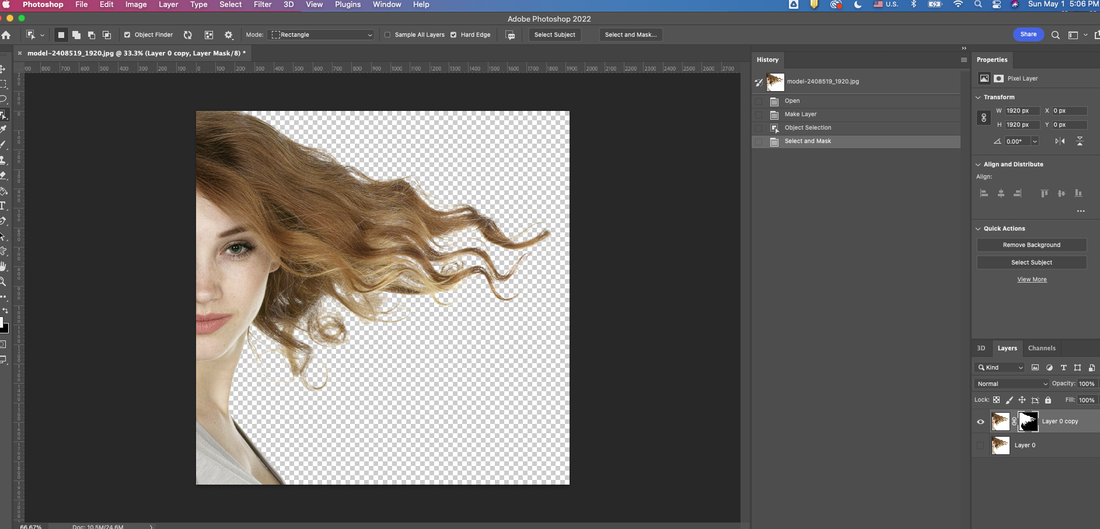 If you see the result like below, it would be succeed. 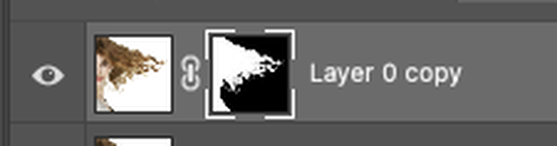 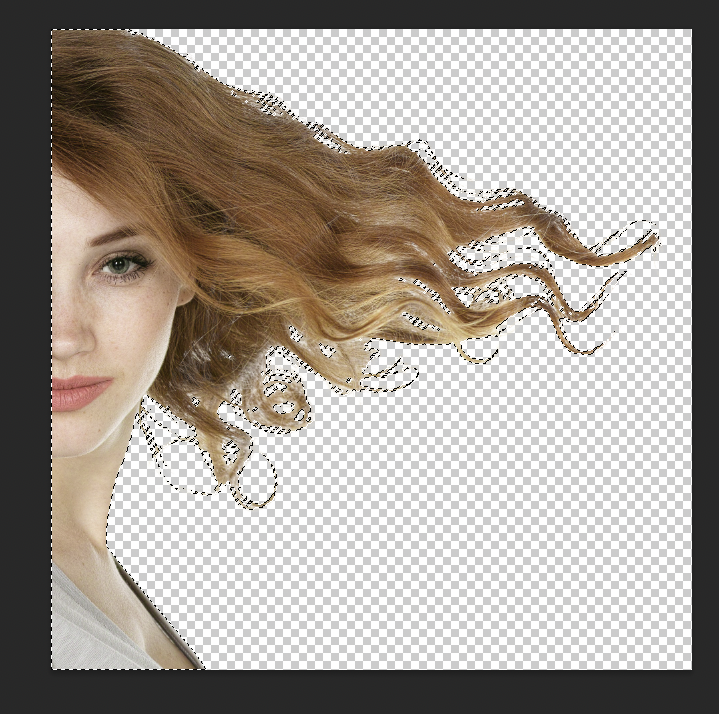 Here is the result after changing the background color. 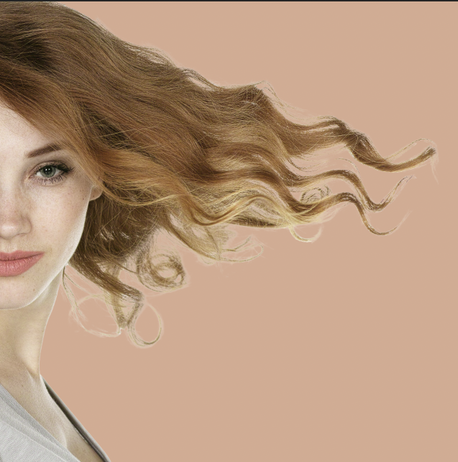
0 Comments
Leave a Reply. |
Myungja Anna KohArtist Categories
All
Archives
July 2024
|

|
Tutorial |

 RSS Feed