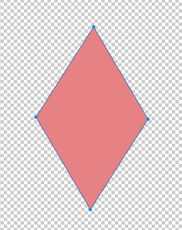
Let's make Save a Pet logo with Photoshop! Animal protection is activities to expand animals' rights and interests and protect animals. Some are vegan, some protect animals as part of the environmental movement, and some oppose development projects to preserve habitats. The theoretical basis is based on animal rights. To briefly mention animal rights and animal welfare, it gives animals rights equivalent to human rights and benefits similar to human welfare. In other words, it is a human duty and a right to love and protect these animals. As part of this effort, there are many different types of animal rights groups, activities and shelters. Today, I am going to show you how to make a "Save a Pet" logo with the meaning of loving animals in Photoshop.  Save a Pet logo, 2021, Myungja Anna Koh Let's make a different version of the logo shown above. First, select the pattern image you want to create a logo for. I'm trying to pattern a fancy cat image I made a while ago and use it. 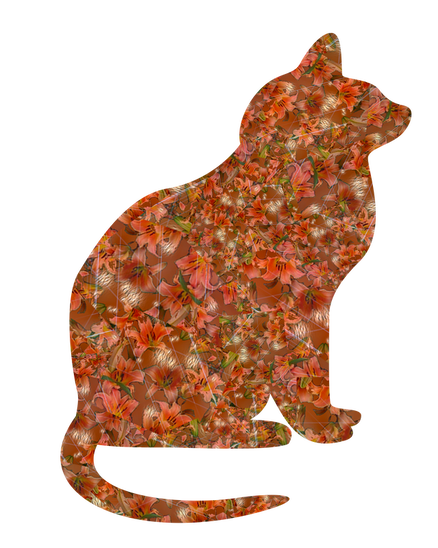 Fancy cat, 2021, Myungja Anna KOH 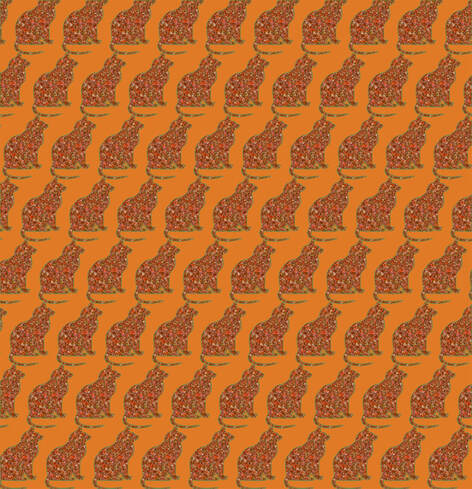 Select a custom safe to be used for the logo. In my case, I chose the animal paw shape. 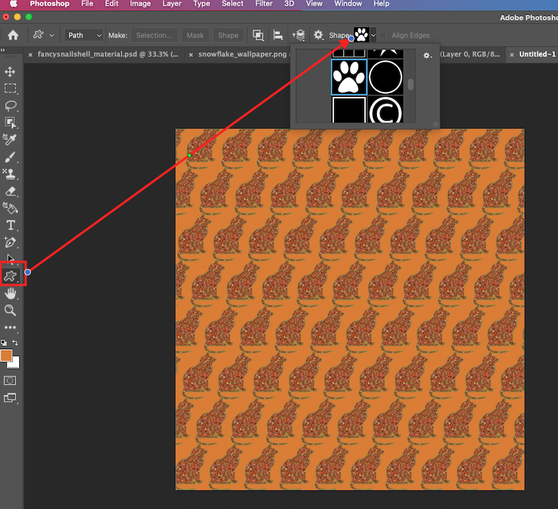 Click and drop over the pattern image. After that, select it with the path selection tool. 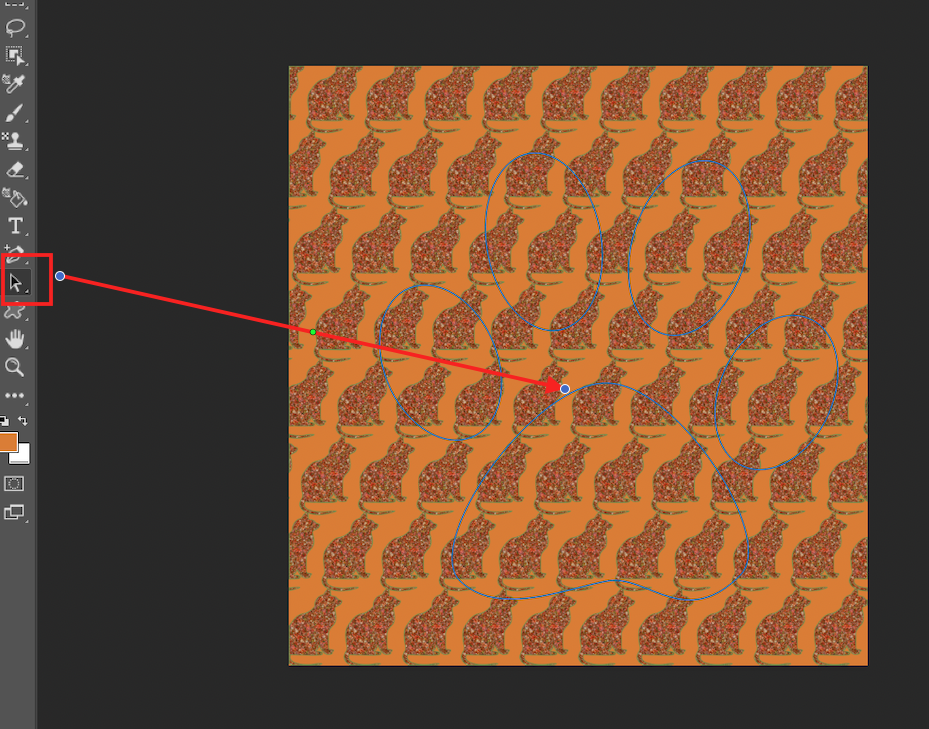 After then, you have to do right-click with putting your mouse cursor on the selected image. Next , you have to choose the create vector mask like below. 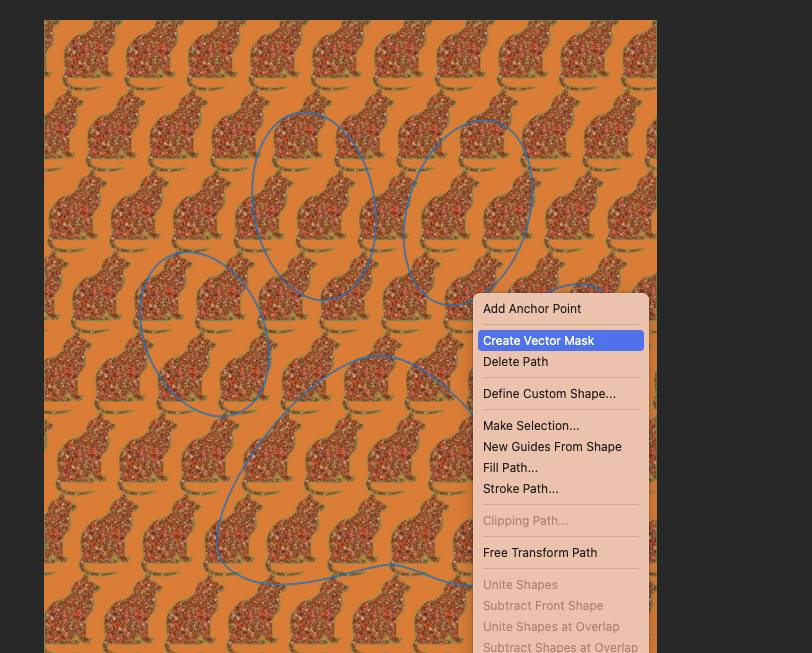 Below is the result from vector mask.  And then write your message on it. In my case, I wrote " Save a Pet" I wrote the text with the options below. 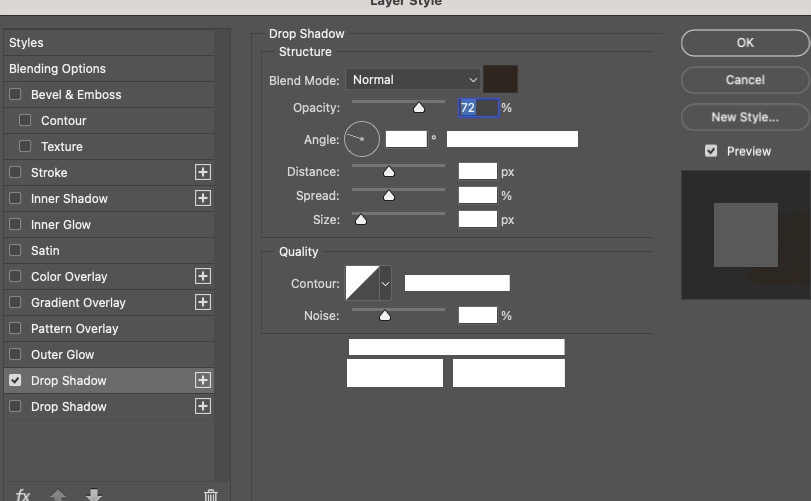 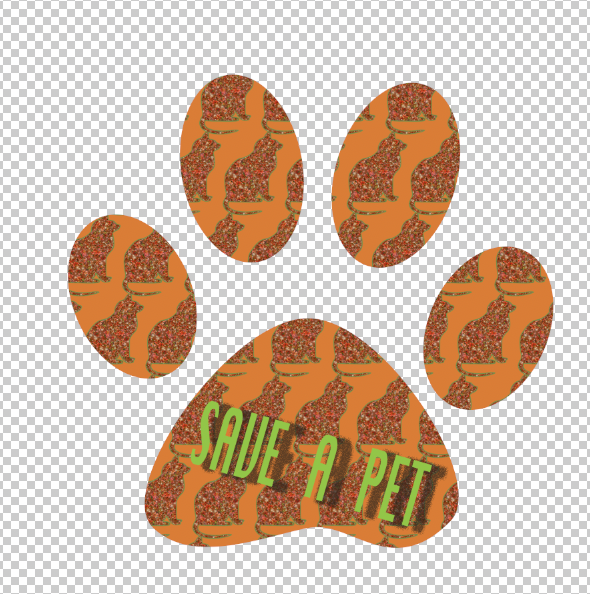 Here, double-click the image layer and give the blending option values that appear as follows. 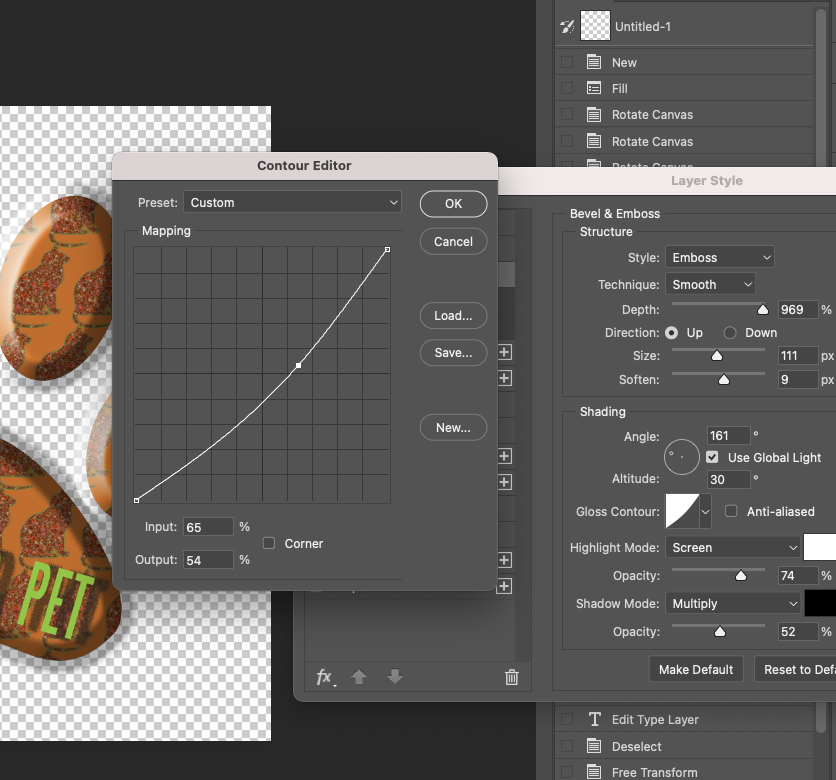 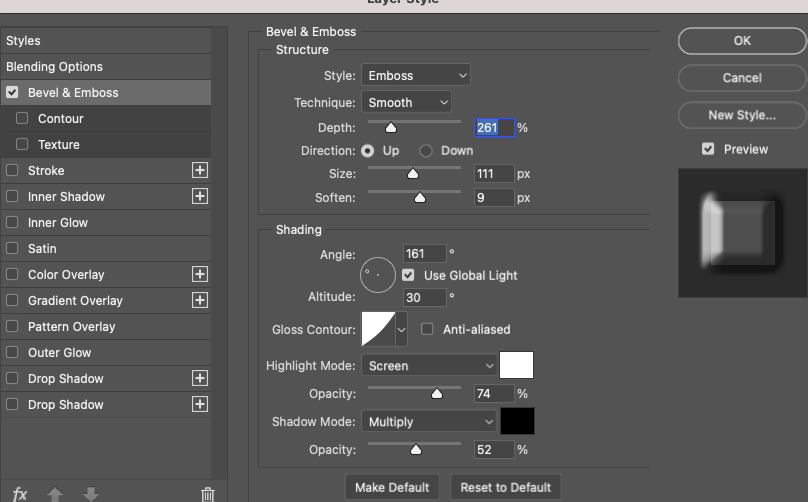 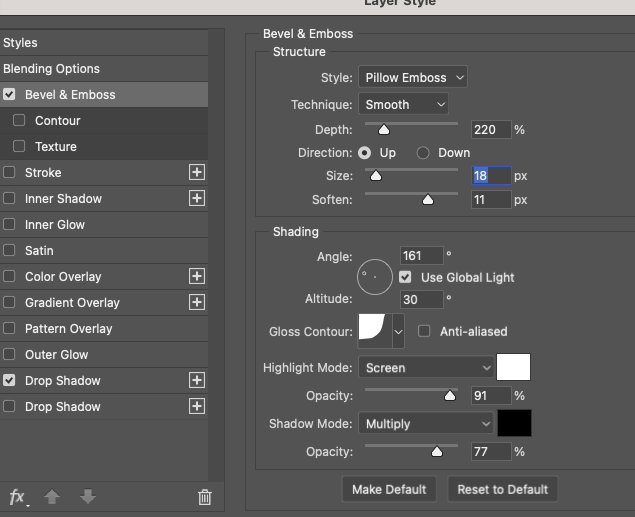 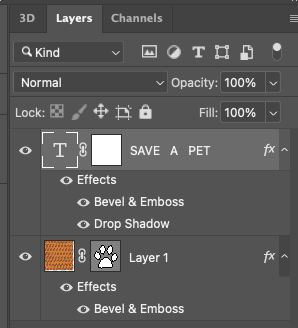 Below is a result after applying above blending options. 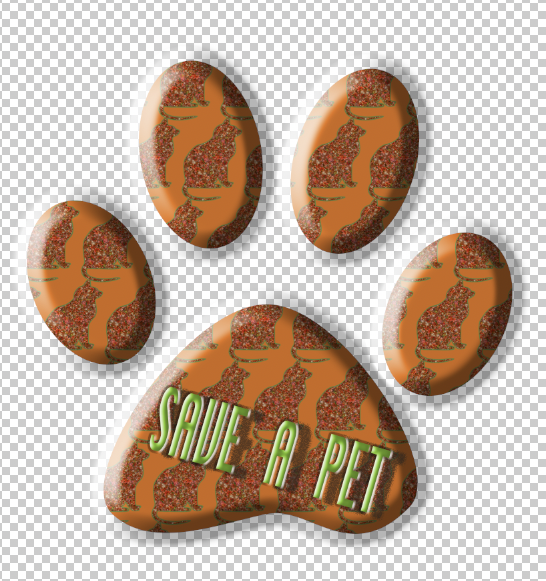 Save A Pet, 2021, Myungja Anna Koh I tried making it as a product on the Red Bubble site as well. 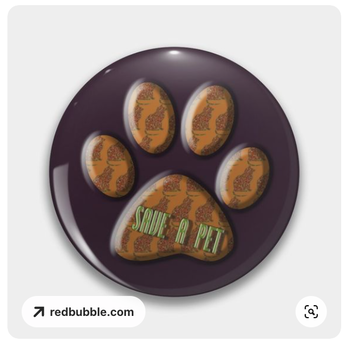 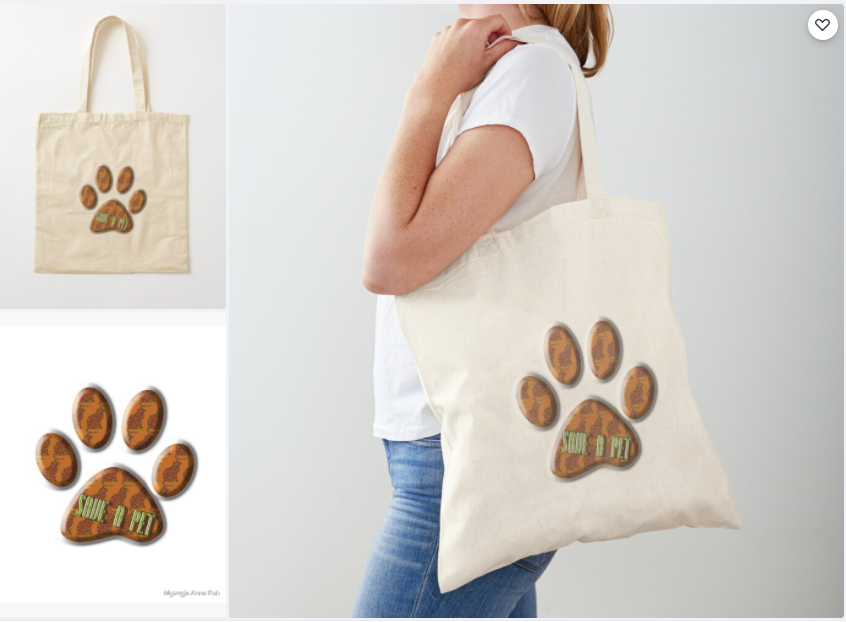 How to create jewelry with photoshop Last time, I introduced how to make a Golden Rose Jewelery in Photoshop. This time, I would like to introduce the second decoration of the decorating snail I made, the pink diamond. 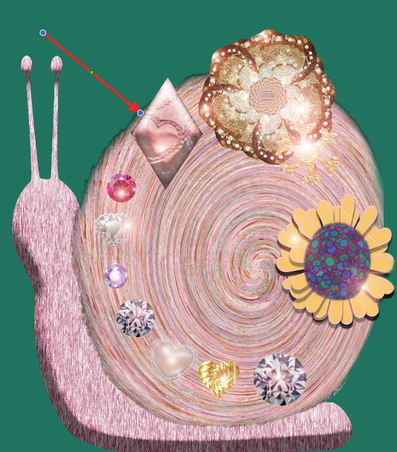 All you need for this is a pink background canvas. Before that, register the following heart-shaped jewel as a pattern. Please set the image size to 200 x 200 pxs. 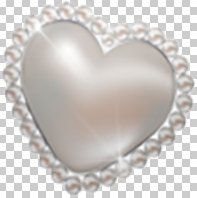  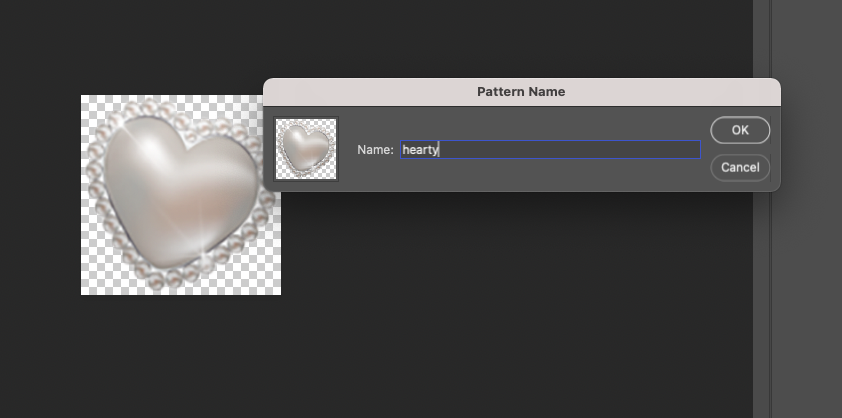 Then return to the pink canvas and select the Diamond Shaped Safe tool. If you have no diamond shape in your photoshop, you can visit for solving the problem. (click!) 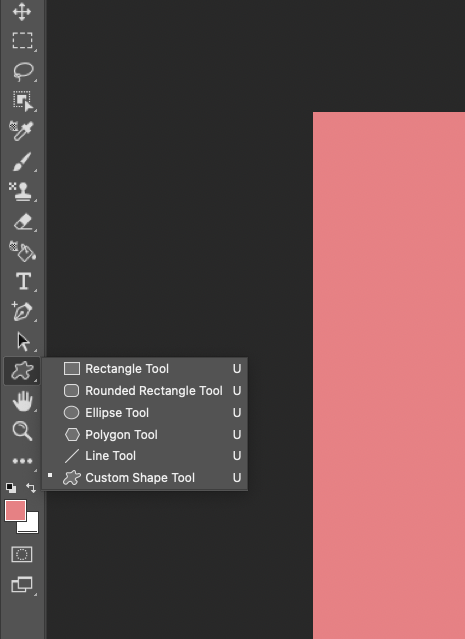 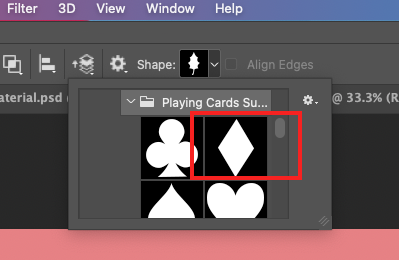  After selecting this tool, you can choose the selecting path tool, and then place the cursor inside the diamond and right-click to bring up the drop-down menu as shown below. At this time, select the "Create Vector Mask" as follow as below. 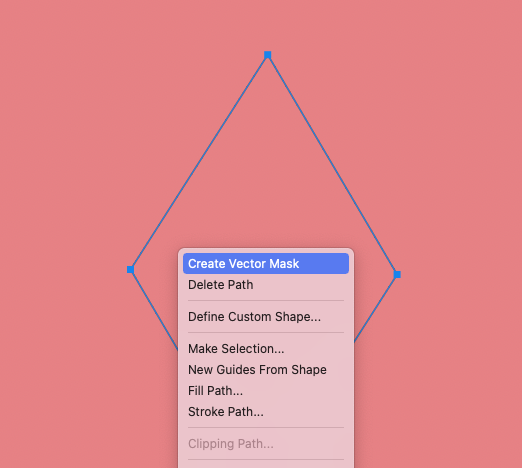 After that, you can get the same image like me.
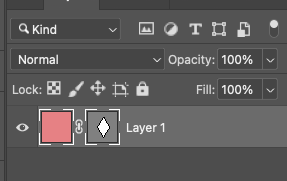
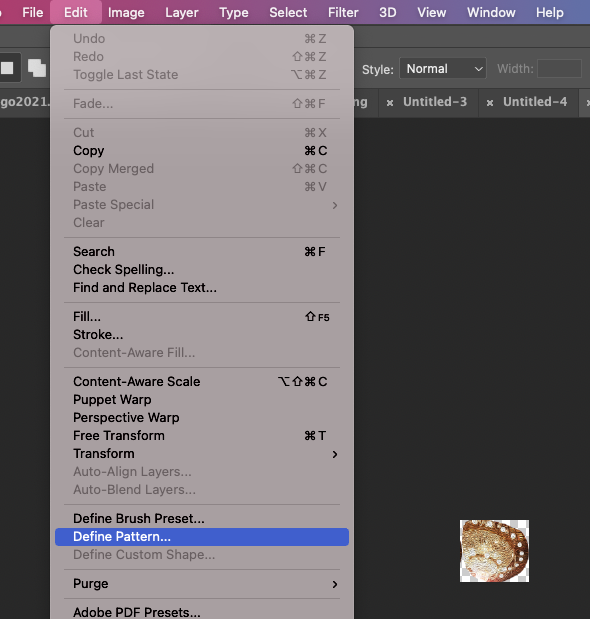
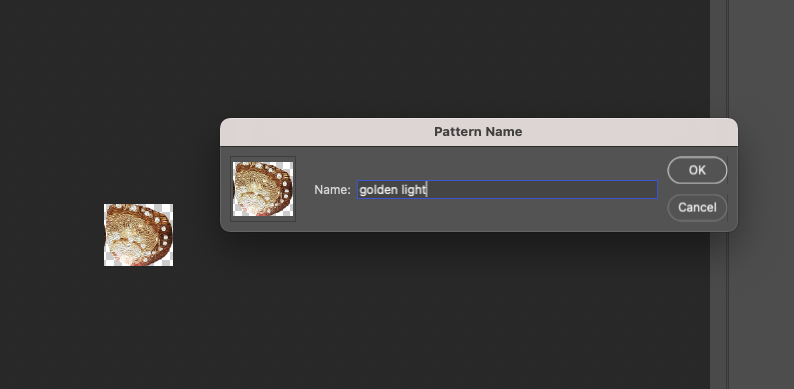
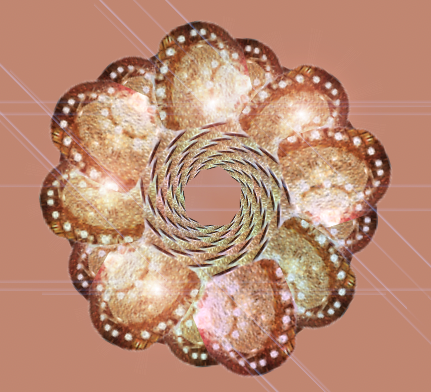
Double-click the pink layer and adjust the value as below in the window that appears. Click on the heart-shaped gem that we pre-saved in the texture as shown below. This will create a diamond with a heart encrusted in it. 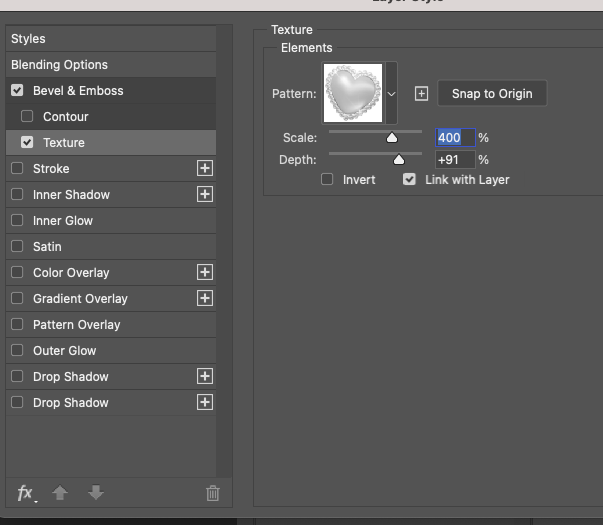 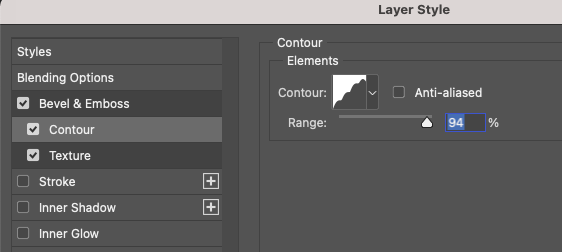 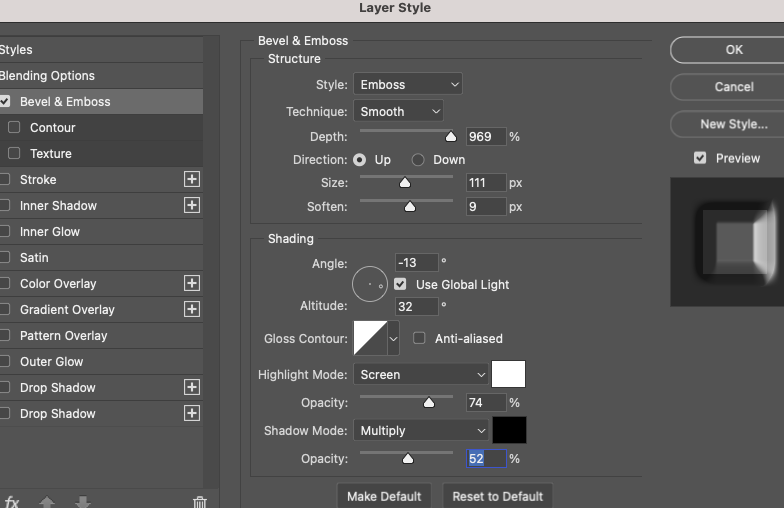 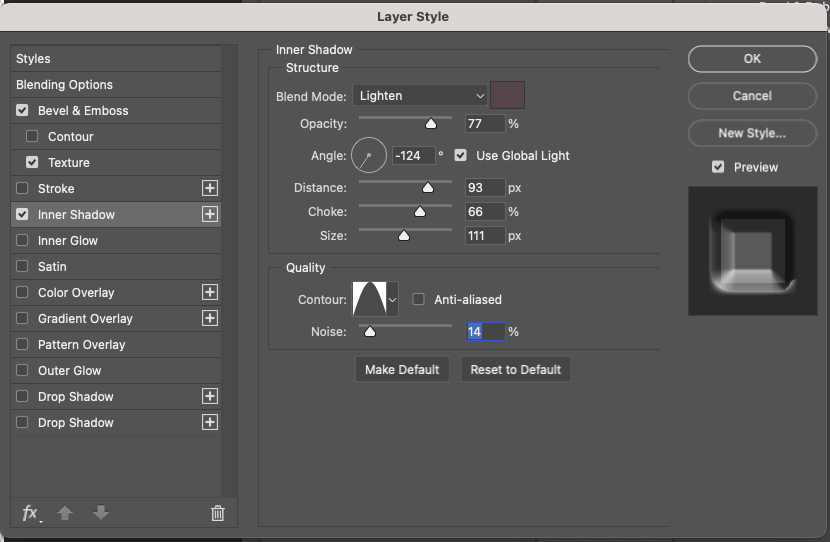 After adjusting all the values, you should see the result as below. 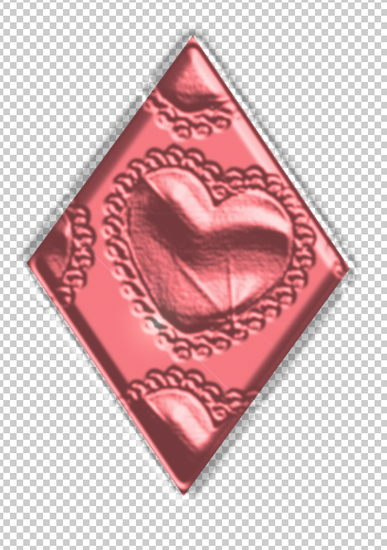 If you want to give your gem a shine, here's a filter lens flare 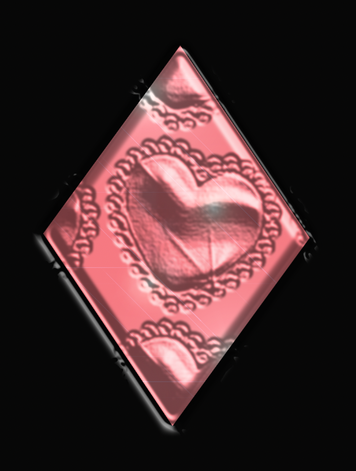 You can get diamonds with various impressions by using the pattern overlay as shown below. 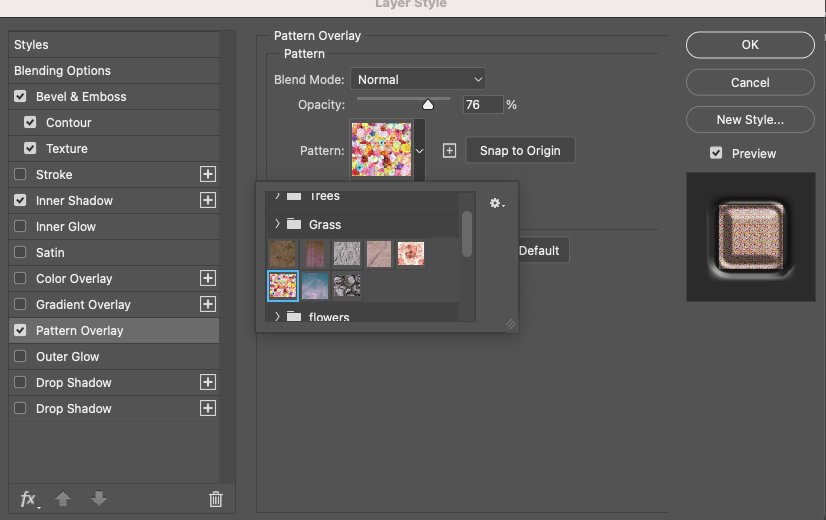  How to create jewelry with photoshop When creating an image, you may want to use an image of a shiny jewel. In my case, I recently made a snail Anna story that showed her Anna decorating her shell with jewels, and I needed an image to put jewels on her Anna's back. The image below was created with Photoshop. I want to show you how to make two jewels. This tutorial is for the golden rose and then next time I will show you diamond shaped jewel. 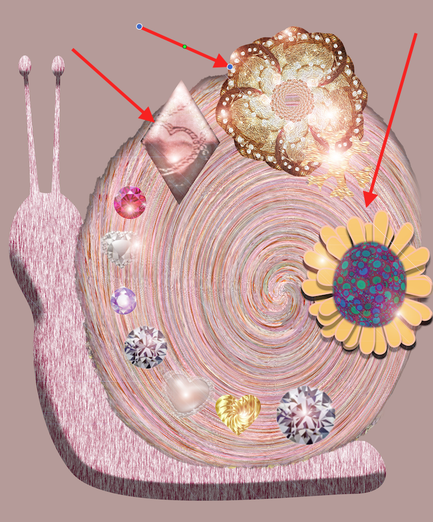 First, pick up the leftmost chandelier in the photo below to make a flower-shaped gold decoration. It is good to register some images in the photo as a pattern and use it. The image below was previously uploaded to Pixar Bay, a free image sharing site. 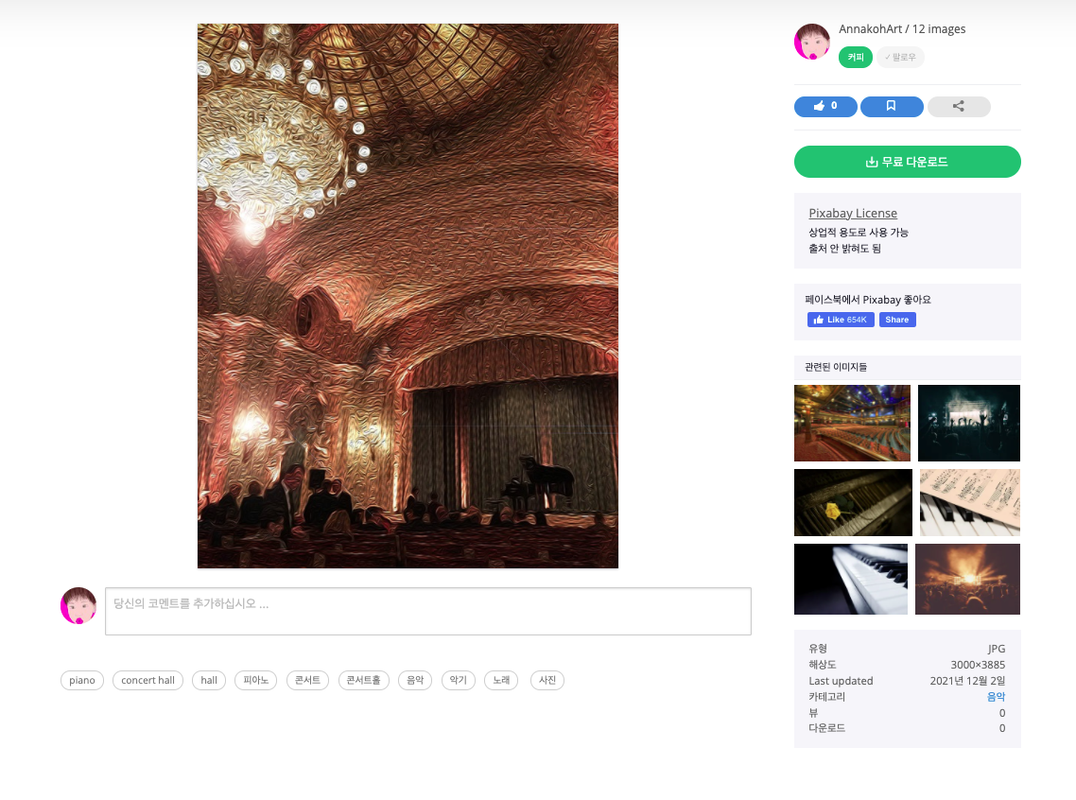  Register the lower part as the pattern in the photo above. (go to Edit--> Define pattern)
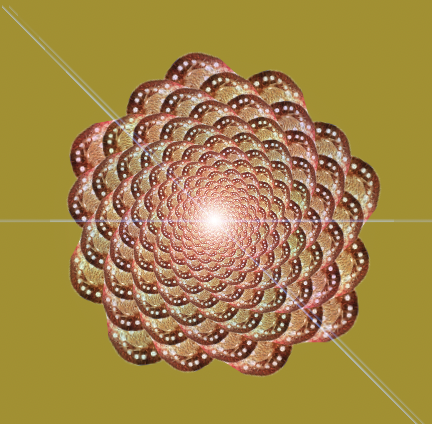
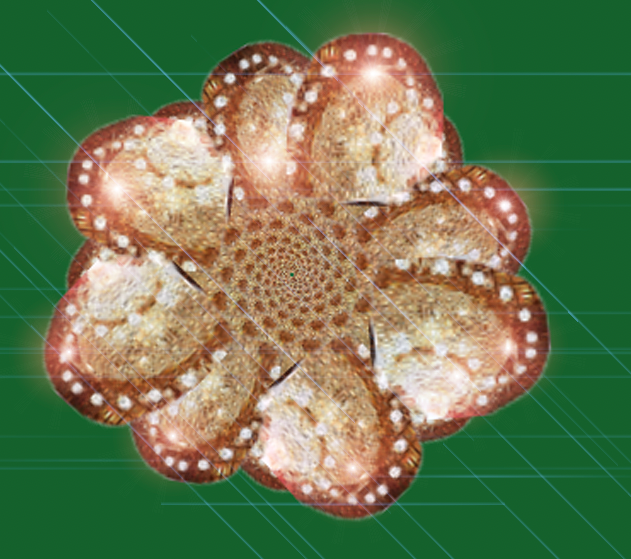
If you are ready to make a golden rose, you can make new canvas and then go Edit---> fill. 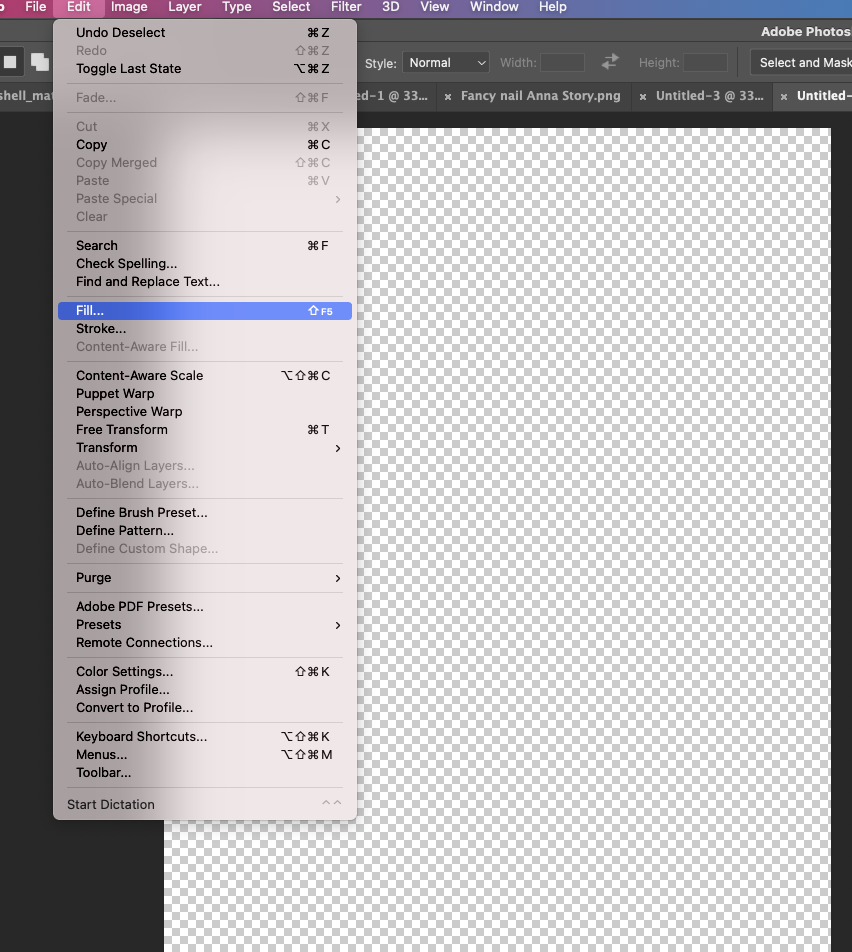 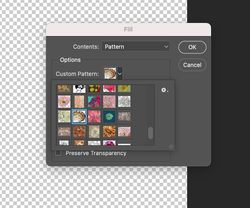 And then find the image, you've made as a pattern like above. And then adjust your value as follow as below: 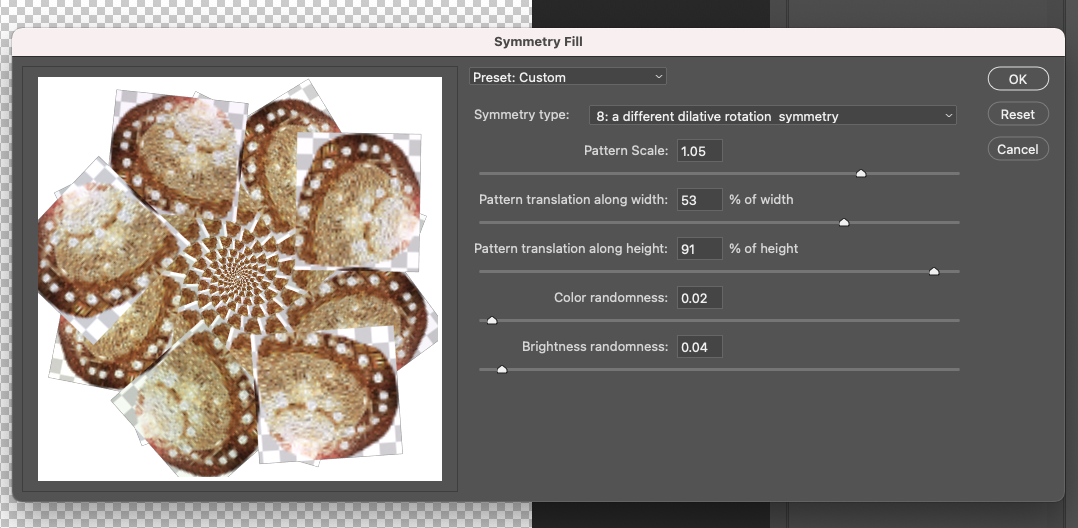 Finally, use the filter---> lense flare function to make it sparkle. 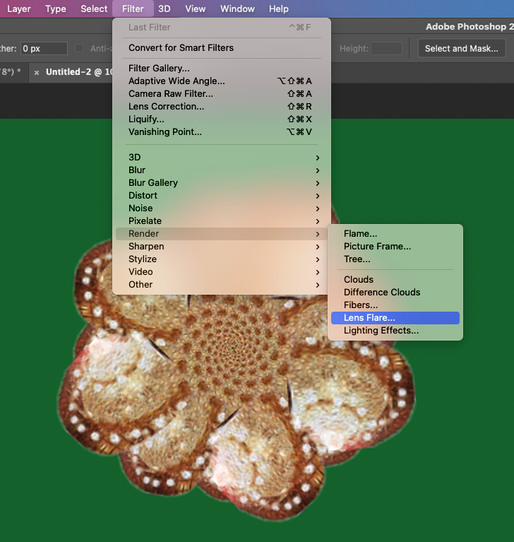 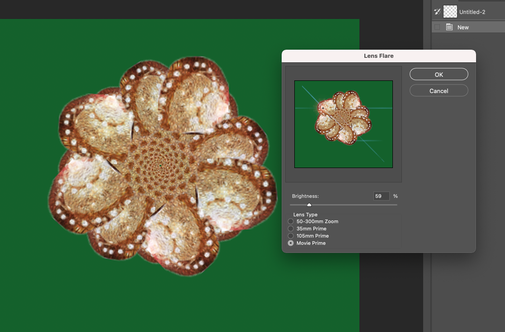 Below is the result image with sparkly golden rose.  Golden rose, 2021, Myungja Anna Koh You can also create another versions depending on your creativity. How to make own stamp pattern with Photoshop Today, I would like to show you how to make a logo pattern like a stamp on an image you made with Photoshop. This is convenient because you do not have to create images and disclose the source and copyright with captions. To do this, we first create a logo that we will designate as a pattern. I imported the recently created snail Anna image. The pink snail below is Anna, the snail before she regained her self. Related stories are posted on the blog. ( go to blog post!) 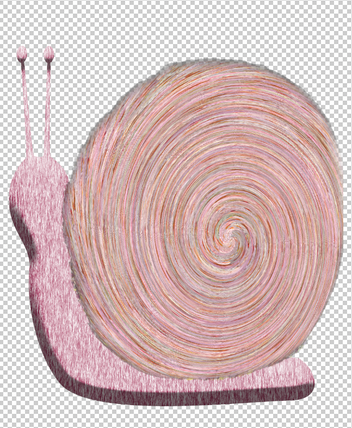 Write the words you want to write on this snail, etc. In my case, I wrote the logo name, website, and copyright source. In my case, I did change the style of letters . 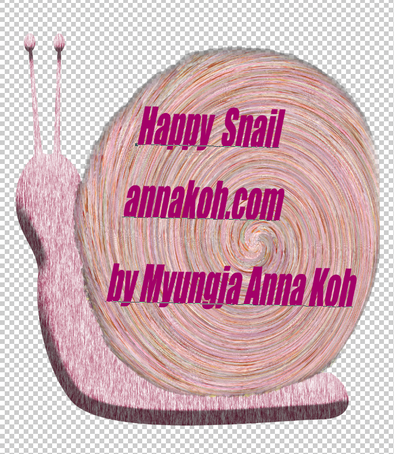 Next, click the text layer and press Control Shift at the same time to select the font. (Click related layer + Ctrl + Shift) 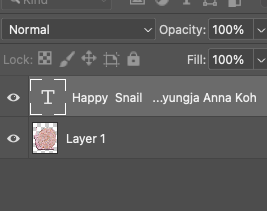 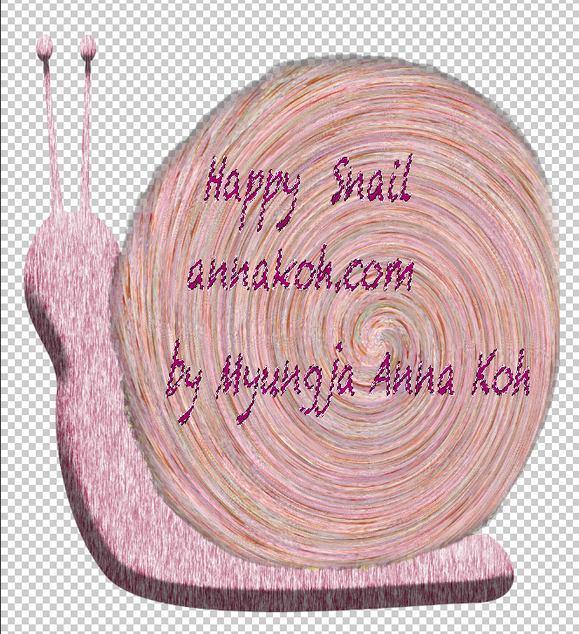 If you look closely, you can see that the text selection area is activated with moving line. In this state, click the layer 1 image file again and press the delete key to erase the image inside the text. If you follow this far, you will get something like this:  Now, click on the image again to activate the selection again by clicking on the layer while holding down the control and shift keys at the same time. (Click related image layer + Ctrl + Shift). Next, you have to select the Rectangular Marquee Tool like below. 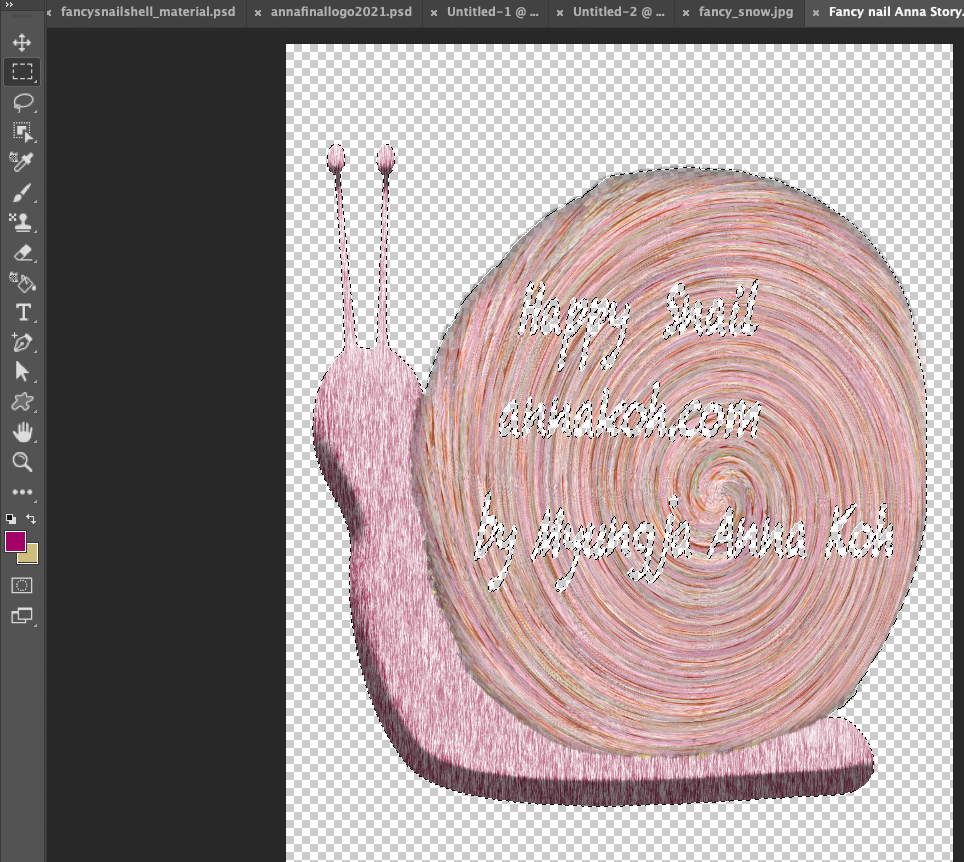 Then, place the cursor in the image area and right-click. After that, you can go to "Make Work Path" and then you can see the input area of make work path, Just put 2.0 in it. 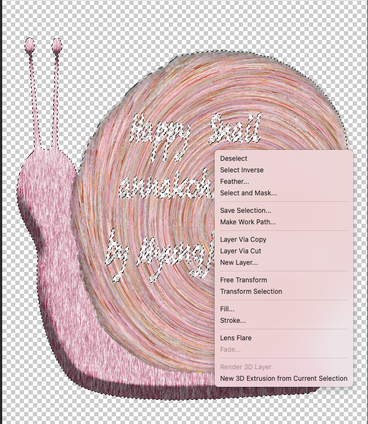 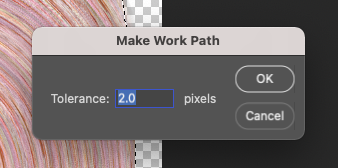 When the blue line is formed as shown below, click Edit ---> Define Custom Shape in the menu. 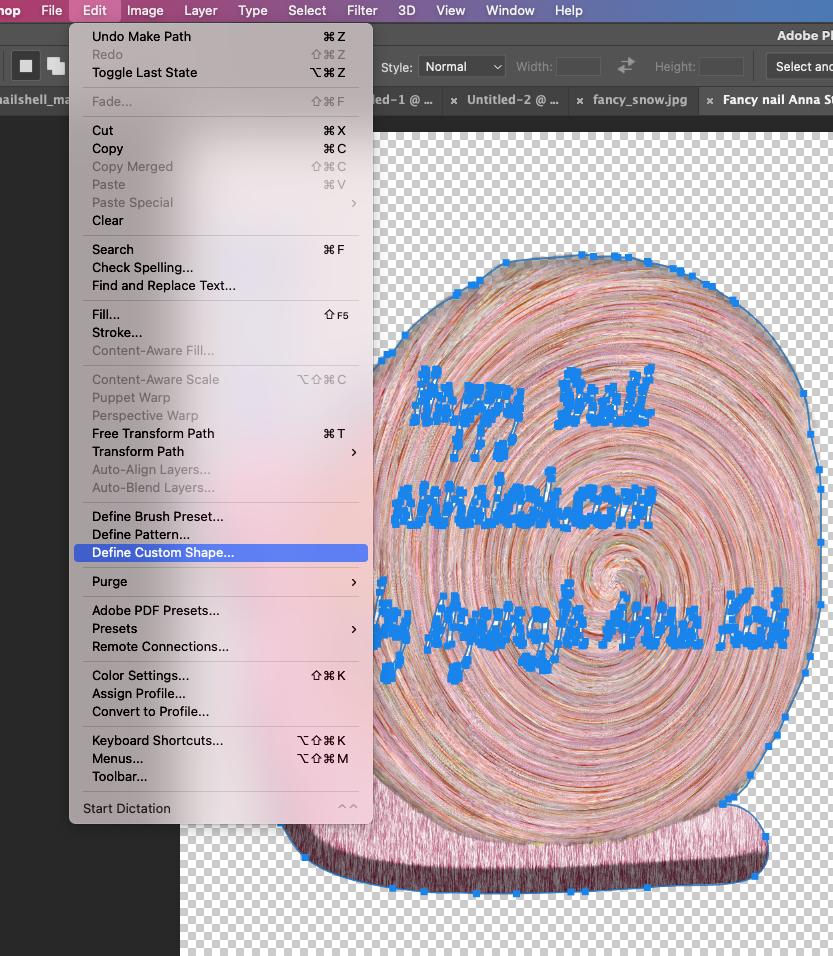 In my case, I named it "snail anna". 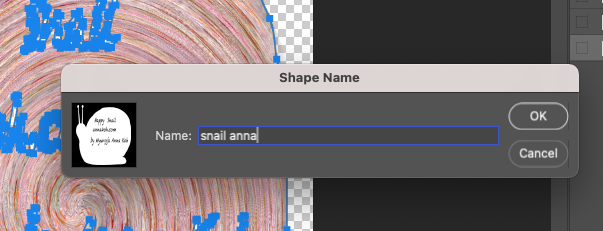 If everything is going well, you can find the added new defined custom shape as follow as below. 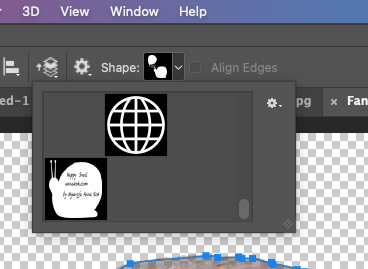 Finally, you can apply it with changing color and size.  Below is an example of applying own defined stamp in my recent image. 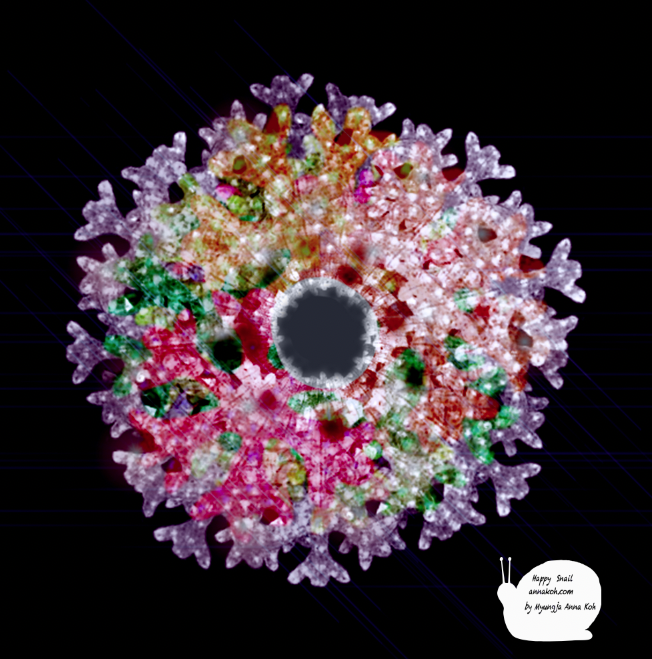 How to use Photoshop Custom Shapes except for default setting. Today, I am going to show you how to make a illustrated work by applying a pattern to a heart-shaped path. For this, first of all, we will try to create a floral pattern. In the past, I made a heart-shaped image like the one below. 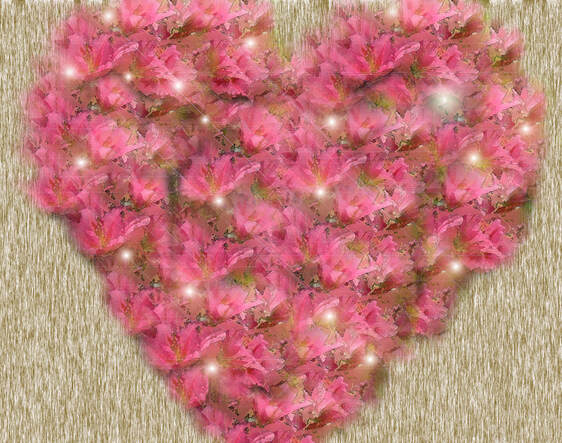 Heart flowers, 2021, Myungja Anna Koh And I registered it as a T-shirts product on the Red Bubble site. 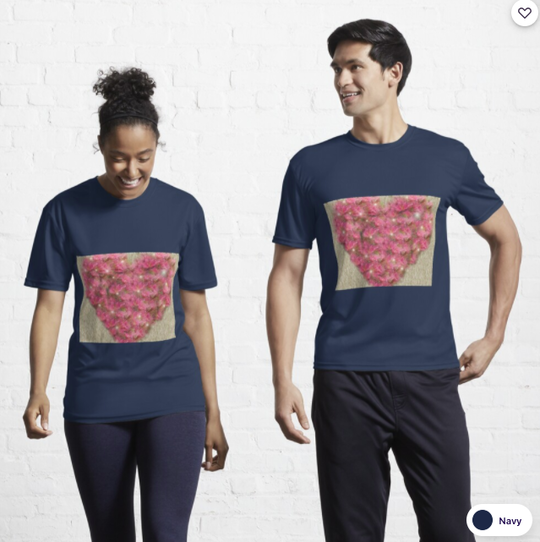 Source: RedBubble Looking at this picture, I thought it would be a good idea to just write a pattern lettering on a heart shape. In this case, we usually use a custom safe tool like this: 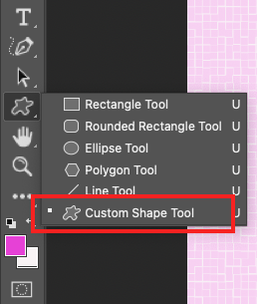 However, if you click the Custom shape tool, and search for proper shape such as heart, probably is disappointed it. You can see not enough custom shape in your set. In some cases, the settings below are probably all. 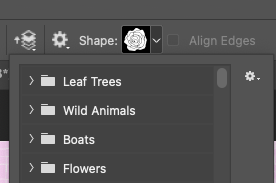 If you search only the limited shape like above, you have to go Window---> Shapes like below. 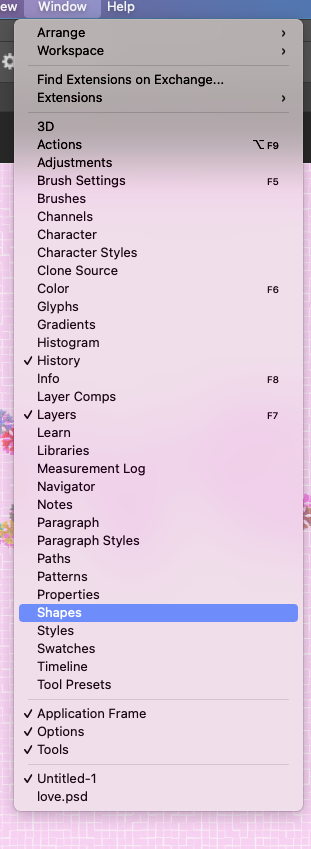 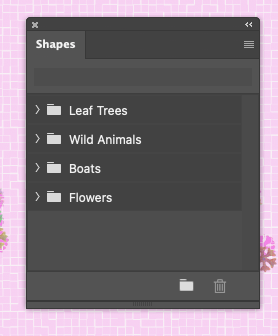 And then you can see the small window on your right side. Then, next you can click on the four line shaped icon on the right of corner. And drop dow, go to the Legacy Shapes and More! 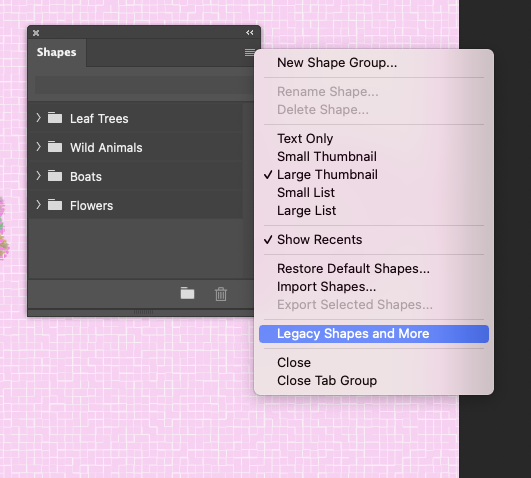 |
Myungja Anna KohArtist Categories
All
Archives
April 2024
|

|
Tutorial |

 RSS Feed