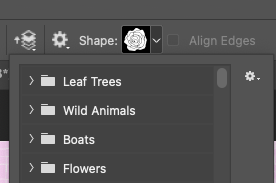
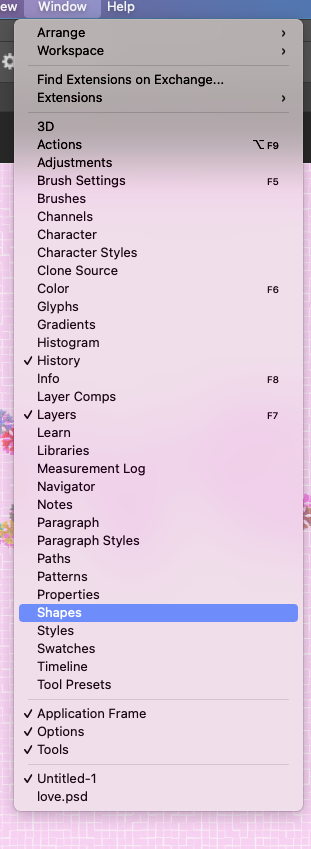
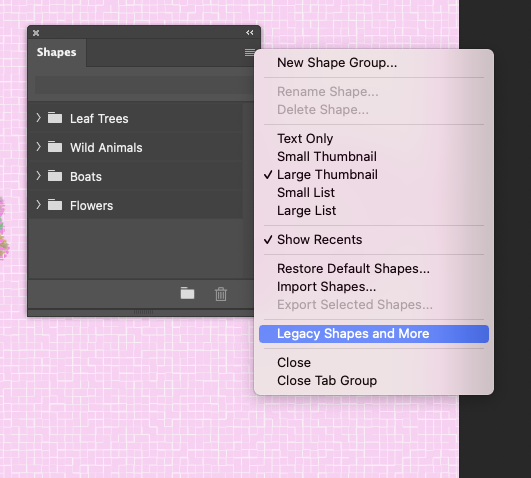
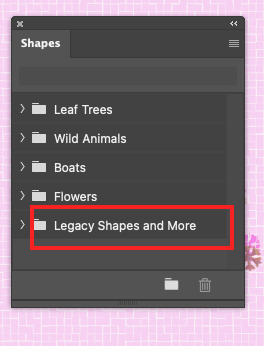
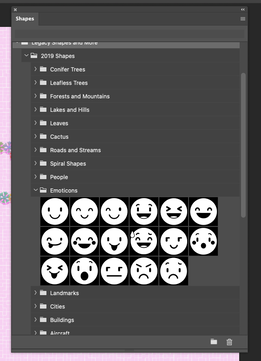
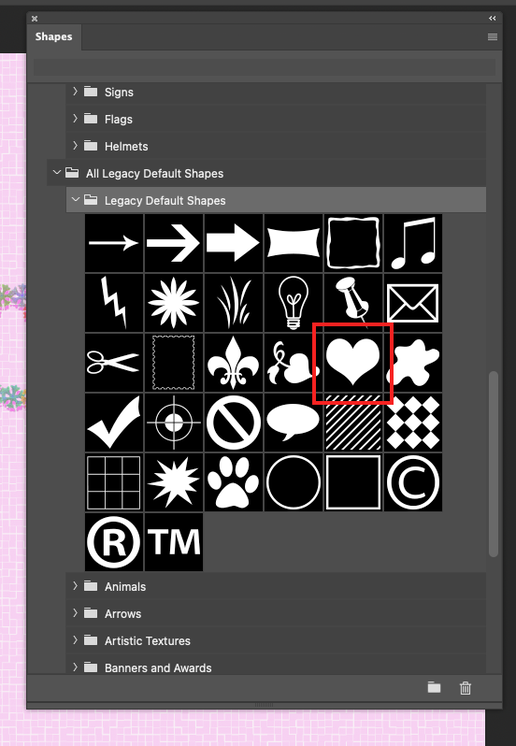
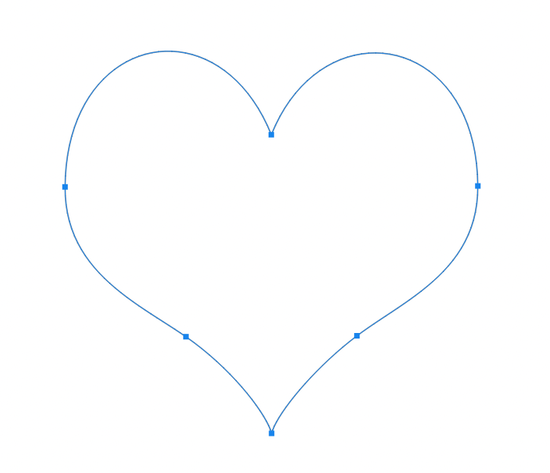
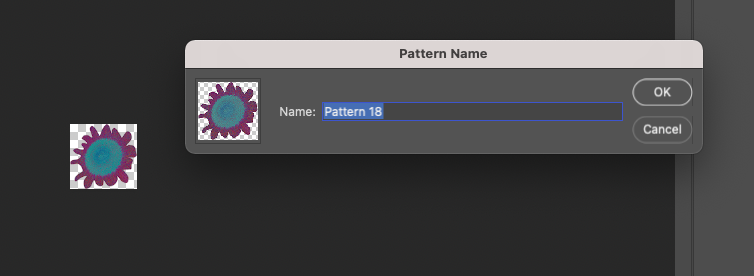
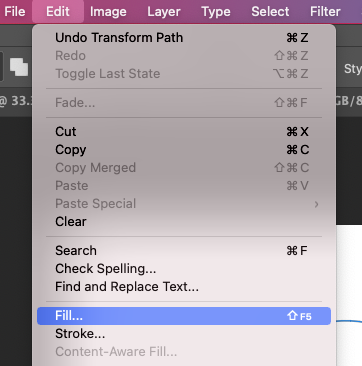
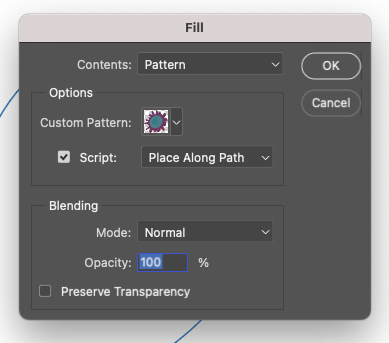
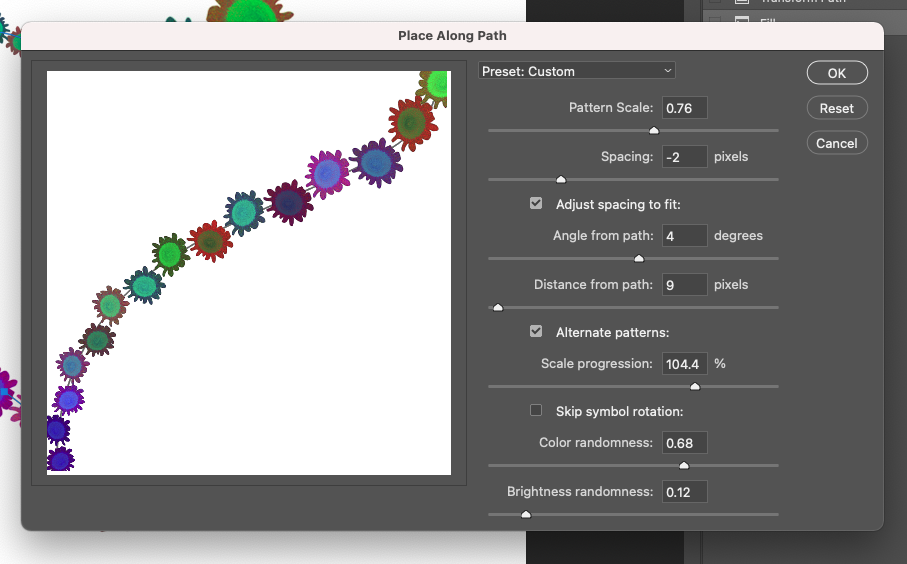
How to use Photoshop Custom Shapes except for default setting. Today, I am going to show you how to make a illustrated work by applying a pattern to a heart-shaped path. For this, first of all, we will try to create a floral pattern. In the past, I made a heart-shaped image like the one below. And I registered it as a T-shirts product on the Red Bubble site. Looking at this picture, I thought it would be a good idea to just write a pattern lettering on a heart shape. In this case, we usually use a custom safe tool like this: 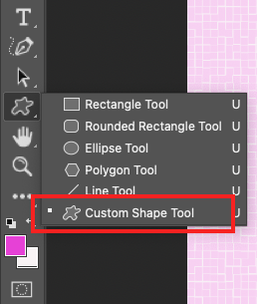 However, if you click the Custom shape tool, and search for proper shape such as heart, probably is disappointed it. You can see not enough custom shape in your set. In some cases, the settings below are probably all. If you search only the limited shape like above, you have to go Window---> Shapes like below. 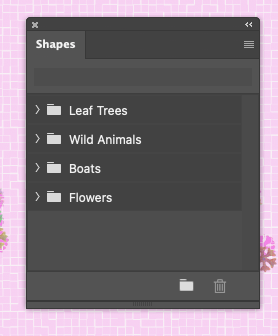 And then you can see the small window on your right side. Then, next you can click on the four line shaped icon on the right of corner. And drop dow, go to the Legacy Shapes and More! You can check the added fold, Legacy Shapes and More, and if you click it, also find more shapes. Finally, I can find the heart shape for lettering! Draw this heart on a new canvas. And then, for making a pattern, made previously. I'd like to show you a flower like below. I will use it! Go back to the canvas where the heart is drawn. You can adjust the value as follow as below. Here is the result. Click the eye icon in the right layer panel to make it invisible, only the blue line below will appear. Remove only the blue line with the delete key and click the eye icon again to change it to visible. You can also write the letter inside the heart. In my case, I wrote korean letters, means "Love" in it. Comments are closed.
|
Myungja Anna KohArtist Categories
All
Archives
July 2024
|
Proudly powered by Weebly





 RSS Feed