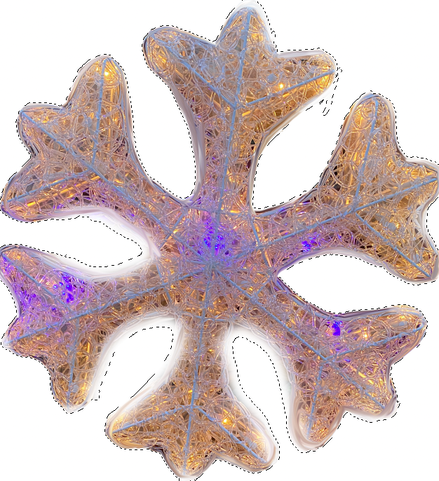
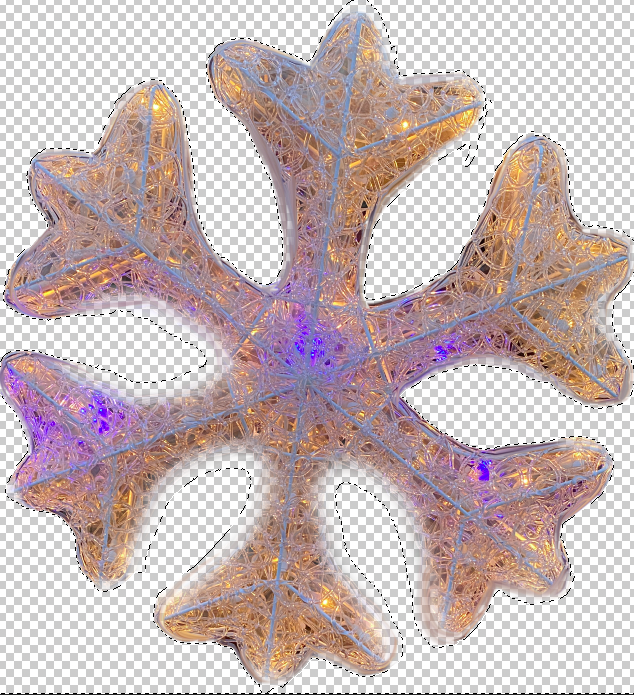
Let's write your letter with your pattern in Photoshop!_2 In the last post, I used a pattern to write love. Today I would like to show you how to write using the fill function. First, write the word Love using the freeform pen tool as follows.   This letter was drawn with the freeform pen tool and was designated as a path. After that, you have to go Edit---> Fill like below. 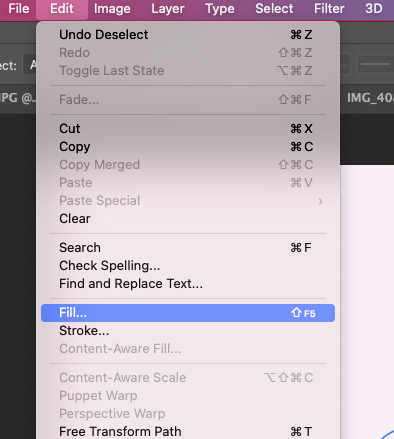 Click the snowflake-shaped pattern that we made in advance in the related previous post. 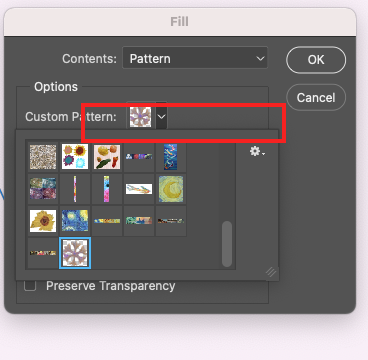 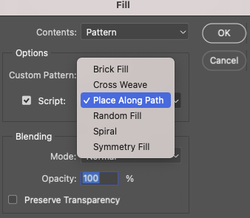 Here is important tip for writing with a pattern. You have to drop dow of Custom Pattern and click the Place Along Path. Set the value for the pattern line as follow as below : 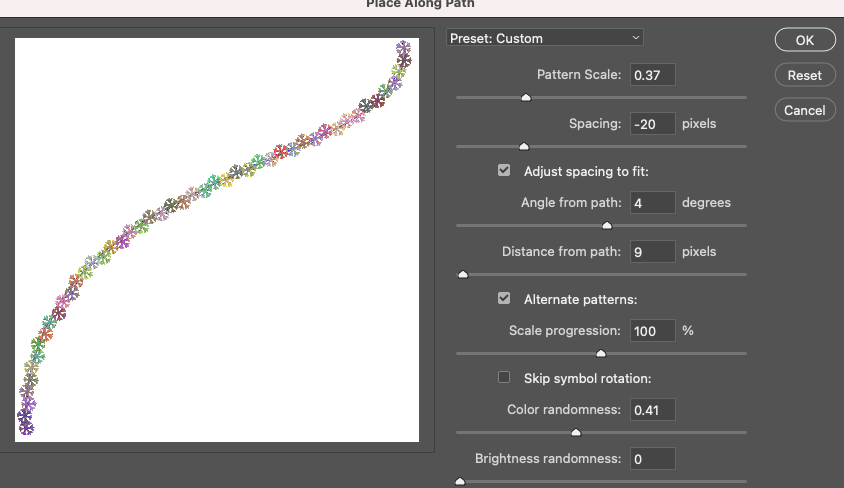 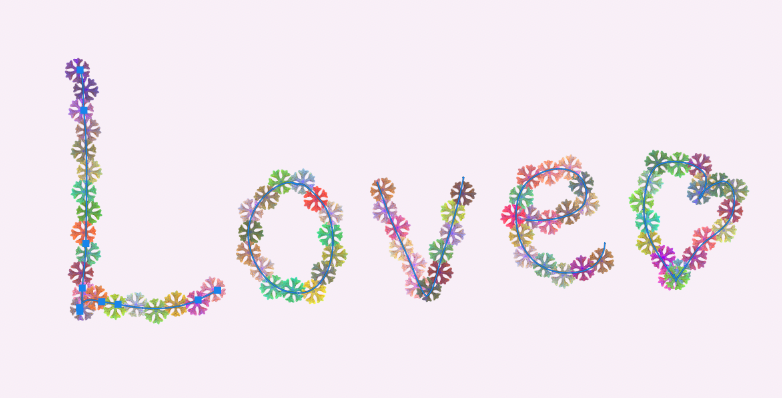 Above is the result image, but you can see still the blue line like below. 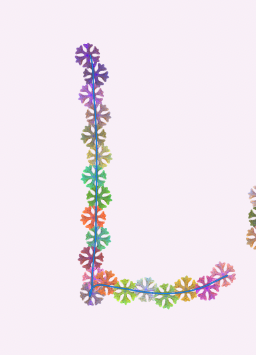 If you click the eye shaped icon to the selected layer for invisible status, and then you can find only the blue line.   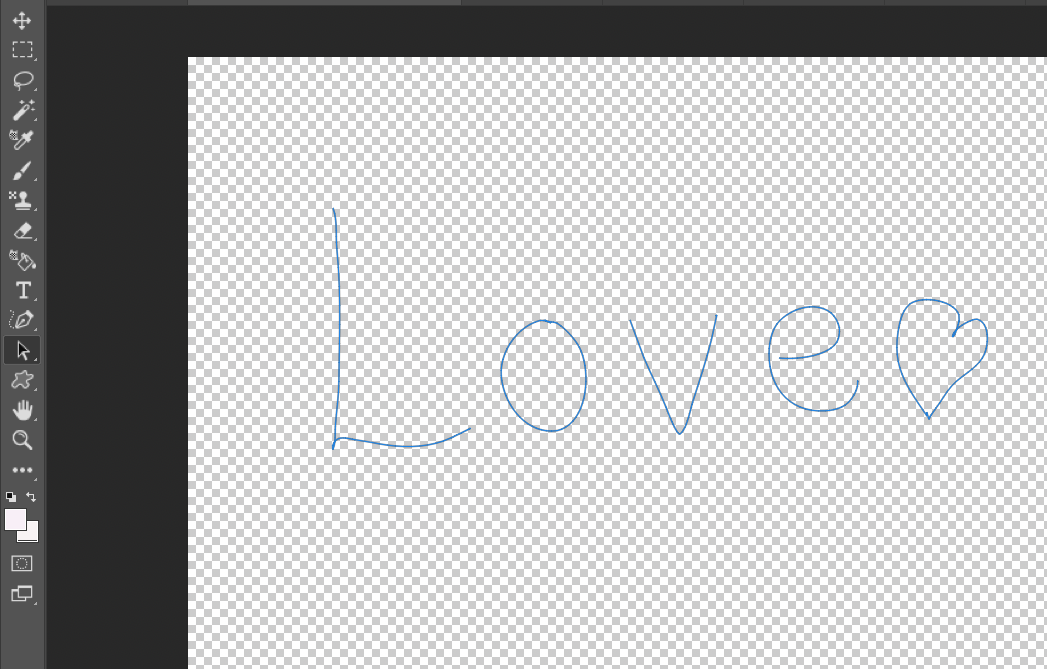 With this status, you can click the delete key to remove the blue line. 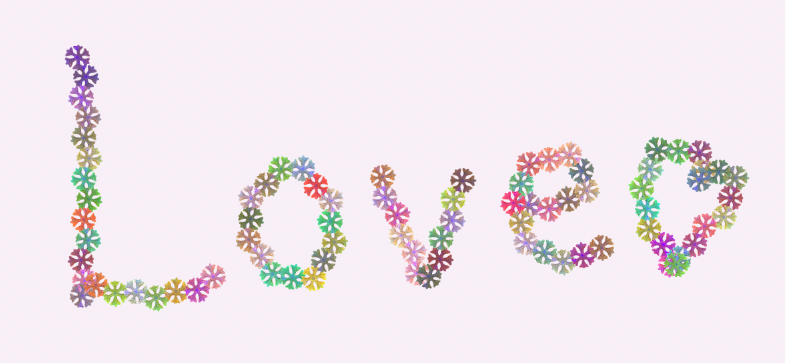 And the make another lay with hot pink color. 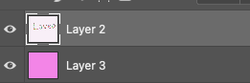 And the click the layer which has Love letter, and then select the object selection tool like below. 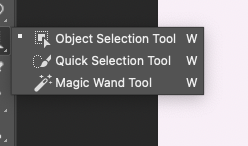 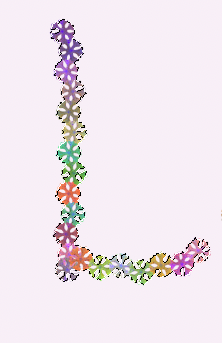 You can check out the transparent line like left. And then choose the move tool and slightly move the another location.  You can move another letters step by step. 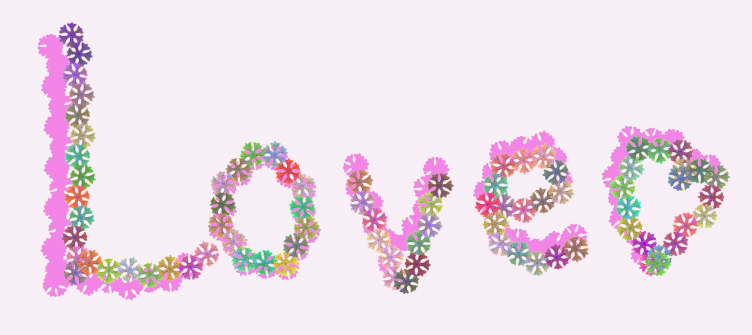 Additionally, you can also decorate by using Filter-->render-->tile(value: 99) for unique background.  Let's write your letter with your pattern in Photoshop! Wouldn't it be great if you could write your own letters with a pattern you made? Today, I am going to show you how to make a pattern and write a letter. The text will be written in two ways. Most of all, I'd like to show how to create a snowflake patterned brush preset and the appy it with brush tool. It's a first way. To do this, we first create a pattern to use. I will make a pattern by following the shape of a snowflake as shown below. After selecting the image below using the magic wand, press the delete button to remove the background to make it as shown below. 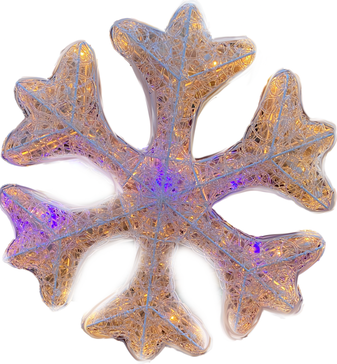
From this layer, go to the image ---> size of the image in the menu and set the size as follows. 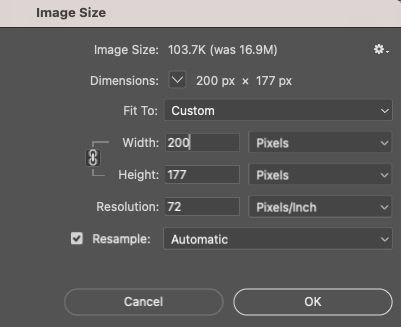 Reduce the image as shown below and register it as a blush pattern. (Edit---> Define Brush Preset) 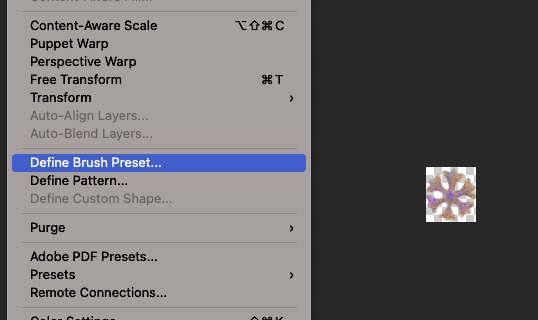 Then create two layers and write Love. One layer has a blue background and the other layer is pink. At this time, you can use brush tool. If you click the brush panel, you can see the defined snowflake pattern. You can just write it like a stamp. don't draw it, just stamp!) 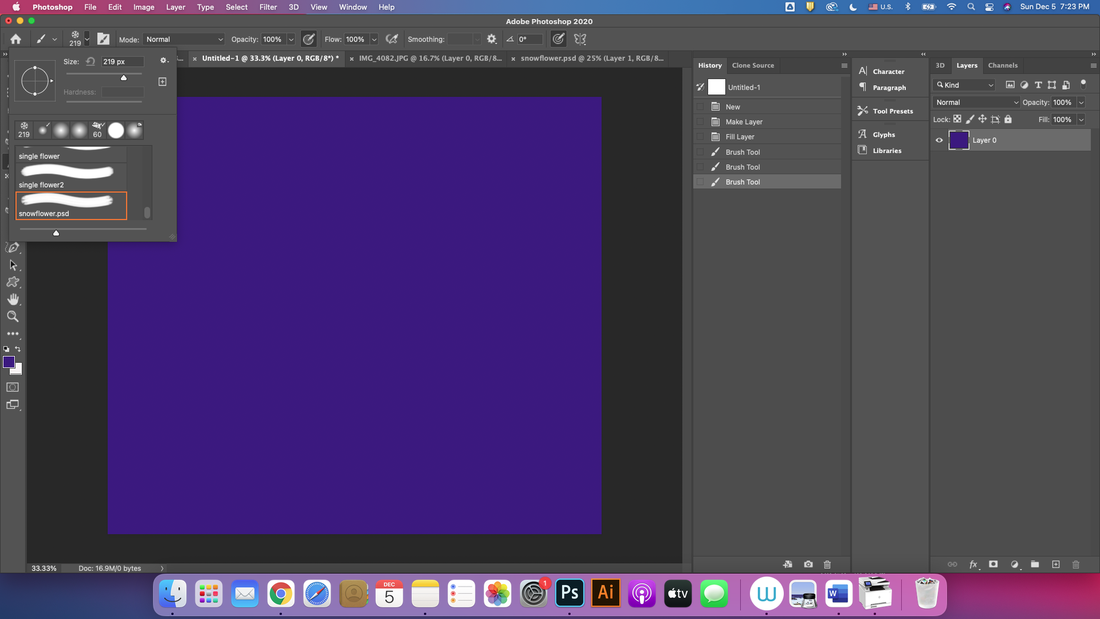 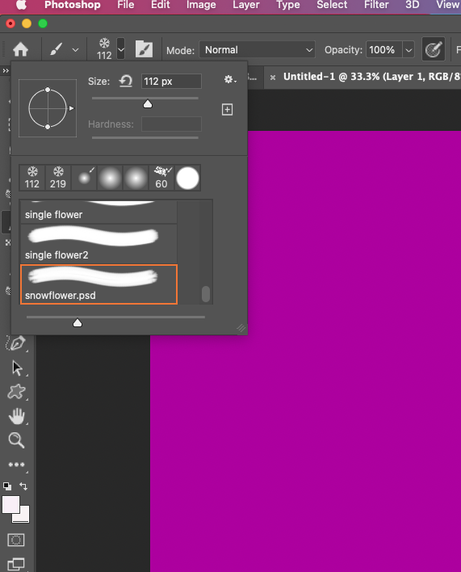 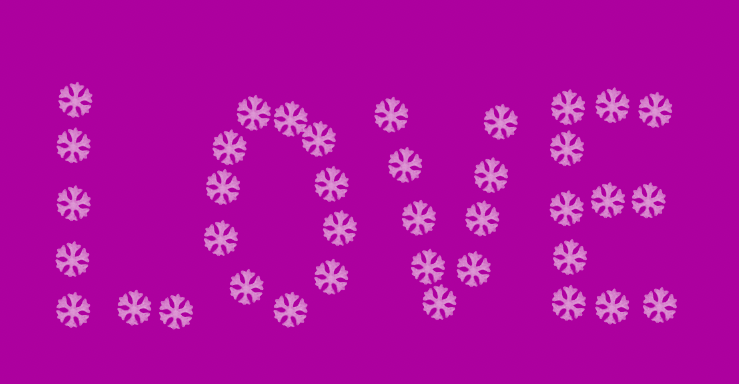  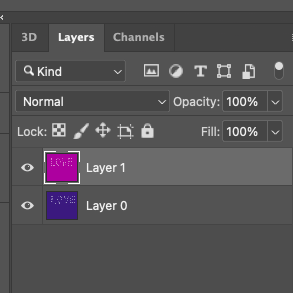 Next, select the second pink layer and change the screen mode as shown below. 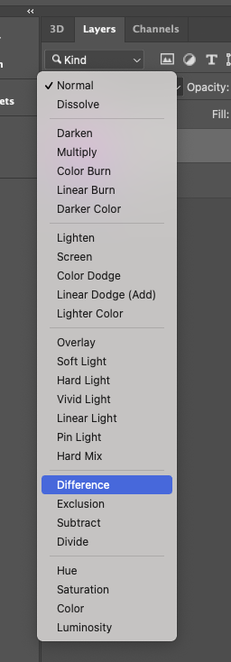 Below is the result after applying the screen mode with Difference. We all know that the word love is hidden at first glance, and it seems to be discovered later. Like this picture. 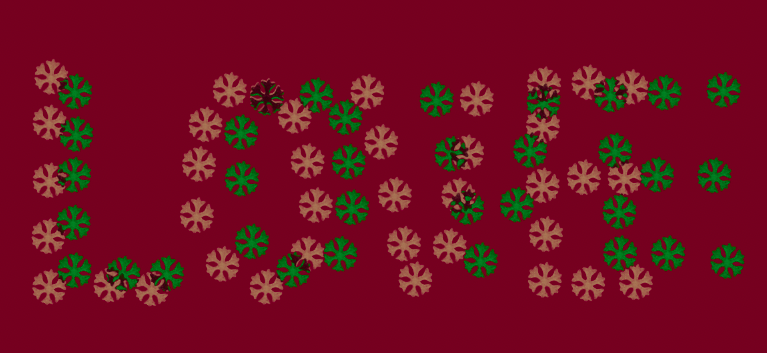 You can also use the filter ---> Render---> lens flare function to decorate it as shown below.  In the next post, I'd like to upload the second way to use fill functions with a path. How to resize your image quickly and simply. When creating an image file, files of various sizes are created. However, it is difficult to upload to each site. This is because the upload size required by each site is different. For example, in my case, Pixar Bay must be at least 10 megabytes or 3000 pixels. For Etsy, it must be at least 2000 pixels wide, and for Red Bubbles it must be at least 2000 pixels. If these criteria are not met, the upload will not be possible. In this case, it is not easy to change the image size one by one. I make good use of the sites below. (If you want to go the site, please click the screen as follow as below) 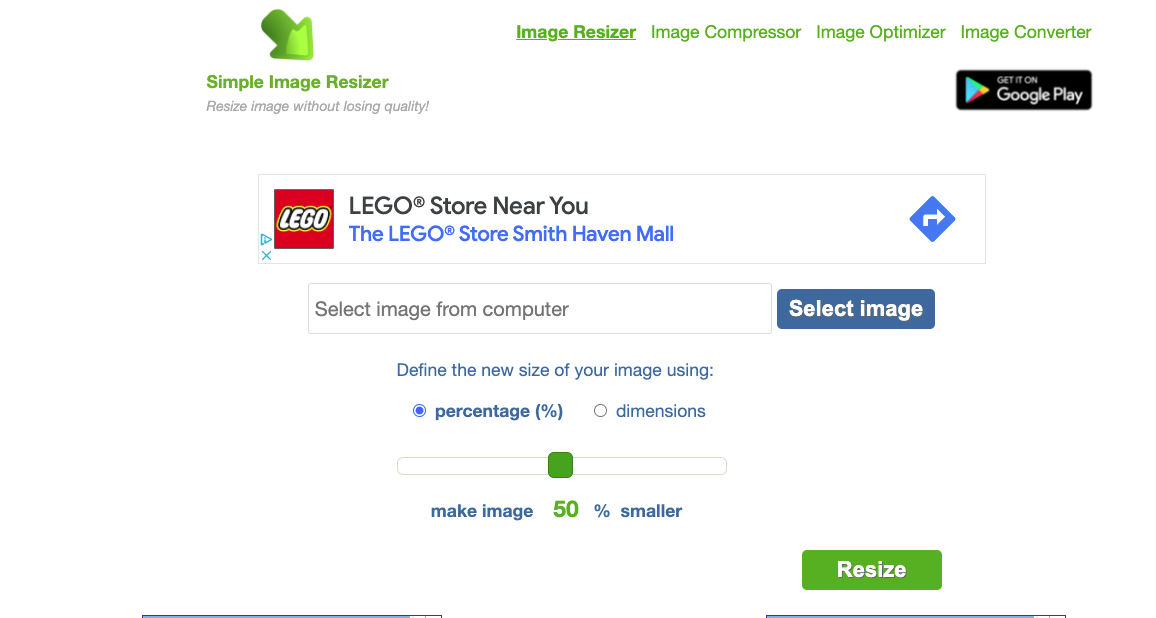 http://www.simpleimageresizer.com/upload#.Yawv0_HMJhE First, you click the blue button, Select image on the right. If you choose your image which you want to resize, you have to check below options (Percentage or Dimensions). 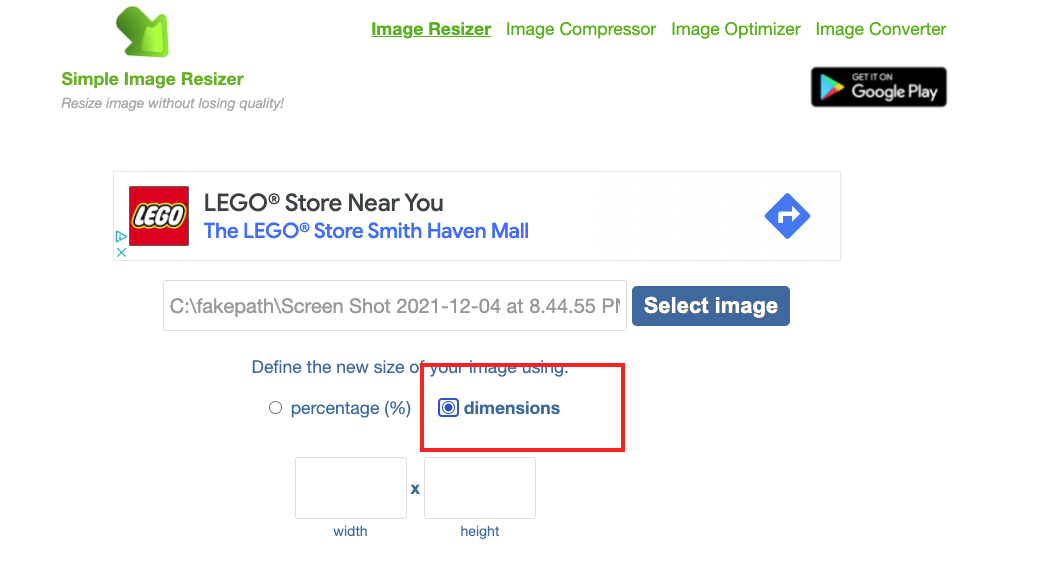 In my case, I checked the right for dimensional resizing. Put your pixels for resizing with width and height like below: 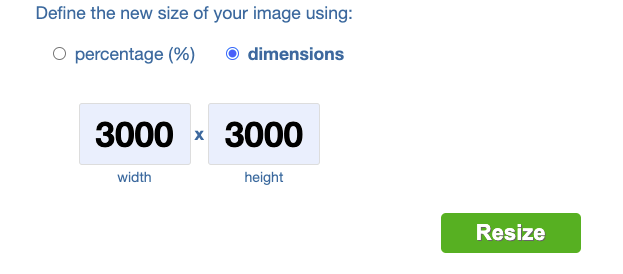  You can find the result for download. Just click the text and check the output. 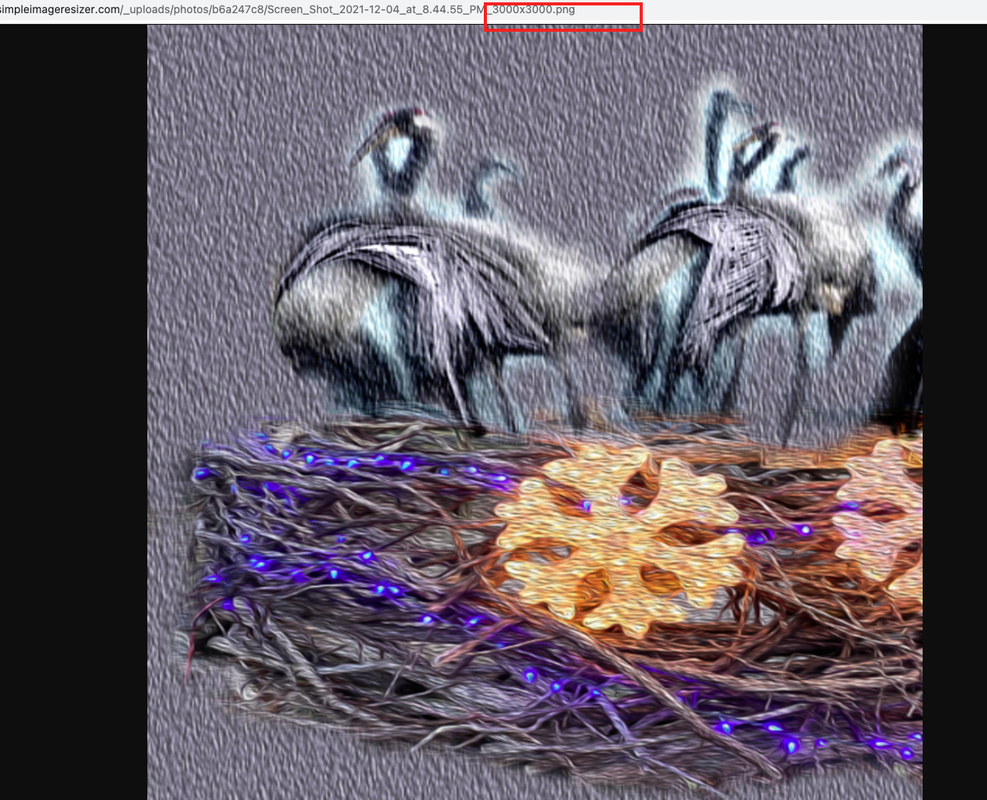 The resizing information is displayed at the end of the save name. For example, if my file name was anna.jpg, after resizing, it appears as anna 3000x3000.jpg. When the size of your photos matters, you often have to give up its quality. But with Simple Image Resizer you don’t have to make this compromise! You can resize your pictures and images without changing their quality. There is no need to install any additional software on your computer to make Simple Image Resizer do its job. You simply browse go to www.simpleimageresizer.com and upload the images you want to shrink. The file formats supported by Simple Image Resizer include JPEG, JPG, PNG, BMP and GIF.
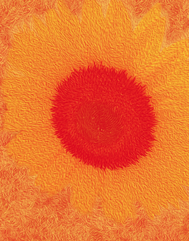
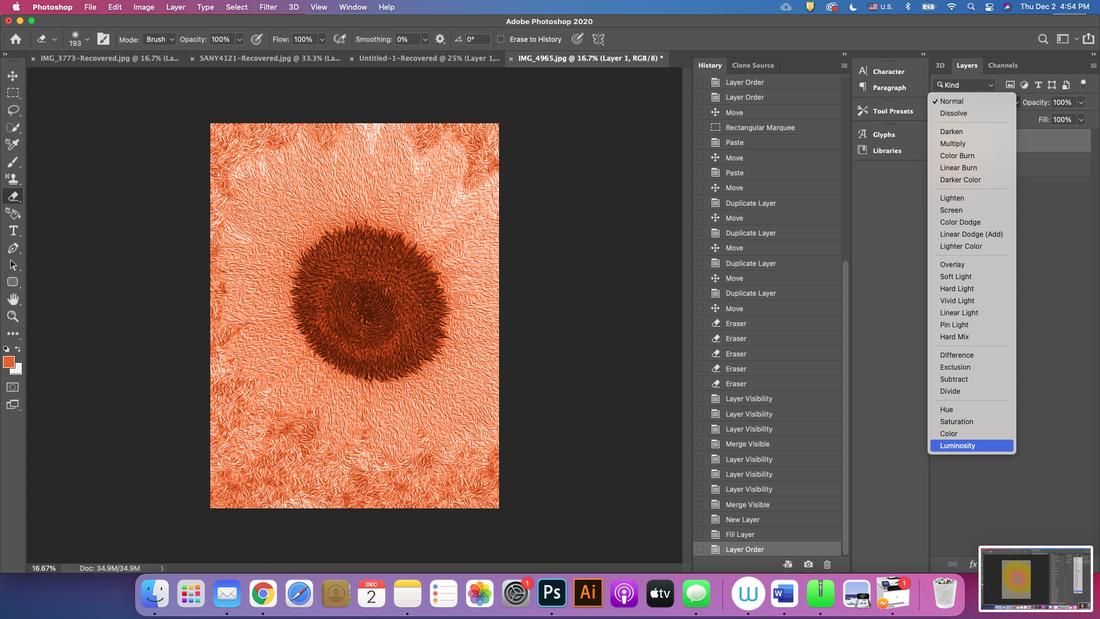
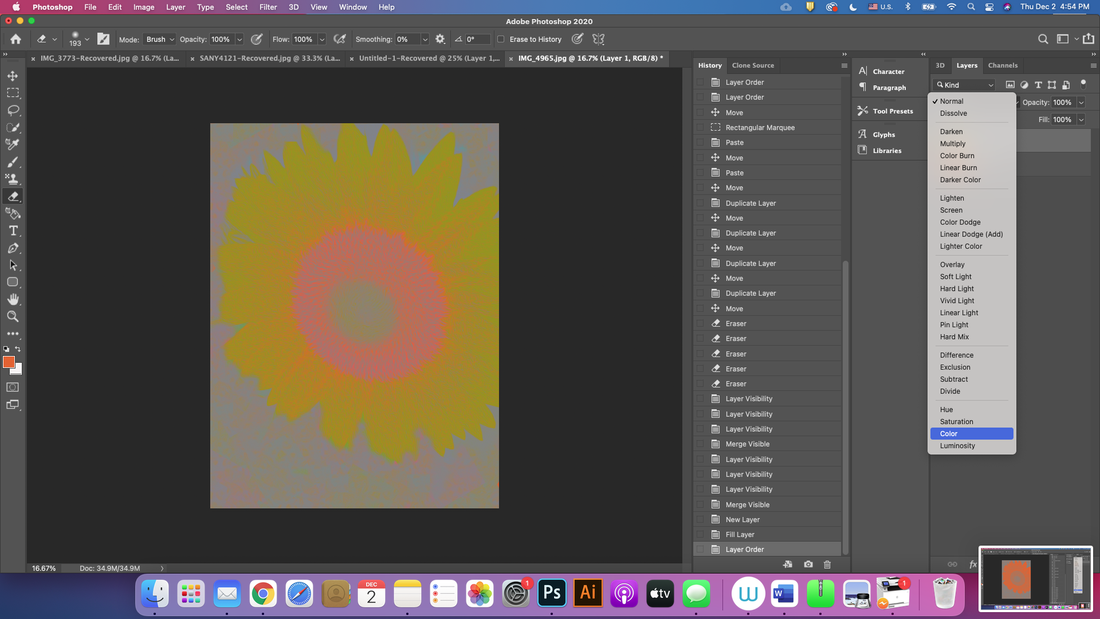
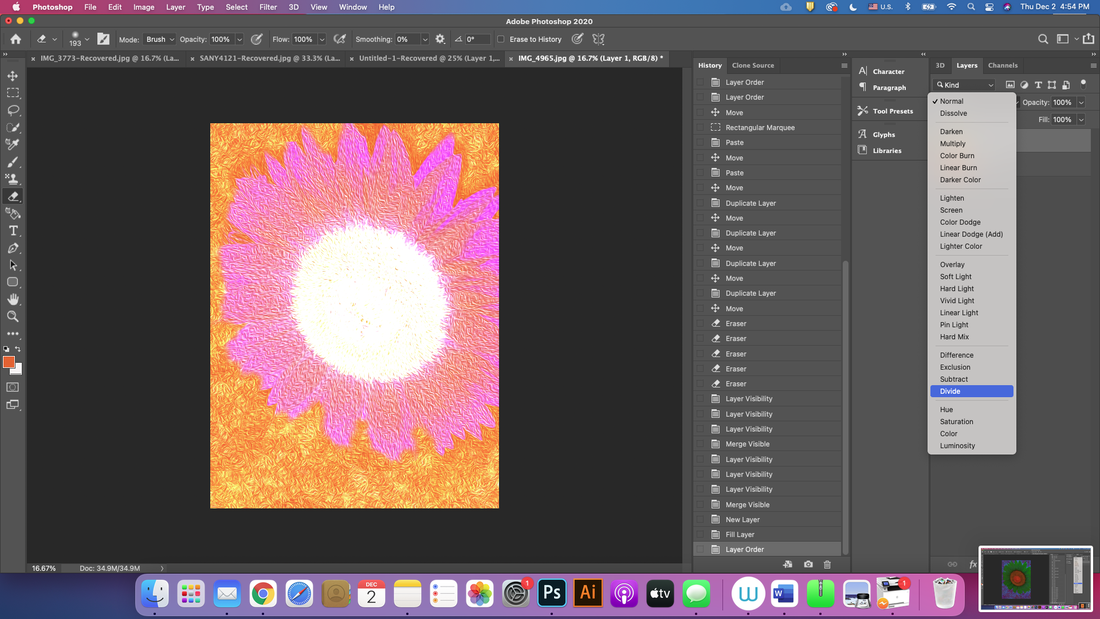
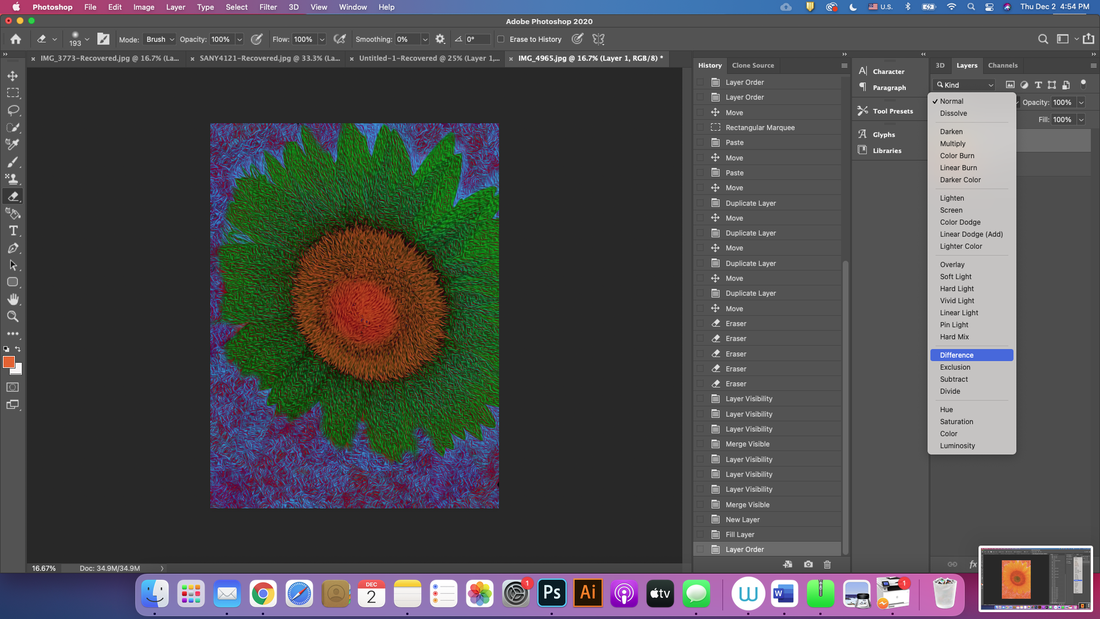
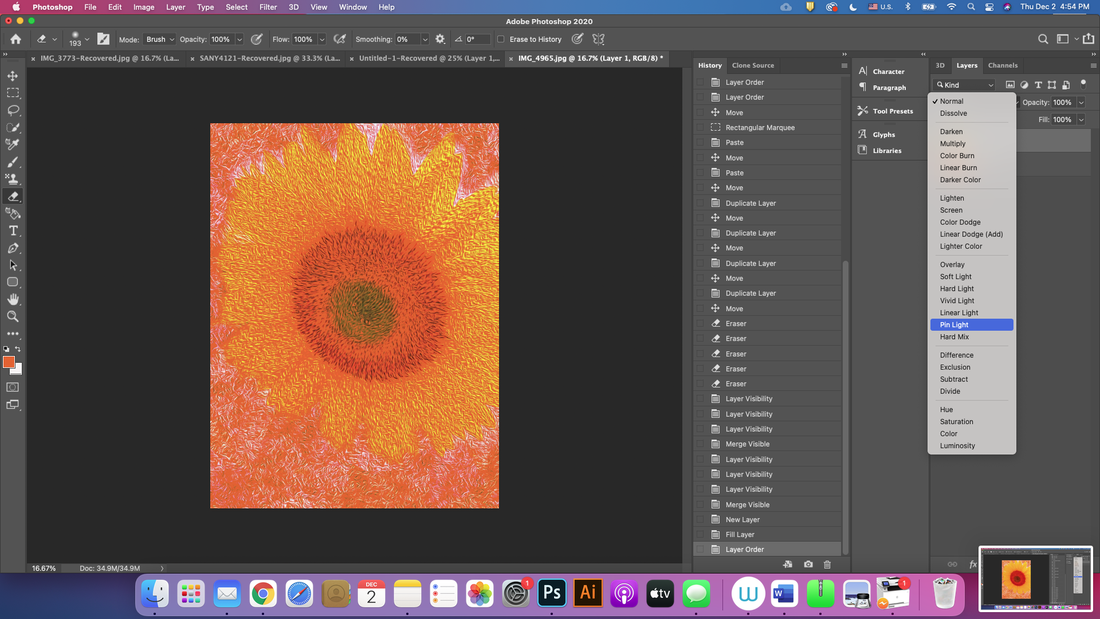
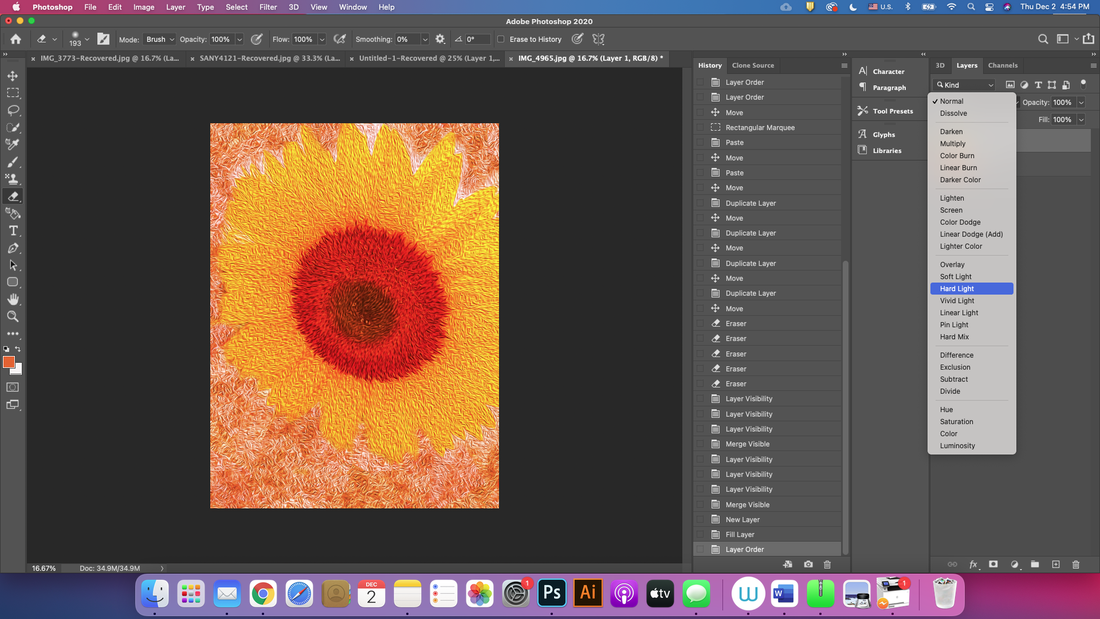
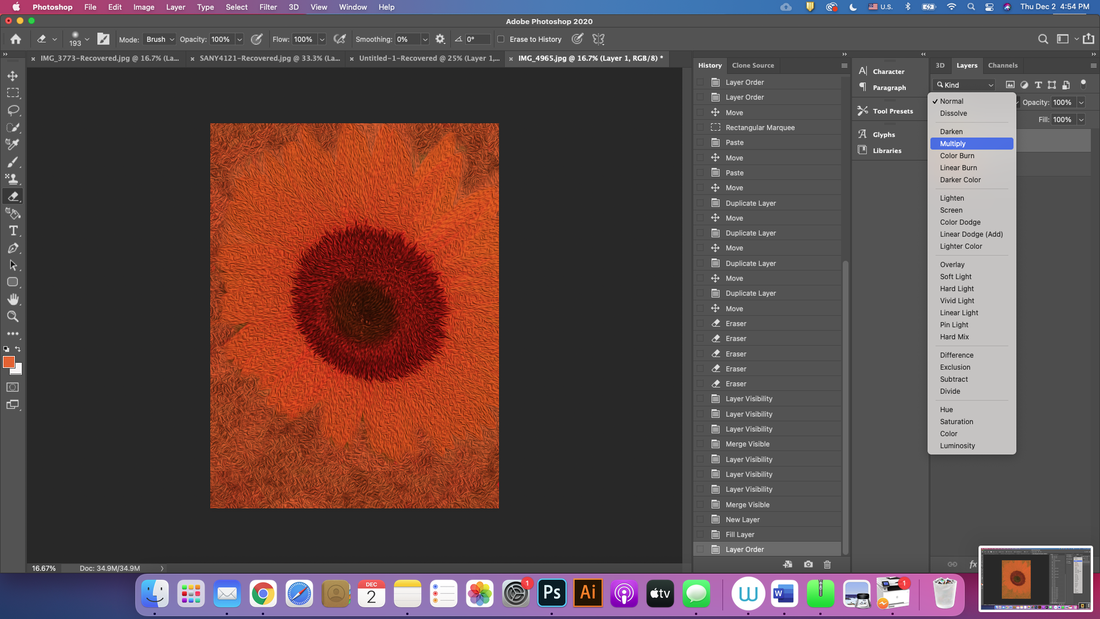
Promotion between RedBubble and Pinterest. Artists can register their images in RedBubble and make them into products. When a buyer who wants the product clicks the buy button, a purchase occurs, so you can easily commercialize your image without any initial deposit. Redbubble is free, while Etsy, a comparable company, typically charges 0.20 cents per image or product. Commissions are set by the user and are paid when an item is sold. Usually set to 20%. (Default) This criterion can be changed by the user. In this way, I also uploaded my image to Redbubble. 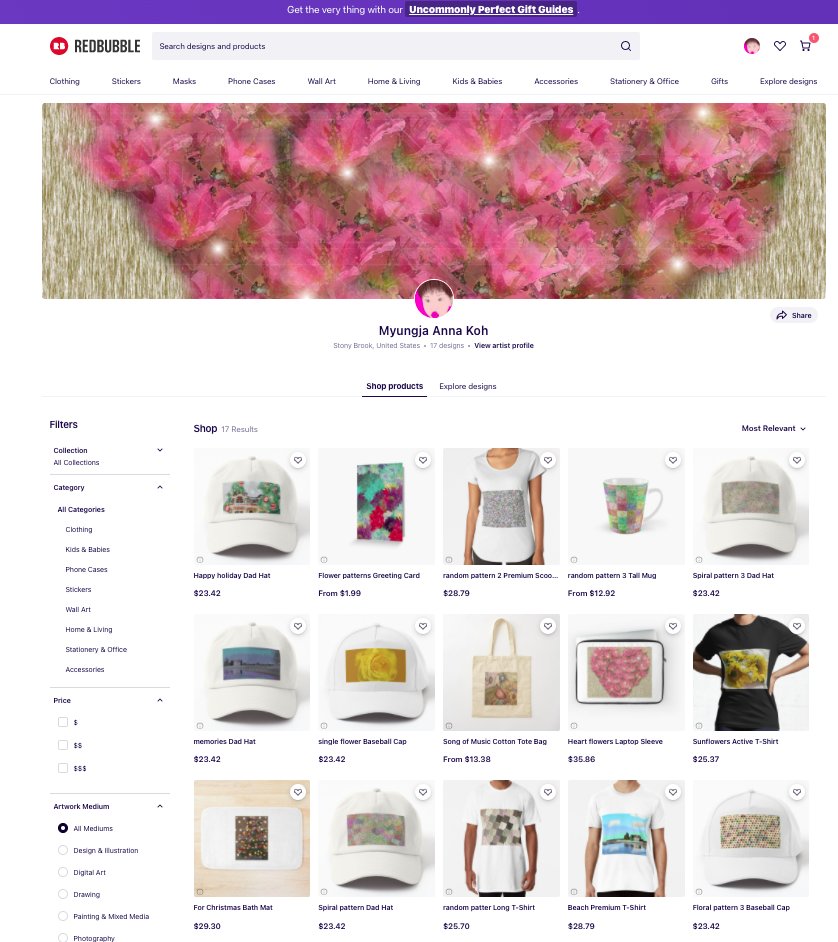 One of Red Bubble's functions is to promote its product on other sites. First, you can move to Manage Portfolio. 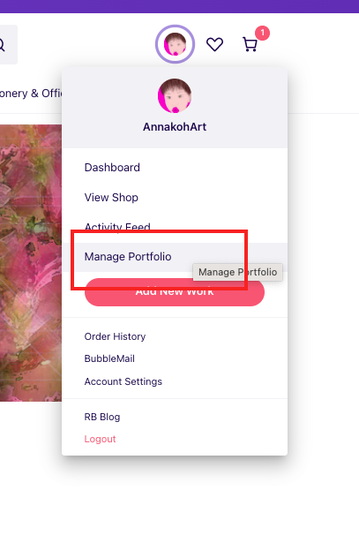 After click, you can find the screen, which made and uploaded before. 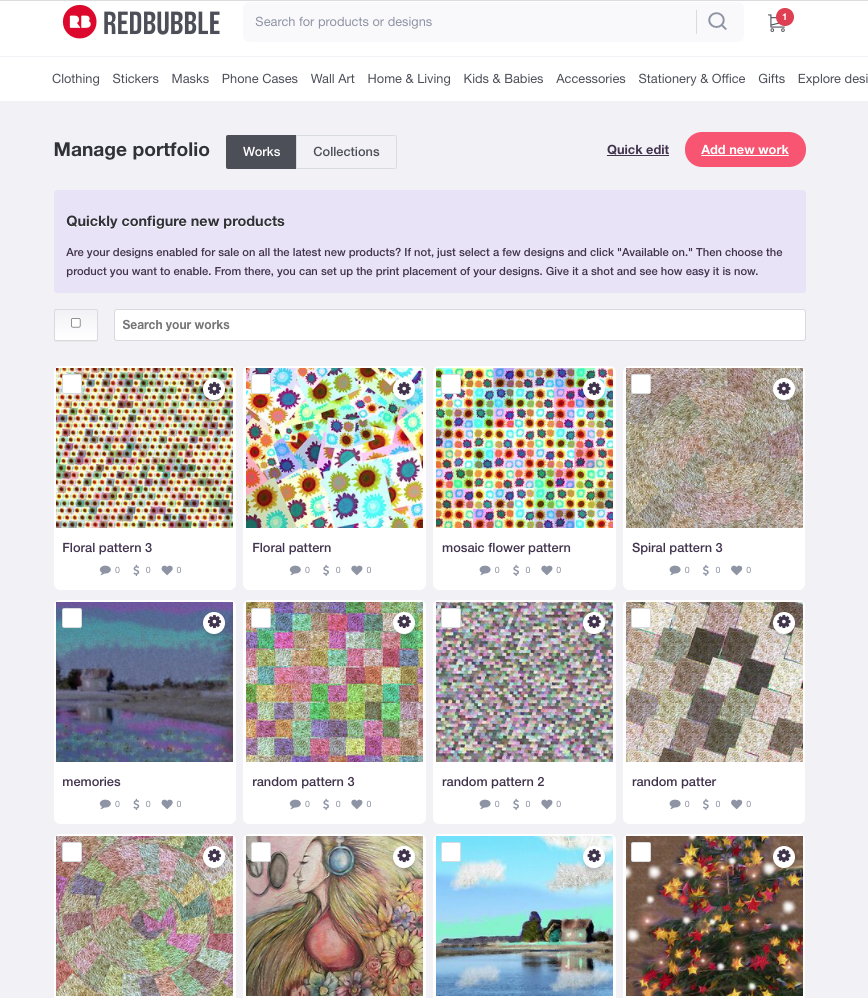 Please click it to promote to other site, you can see the activated menu like below red rectangles. 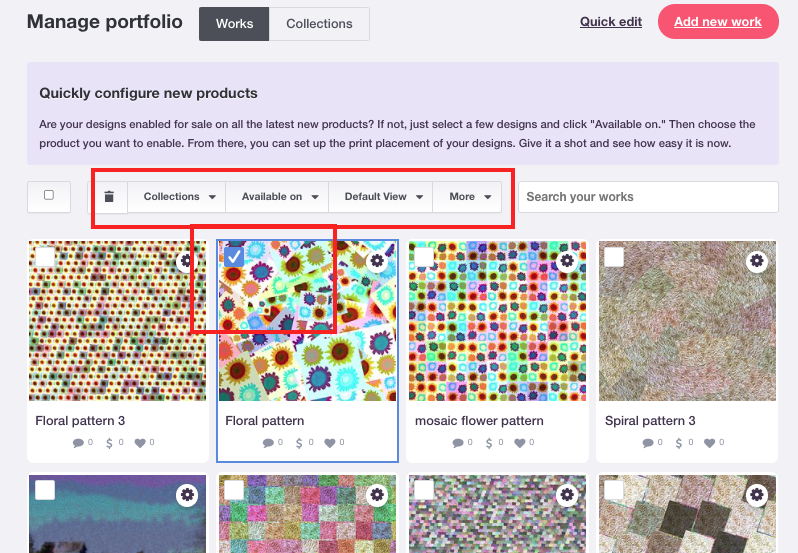 You can click the icon (circle on the top of right and drop down the menu, select the Promote products. 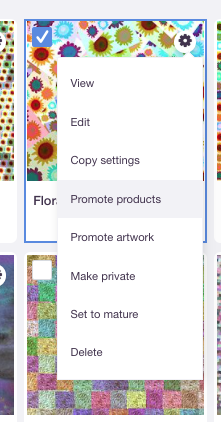 You can check all of the products, which is related to the image. And then choose the image product to post on other site. 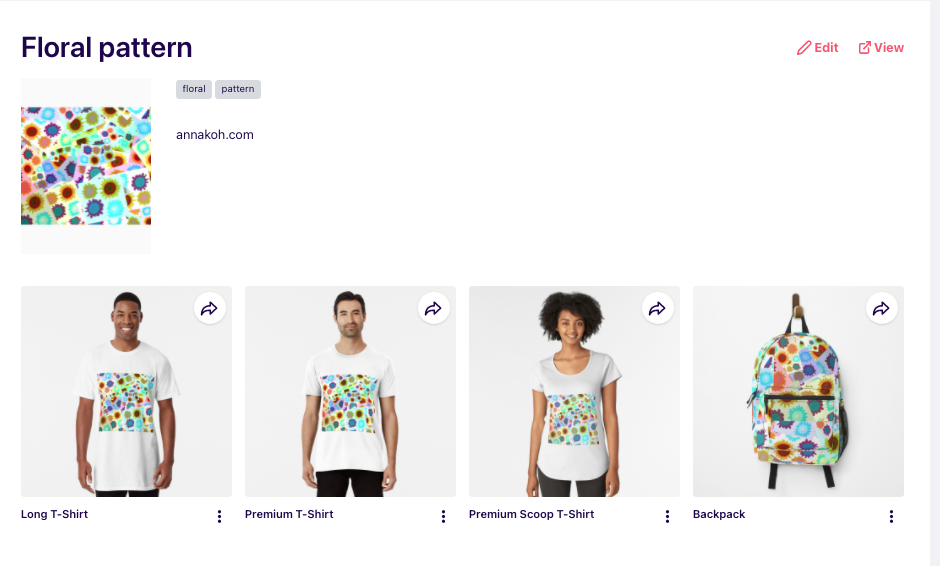 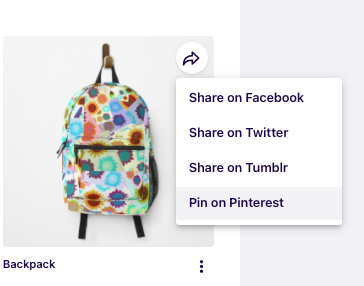 If you choose Pin on Pinterest, you can see as follow as below. 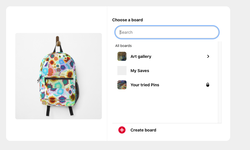 Choose your pin and saved it ! 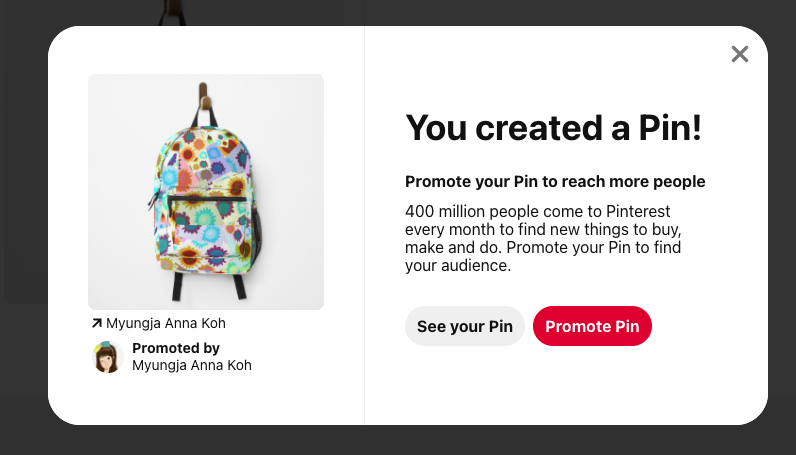 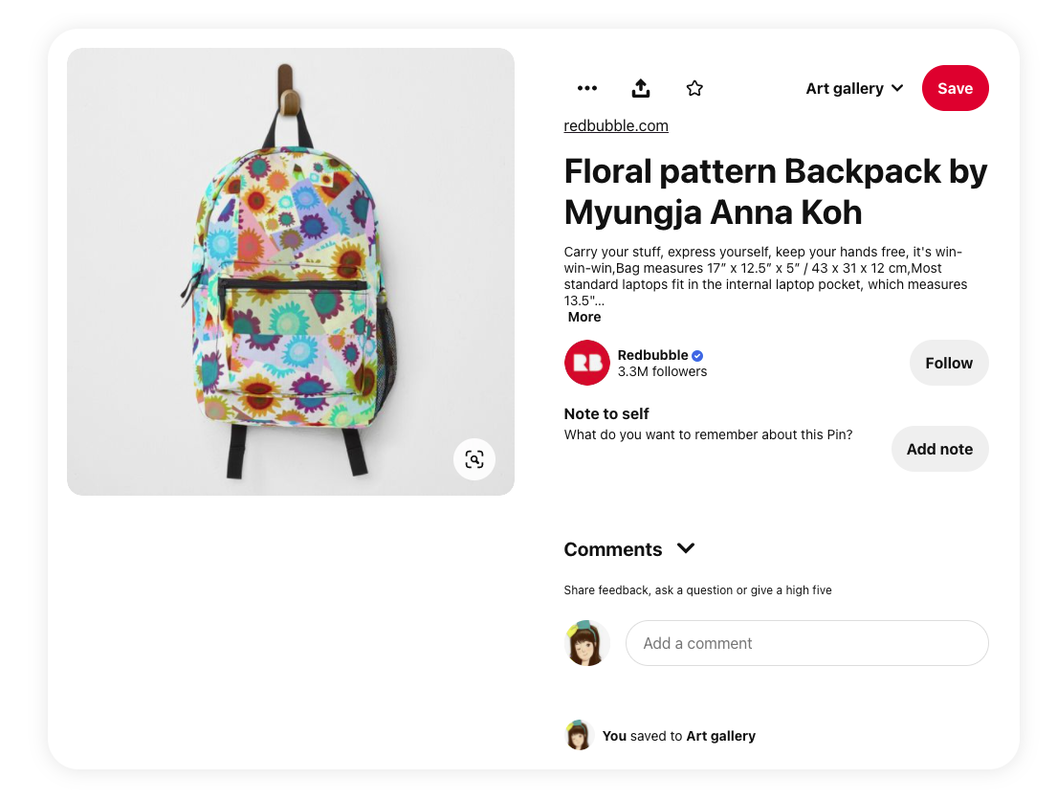 How to create flower patterns in Photoshop Today, I want to show you how to make a simple flower pattern using your own single flower image using Photoshop. 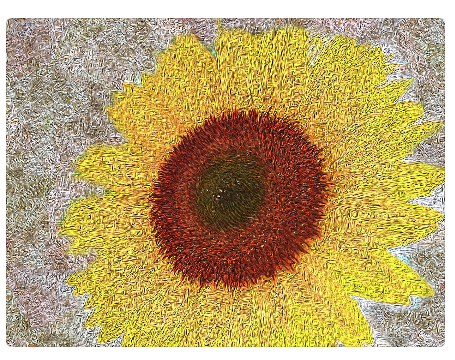 Bing sunflower, 2021, Myungja Anna Koh Recently I completed a large sunflower painting. I wanted a picture that felt warm, so I finished it with a soft touch as possible. I am trying to make a pattern using this picture. First, import this image into Photoshop. 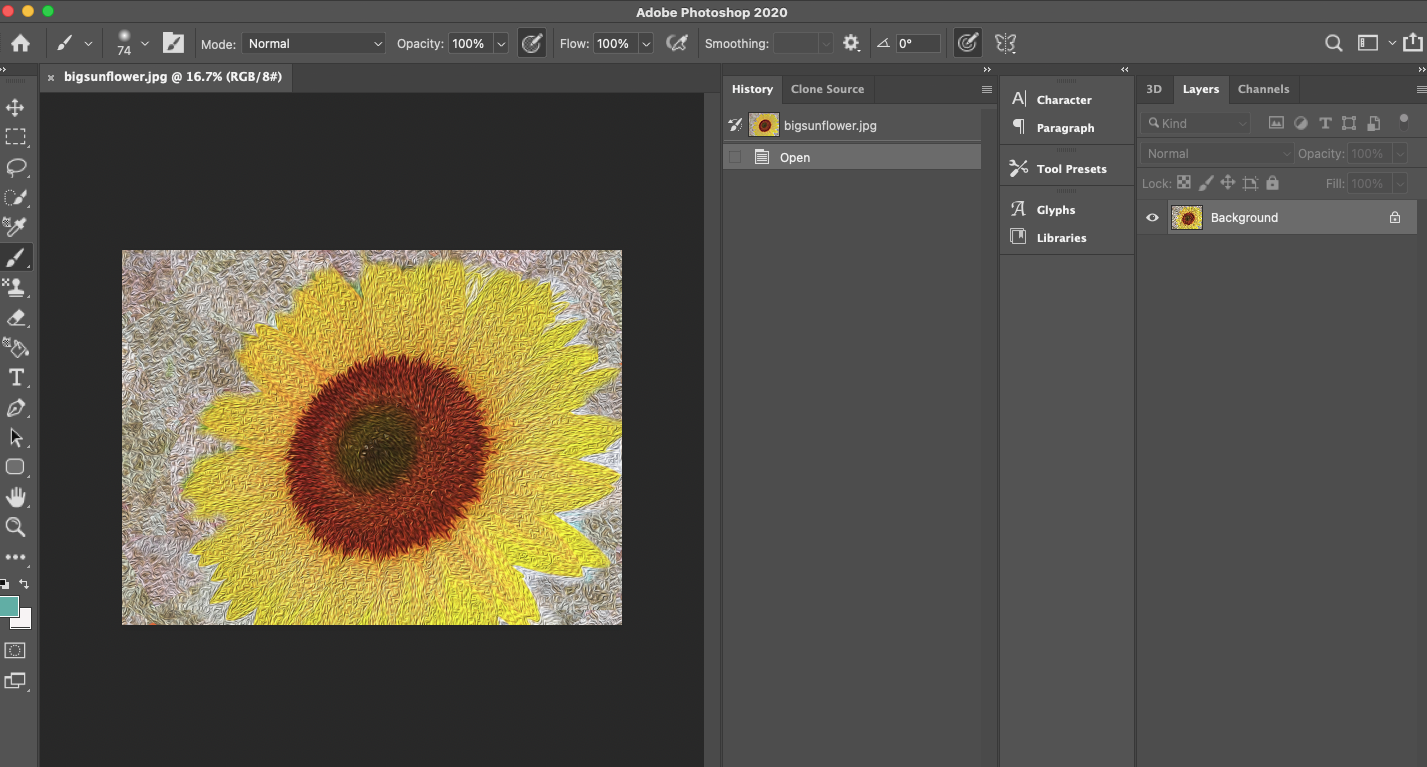 Then, if you go to the right layer panel, there is a function to change the mode as shown below. Catch the changing color for each function. 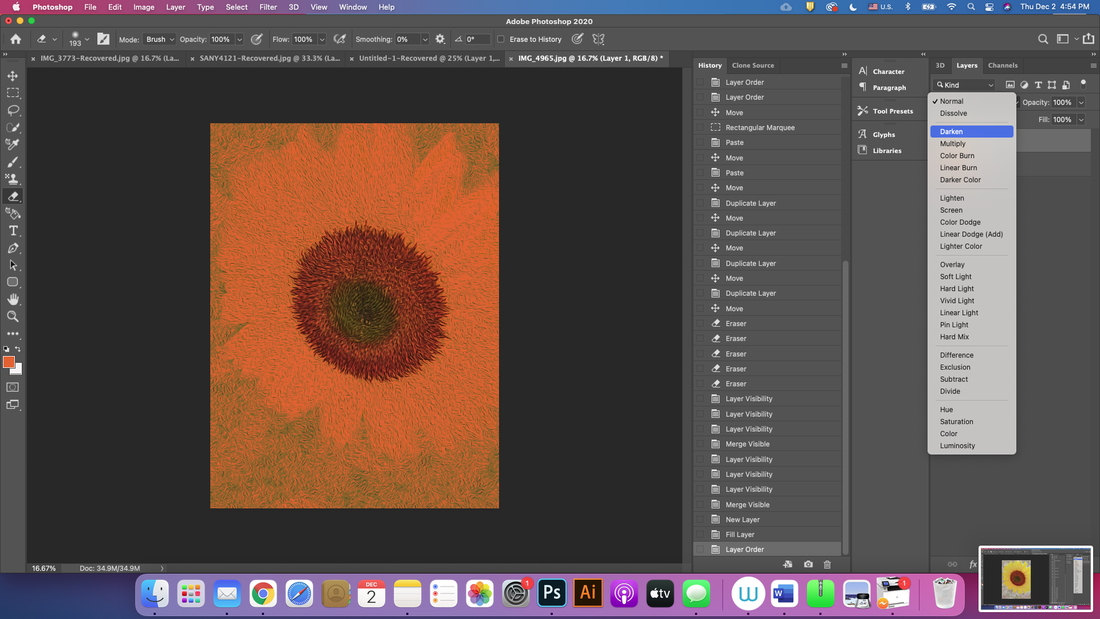 Below is the result screen after layer color conversion.
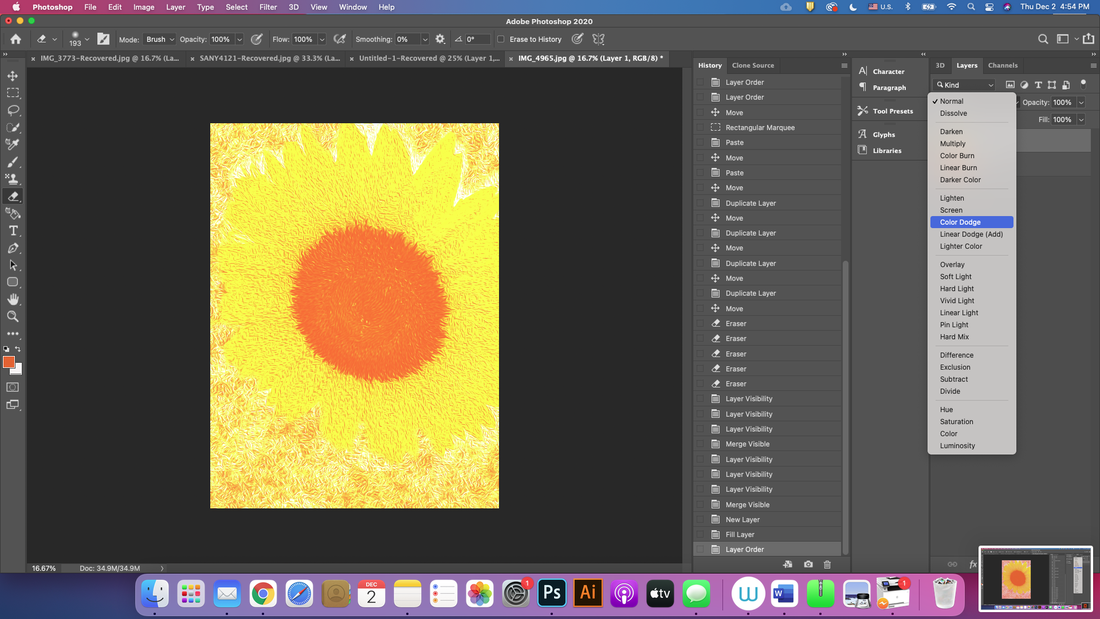
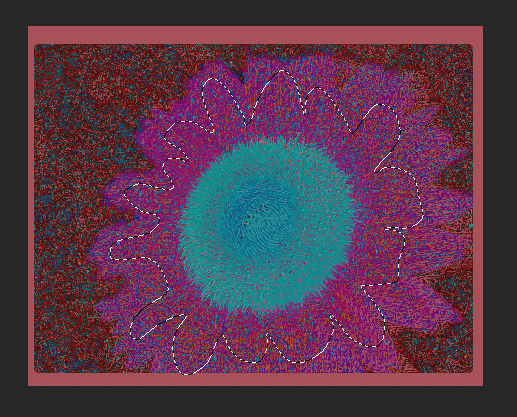
In this way, only the flower part of the image with color change is picked up with the Lasso tool. 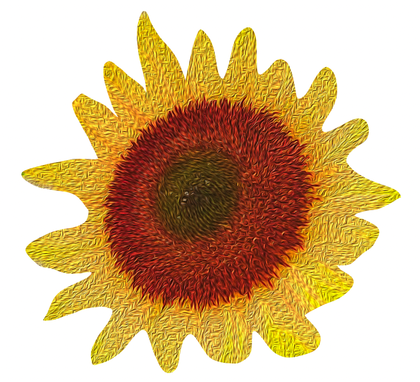
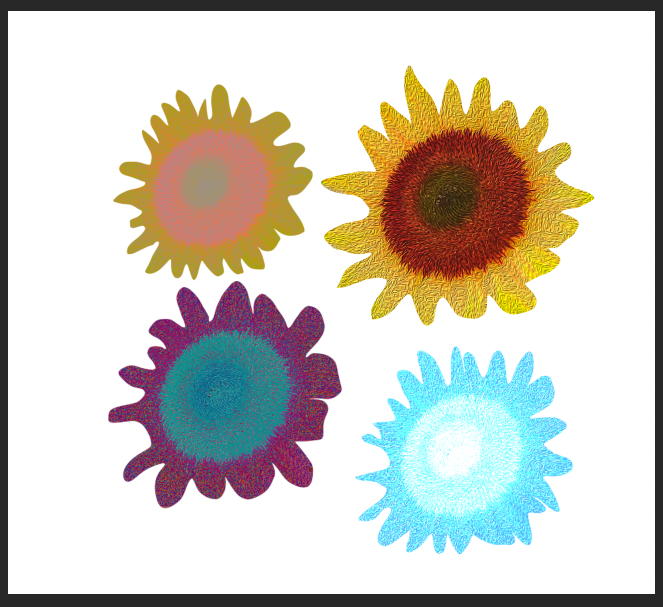
Register the four flower shapes created in this way as patterns. (canvas size: clipboard 400 x 400 dpi) 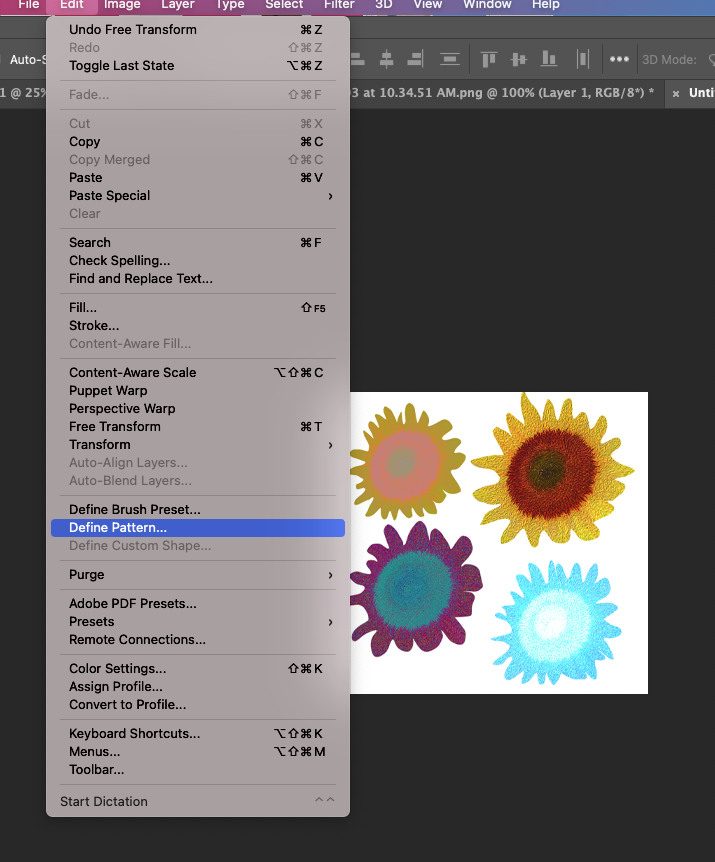 You can check how to display as a pattern, which you made it previously. 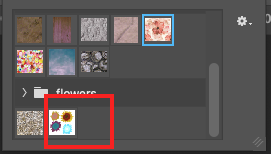 After that, you go to Edit--> Fill. 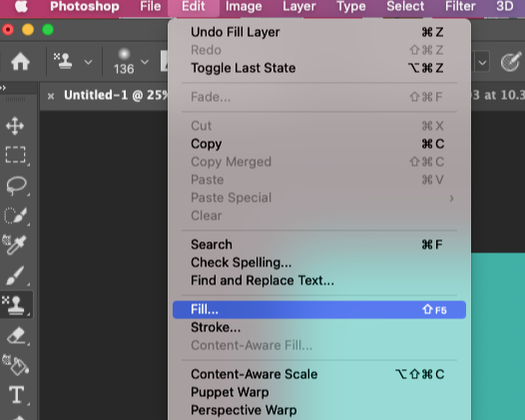 Ad then adjust the value of options like blelow. 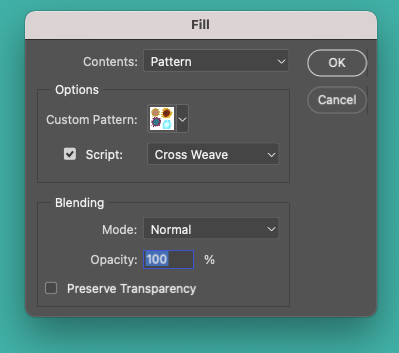 You can check the adjustment in details like below. 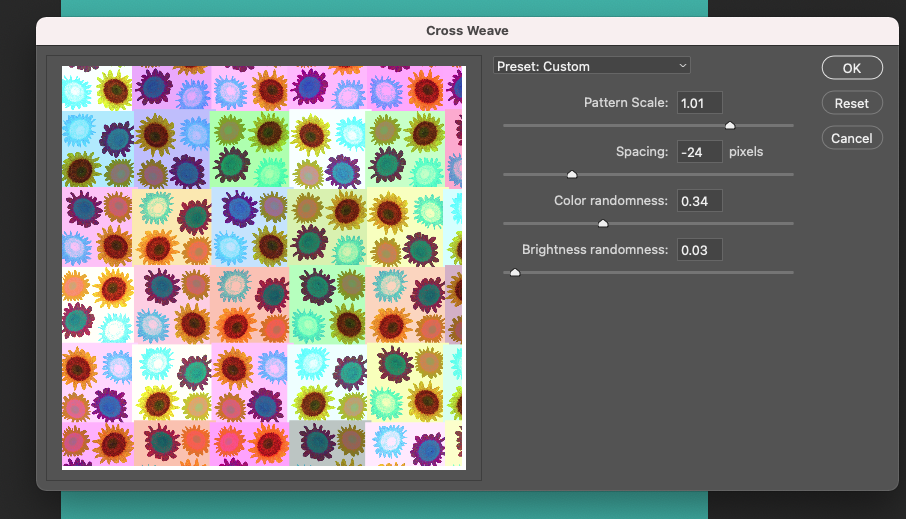 Finally, you can get a new flowers pattern.  Flower patterns with mosaic, 2021, Myungja Anna Koh Most of all, I applied my new patterns on Redbubble site. 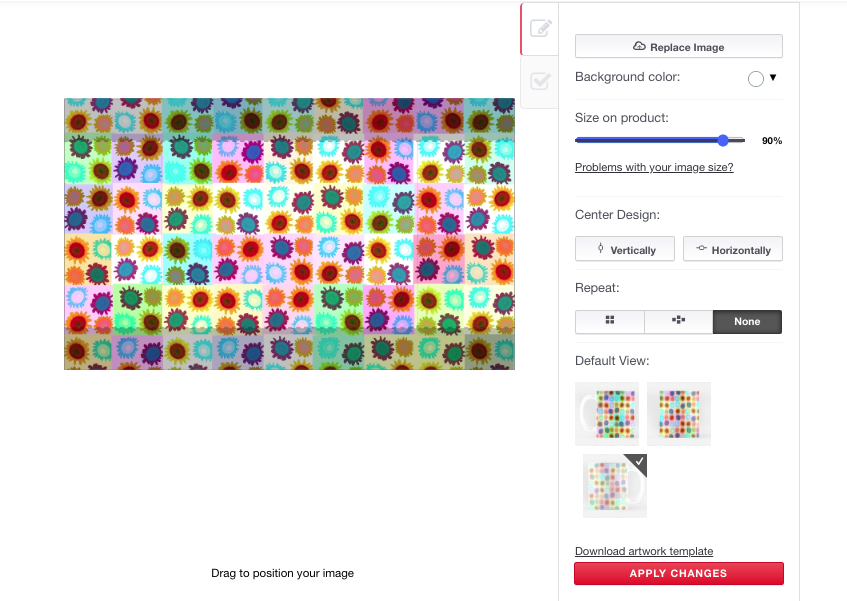 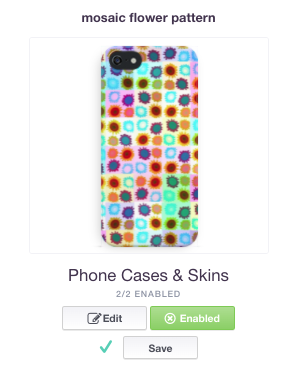 |
Myungja Anna KohArtist Categories
All
Archives
April 2024
|

|
Tutorial |

 RSS Feed