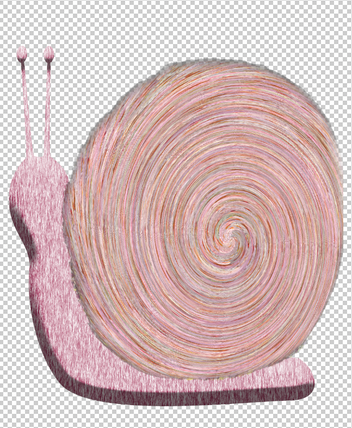
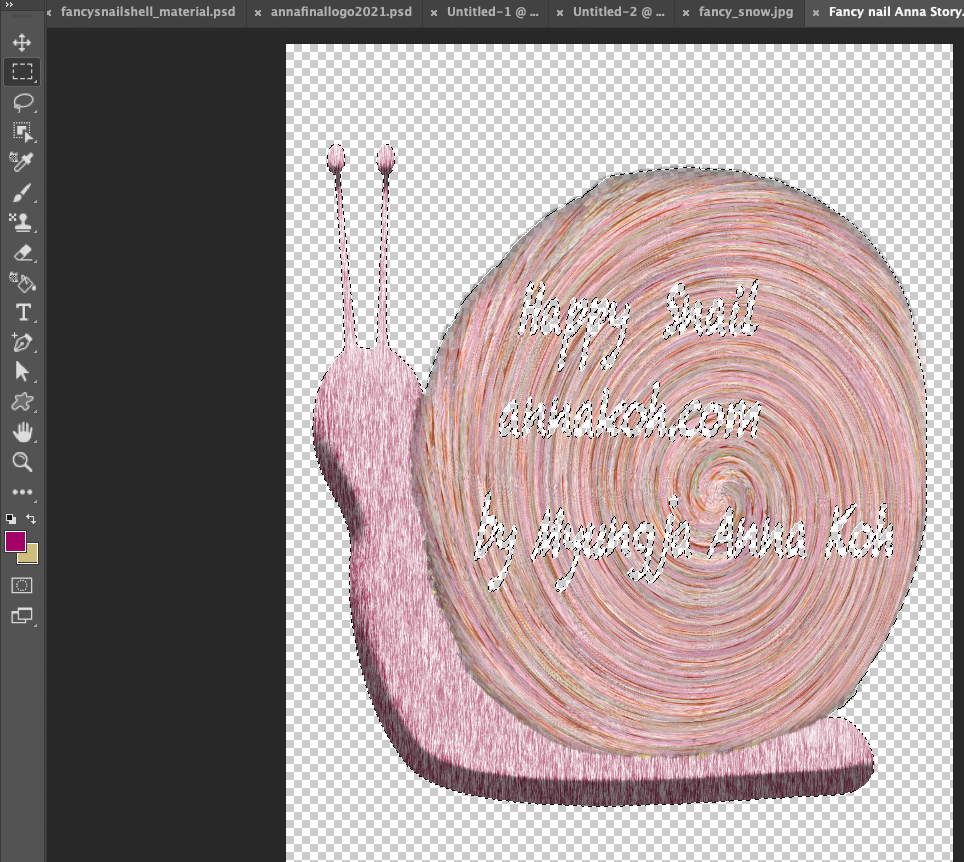
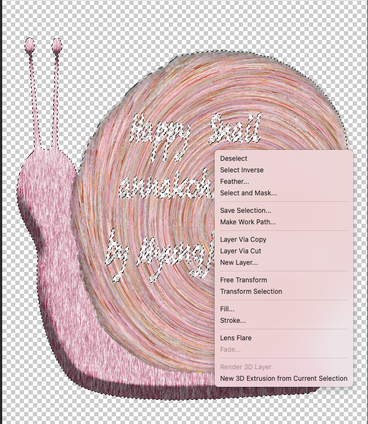
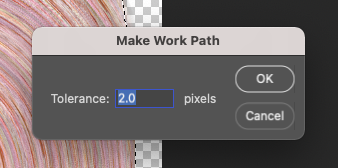
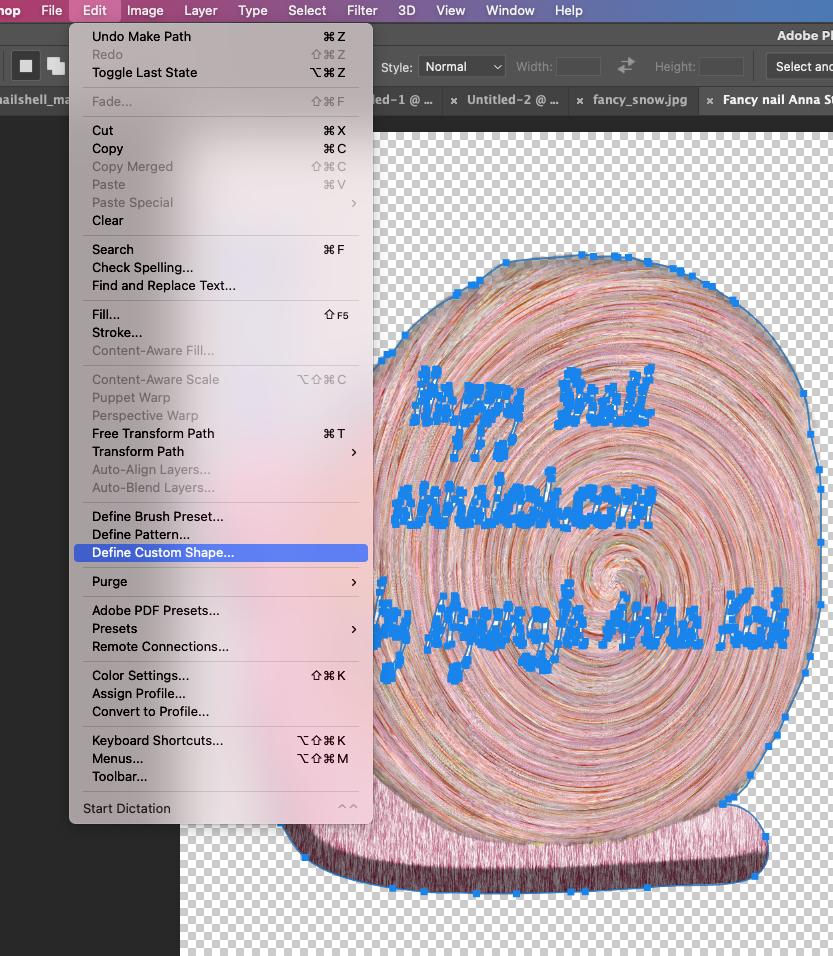
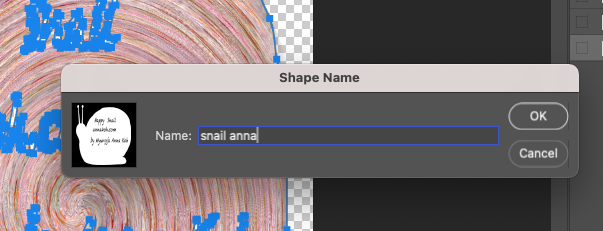
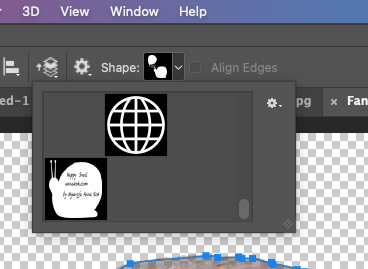
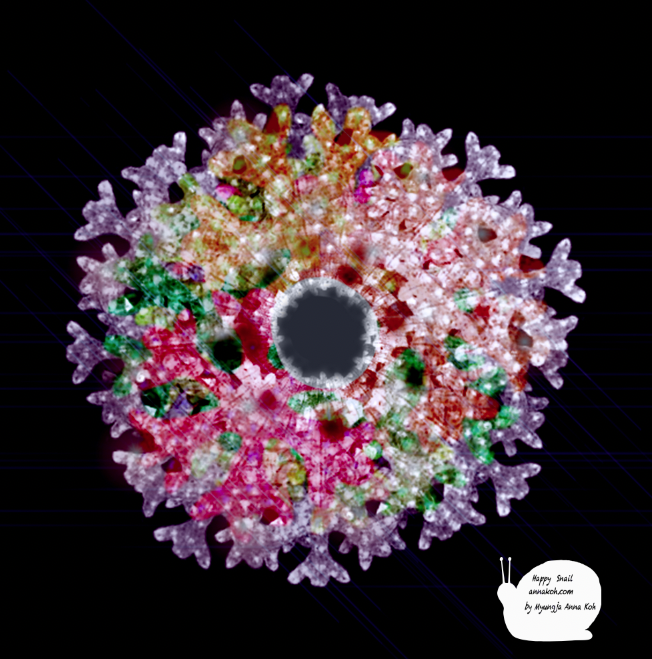
How to make own stamp pattern with Photoshop Today, I would like to show you how to make a logo pattern like a stamp on an image you made with Photoshop. This is convenient because you do not have to create images and disclose the source and copyright with captions. To do this, we first create a logo that we will designate as a pattern. I imported the recently created snail Anna image. The pink snail below is Anna, the snail before she regained her self. Related stories are posted on the blog. ( go to blog post!) Write the words you want to write on this snail, etc. In my case, I wrote the logo name, website, and copyright source. In my case, I did change the style of letters . Next, click the text layer and press Control Shift at the same time to select the font. (Click related layer + Ctrl + Shift) If you look closely, you can see that the text selection area is activated with moving line. In this state, click the layer 1 image file again and press the delete key to erase the image inside the text. If you follow this far, you will get something like this: Now, click on the image again to activate the selection again by clicking on the layer while holding down the control and shift keys at the same time. (Click related image layer + Ctrl + Shift). Next, you have to select the Rectangular Marquee Tool like below. Then, place the cursor in the image area and right-click. After that, you can go to "Make Work Path" and then you can see the input area of make work path, Just put 2.0 in it. When the blue line is formed as shown below, click Edit ---> Define Custom Shape in the menu. In my case, I named it "snail anna". If everything is going well, you can find the added new defined custom shape as follow as below. Finally, you can apply it with changing color and size. Below is an example of applying own defined stamp in my recent image. Comments are closed.
|
Myungja Anna KohArtist Categories
All
Archives
July 2024
|
Proudly powered by Weebly




 RSS Feed