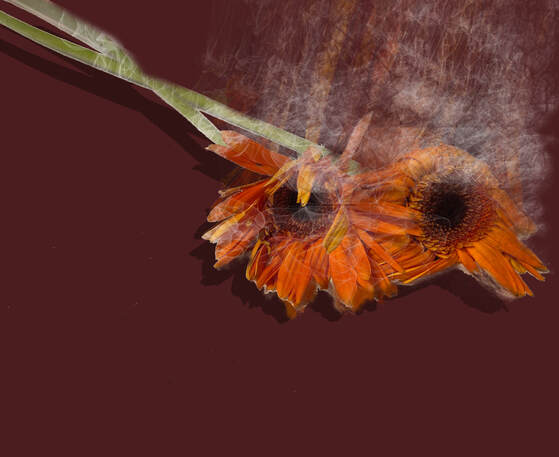
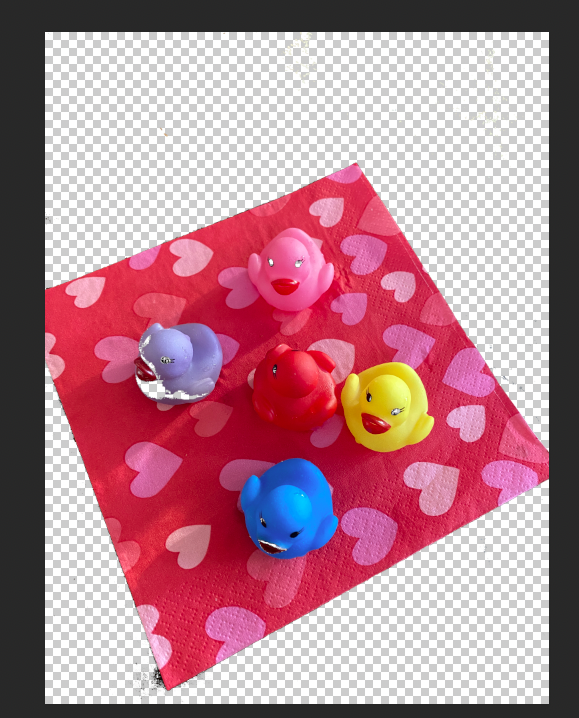
 Expressing Flowers Disappearing as Smoke with Photoshop Today, I posted an article about Vanitas painting, which dealt with the futility and meaninglessness of life. So today, I am going to try to make a digital picture that can express the meaning of Vanitus in Photoshop. First of all, the picture to be used is as follows. 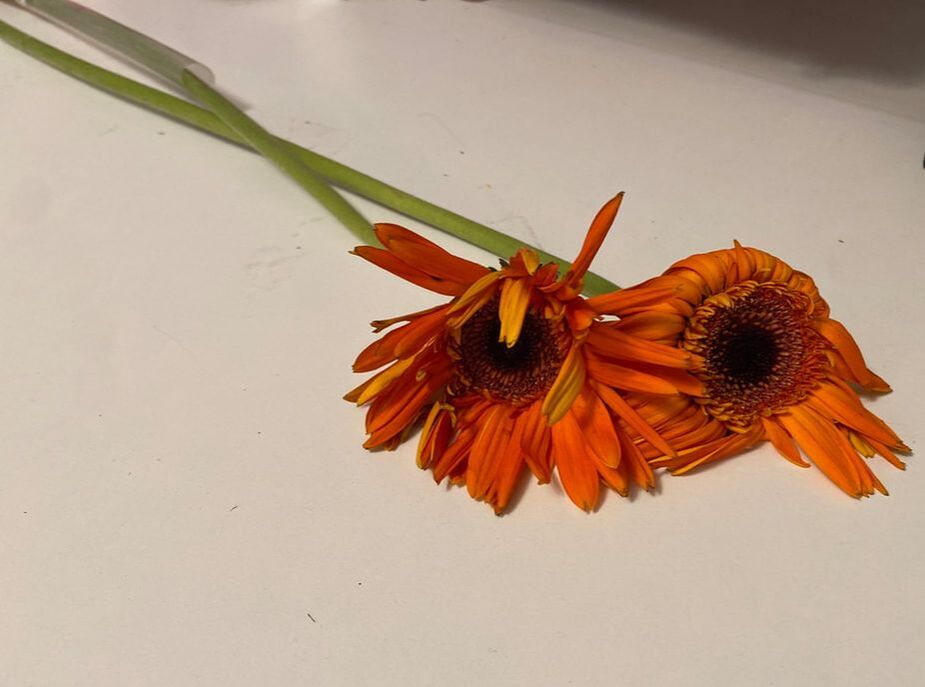 First, import the photo into Photoshop and then erase the background with the Magic Eraser tool. 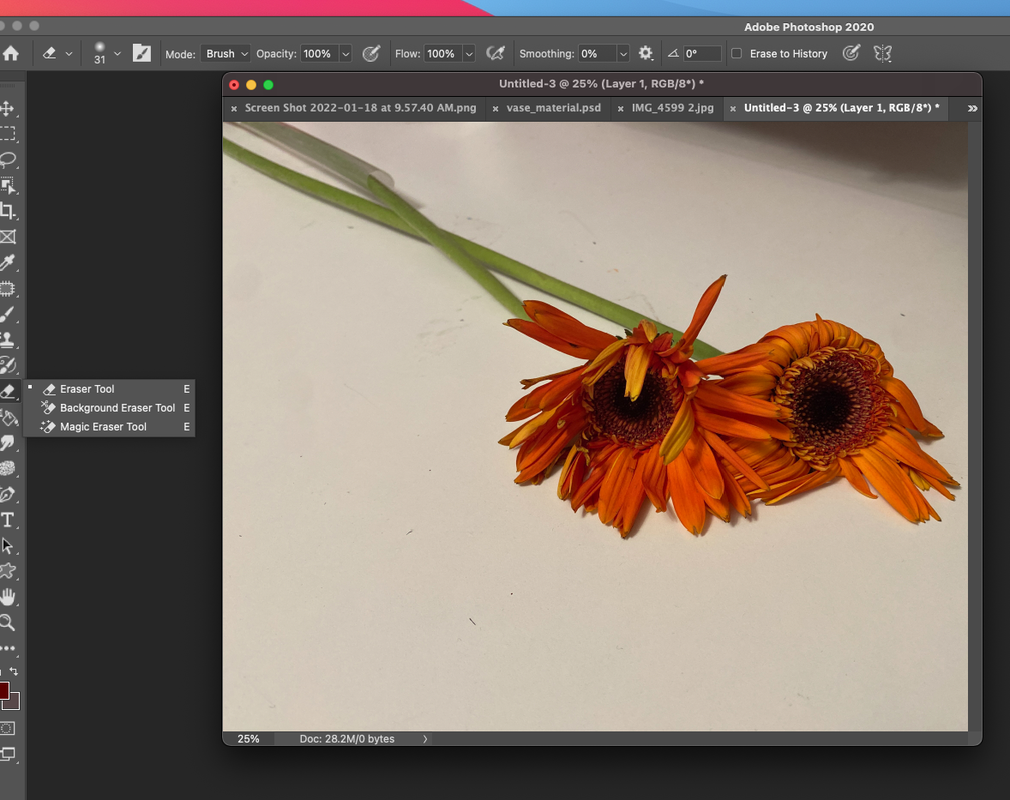 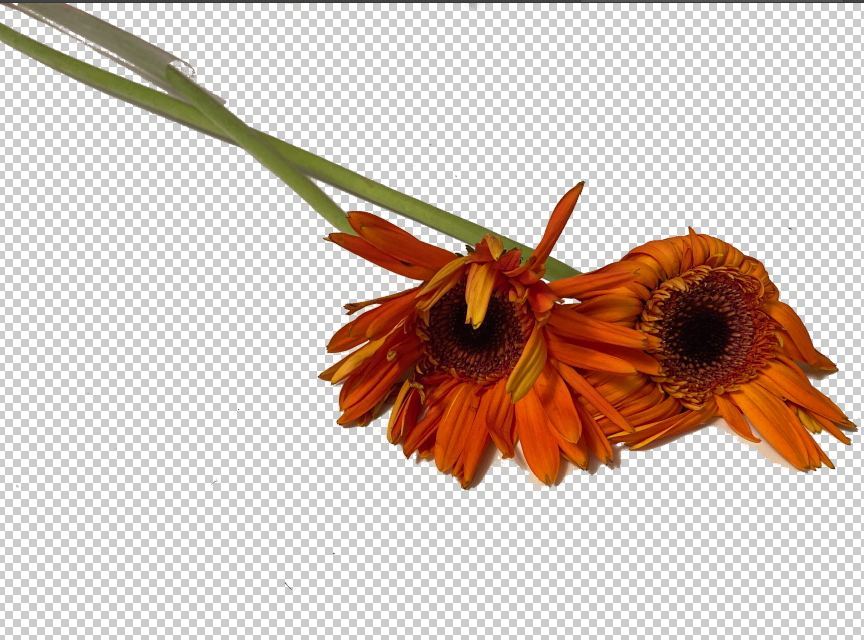 Next, duplicate a layer, and then make a new background layer . And then select the Layer 1, go to Filter to Liquify. And then go to Filter--> Liquify. 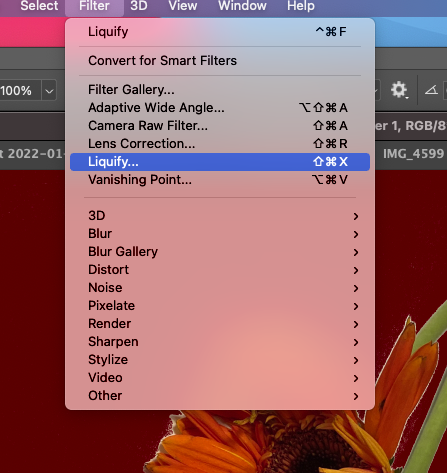 Click the icon ( Forward warp tool) to make the flowers long. 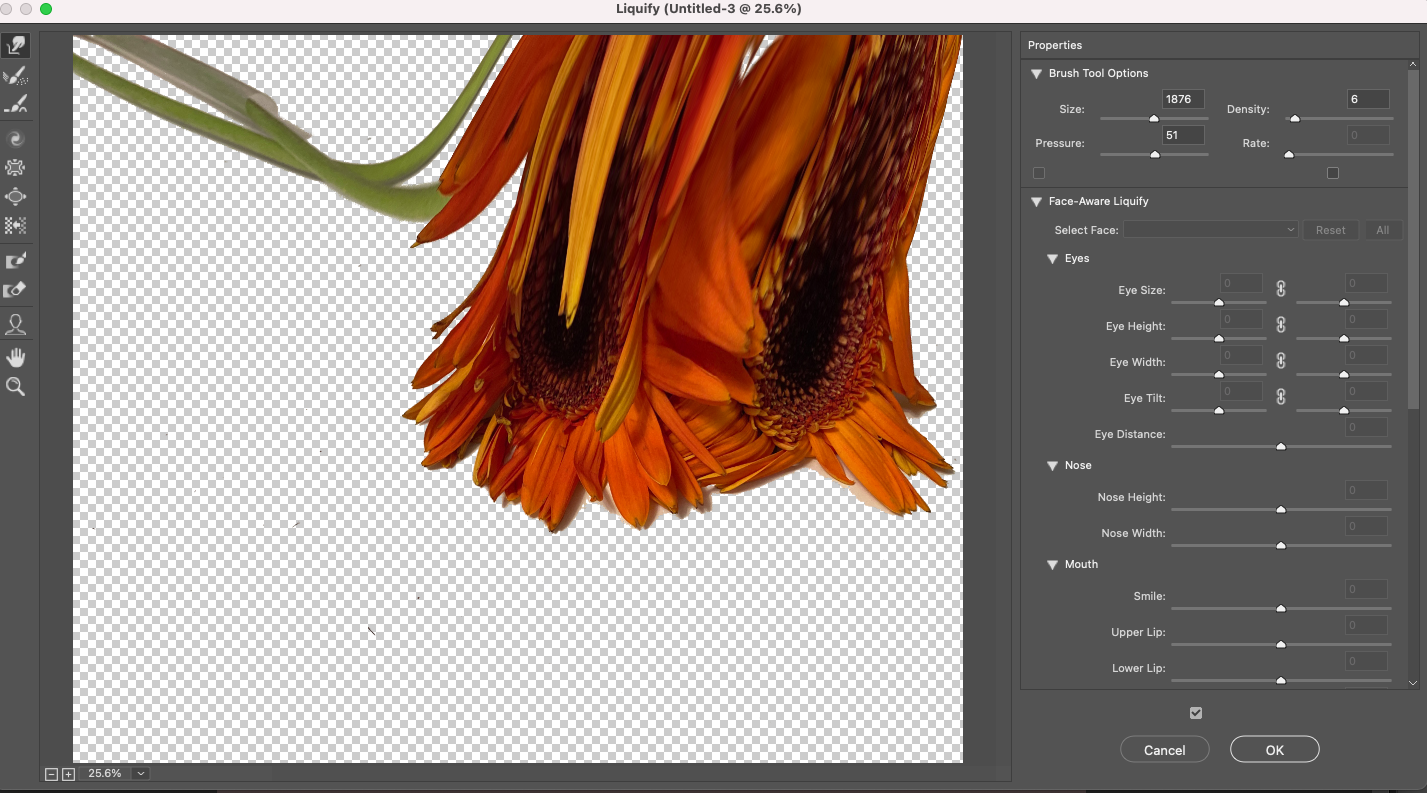 With Command Key, select the enlarged layer and then make a mask. 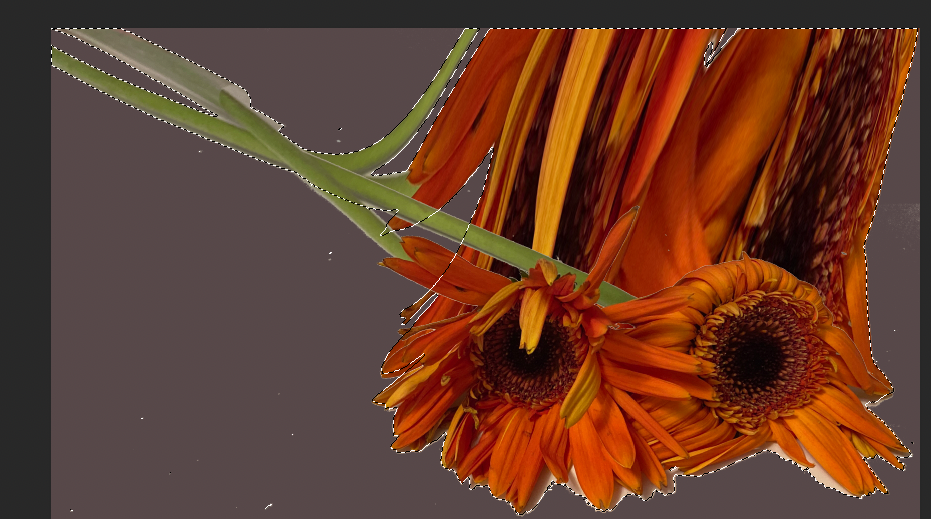 As same method, you can make a mask with Layer 1 copy. 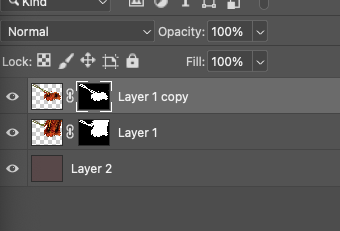 And then, go to the layer 1 copy to draw with smoke brush. For getting smoke effect brush, you can go below site. It's free. 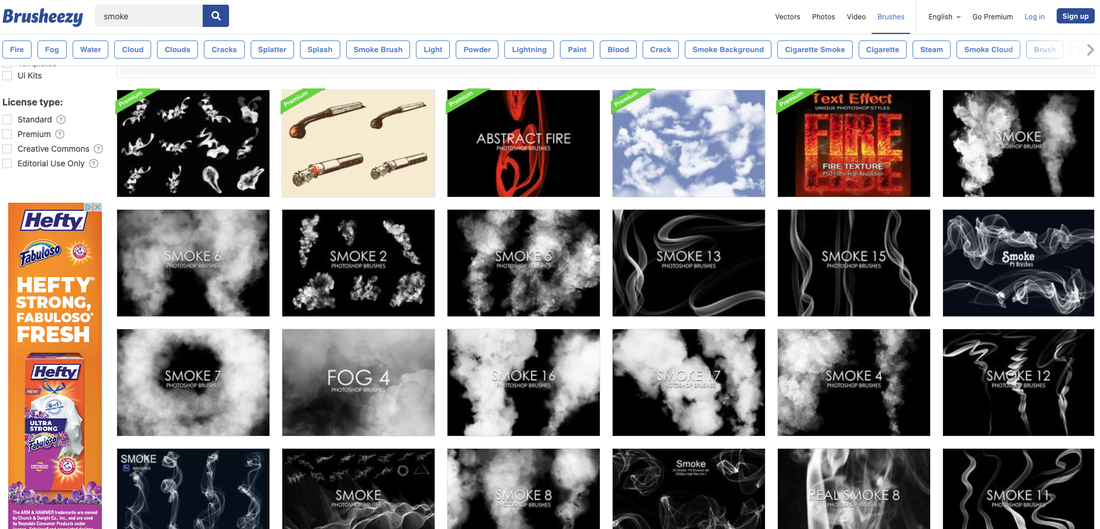 https://www.brusheezy.com/free/smoke First, I choose below effect. 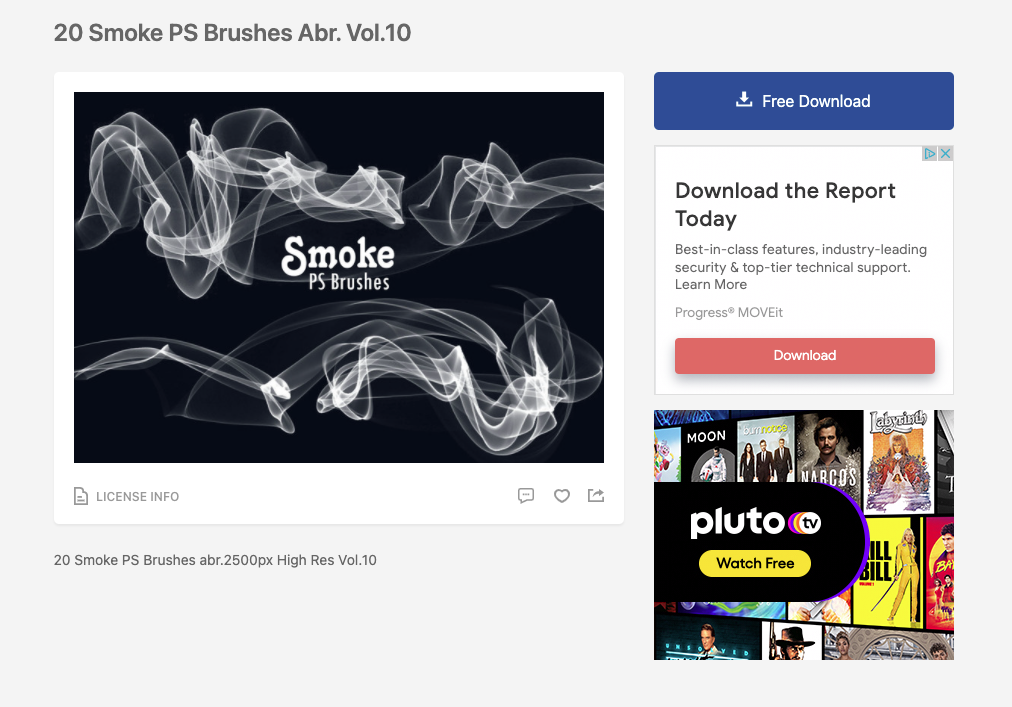 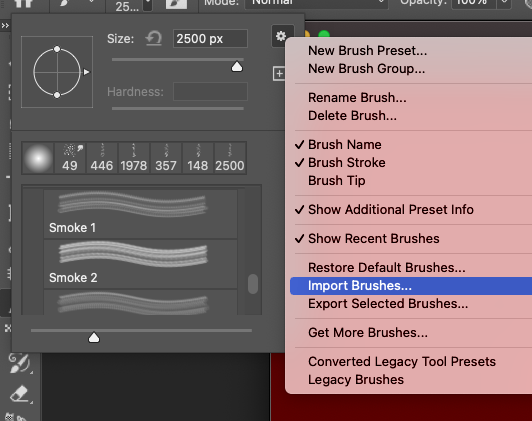 If you are ready to brush and click the first layer 1 copy and brush with the smoke brush (white color). 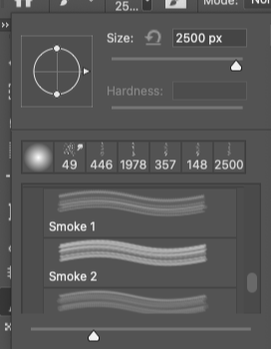 Like this, I click on layer 1 and give it a smoke effect, then click on the mask area to apply the effect again. Repeat for the layer 1 copy in the same way and draw a picture as shown below. 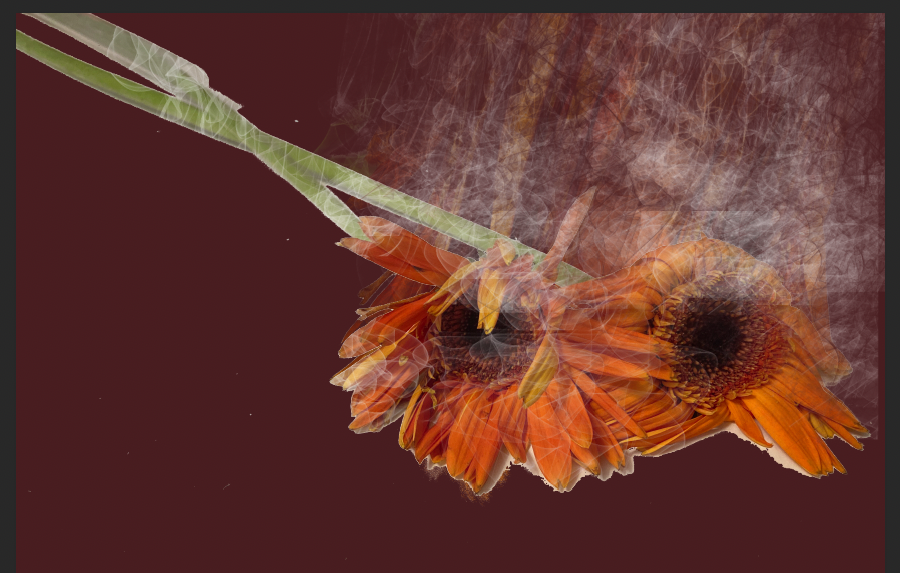 For making a shadow, create a new layer and then change the color. 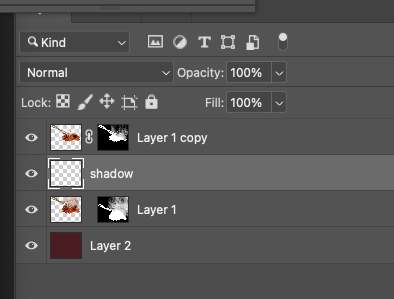 Select the Layer 1 copy's mask and then click with Shift+Command+I (for selecting and reverse), and return to shadow layer with color. Final touch, you have to click with delete key. 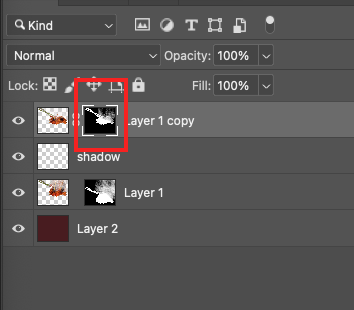 And then you can find the newly made shadow like below. 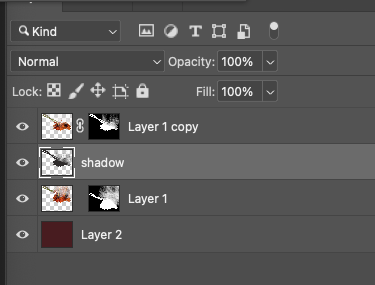 Adjust the size of shadow. 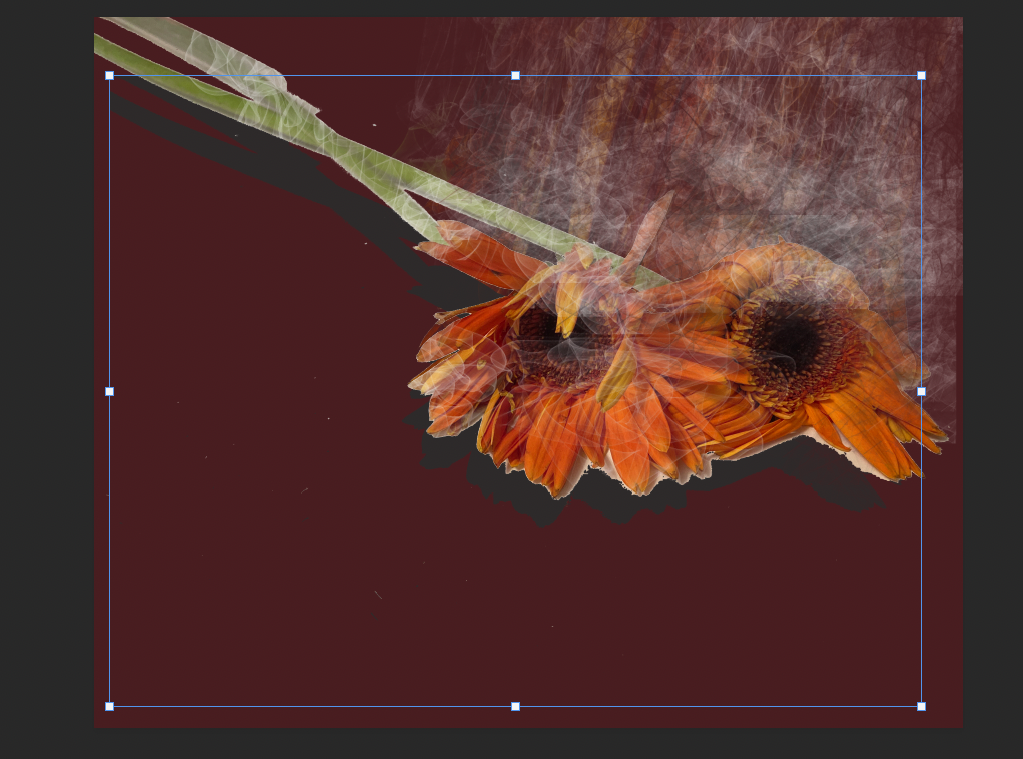 Here is the final image. 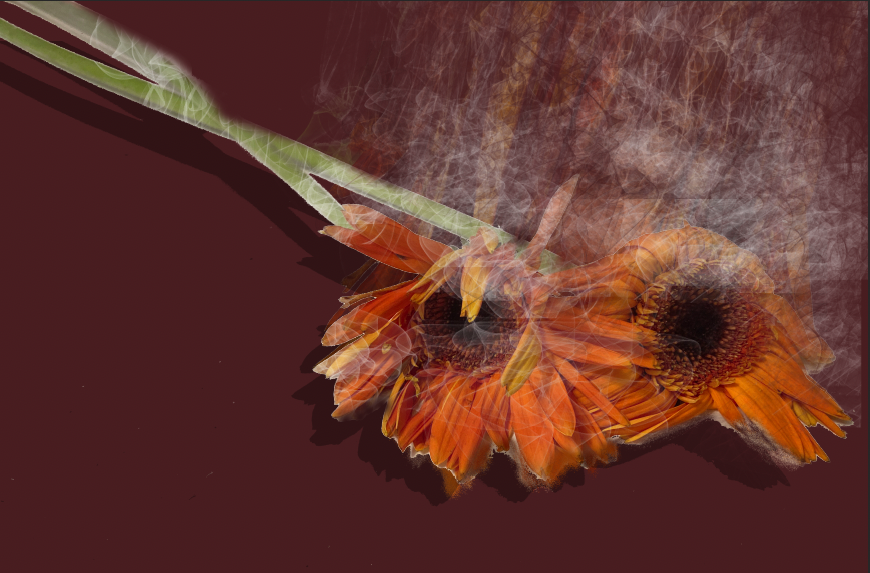  How to create a fancy 3D Text with Photoshop! Today, I posted on my blog an article about painting as a diary that keeps a record of each day. Although we always spend the same, sometimes boring, everyday life, if we cherish, appreciate, enjoy, and record each day, it can become a valuable legacy in the future. If you are interested in this, go to the blog post. Today, I will try to express the text of the diary in a fancy three-dimensional way. First, let's make a copy of the text with only Korean characters. Let's write a letter called D. First, create a new layer and write the letter D. All capital letters will be used. 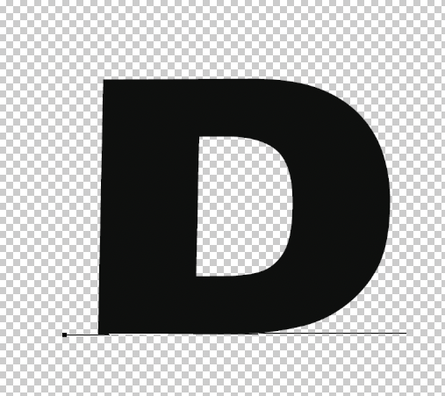 And then go to the New 3D Extrusion from Selected Layer. 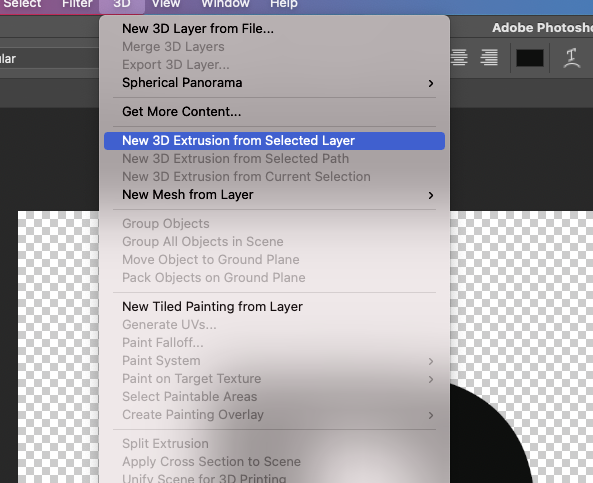 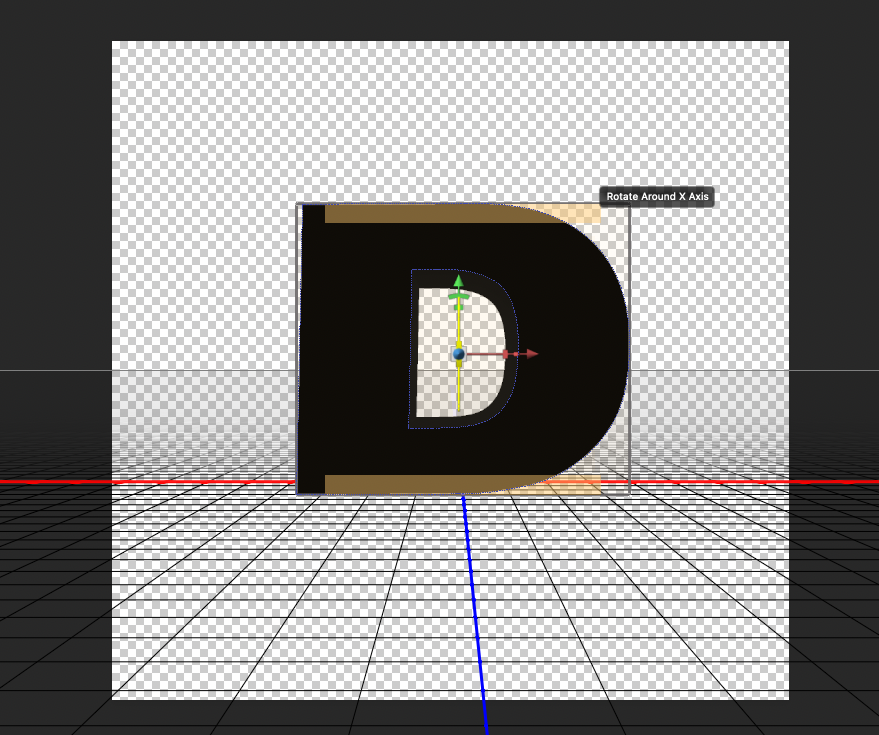 Click with Right-button on your mouse to go the options. For changing basic material, I choose the first icon(Materials) and clicked the white sphere like below. 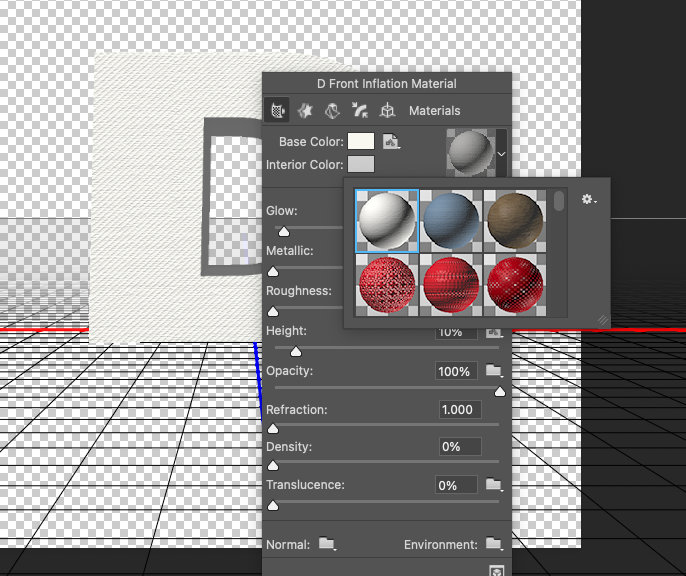 For changing Mesh mode, I choose the item of them like below. 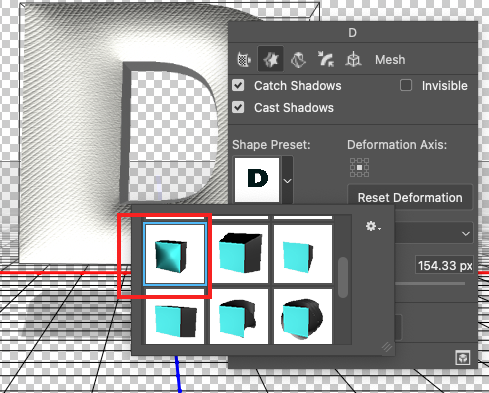 And then adjust the Extrusion Depth as your preference. 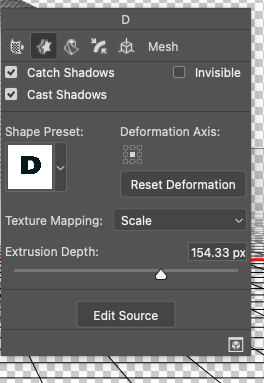 For adjust Bevel, I click the Cap icon and adjust as follow as below. 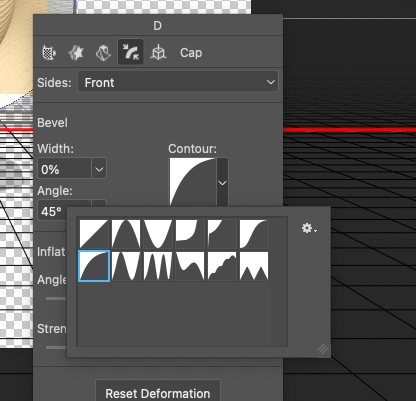 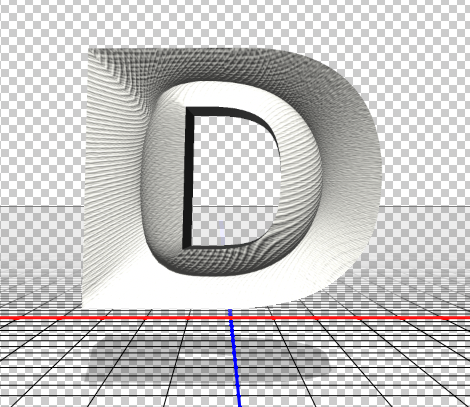 If you don't want to use only basic materials and then would like to change with your image, you can go to Environment. Just double click to open it. 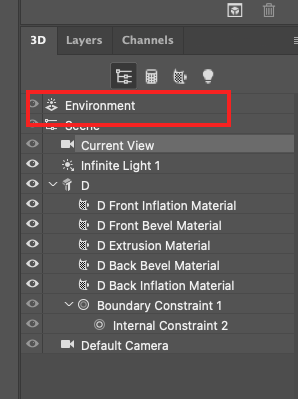 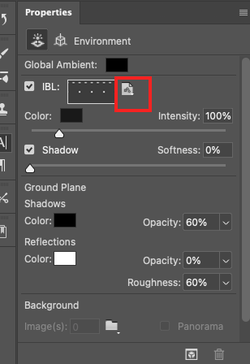 and then you can find the paper shaped icon. You have to click it . Next with the drop-down menu, you have to choose Replace Texture for changing the materials as your image. 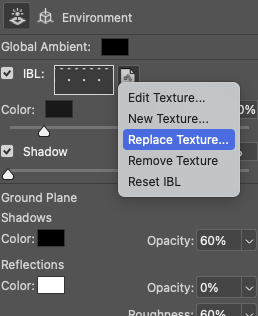 If you see the browser to search you file, click it. After that, you can find the result like below. 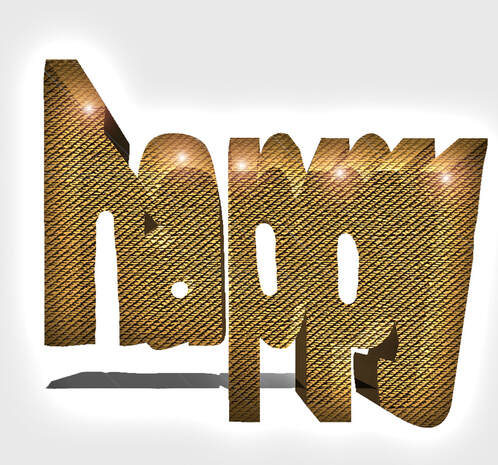 How to create 3D Text in Photoshop.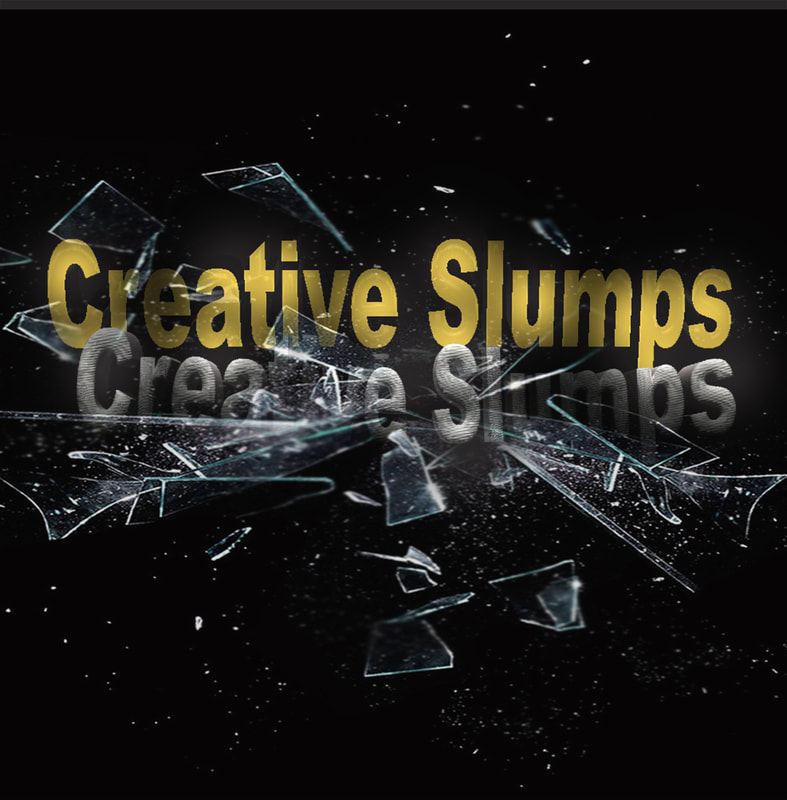 2022, Myungja Anna Koh First, you create a new layer and then write texts whatever you want. 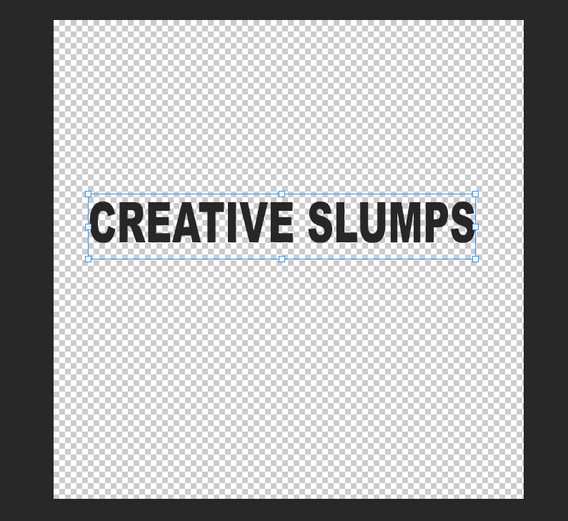 For impact 3-dimensional effect, I wrote with Arial black.  Then, go to New 3D Extrusion from Selected Layer. 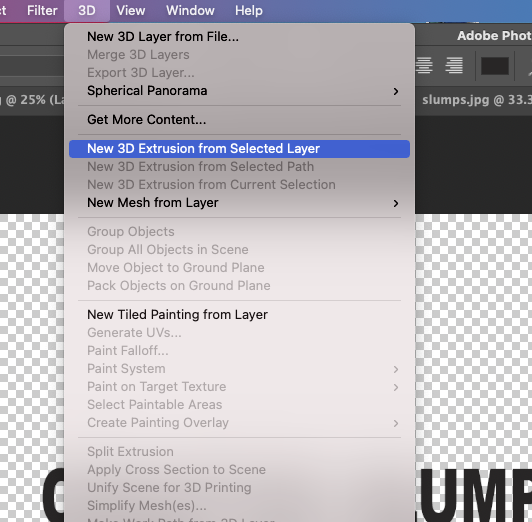 For sure, if you see a small window as below, click the Yes!  After that, you can find out below workplace. 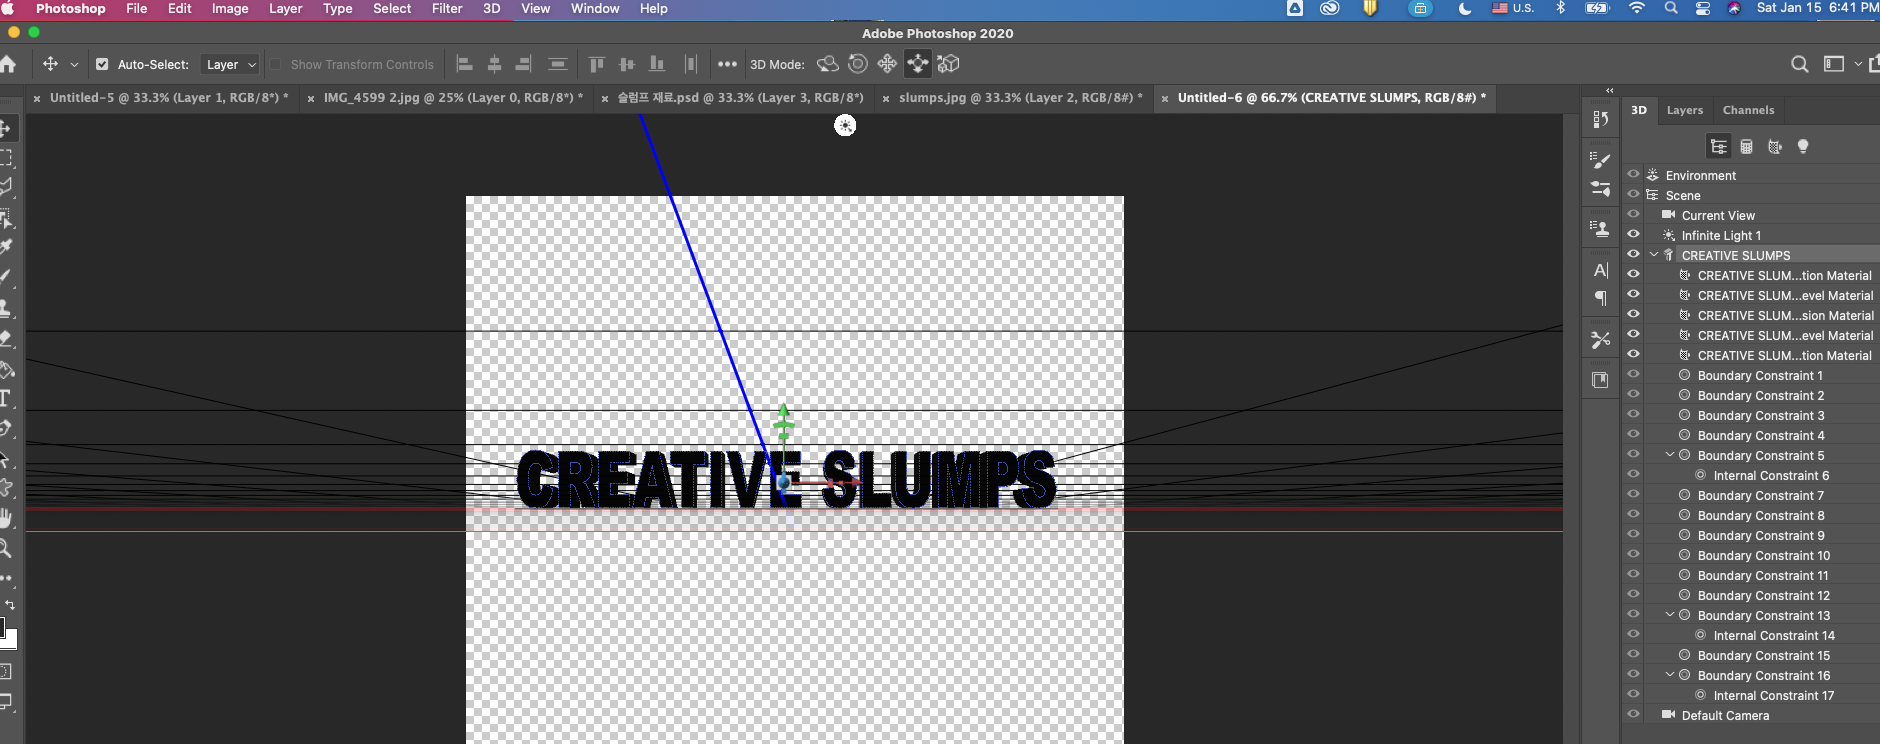 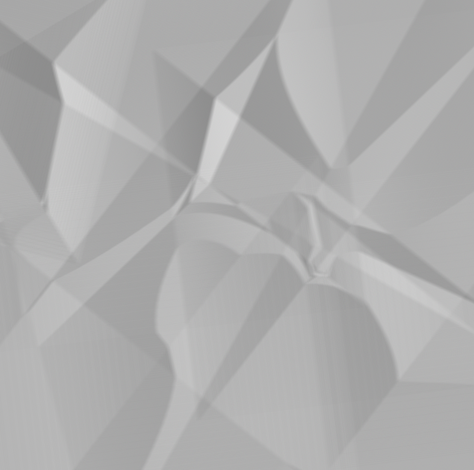 How to create a crumpled paper in Photoshop. Today I wrote a blog post called Crumpled Paper Effect. In an era of perfectionism, we have re-imagined the meaning of existence for what seems imperfect and shabby. I tried to implement crumpled paper in Photoshop with this article. I would like to introduce how to make a very simple crumpled paper in Photoshop. First, load a new file into Photoshop. And then you can choose gradient effect with black & white and the adjust the shape 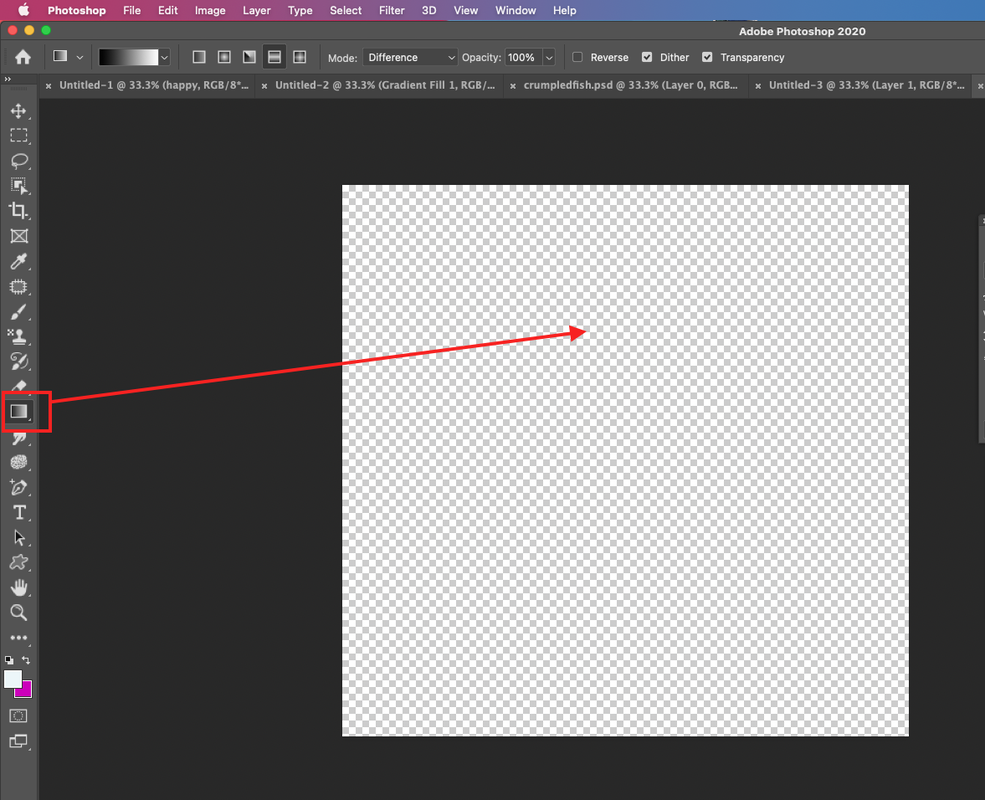 If you choose the value from gradient mode, you have to set as follow as below. First, you can click black and white gradient color. 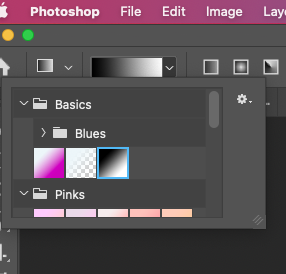 Change the value of mode like this. (in my case, I selected the diamond mode)  Next, for artistic wrinkles, you can drag it on the gradient layer freely. 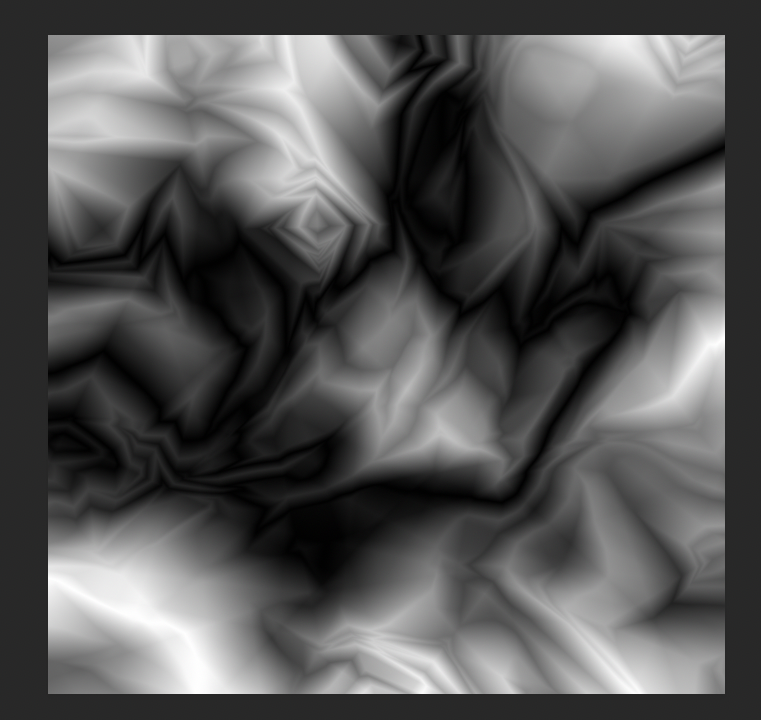 And then go to the Filter---> Stylize--> Emboss, and you can adjust the value along the preference. 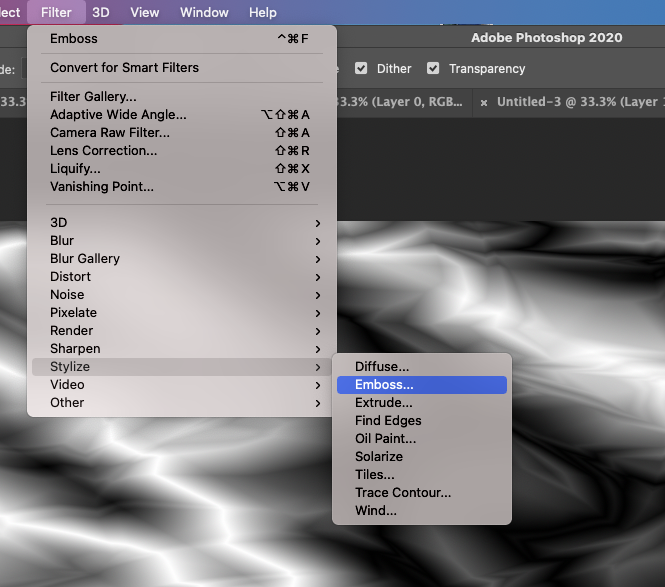 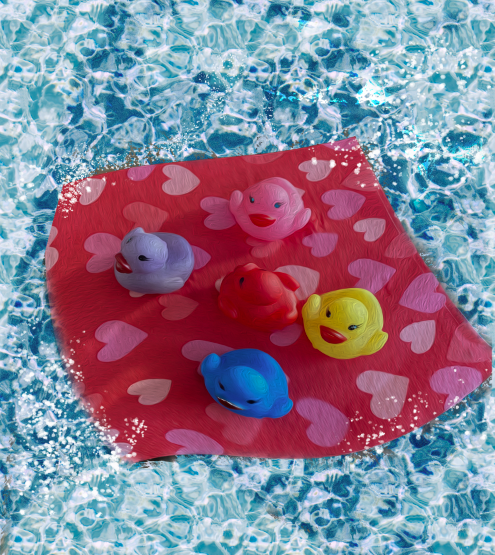 Happy Rubber ducky day!, 2022, Myungja Anna Koh How to create Rubber ducky header image in Photoshop! Today, I'm going to make a simple rubber ducky image in Photoshop. First, prepare photos of cute rubber ducks. 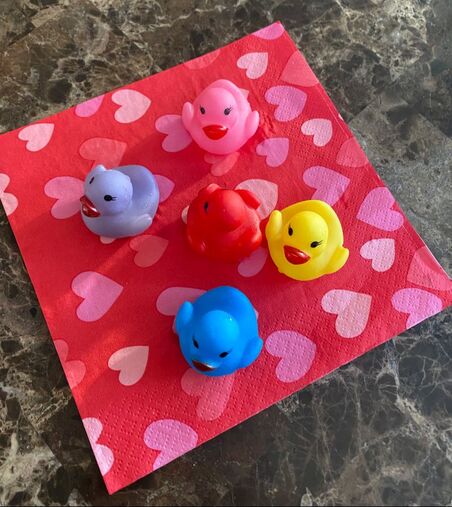 I gathered our little rubber duckies and took a picture. So cute!! And then open the picture from Photoshop and delete a background image with magic wand eraser.
And then make a new layer for sea. 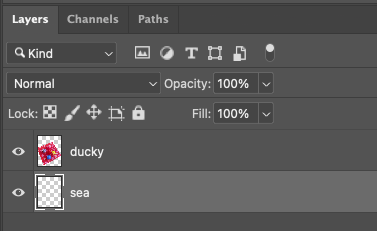 Next, make a color with light blue and then do double-click or go with right-click for blending options. 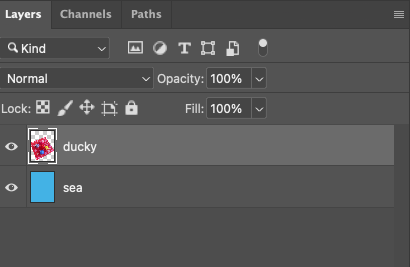 Click to Pattern overlay and choose the water pattern. You can adjust the value of scale as your preference. 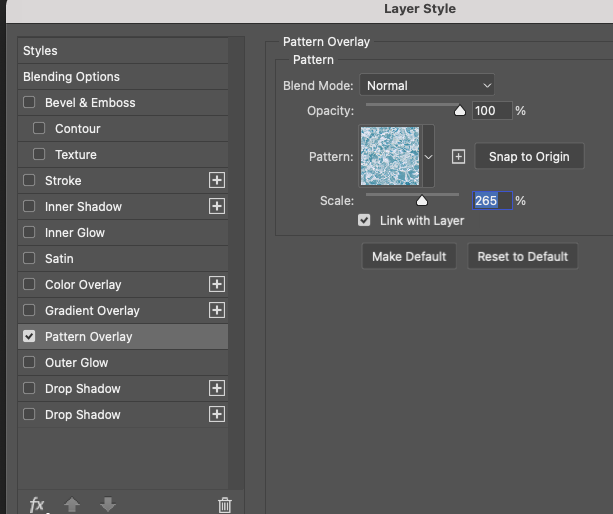 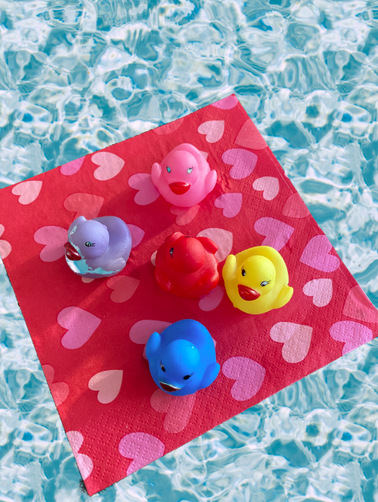 For adjusting the shape and size, use Ctrl+T and with Right-Click, go to Warp. 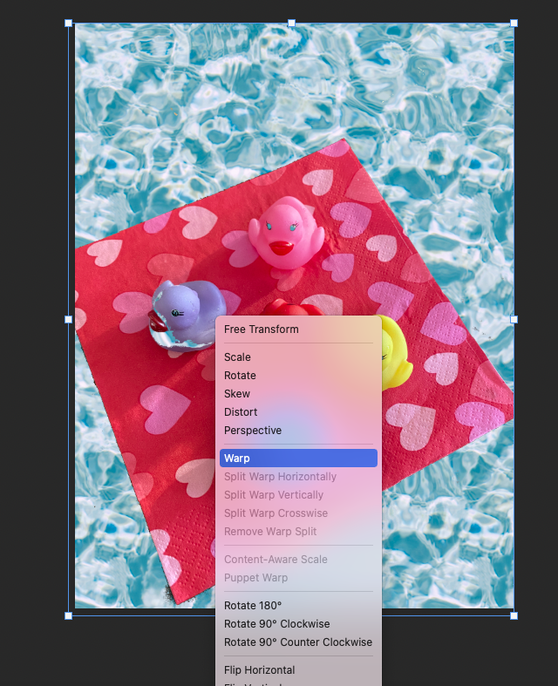 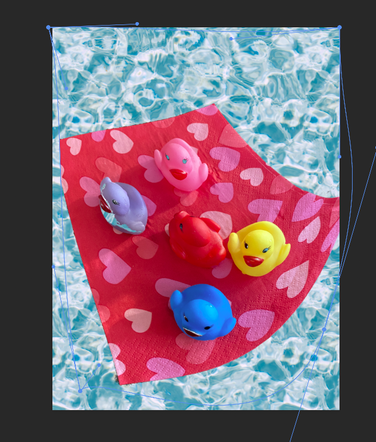 |
Myungja Anna KohArtist Categories
All
Archives
April 2024
|

|
Tutorial |

 RSS Feed