How to Create a Floral Pattern and Register in Photoshop
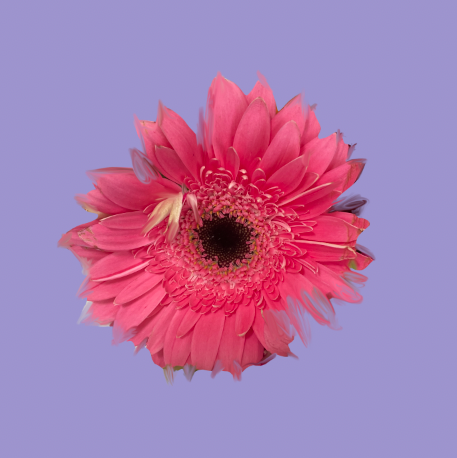
It is very useful for artists who work with Photoshop to take frequent flower photos. I will show you how to make and register a pattern using this pattern by picking only large flowers as shown below among recent flower photos.
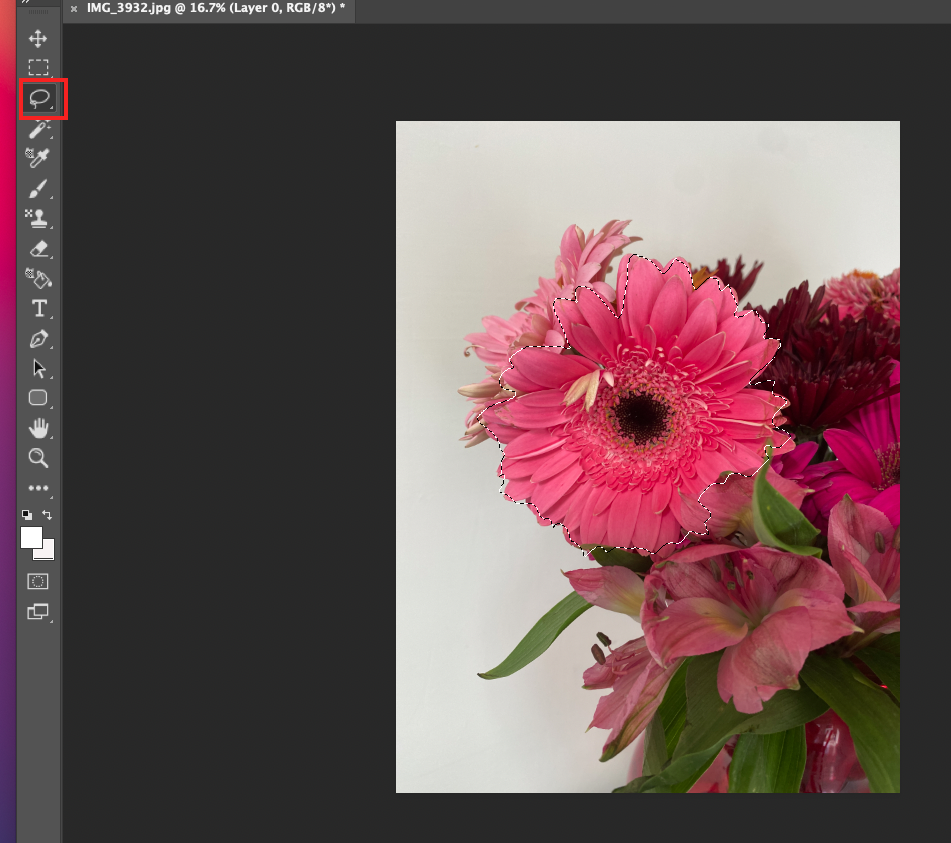
First, cut out the flowers in the photo using the Lasso tool on the left menu bar of Photoshop as shown below.
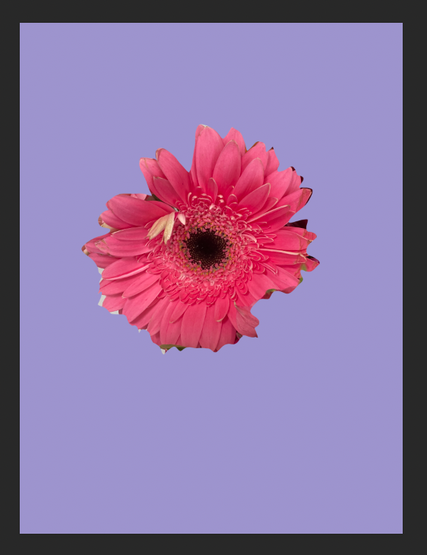
And make a new layer, then copy the selected flower on it. After then, change the background color as follows.
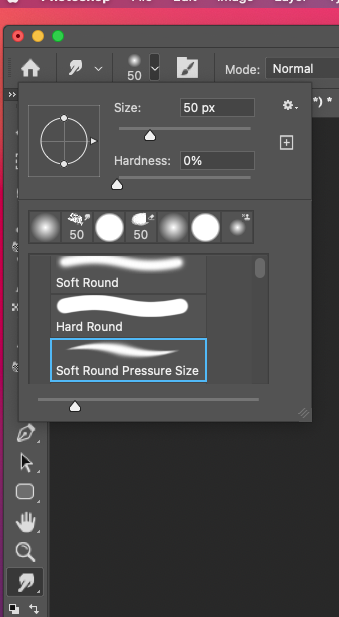
As you may have noticed, it is difficult to register a beautiful pattern if you leave the unfinished border line as above. Go back to the left menu in Photoshop, take out the Smudge tool, change the shape of the brush, and arrange the borders of the edges as if you were editing a picture.
Below is the finished result after applying Smudge tool with Soft round pressure brush.
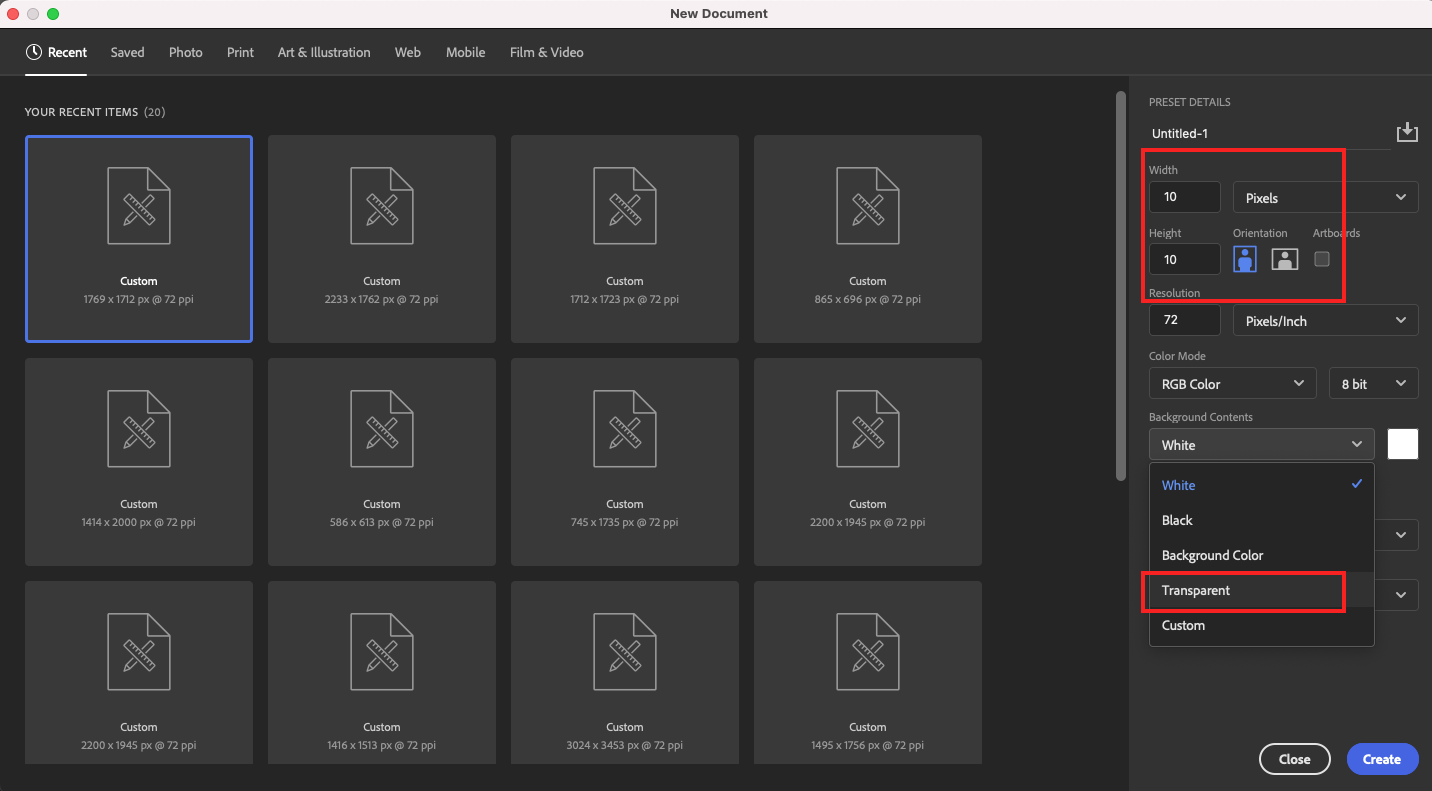
Now it's time to register this picture as a pattern. First, create a new file to create the pattern. The size is 100 x 100 pixels, and the background is set to a transparent background.
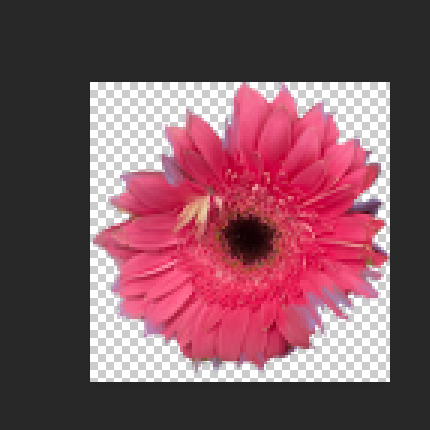
This setup results in a very tiny screen.
Press Control and + to zoom in, and then paste the flower image on it. (In my case, I use only flower image without background as follow as below.
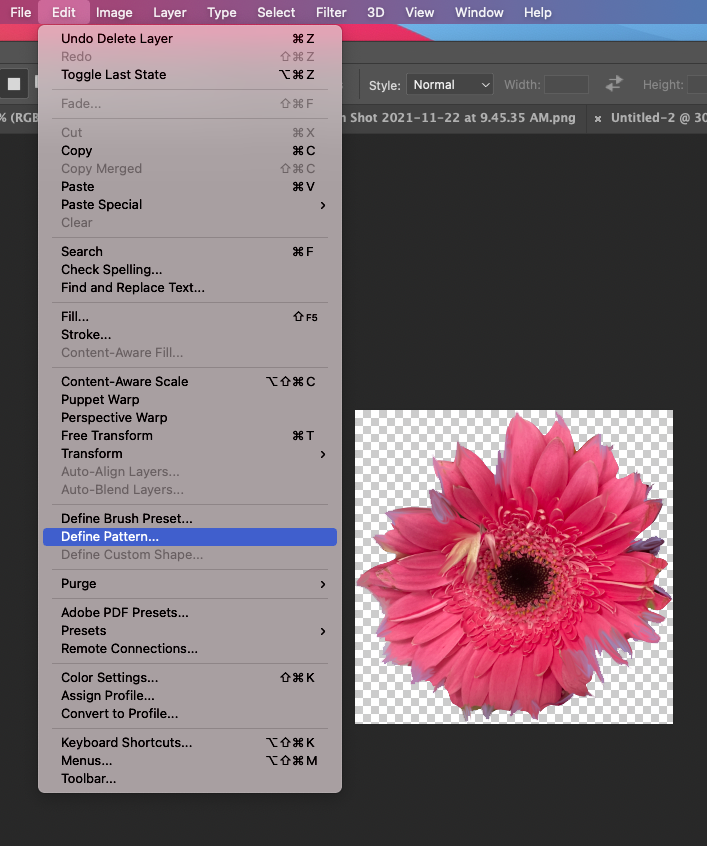
Go to Edit ---> define pattern.
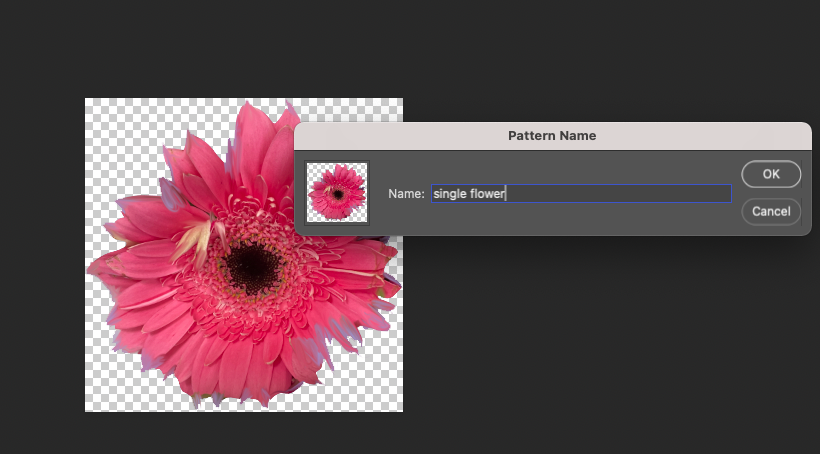
And then make it name for saving.
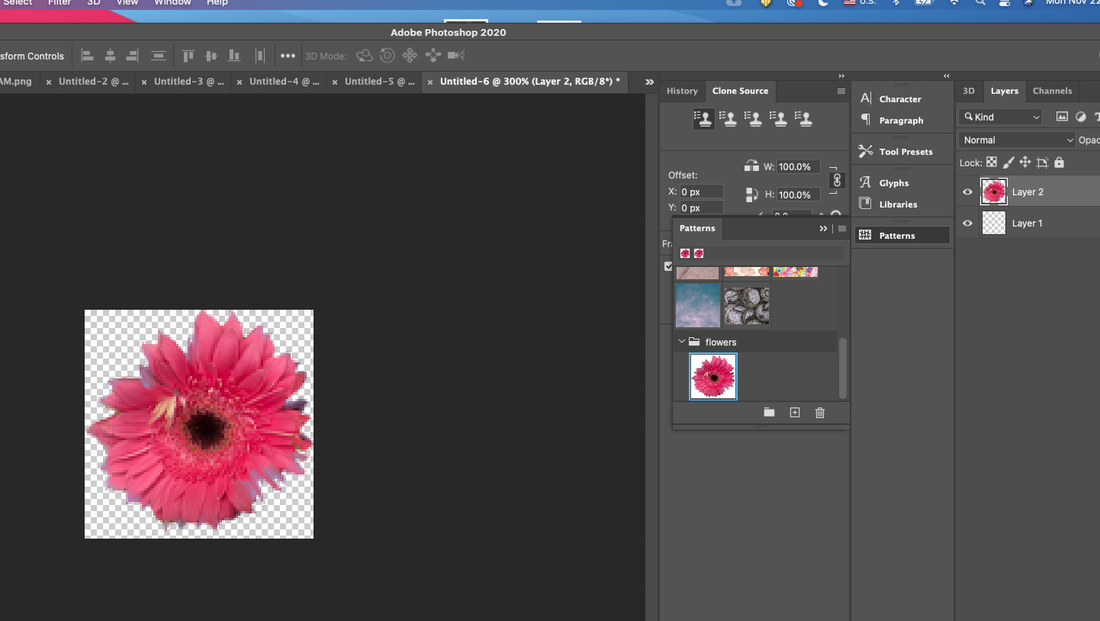
You can check out the output, when you look at the right panel.
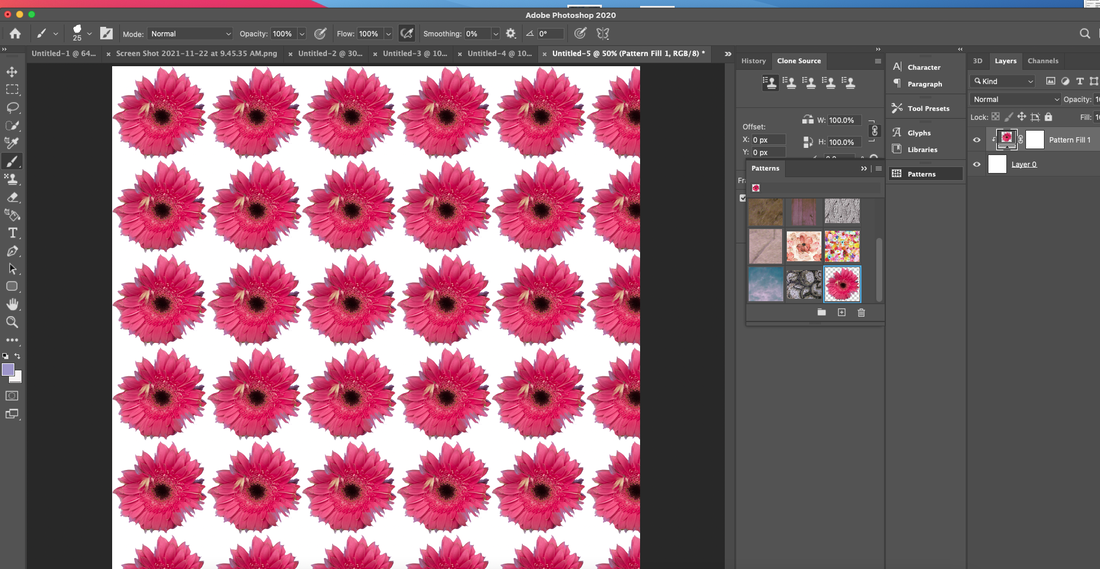
Let's see if the pattern works well.
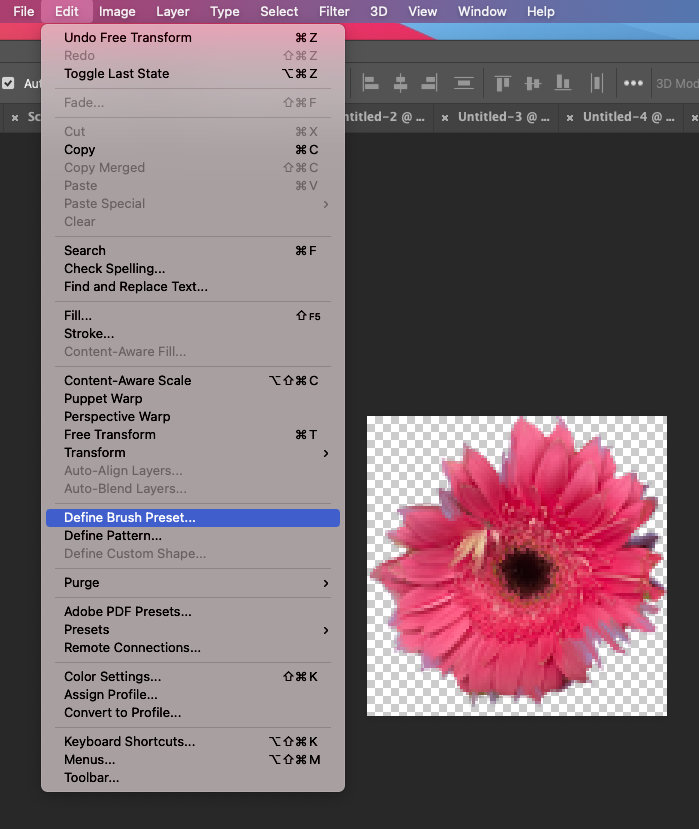
If you want to make the pattern for brush, you have to go Edit---> define brush preset.
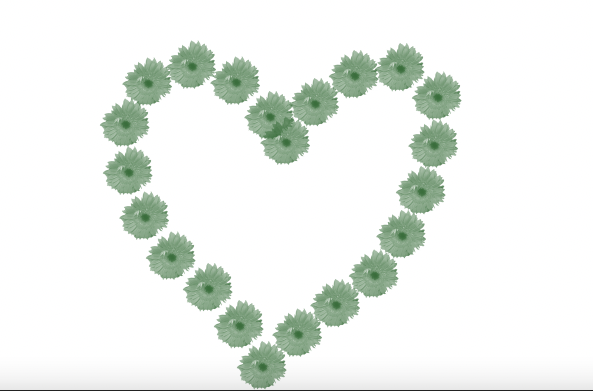
If you applied it as define brush preset, you can draw it with brush like below.
Comments are closed.
|
Myungja Anna KohArtist Categories
All
Archives
July 2024
|
Proudly powered by Weebly



 RSS Feed