How to use Etsy It would be worrying if the artist painted and his works piled up in the warehouse. As with everyone, painters, in particular, feel very rewarding when their works are shown to the public, and the message they wanted to convey through their paintings is well communicated. In addition, the joy will reach its peak when you find the right owner for your work. When I worked at a medical informatics research institute, an artist came to me for a while with his portfolios. The paintings were so wonderful that I still remember him, and he had the talent to express the sea's waves clearly and transparently. Our institute did not have the opportunity to buy the painting, and also, it is not as easy as it used to be for artists to sell their images. However, Nowadays there are many platforms online where anyone can sell their handmade works if they wish. Today, I want to show you Etsy among those platforms. In fact, I also recently opened Etsy shop. So I want to show you the extent of sharing my experience to the area that how it is structured before you are joining Etsy. Etsy, Inc. is an American e-commerce company focused on handmade or vintage items and craft supplies. If you open a shop on Etsy, you will be charged a $0.2 fee for each product you register. 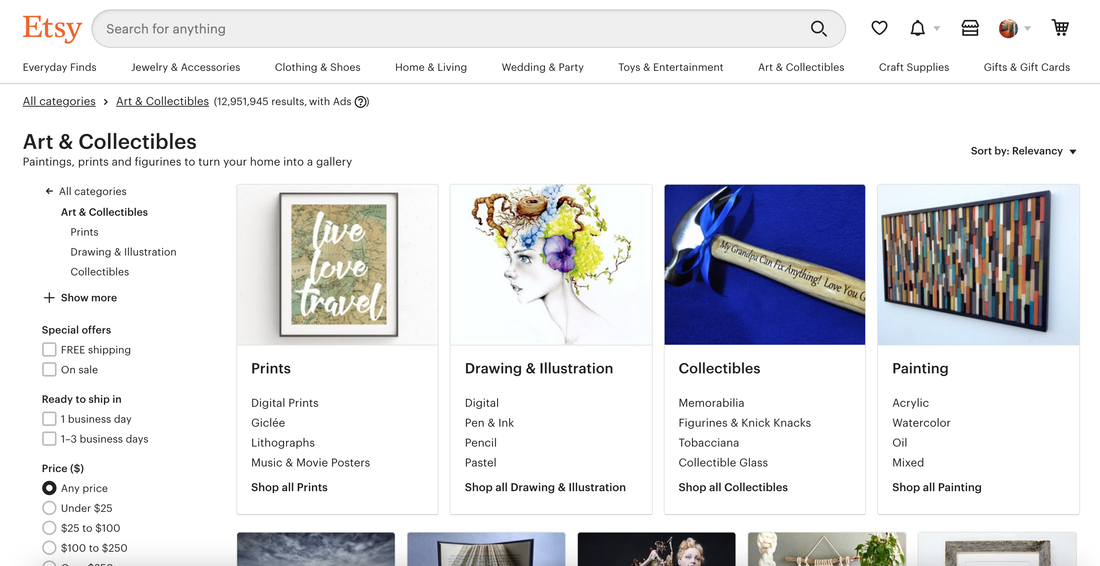 Preparations before joining Etsy seller - Email to sign up for Etsy - Create a PayPal account - Determine the shop name (English name consisting of 4-20 characters, use of other people's trademarks or abusive language is prohibited) - Items to be listed and detailed description text Etsy Seller Signup Process  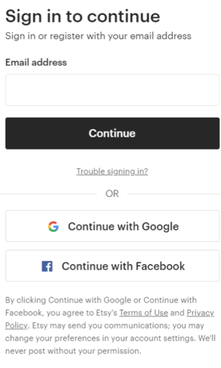 Sign up by email. If you want to sign up with Google or Facebook, click the button below and if you have another email, enter that email address. Click the button "Open your Etsy shop", and go to Etsy registration site.  Set your preferred language, home country of product sales, and currency. Then which of these best describe you? --> The question determines whether you are full-time, willing to transition full-time or part-time. 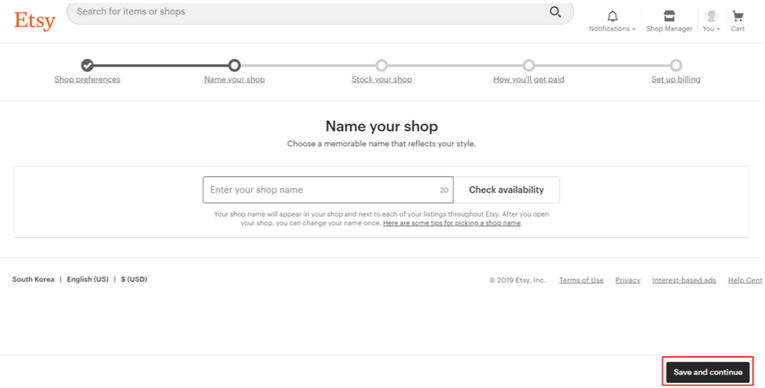 Name the shop within 4-20 characters and check whether the name is available by check availability. The shop name can be changed only once after creating an account. Be careful. Choose a shop name and click the Save and Continue button in the red area above. Click the Add a listing button to register your product. As I briefly introduced above, when you register a product, you automatically or manually pay a registration fee of 20 cents, and this fee must be paid every time a sale is made. 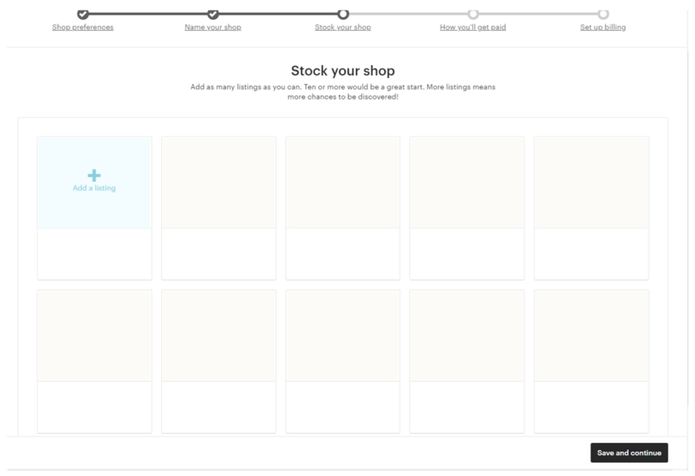 Click Add a listing to enter a product title, image, description, etc. Listings can be edited even after store registration. Next, choose a payment option. 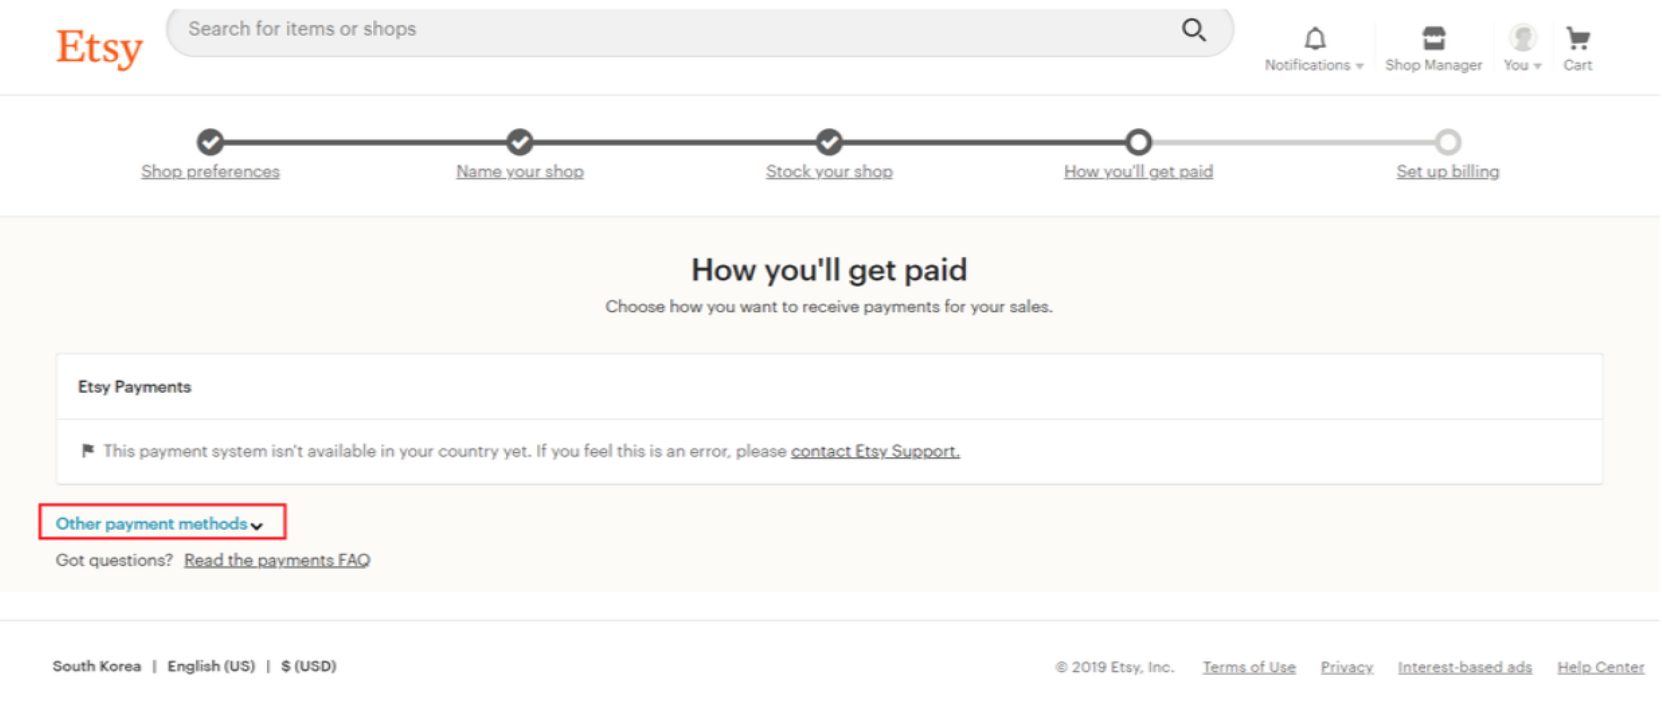 Click the button to the right of PayPal, which is the red part of the options. Here, we only introduced the PayPal part, but if you look below, you can see the mail and other methods. Please confirm it. 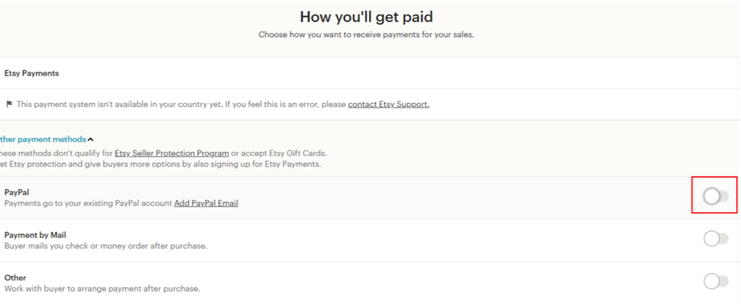 Enter your PayPal email address. Enter the same email again in the box below.  When you save your PayPal email address, you will see a message that the save was successful and you can see that the PayPal option is turned on in orange as shown below. 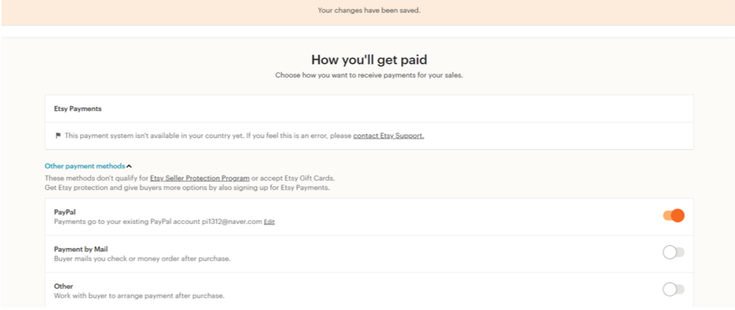 Now it's time to link your PayPal account for payment and deposit. Click Pay with Paypal, the red area below.  After confirming that your PayPal account is linked, click the Open Your Shop button. 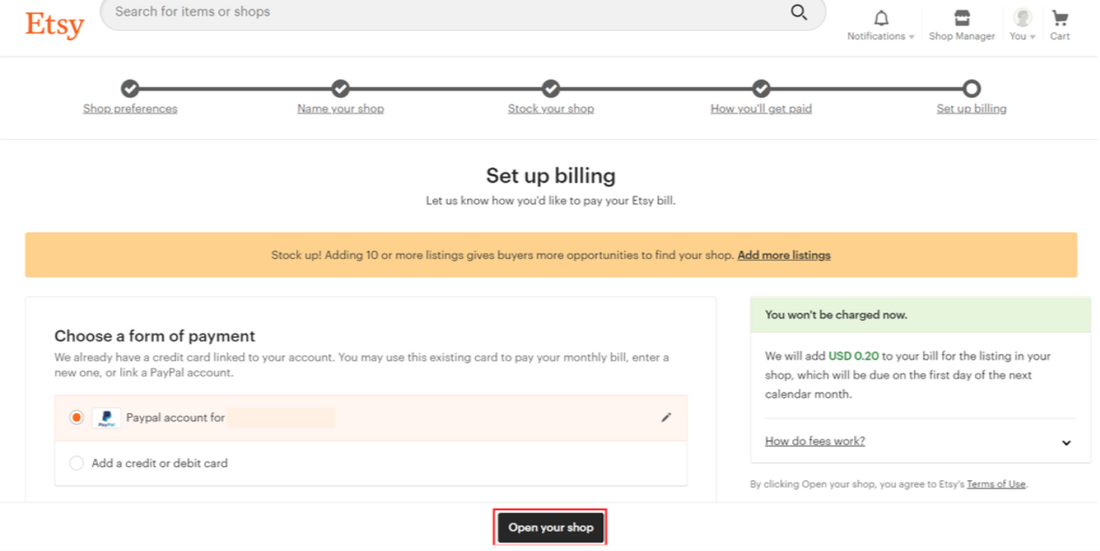 The screen below is my personal edge shop that I actually opened.  I've put the shop's name, logo, and some items. We plan to work hard to decorate in the future. We hope that you will open your own online shop as well. Next, I will briefly introduce how to upload and operate products mainly based on pictures on Etsy.
0 Comments
How to fill empty space in PhotoshopYesterday, I took out the running horse in the picture and made it run. Go to previous post : moving object with Puppet warp function in Photoshop. I believe you must have already checked the running horse and moved the objects in other pictures. But yesterday's horse runs on empty space. In order for the horse in the picture to run better, you need a background in the picture. As you can see from the previous post, there is a hole in the picture as shown below because the horse was pulled out using the lasso tool. 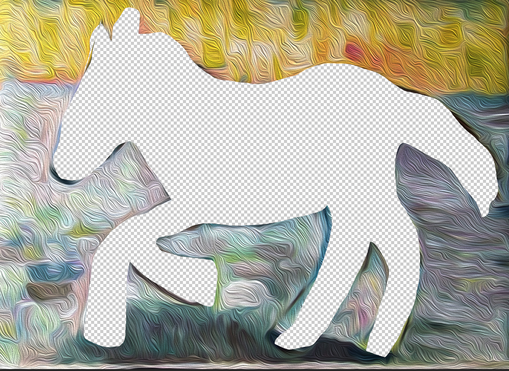 Fill in this hole naturally so that the horse can run happily on this background. Today I want to show you this work. First, you can click the Lasso tool and draw the outline on the object like below. 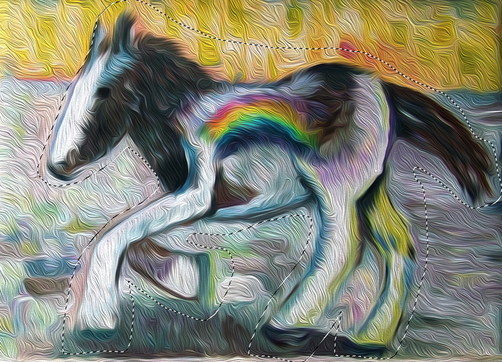 Then go to the edit --> fill menu. 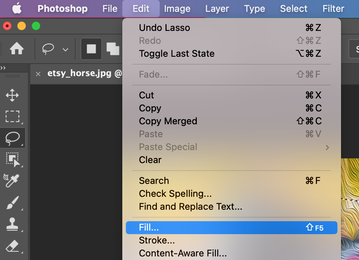 In the new window that appears, check if the content part is set to Content-Aware and click OK. 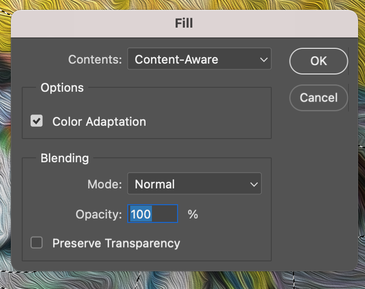 Below is a background filled with holes. When the hole is filled to a certain degree rough, make corrections as shown on the right.
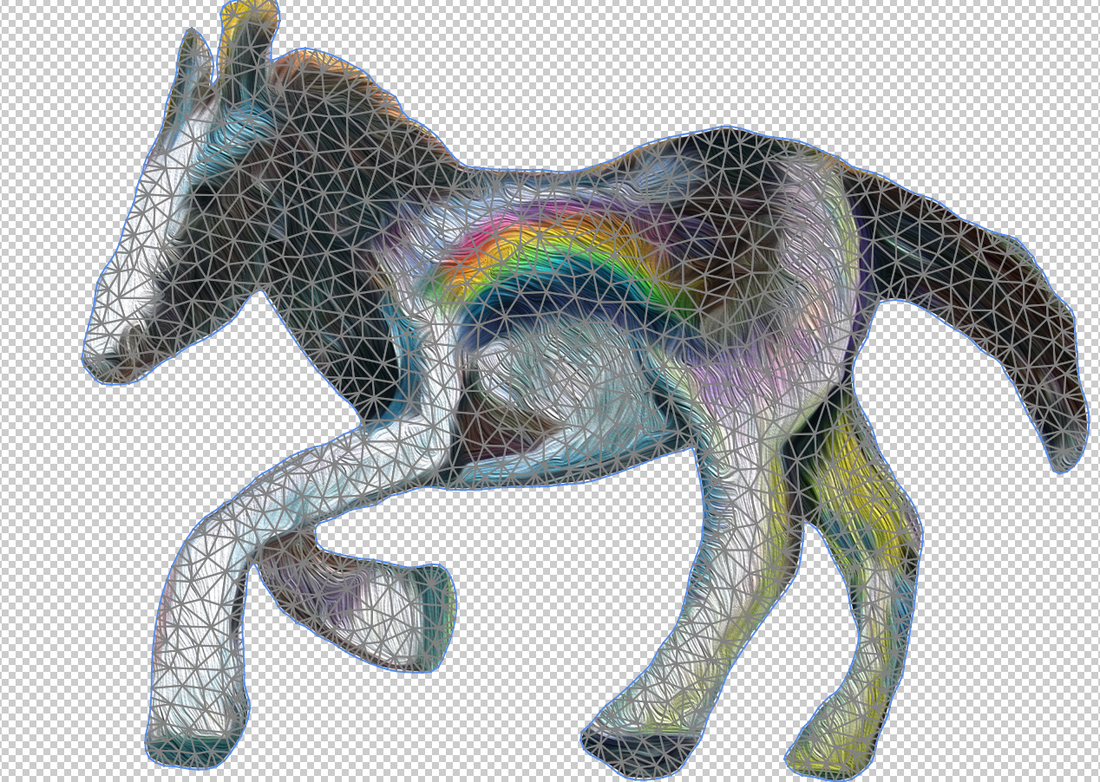
Add some background to the running horse you learned in the previous post. 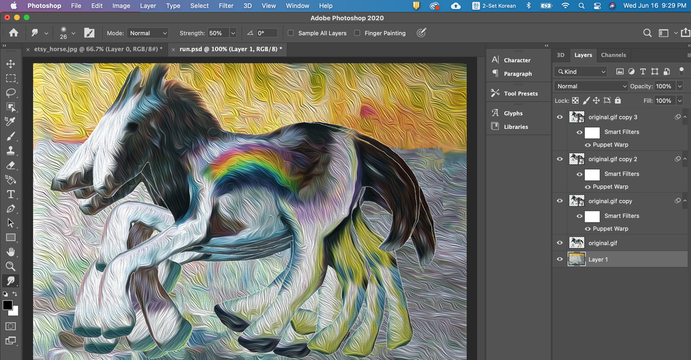 Then use the timeline function to create a running horse GIF file. Previous post: Making a moving GIF Below is an image of a running horse GIF perfectly blended with the background.  I hope you can create more wonderful scenes. How to move your objects with puppet warp function in Photoshop. Sometimes when I'm drawing, I want to move the image in the picture. Whenever that happens, I open Photoshop and let the objects in the image run once. I'm not very fond of drawing visible things. Instead, I try to pull the energy into an invisible dream or object. Because I want to draw the hidden world or power, sometimes I wonder how they move, so I use this feature of Photoshop. Today, I would like to introduce an object in a picture using the puppet warp function of Photoshop, which I often use. First, I brought up a picture of a running baby horse with a rainbow on its back I drew earlier. This is a picture I drew in my dream, and one day in my dream I saw a baby horse running like this. The weather in my dream was a bright sunny day with thunder, but I couldn't see a rainbow to show in the sky, so I was looking for it. Then, from somewhere, a cute little horse ran with a rainbow in the sky. I got up and quickly drew that dream on a small canvas and named it Hope. 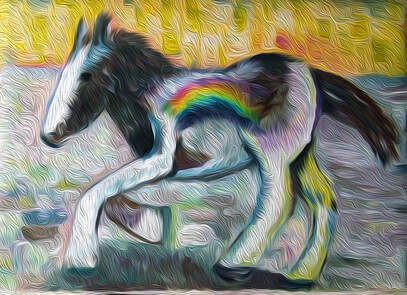 Hope, 2011, Acrylic, Myungja Anna Koh Now, in order to move this horse, we will extract only the horse in the picture using the Lasso tool. 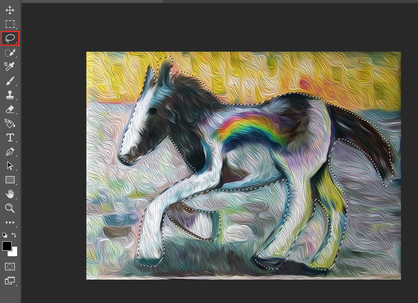 Then, press the Cmd + C key to copy the selection, then create a new layer and press the Cmd + V key to paste it. 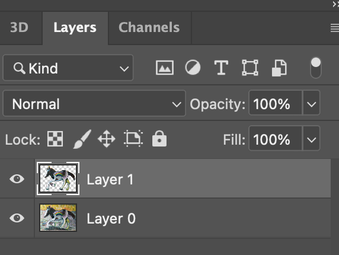 Then place the mouse cursor on the newly created layer, right-click and click on the Convert to Smart object. 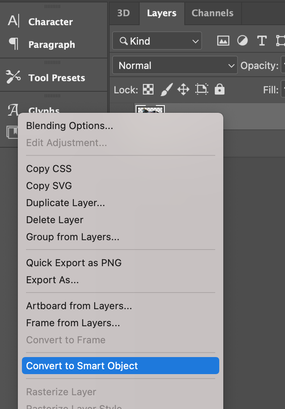 Check if the file has changed as follows. 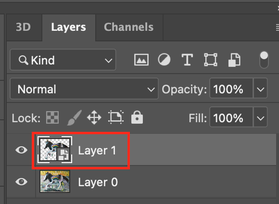 From the menu bar, go to Edit--> Puppet warp. 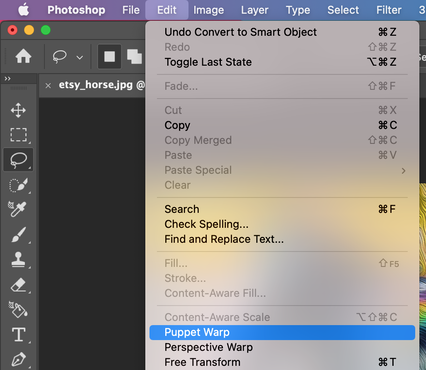 Suddenly, the picture was meshed. Then that's good. 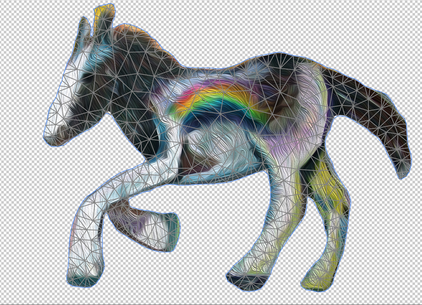 Puppet warp's options are shown below in the menu bar above.  You can select an option to check the deformed appearance and use it according to the purpose. The mod allows you to set the amount of flexibility when deforming, Rigid is used to transform stiff objects and Distort is used to deform them with high elasticity. And the Density option decides if you want to put more pins in to make them denser or less.
If you want to clear the pin, just hold down the alt key and click the dot.If you move the mouse pointer over an object in the puppet warp state, it changes to a pin shape. When it changes to a pin shape, insert a dot at the point you want to move as shown below.  I stretched the front leg of the horse straight forward. 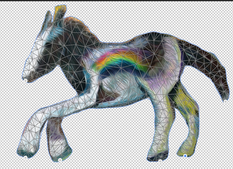 Next, tap the check mark in the red area on the far right of the puppet warp function bar below the menu bar.  Since we are going to create a moving gif file, we will copy this layer by pressing Cmd + J so that the next movement will follow. 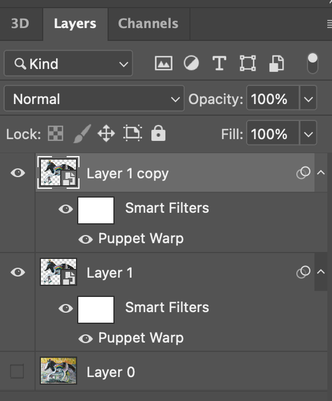 Apply the puppet function to the newly copied Layer 1 copy layer to create a different movement. 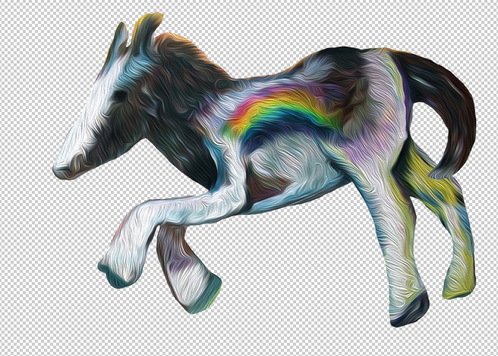 To create the next step again, press Cmd + J to copy the layer, then apply the Puppet warp to change it to a different motion. To avoid confusion because the newly created movement overlaps the previously created movement, only the eye of the layer is visible as shown below and the rest are turned off. 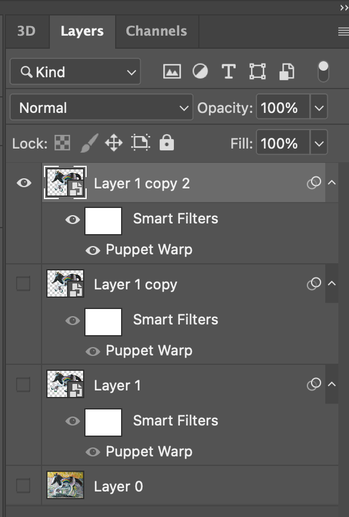 This time, I would like to introduce the Pin Depth function of the puppet warp menu bar to move the rear leg separately during a new movement. 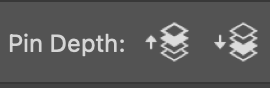 Pin Death is an option that determines which pins are placed on top and which pins are placed below when pins overlap each other while transforming an object. If you select Set Pin Forward (the left) with the rear of the horse's tail selected, the tail will come forward on the body. 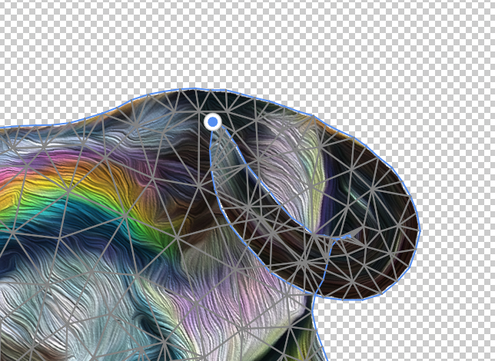 If you select Set Pin Backward (the right) with the rear of the horse's tail selected, the tail will come backward bihind the body. 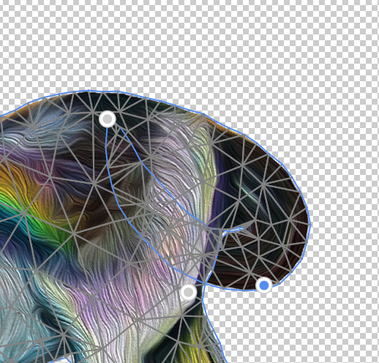 If you want to move both legs at the same time, just hold down the shift key and click. 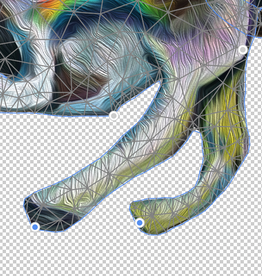 If you want to rotate an object, click the pin like the Alt key and it will change to a scissors-shaped cursor. At this time, if you click anywhere other than the object, a round rotation plate is created as shown below. 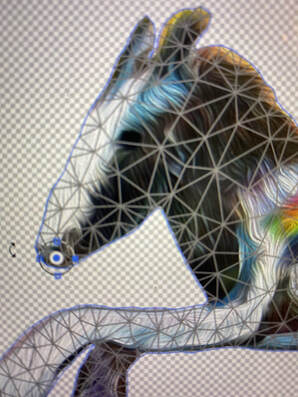 When you have finished applying the puppet warp function of the three files, right-click each transformed layer as shown below and click export as to save the file as a gif. 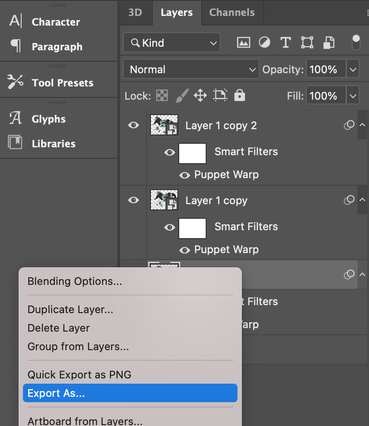 I saved it as original.gif, horse1. gif, horse2.gif, horse3.gif like this. You can download it by clicking the download button below. If everything went well so far, let's make a moving GIF file with the file above. How to make a moving GIF in Photoshop is described in the previous post. I hope you all run the horse of hope in your heart. How to make a moving gif in Photoshop  How to make a moving glow effect in Photoshop.As explained in the previous post above, I explained how to create a light beam in the picture and created the following two files.
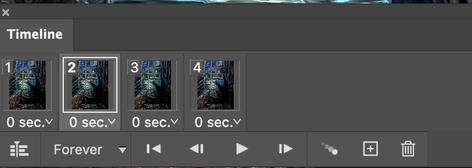
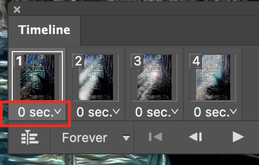
Today, I'm going to show you how to create an animated gif file by adding one more file below.  The four files above can be downloaded by clicking the download button below. First, go to the File ---> Scripts ---> Load Files into Stack as shown below. 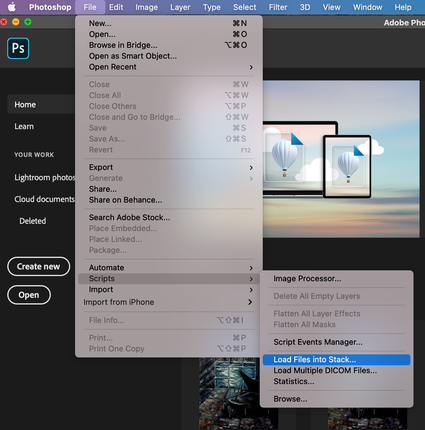 Then, a window like the one below appears, click Browse to select all the files to create a moving file, and then click the O.K button. 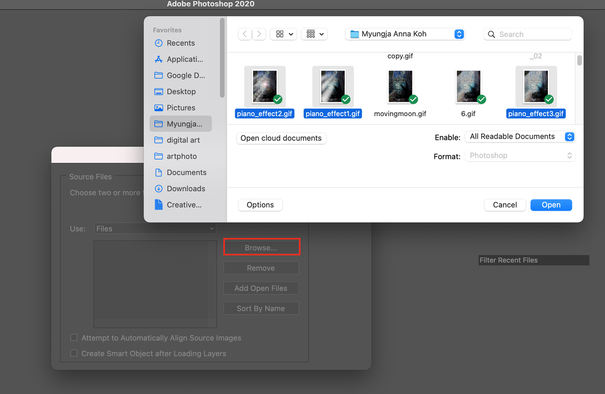 You can see all the imported files in the Layers panel window as shown in the screen below. 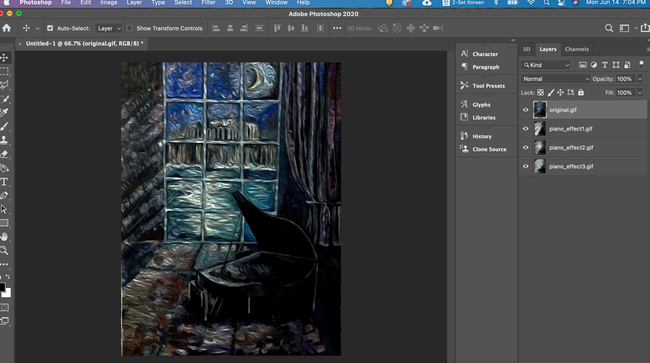 After checking that all files are on one layer, if you move to the window timeline, the timeline window as shown below appears in the middle or at the bottom. When the timeline selection window appears, you will see a dropbox with two selection options. From there, click Create Frame Animation. 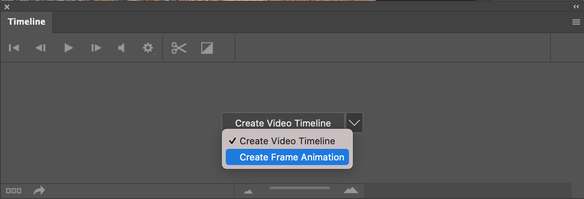 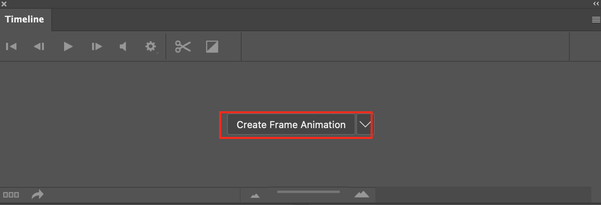 The thing to note here is that you have to double-click the mouse cursor over the text of the Create Frame Animation to move to the execution window where the timeline is created. If you double-click, the following window will appear. Click the red add frame button 4 times to create 4 frames.   When you press the 2nd frame, as shown below, turn on the eyes of only the layer corresponding to number 2 and turn off the eyes of the other layers.
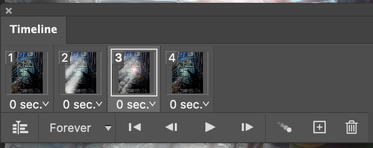
When you press the 3nd frame, as shown below, turn on the eyes of only the layer corresponding to number 3 and turn off the eyes of the other layers.
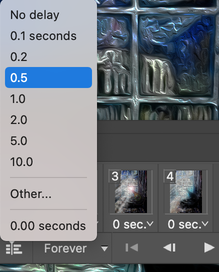
When you press the 4nd frame, as shown below, turn on the eyes of only the layer corresponding to number 4 and turn off the eyes of the other layers.  And then you go back to 1 frame and then , turn on the eyes of only the layer corresponding to number 1 and turn off the eyes of the other layers.  Then press the play button in the red area below to confirm the action. 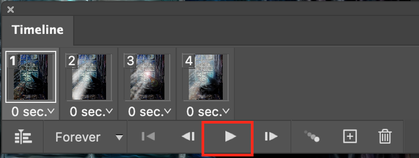 The result screen looks like the one below, it's like the lights of a club.  I'll try to slow down the glittering speed to match the mood of the picture. Click the button to adjust the time as shown below to change it to 0.5 seconds.
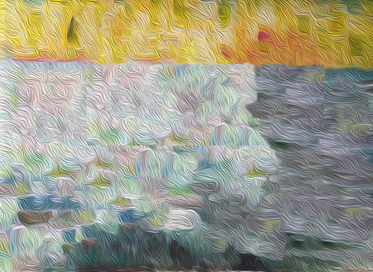
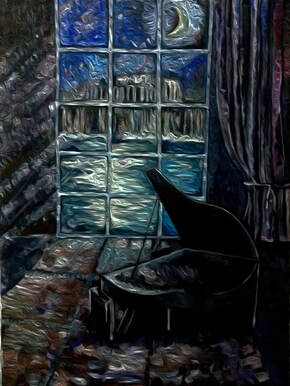
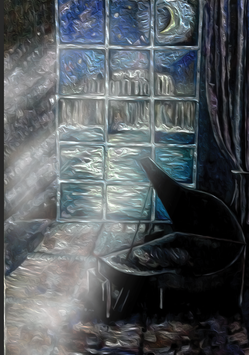
Then, the resulting file is saved in gif format. Below is the finished file.  This effect makes it easy to create moving banners as well. I hope you all moved by changing the dark picture you all have. How to create a moving glow effect in Photoshop Today, I took out a picture of a piano placed under the moonlight on a night out of a picture I drew a long time ago. This painting is an image of my dream. I entered the hall where the piano was placed in a dream, and I saw an old church jumped out of the sea through the big windows. The moonlight coming down from the far crescent moon and the energy brought by the piano alone combined to create a mysterious scene. I captured the scene and put it on canvas. I remember a pianist who liked this painting so much. There was no light in my mind at that time. Only in my dreams I saw and felt the light. It took a lot of time before I had the realization of life itself. When I look at this picture, I always think of myself in the dark and longing for the light. Today, I want to give light to this painting and make it come alive.
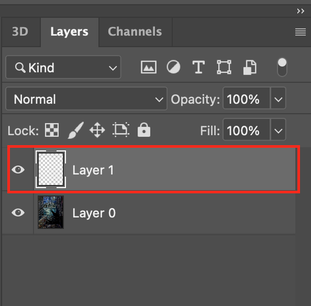
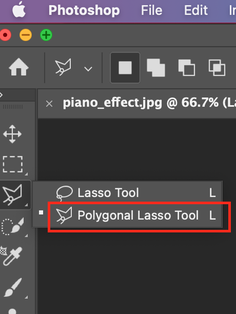
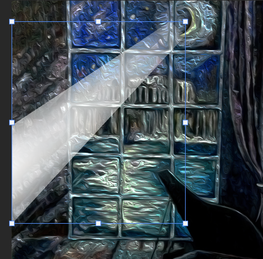
First, create a new layer. (Shift + Ctrl + N or Shift + Cmd + N), and then you must first use the Polygonal Lasso tool on the new layer.
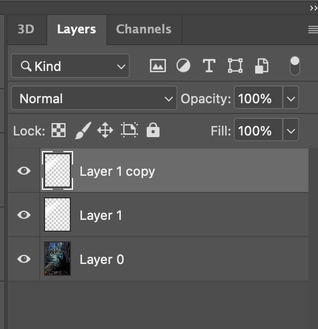
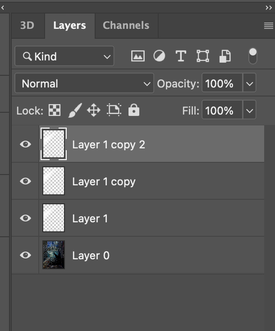
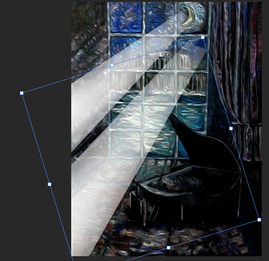
With this tool, I drew the shape of the moonlight pouring from the moon through the window to the floor. If you make a mistake, you can start over by pressing the ESC key. 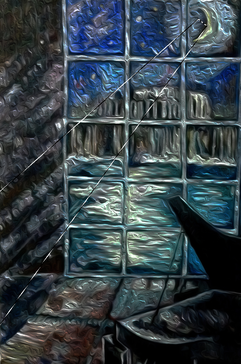 Then fill the drawn light shape with white. 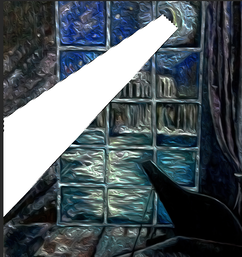 In that state, select Filter ---> Blur--> Gaussian Blur in order. Then a window will appear where you can adjust the intensity of the shadow. In my case, I entered 120 and clicked OK. 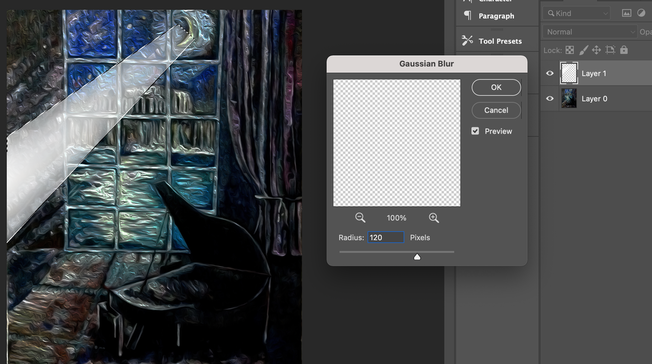 I'm going to duplicate the layer by pressing Ctrl +J or Cmd + J to duplicate the light beam. In my case, I copied it twice to express three lines of light like below.
Then, use the Ctrl + T or Cmd + T keys to move the shape and position of the light on each layer.
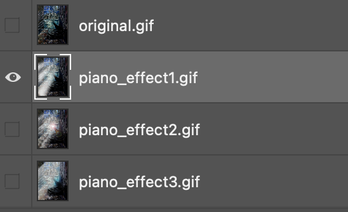
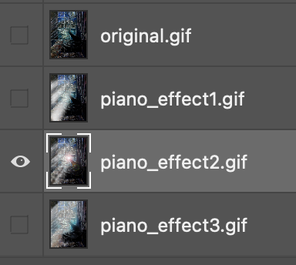
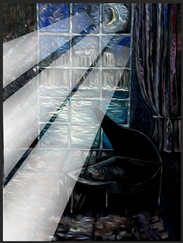
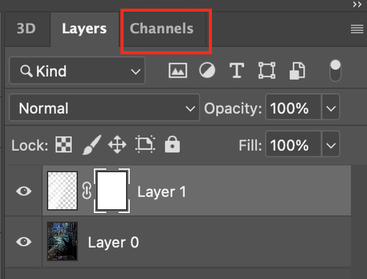
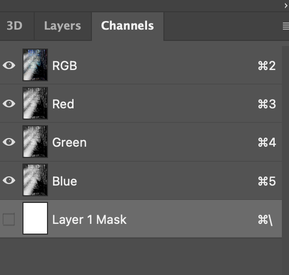
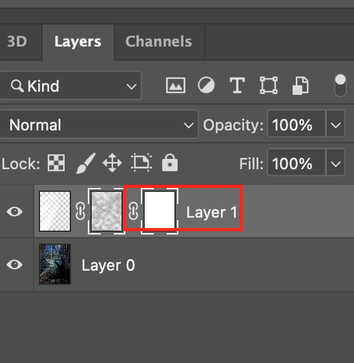
Then press the Ctrl + E or Cmd + E key to merge the glow layer into one, as shown below. 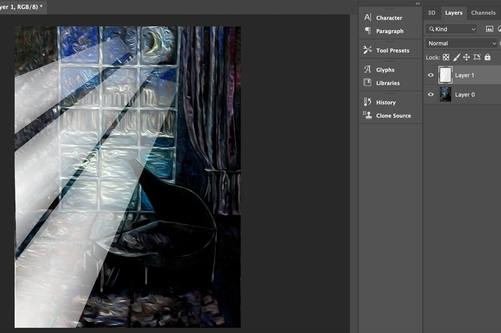 Then again I selected the Filter Blur Gaussian Blur and set the Gaussian value to 34.6. The result is a glow effect as shown below. This process personally shows me re-adjusting the moonlight streak while looking at the overall tone of the picture. 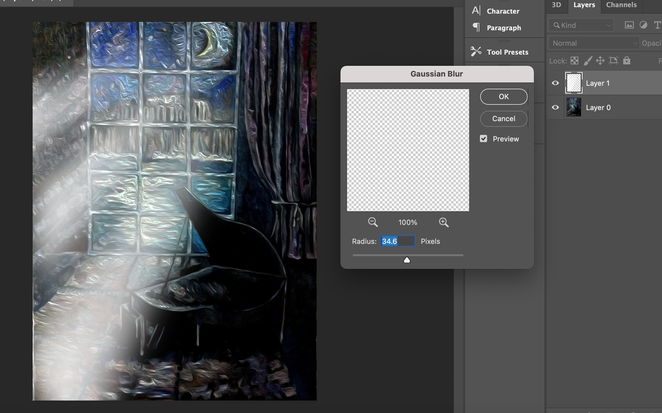 And this file was saved as piano_effect1.gif. The following describes the next process to create the second file. Go back to the file you were working on (piano_effect 1)and create a mask layer at the bottom of the Layers panel. I would like to show you clouds effect for the reality. 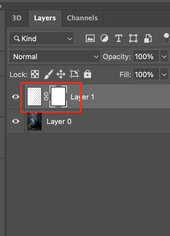 You will then see the screen on the right below.Let's change the current three stalks of moonlight to make them more vivid. In this state, go to the Channels tab above the Layers panel.
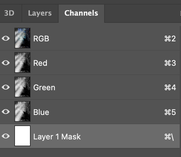
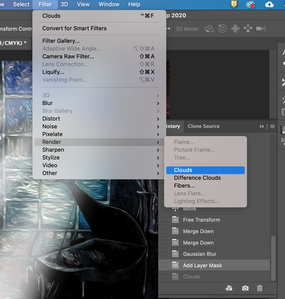
Check the Layer 1 mask as shown below and then go to the filter--> render--> clouds.
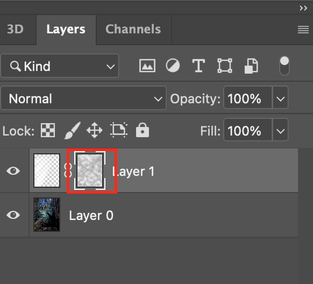
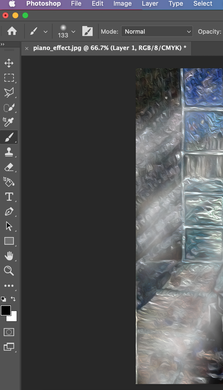
The blow screen is after applying clouds effect. 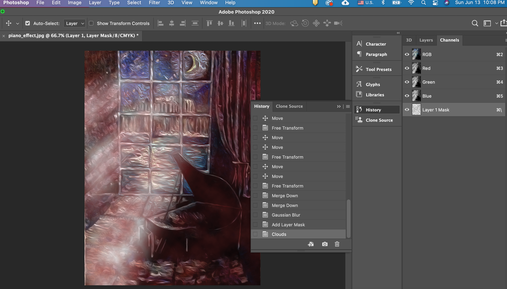 In this state, click the layer 1 mask of the channel window with the Alt key and move it back to the layer channel. And if you click once on the red area below, a more natural light stream is created as shown in the lower right. This effect is useful when you want to make the effect that even the dust floating in the light beam is visible.
Then add one more mask next to it. On the newly created layer, take out the blush tool, set it to black, and put some light on it.
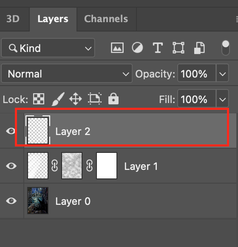
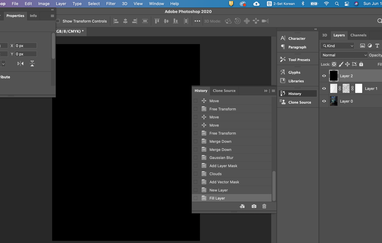
Then add a new layer as shown below and change the background color to black.
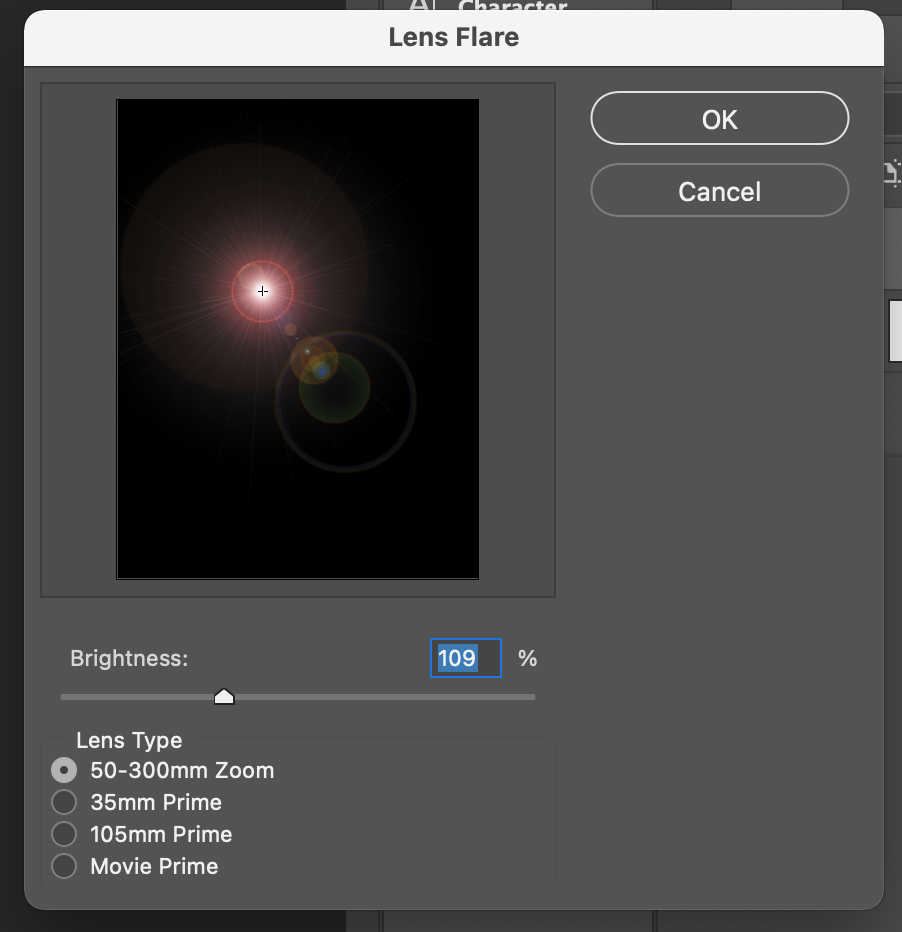
Then we go to the filter --> render--> lens flare to put in the light points. Adjust the brightness of the light, the street position, etc.
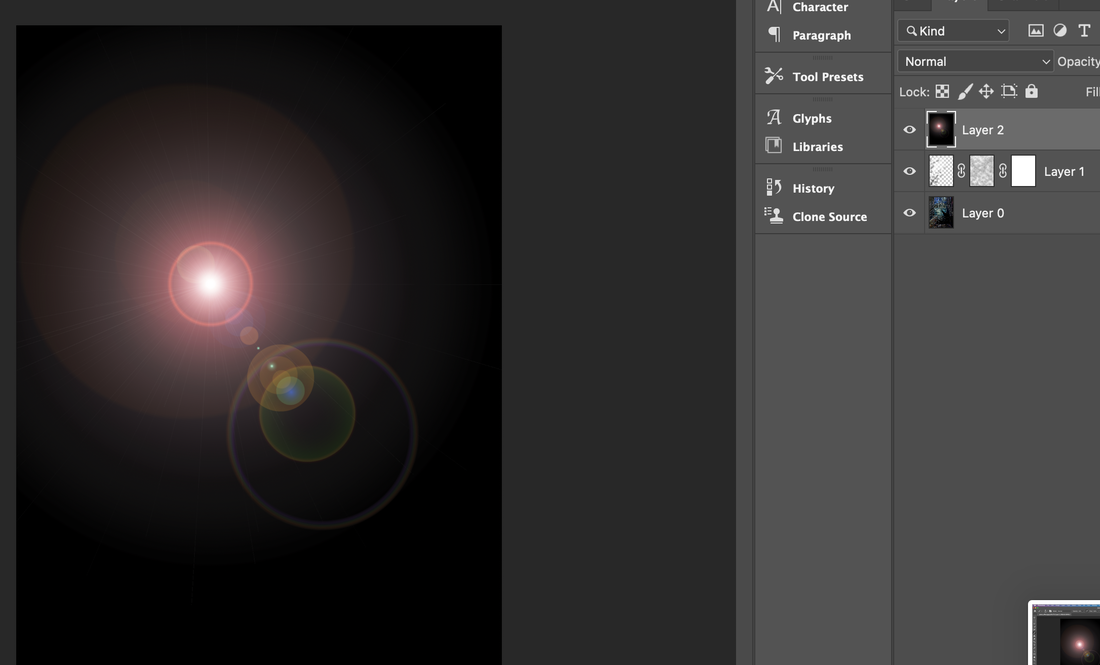
After adjusting everything, change the black background layer to the screen as shown below. 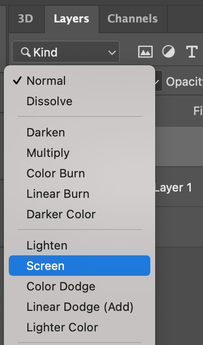 If you have been doing well so far, you should see a screen like the one below. 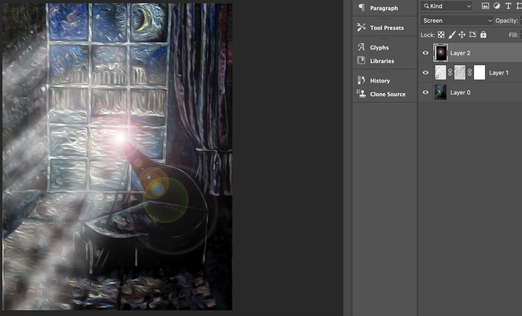 I saved this file as piano_effect 2.gif for creating moving gif file. Tomorrow, we will create a moving gif file using the two files we created today. |
Myungja Anna KohArtist Categories
All
Archives
April 2024
|

|
Tutorial |


 RSS Feed