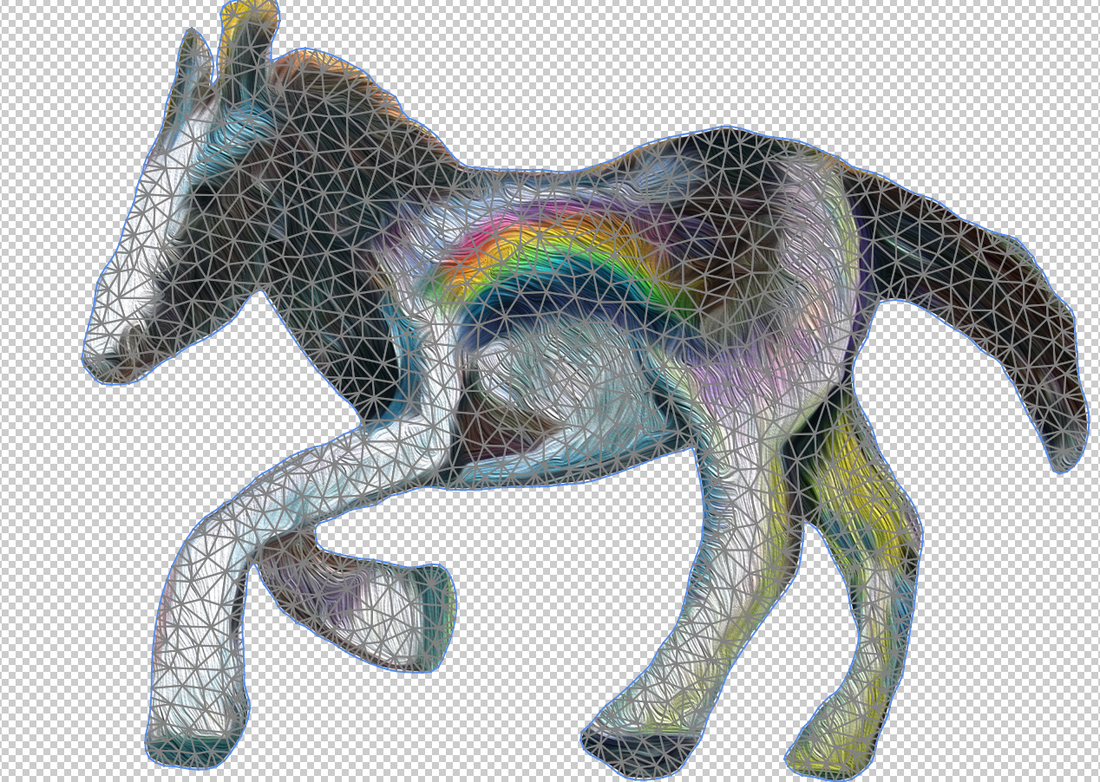
How to move your objects with puppet warp function in Photoshop. Sometimes when I'm drawing, I want to move the image in the picture. Whenever that happens, I open Photoshop and let the objects in the image run once. I'm not very fond of drawing visible things. Instead, I try to pull the energy into an invisible dream or object. Because I want to draw the hidden world or power, sometimes I wonder how they move, so I use this feature of Photoshop. Today, I would like to introduce an object in a picture using the puppet warp function of Photoshop, which I often use. First, I brought up a picture of a running baby horse with a rainbow on its back I drew earlier. This is a picture I drew in my dream, and one day in my dream I saw a baby horse running like this. The weather in my dream was a bright sunny day with thunder, but I couldn't see a rainbow to show in the sky, so I was looking for it. Then, from somewhere, a cute little horse ran with a rainbow in the sky. I got up and quickly drew that dream on a small canvas and named it Hope. 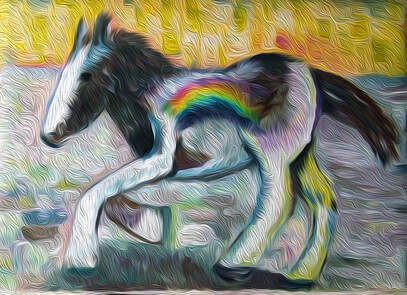 Hope, 2011, Acrylic, Myungja Anna Koh Now, in order to move this horse, we will extract only the horse in the picture using the Lasso tool. 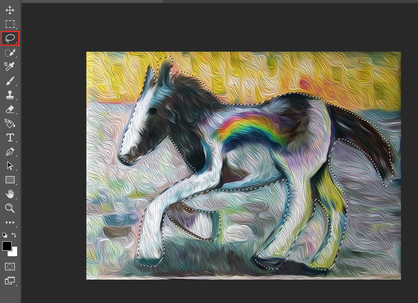 Then, press the Cmd + C key to copy the selection, then create a new layer and press the Cmd + V key to paste it. 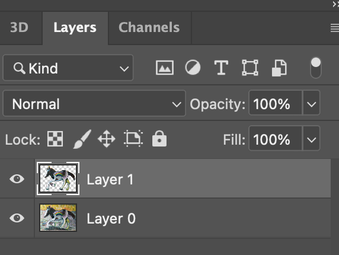 Then place the mouse cursor on the newly created layer, right-click and click on the Convert to Smart object. 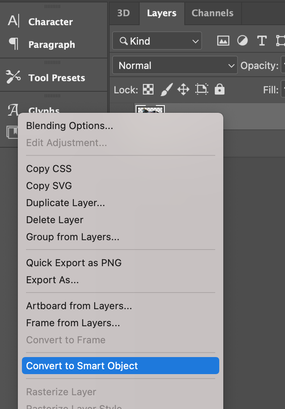 Check if the file has changed as follows. 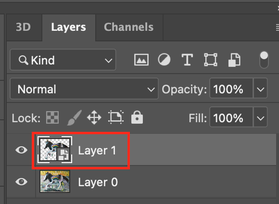 From the menu bar, go to Edit--> Puppet warp. 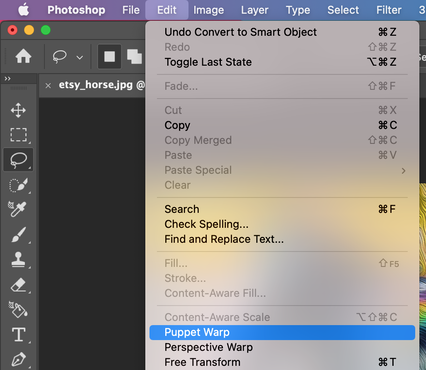 Suddenly, the picture was meshed. Then that's good. 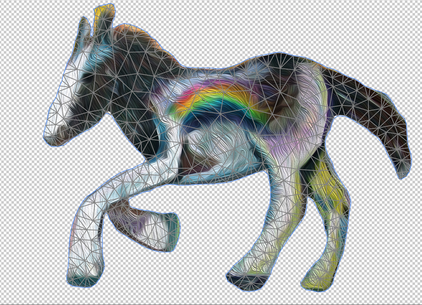 Puppet warp's options are shown below in the menu bar above.  You can select an option to check the deformed appearance and use it according to the purpose. The mod allows you to set the amount of flexibility when deforming, Rigid is used to transform stiff objects and Distort is used to deform them with high elasticity. And the Density option decides if you want to put more pins in to make them denser or less.
If you want to clear the pin, just hold down the alt key and click the dot.If you move the mouse pointer over an object in the puppet warp state, it changes to a pin shape. When it changes to a pin shape, insert a dot at the point you want to move as shown below.  I stretched the front leg of the horse straight forward. 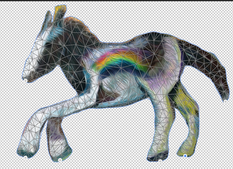 Next, tap the check mark in the red area on the far right of the puppet warp function bar below the menu bar.  Since we are going to create a moving gif file, we will copy this layer by pressing Cmd + J so that the next movement will follow. 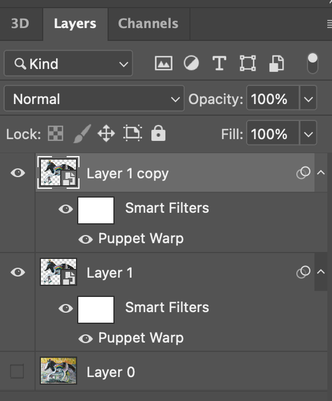 Apply the puppet function to the newly copied Layer 1 copy layer to create a different movement. 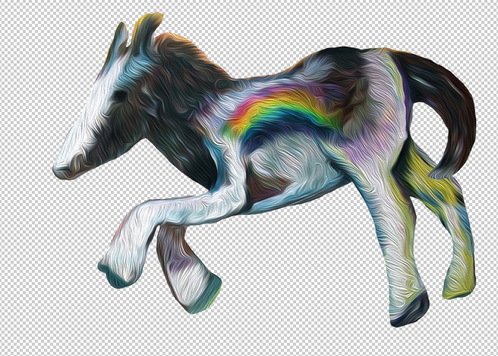 To create the next step again, press Cmd + J to copy the layer, then apply the Puppet warp to change it to a different motion. To avoid confusion because the newly created movement overlaps the previously created movement, only the eye of the layer is visible as shown below and the rest are turned off. 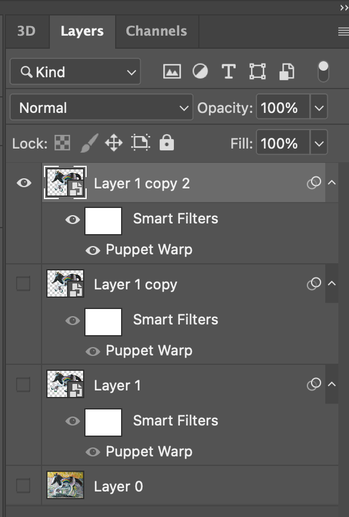 This time, I would like to introduce the Pin Depth function of the puppet warp menu bar to move the rear leg separately during a new movement.  Pin Death is an option that determines which pins are placed on top and which pins are placed below when pins overlap each other while transforming an object. If you select Set Pin Forward (the left) with the rear of the horse's tail selected, the tail will come forward on the body. 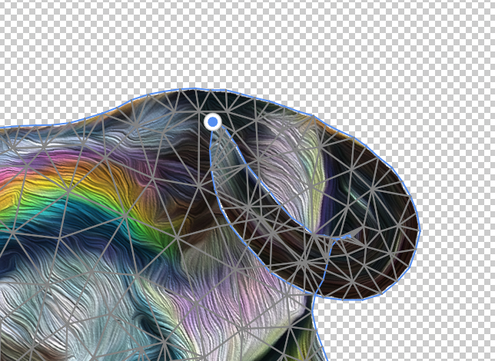 If you select Set Pin Backward (the right) with the rear of the horse's tail selected, the tail will come backward bihind the body. 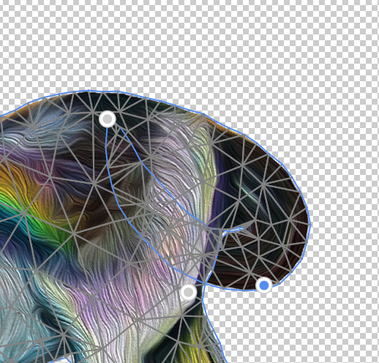 If you want to move both legs at the same time, just hold down the shift key and click. 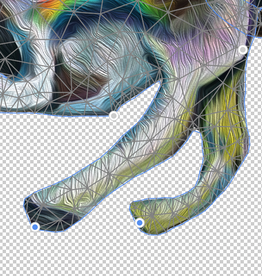 If you want to rotate an object, click the pin like the Alt key and it will change to a scissors-shaped cursor. At this time, if you click anywhere other than the object, a round rotation plate is created as shown below. 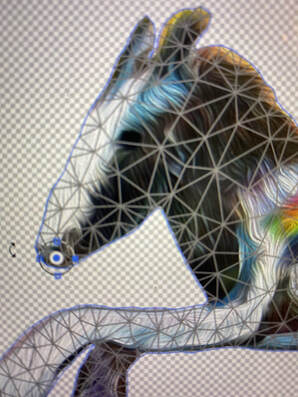 When you have finished applying the puppet warp function of the three files, right-click each transformed layer as shown below and click export as to save the file as a gif. 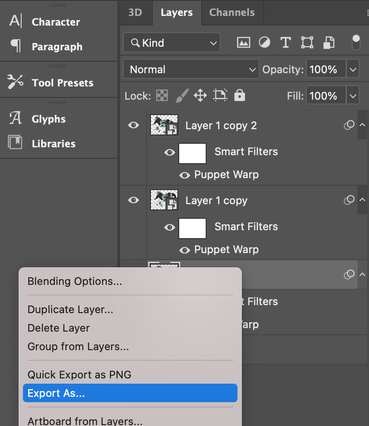 I saved it as original.gif, horse1. gif, horse2.gif, horse3.gif like this. You can download it by clicking the download button below. If everything went well so far, let's make a moving GIF file with the file above. How to make a moving GIF in Photoshop is described in the previous post. I hope you all run the horse of hope in your heart. How to make a moving gif in Photoshop 
0 Comments
Leave a Reply. |
Myungja Anna KohArtist Categories
All
Archives
July 2024
|

|
Tutorial |

 RSS Feed