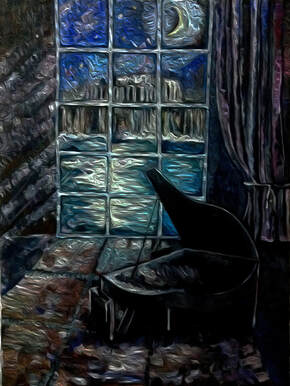
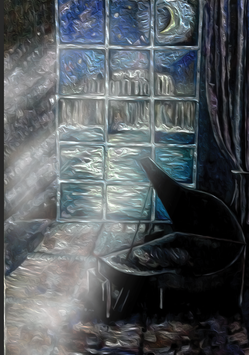
How to create a moving glow effect in Photoshop Today, I took out a picture of a piano placed under the moonlight on a night out of a picture I drew a long time ago. This painting is an image of my dream. I entered the hall where the piano was placed in a dream, and I saw an old church jumped out of the sea through the big windows. The moonlight coming down from the far crescent moon and the energy brought by the piano alone combined to create a mysterious scene. I captured the scene and put it on canvas. I remember a pianist who liked this painting so much. There was no light in my mind at that time. Only in my dreams I saw and felt the light. It took a lot of time before I had the realization of life itself. When I look at this picture, I always think of myself in the dark and longing for the light. Today, I want to give light to this painting and make it come alive.
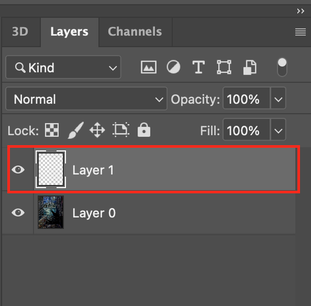
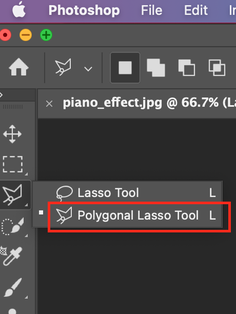
First, create a new layer. (Shift + Ctrl + N or Shift + Cmd + N), and then you must first use the Polygonal Lasso tool on the new layer.
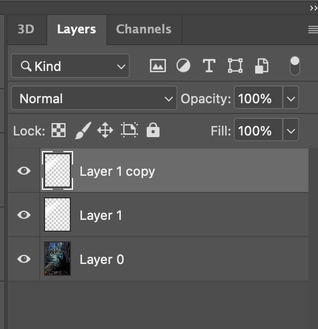
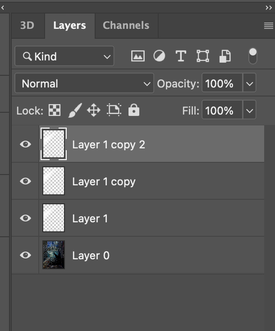
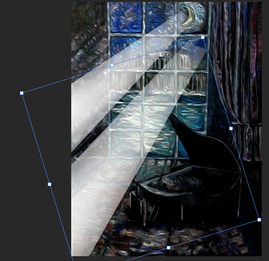
With this tool, I drew the shape of the moonlight pouring from the moon through the window to the floor. If you make a mistake, you can start over by pressing the ESC key. 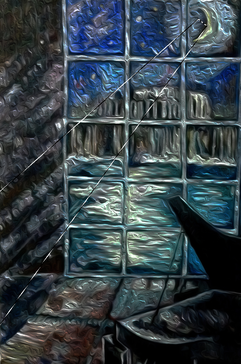 Then fill the drawn light shape with white. 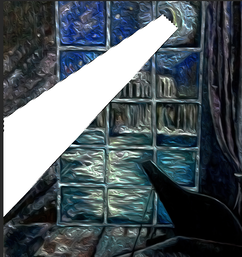 In that state, select Filter ---> Blur--> Gaussian Blur in order. Then a window will appear where you can adjust the intensity of the shadow. In my case, I entered 120 and clicked OK. 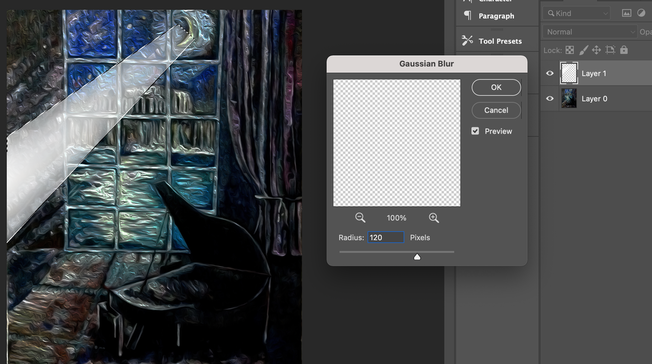 I'm going to duplicate the layer by pressing Ctrl +J or Cmd + J to duplicate the light beam. In my case, I copied it twice to express three lines of light like below.
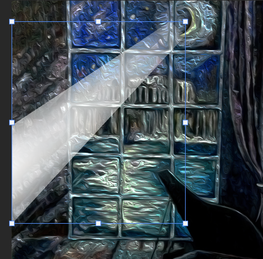
Then, use the Ctrl + T or Cmd + T keys to move the shape and position of the light on each layer.
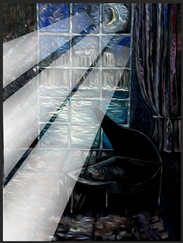
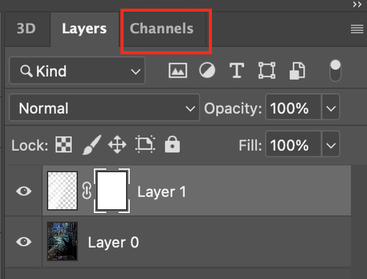
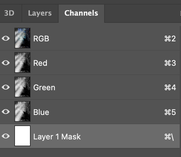
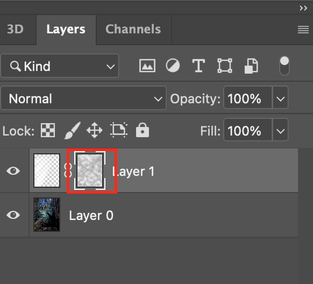
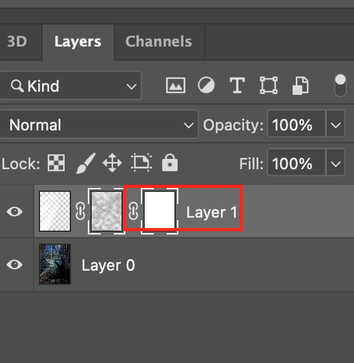
Then press the Ctrl + E or Cmd + E key to merge the glow layer into one, as shown below. 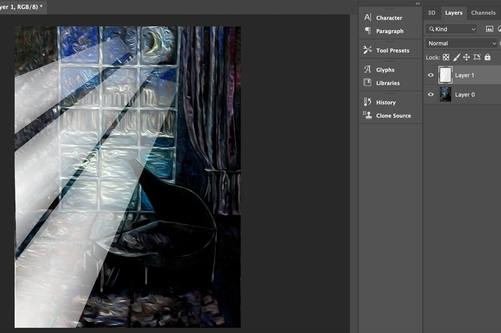 Then again I selected the Filter Blur Gaussian Blur and set the Gaussian value to 34.6. The result is a glow effect as shown below. This process personally shows me re-adjusting the moonlight streak while looking at the overall tone of the picture. 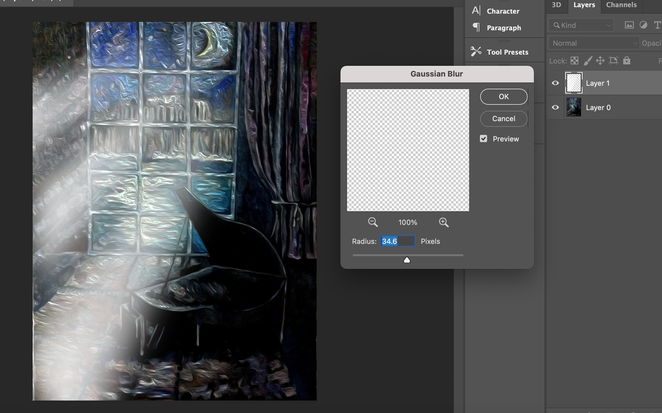 And this file was saved as piano_effect1.gif. The following describes the next process to create the second file. Go back to the file you were working on (piano_effect 1)and create a mask layer at the bottom of the Layers panel. I would like to show you clouds effect for the reality. 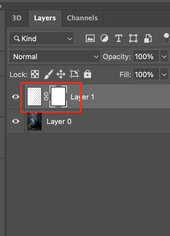 You will then see the screen on the right below.Let's change the current three stalks of moonlight to make them more vivid. In this state, go to the Channels tab above the Layers panel.
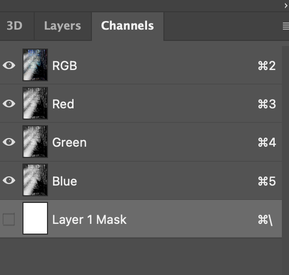
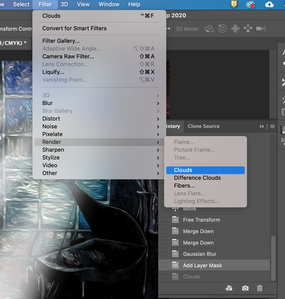
Check the Layer 1 mask as shown below and then go to the filter--> render--> clouds.
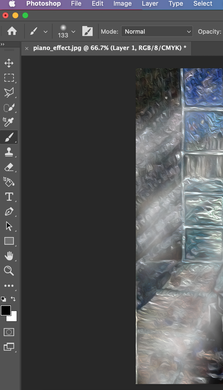
The blow screen is after applying clouds effect. 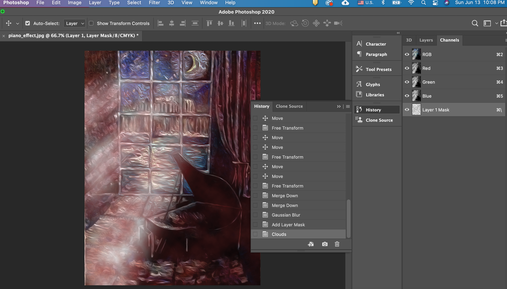 In this state, click the layer 1 mask of the channel window with the Alt key and move it back to the layer channel. And if you click once on the red area below, a more natural light stream is created as shown in the lower right. This effect is useful when you want to make the effect that even the dust floating in the light beam is visible.
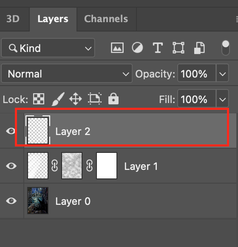
Then add one more mask next to it. On the newly created layer, take out the blush tool, set it to black, and put some light on it.
Then add a new layer as shown below and change the background color to black.
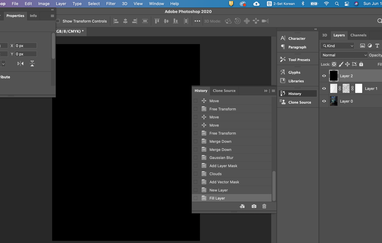
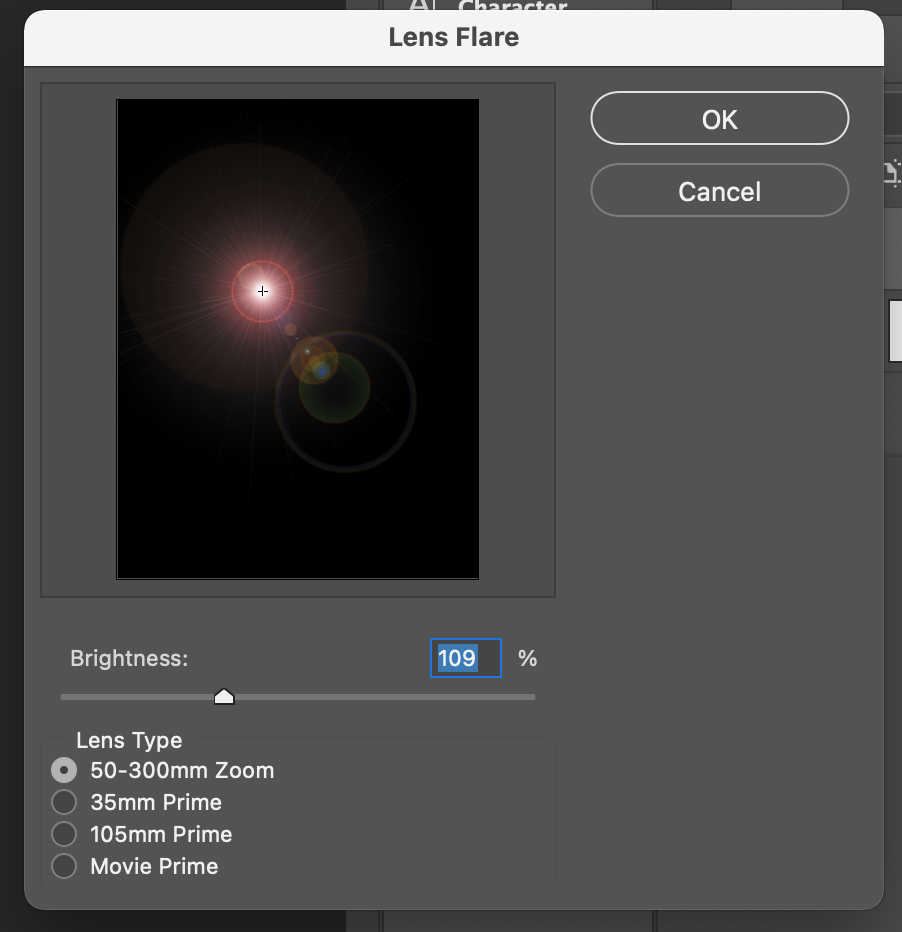
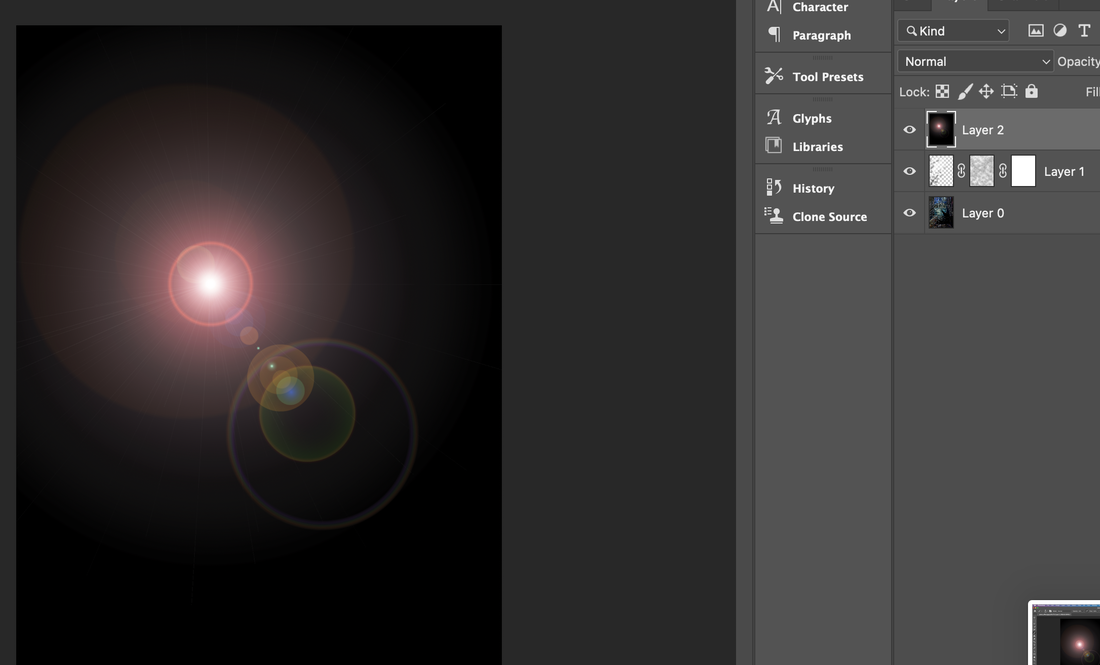
Then we go to the filter --> render--> lens flare to put in the light points. Adjust the brightness of the light, the street position, etc.
After adjusting everything, change the black background layer to the screen as shown below. 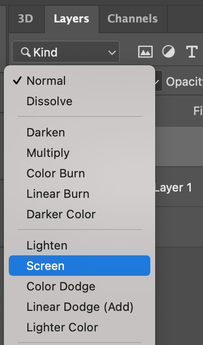 If you have been doing well so far, you should see a screen like the one below. 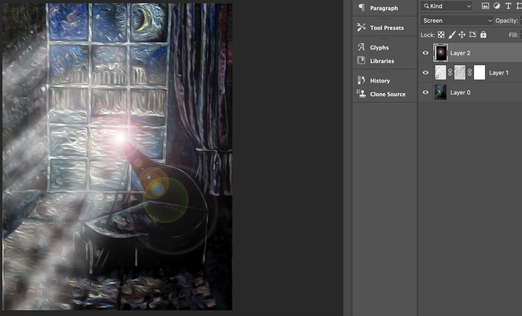 I saved this file as piano_effect 2.gif for creating moving gif file. Tomorrow, we will create a moving gif file using the two files we created today.
0 Comments
Leave a Reply. |
Myungja Anna KohArtist Categories
All
Archives
July 2024
|

|
Tutorial |
 RSS Feed