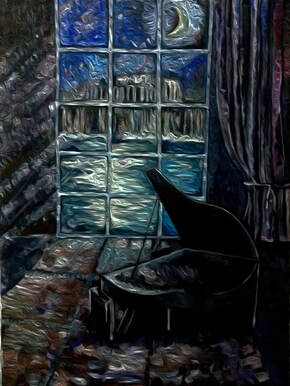
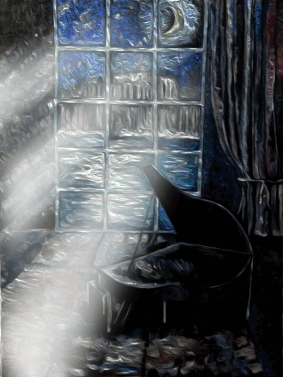
How to make a moving glow effect in Photoshop.As explained in the previous post above, I explained how to create a light beam in the picture and created the following two files.
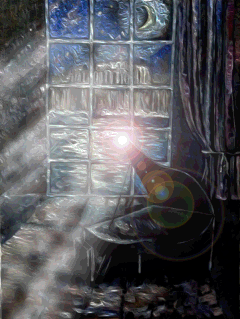
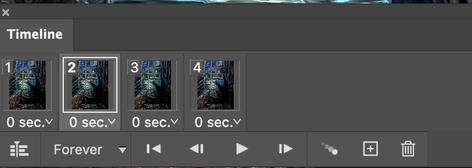
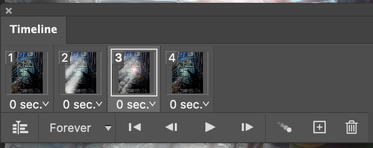
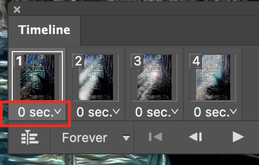
Today, I'm going to show you how to create an animated gif file by adding one more file below. 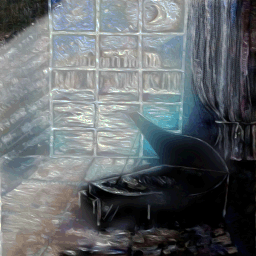 The four files above can be downloaded by clicking the download button below. First, go to the File ---> Scripts ---> Load Files into Stack as shown below. 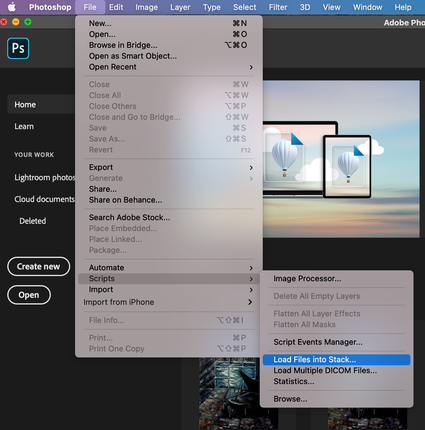 Then, a window like the one below appears, click Browse to select all the files to create a moving file, and then click the O.K button. 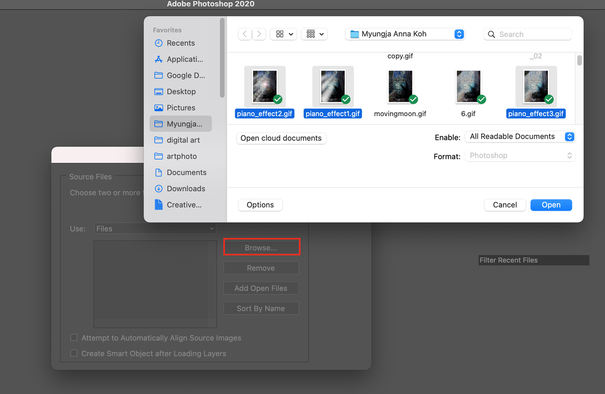 You can see all the imported files in the Layers panel window as shown in the screen below. 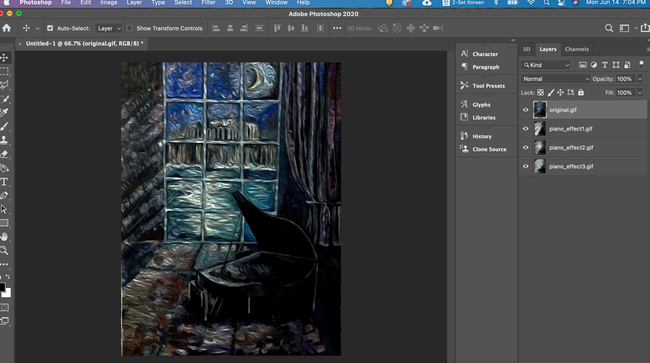 After checking that all files are on one layer, if you move to the window timeline, the timeline window as shown below appears in the middle or at the bottom. When the timeline selection window appears, you will see a dropbox with two selection options. From there, click Create Frame Animation. 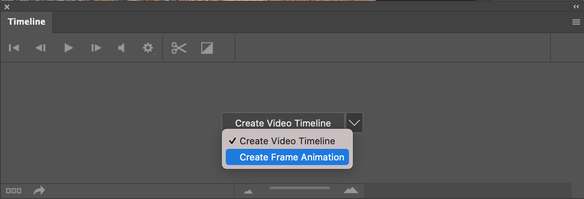 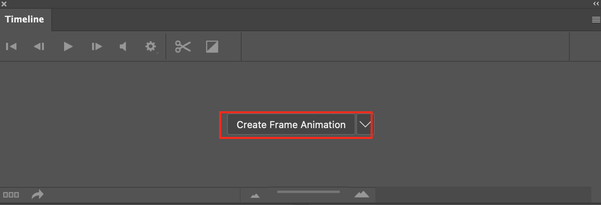 The thing to note here is that you have to double-click the mouse cursor over the text of the Create Frame Animation to move to the execution window where the timeline is created. If you double-click, the following window will appear. Click the red add frame button 4 times to create 4 frames.   When you press the 2nd frame, as shown below, turn on the eyes of only the layer corresponding to number 2 and turn off the eyes of the other layers.
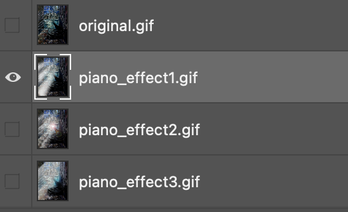
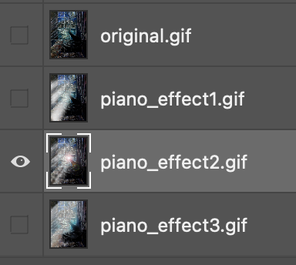
When you press the 3nd frame, as shown below, turn on the eyes of only the layer corresponding to number 3 and turn off the eyes of the other layers.
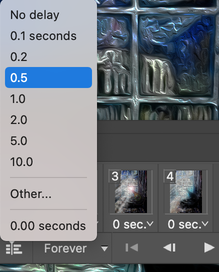
When you press the 4nd frame, as shown below, turn on the eyes of only the layer corresponding to number 4 and turn off the eyes of the other layers.  And then you go back to 1 frame and then , turn on the eyes of only the layer corresponding to number 1 and turn off the eyes of the other layers.  Then press the play button in the red area below to confirm the action. 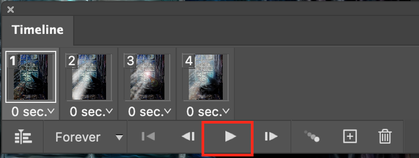 The result screen looks like the one below, it's like the lights of a club. 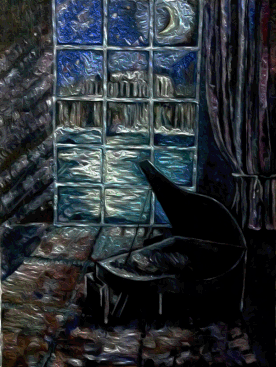 I'll try to slow down the glittering speed to match the mood of the picture. Click the button to adjust the time as shown below to change it to 0.5 seconds.
Then, the resulting file is saved in gif format. Below is the finished file.  This effect makes it easy to create moving banners as well. I hope you all moved by changing the dark picture you all have.
0 Comments
Leave a Reply. |
Myungja Anna KohArtist Categories
All
Archives
July 2024
|

|
Tutorial |
 RSS Feed