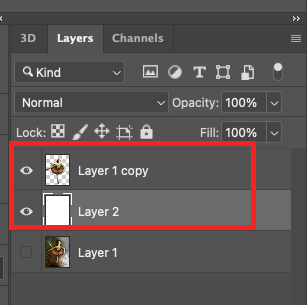
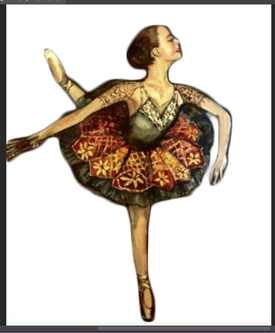
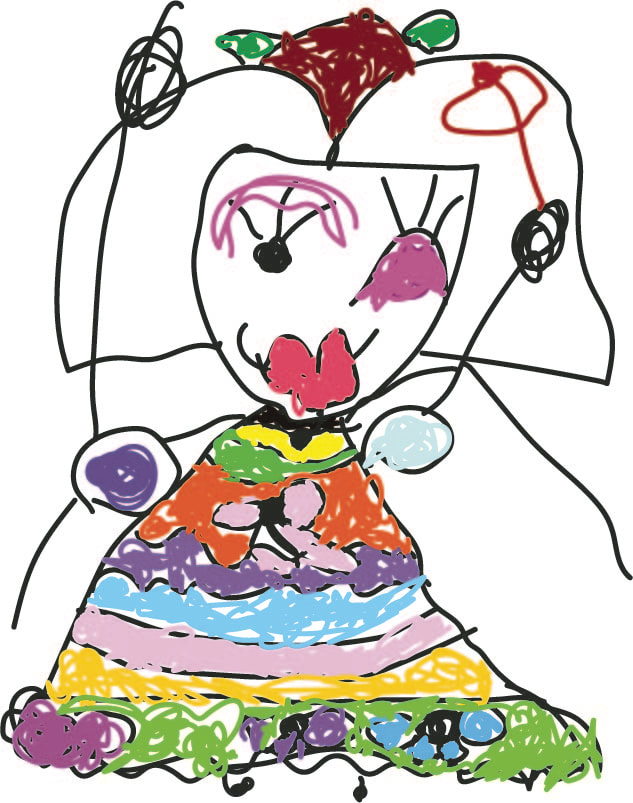
How to create shadows in Photoshop. As I draw, I feel that the colors and backgrounds become simpler. Our life also seems to become lighter and lighter as the years go by, like a painting. Today, I'm going to try to make a different artwork by removing the background from my old drawing and adding simple shadows. Digital makes these things possible and often I use them well. First of all, I opened a painting called Ballerina I drew before. 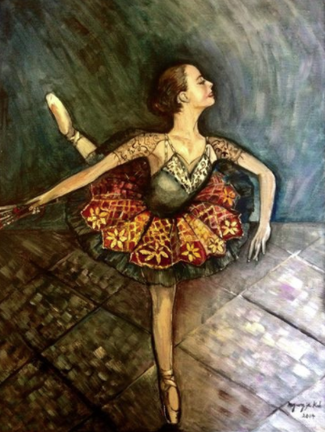 This painting was painted in acrylic on a small canvas a year after I moved to the US in 2014. It was drawn for the granddaughter of an acquaintance who dances brilliantly against the background of sad and pathetic music. But sometimes I just want enough to get her out of the dark and dance in the light. Today I'm going to try to do some of that. First I choose the ballerina in this picture. Double-click the image to make it a layer state, then click the Lasso tool in the left menu panel. 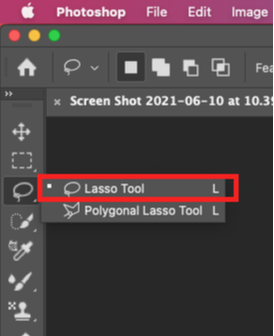 There are various ways to extract an image from the background in Photoshop, and the most used is the Quick Selection tool. However, since I have to extract the image from the work, I have to pick it up more precisely. The Lasso tool helps you naturally pick images like this. Try to select the image as close to the image as possible. Lasso tool can be difficult to handle the first time you use them because you have to complete them all at once. However, I have my own tip, which is not to focus on the senses on the hands, but to breathe slowly like yoga and concentrate on the breathing to draw much better. Below is the image after Lasso tool is applied. 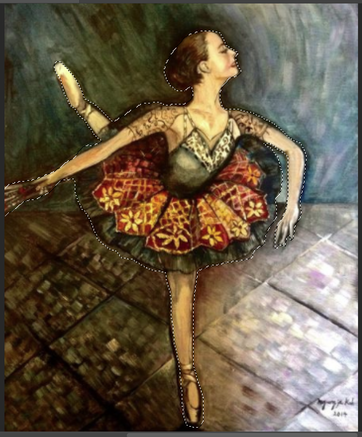 Then, in the top menu bar, click the Select and Mask menu in the red box on the screen below. 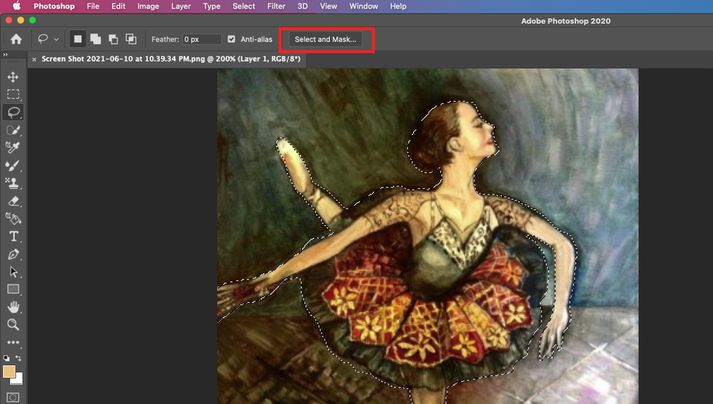 Finally the ballerina is ready to go out into the bright world. 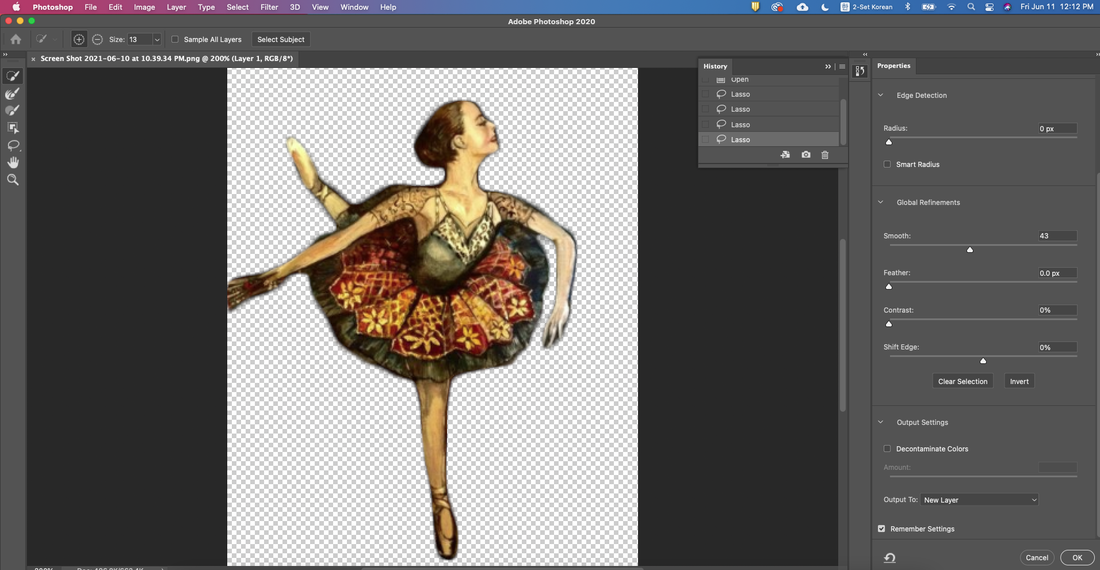 Click OK at the bottom of the window that appears in the Layers panel on the right. 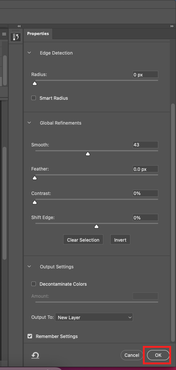 Then click the Copy Layer tool at the bottom of the Layers panel to create a new layer. (or use Ctrl + J or Cmd + J)   Now we will change the color of Layer2, the foreground color is Ctrl + Delete( Cmd + delete) , and the background color is changed using the Alt + Delete key. In my case, I changed it to white for minimalism as shown below. 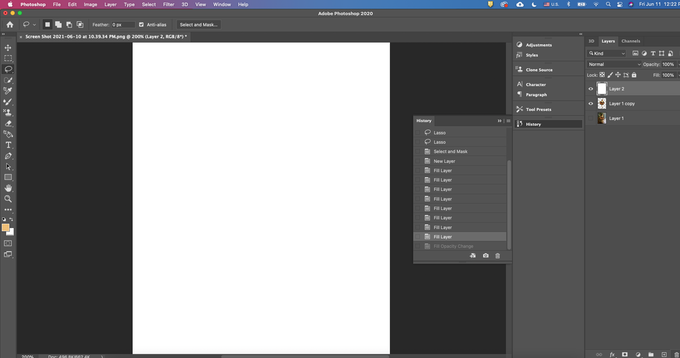 And to create an image like the one on the right below, change the order of the layers as shown on the left. In other words, the layer 1 copy must be on the layer2
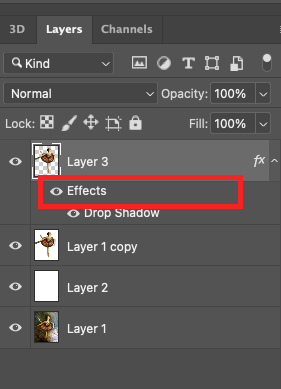
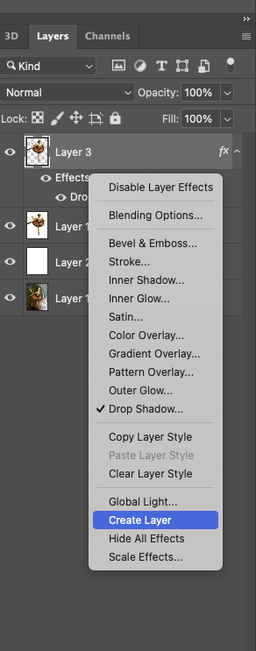
For the next step, I moved the composition of the image slightly to the right to increase the artistic perfection and changed the image more naturally as shown below using the brush tool. 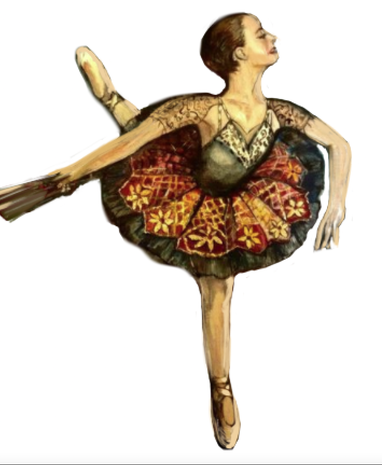 Then select the image by selecting the Quick Selection tool from the leftmost menu bar. Since it will be used when creating shadows, roughly select it as follows. 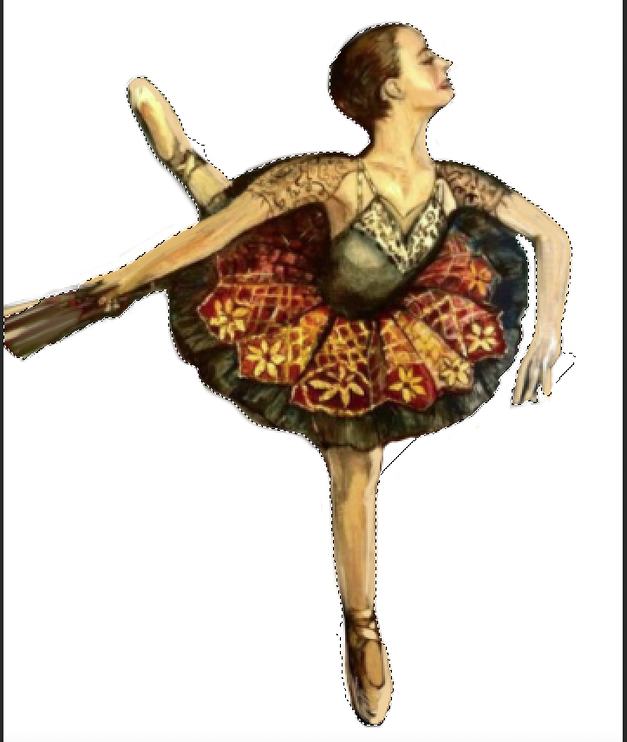 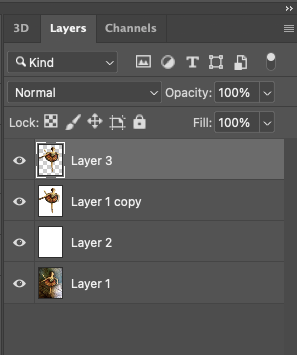 If the protruding selection area still bothers you, press the Alt key and tap the protruding area, a minus sign will appear and the clicked area will decrease. In this state, click Ctrl + J or Cmd + J to duplicate only the selected area on a new layer. If you've been doing well so far, you should have Layer 3 of the chessboard background, as shown in the screenshot on the left. Then, if you double-click the layer 1 copy with the quick selection tool selected, the window in the red area below appears. Set the drop shadow as shown below and click.  Then, the layer panel window changes as shown in the left screen below, and the place where we will create shadows is the effects in the red area. If you place the mouse cursor over this Effects text and right-click, you can select the create layer menu as shown in the lower right screen.
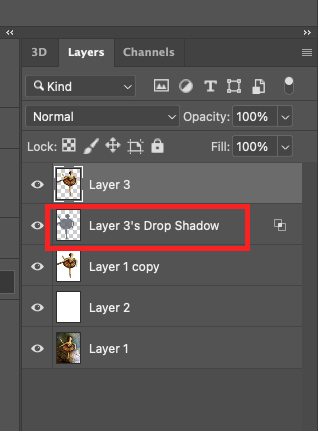
Then a small window like some kind of warning message will pop up to surprise you, but you can ignore it and hit OK. 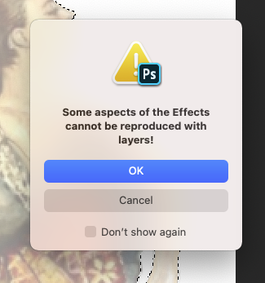 If you bravely hit OK you'll get a new layer with only shadows, like the bottom left screen, and you'll see a result like the one on the right.
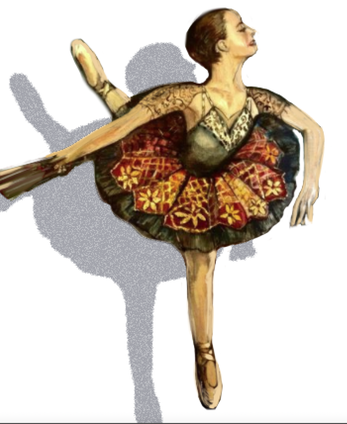
For some reason, it makes me feel better now that the ballerina is ready to take off in style. Next, with the layer 3's drop shadow layer and then select Edit --> Transform --> Distort from the top menu bar to adjust the shape and angle of the shadow. 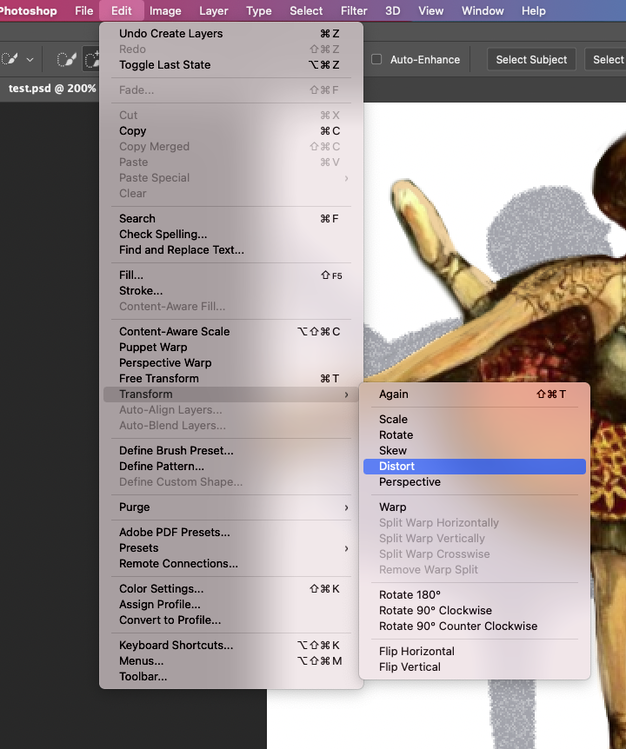 If you click select Edit --> Transform --> Skew, and then you can find more better shadow. 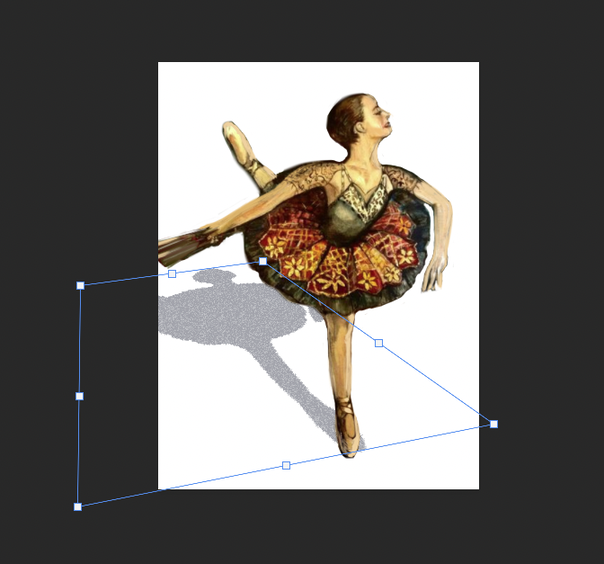 Finally, the picture below is the finished image. 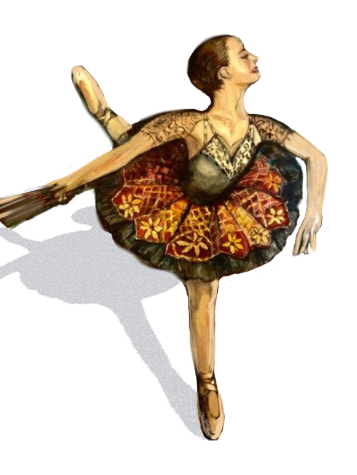 I hope everyone can take out the ballerina in their heart and send them to a brighter world.
0 Comments
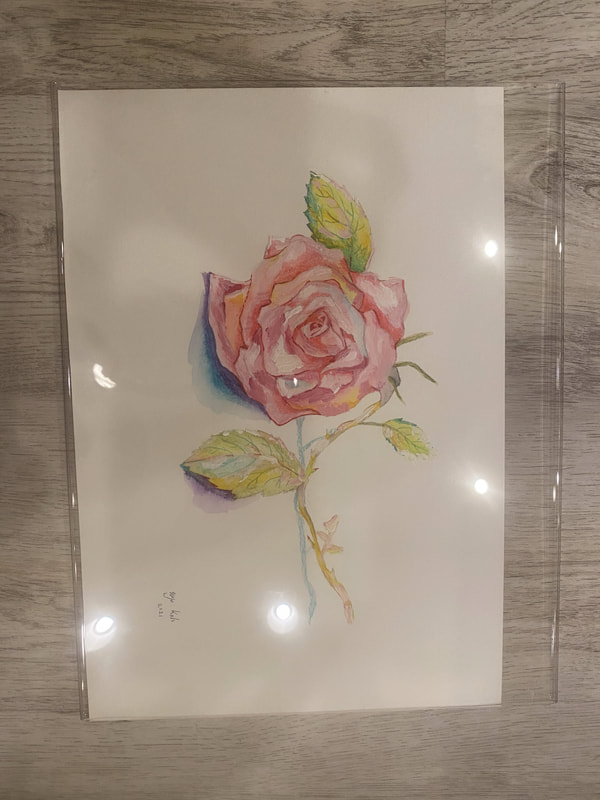
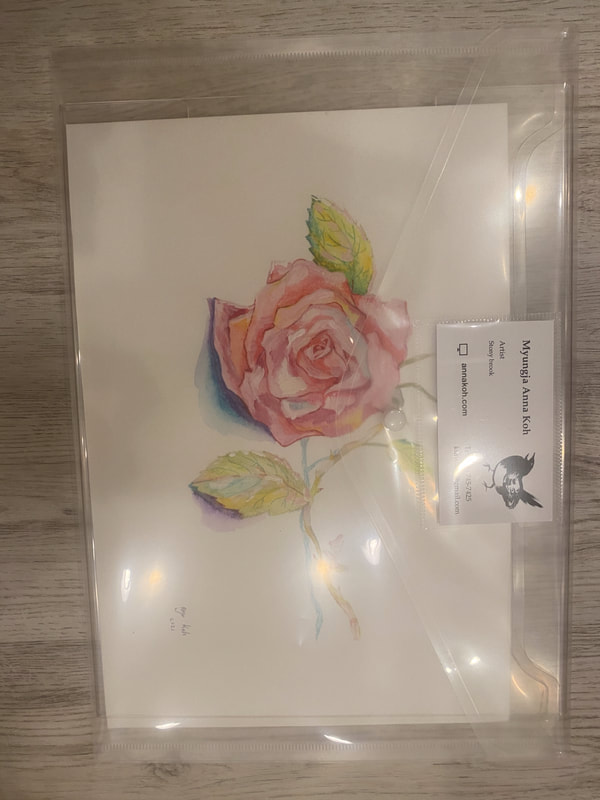
How to sell and ship artworks as small business. After opening an online painting flower shop, I sold my first yellow roses. In the past, when I sold my paintings, I sold them through gallery exhibitions. Someone I knew bought it, and someone I didn't know purchased it. When selling paintings through the gallery, the gallery took care of receipts, taxes, insurance, etc. However, there are many things to think about when selling paintings to personal orders. First of all, I would like to take this opportunity to create receipts for my customers. After doing some research, I really like the receipt site below. I feel good all day when I find a site I like this way. 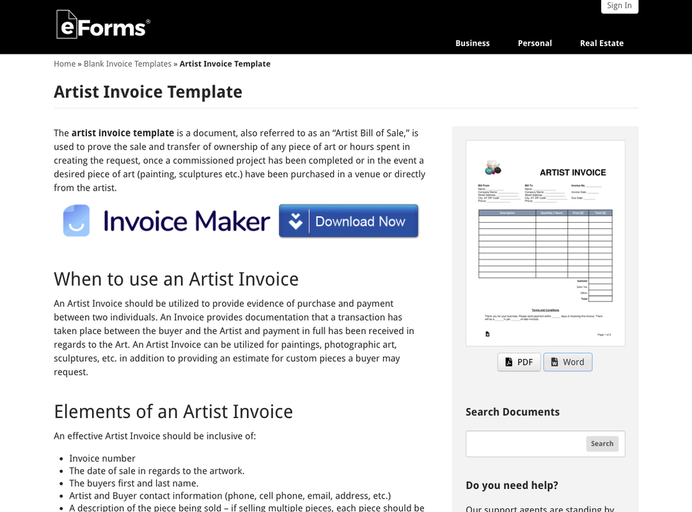 If you look at the invoice download on the right side, you can download and use one of the PDF or Word files.  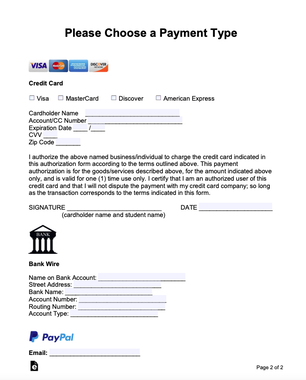 Instead of the picture on the invoice above, I put my newly created logo in my case. The next page of the invoice is about payment options. I recently added venmo here, and you can transform it like this if you use a word file. https://venmo.com/ The next step was to make a thank-you card for the customer who purchased the painting. The following ecard site can use templates of various designs and the user interface is simple. 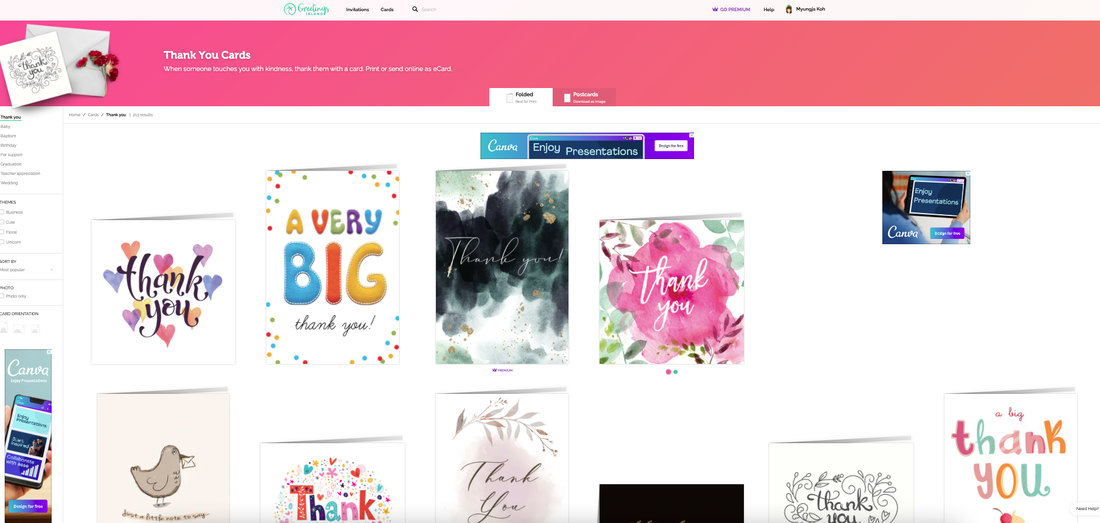 Since I was selling flowers, a pretty flower card caught my eye. 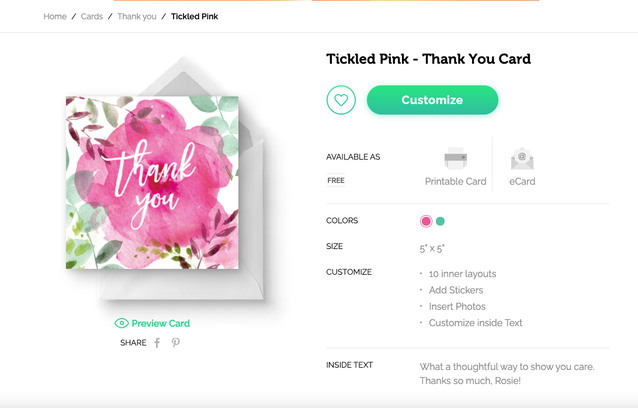 And the next step is to create a postal address label before shipping. The online label template site below allows you to choose your favorite label and use it for free. 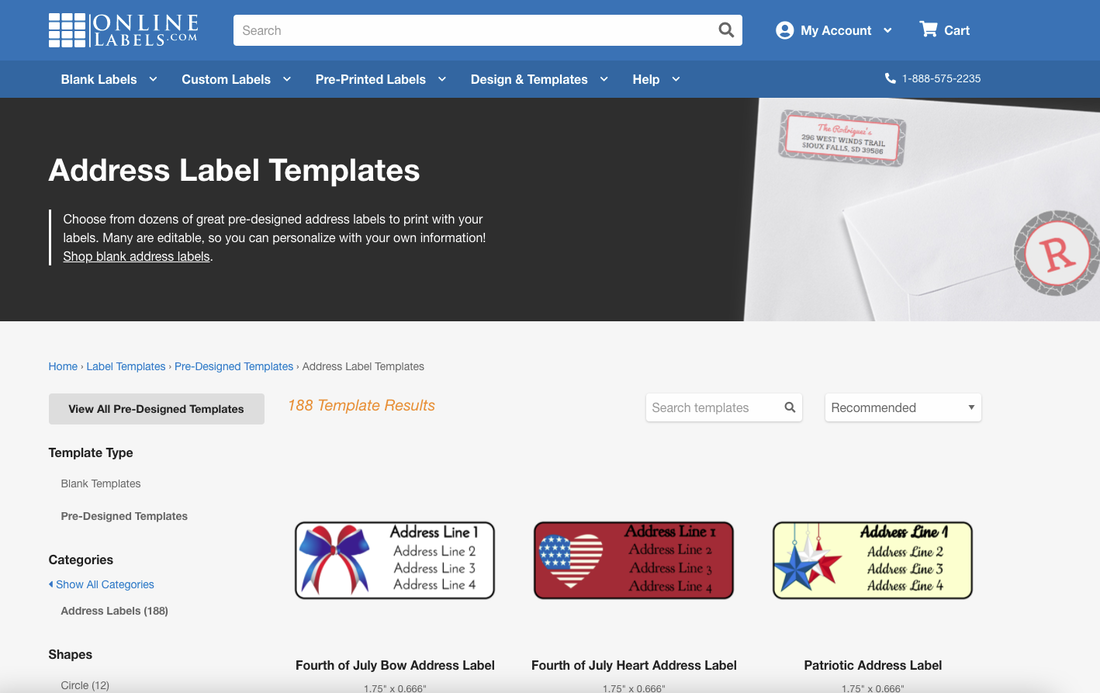 In my case, I chose flower-shaped label paper. 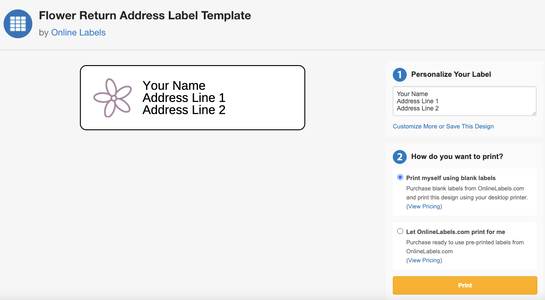 This painting was painted with acrylic on 7 x 10 inch paper, and I wanted to prevent it from getting wrinkled or wet when shipping. So, I bought an acrylic sign holder plate and an poly envelope from Amazon and put it in as shown below. Below is the Amazon site. (Please note this is not for advertising purposes) 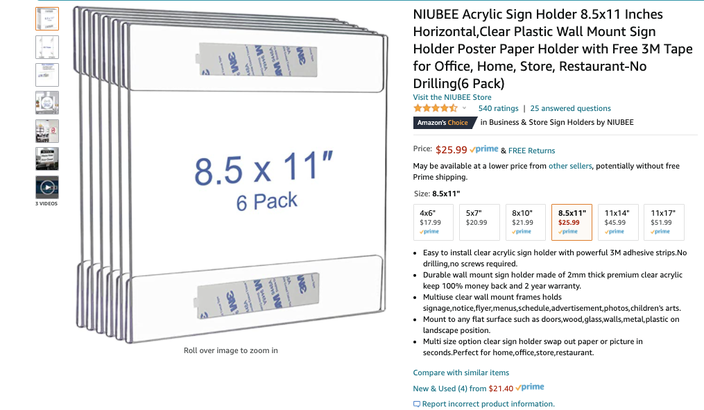 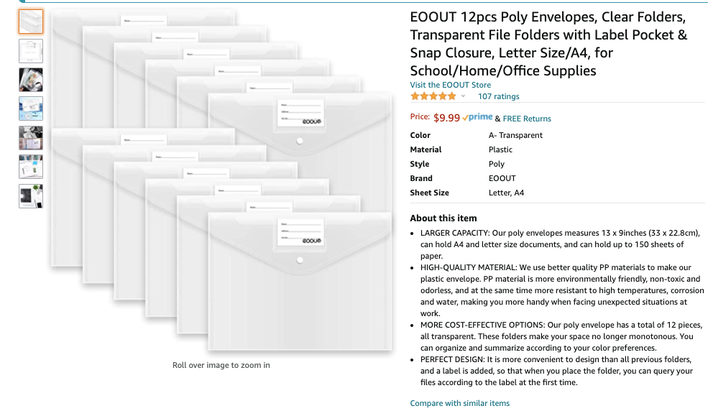 When this picture is delivered to the customer, I will write more about how it was delivered.
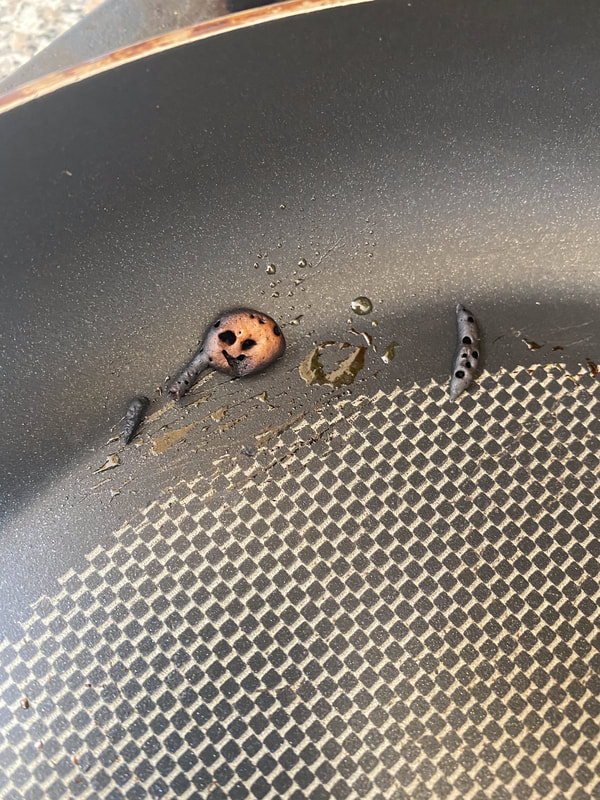
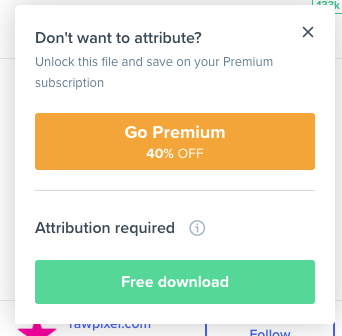
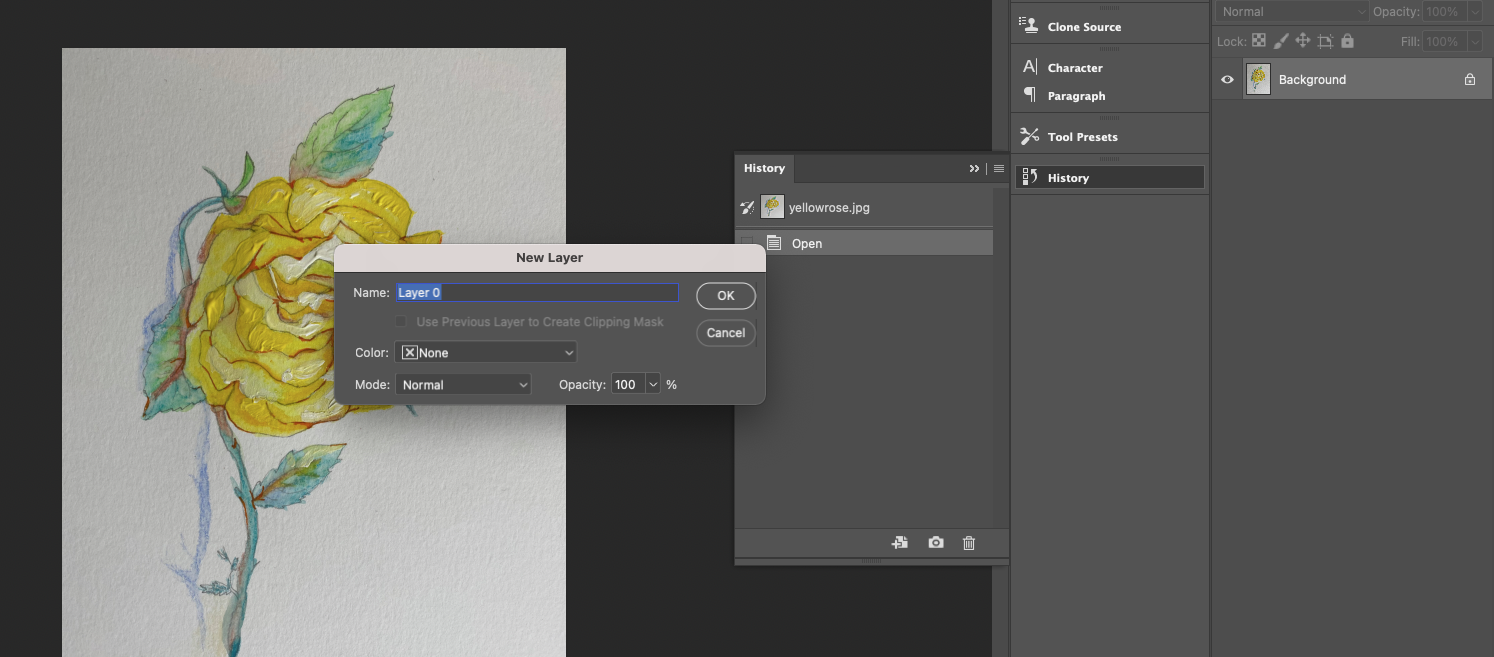
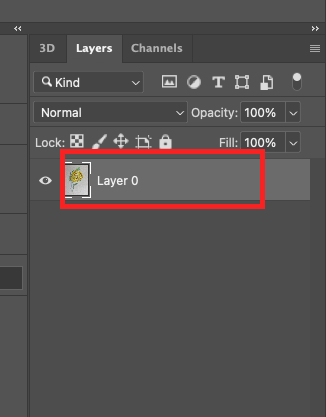
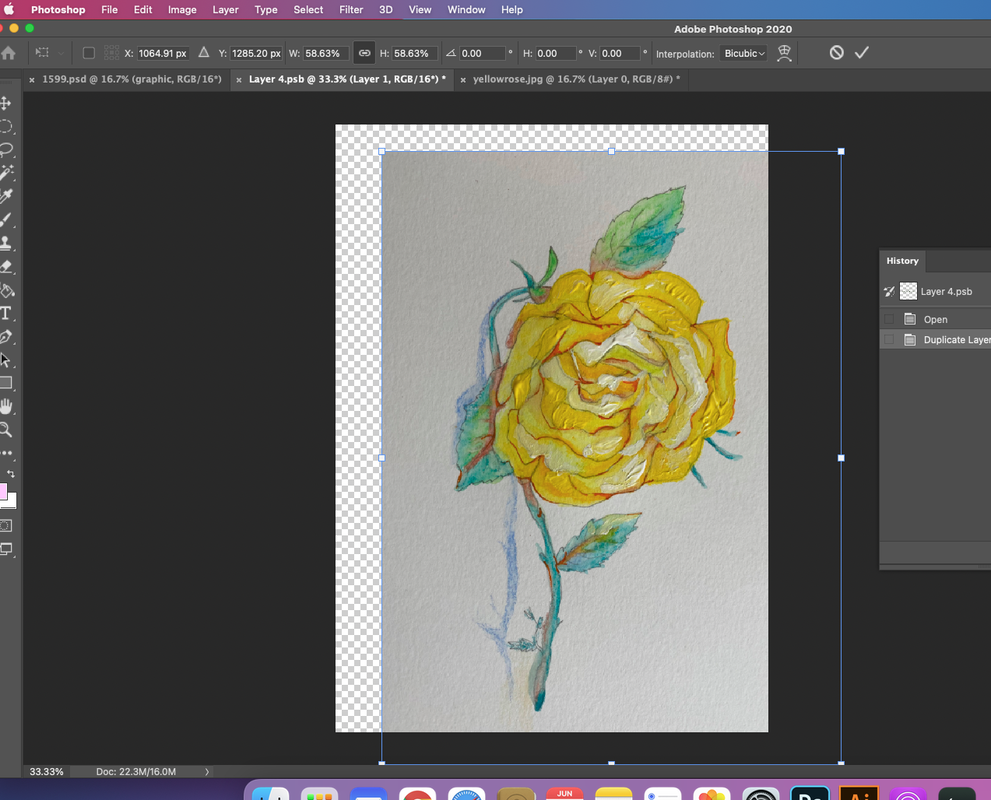
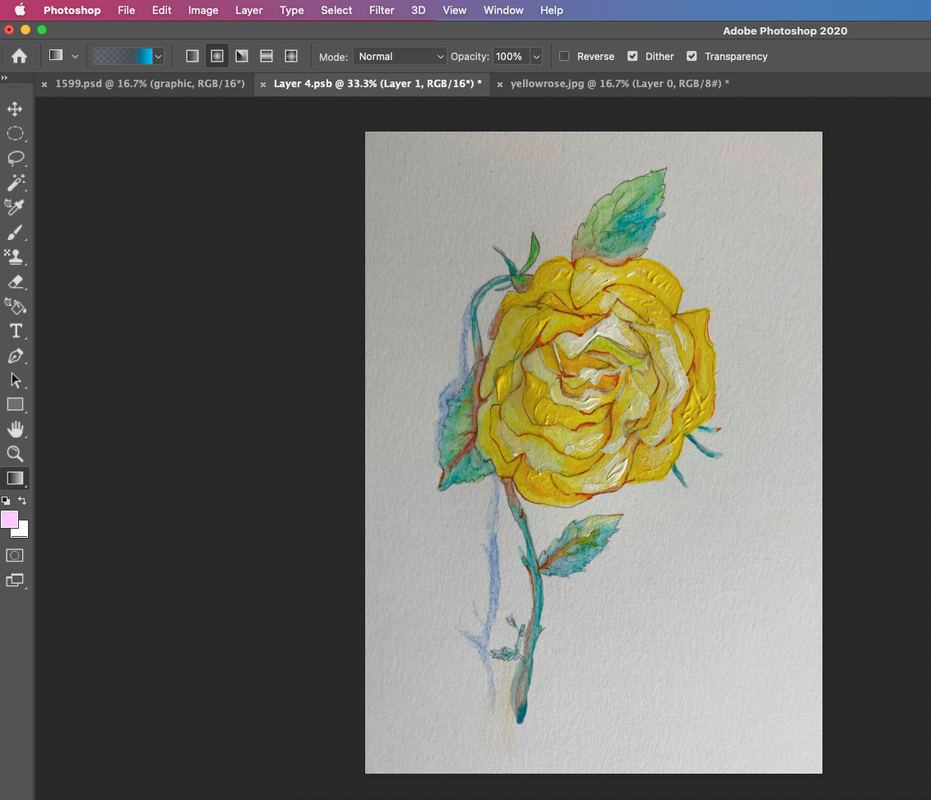
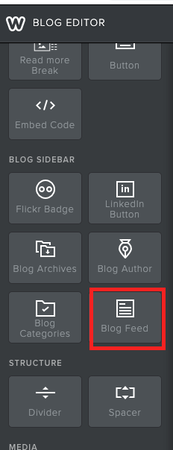
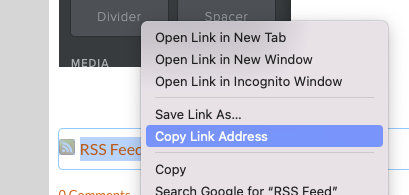
Hope this helps when you are about to start your own small business. How to make a frame mockup file. Yesterday, I was tired after working all day, and I was lying in bed late in the morning. My husband often makes hotcakes with his recipe for breakfast, which is very tasty. The smell of deliciously baked pancakes gave me strength, and I got up from my seat. After eating all the hotcakes, I was about to clean the frying pan , and I saw a tiny piece of hotcake smiling like this. I realize that even non-living food can make you smile if you put your heart into everything. I also looked around again to see if I was missing something small. Then I made a decision to add an easy supplementary explanation on making a mockup file. What the mockup file is and why it is created was recorded on the previous page. www.annakoh.com/info/promote-your-work-with-photoshop-mockup-files However, the last tutorial was mainly for non-flat surfaces such as cans, so the process is complicated. So today, I'm going to show you an easy way to make a mockup frame file. First, go to the free frame mockup file download site introduced earlier. https://www.freepik.com/free-photos-vectors/frames-mockup Here I chose the silver picture frame with the cactus at the bottom. Click to go to that site !  If you pay and download premium, you can see more variety of mockups, but now I clicked the green button on the right, free download. The number of downloads is limited to 10 files per day for free download. When you click the download button, you can see the following screen. As I always feel, thanks to the designers who made this free talent donation. You can also say thank you to them while waiting for the download. After downloading, the following folder will be created, go into the folder and open the .psd file, which is a file for Photoshop.   Below is a picture of the opened Photoshop file. 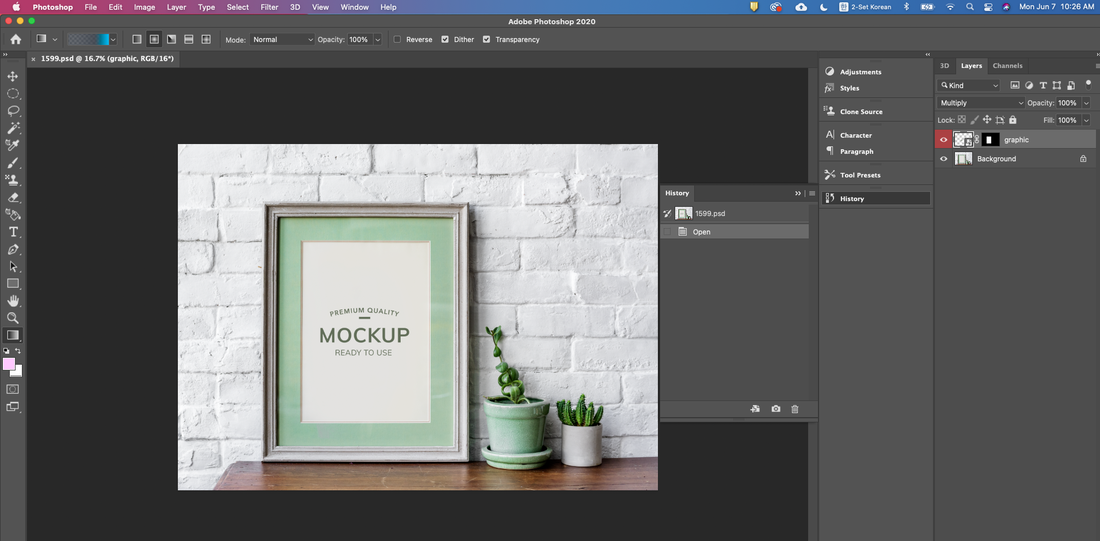 Now it's your turn to put your picture in the pretty picture frame where it says Mockup. The layer labeled Graphics in the Layers panel on the right is the layer to replace the image. This word is different depending on the designer, such as "edit here, edit design, edit design here, mock up, click here, etc" so check carefully. By the way, you can double click the red rectangle area.  A nice double-click will bring up the following screen. 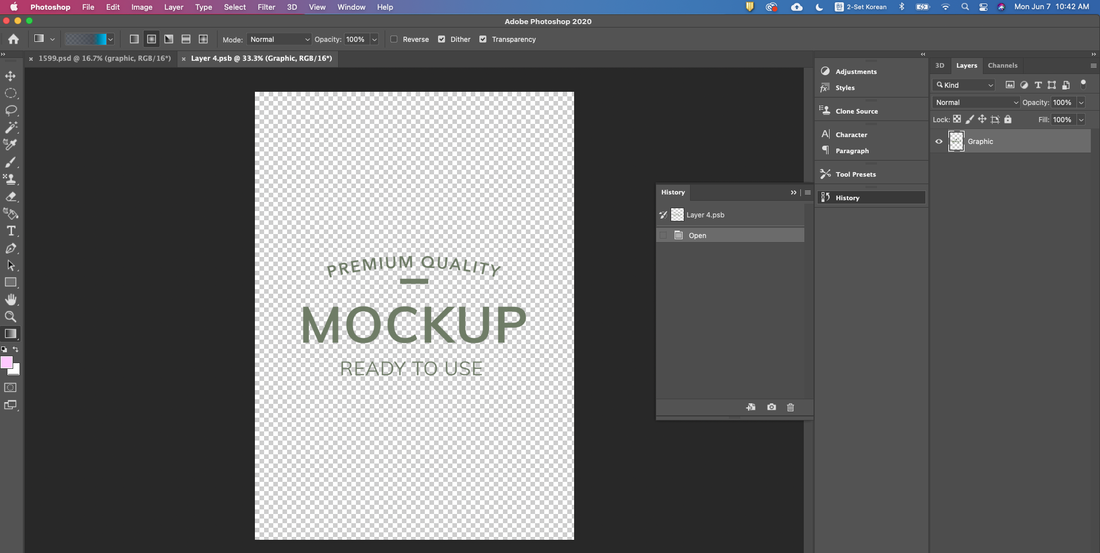 Press the Ctrl + O or Cmd + O key to load the image you want to put in the pretty frame. (Import image) In my case, I opened a yellow rose file that I recently worked on. 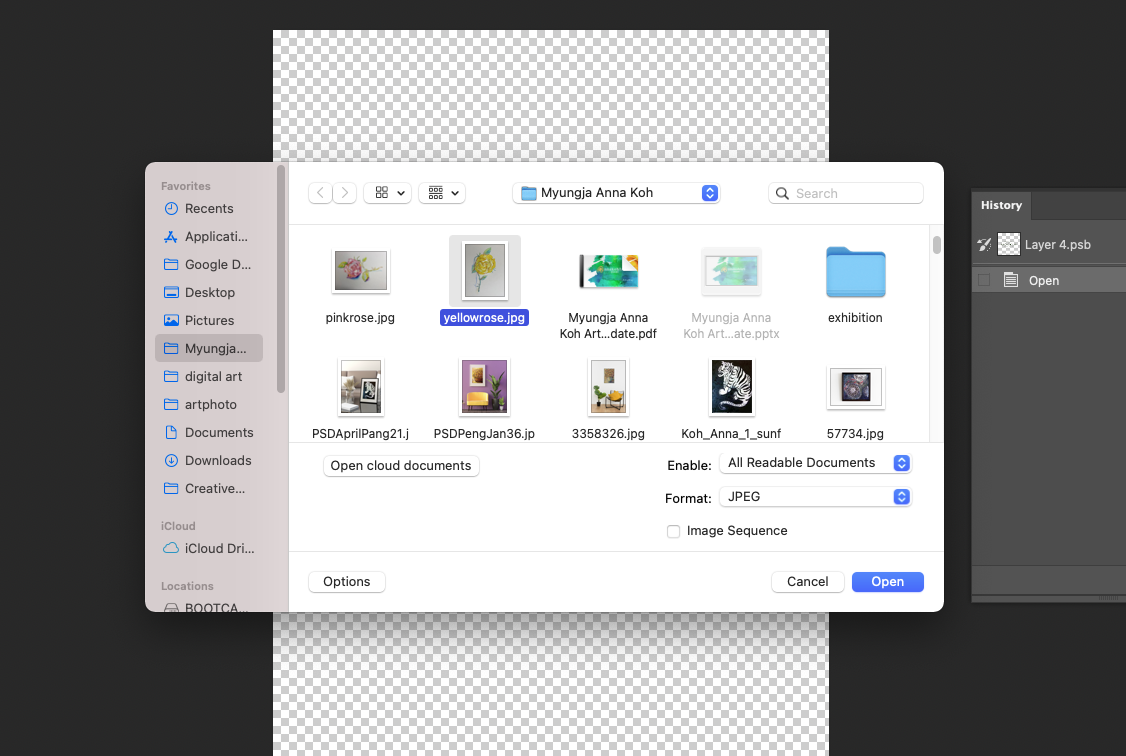 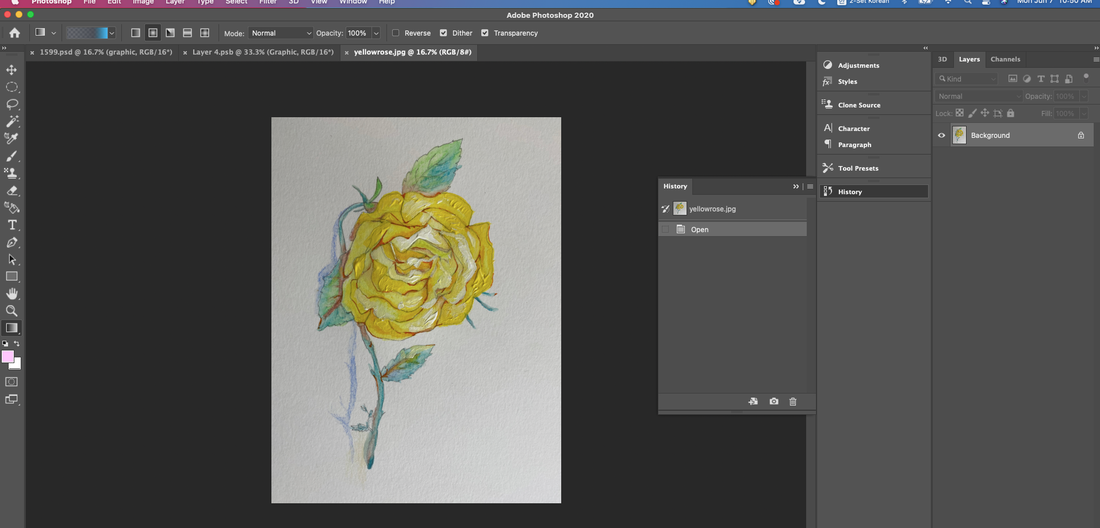 To copy this file, the layer must first change from the background to the layer state. For that, double click on the background layer in the right layer panel. Then you will see the following message window, click ok ! Check that the layer's name has changed to the name " Layer 0" in the red box and copy it by pressing the key, Ctrl + C or Cmd + C . And take a good look from now on. And then you should quietly go to the tab marked by the red box on the screen below. 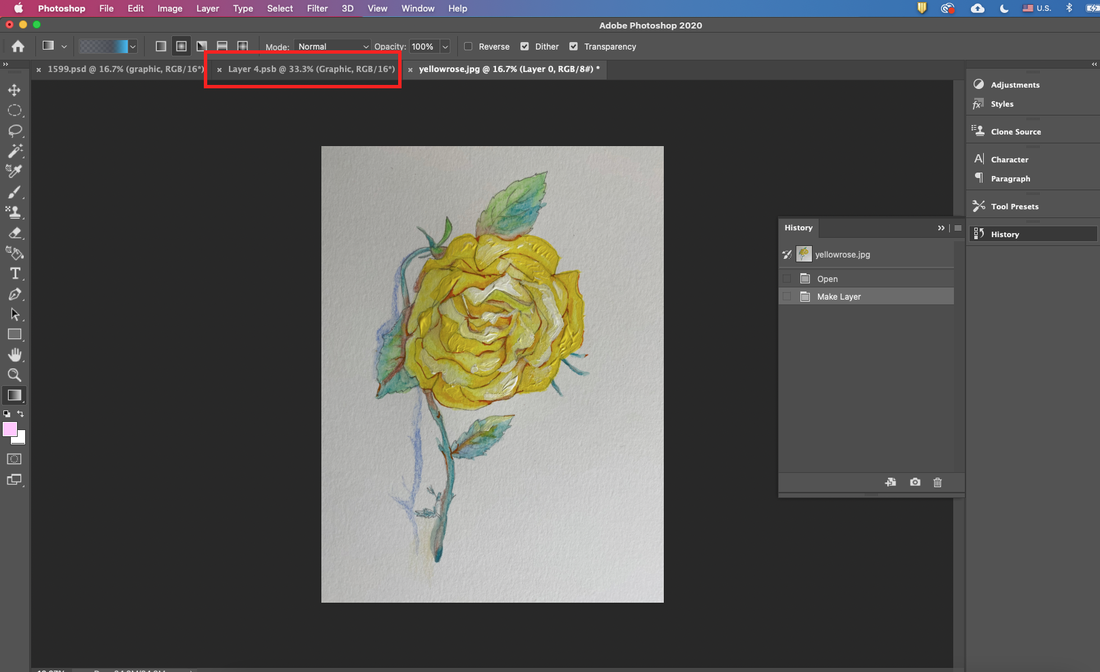 After moving and pasting with the key, Ctrl + V or Cmd + V, you will see something like this: 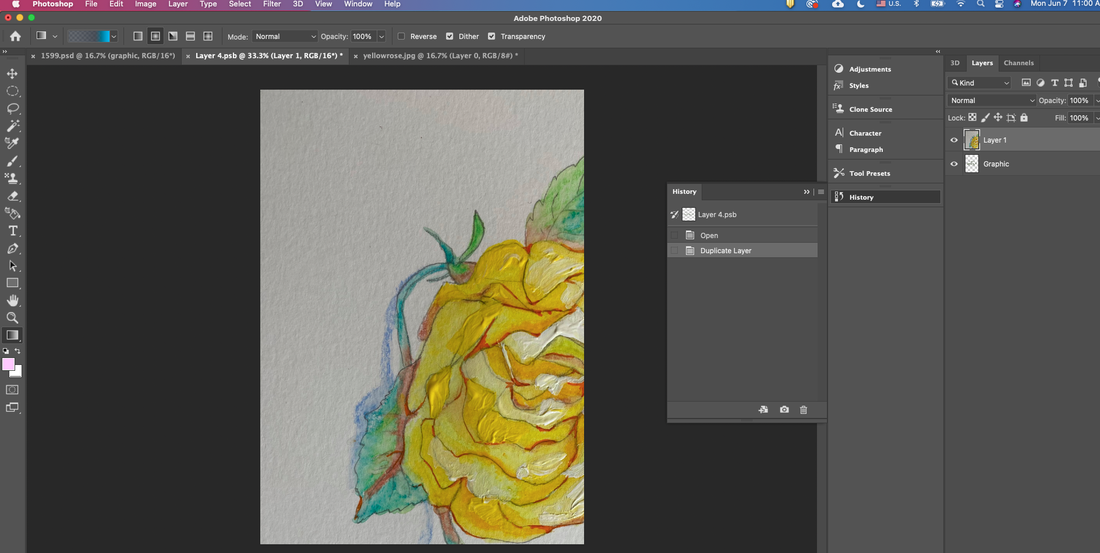 Now we need to resize the image to fit the frame. To change the image, press the key , Ctrl + T or Cmd + T to adjust the size. If you want to transform only one part, you can adjust it while holding down shift key. We're almost done. Go to file and click save as shown below.   Then go to the red box tab as shown in the screen above on the right and check the result. 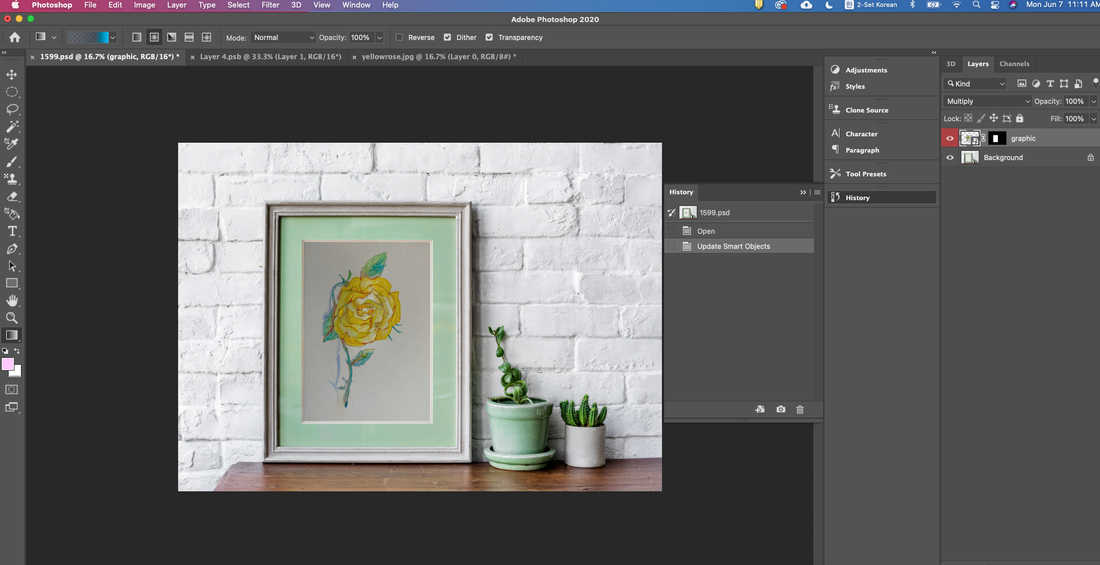 Below is the result image. I hope you got a nice picture frame like me. 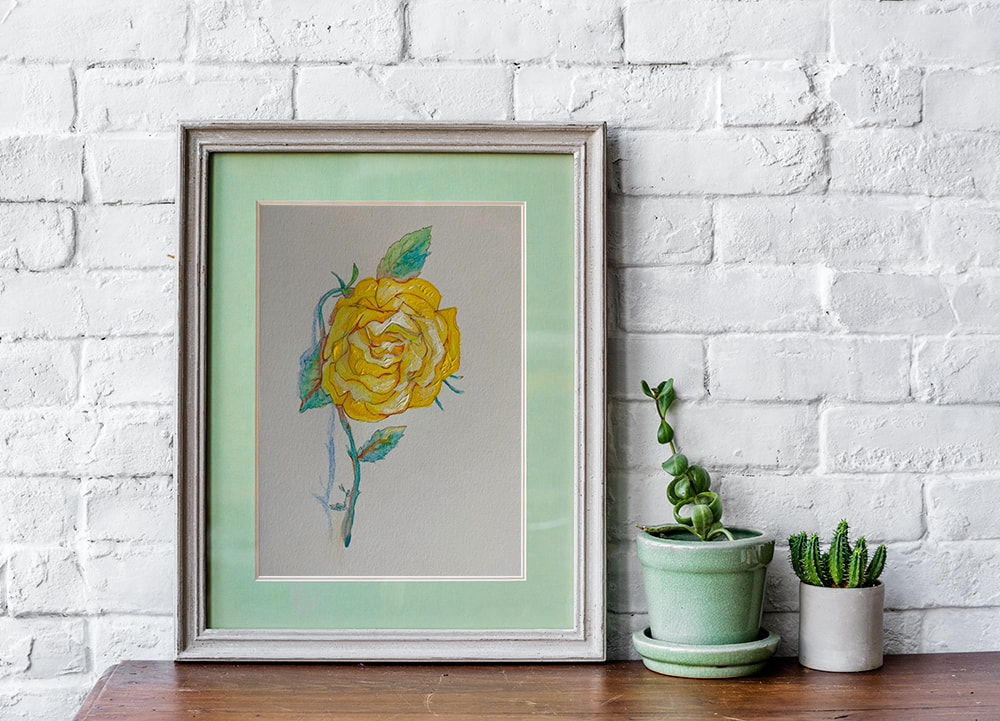 Yellow rose, Acrylic, 2021 Myungja Anna Koh How to make auto-updated blog feed in Weebly.I started making a website because many people around me asked about my background and work, but now I have a blog, and more and more people are looking for it. So, to express my gratitude to the people who visit my website, I will take this opportunity to change the monotonous front of the homepage. The previous front page in website looked like below:  But I wanted to make it possible for people who click on my homepage here for the first time to see my blog posts at a glance. Recently, many applications have been developed to display updated blog content. Rather than a complicated technical explanation, I would like to show my case by introducing it briefly. First, go to the FeedWind setup screen site like below : (Click on the screen below to go to the site)  This site is the simplest way to create dynamic content such as news feeds and blog feeds on your homepage. 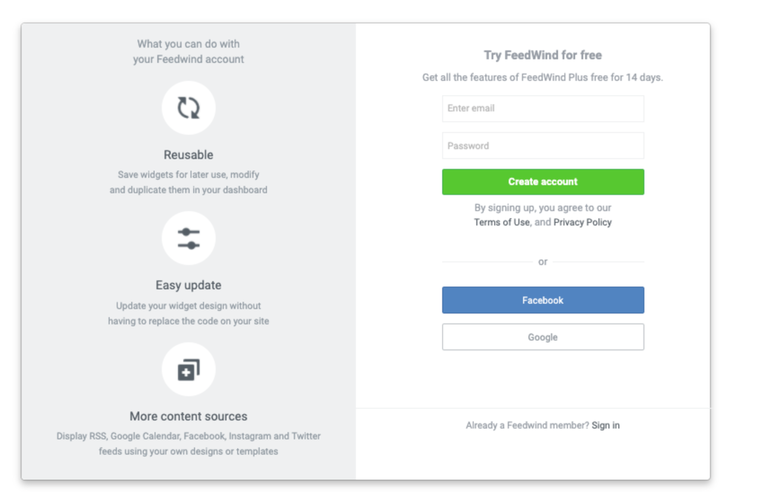 It is free to use (during 14 days) and requires membership registration. Facebook or Google users just need to log into their account. After 14 days, you pay for the service continuously: Here is the service plan (click) The following window will appear on the first screen. 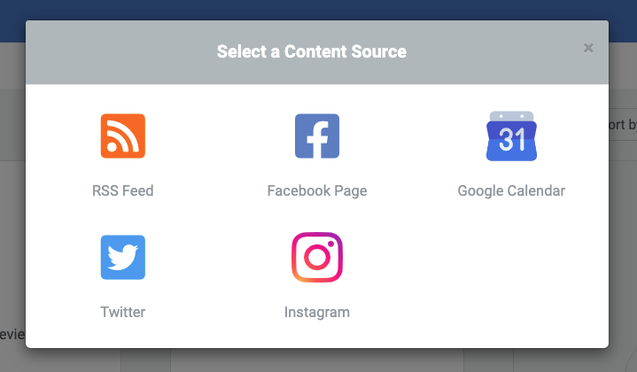 A window for selecting the type of content source to be displayed, click RSS Feed here. Then you will see the screen below. 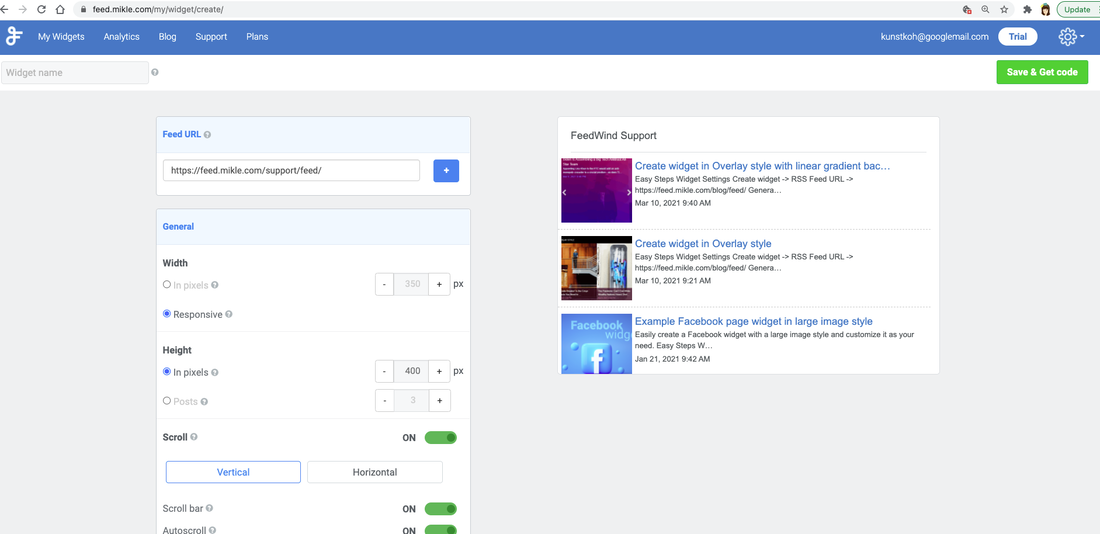 Just put the blog feed address in the Feed URL window you see. For instance, I put my address like this : https://www.annakoh.com/blog/feed/ For example: https://example.weebly.com/blog/feed/ Note: Weebly RSS feeds are not available from regular Weebly (non-blog) pages without using a 3rd party service. However, multiple blogs can exist on a single Weebly site each with their own feeds, so there is a workaround. And select the options such as the size of the blog feed to be displayed in the menu below, the text format, the scroll speed, the image to be displayed, etc. according to the situation. Each time you select an option, you can see the different results in the right corner. 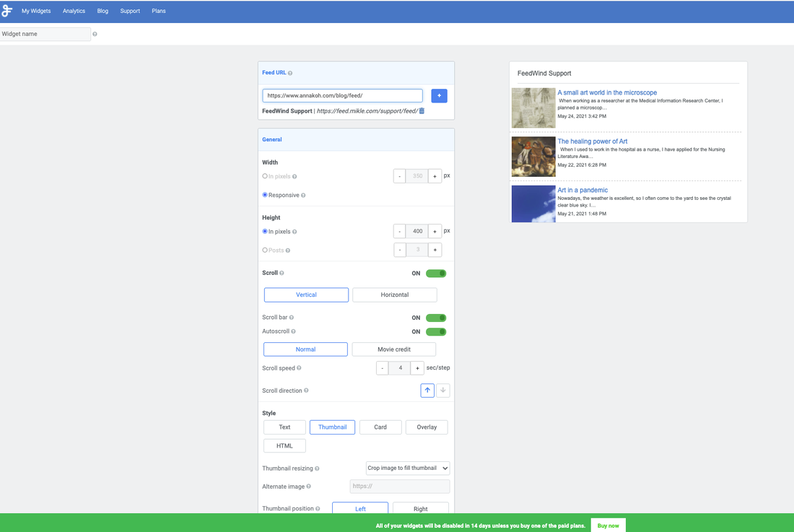 If there is a problem, the following message will appear. 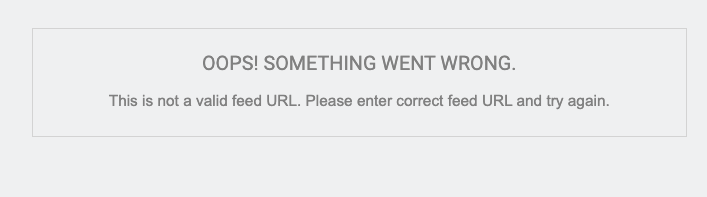 In this case, you should double check your blog feed' URL. TIP: Right-click on the RSS icon shown like below on the right, and use menu item: “Copy link address” from the menu.
If all goes well, it's time to insert it into the page where I want.
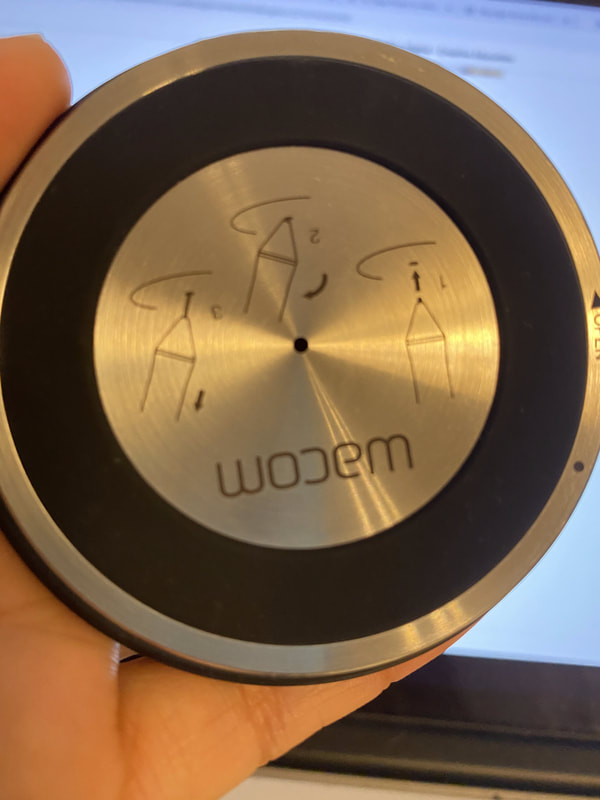
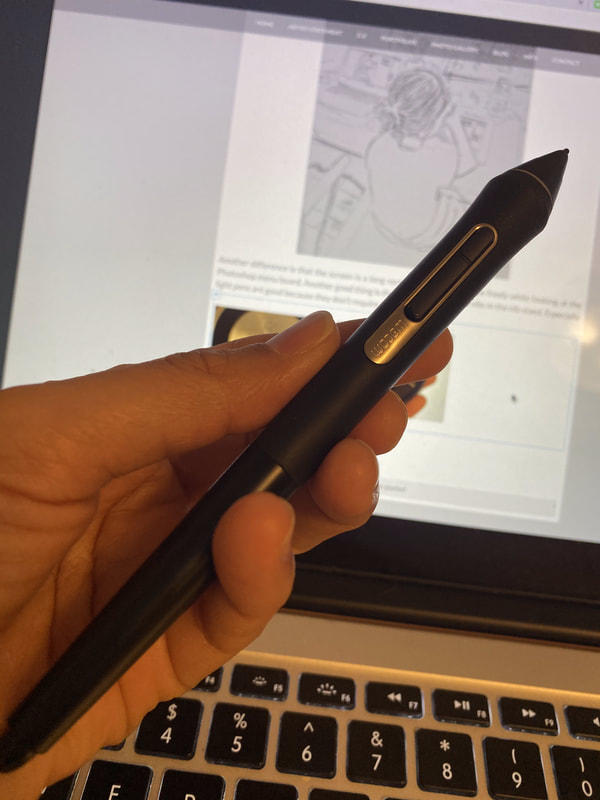
Once you have entered the feed URL, click the red rectangle menu (Save & Get code) on the screen below. Wacom Cintiq Pro reviewThe pandemic has changed our daily lives a lot, and it greatly impacted my artistic activities. The offline exhibition did not know when to start again, and the long-prepared New York Expo was postponed indefinitely. Still, in the face of so many tragedies, those things didn't matter. So I started trying to change the canvas digitally. First of all, I needed a digital tablet to make this attempt a reality. The quickest way is to ask a professional before buying anything. At this time, I got a recommendation from my brother-in-law, the art director of a game company, so I looked into Wacom. My goal was to find a digital pad that showed an effect as close to drawing as possible. Whether I would use this tablet for carrying around, its weight, screen size, or features were not a priority. It is more important to consider whether I can feel the same sensations as the feel of paper, the feeling of holding a brush, and touching the canvas with a brush. At that point, Wacom was not as perfect as brushing on paper, but it seemed like a good choice. It takes time to get used to at first because you have to draw with a plastic pen on slippery glass rather than on textured paper, creating the effect of a brush. And although there are gloves to prevent slipping, I didn't buy them because I had to feel the sensation when drawing with my whole hand. Above all, the pen did not go in the desired direction, and it was slippery. Moreover, it wasn't easy because the part to control the concentration of the brush had to be calculated digitally rather than with water. However, the fact that the strength and weakness of the pen is directly reflected on the screen makes the development of technology feel real. In particular, in the case of illustrations, which are more complicated than Photoshop, because they have to calculate and draw vector images, the reflected speed and accuracy are high, so even a 4-year-old daughter can follow it well.
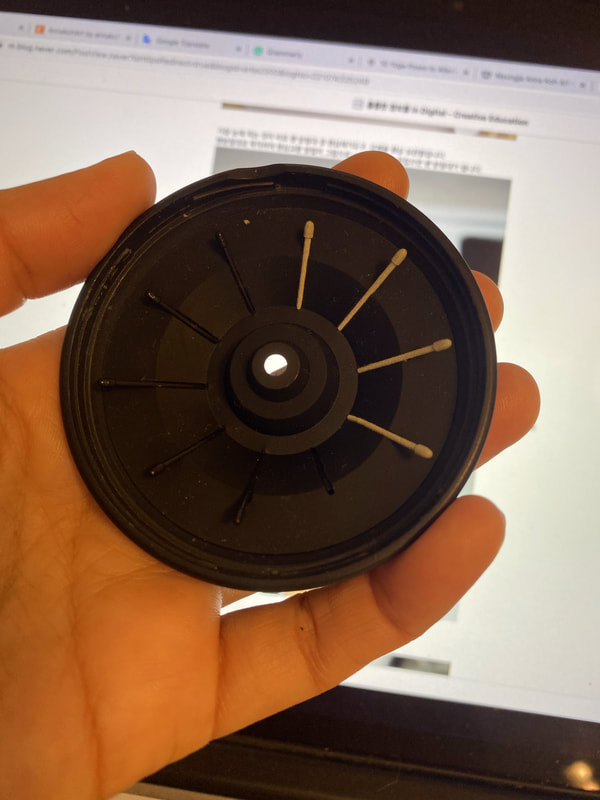
Another difference is that the screen is a long rectangle, so you can draw freely while looking at the Photoshop menu board. Another good thing is the different types of 10 nibs in the nib stand. Especially light pens are good because they don't require a separate battery. Here, I mainly explained from the point of view of the person drawing the picture. If you need technical support or clarification, please go to the site below.  Digital Art by Wacom, Myungja Anna Koh, 2020
|
Myungja Anna KohArtist Categories
All
Archives
April 2024
|

|
Tutorial |


 RSS Feed