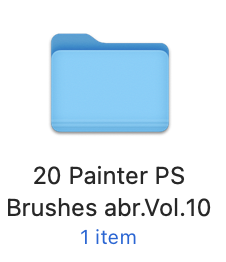
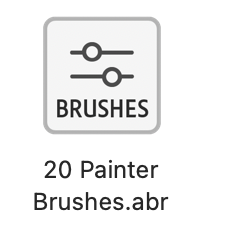
The best way to download free effect brush and use it. Below are some of the brushes with special effects other than the basic brushes stored in Photoshop that you may want to refer to if you want to paint oil paintings or watercolor paintings. First, here is good site to download your brush effect. You have to click(below image) to go the site. 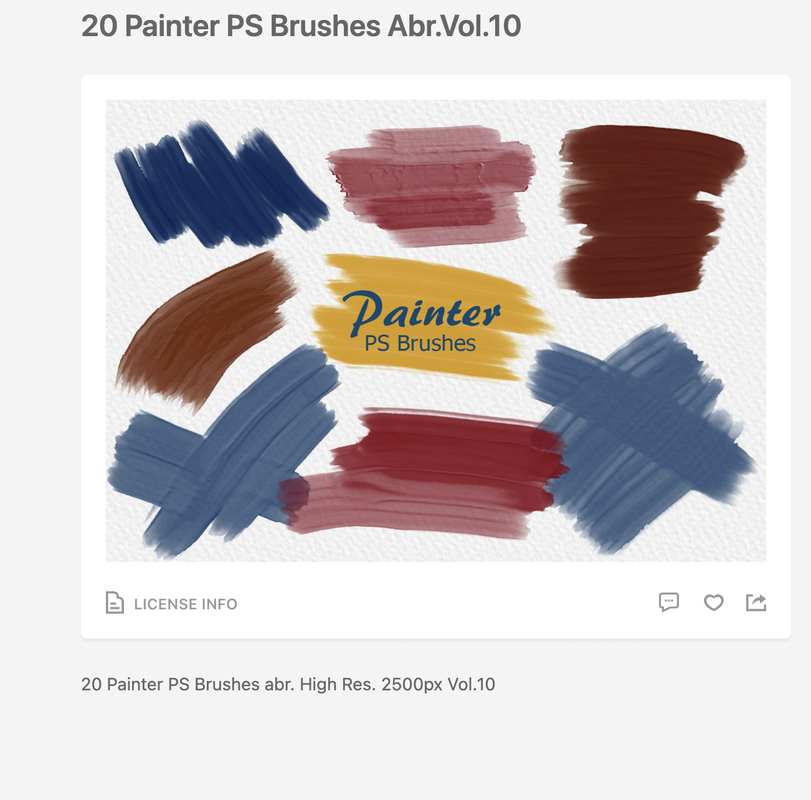 And then download it. After then you can see the folder and icon like below.
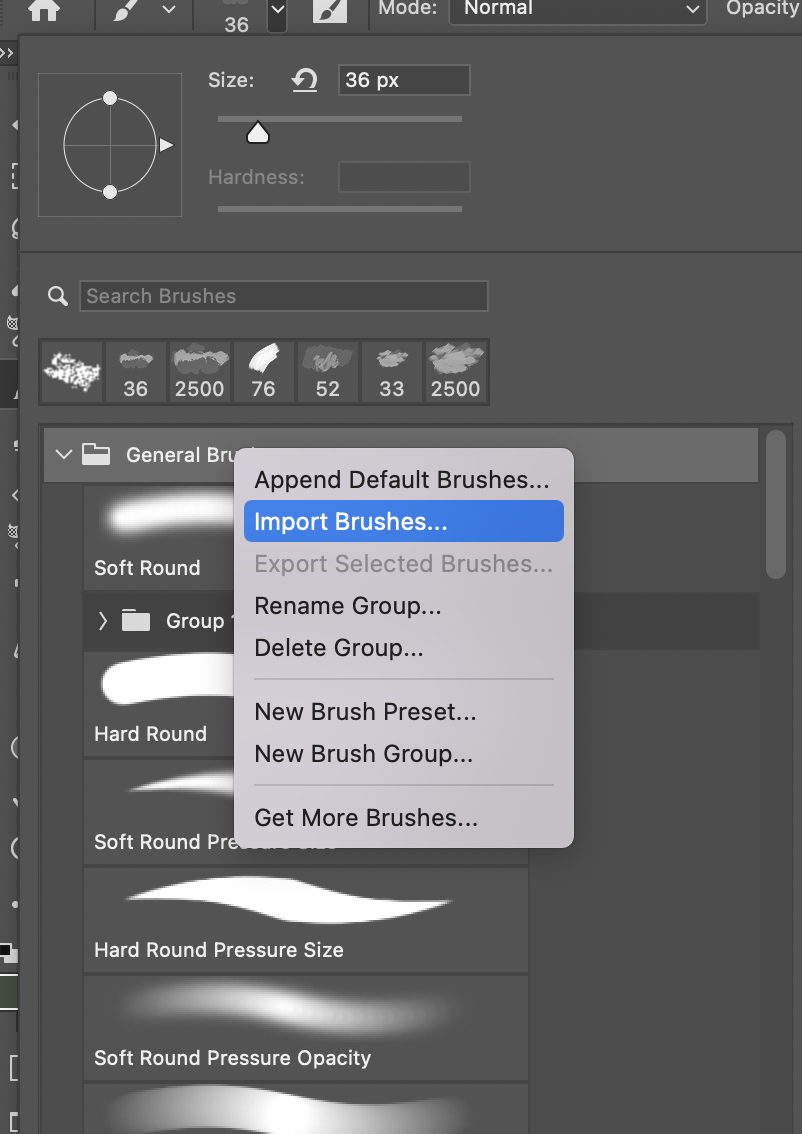
Next, you have to add the new brush in your photoshop. Please follow me. First, click the icon of brush on the left menu bar and then find the brush palette like the right image. And then click the right button on your mouse (on the any brush or folder image). You can find the "Import Brushes" and click! After then you have to click your previously downloaded file like above.
If you are succeed to see the screen like below, and then you can use it! Yay~ 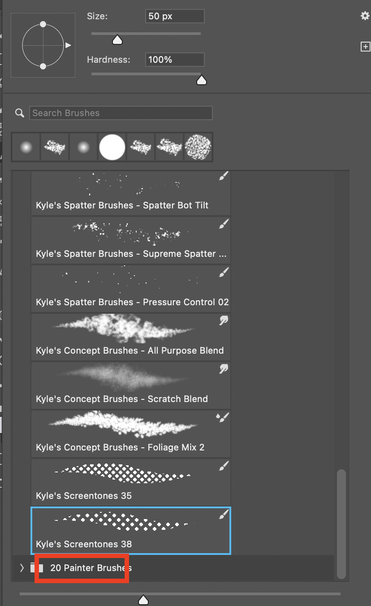 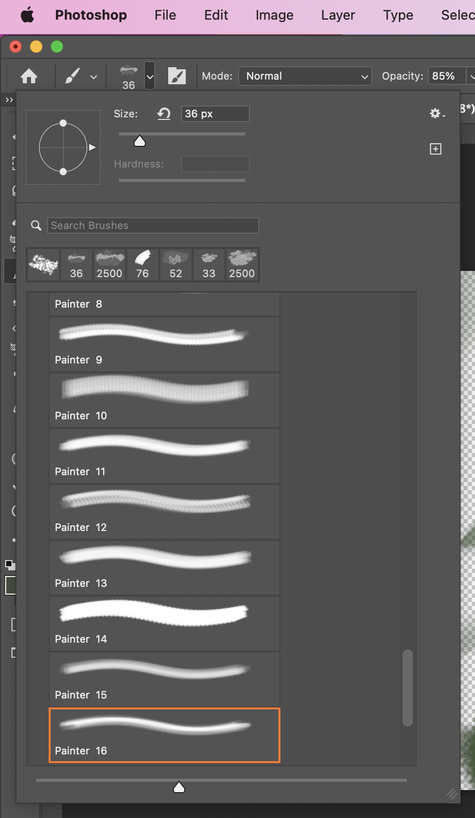  Please, enjoy your free brush!
0 Comments
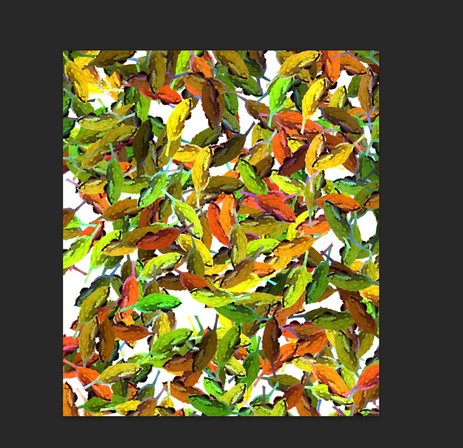
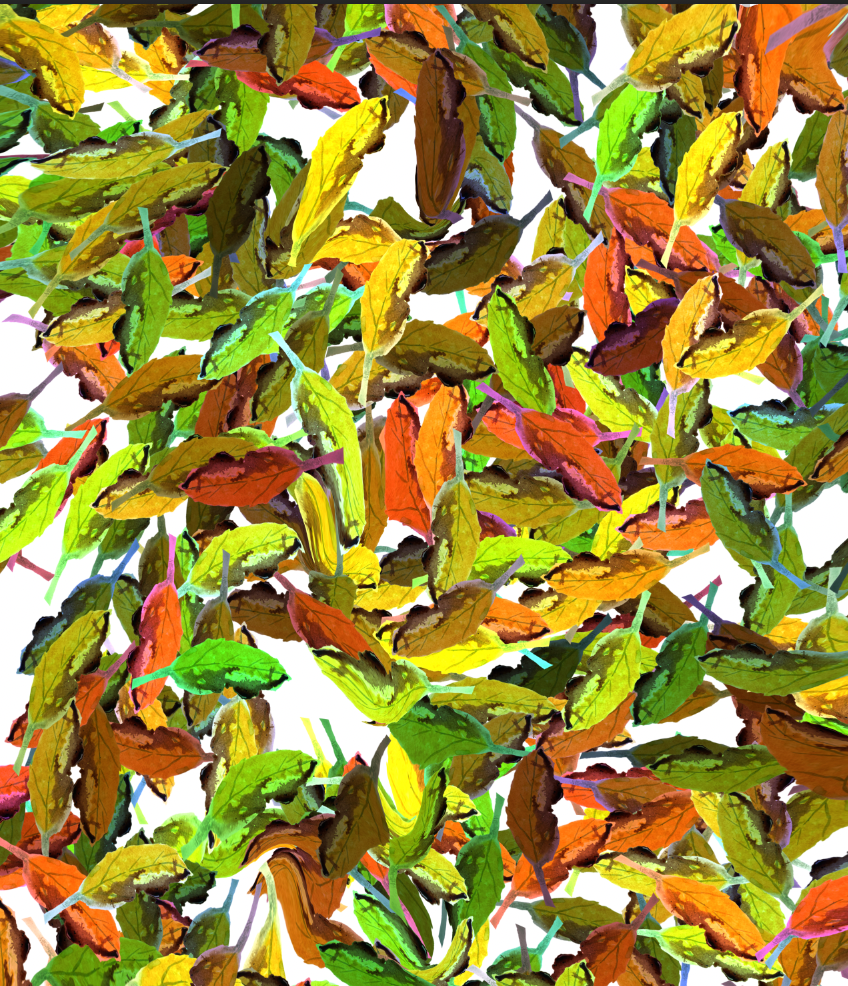
Convert each layer to jpg file and create a PDF file with Photoshop. When you create a file in Photoshop, many layers are created as shown below. Instead of converting each of these layers into images one by one, there is a way to convert them into files of the same format all at once. 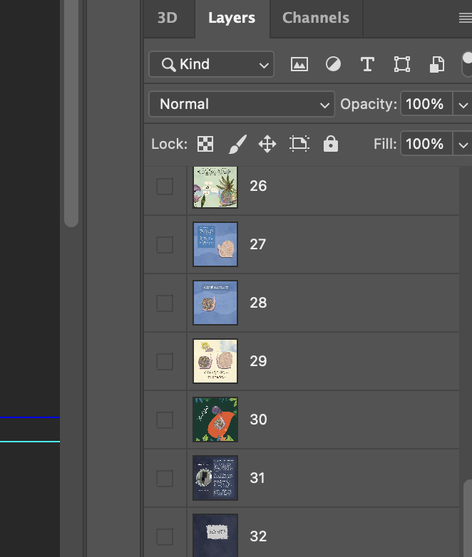 Go to File--> Export---> Layers to Files like below.  Choose destination, where your converting file will locate with Browse button. And then choose your converting file's type. In my case, I choose it as JPEG. 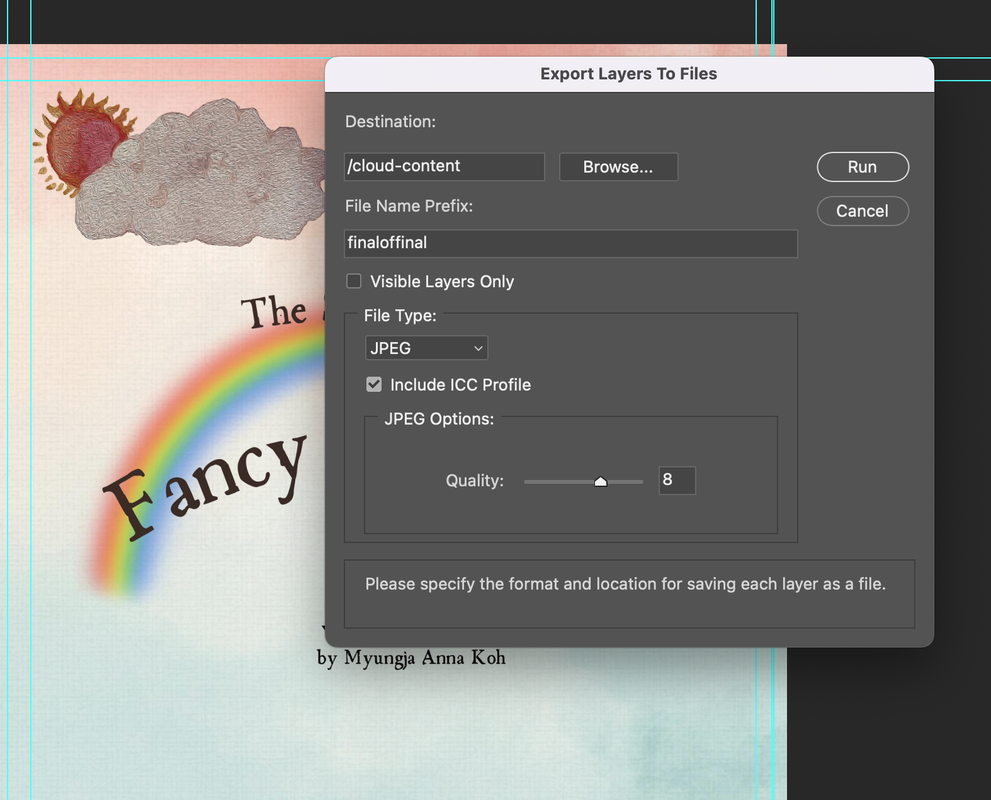 After then, you can find the all jpg files like below. 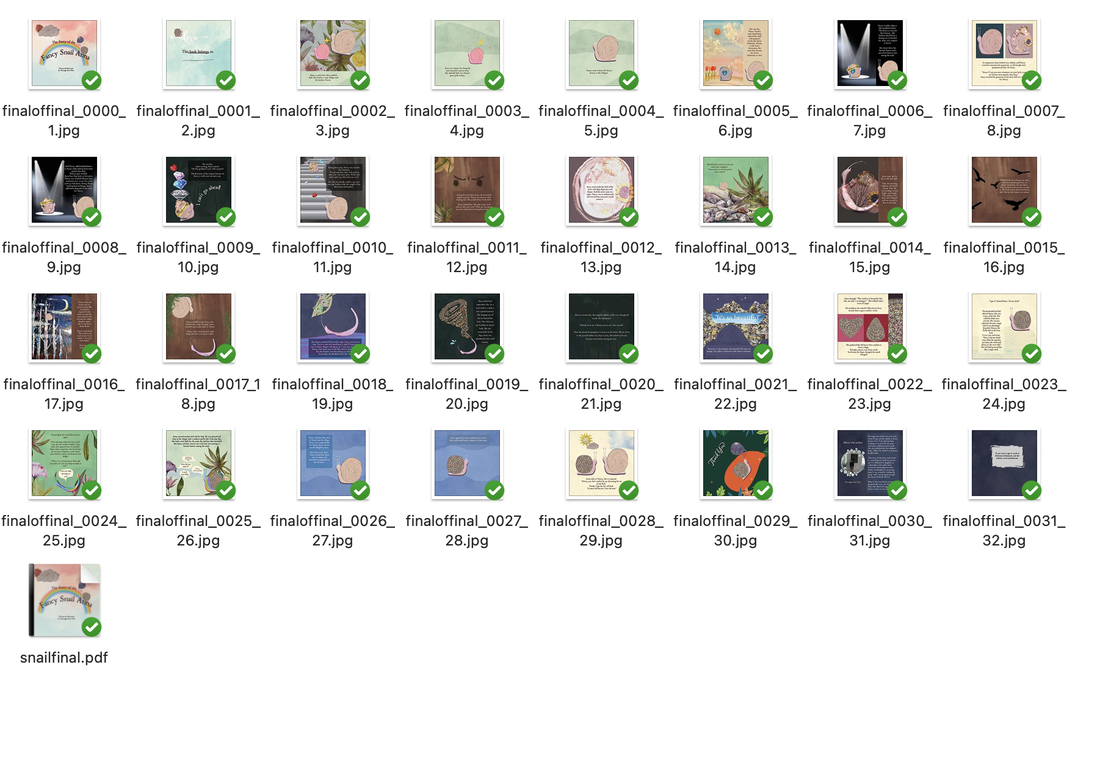 And next, for creating one Pdf files from all jpeg, you can move File--> Automate---> PDF Presentation. 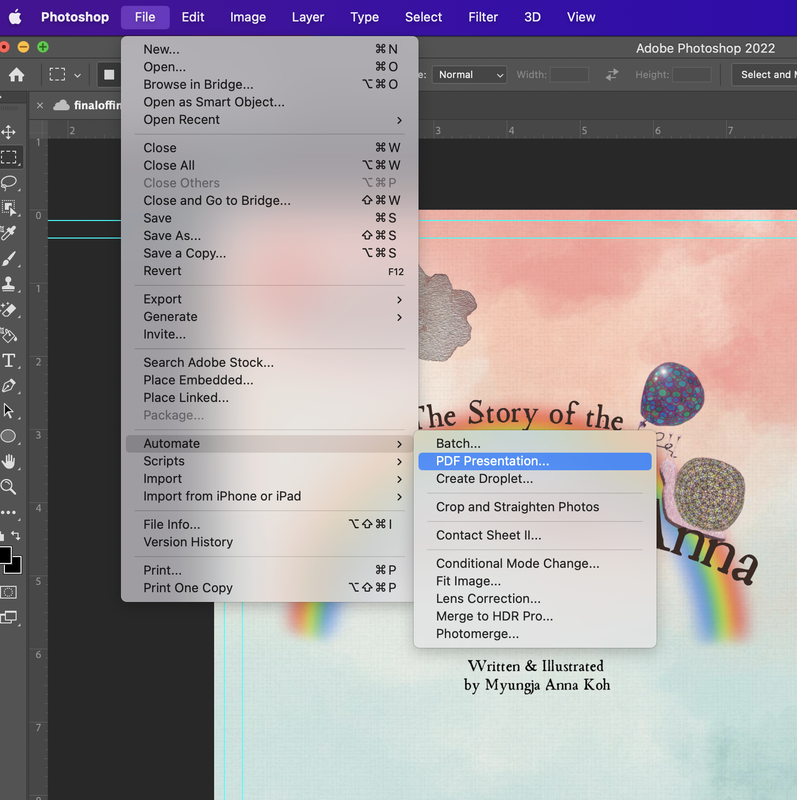 If you find the screen, you make sure to check Multi-Page Document and click the Browse button to open all jpg on the left empty area. 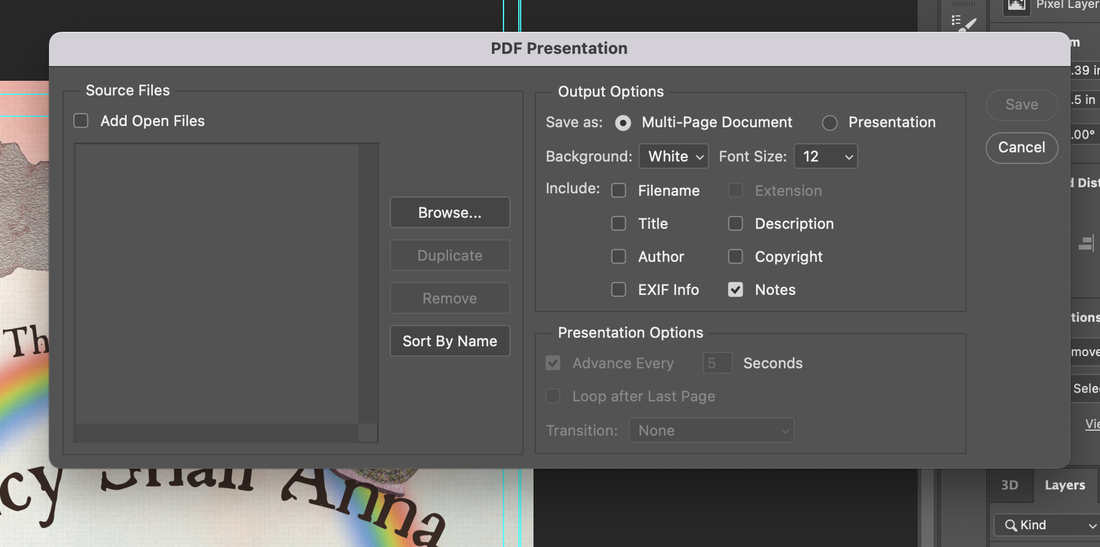 You can see the all list of the selected jpg files like below and then click the save. 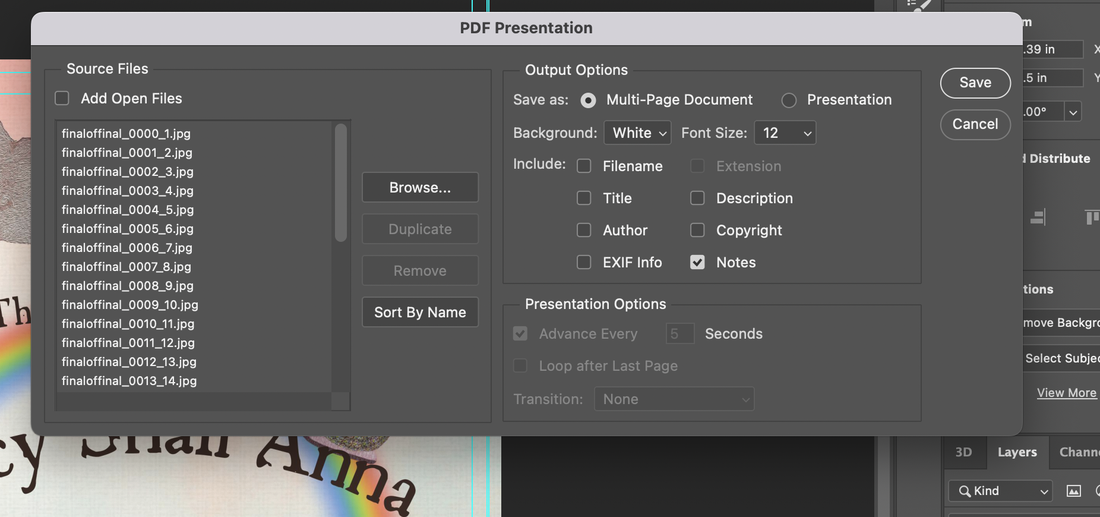 Final step, you can click the Save PDF button and then enjoy to see your PDF file with all jpg images. 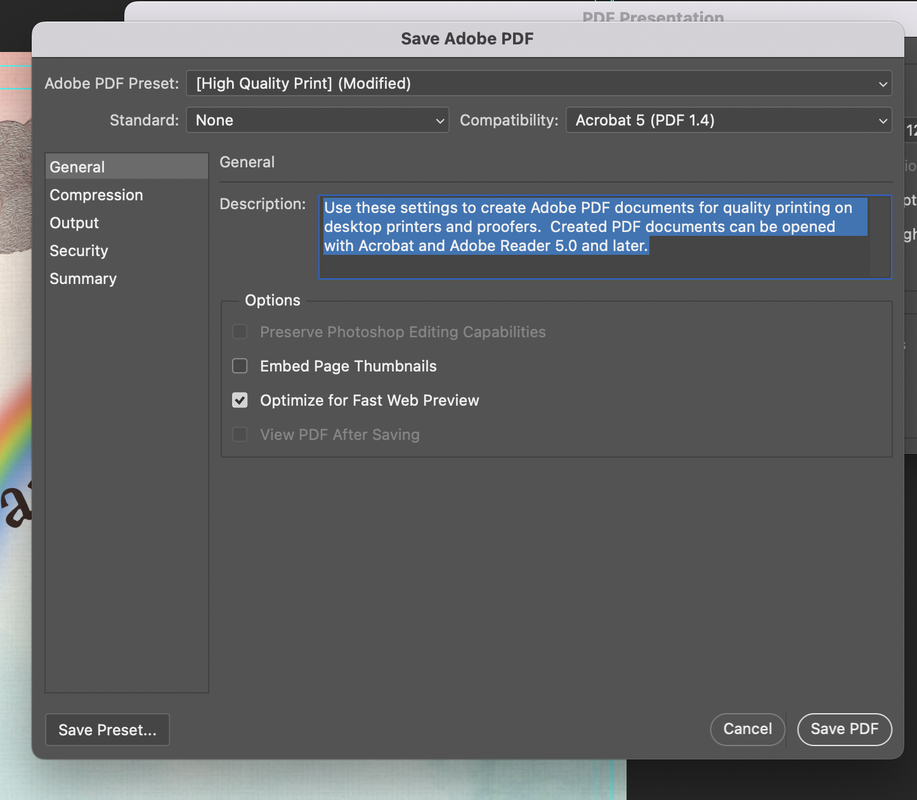 In my case, I made a pdf file by using the above process to create a formatted file for uploading to Kindle direct publishing. 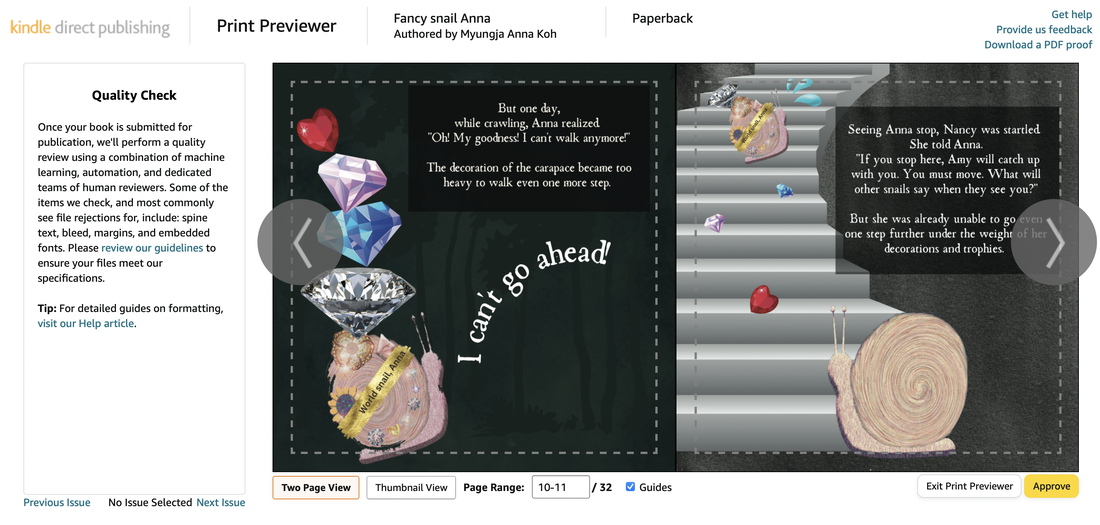 Easy making a moving banner by using Canva.Today, I'd like to share how to make a moving banner by using Canva and Photoshop easily and quickly. First, you can open Canva site to choose a banner template. Canva is a useful site to use a free template or make your design on it. You can choose the your favorite banner template after putting 'banner' on the search bar like below. 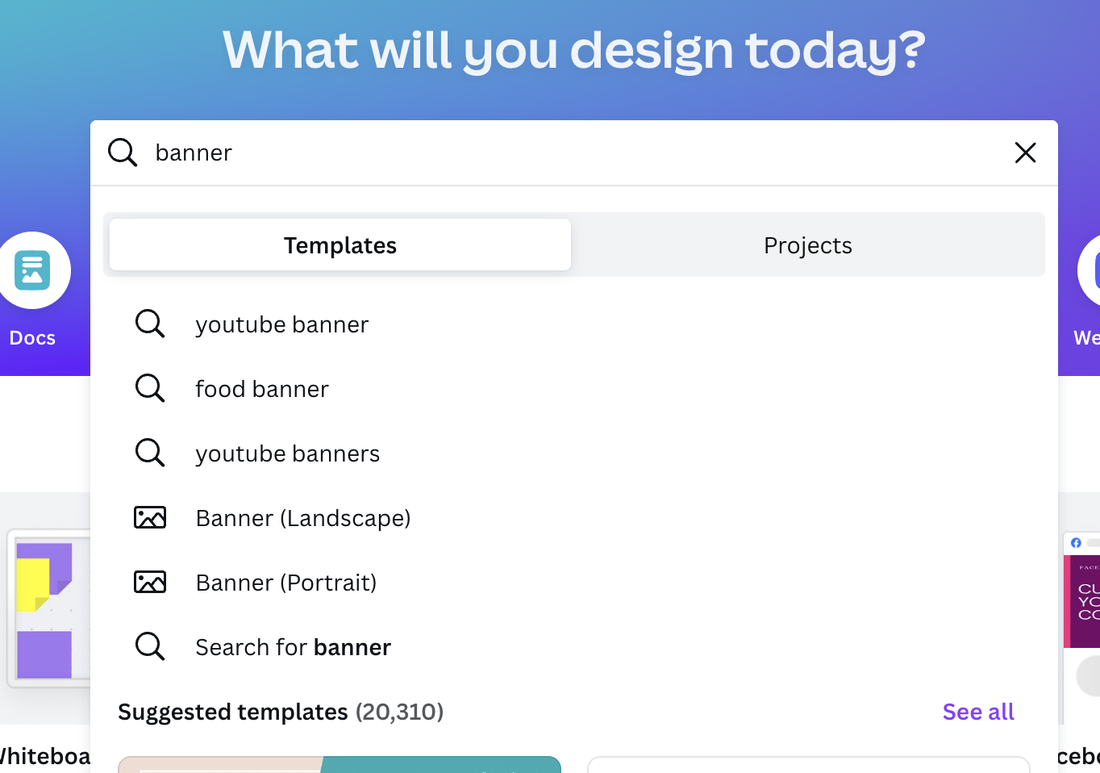 In my case, I choose one of the template for making the large long banner to replace my blog's banner. 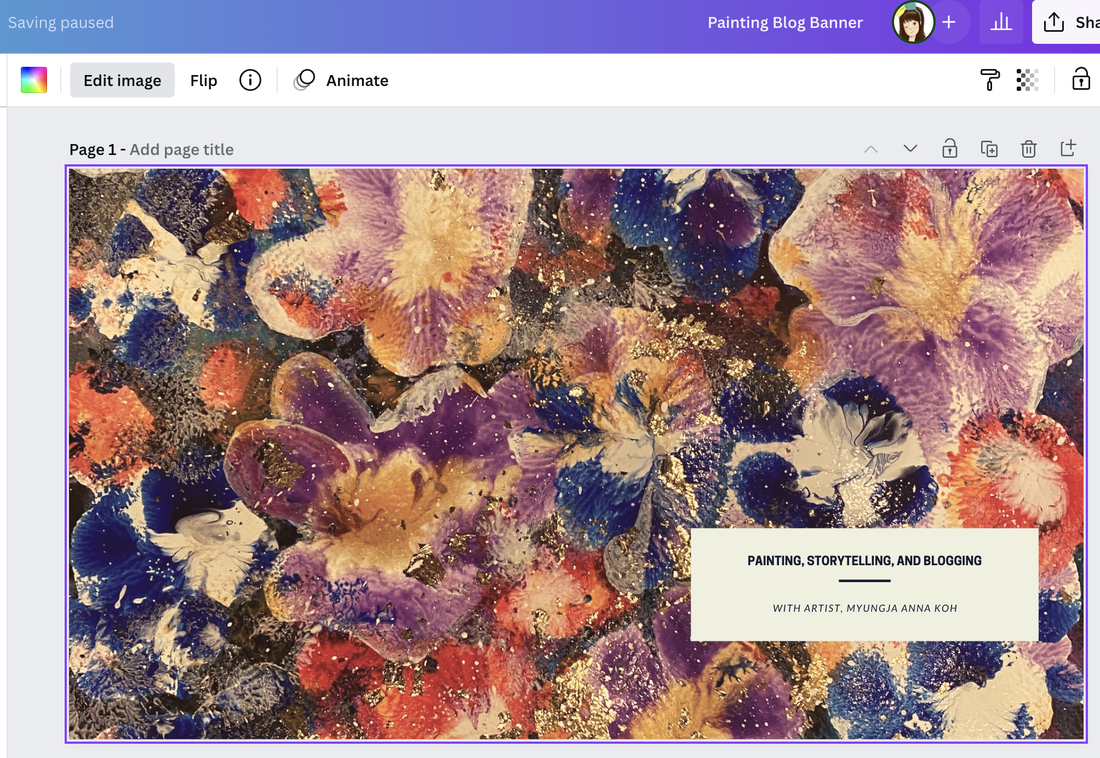 And then, duplicate it until will be 9 pages to change the color. 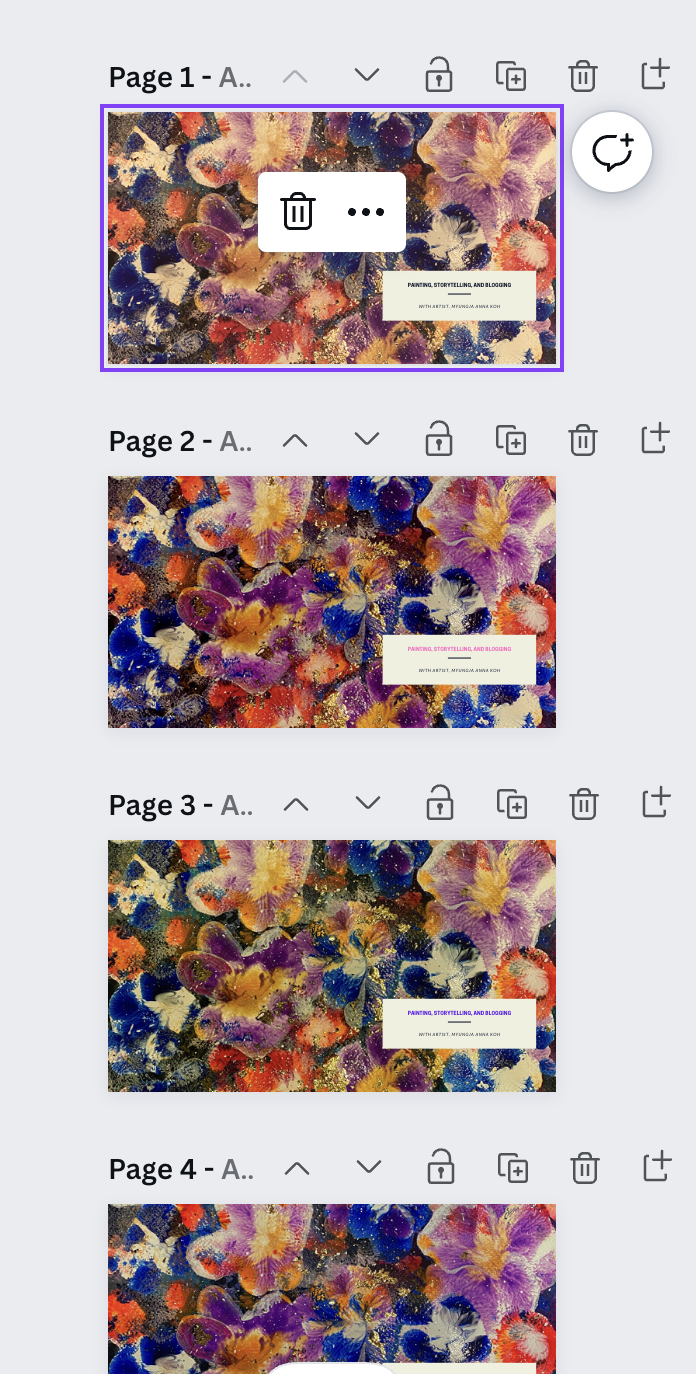 Second, you can change the image color and mode. For it, you can click the image and go to edit image option and choose the color each pages. 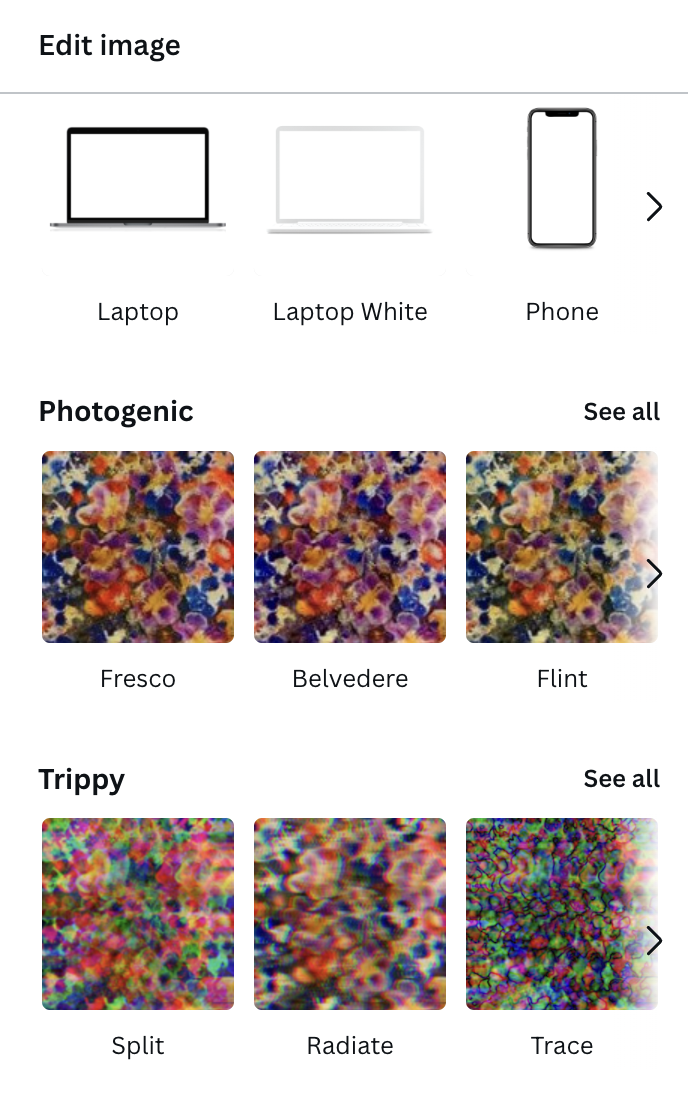 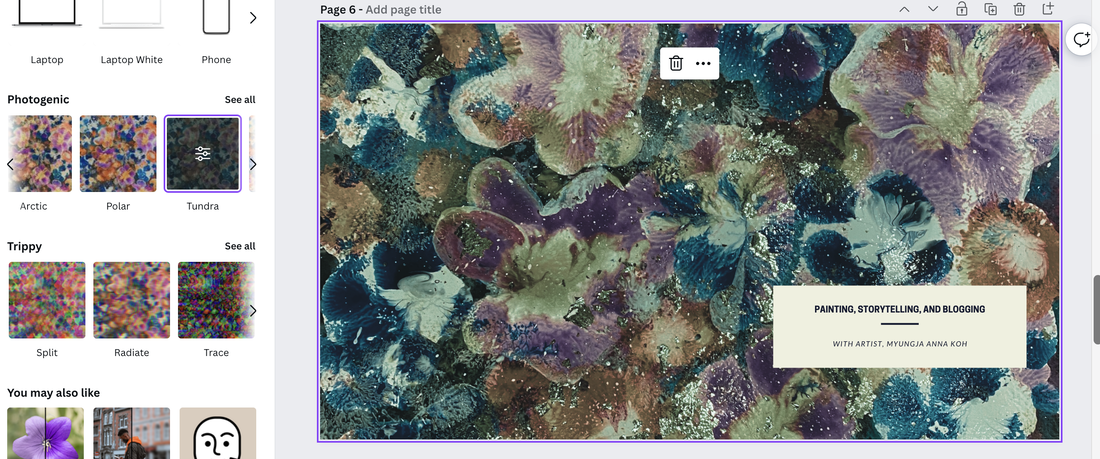 I choose 8 different color and mood and then save as PNG files. 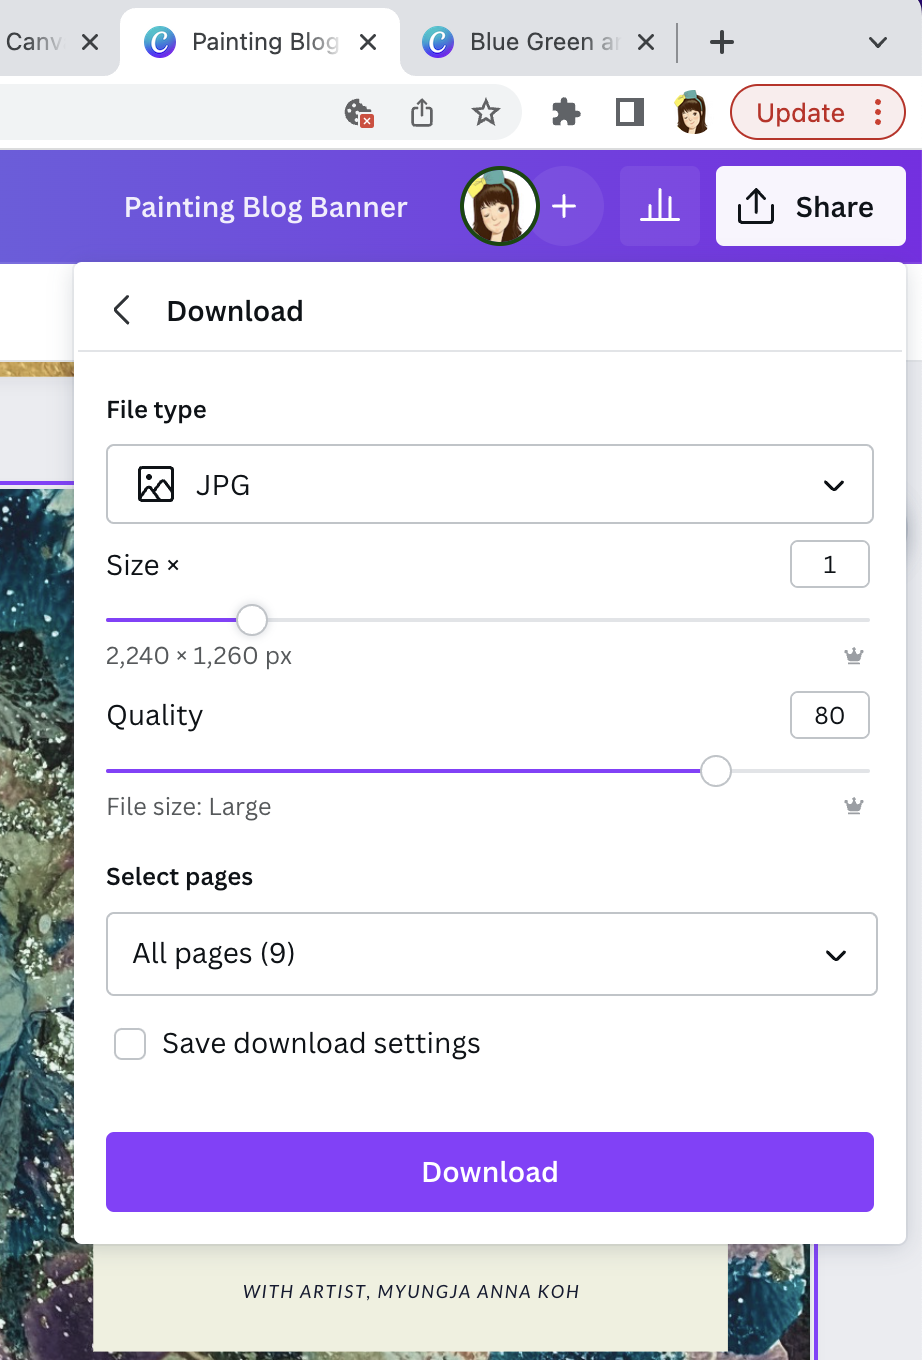 And adjust the size to downsize it.  Third, save all the pages and then open your Photoshop. Go to the File-->Scripts--> Load Files into Stack to open all the pages at once. 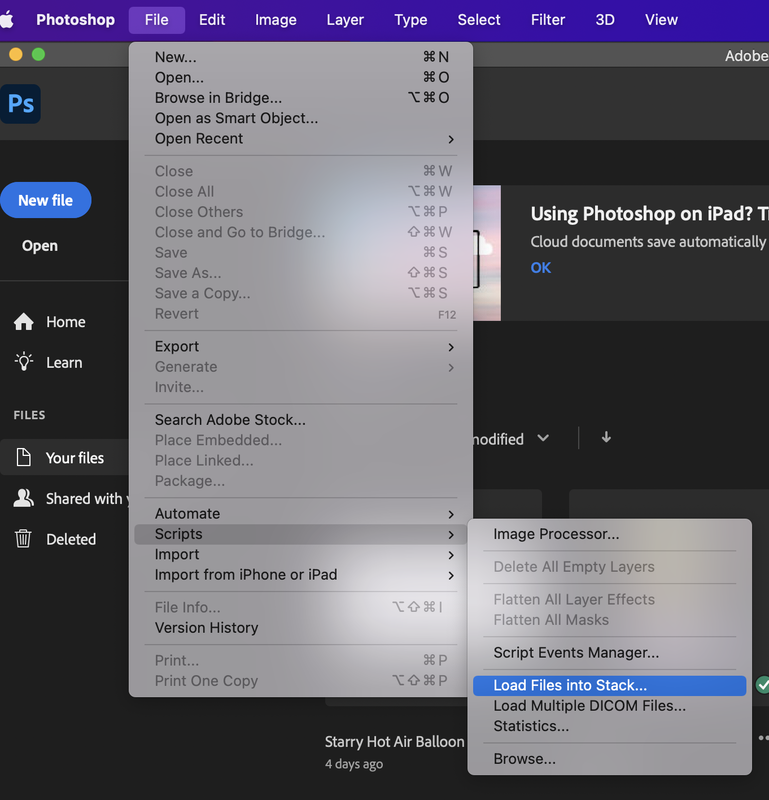 Click the browse button. 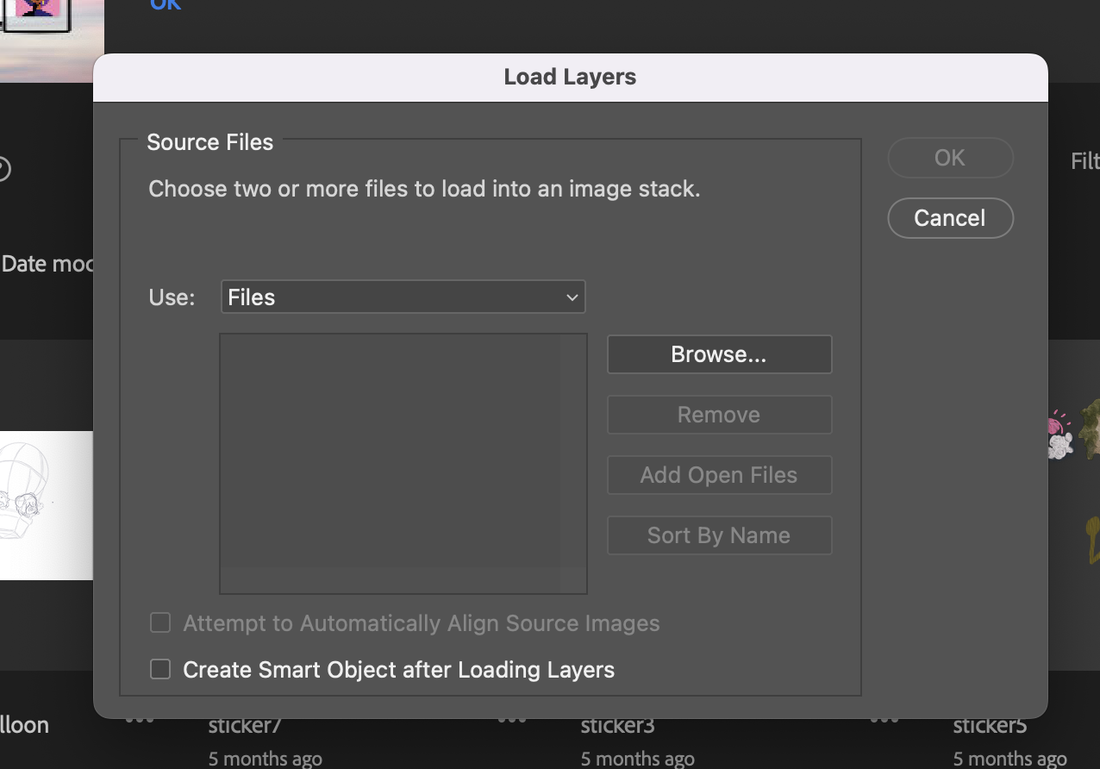 After browsing your files, you can see the list of them on the left of the screen like below. If you can see it, click the OK button. 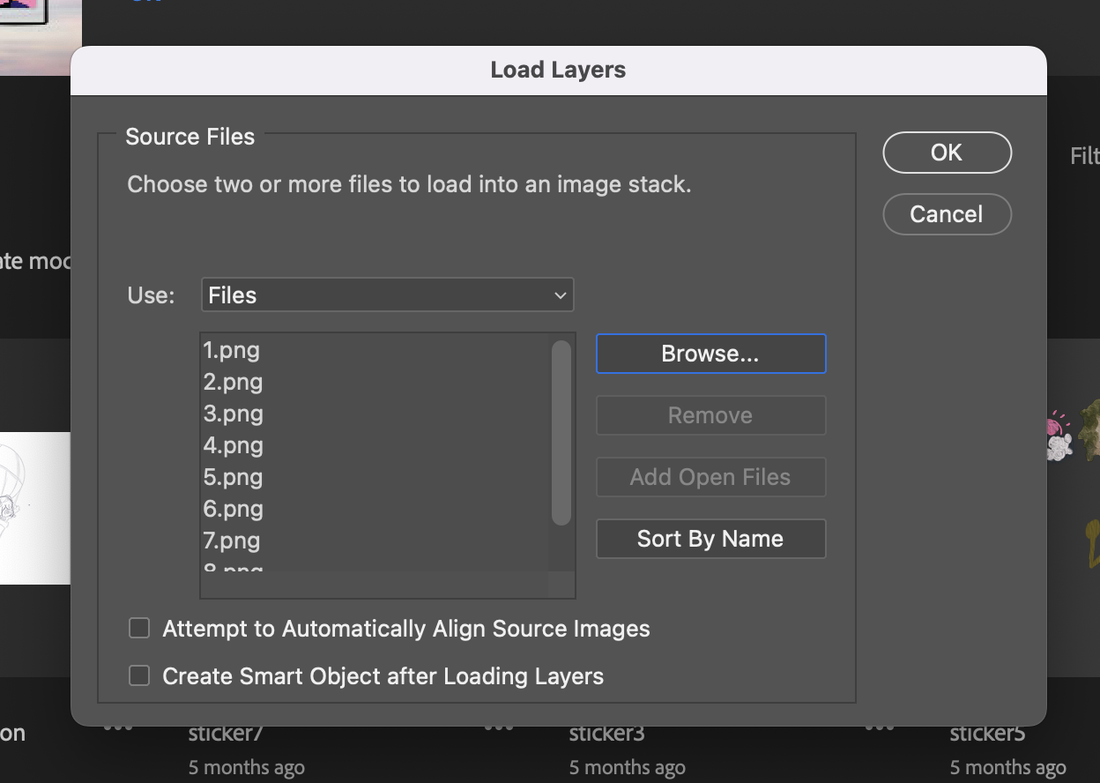 Go to window--> timeline to create frame animation. 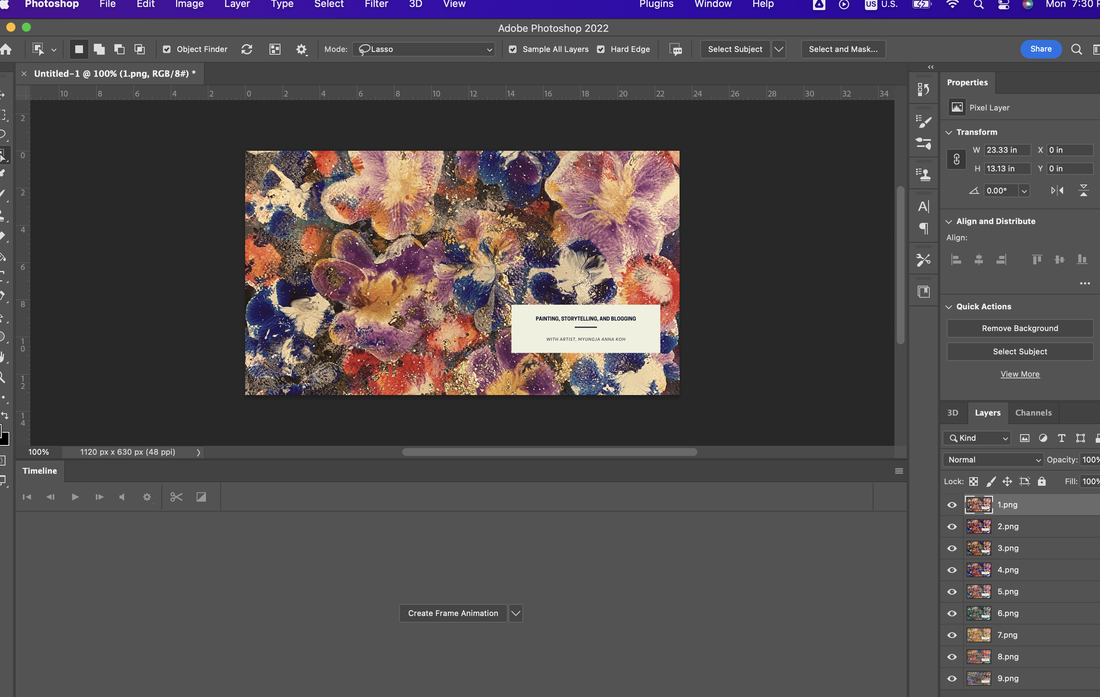 double click the 'Create Frame Animation'  Go to the text line shaped icon of the right side and check the Make Frames From Layers. 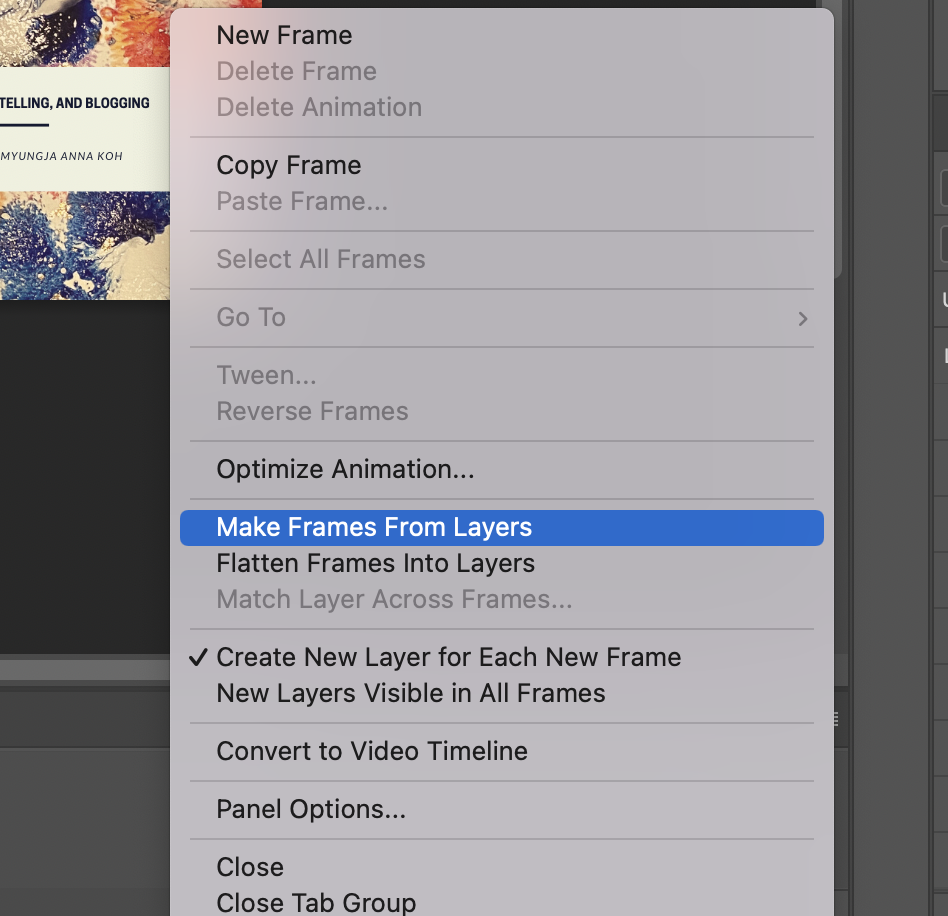 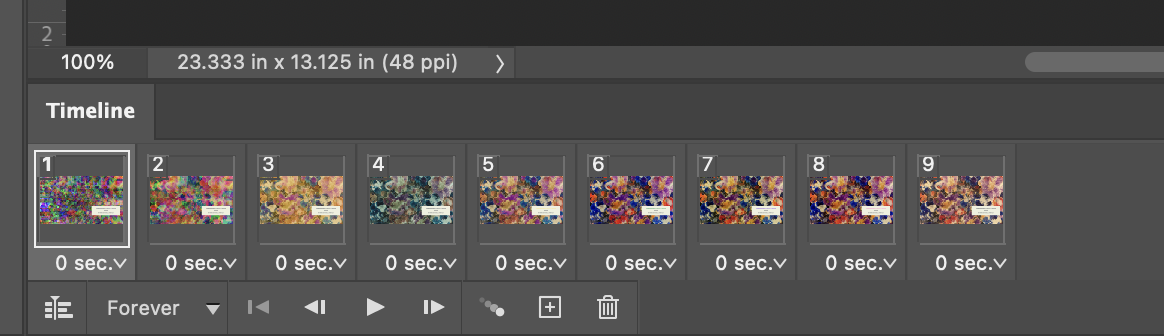 Go to the select---> All layers like below. 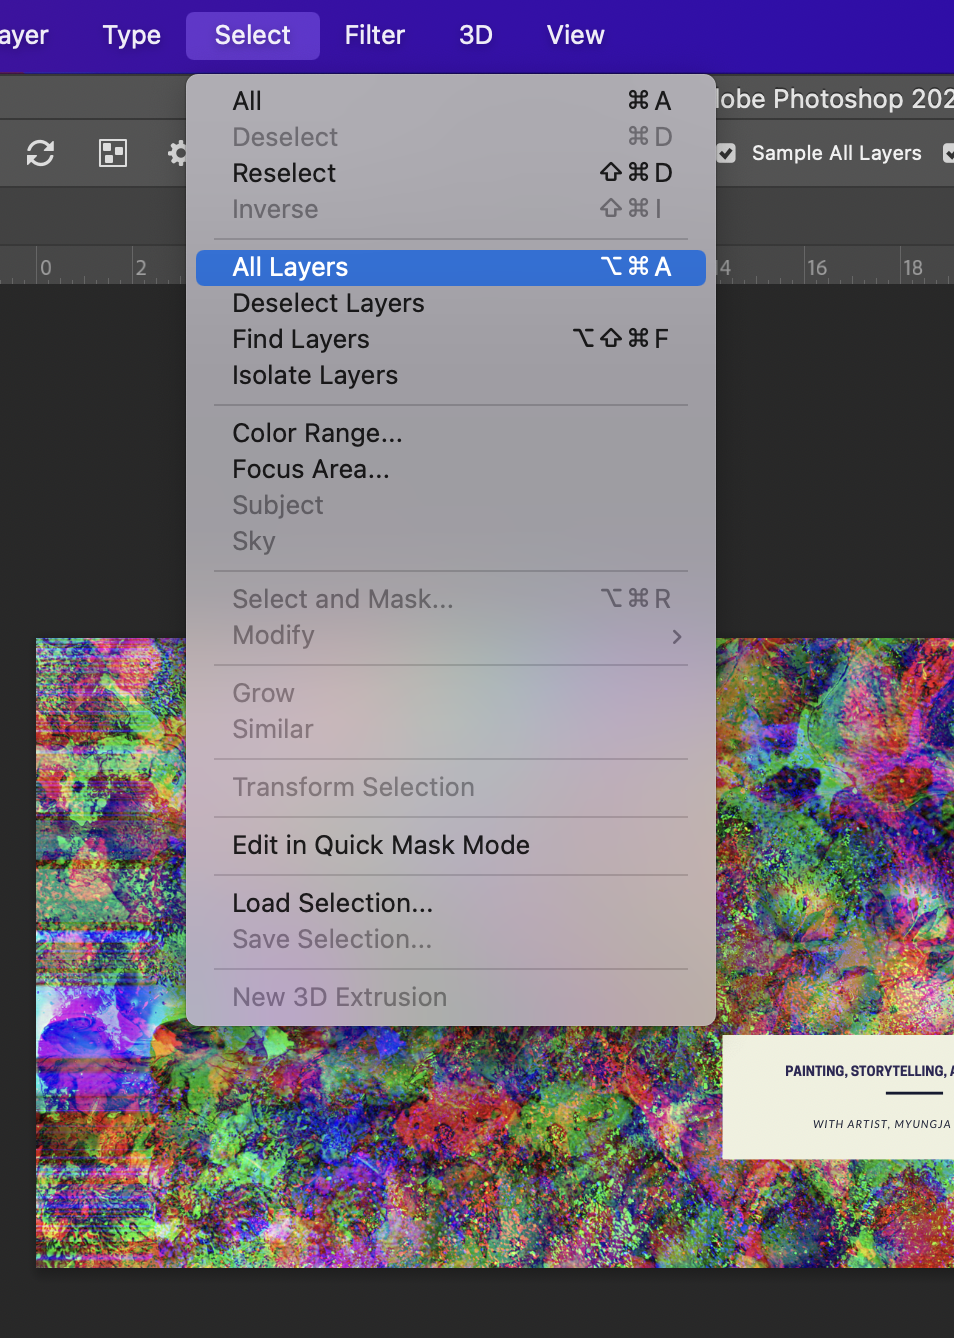 And then return the text shaped icon to check the 'Create New Layer for Each New Frame'. 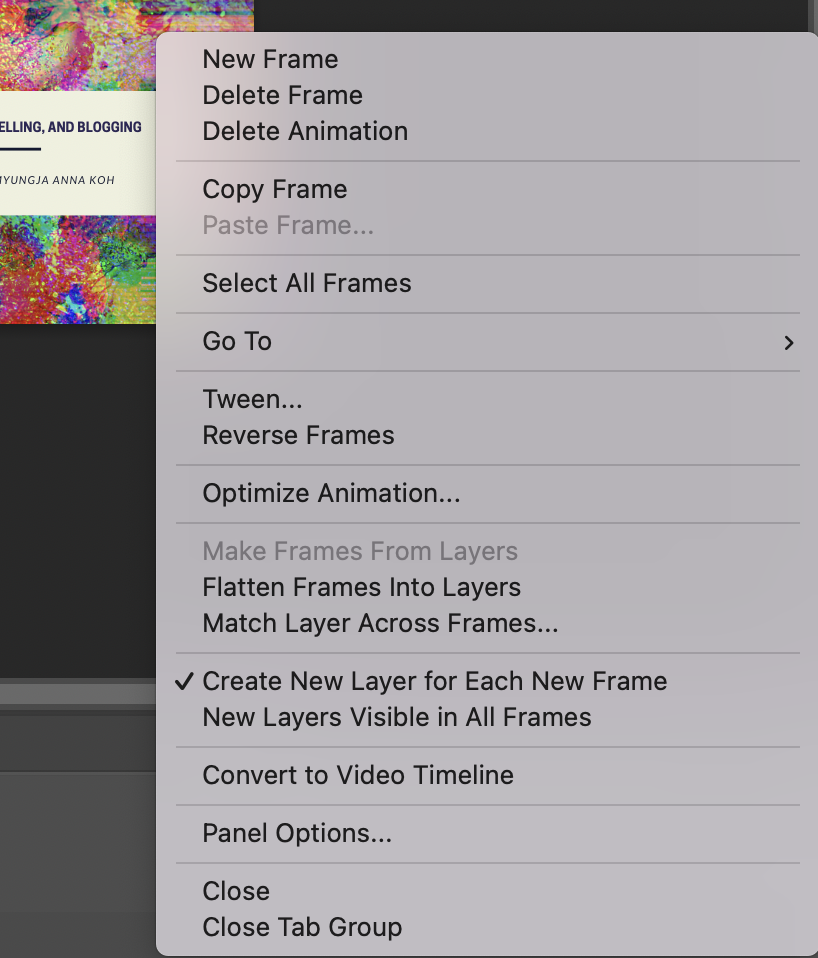 And then you can make sure how to change the images than before. After checking you have to adjust the time like below. 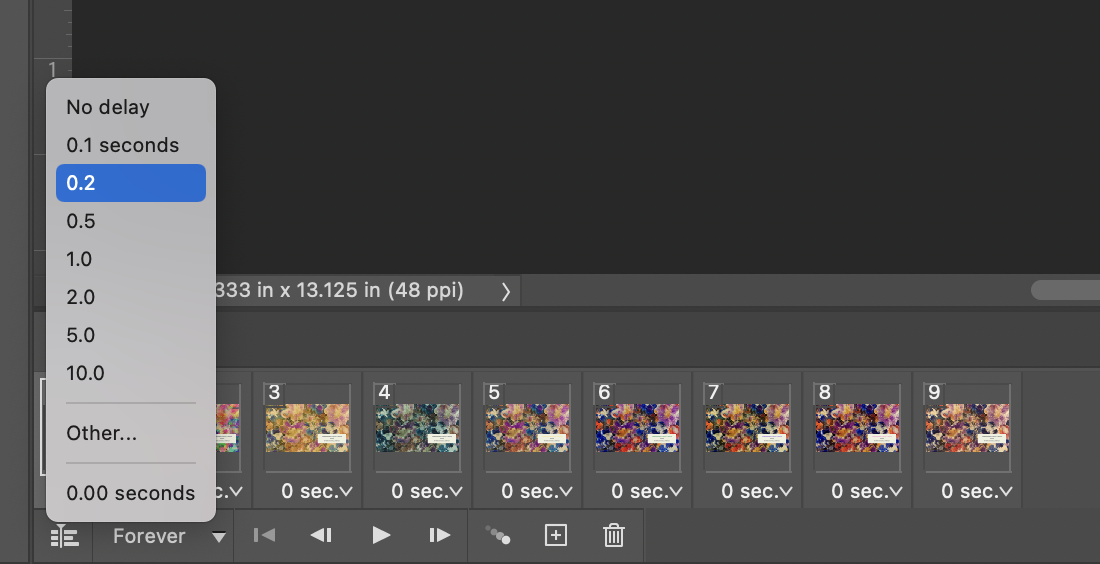 For saving, you can go to Export --> Save for Web(Legacy).  Remember! You have to save the file only .gif style to get a moving image. Below is the result! 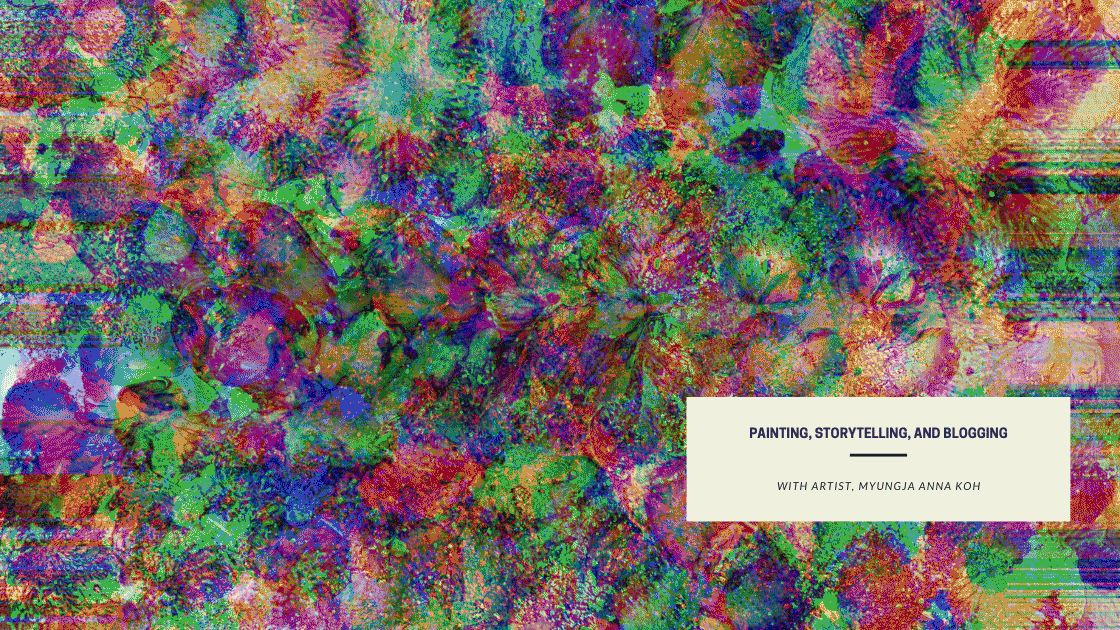 Create digital artwork with your own drawings The work below is by Charles. It was created by patterning one of the leaves painted in watercolor by Charles.  First, select the picture you want to make into a pattern using the object selection tool. 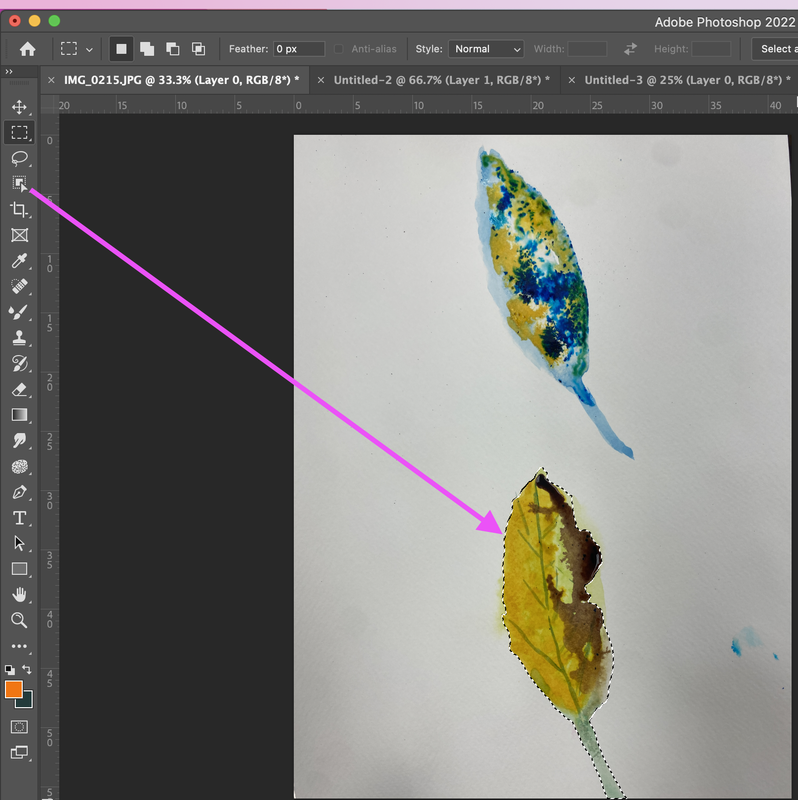 To make a pattern, you need to reduce the image size as follows. 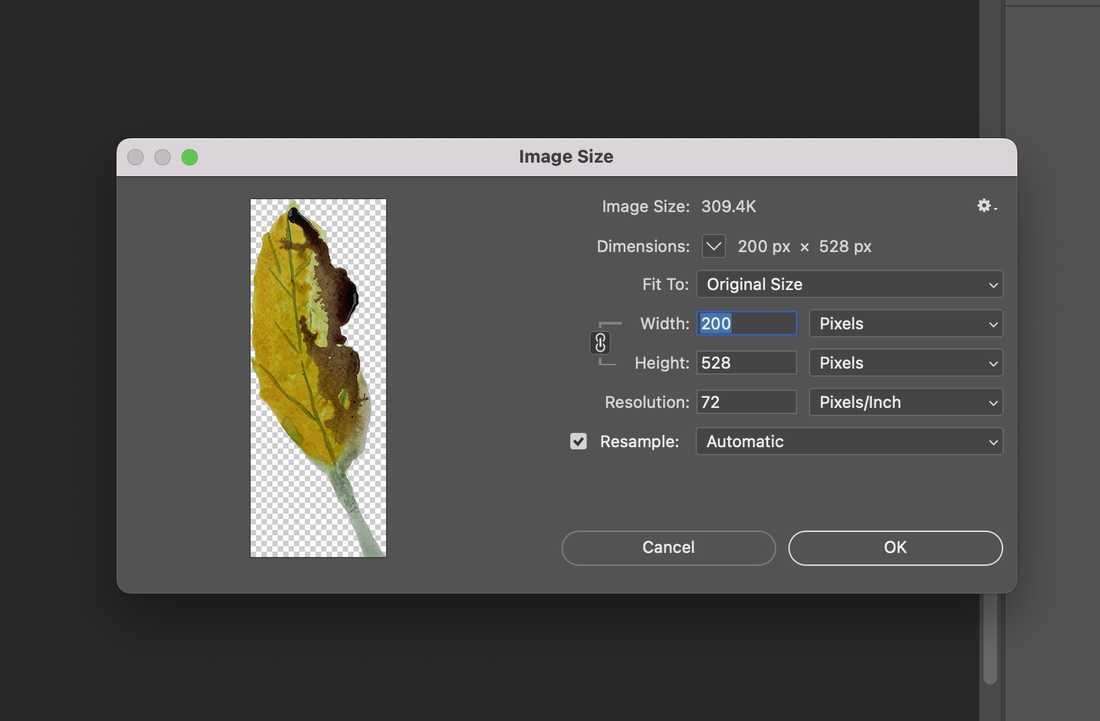 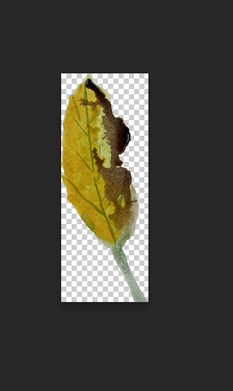 Next, go to the Edit---> Define Pattern. 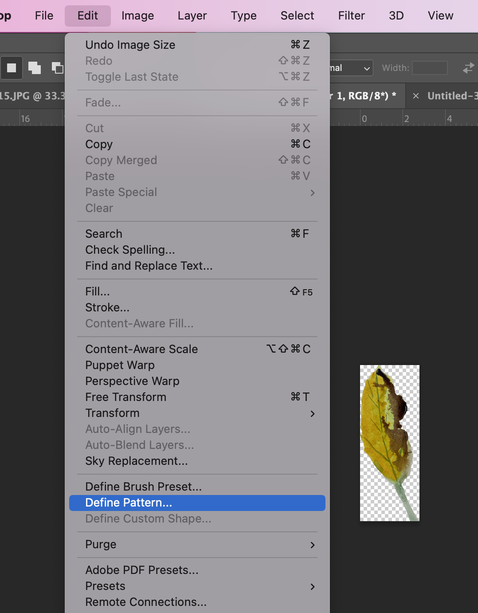 And then make a new canvas and go to Edit--> Fill. 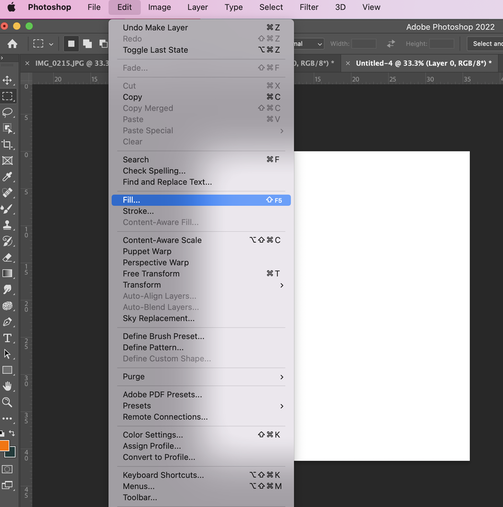 After that,he selects the leaf-shaped pattern he made earlier. At this time, make sure that the script option to fill the entire screen with the pattern is checked. In the case of Charles, I used a random fill. 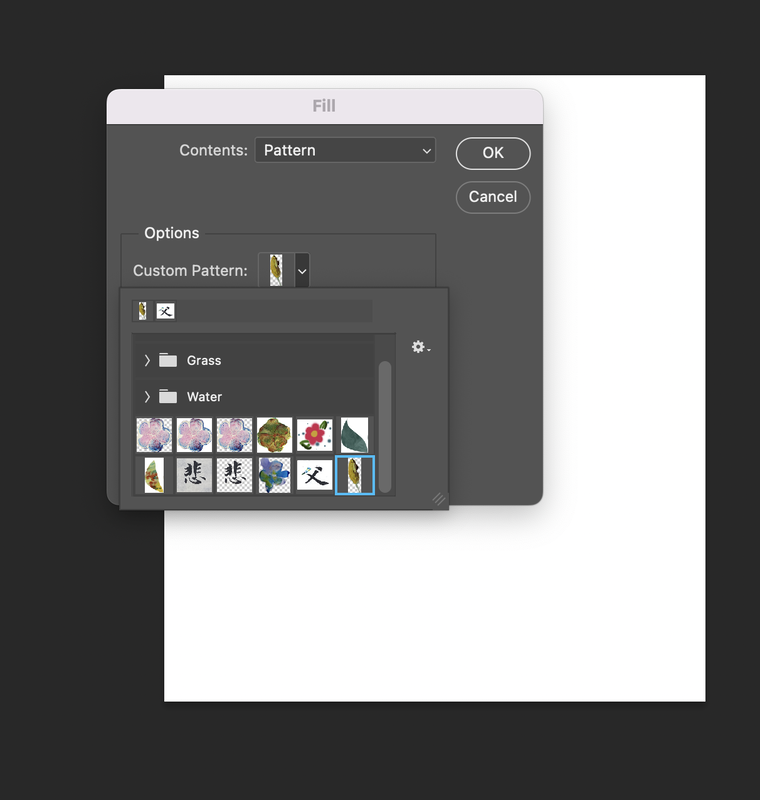 And then adjust the density, scale and other factors like below: 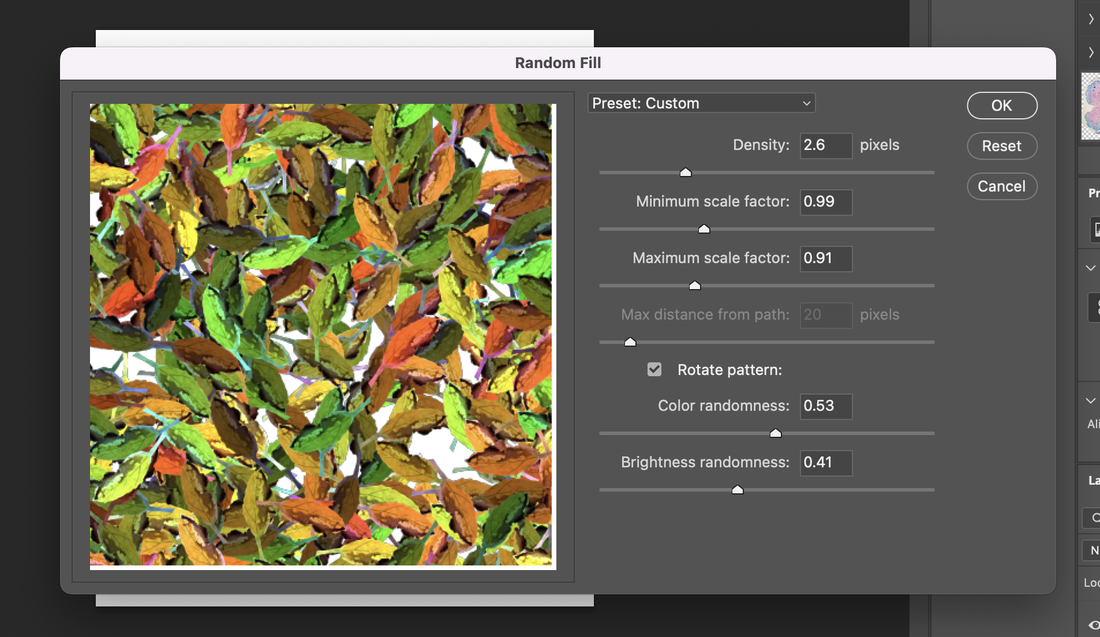  Move to Liquify of the filter to express it as if the leaves are swaying in the wind. 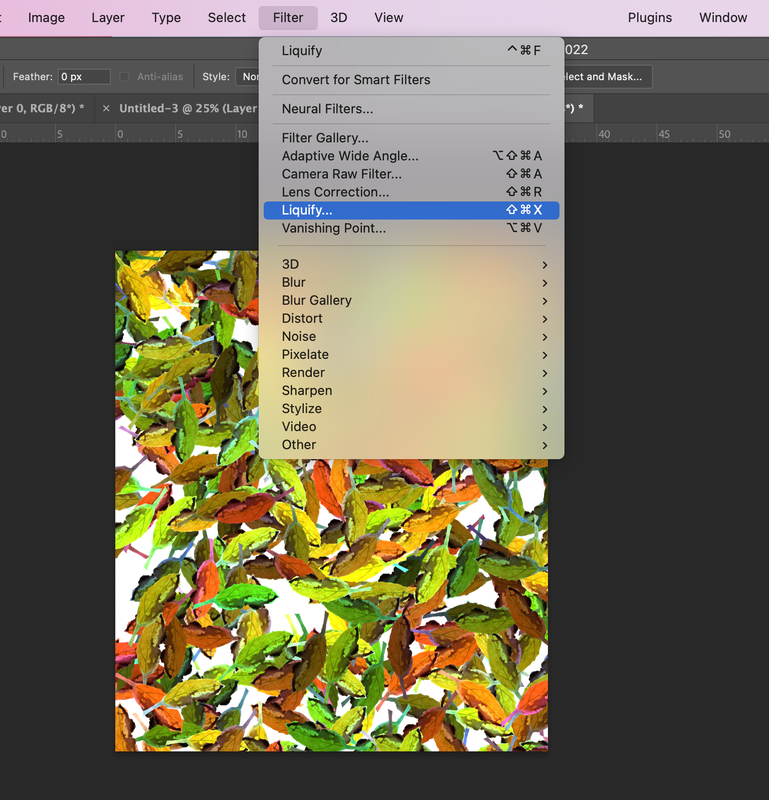 Here is the result after applying the liquify function.
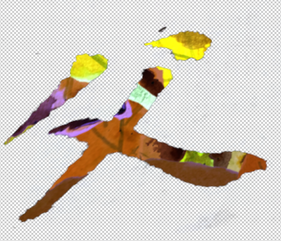
Now move it as shown below to give the effect as if light is shining between these leaves. 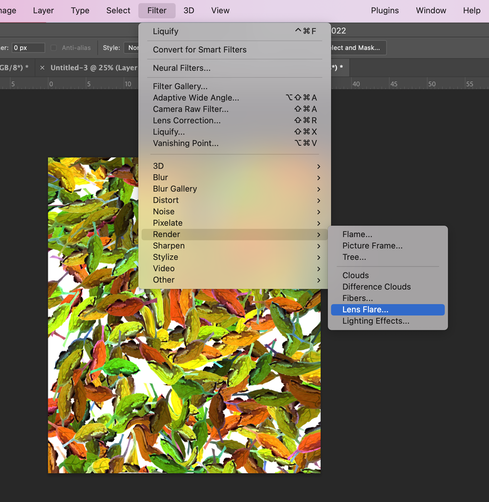 Adjusts the effect, position and size of the light effect. 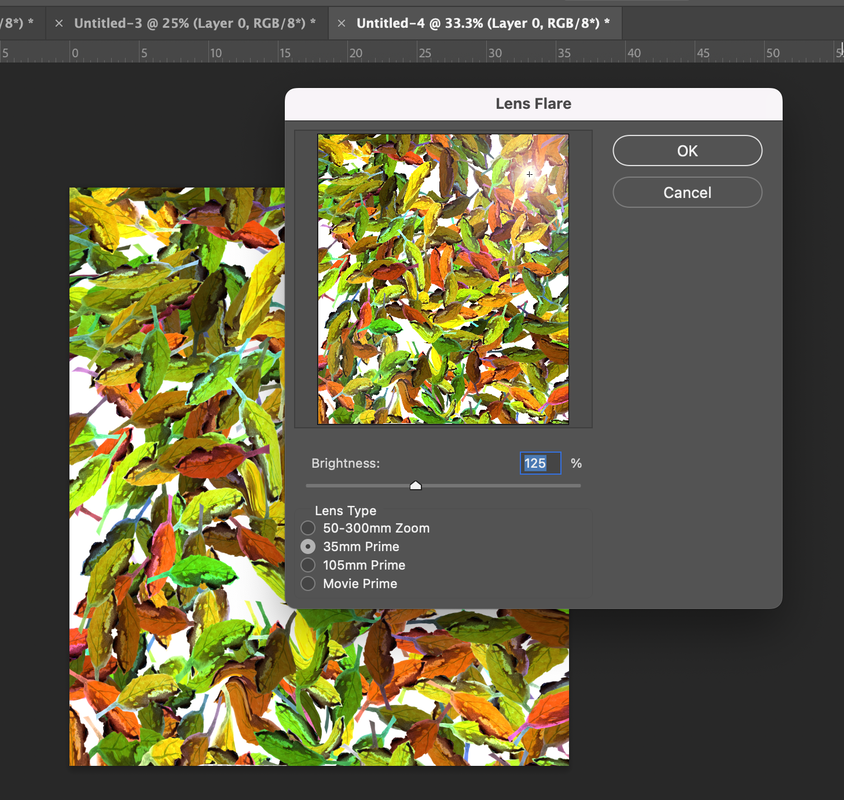 The below is the artwork from Charles. 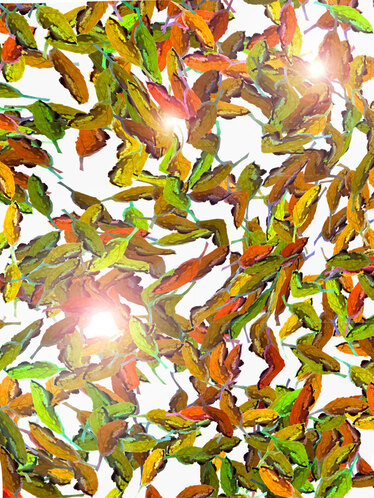 How to transfer a painting to digital artwork with examples. Today, I would like to show you how to select one letter from among beautiful Chinese characters, apply patterns to these characters, and transform them. First, select the text using the rectangle tool of the selection tool and copy it. (copy: command + C )  Image by Amy Pastes the selected text into a new file. Then use the Object selection tool to select the text. (If you select all strokes, hold down the shift key and then click each stroke to select them all.) 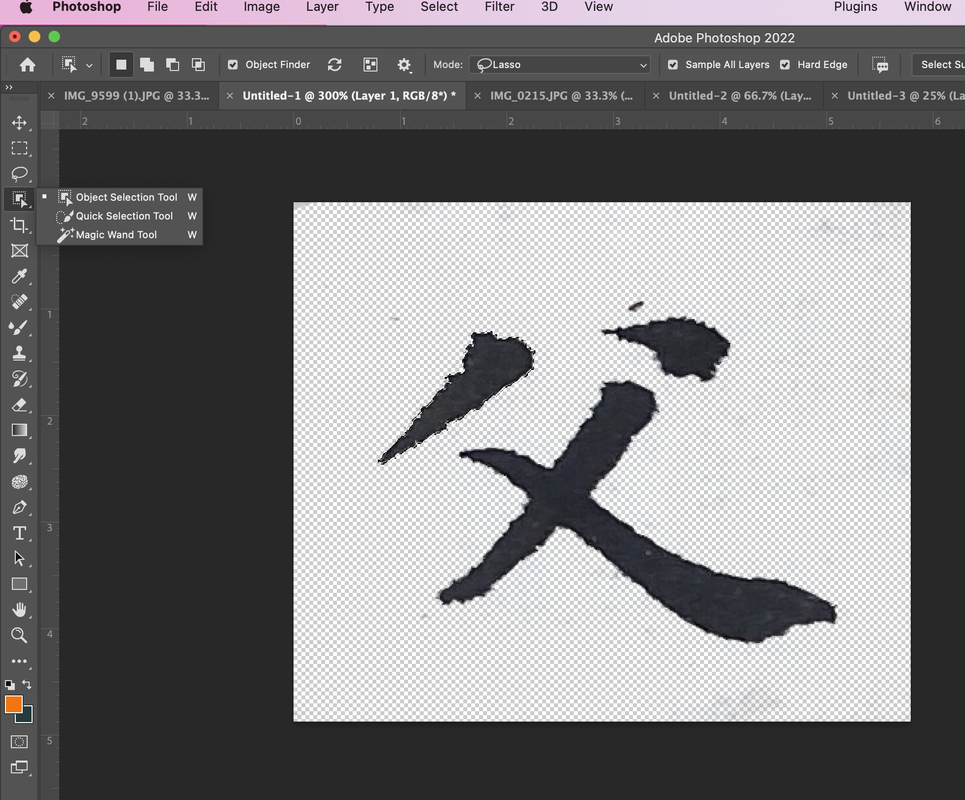 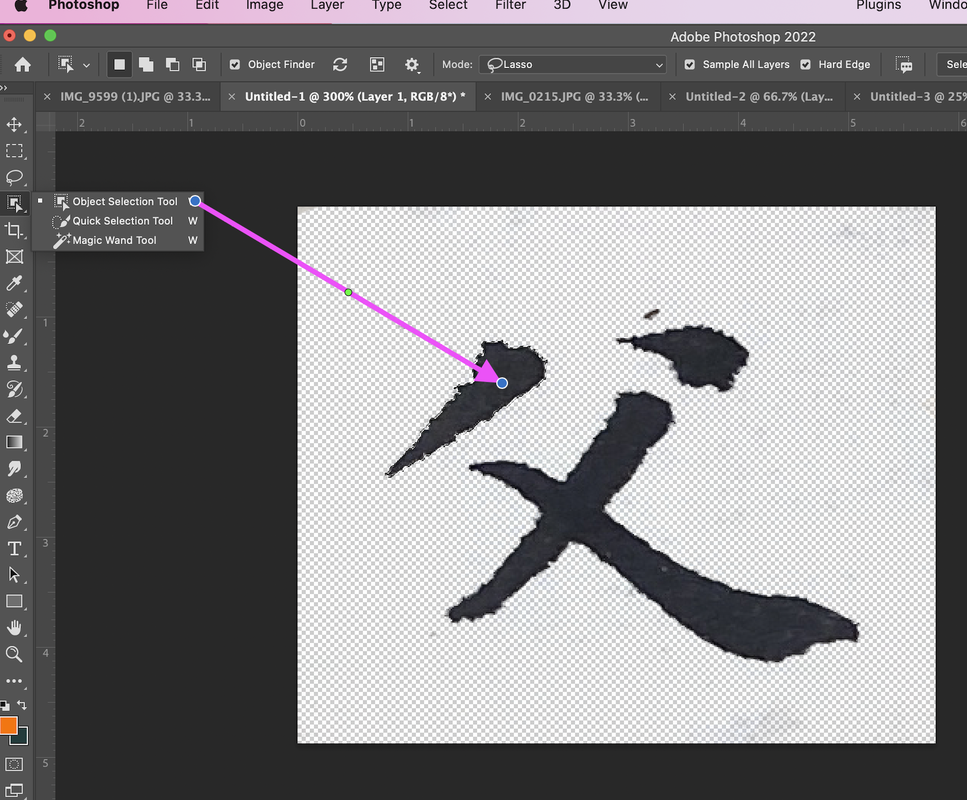 If the object selection tool is working well you should see a blue selection area like below. 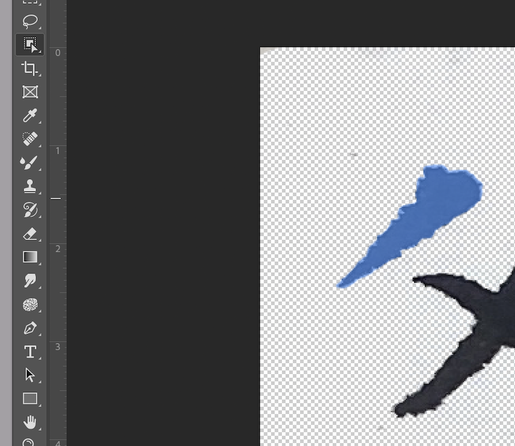 Right-click to go to the Fill menu. 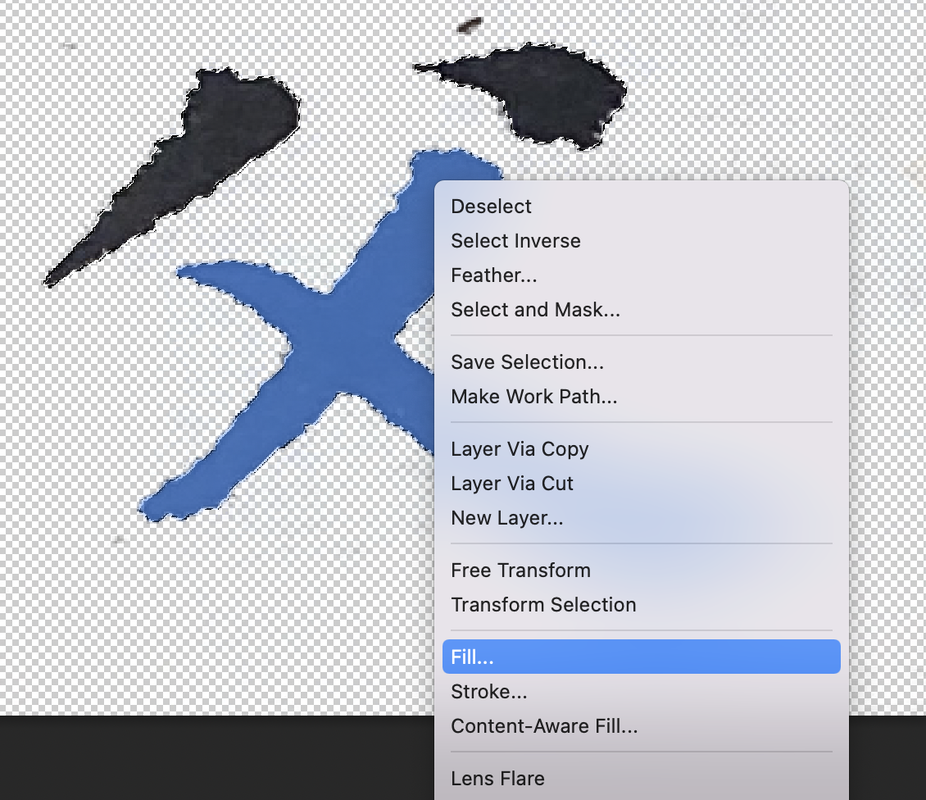 After that click on the pattern you want. 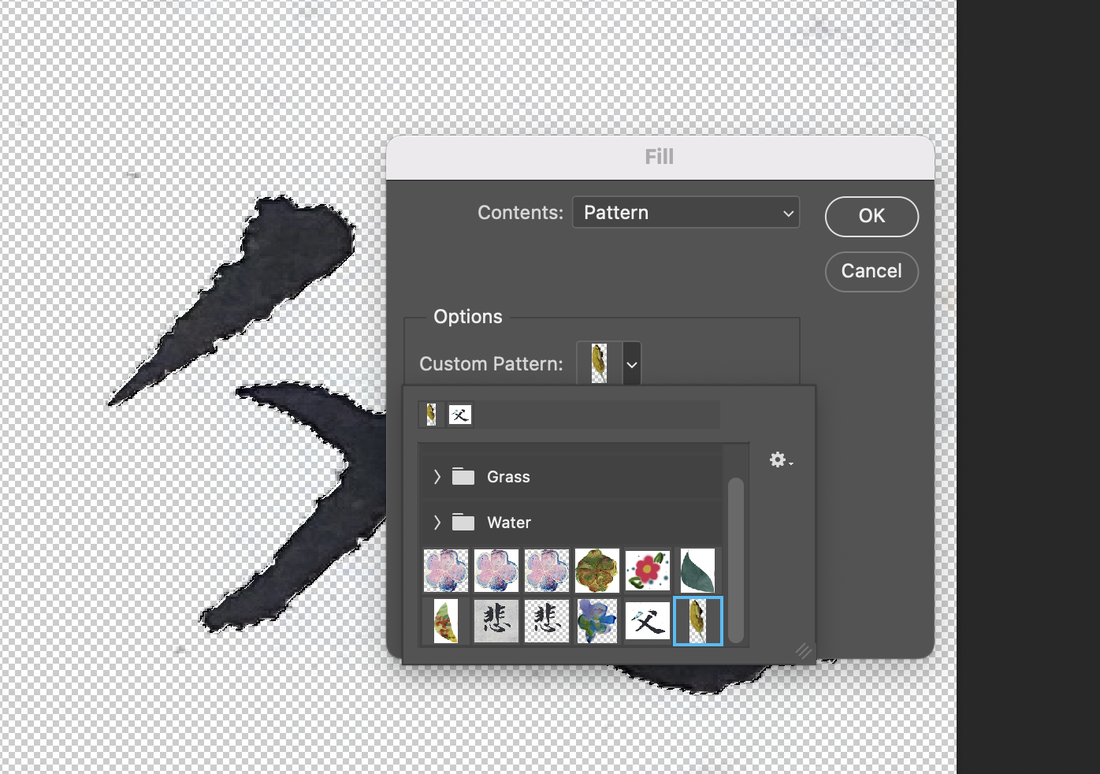 You can see that the pattern is applied to the selected area as shown below. 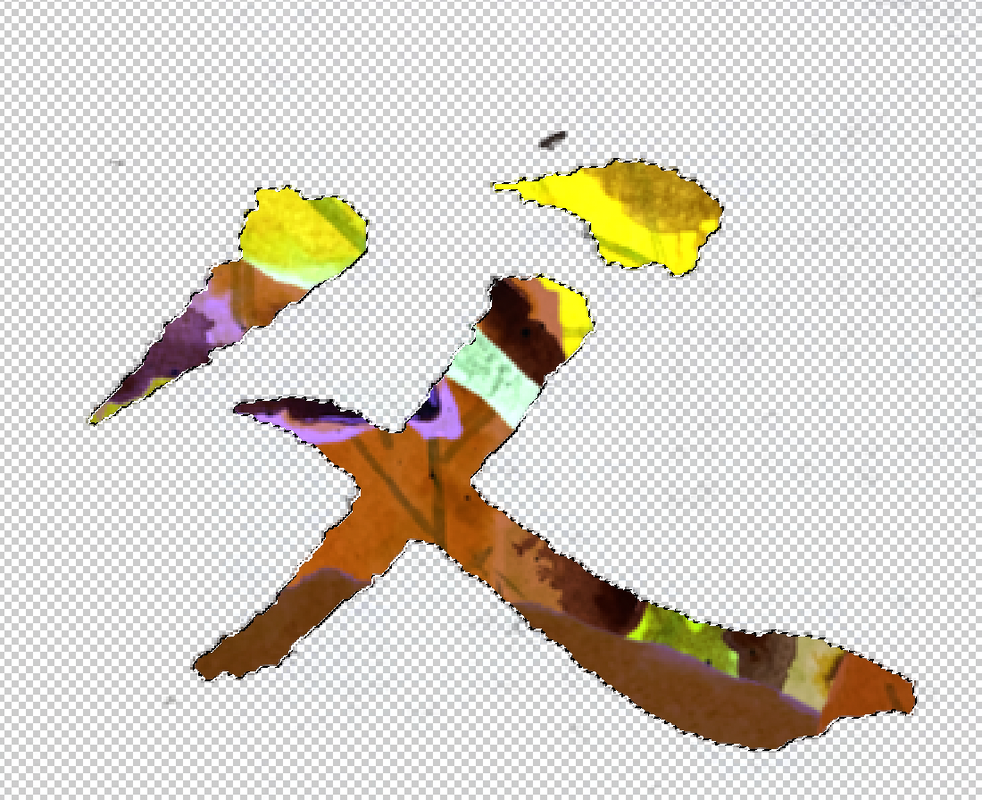 To deform the text, go to the Liquify menu of the filter. 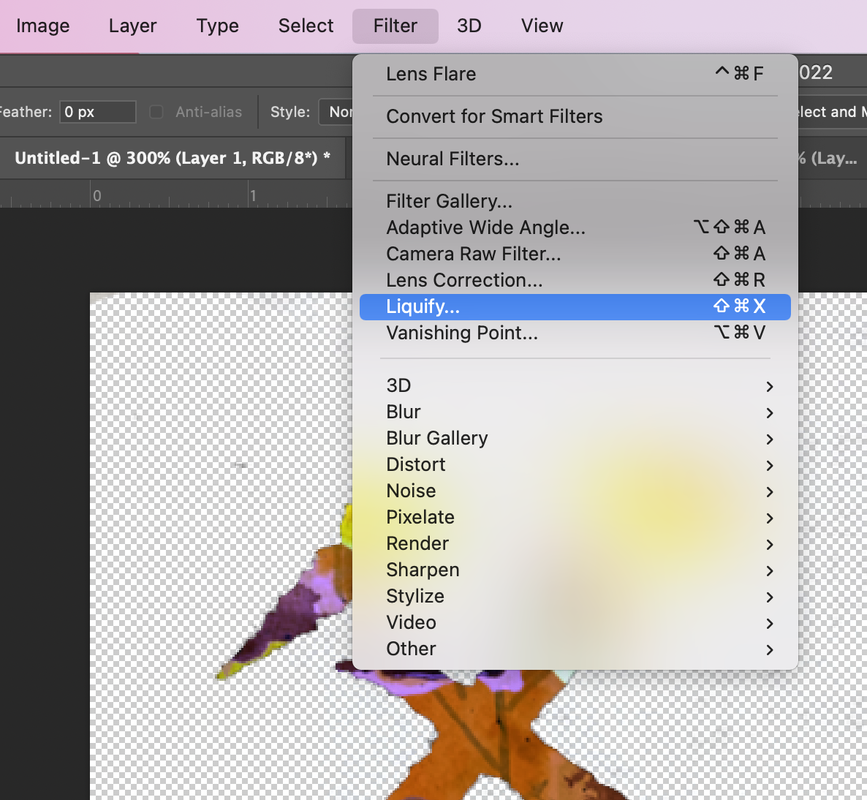 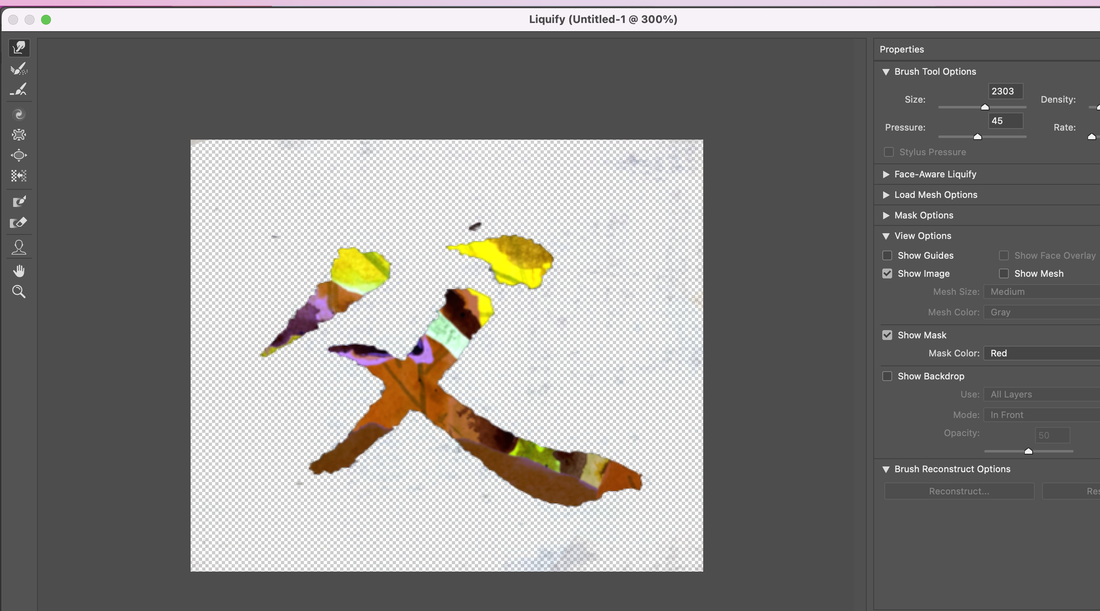 Select the first icon for making it go forward. The icon means Forward warp Tool. 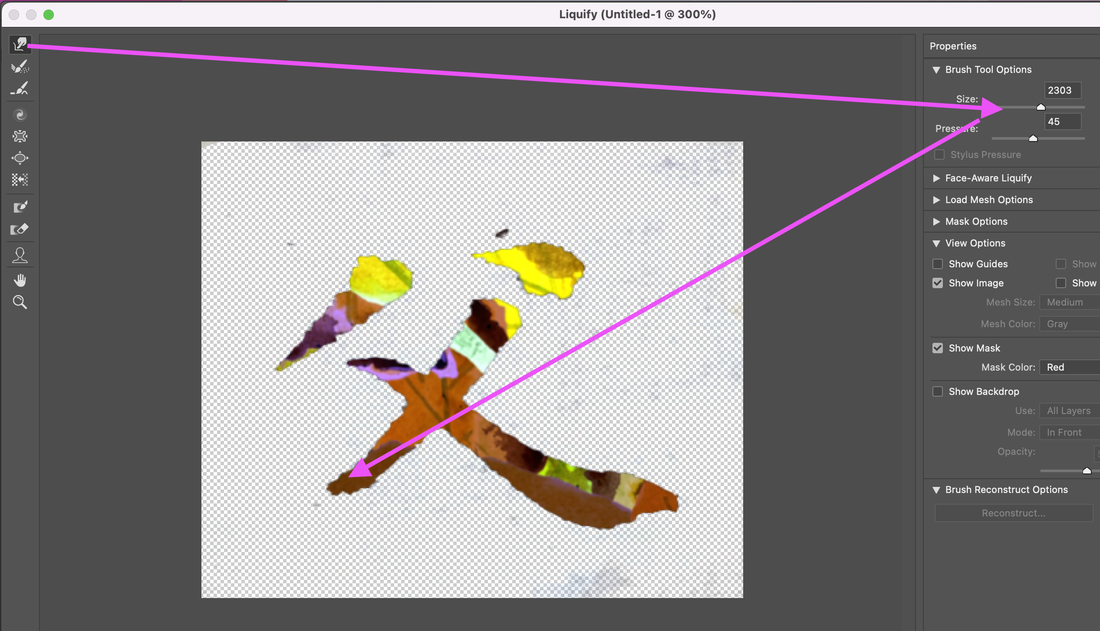 You can see how it was transformed.
|
Myungja Anna KohArtist Categories
All
Archives
April 2024
|

|
Tutorial |

 RSS Feed