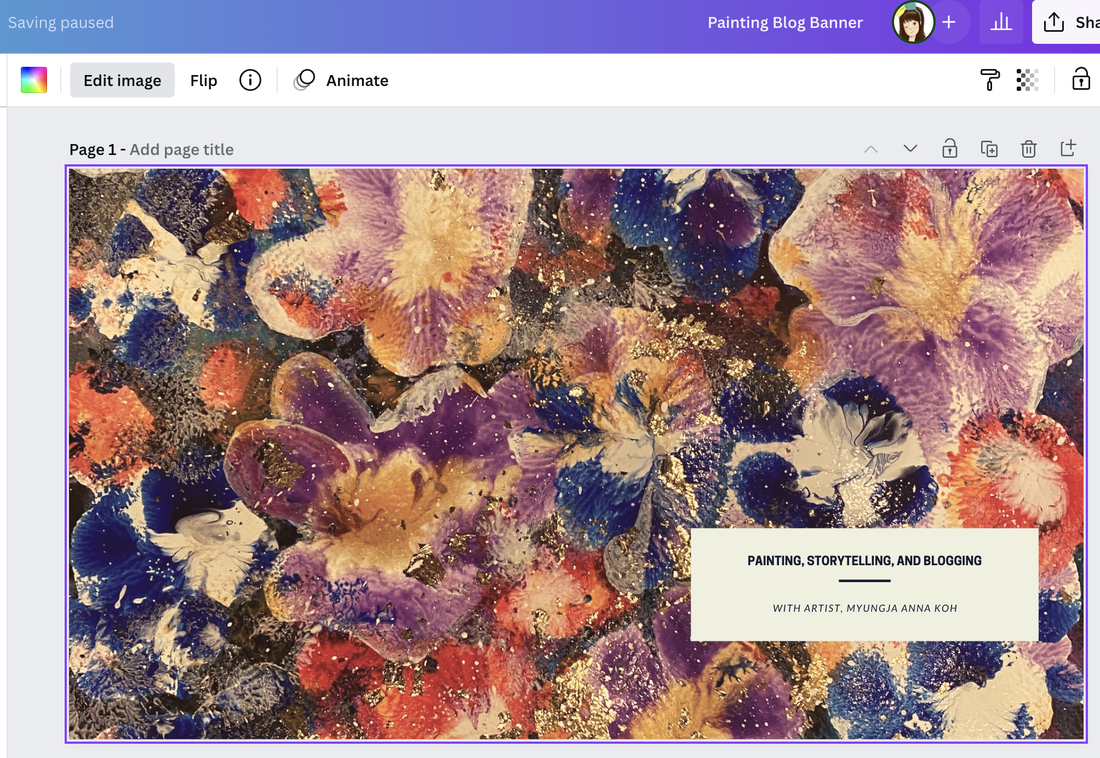
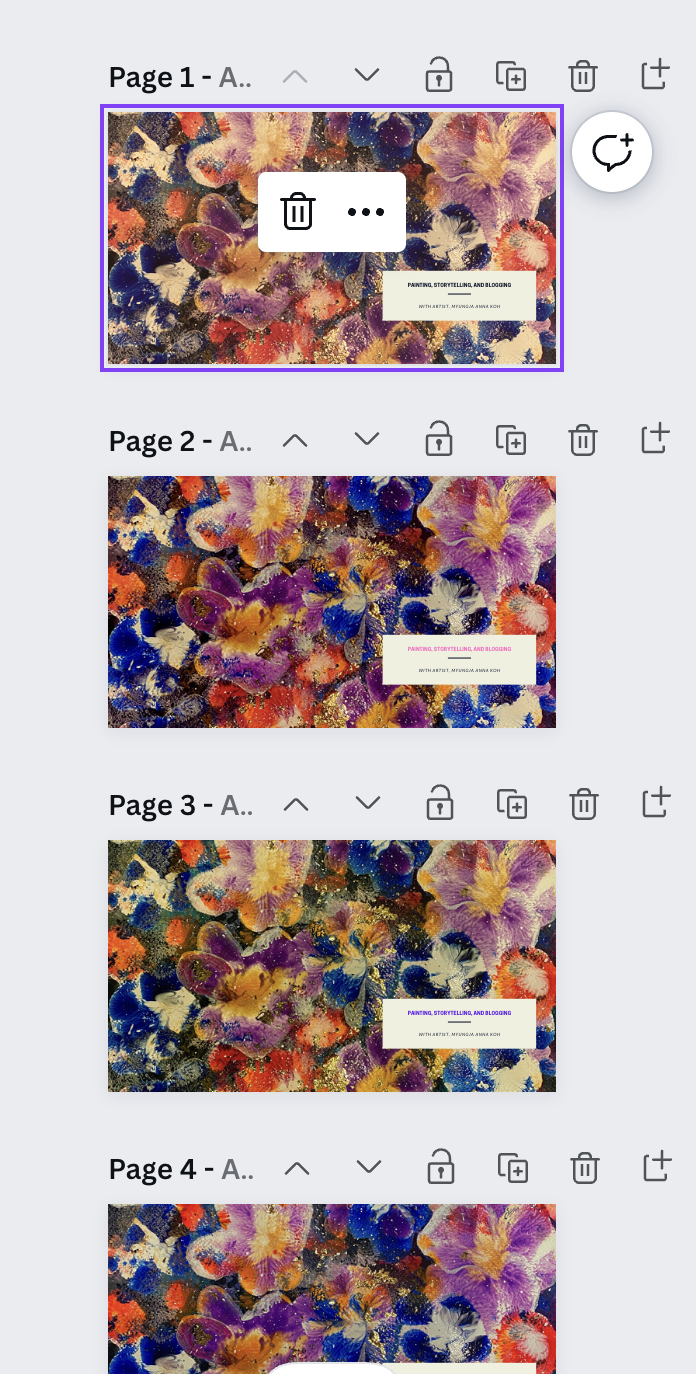
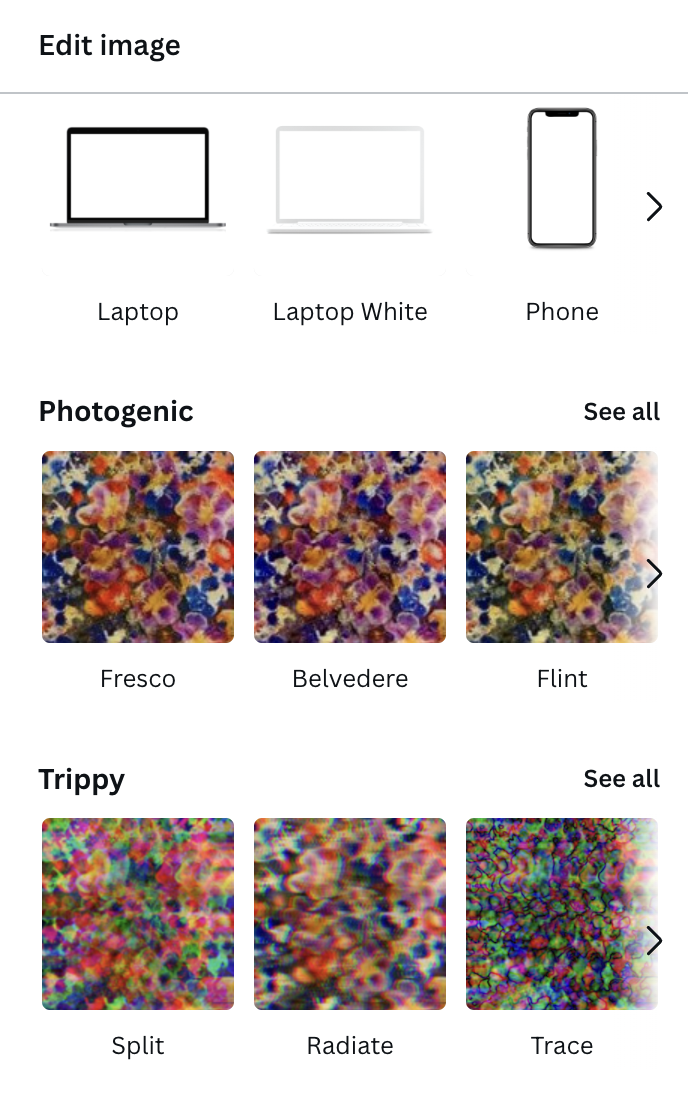
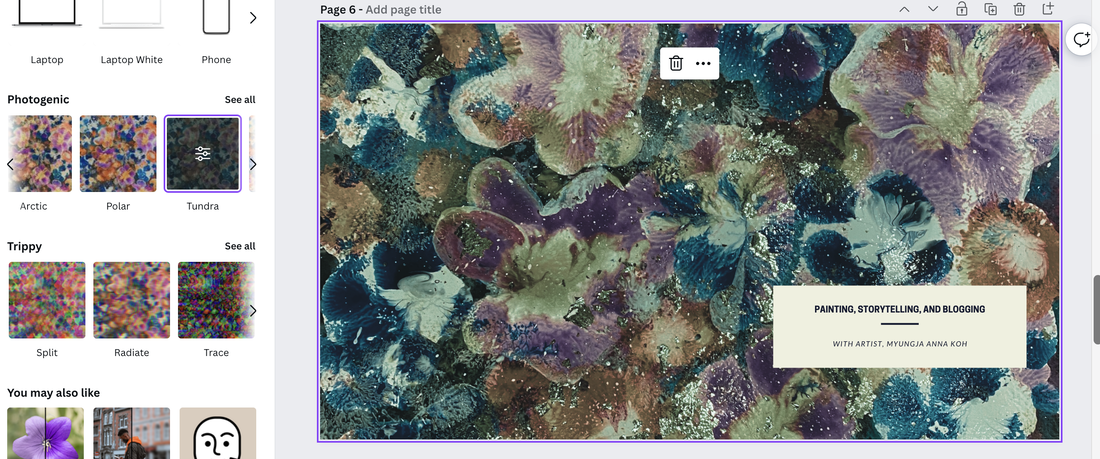
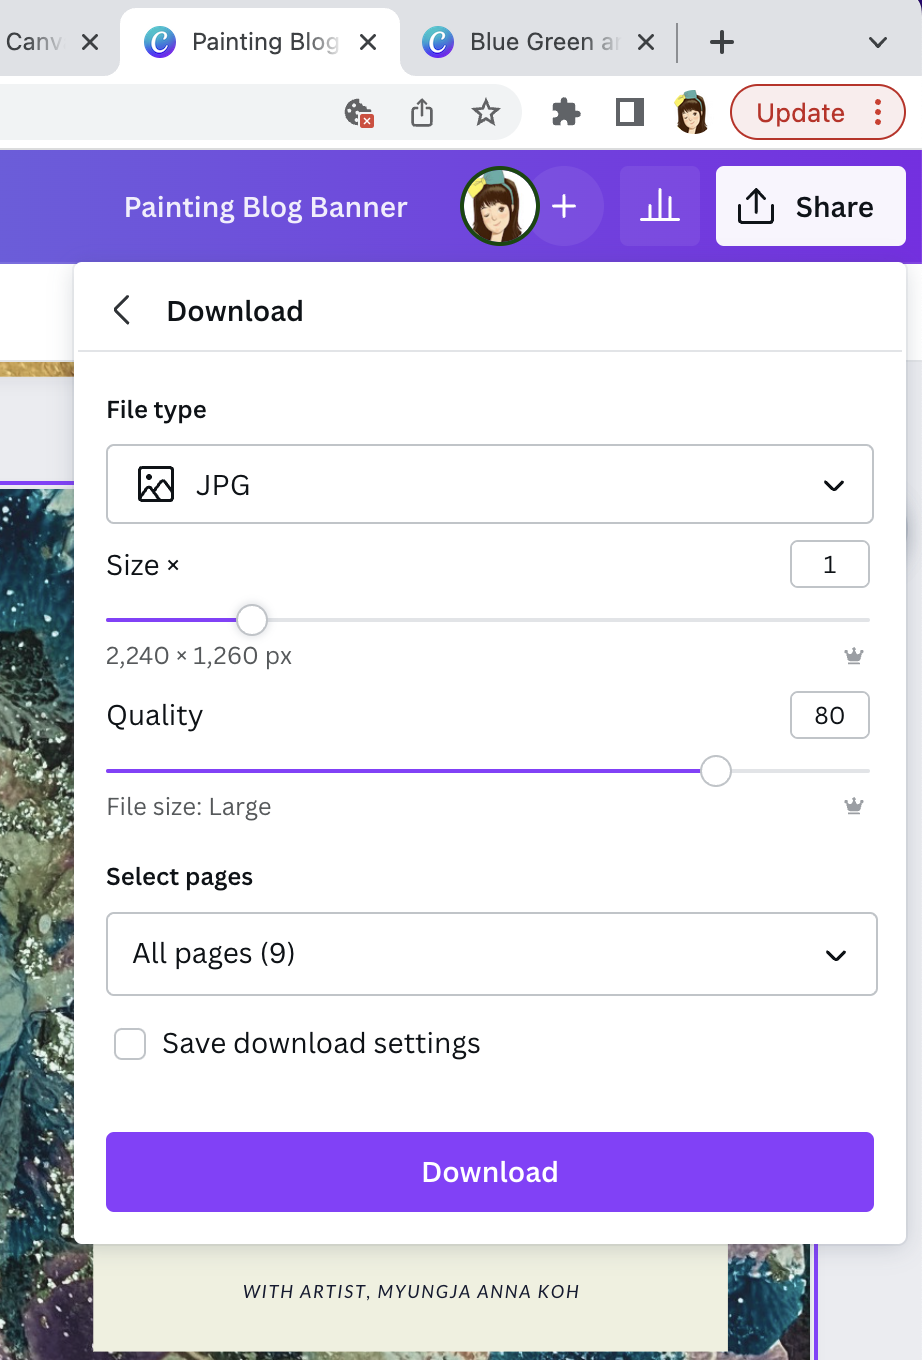
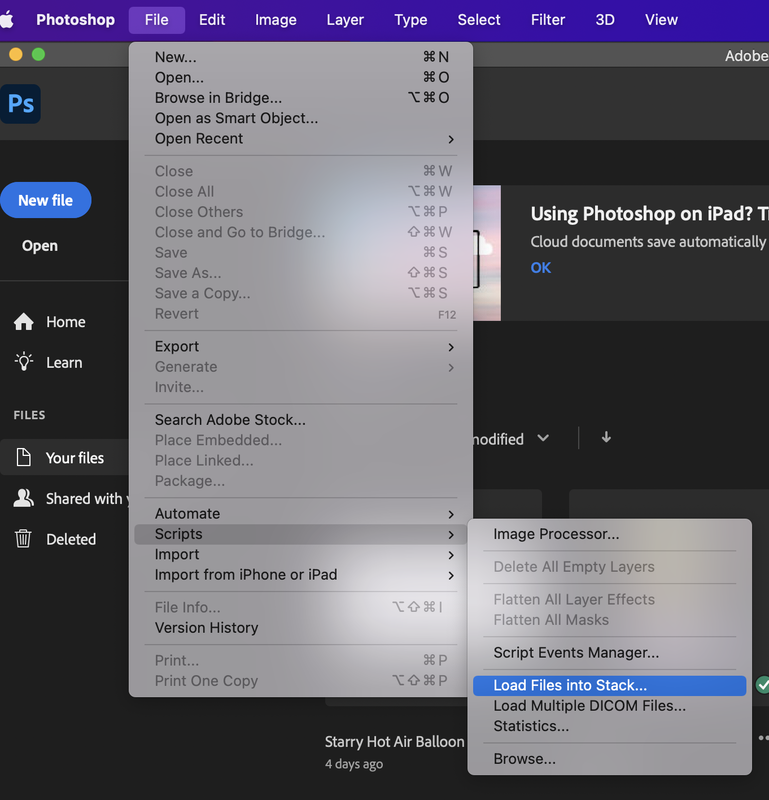
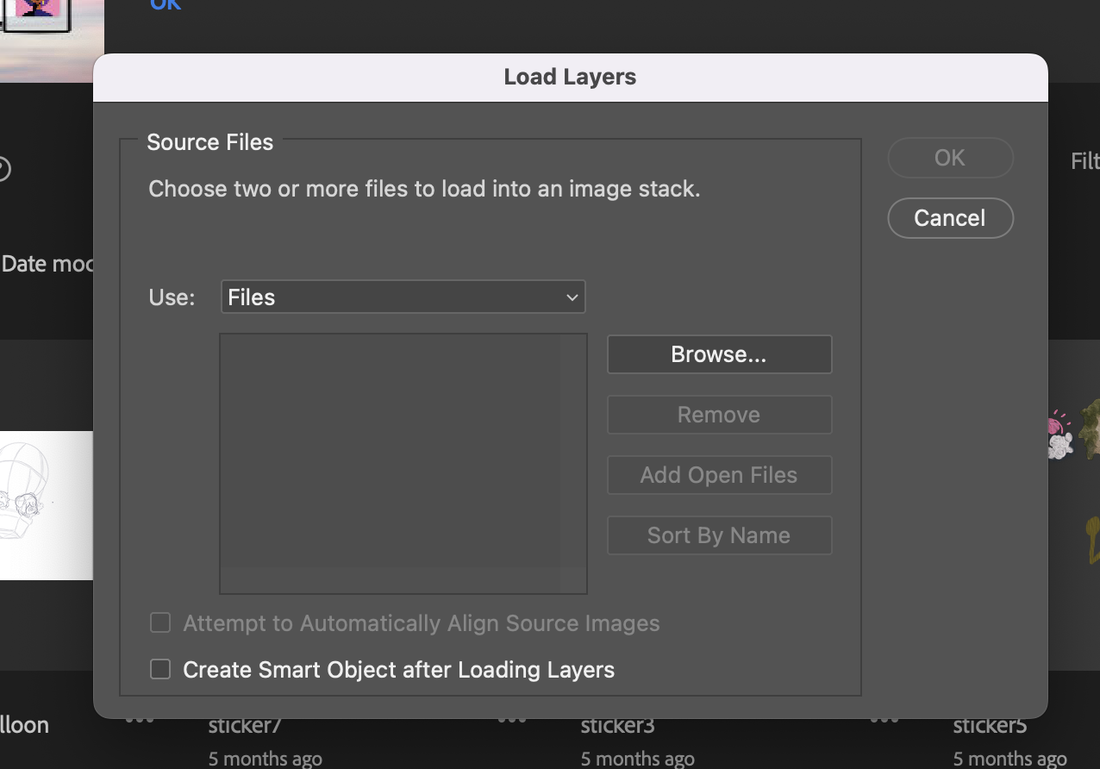
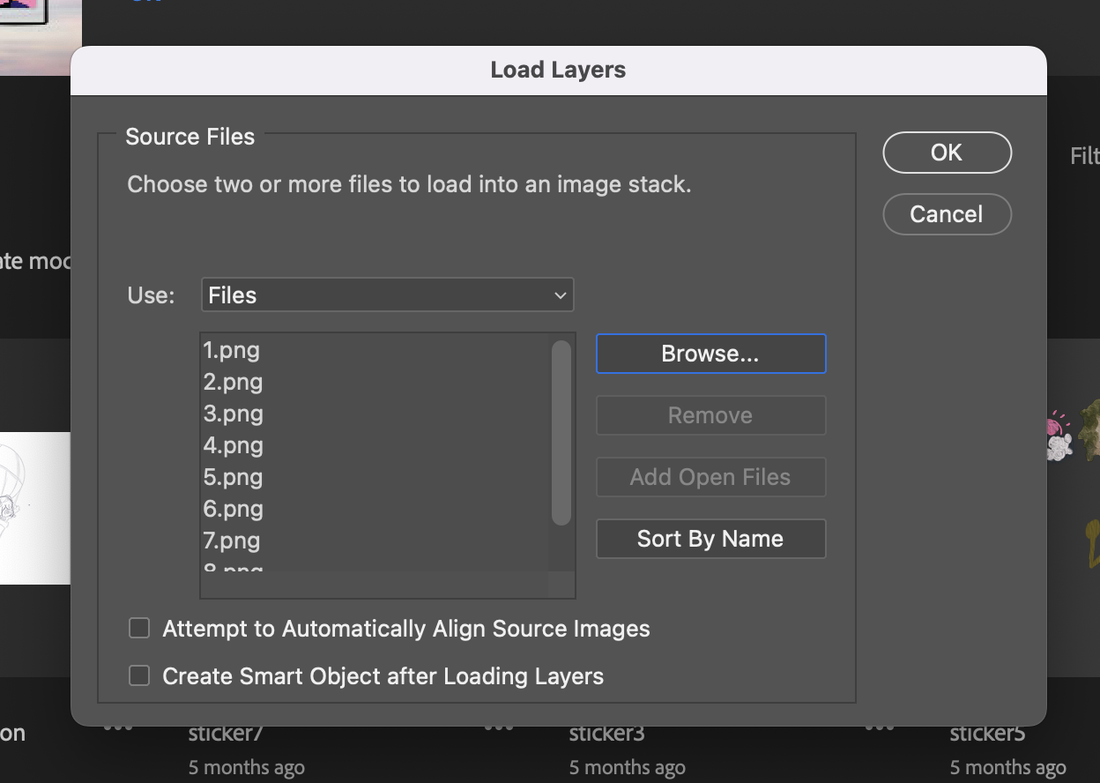
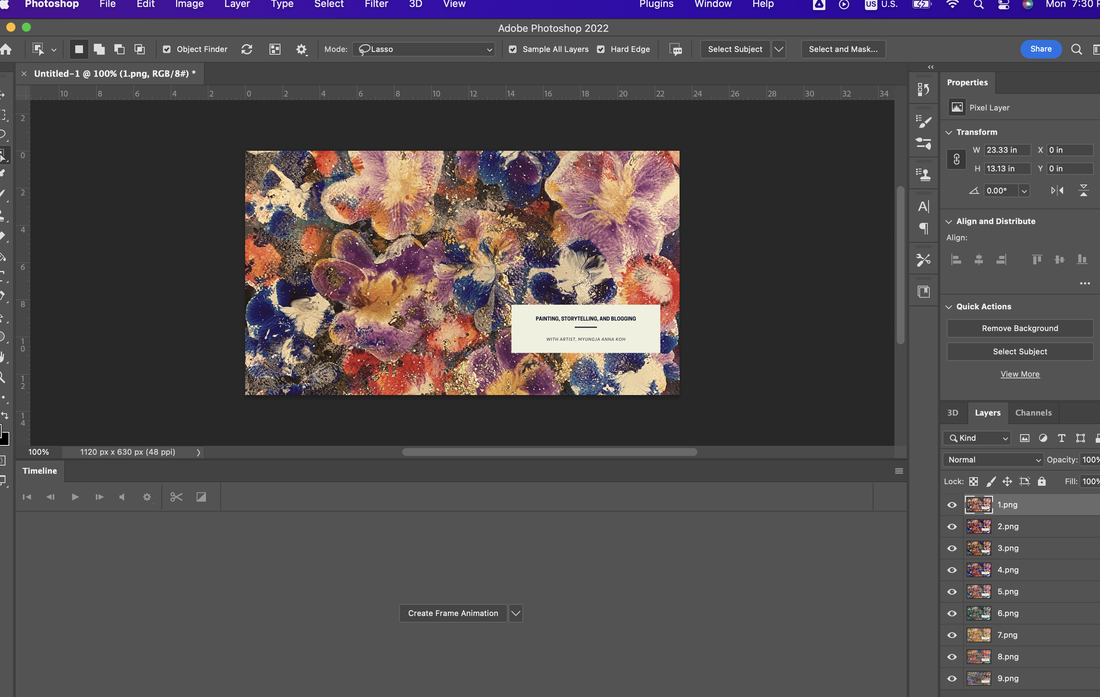
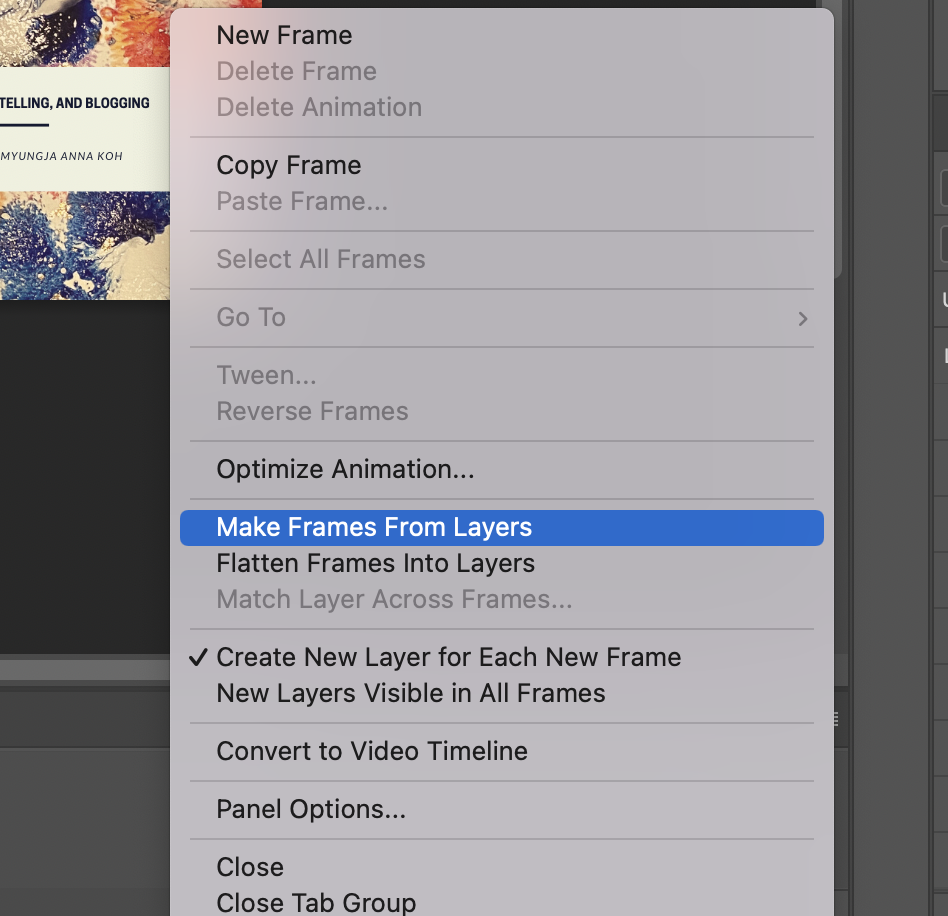
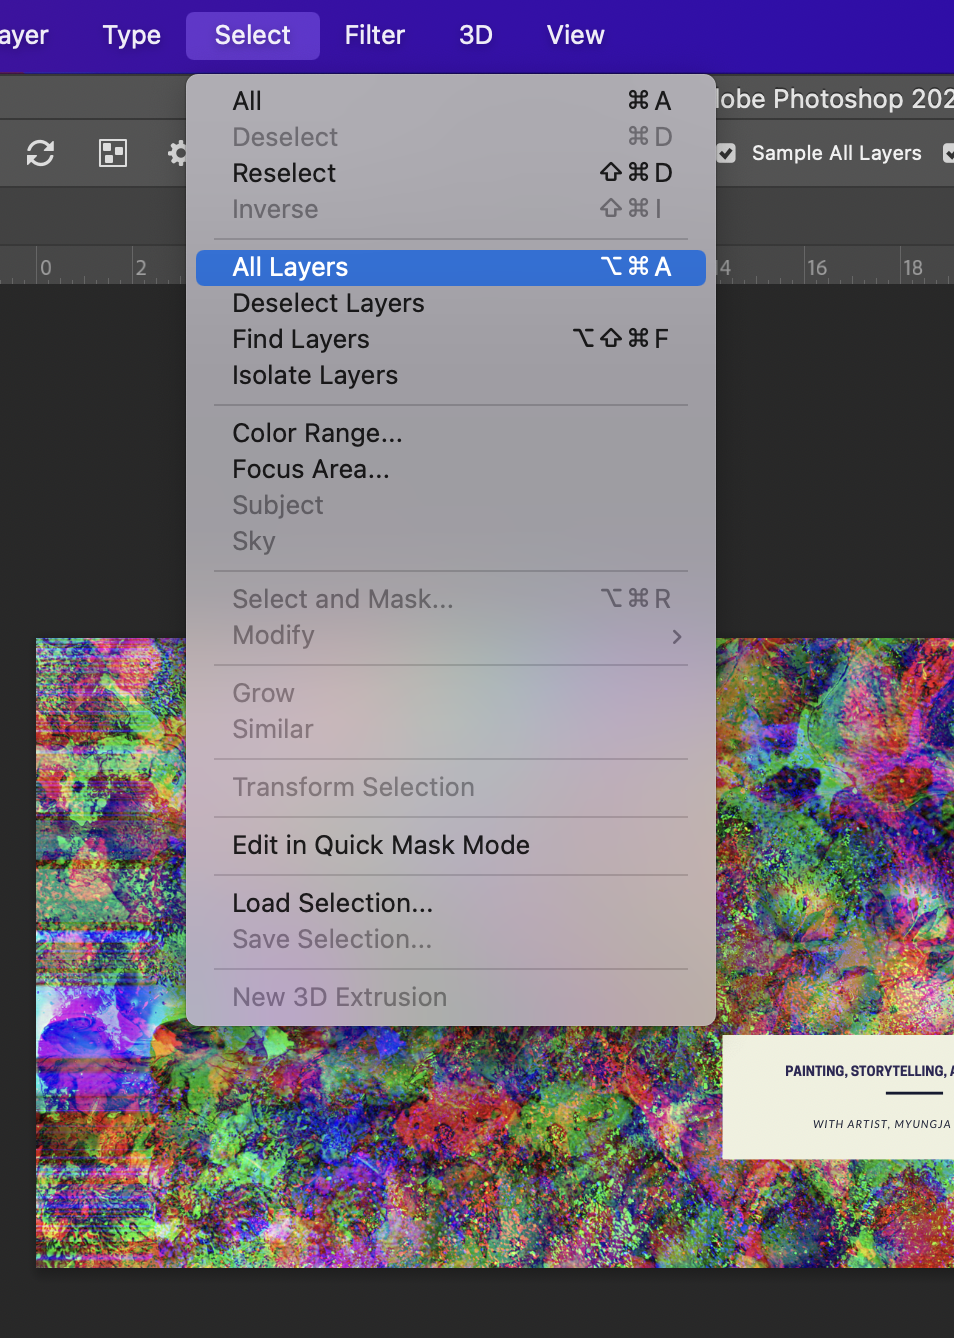
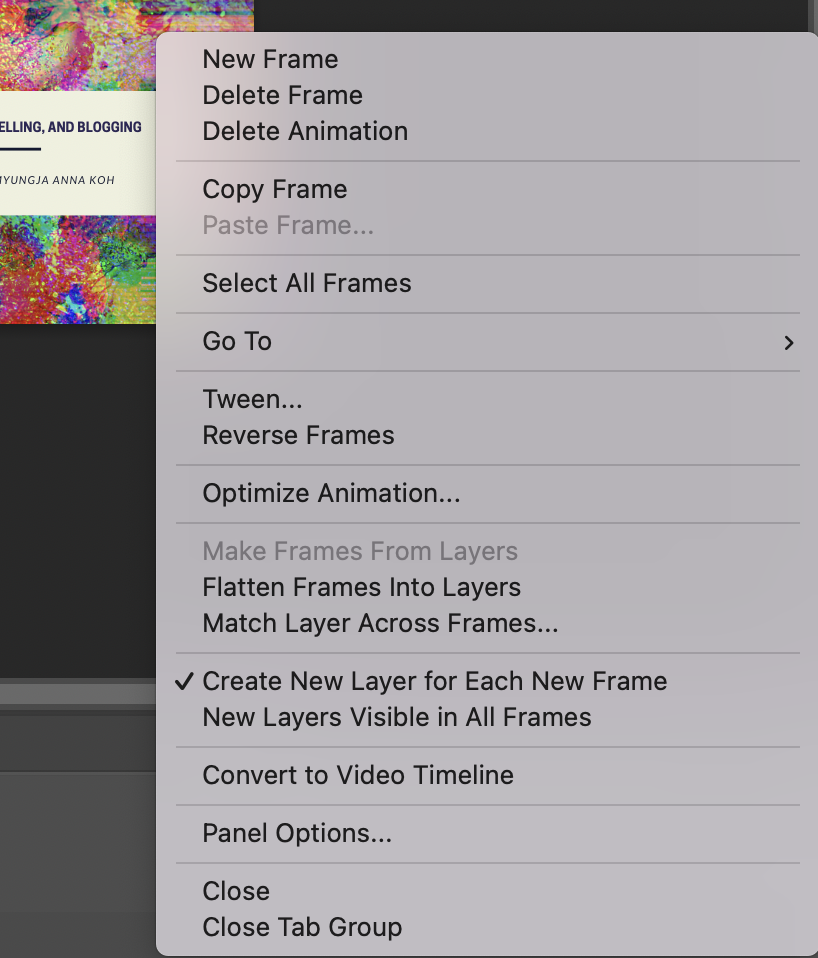
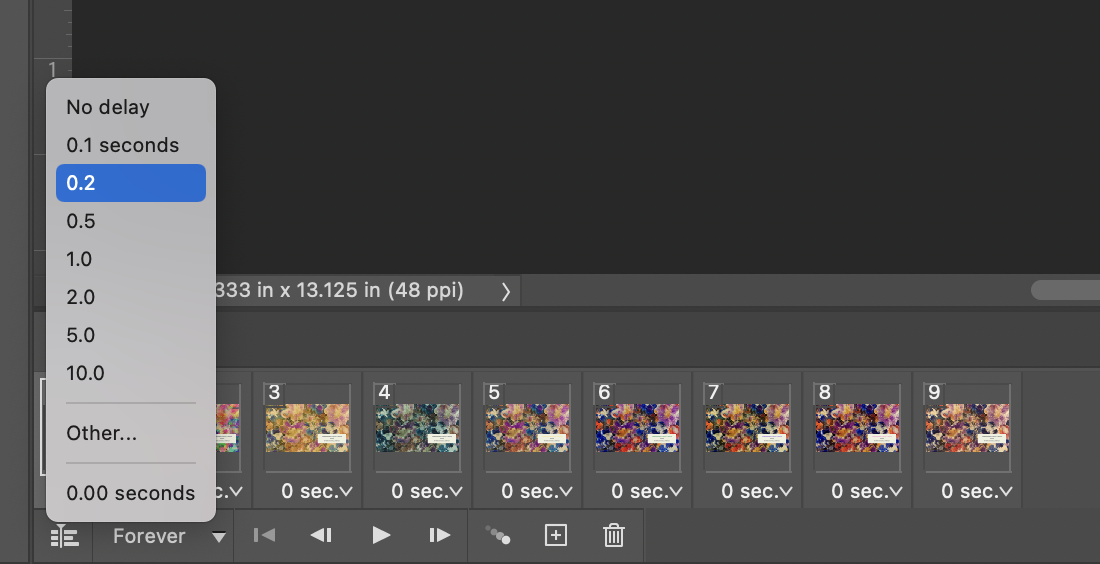
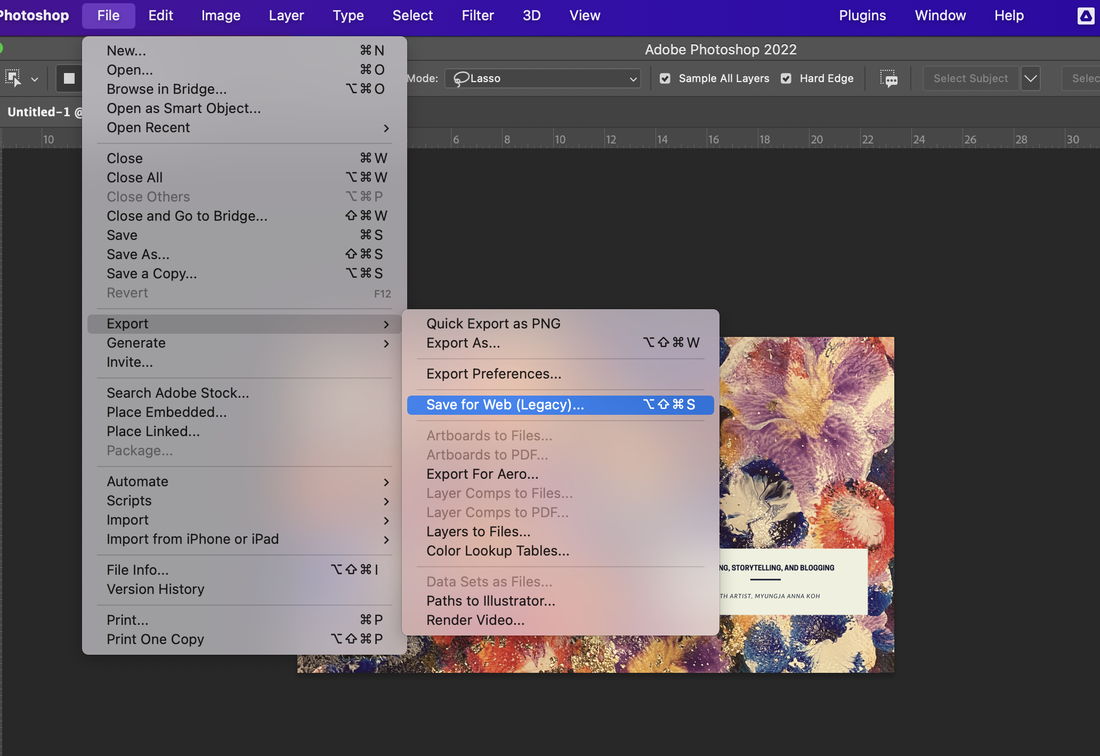
Easy making a moving banner by using Canva.Today, I'd like to share how to make a moving banner by using Canva and Photoshop easily and quickly. First, you can open Canva site to choose a banner template. Canva is a useful site to use a free template or make your design on it. You can choose the your favorite banner template after putting 'banner' on the search bar like below. In my case, I choose one of the template for making the large long banner to replace my blog's banner. And then, duplicate it until will be 9 pages to change the color. Second, you can change the image color and mode. For it, you can click the image and go to edit image option and choose the color each pages. I choose 8 different color and mood and then save as PNG files. And adjust the size to downsize it. Third, save all the pages and then open your Photoshop. Go to the File-->Scripts--> Load Files into Stack to open all the pages at once. Click the browse button. After browsing your files, you can see the list of them on the left of the screen like below. If you can see it, click the OK button. Go to window--> timeline to create frame animation. double click the 'Create Frame Animation' Go to the text line shaped icon of the right side and check the Make Frames From Layers. Go to the select---> All layers like below. And then return the text shaped icon to check the 'Create New Layer for Each New Frame'. And then you can make sure how to change the images than before. After checking you have to adjust the time like below. For saving, you can go to Export --> Save for Web(Legacy). Remember! You have to save the file only .gif style to get a moving image. Below is the result!
0 Comments
Leave a Reply. |
Myungja Anna KohArtist Categories
All
Archives
July 2024
|
Proudly powered by Weebly






 RSS Feed