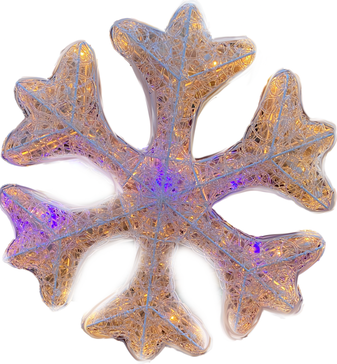
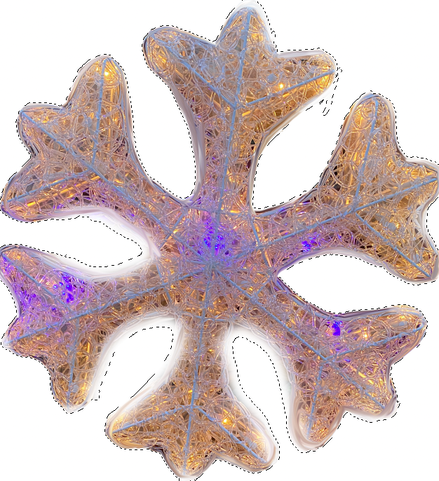
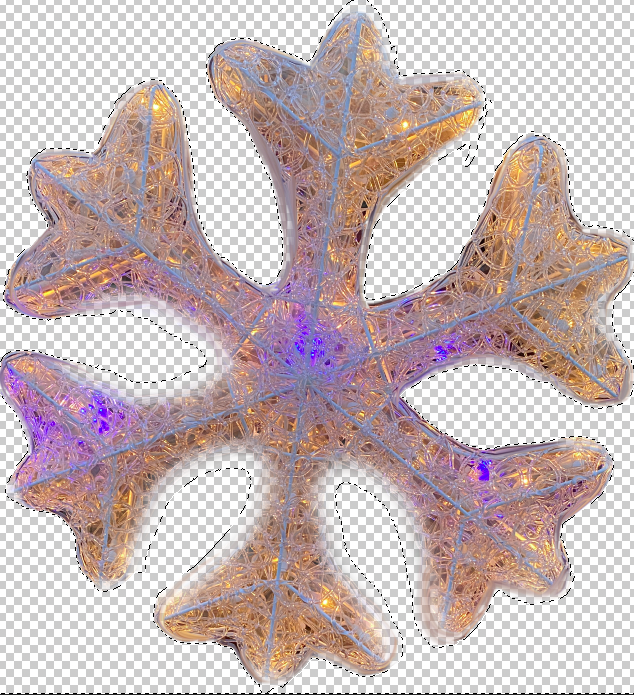
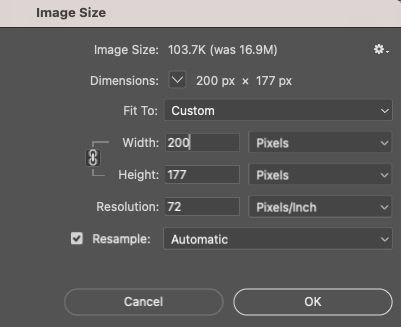
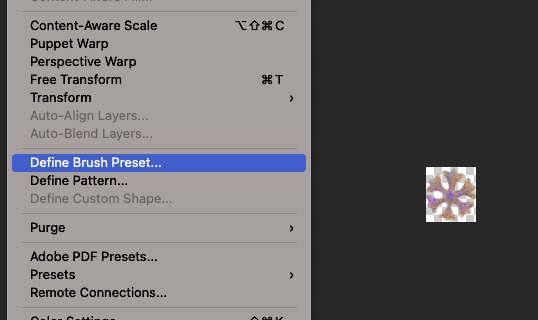
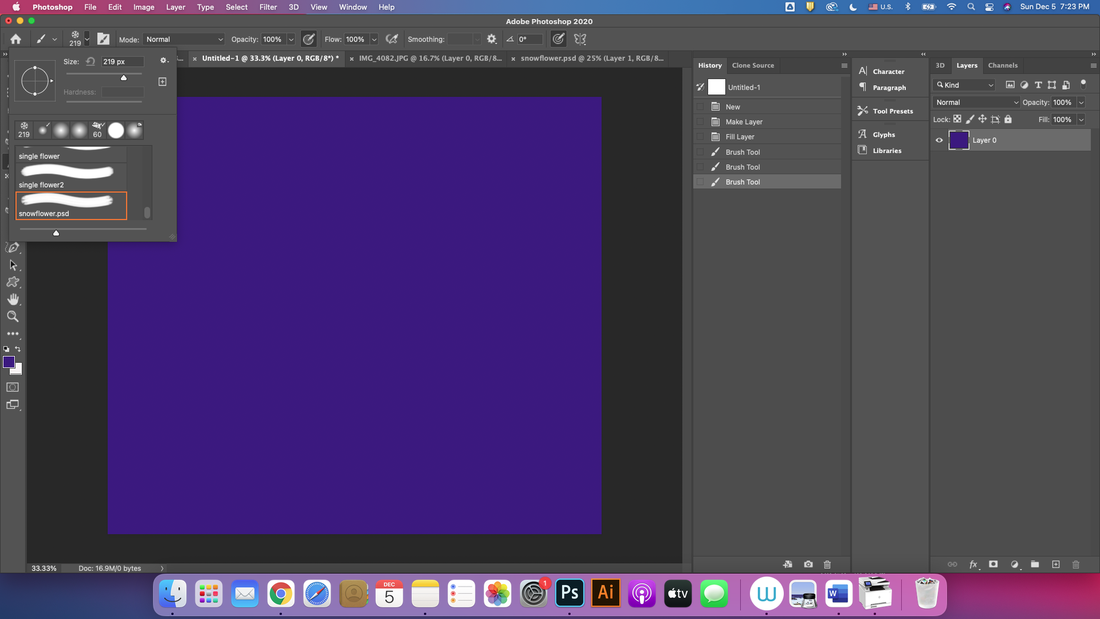
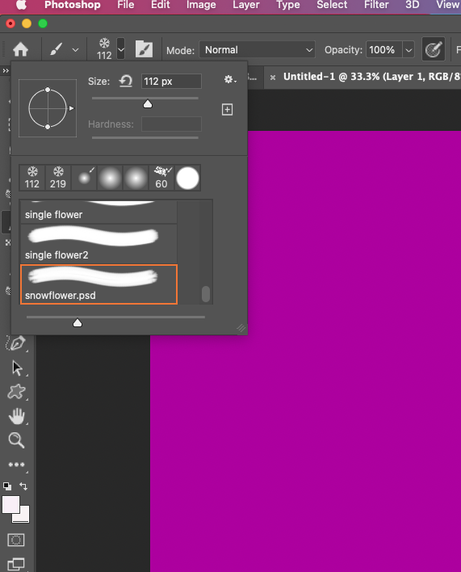
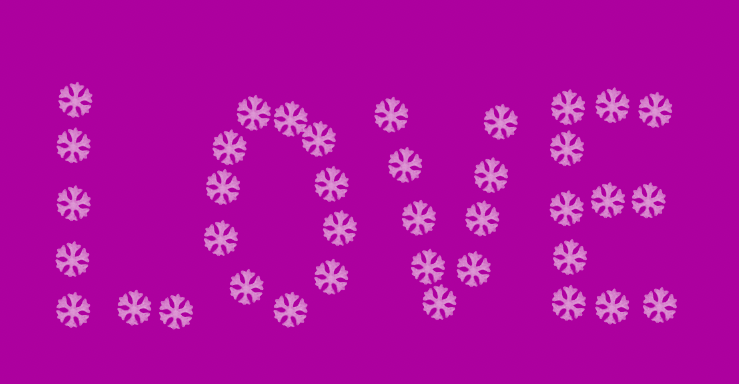
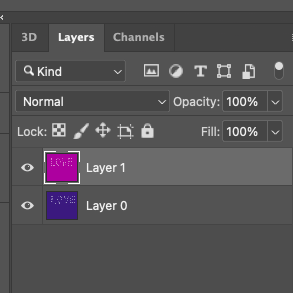
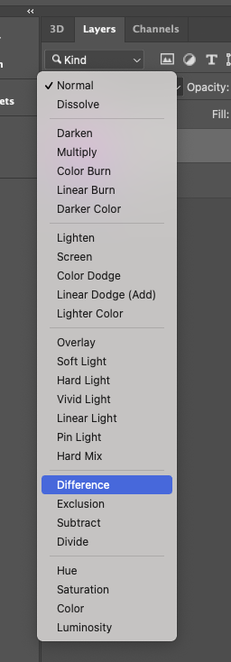
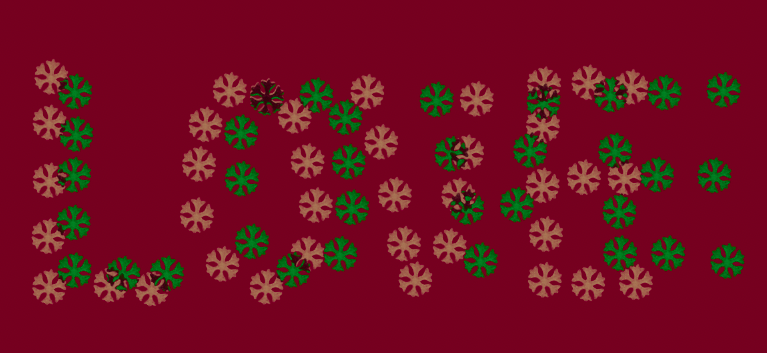
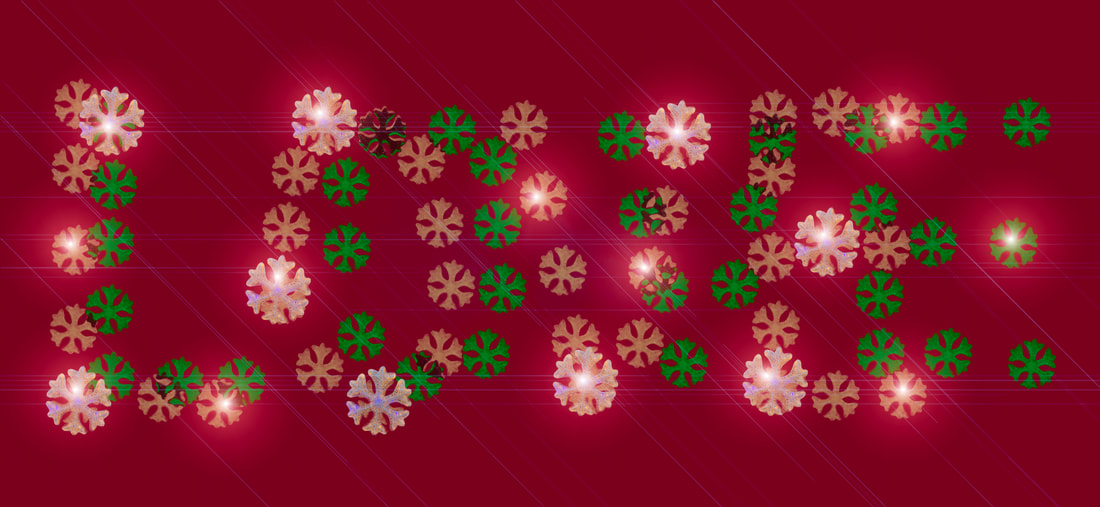
Let's write your letter with your pattern in Photoshop! Wouldn't it be great if you could write your own letters with a pattern you made? Today, I am going to show you how to make a pattern and write a letter. The text will be written in two ways. Most of all, I'd like to show how to create a snowflake patterned brush preset and the appy it with brush tool. It's a first way. To do this, we first create a pattern to use. I will make a pattern by following the shape of a snowflake as shown below. After selecting the image below using the magic wand, press the delete button to remove the background to make it as shown below. From this layer, go to the image ---> size of the image in the menu and set the size as follows. Reduce the image as shown below and register it as a blush pattern. (Edit---> Define Brush Preset) Then create two layers and write Love. One layer has a blue background and the other layer is pink. At this time, you can use brush tool. If you click the brush panel, you can see the defined snowflake pattern. You can just write it like a stamp. don't draw it, just stamp!) Next, select the second pink layer and change the screen mode as shown below. Below is the result after applying the screen mode with Difference. We all know that the word love is hidden at first glance, and it seems to be discovered later. Like this picture. You can also use the filter ---> Render---> lens flare function to decorate it as shown below. In the next post, I'd like to upload the second way to use fill functions with a path. Comments are closed.
|
Myungja Anna KohArtist Categories
All
Archives
July 2024
|
Proudly powered by Weebly


 RSS Feed