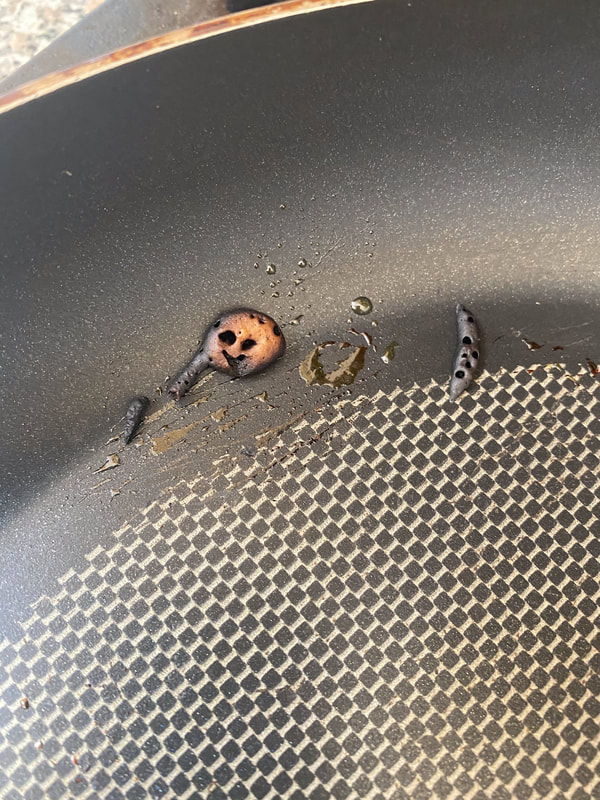
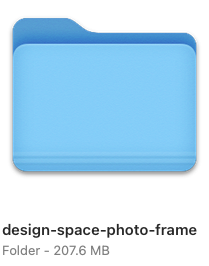
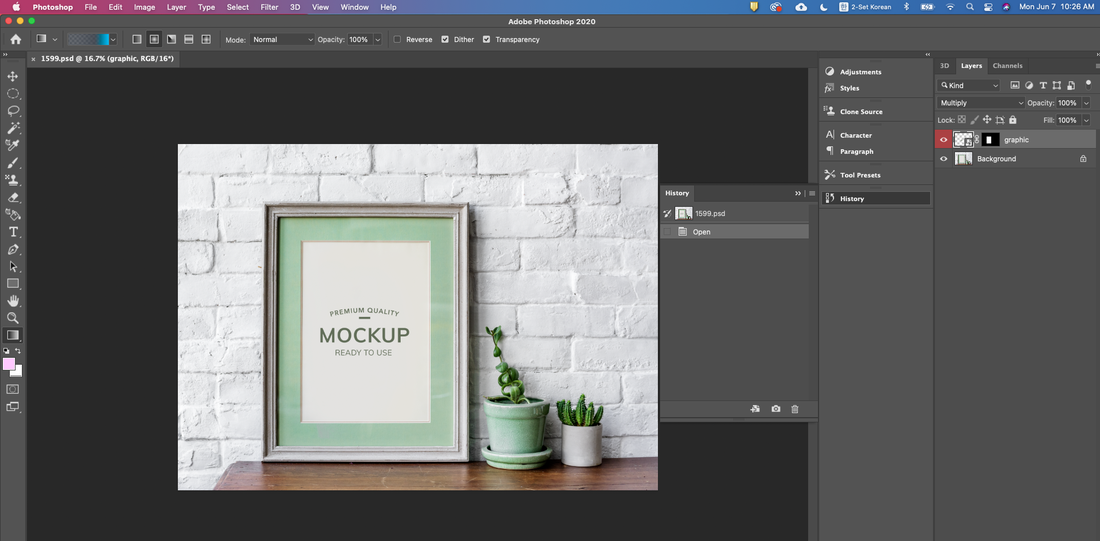
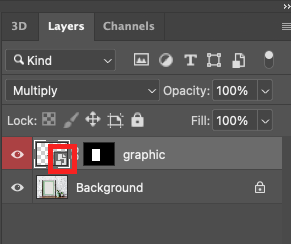
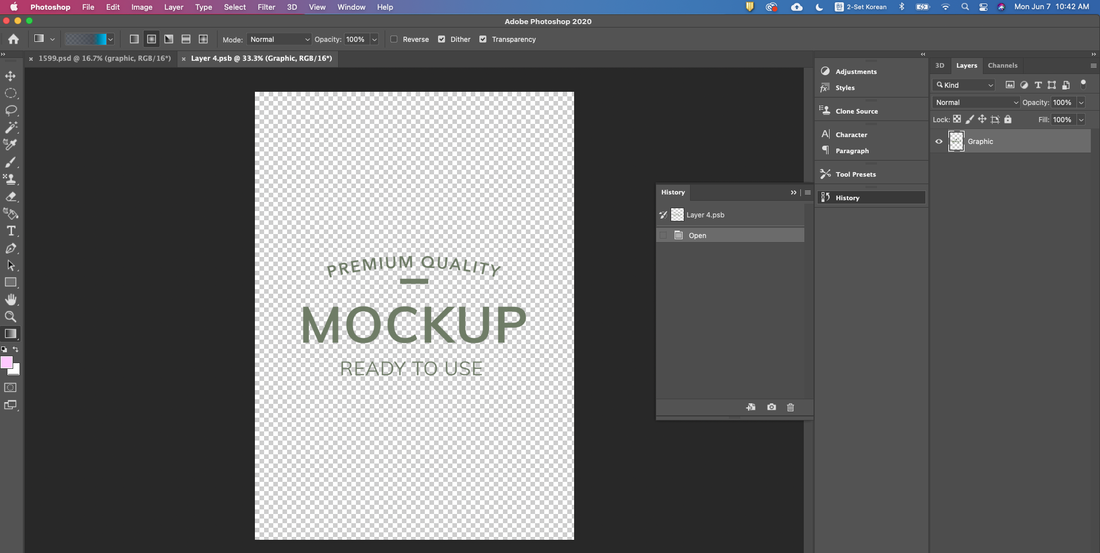
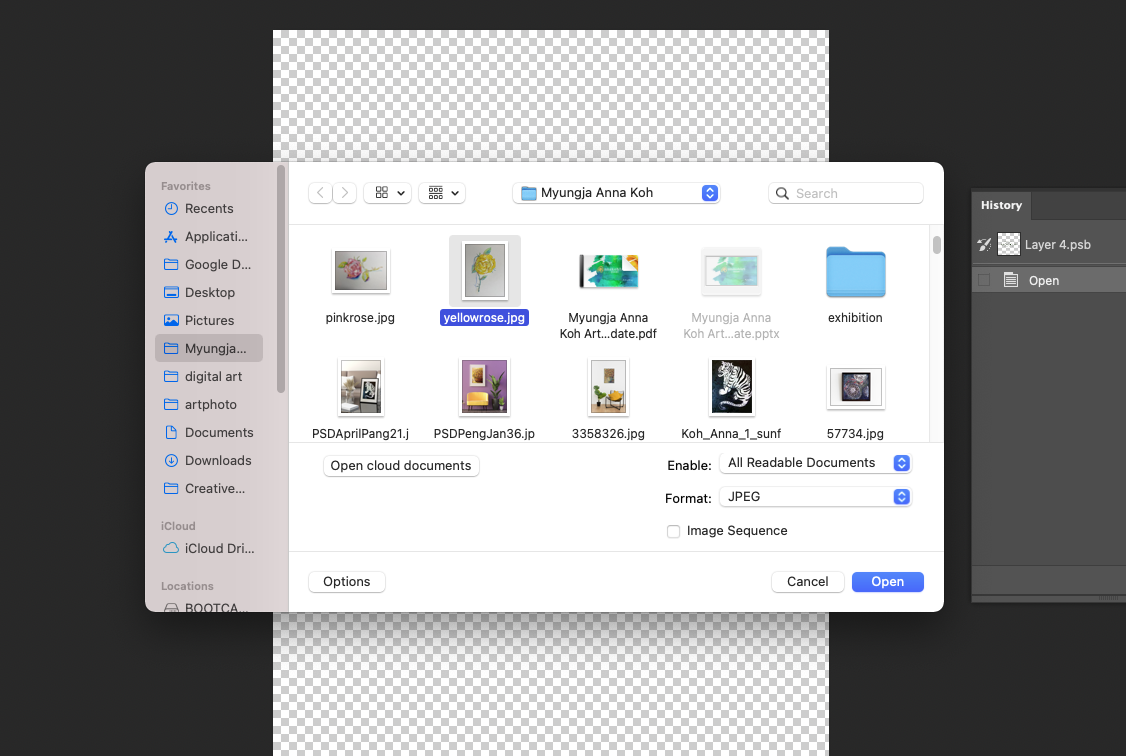
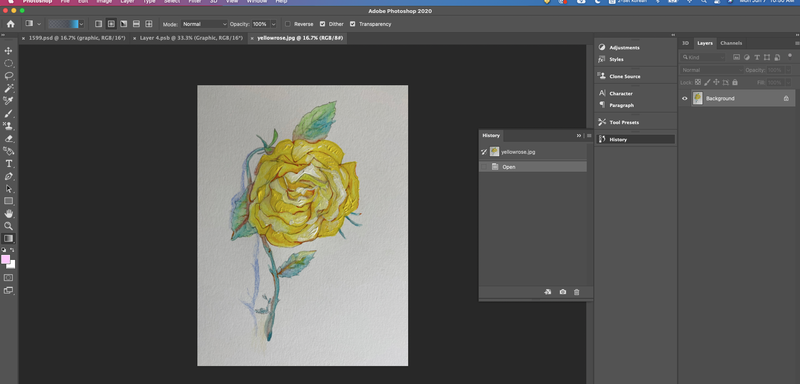
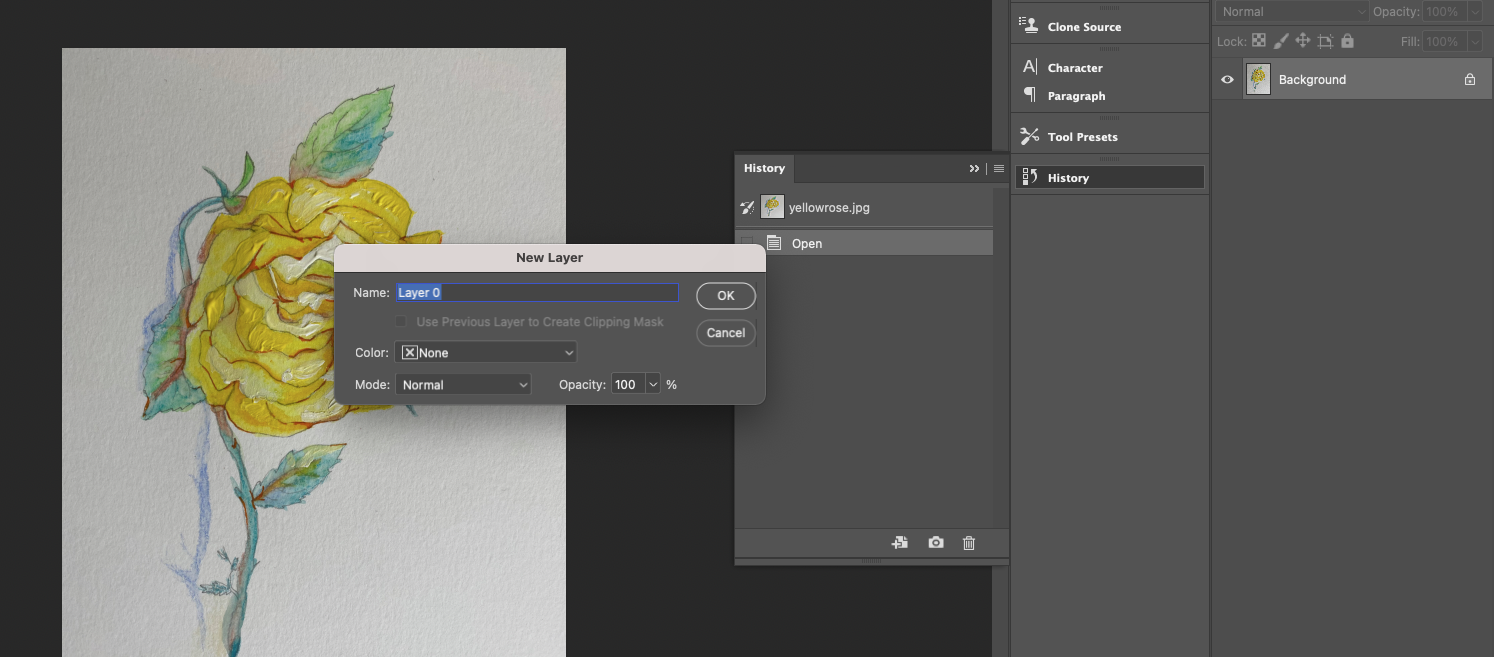
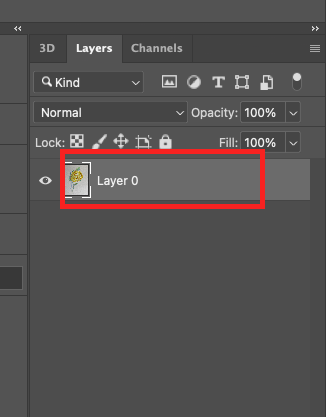
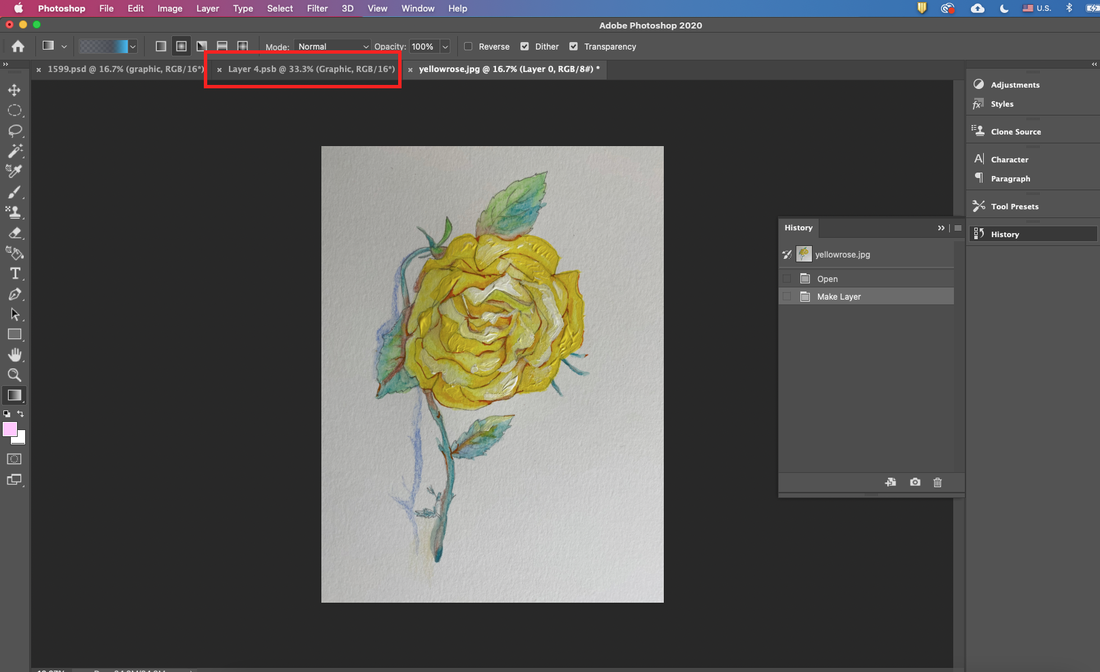
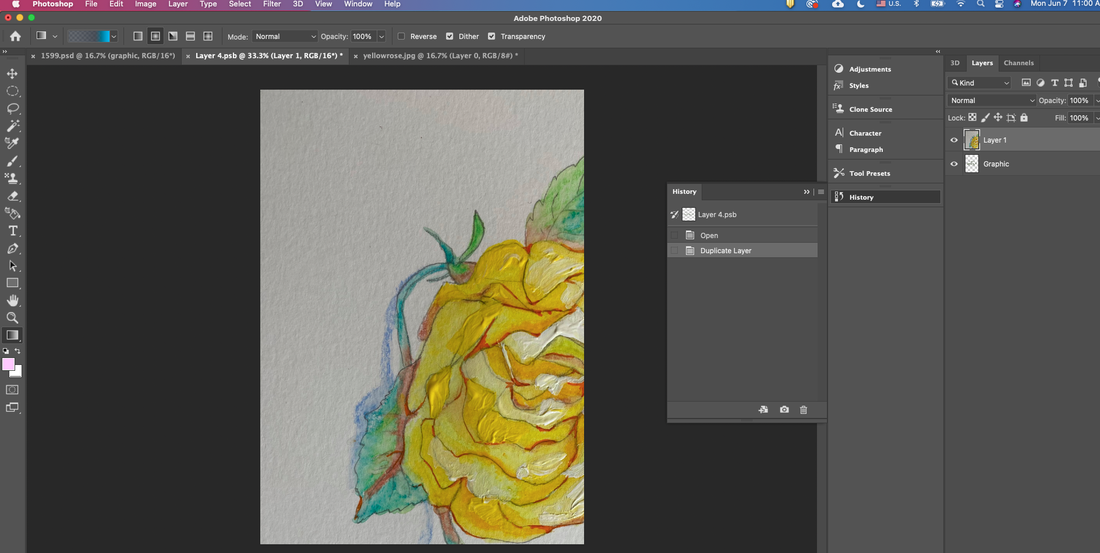
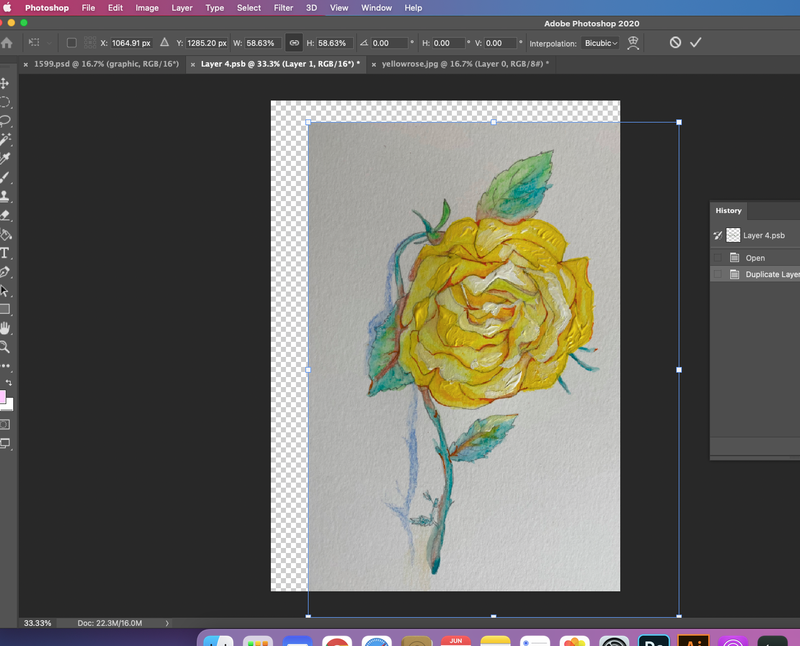
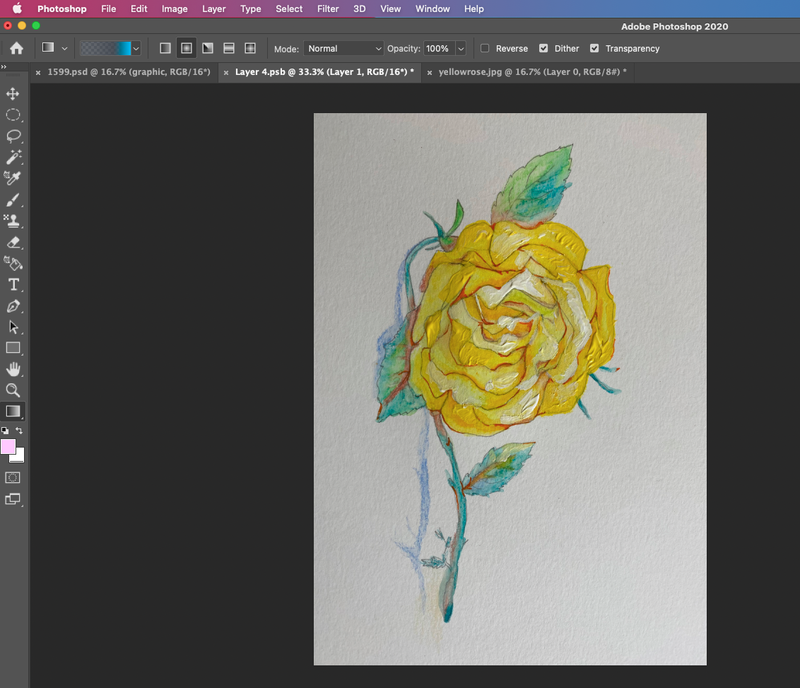
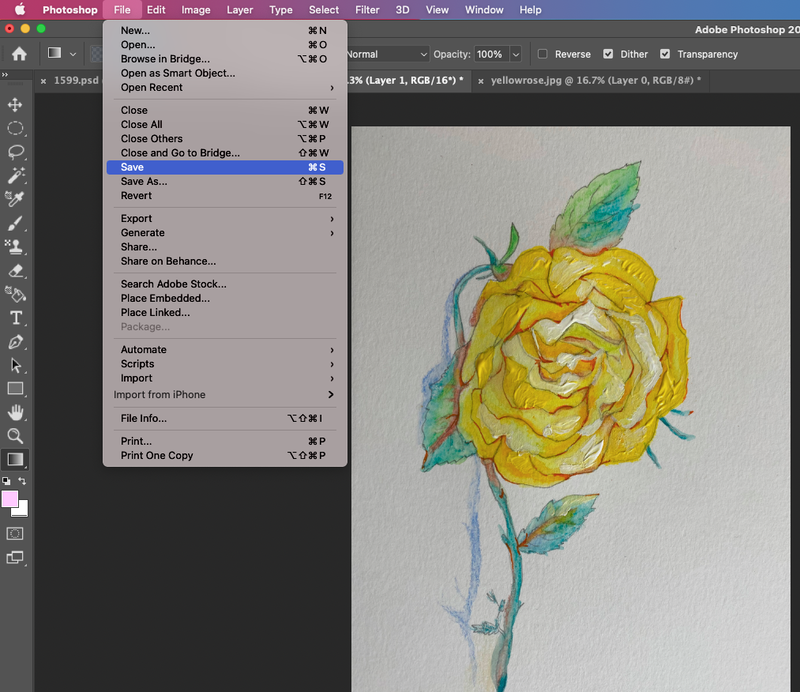
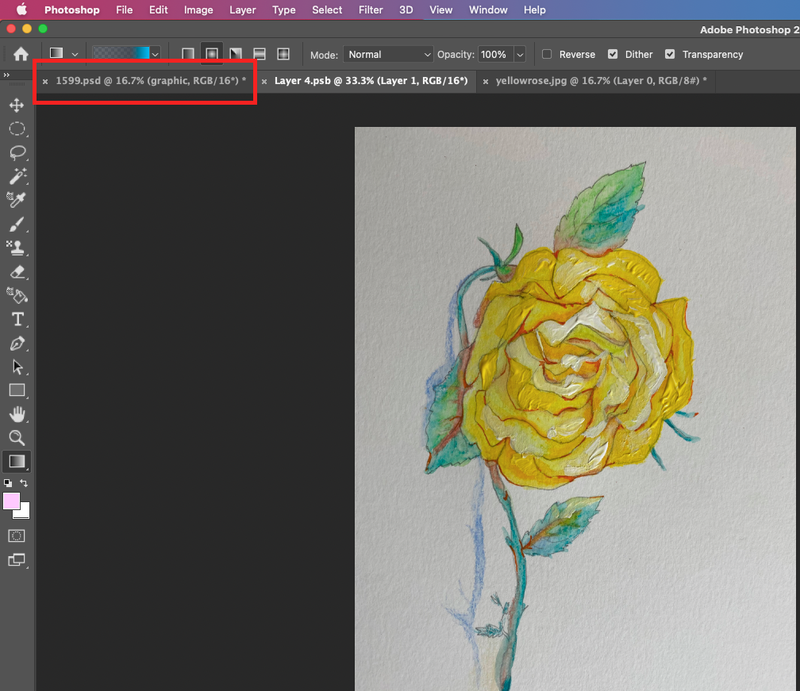
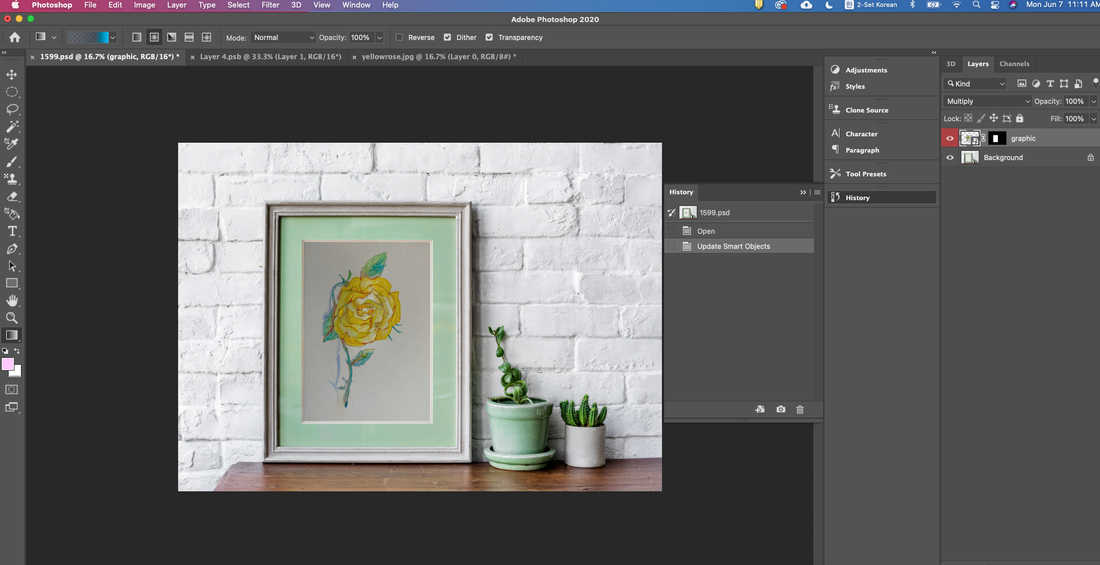
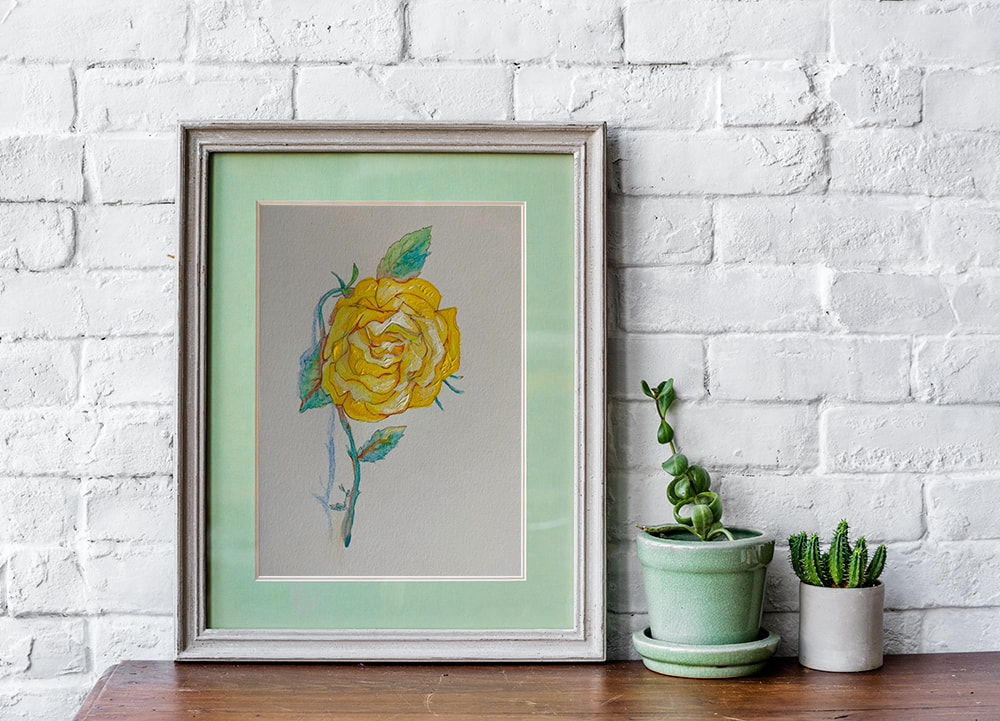
How to make a frame mockup file. Yesterday, I was tired after working all day, and I was lying in bed late in the morning. My husband often makes hotcakes with his recipe for breakfast, which is very tasty. The smell of deliciously baked pancakes gave me strength, and I got up from my seat. After eating all the hotcakes, I was about to clean the frying pan , and I saw a tiny piece of hotcake smiling like this. I realize that even non-living food can make you smile if you put your heart into everything. I also looked around again to see if I was missing something small. Then I made a decision to add an easy supplementary explanation on making a mockup file. What the mockup file is and why it is created was recorded on the previous page. www.annakoh.com/info/promote-your-work-with-photoshop-mockup-files However, the last tutorial was mainly for non-flat surfaces such as cans, so the process is complicated. So today, I'm going to show you an easy way to make a mockup frame file. First, go to the free frame mockup file download site introduced earlier. https://www.freepik.com/free-photos-vectors/frames-mockup Here I chose the silver picture frame with the cactus at the bottom. Click to go to that site ! If you pay and download premium, you can see more variety of mockups, but now I clicked the green button on the right, free download. The number of downloads is limited to 10 files per day for free download. When you click the download button, you can see the following screen. As I always feel, thanks to the designers who made this free talent donation. You can also say thank you to them while waiting for the download. After downloading, the following folder will be created, go into the folder and open the .psd file, which is a file for Photoshop. Below is a picture of the opened Photoshop file. Now it's your turn to put your picture in the pretty picture frame where it says Mockup. The layer labeled Graphics in the Layers panel on the right is the layer to replace the image. This word is different depending on the designer, such as "edit here, edit design, edit design here, mock up, click here, etc" so check carefully. By the way, you can double click the red rectangle area. A nice double-click will bring up the following screen. Press the Ctrl + O or Cmd + O key to load the image you want to put in the pretty frame. (Import image) In my case, I opened a yellow rose file that I recently worked on. To copy this file, the layer must first change from the background to the layer state. For that, double click on the background layer in the right layer panel. Then you will see the following message window, click ok ! Check that the layer's name has changed to the name " Layer 0" in the red box and copy it by pressing the key, Ctrl + C or Cmd + C . And take a good look from now on. And then you should quietly go to the tab marked by the red box on the screen below. After moving and pasting with the key, Ctrl + V or Cmd + V, you will see something like this: Now we need to resize the image to fit the frame. To change the image, press the key , Ctrl + T or Cmd + T to adjust the size. If you want to transform only one part, you can adjust it while holding down shift key. We're almost done. Go to file and click save as shown below. Then go to the red box tab as shown in the screen above on the right and check the result. Below is the result image. I hope you got a nice picture frame like me.
0 Comments
Leave a Reply. |
Myungja Anna KohArtist Categories
All
Archives
July 2024
|
Proudly powered by Weebly





 RSS Feed