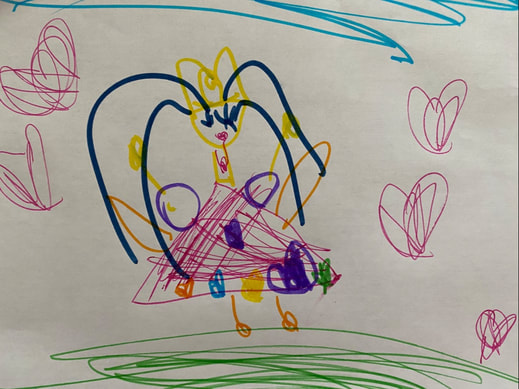
The making process of A cherry blossom. Today, I drew a close-up of the cherry blossoms using watercolor paints. 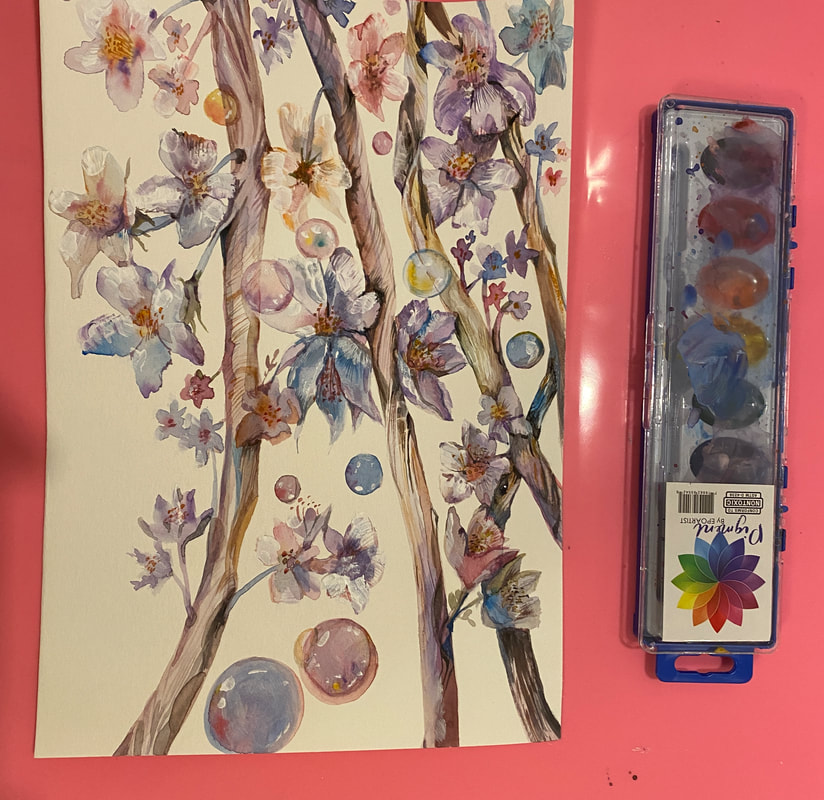 First, without sketching, draw a tree branch at once using a size 12 watercolor paint brush and a medium size brush. 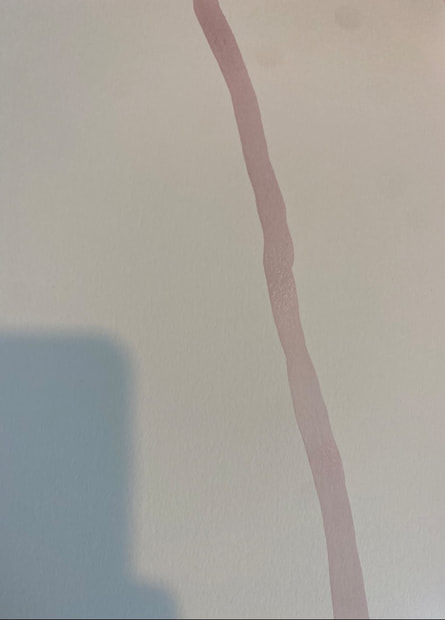 Again, create a contrast of medium, dark tones. 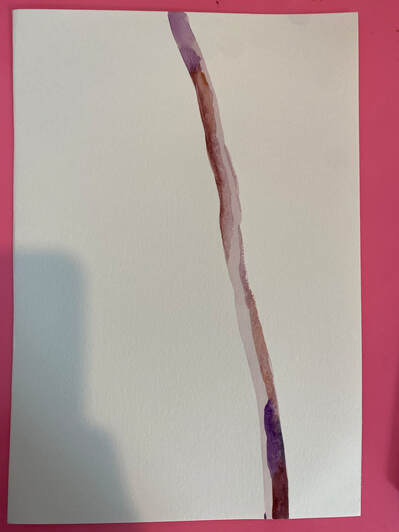 In this way, I also draw other branches and flowers. I also put bubbles between the branches. 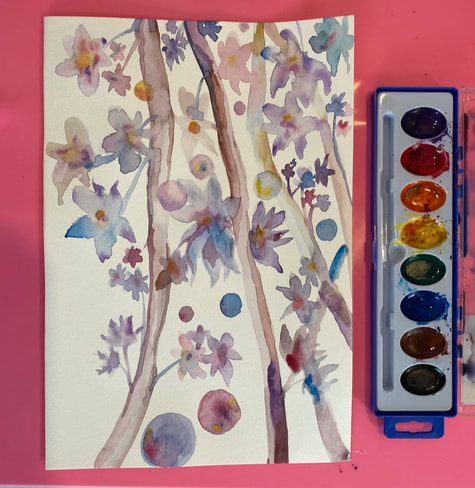 Then, in my case, I used white acrylic paint to process the highlights. 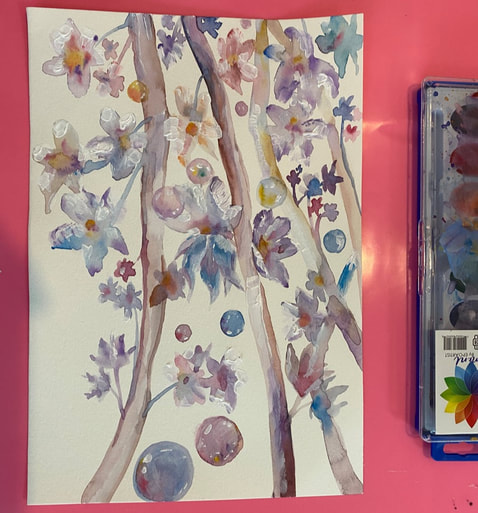 Finally, complete the details. 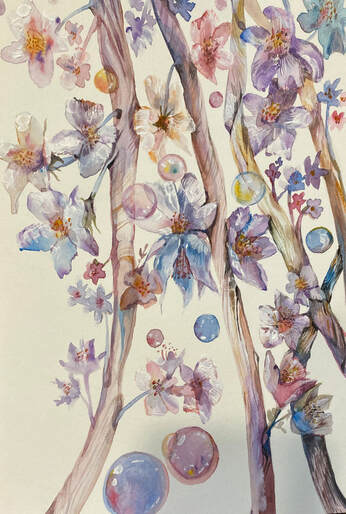 The finished look. In this way, I use $1 watercolor paints to paint every day if possible, and record my daily life as a picture in this year. 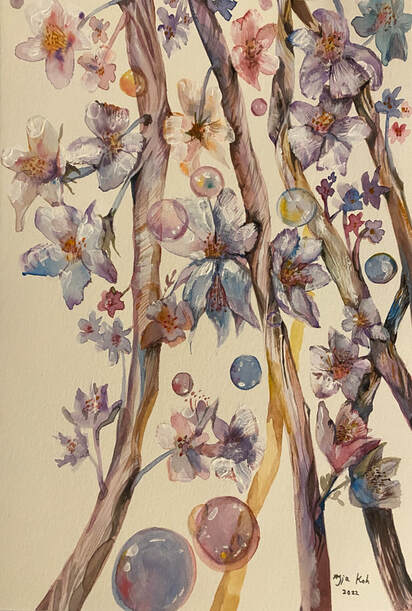 Below is a picture my daughter drew while looking over my shoulder at the picture I drew. My daughter drew it so quickly and easily. While I'm holding on to this little piece of paper and drawing, she draws at a speed of about five minutes and gets up and plays. It's a really enviable ability. 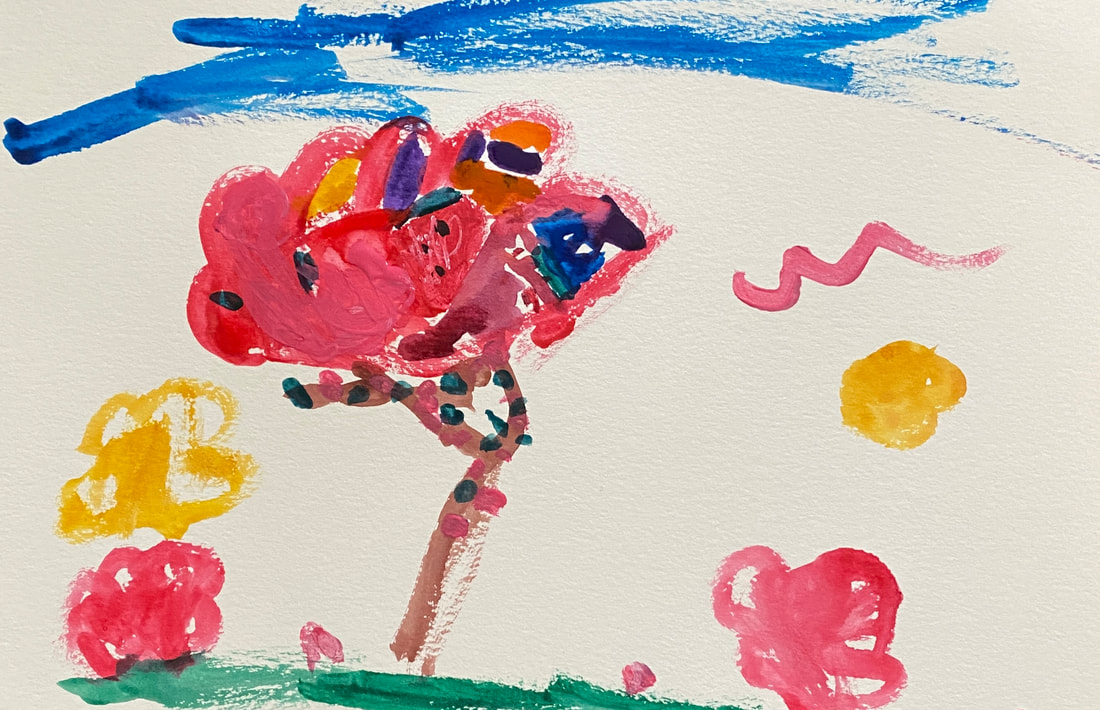
0 Comments
 The making process of Bubble and Children. It is a sunny day. I have a sign of experiencing firsthand that spring has finally arrived after a long and cold winter that makes me cringe. That's the little plum tree in the backyard. There are times when this plum tree bursts its flowers like popcorn. That's when spring begins. So I always look forward to the white popcorn-like flowers of the plum tree. But today, the plum tree in the yard has finally turned into popcorn. The beautiful scenery was captured in photos and also in the eyes. I started painting with joy. Today's drawing is Bubbles and Children. 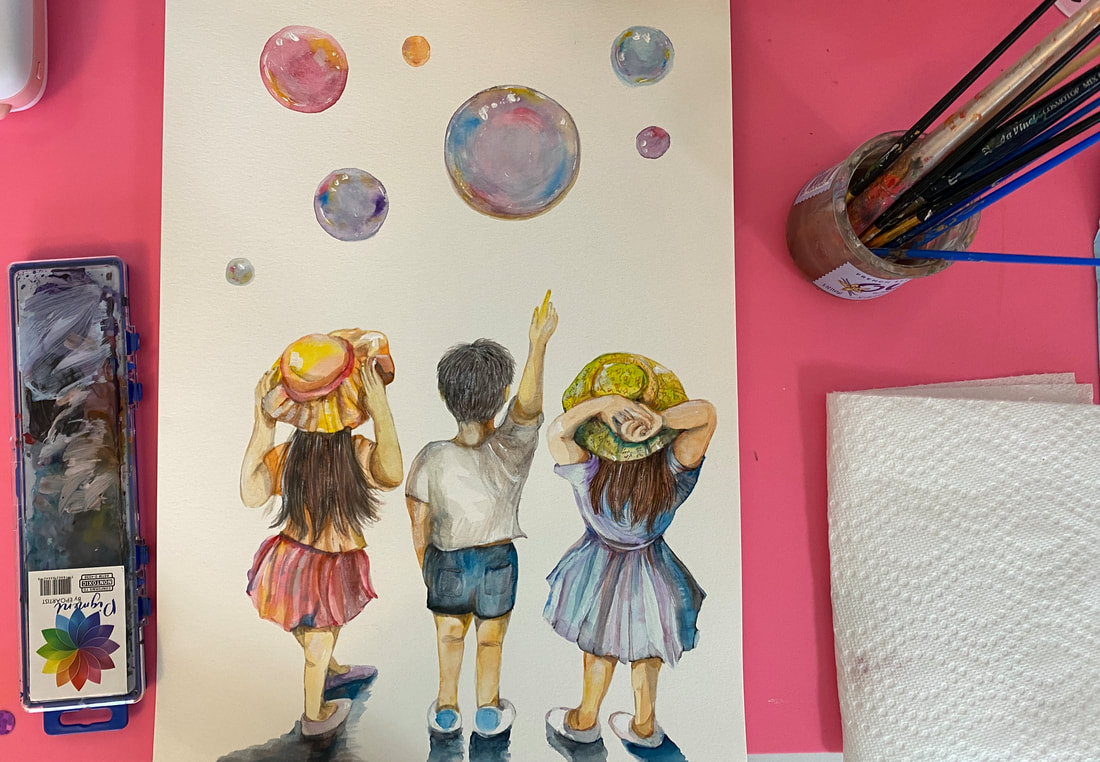 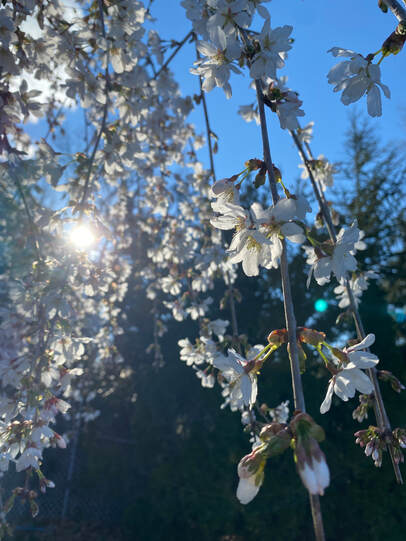 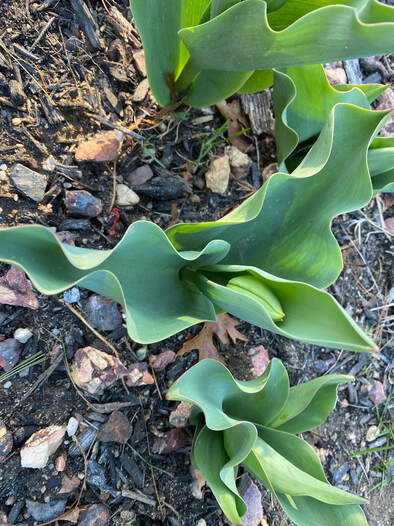 First, make a slightly darker sketch with HB Graphite Pencil. I made the outline a little stronger because I wanted to give the impression of a children's storybook. 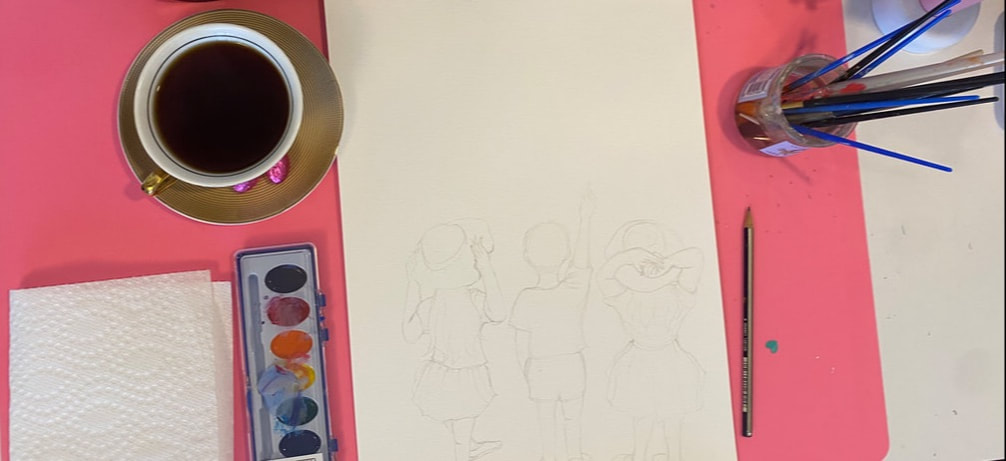 The space above is left blank for bubbles. I'll start without a sketch as the bubble should give it a clear feel.  Mix a lot of water and paint in a light and bright tone. 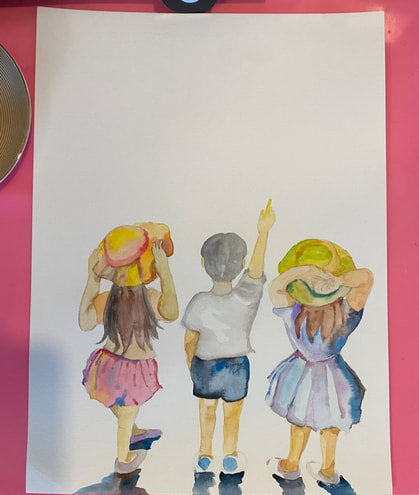 And it makes bubbles. Wet as much water as possible to create a transparent feel. But you should not let the brush go through several times. Draw it as if you only took it once at a time. 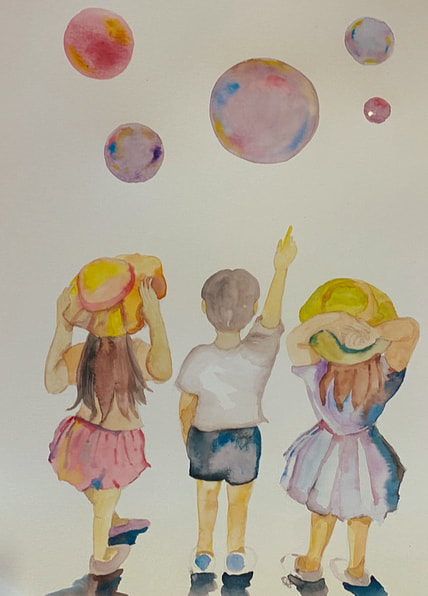 With a thin brush, draw the mid-tone areas while thinking about the details. 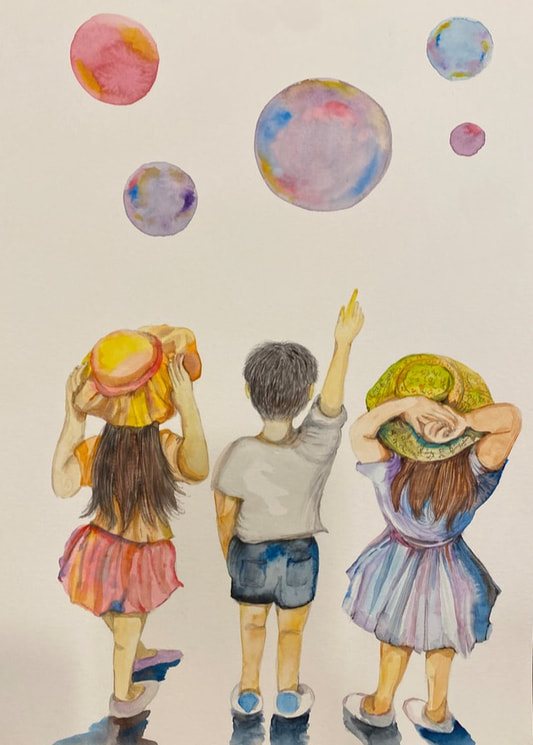 It handles the darkest accents and highlights.  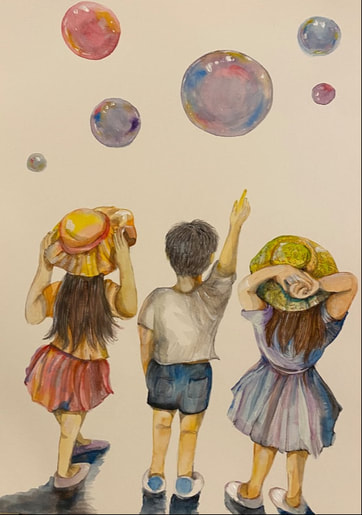 This is the finished picture.   The making process of Bubble and a playing fish. Today, I drew a bubble and a playing fish as one of my painting projects with one dollar water color paint. 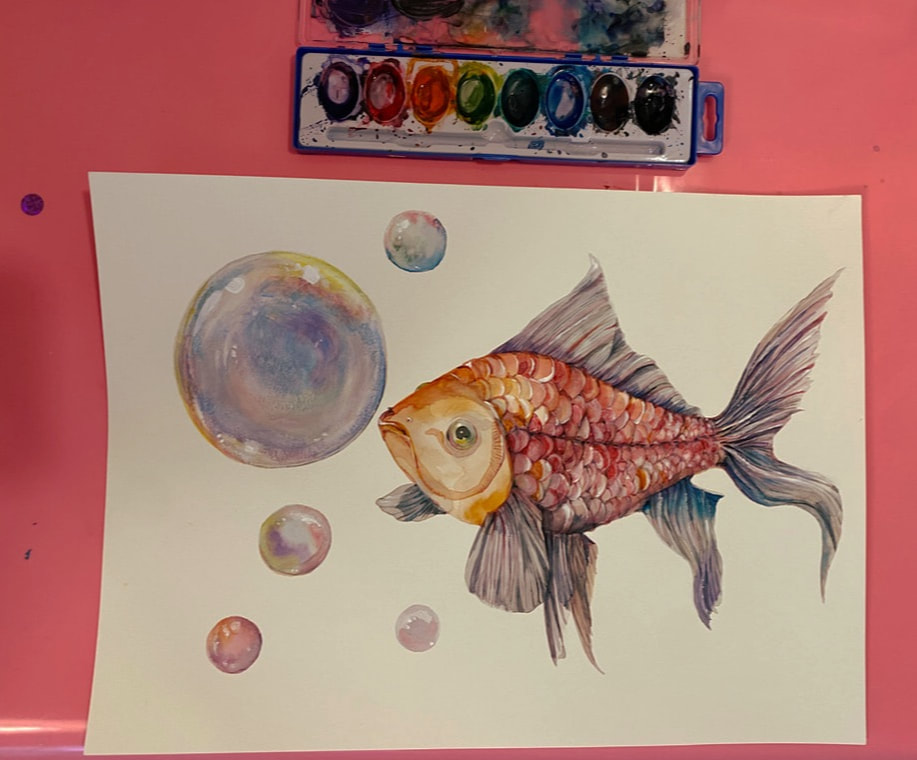 The necessary preparations are very simple. All you need is a $1 water color, a cup for washing water, a brush, two piece of kitchen towels and a cup of tea. (Palette used as a $1 water color lid) 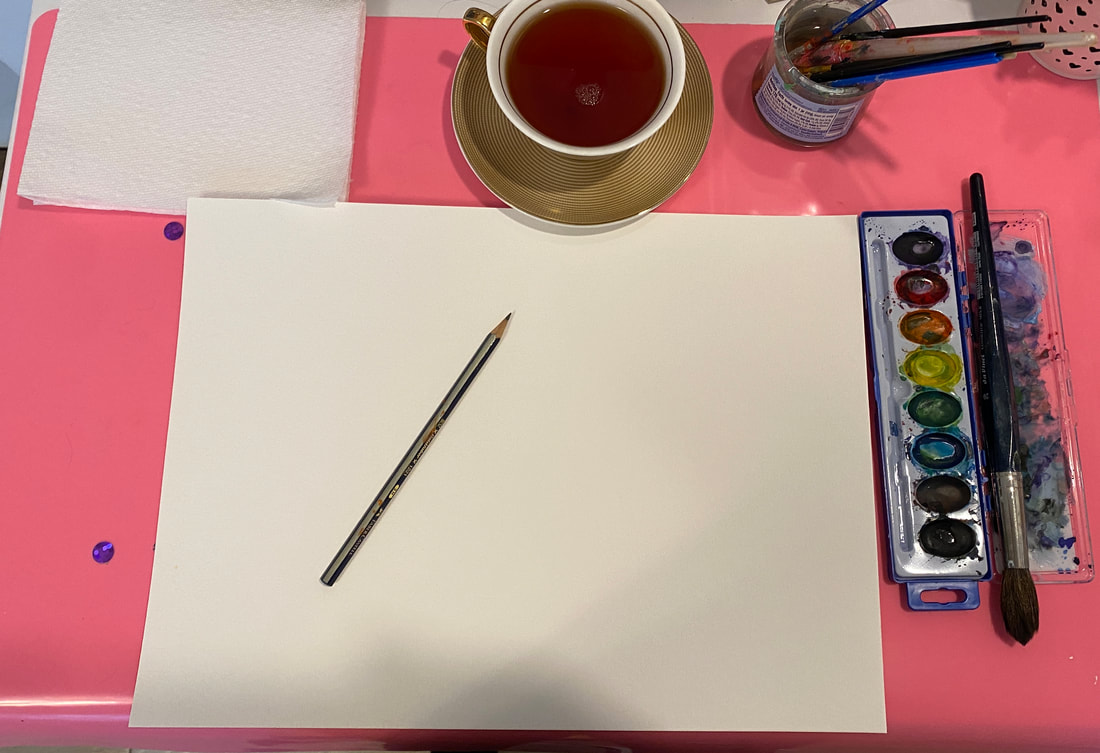 When I finish thinking about the picture, I simply sketch it with the 2H pencil.  Start with the lightest color, then paint in the middle color and then the darkest color. 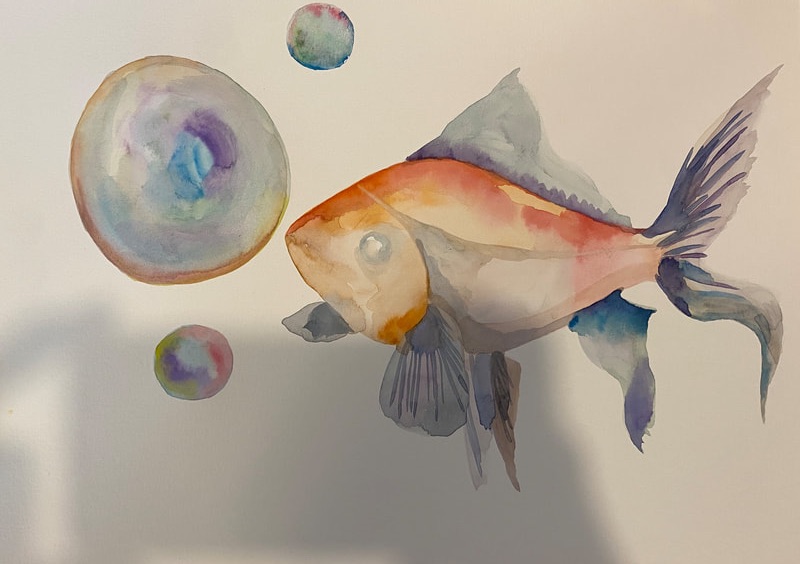 While painting the middle color, I paint details such as eyes from time to time. 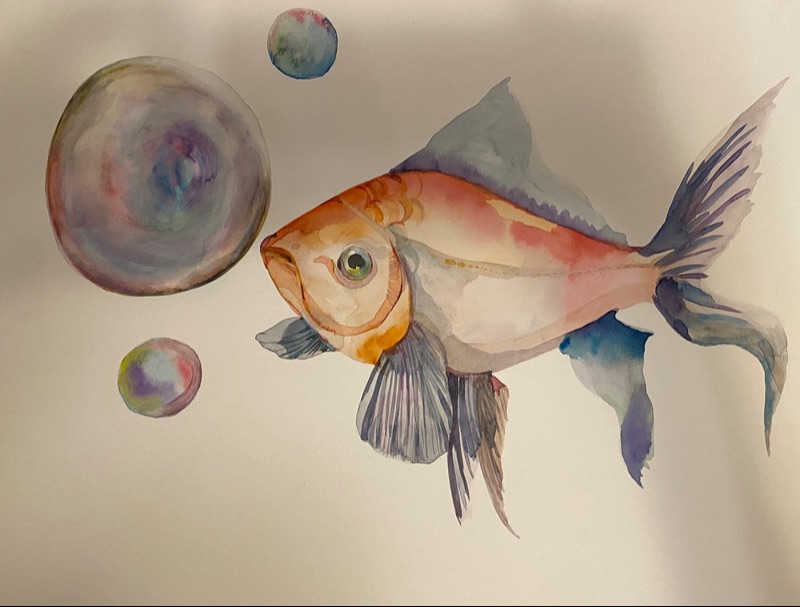 I do not repaint the bubbles often because I need to express them as clear as possible. I finished this part first. 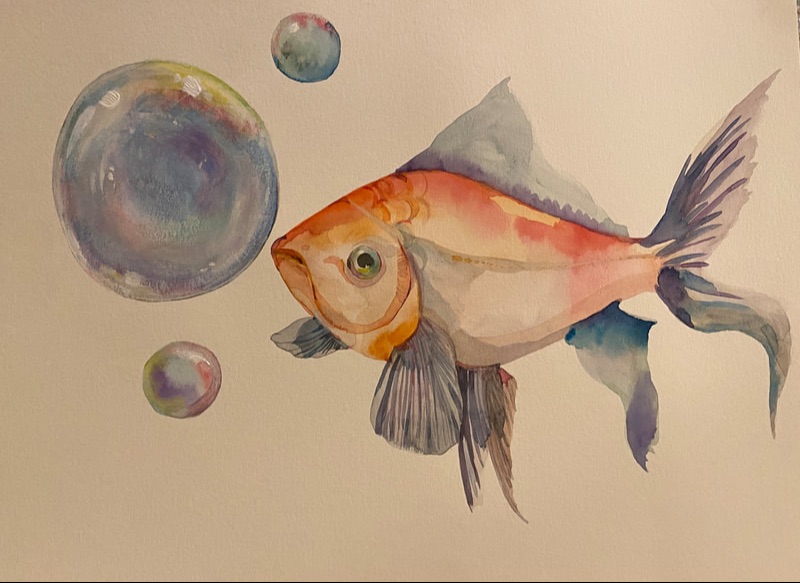 Draw details such as fish fins, gills, and scales. 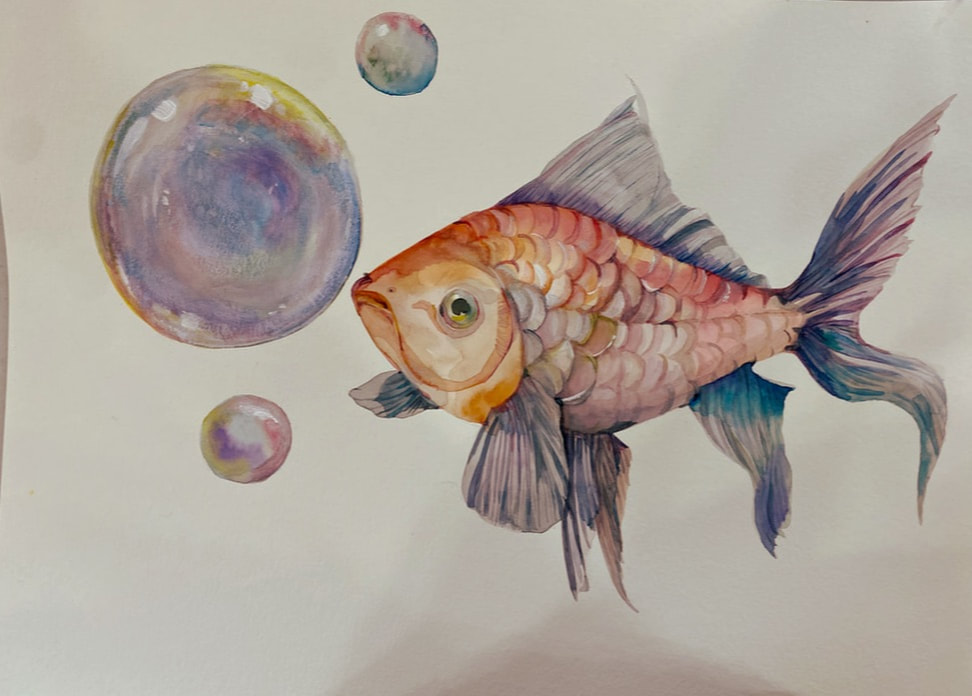 It is a painting that is about 80 percent finished. 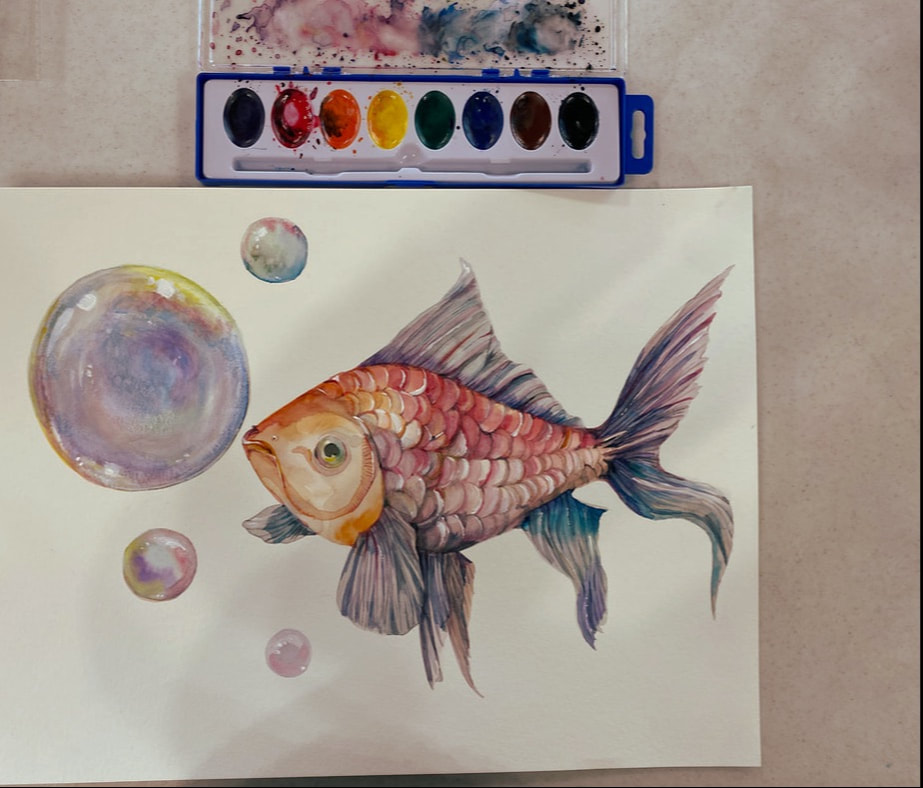 Use the thinnest brush to draw the scale and fine details of the fins. They were drawn one after the other as if the cells were differentiated. 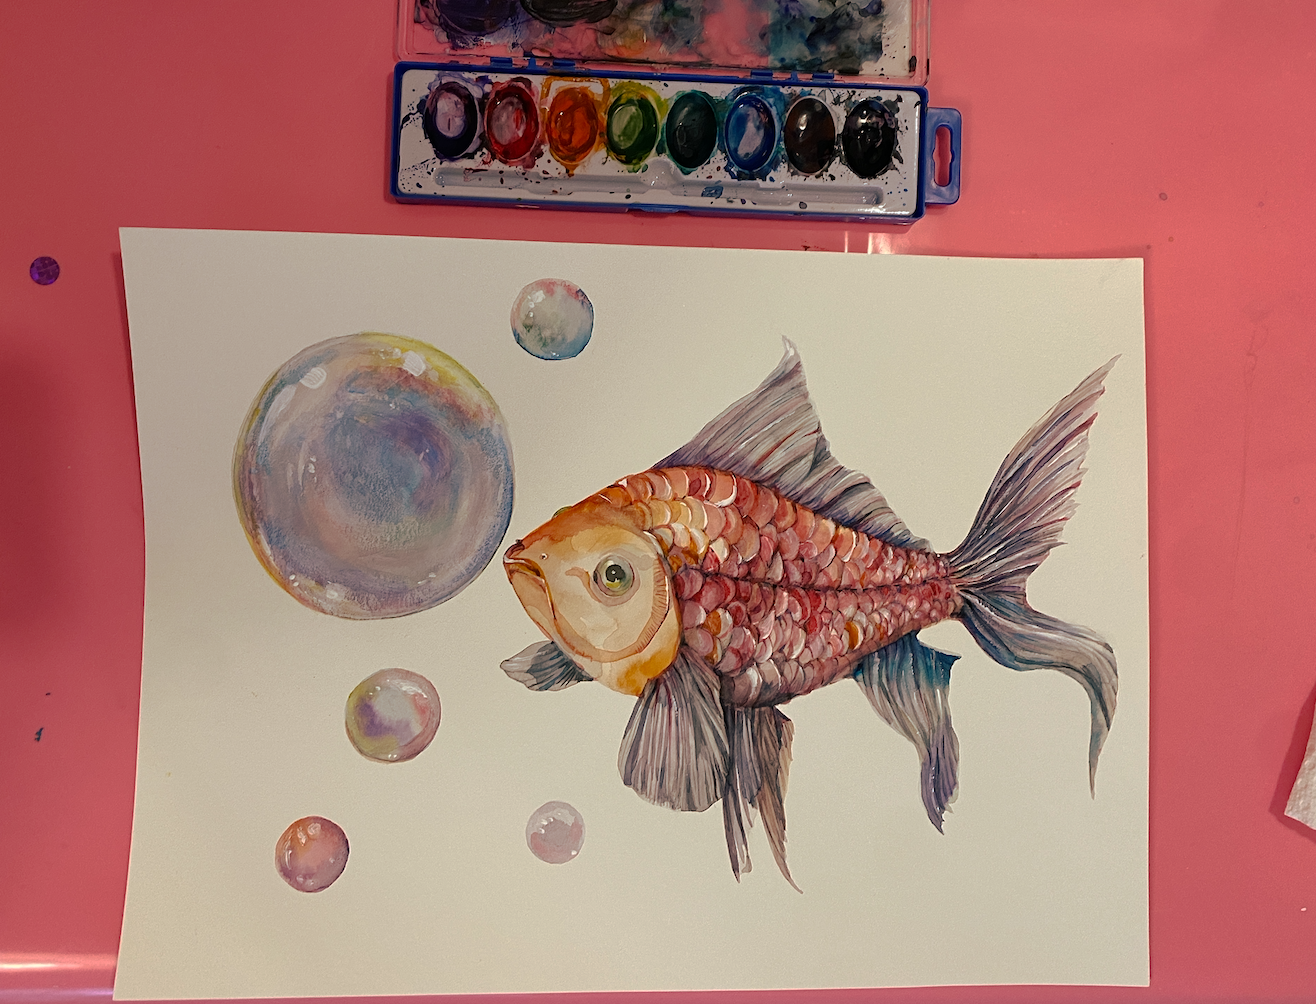 I rearrange the details of the eyes and draw the side lines of the fish. 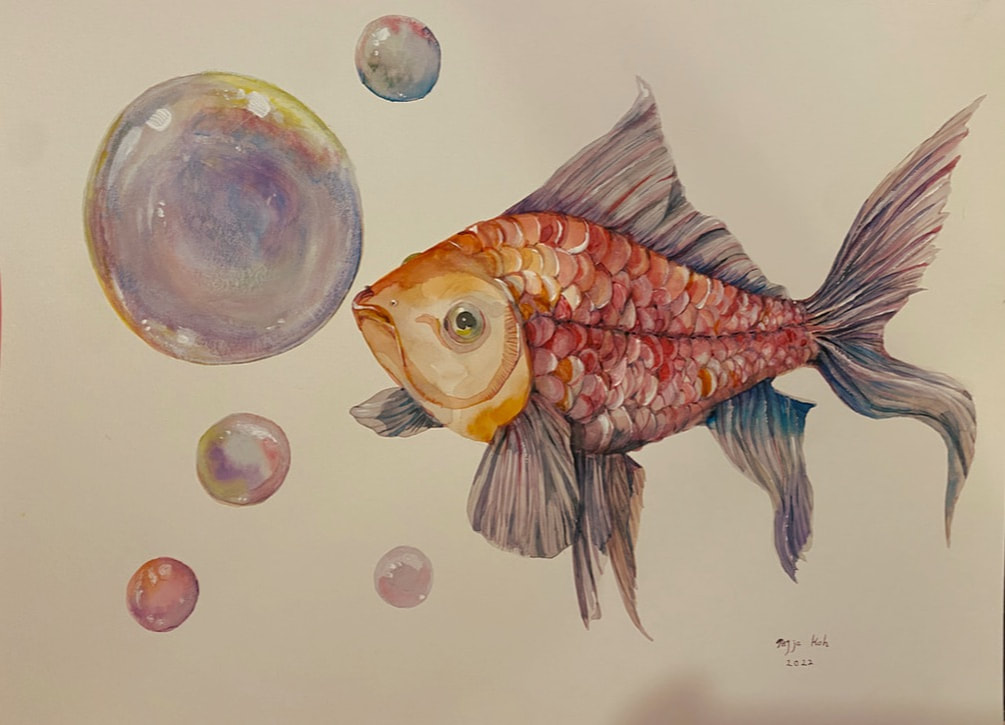 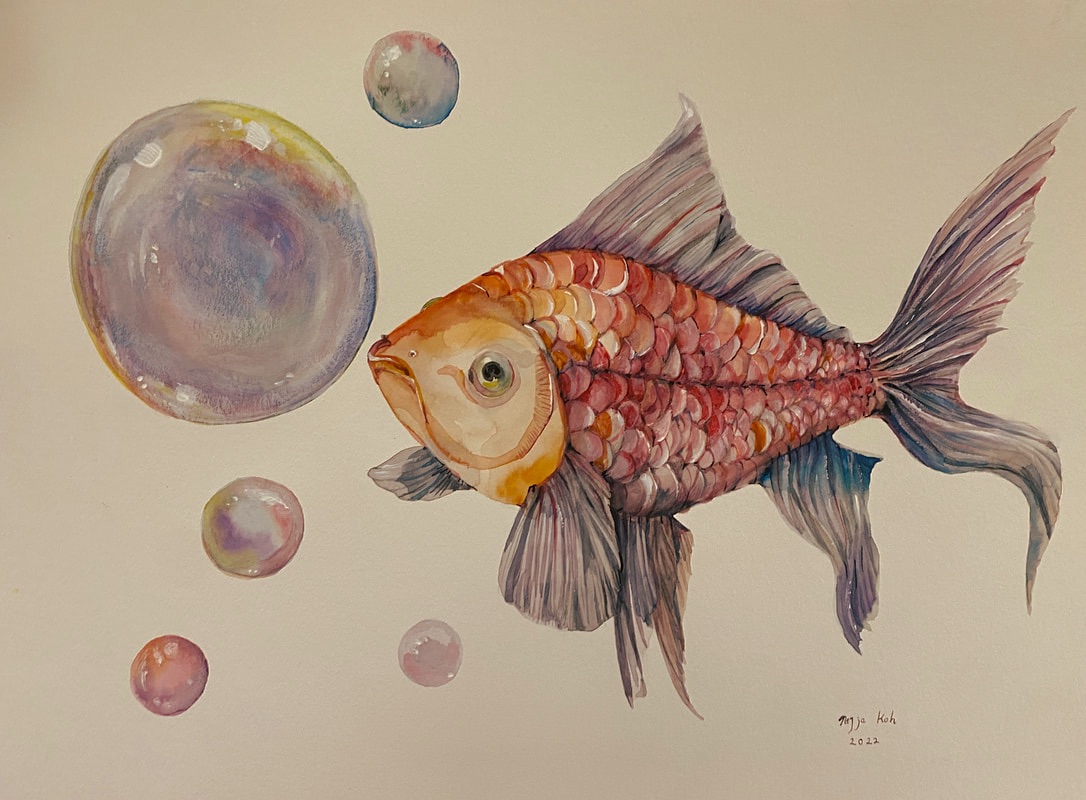 The review of Mini Printer.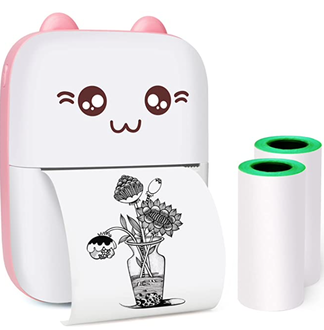
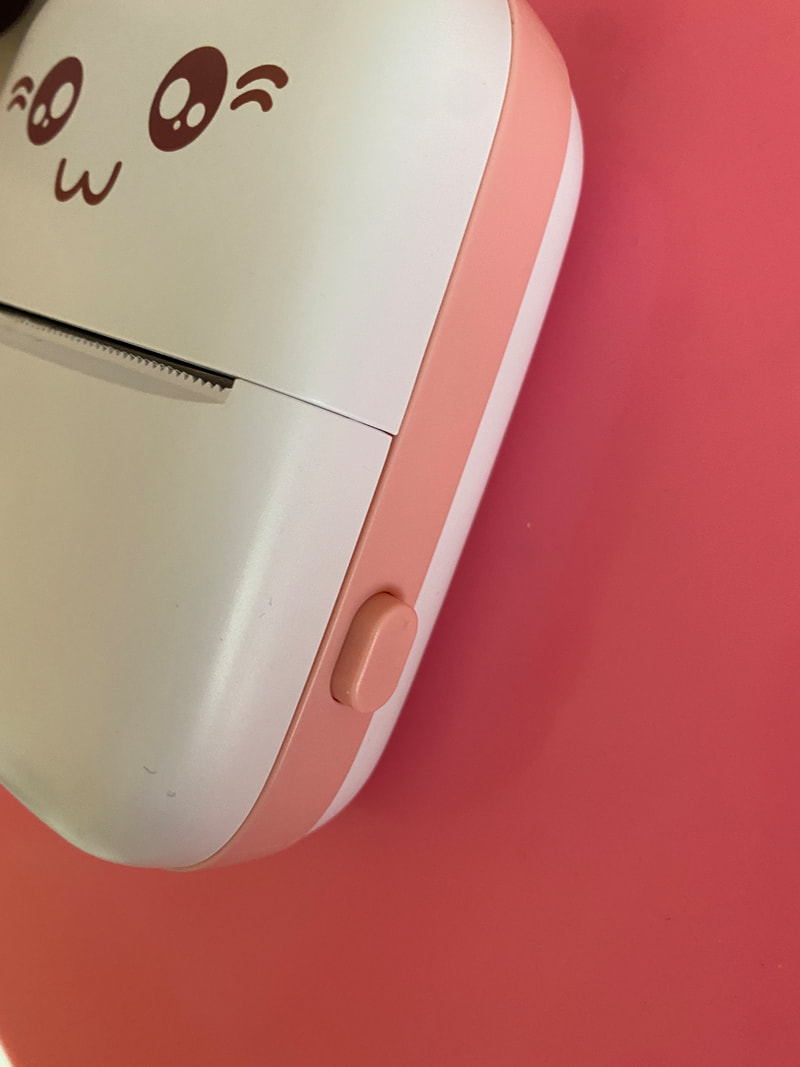
Recently, I bought a mini printer to teach my child the principle of a printer as a kind of toy.
A dot printer is an impact-type printer that prints characters or figures while applying a point impact on a ribbon soaked in ink, similar to the principle of a typewriter. An inkjet printer is a non-impact printer that injects liquid ink with a fine nozzle to fix it on the paper. Since this mini printer is dot-printing, no ink is required. It was not easy to teach dot printers to children because ink or laser printers are the trend these days. But through this product, I was able to tell children briefly.
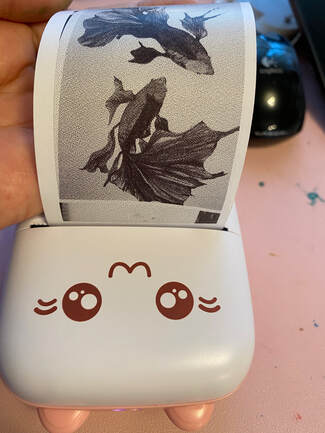
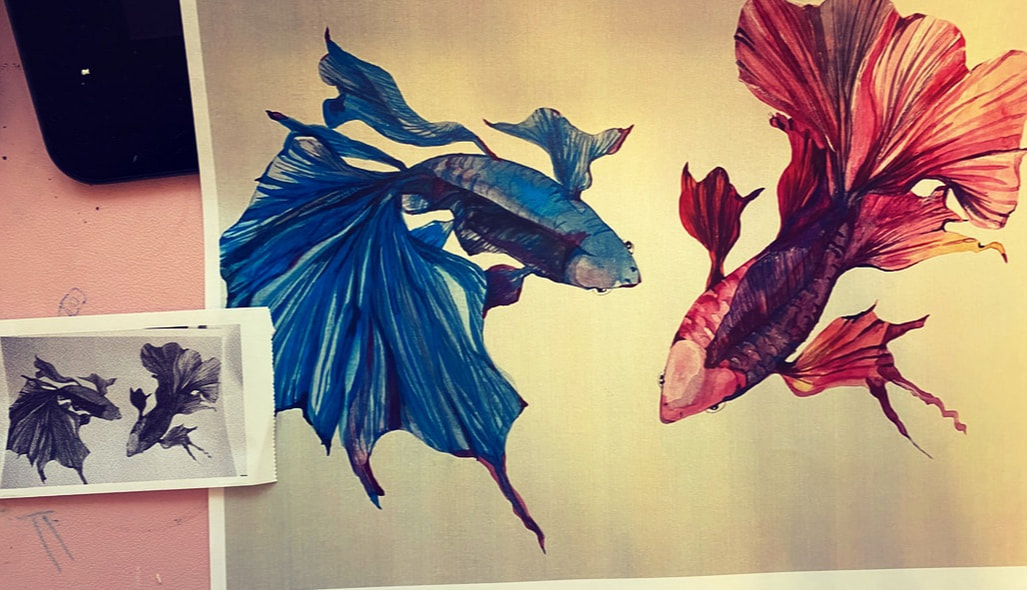
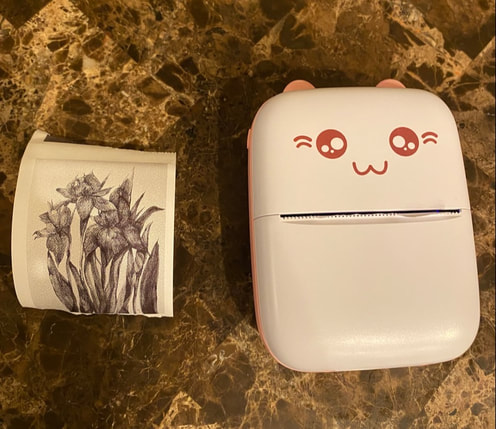
The one on the left is printed by a mini dot printer and the one on the right is by an inkjet printer.
I also printed the recently painted irises once.
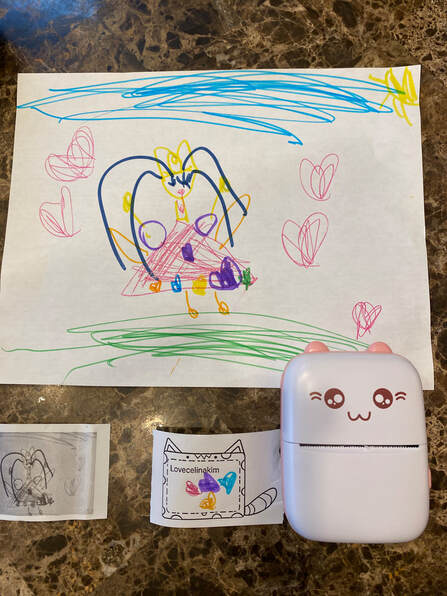
After explaining the principle and how to use it, my child quickly drew a picture on paper and brought it with me.
And I printed it with a mini printer. It's so much fun.
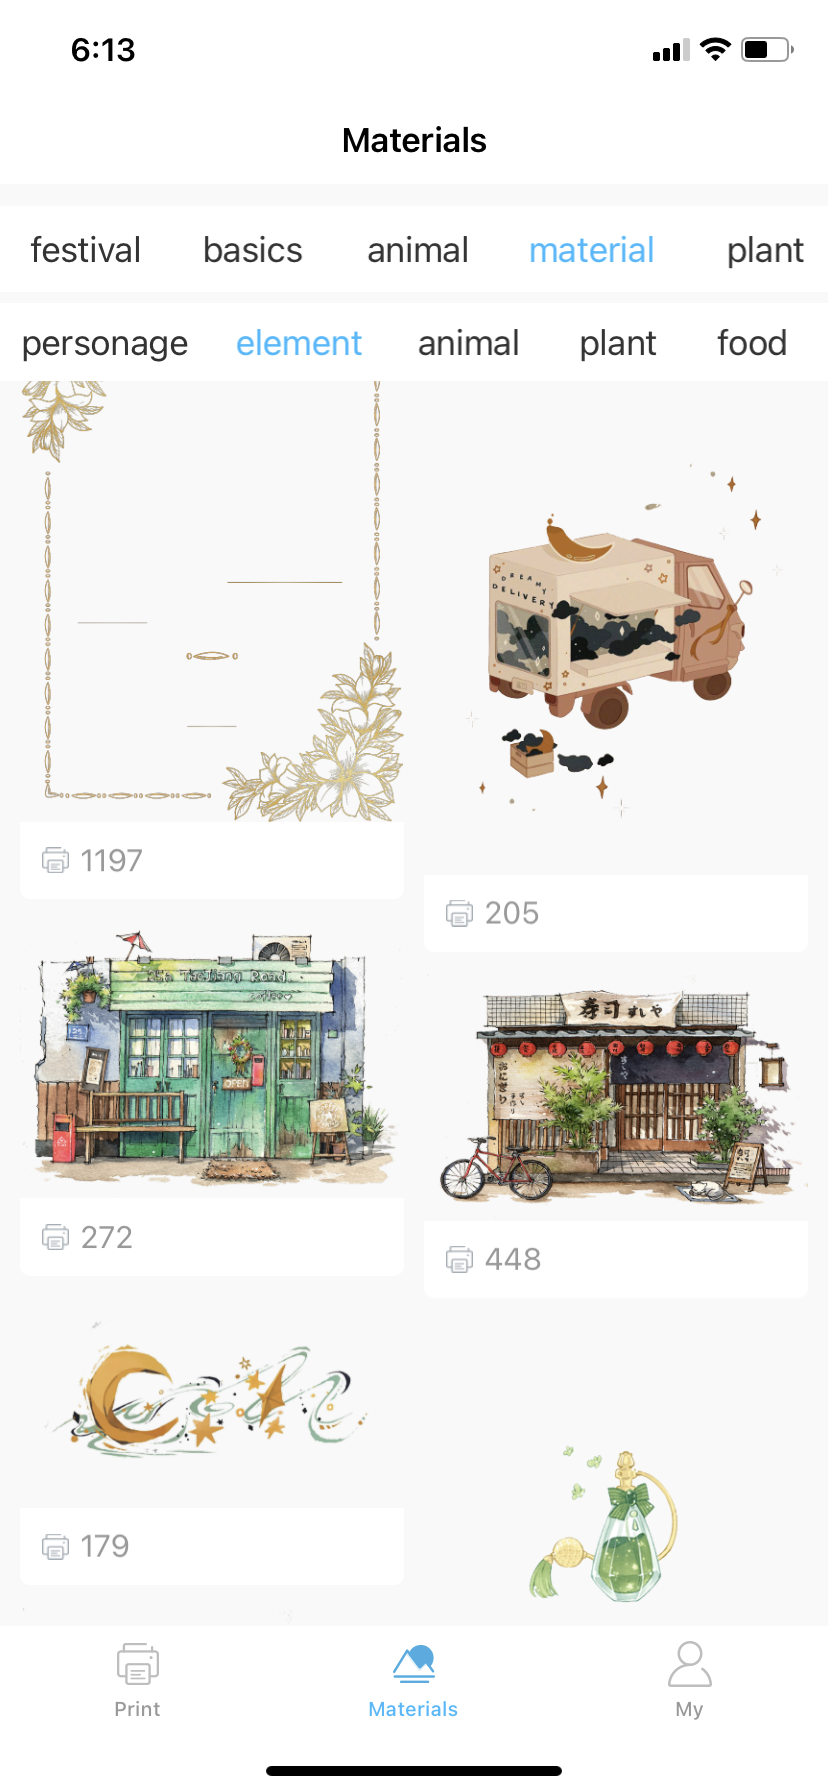
To use this mini printer, you need to go to the App Center and install the mini printer software called i printer on your mobile phone.

With Photograph button, you can take a picture and print it yourself, or you can load a picture you took and print it.
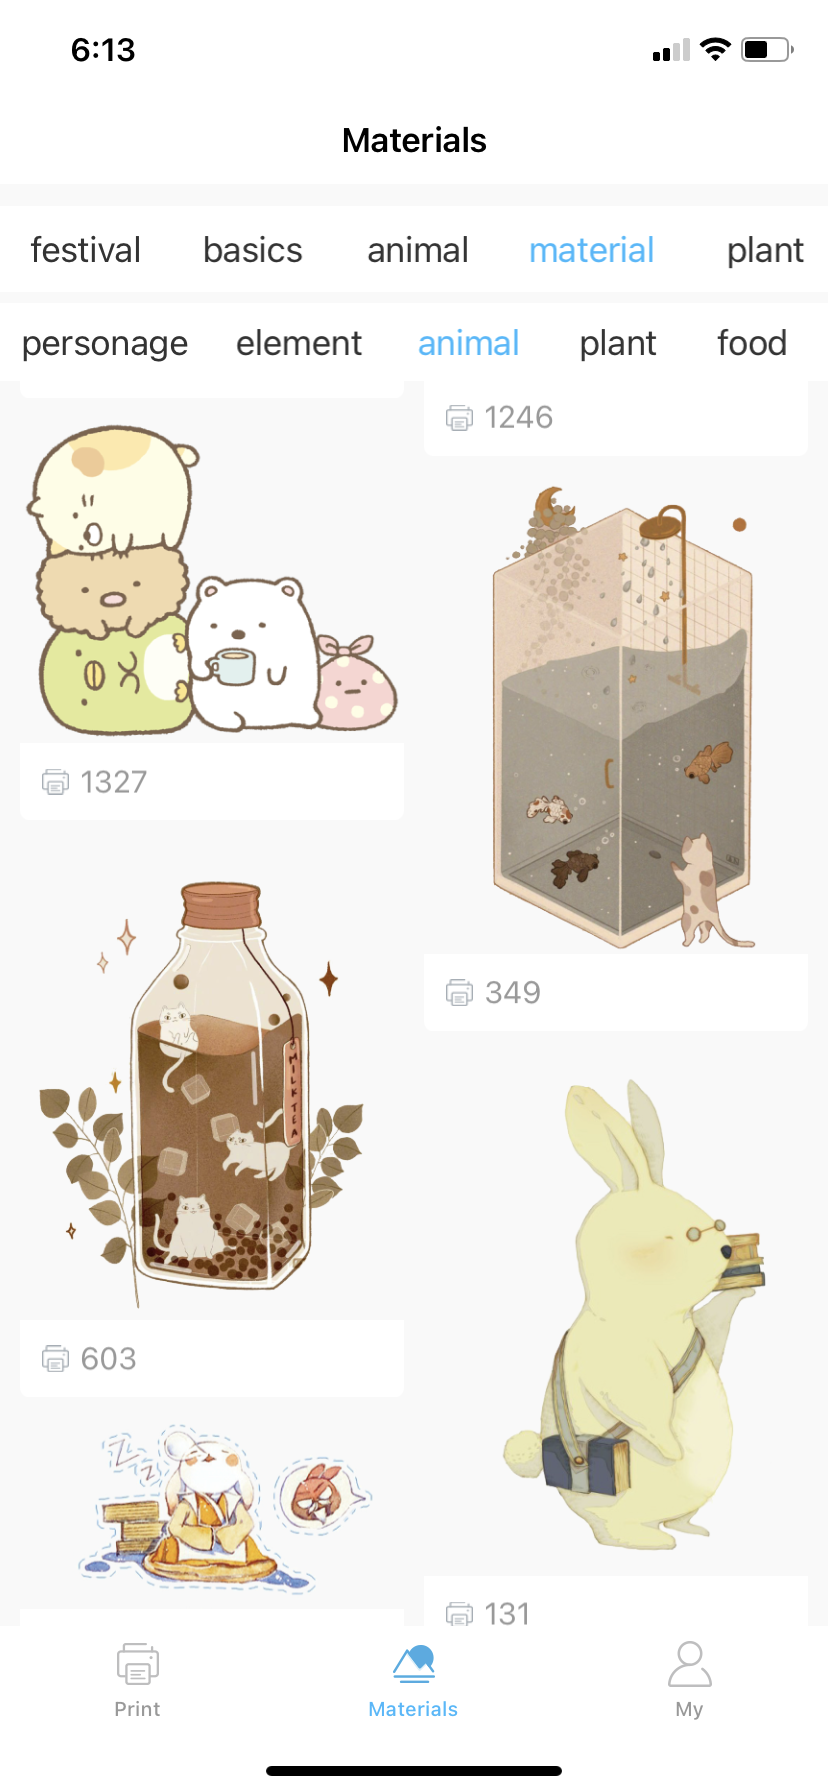
With Diary icon, you can also write your own diary or text and print it. Also you can make Sticky note, to do list and label print. If you go to Material menu, you can choose lots of characters and icons. 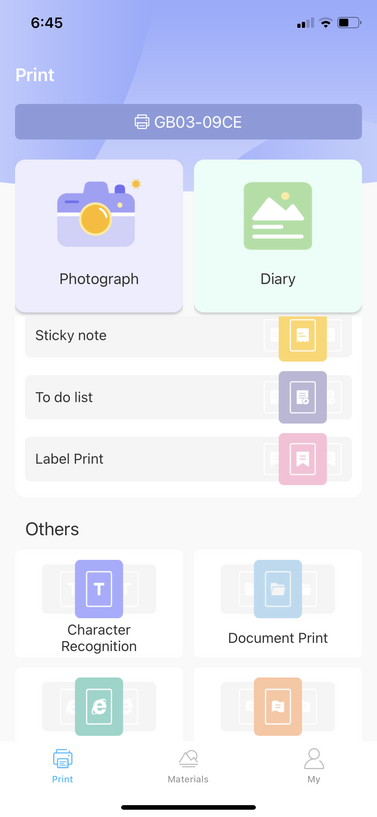
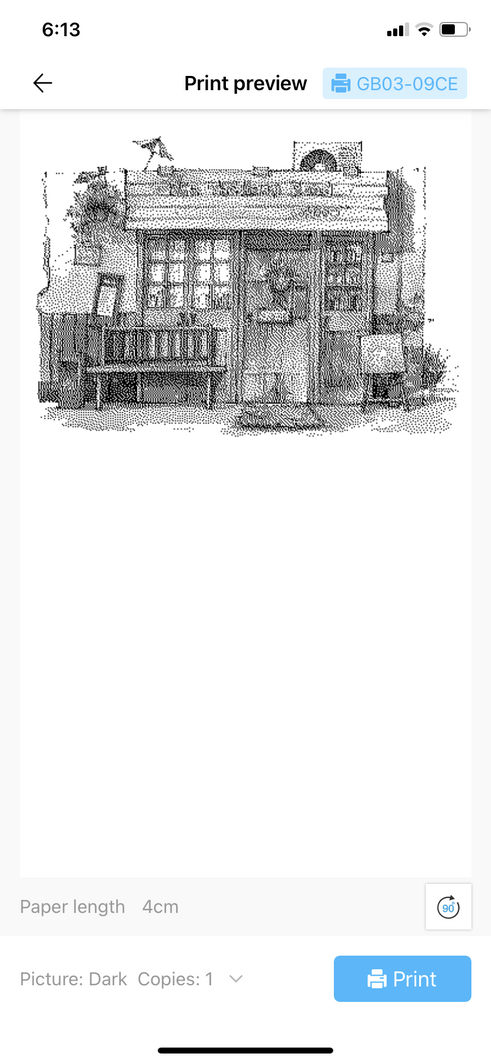
If you select one of animation, go to print preview screen. Next click the blue colored print button of the bottom.
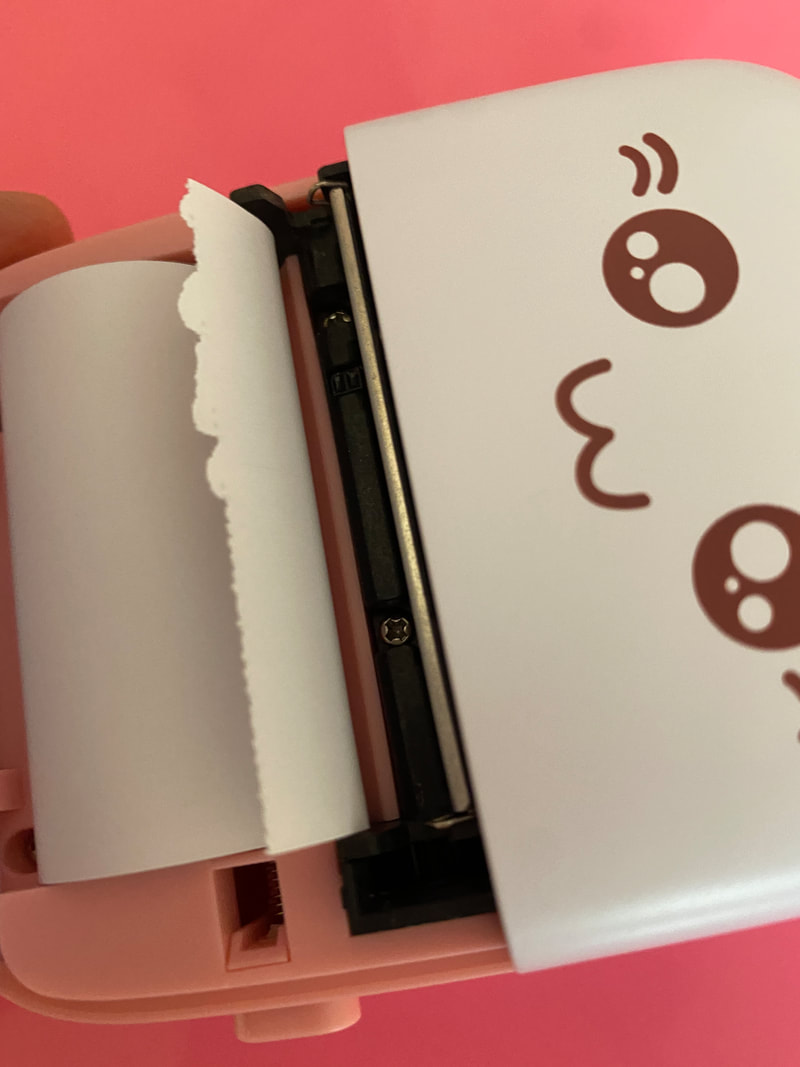
Here is the right button to open it and charge the paper. You can get extra one more paper in your product box. The product should be charged with USB.
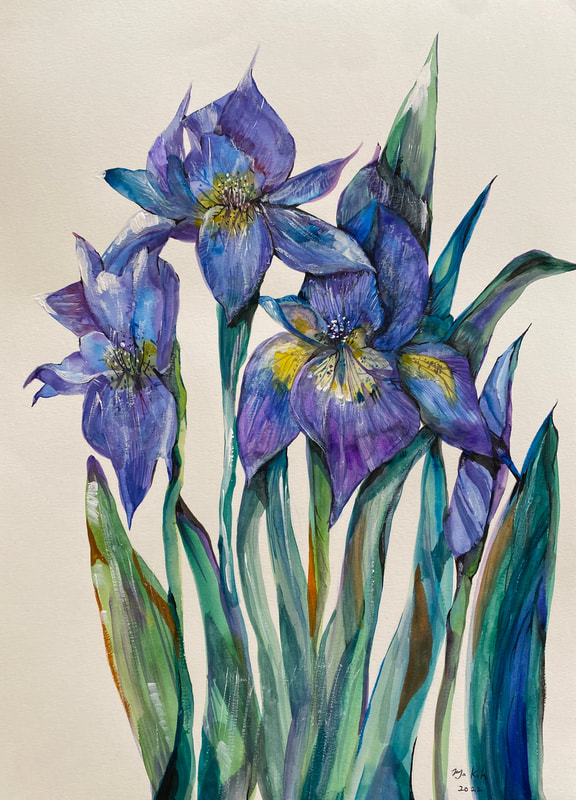
 Making process of Purple Iris. Today, I drew a purple iris painting while waiting for spring to come soon. I drew this as part of an ongoing project, drawing with watercolor paints for $1. 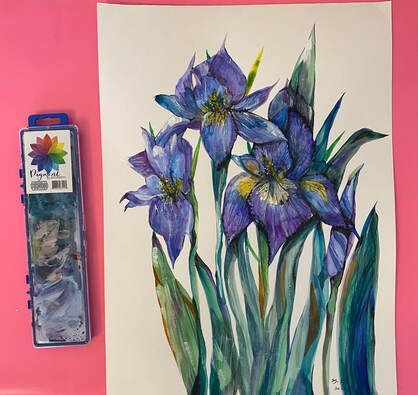 I am most excited when I set the table before painting. Because I am looking forward to seeing what kind of picture will come out. A painting is the result of countless coincidences, energy and concentration meeting each other. Today started with Chopin's music and a cup of black tea. Because of the habit of always keeping black tea close to the brush water cup, sometimes I drink black tea with paint instead of water to wash the brush.  I lightly sketched with a 2 HB graphite pencil. 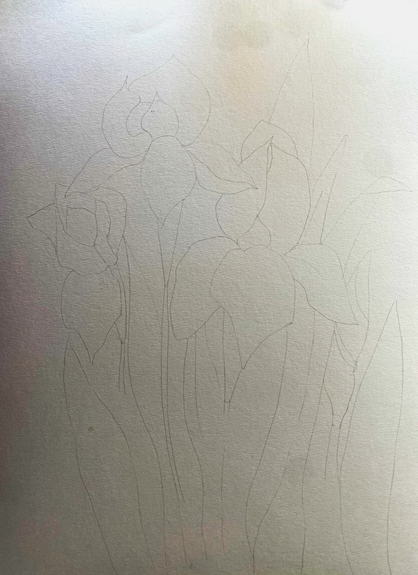 Let's start with a lighter color. This time, I tried to adjust the light density. If it starts too blurry, it doesn't look like the purple I was expecting, so I increased the density a bit. 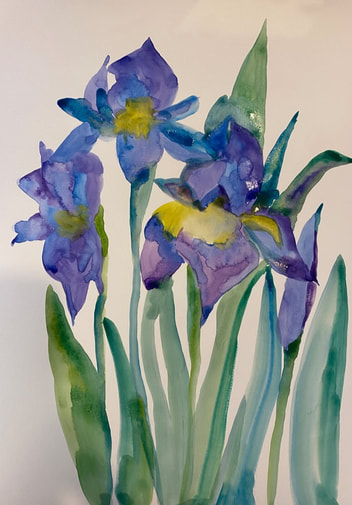 Then, with a fine brush, I finish the middle and dark areas and finish the details. 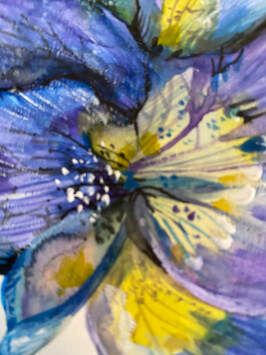 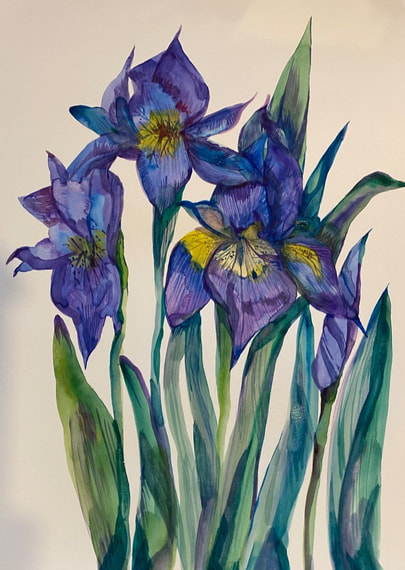 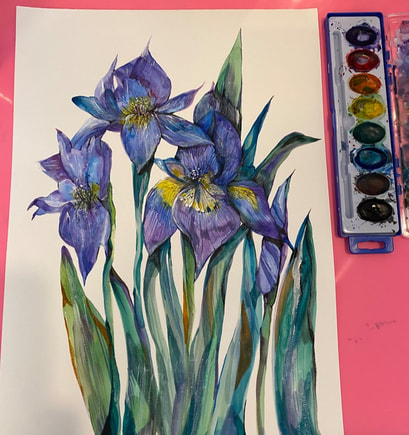 Here, I expressed the highlight with white acrylic paint. 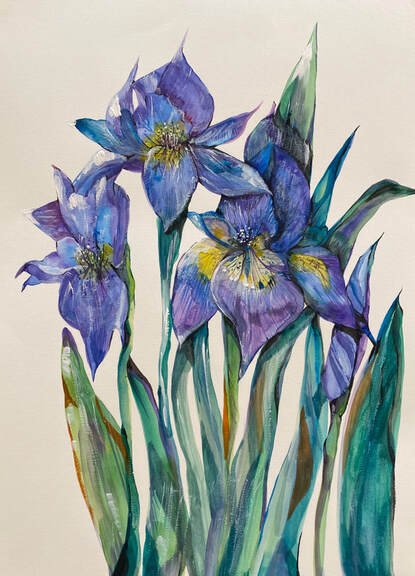  Thinking about the overall balance, adjust the density again, and finish by arranging the details. 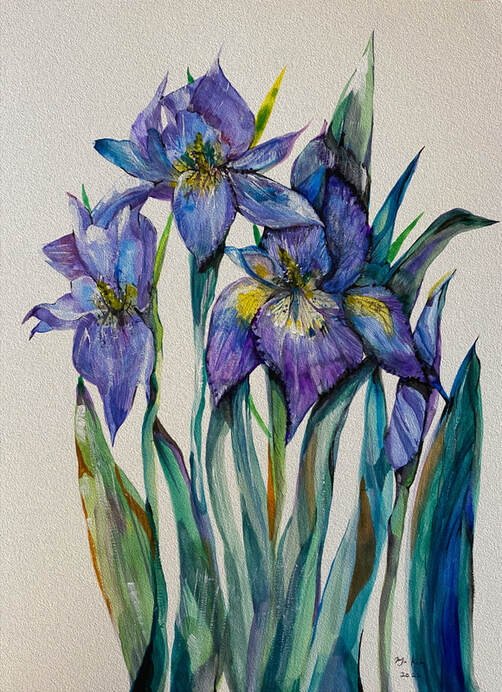 |
Myungja Anna KohArtist Categories
All
Archives
April 2024
|

|
Tutorial |
 RSS Feed