Let's decorate the beautiful outer space with PhotoshopIn a previous post, I made a simple gallery image with Photoshop. Here, I will create another universe by combining the picture of the moon and the gallery picture I made last time among the pictures I drew today. (Go to previous post!)
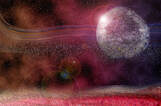
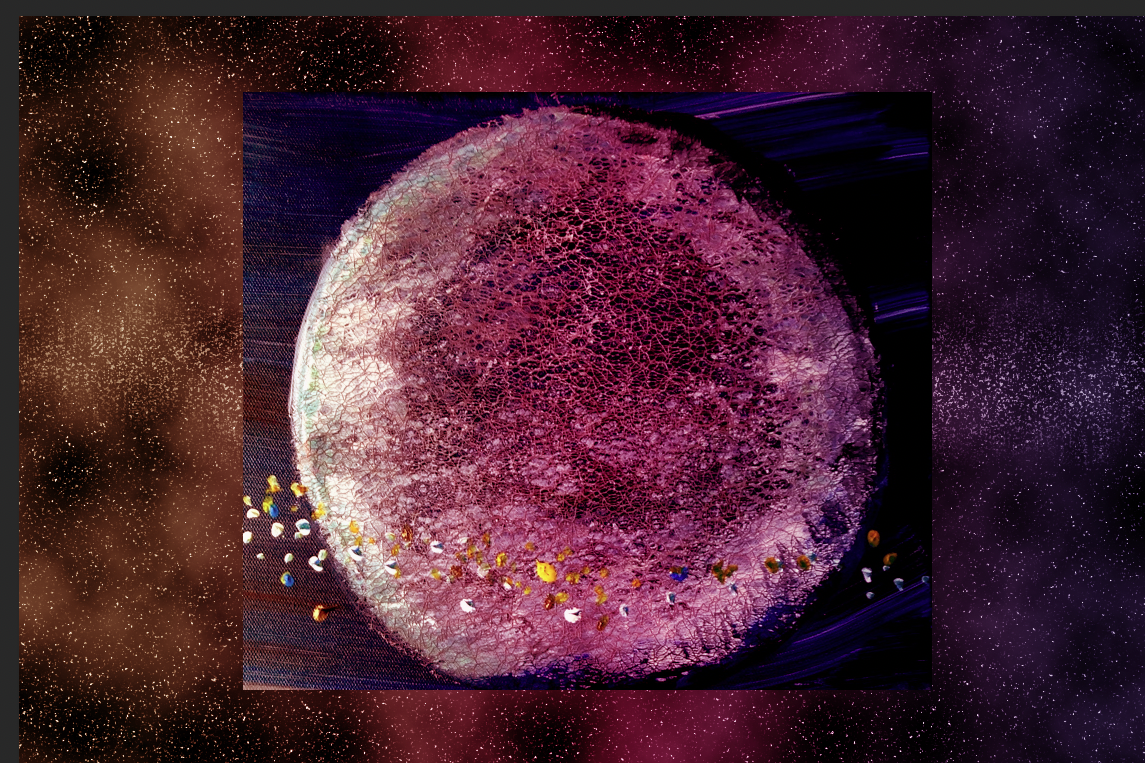
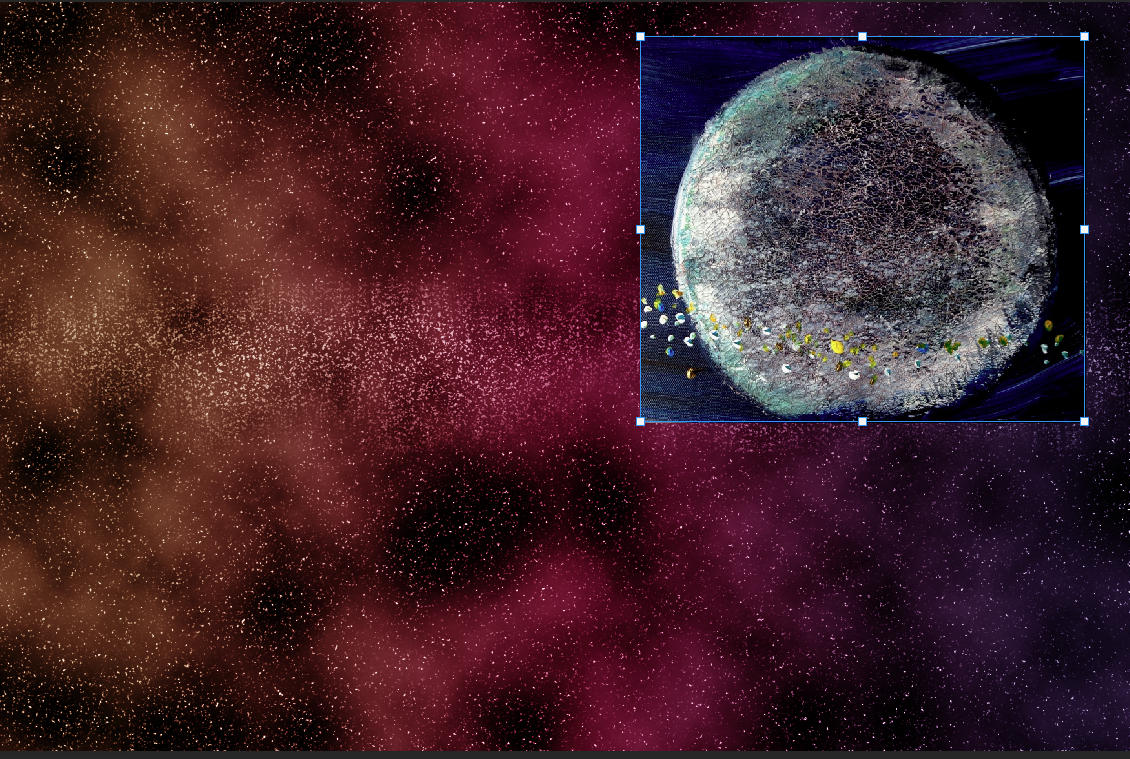
The first, materials are PSD file with Galaxy work in advance and a file image to be loaded with the moon draw. 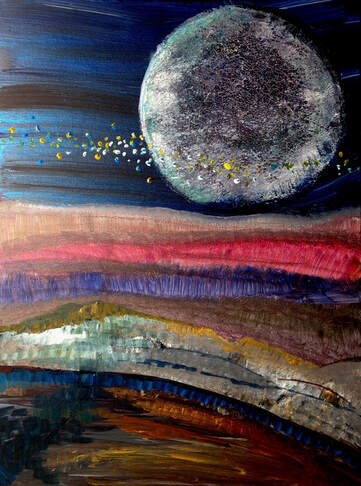 A moon goes here, 2015, Acrylic, Myungja Anna Koh The above picture is one of the pictures submitted during the first exhibition in New York in 2015. I painted it with acrylic and remembered the moon and the angle I saw the moon in my dream. I try to create another universe by inserting this picture into the Galaxy image I worked on within Photoshop. First, open Photoshop where you created the gallery image and load the image of the moon above. Select only the moon area of the imported the image with the selection tool and copy it. 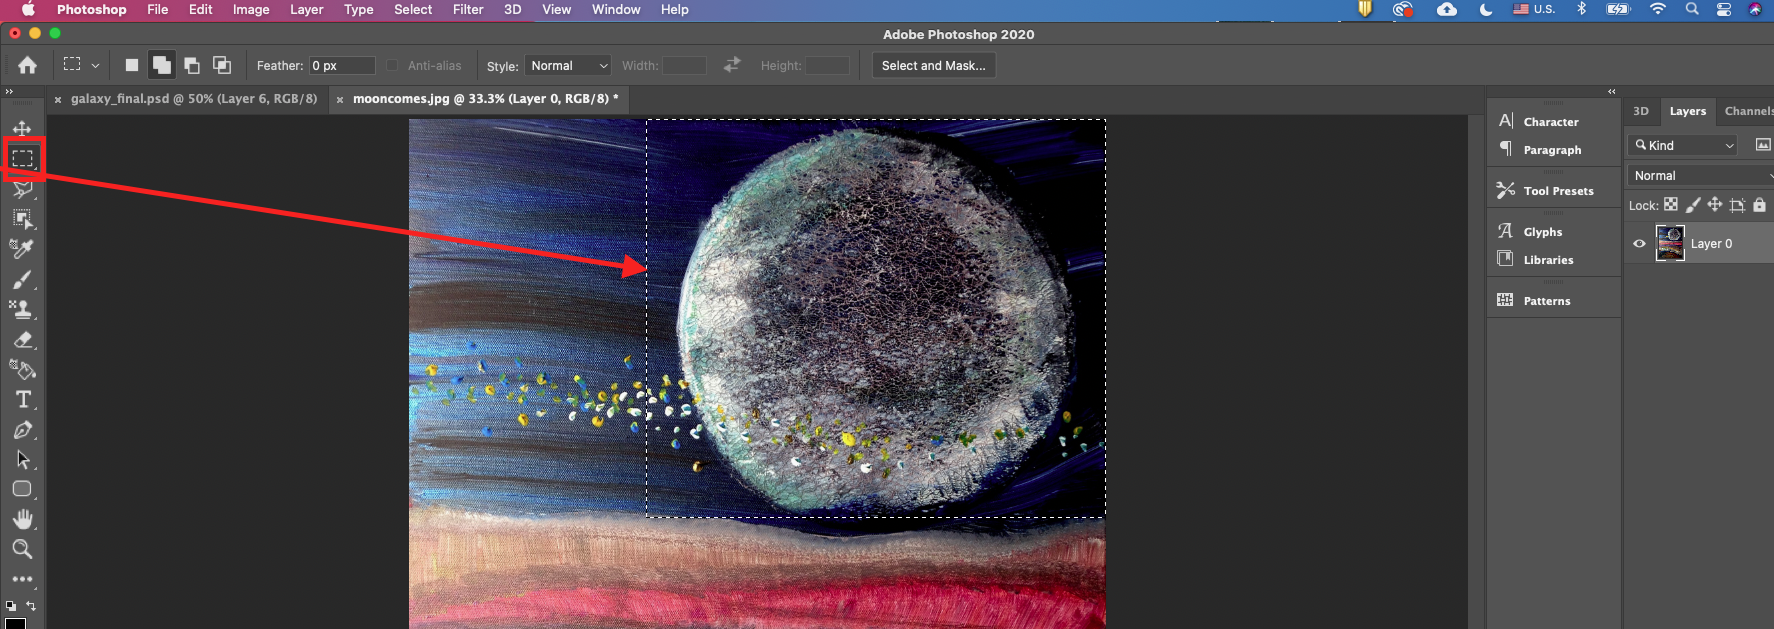 Then resize it and orient it where you want it to be placed as shown below.
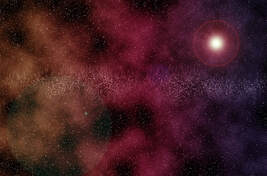
Then, click the drop-down menu to change the layer properties in the layer window on the right from normal to screen. (normal ---> screen) If you use this function, the two images will be blended naturally. 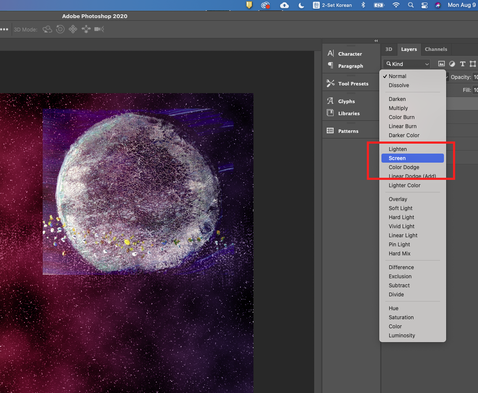 Use the eraser frame to naturally clean the surrounding edges. 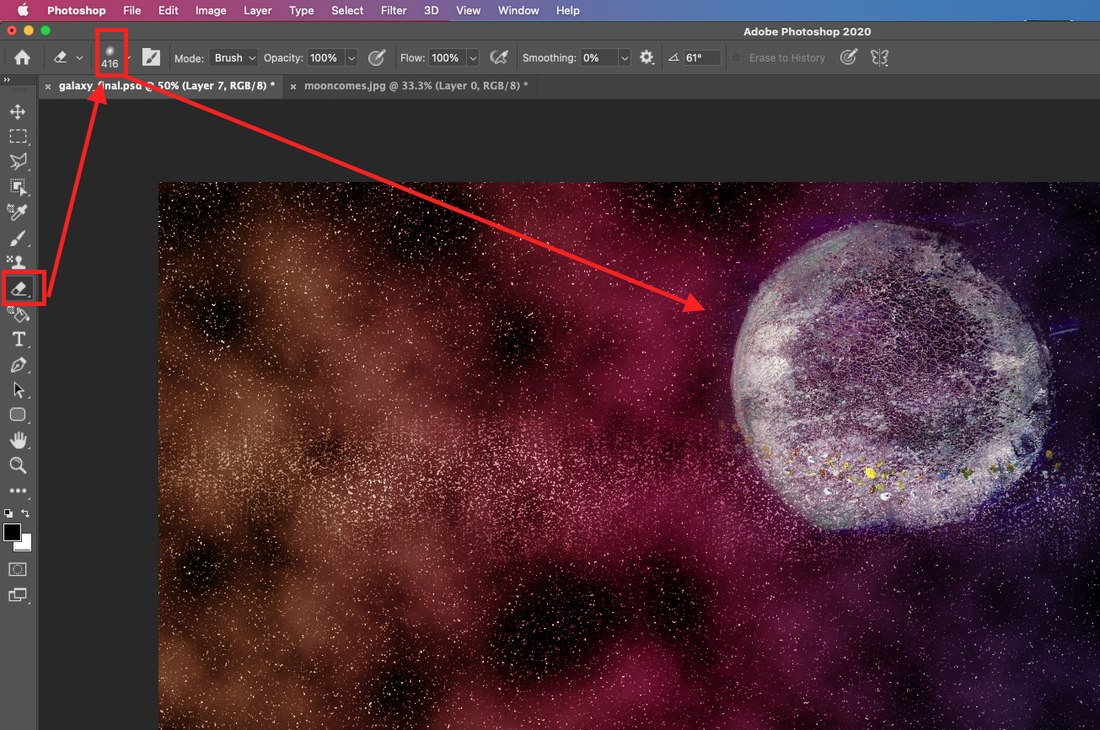 Now, I picked the moon from the sky and glued it all together like above. Then I need the land to look up to the moon. Return to the previous moon image again, pick up the ground part and attach it. 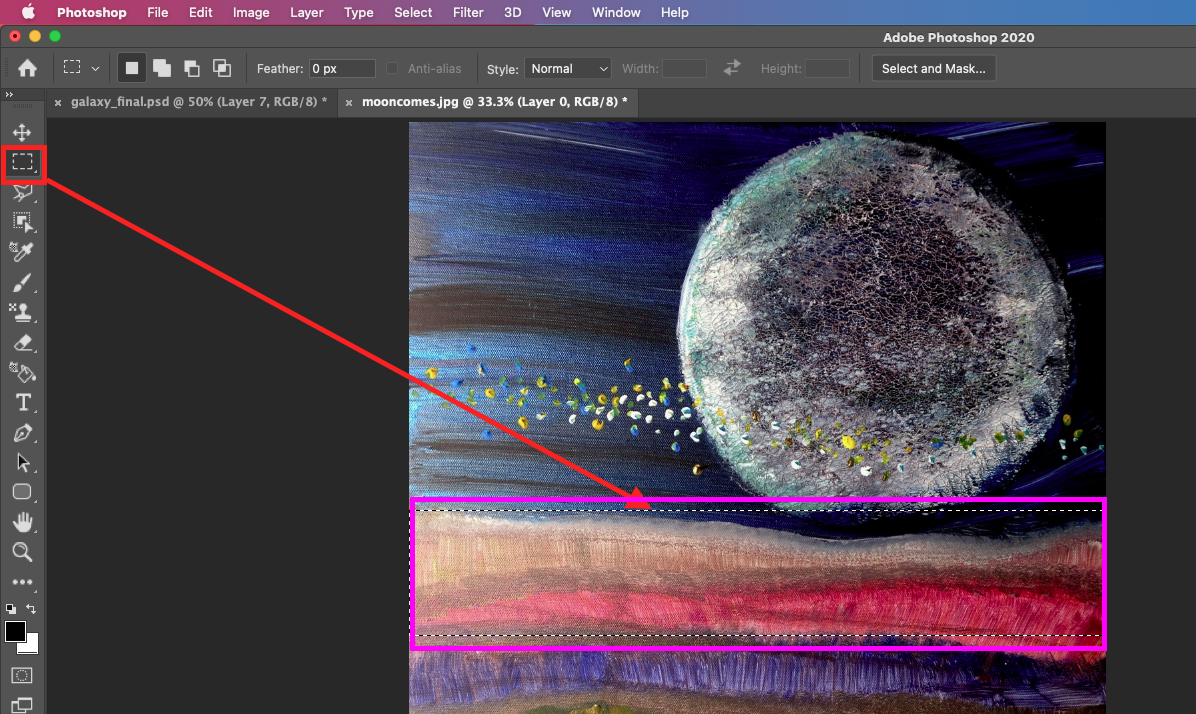 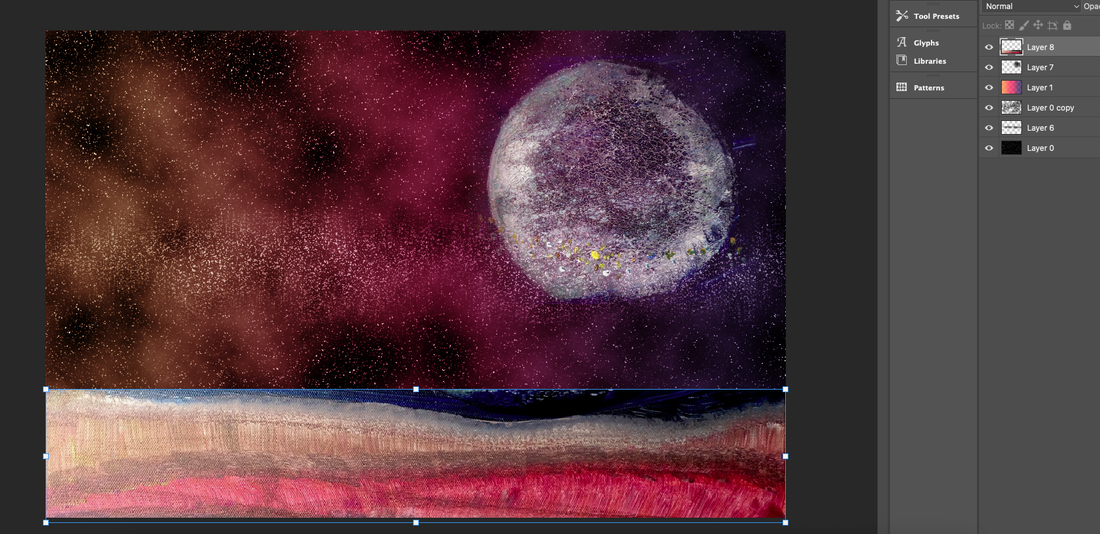 The ground part is retouched by the filter tool . Go to Filter menu and click the Style--> Oil paint and then adjust the value. 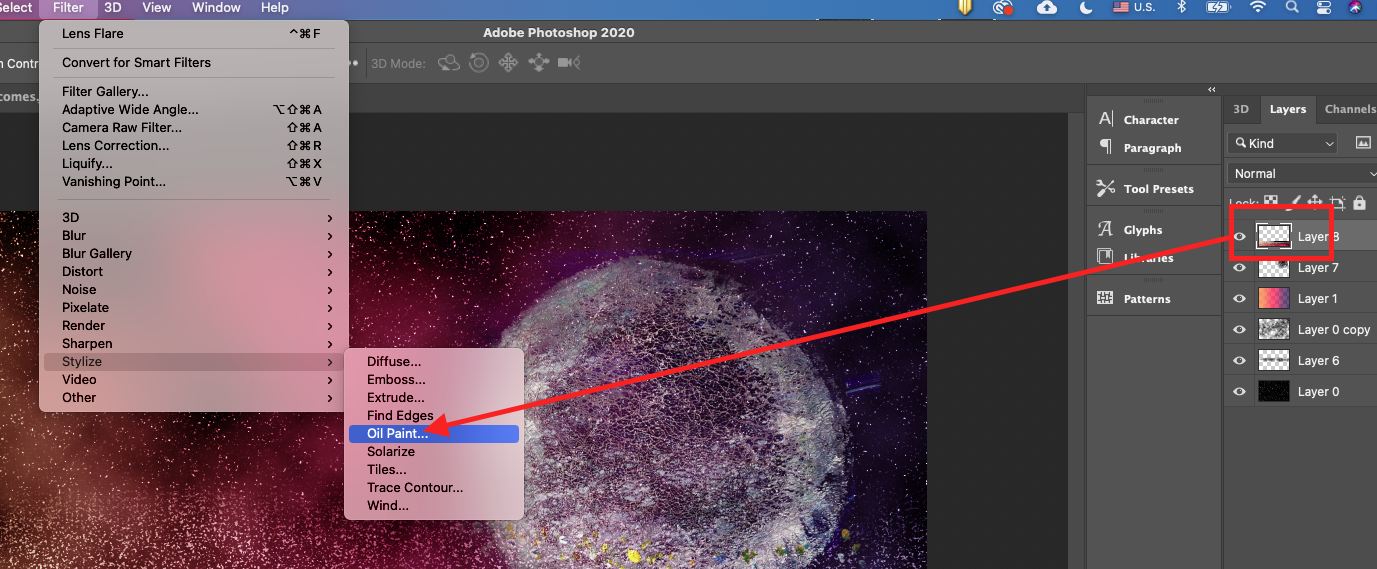 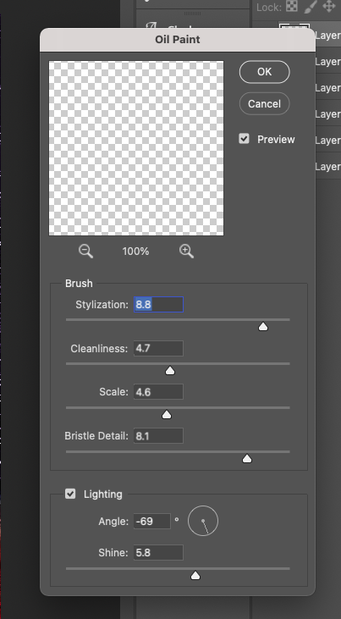 By adding an oil paint effect to the ground, it gives a visual effect as if the ground is more gassy like above, and then arrange it by using Eraser Tool. 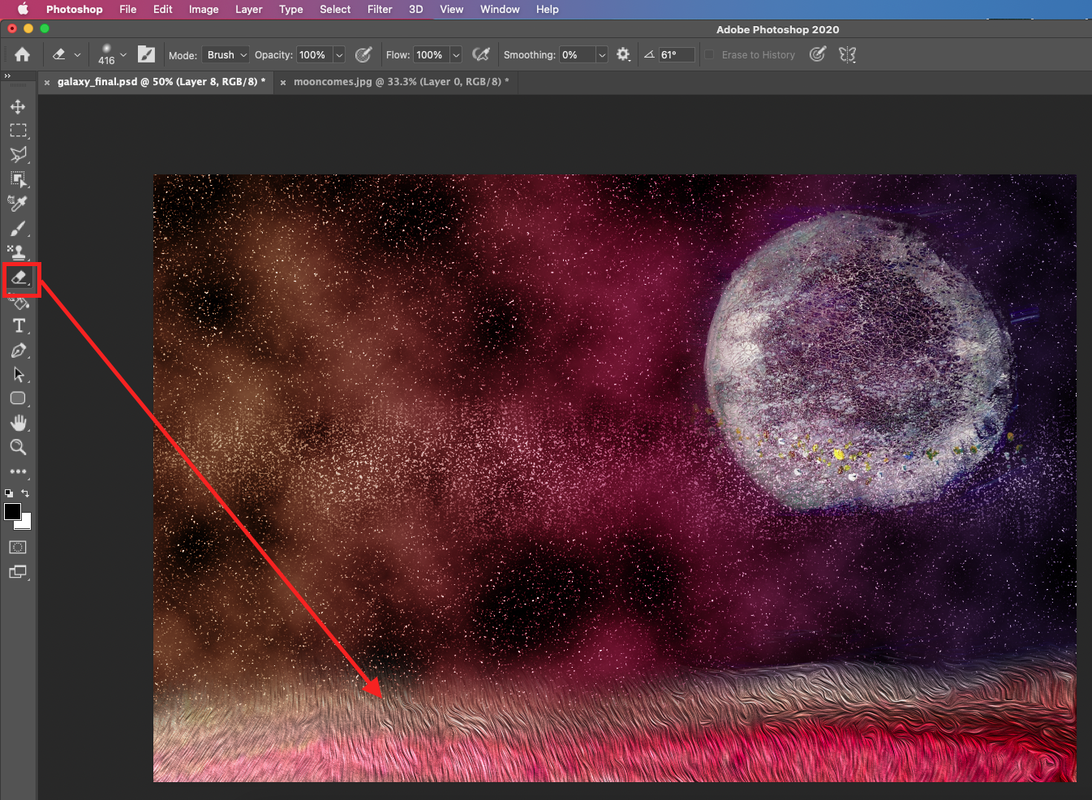 To express the gas band around the galaxy, go back to the previous moon picture, select the sky part, and copy and paste it. Next, click the Smudge tool on the left tool. Set the brush shape to a rough brush and brush the image around the moon like a long scratch. 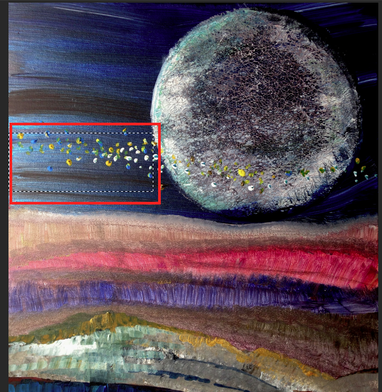 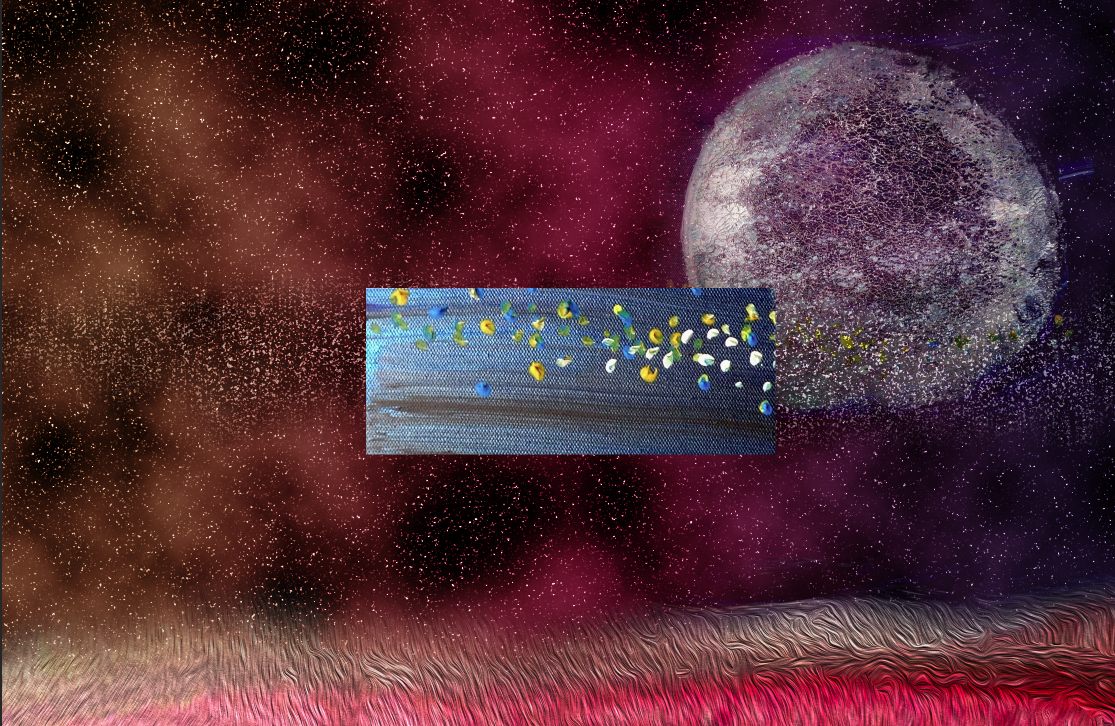 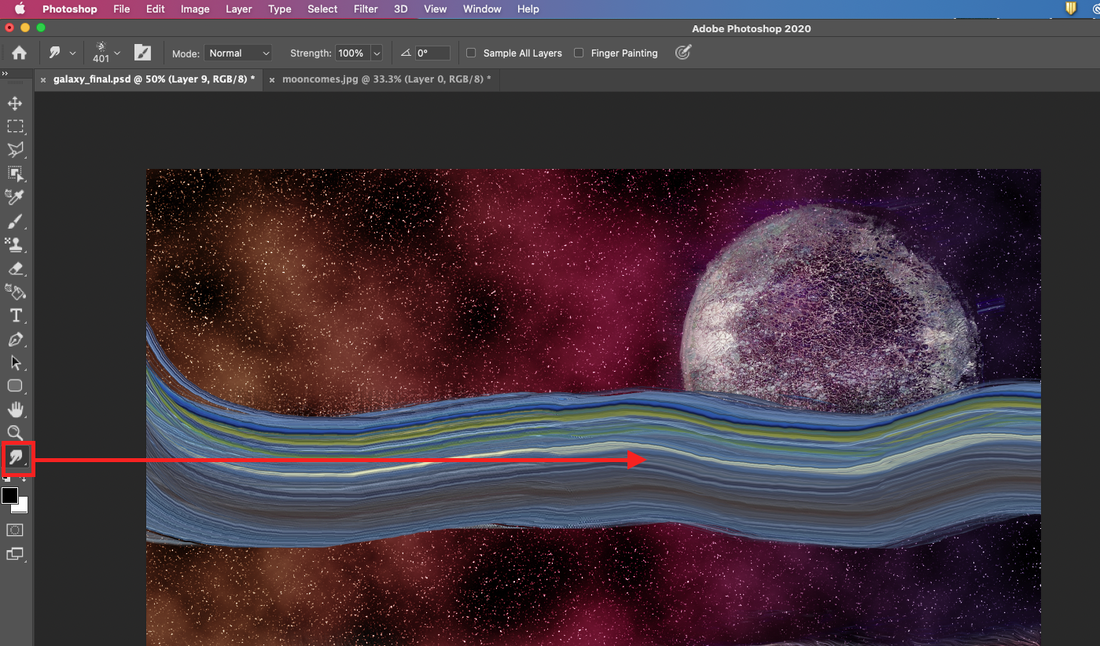 Let the gas band's Opportunity decrease until 40% and the put it the back behind the moon. 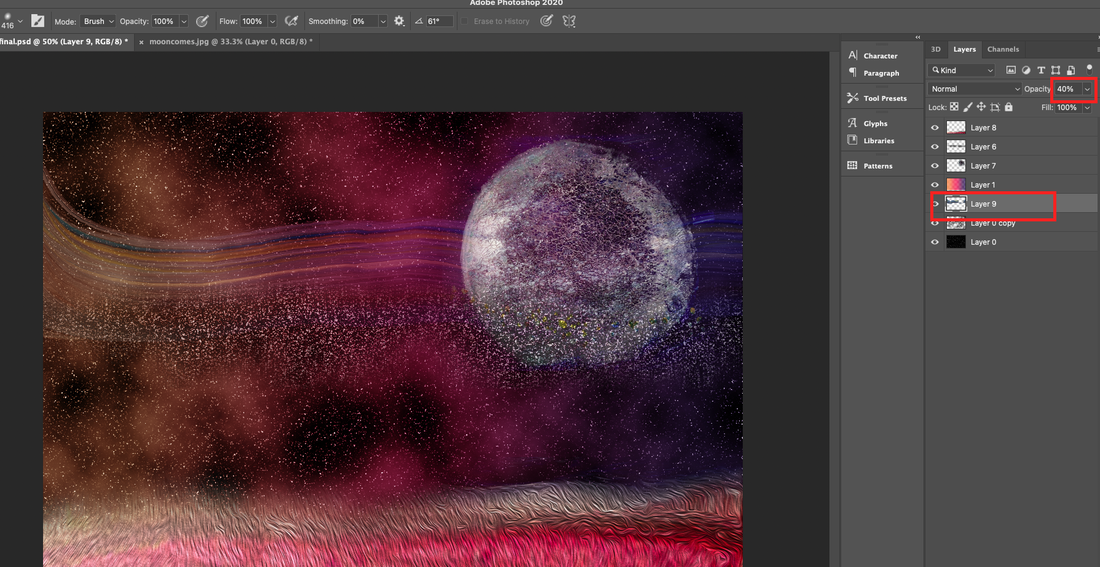 Finally click on the filter---> render---> lens flare to add a light source to the moon. 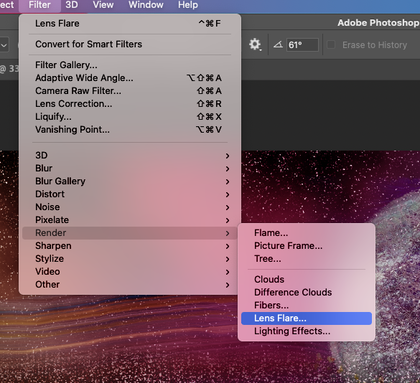 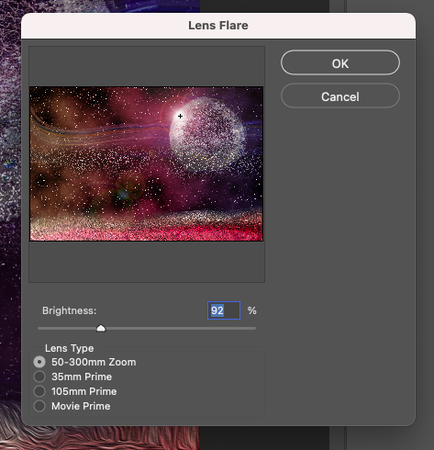 Below is the finished screen. 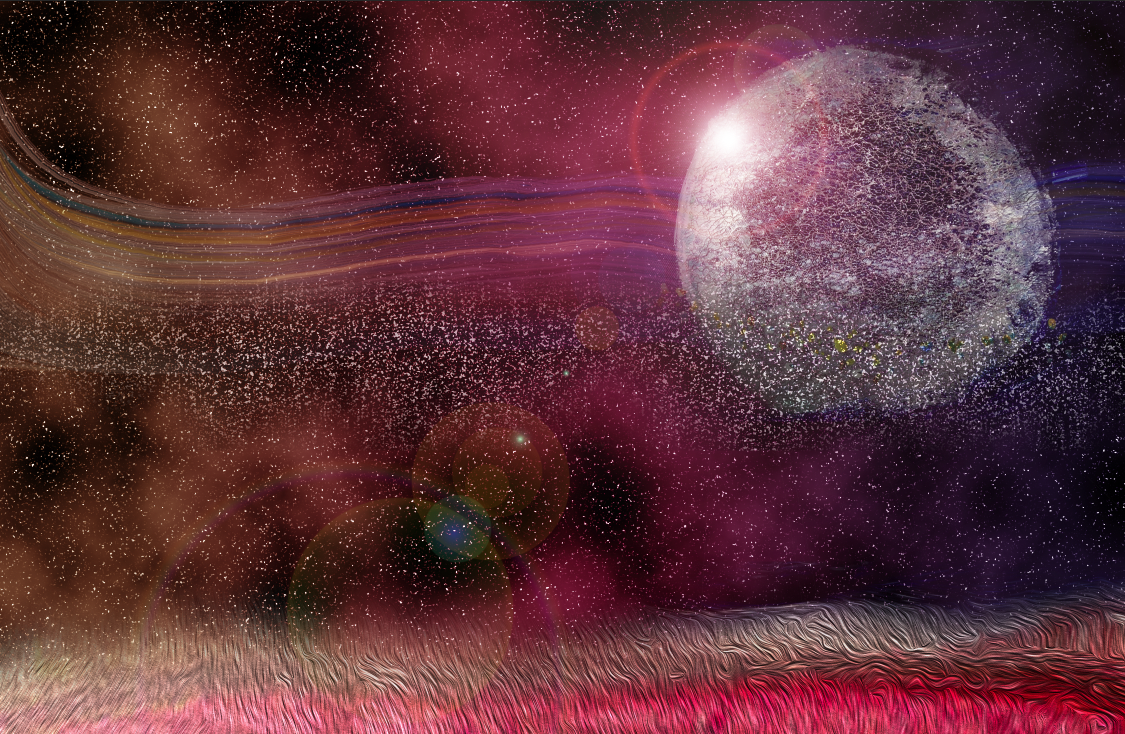
0 Comments
Leave a Reply. |
Myungja Anna KohArtist Categories
All
Archives
July 2024
|

|
Tutorial |

 RSS Feed