How to create an artistic header image in Photoshop When you create a website, you need an image. In particular, from the homepage main intro image to the header image for each page, the header is decorated with an image that symbolizes each menu. You can use these header images by downloading them from sites that provide free images, such as Pixar Bay. However, if you use the images you created yourself in Photoshop, you will feel a great sense of accomplishment. And give symbolism, philosophy, and meaning to the page menu, and consider the artistic aspect. You can enjoy the experience of turning even the image into a work of art. The header image to be introduced today is the service menu intro image. The service is related to finance, and its motto is Find Cosmos in Chaos. It is one of the tasks to find order in the chaos. The purpose is to relieve the risk and anxiety experienced by investors by using a mathematical model that can predict scientifically in the unpredictable stock market. We need an image of a galaxy to symbolize the first chaos, unpredictability, and massive data. In the next post, I will cover how to make a gallery image in Photoshop, which is essential for image creation introduced today. First, I loaded the gallery image I made in advance. 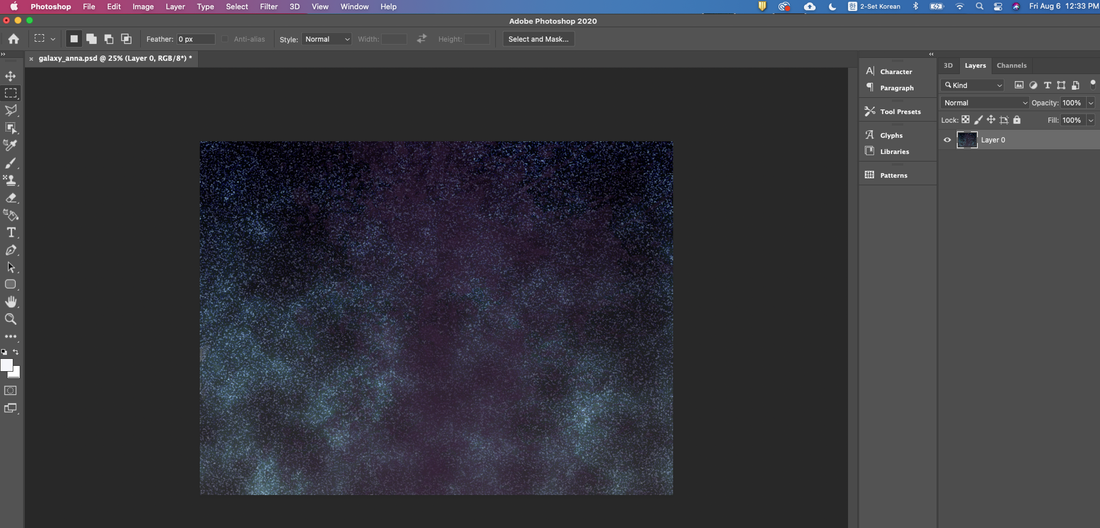 It will display a mathematical model with the universe in the background. Load the image. 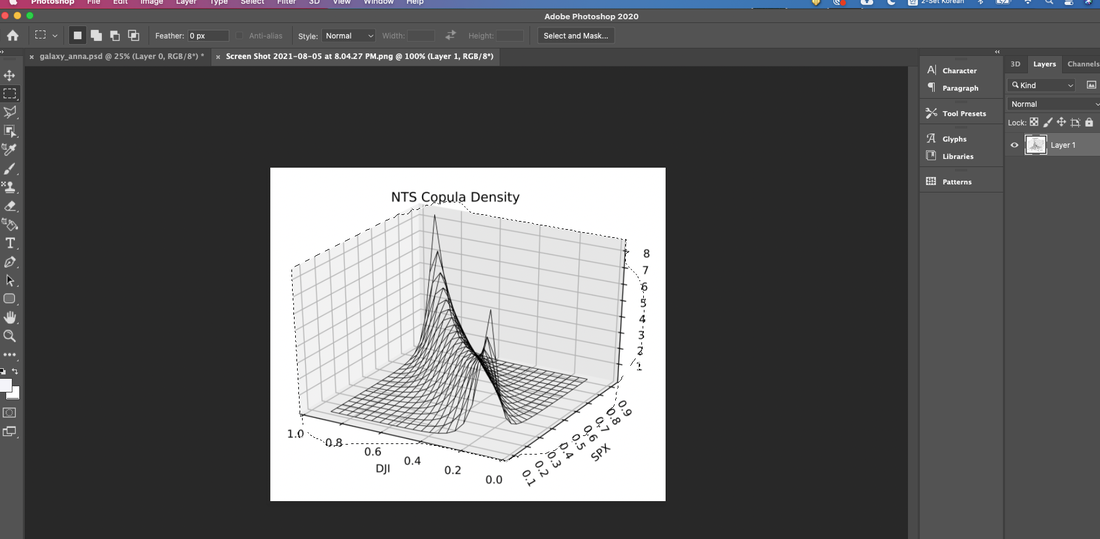 Now we will naturally merge these two images.  Use the divide in the layer properties to make the mathematical model naturally distant in outer space. 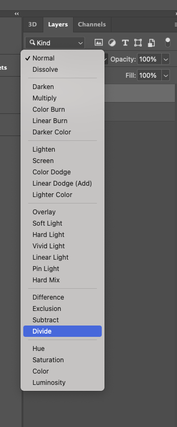 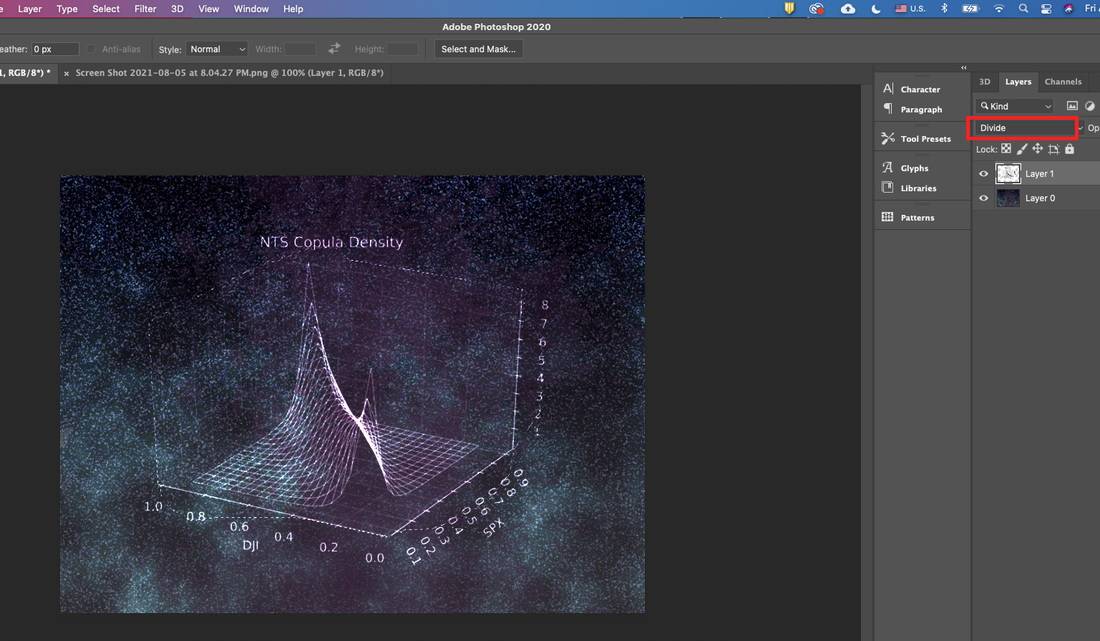 Next, I load an image called Cityeye that I made in advance. I will use this image. I will upload the image production process later. 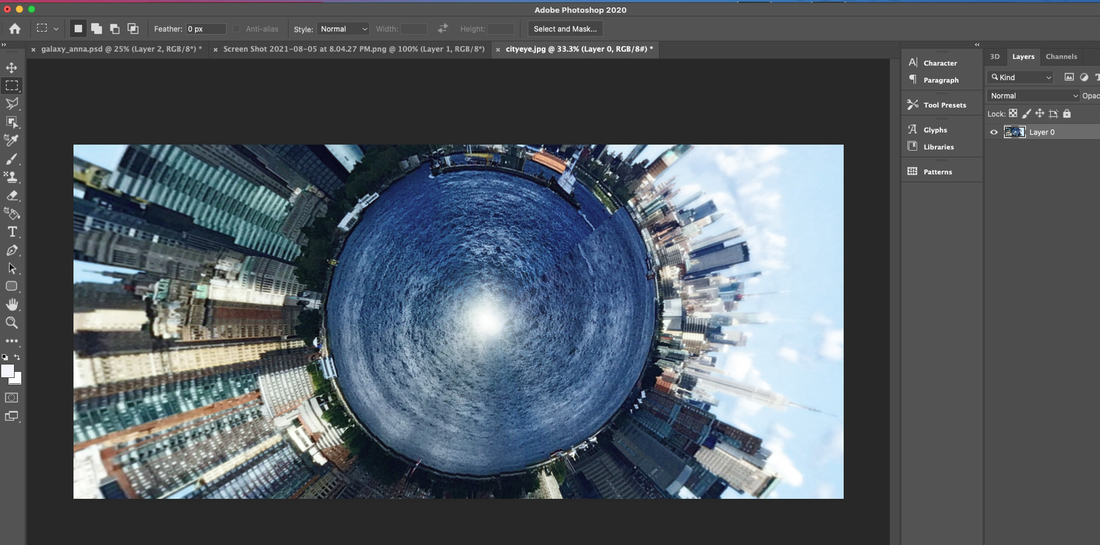 It will transform this picture. Go to 3D menu --> New Mesh from Layer--> Postcard. 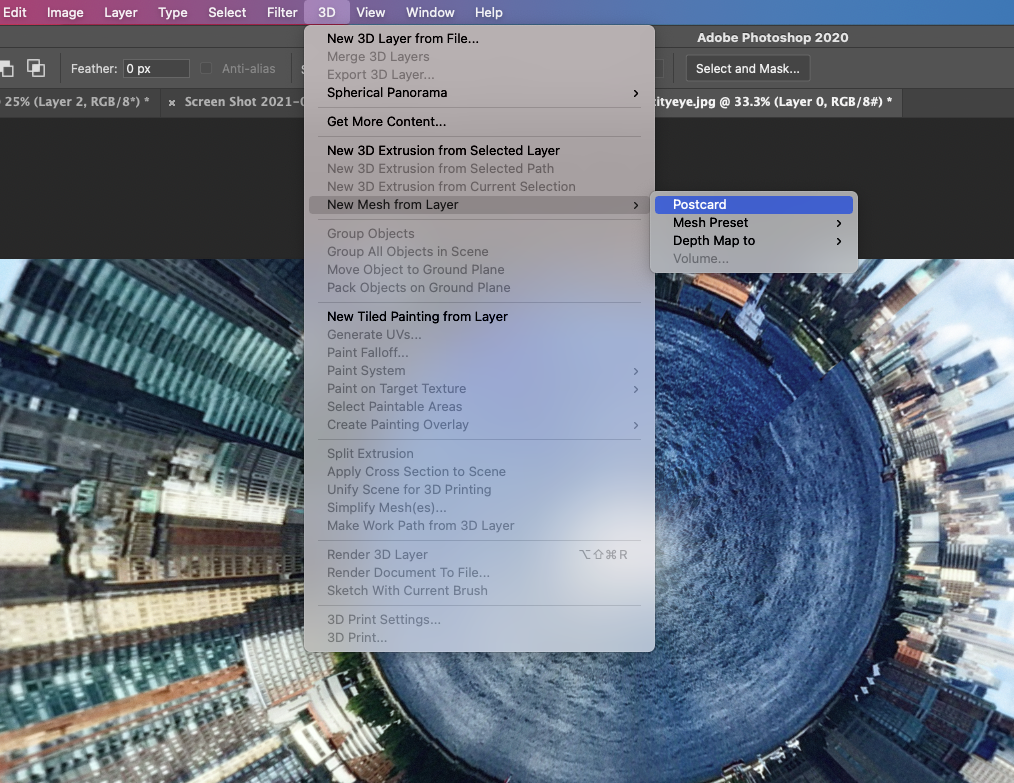 If you use the Postcard option, you can adjust the angle to create a screen like the one below. 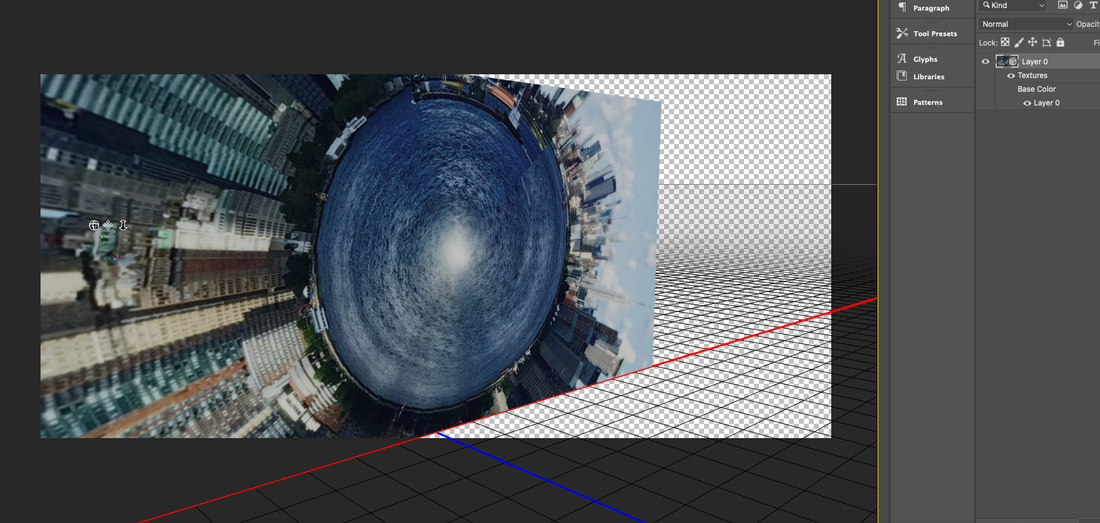 Add one more layer and paste the created image. 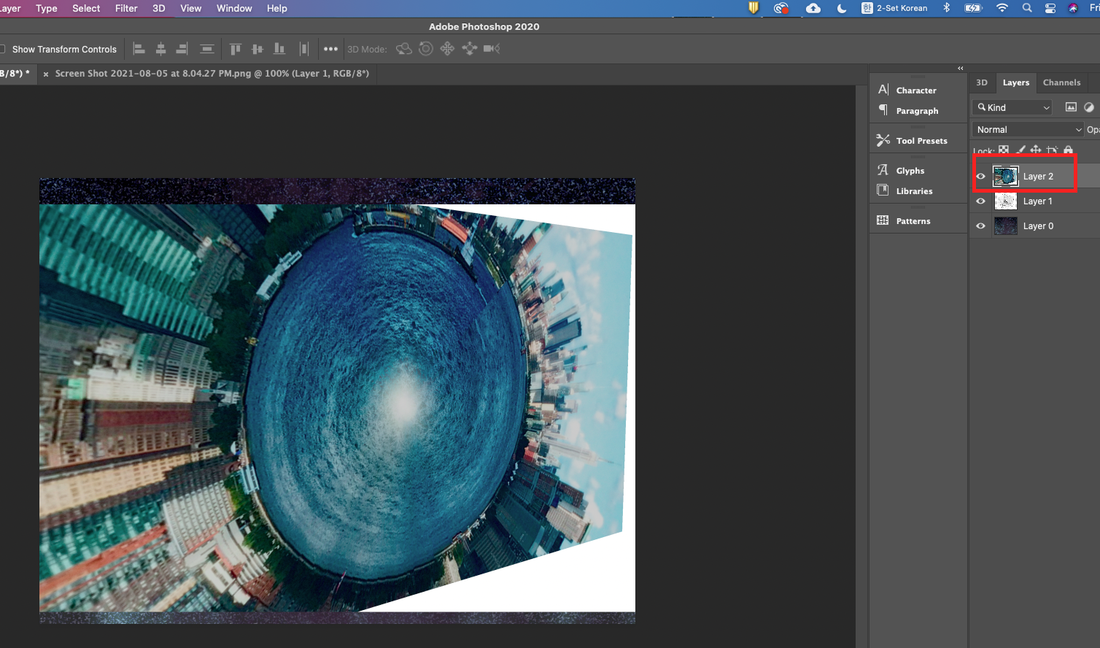 Transform the Opacity and Fill values of the new layer you moved to blend naturally with the previous drawings. Then use the eraser tool to clean up the image naturally. 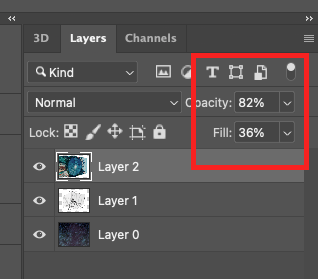 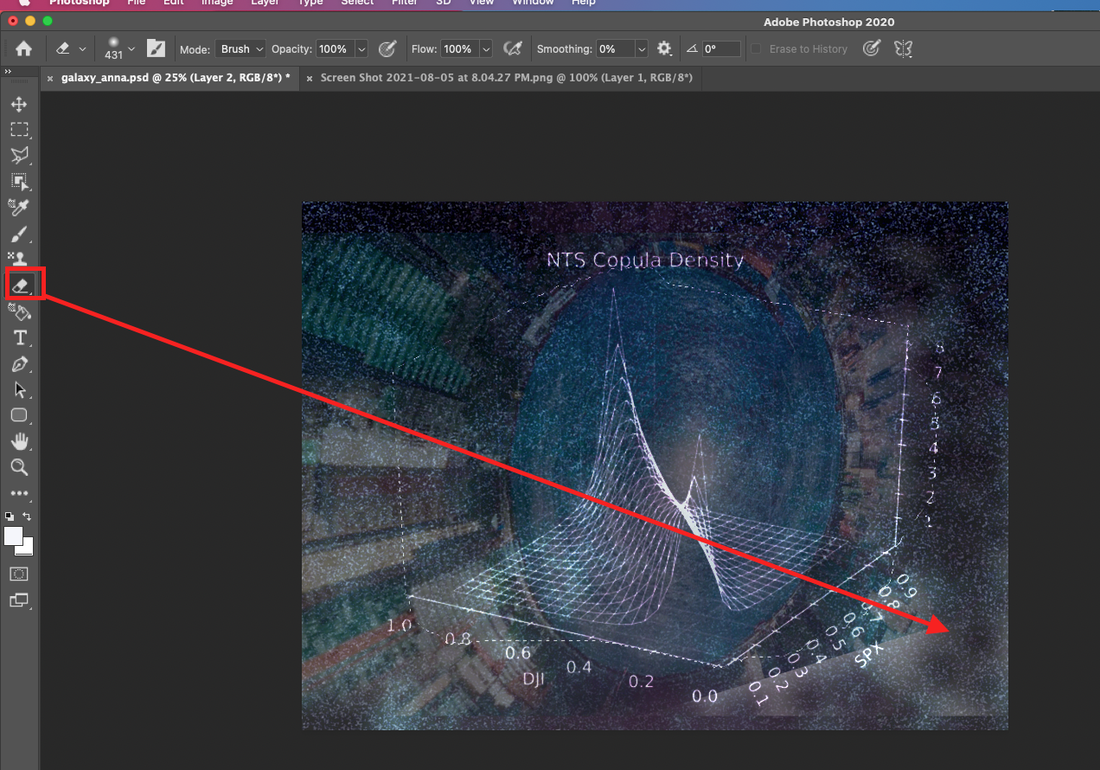 Here is the finished screen. 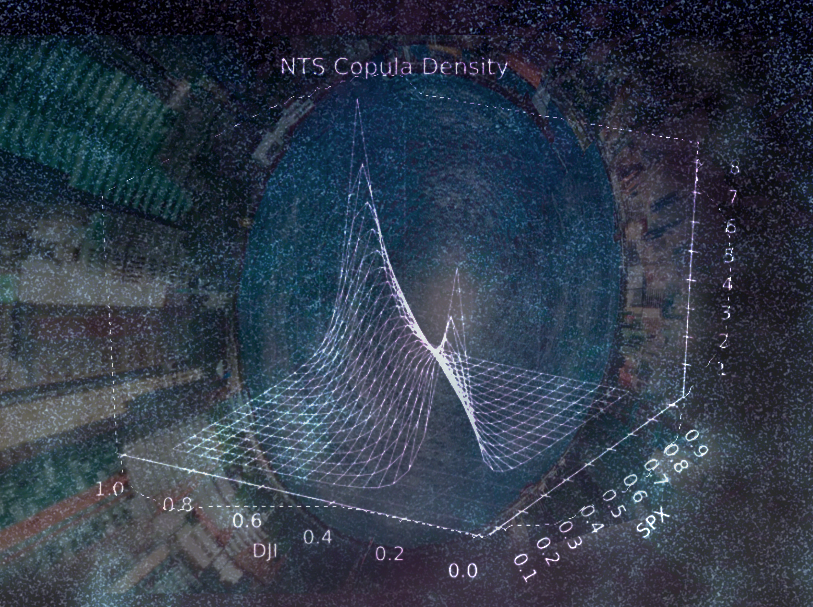 In this state, an effect is applied to a picture that looks plain. Go to Filter menu --> Render--> Lens Flare. 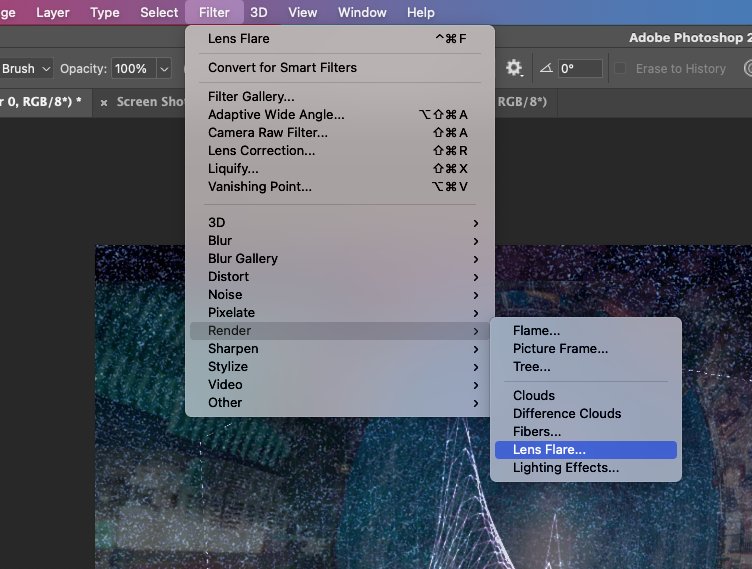 Adjust the lens flare value as shown below. 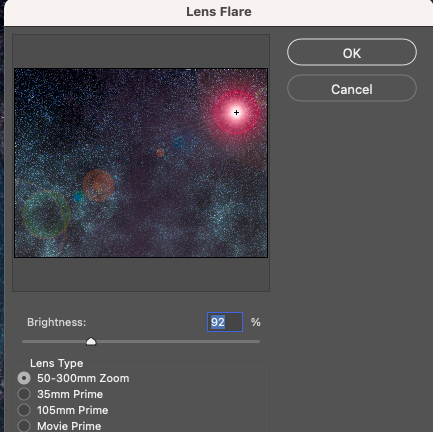 Below is the final finished screen. 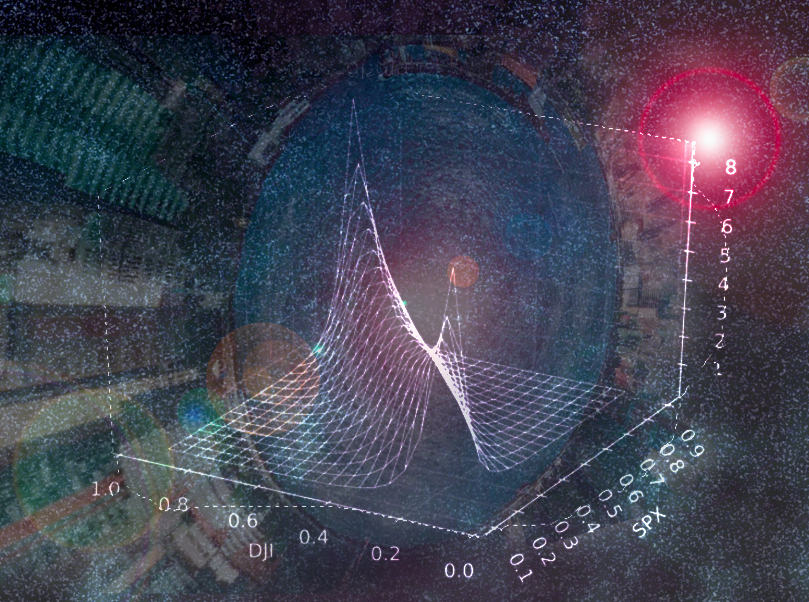 You need to return to the Weebly editor and insert the created image. As you know, you need to resize the image. If you want to know the image size of the header, click the right mouse button as shown below to enter the inspector mode. 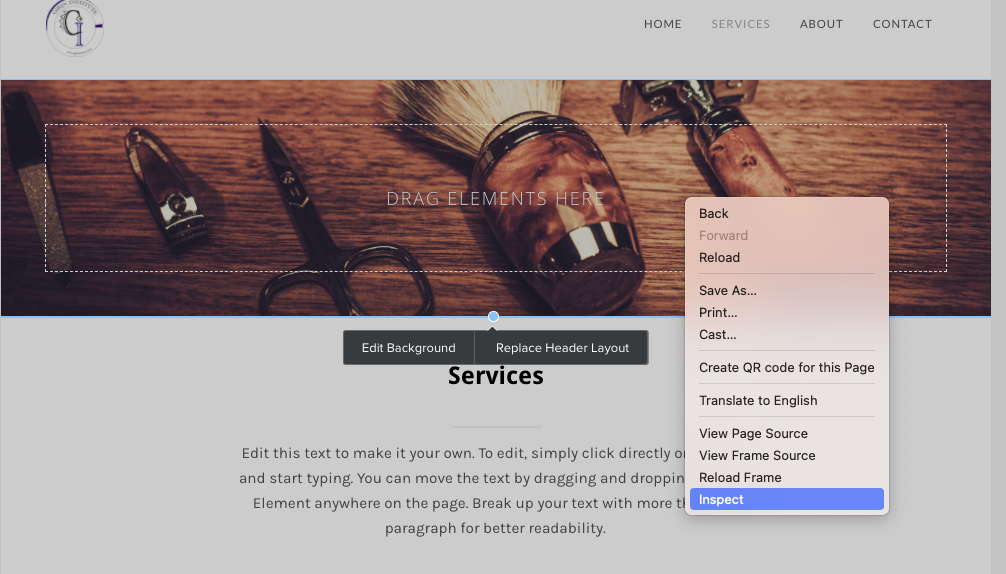 When you enter Inspect mode, the program coding window appears on the right. In this state, if you click the corresponding header image on the left, you can get the image size information. 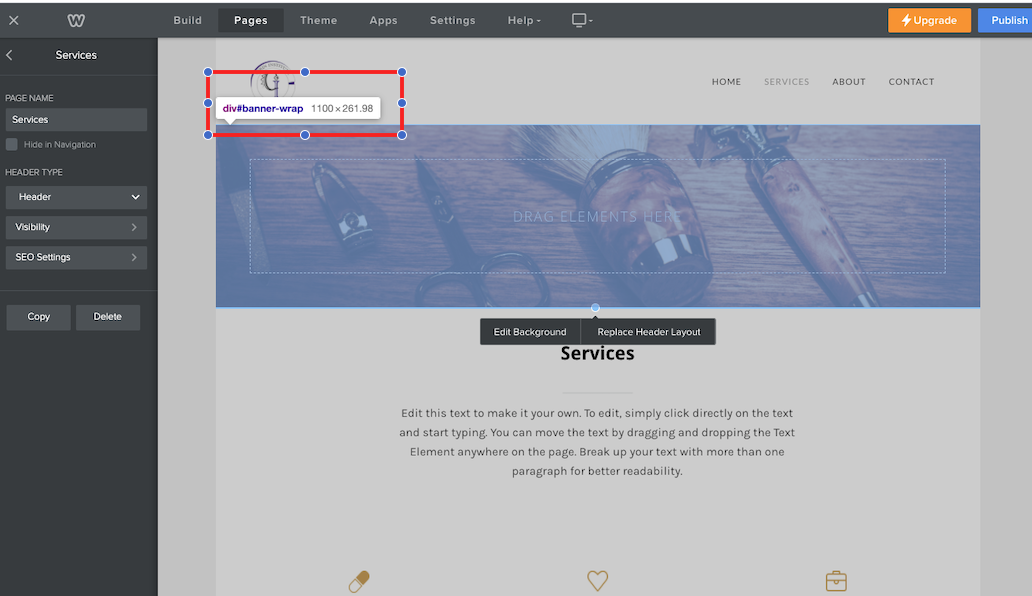 The size is listed as 1100 x 261.98. You can change the header image by resizing it according to the number of this image. Below is the changed screen. 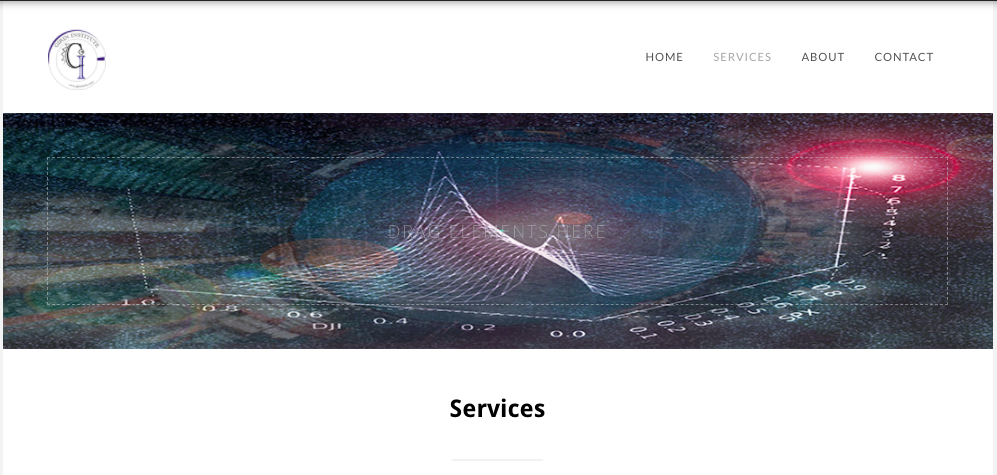 I wish you all great success and obtain artistic header images that are not subject to copyright restrictions.
0 Comments
Leave a Reply. |
Myungja Anna KohArtist Categories
All
Archives
July 2024
|

|
Tutorial |
 RSS Feed