About changing majors. Statistics show that in the US, 76% of students change majors at least once. 50% change majors twice. There are quite a few students around who want to change their careers because they think that they are not the major they dreamed of and expected even after passing through the huge competition and entering the university. There are many reasons to change your major, but it is basically because the following the reasons work together. (1) I do not like my current major. (2) The major you want to go to seems good. (3) There was a major I wanted to go to, even though I was forced into it because of the competition rate at the university or the recommendation of a parent. (4) The major I chose was not the best option, but the next best option. First, keep in mind that changing majors is a very expensive option that requires reinvesting several years of your time. Therefore, since the cost is large, you should be very careful in choosing to change your major. Especially when you dream of changing into a major that has nothing to do with it. So was my case. I majored in nursing in college and worked as a nurse. Afterwards, I received a master's degree in medical informatics and worked as a researcher before moving to Germany. However, there was a turning point in my life in Germany. I made my debut as a painter, and no matter how much I thought about it, I was convinced that this was my path like fate. And for 10 years without thinking about anything, I only drew pictures, thinking about what painting really meant to me. After much deliberation, I decided to study again. Of course, this is a completely different major than the previous major. In my experience, it is not easy to ignore undergraduate majors. This is the very foundation of life, and it will follow you for the rest of your life. I am often given time to explain my major or field of expertise in the life of a person whose decision at that time was due to the illusion of my moment. I also hope that my undergraduate major and my current direction are somehow related. Even if there is no objective relevance, it is true that because I learned nursing, my understanding of human beings and life is deepened and it helps me to draw pictures. However, this is an emotional aspect and a result that cannot be calculated with a visible indicator. But that doesn't mean you can't change your major to a completely unrelated major. It's a really cool challenge. And there should be no prejudice that the two paths are not related at all and only run parallel to each other just because they go on a different path that does not match the path they have taken. Just by looking at the well-known anecdote of Steve Jobs, we can answer the question of learning something completely unrelated to one's major. Calligraphy was the class that Jobs enjoyed during his school days. He said he liked the design of the letters of the alphabet in various ways. Jobs loved computers, but he also loved those humanities elements. That's why he pursued Bob Dylan's music and hippie ideas. However, most people just separate the two. Computers are computers, and humanities are humanities. Just like an office worker separates his private hobbies from his public work. However, the peculiarity of Jobs is that he tried to incorporate the visible parts of his life that had nothing to do with computers at first glance. Therefore, various fonts using vector graphics were applied to the Macintosh operating system. These fonts made with direction values, not made with dots, look natural even when enlarged or reduced. So Macintosh users could enrich their lives with beautiful, cool fonts. This technology also changed the printing industry. PostScript technology that can print text and pictures on a computer screen as it is with a laser printer was developed. Since then, the Macintosh has created and led the electronic desktop printing (DTP) market. Almost all books today are predesigned on a computer and sampled on a printer. What if Steve Jobs had decided that he didn't need to take calligraphy classes because he was a computer student? Just by looking at this example, you can see that it is more helpful to learn something that is based on one's own attraction, one's own philosophy. They may not be of any help right now, but these things pile up and build up to create my own knowledge.  Another thing is that, in the end, whether it is a previous major or a new major, the fact that one can become an expert by enduring the learning process with a lot of patience does not change. In other words, you must have confidence in your own path and walk firmly on that path without being swayed by any temptation.
0 Comments
Free online course for artist with certification. Today, I would like to briefly introduce a site where beginners who are interested in comics can receive a certification after learning the theory and production process of comics through an online course for free. Here is the below with the free online site about Comics: Art in Relationship. 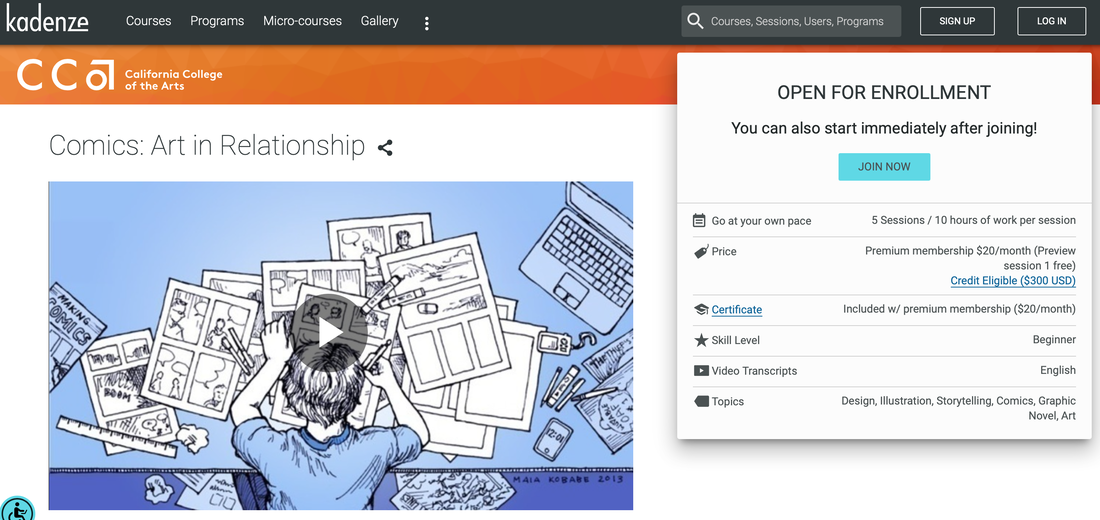 The syllabus is below.
The California College of the Arts offers excellent online course for free. You can get your MFA in Comics. Even better, you need not enroll to sample the 5 week course, Comics: Art in Relationship, led by Comics MFA chair and Eisner Award-nominated author of The Homeless Channel, Matt Silady. When you complete all of the coursework in your online course, or the course ends, you’ll receive a link to your Certificate via email within 24 hours. The site hosts it on their site permanently, so if you downgrade to a Free membership, you’ll still be able to access it at any time. All of your certificates can also be accessed any time via your Portfolio, and you can share them on social media using their unique public URL. This way you can show it to employers and schools! 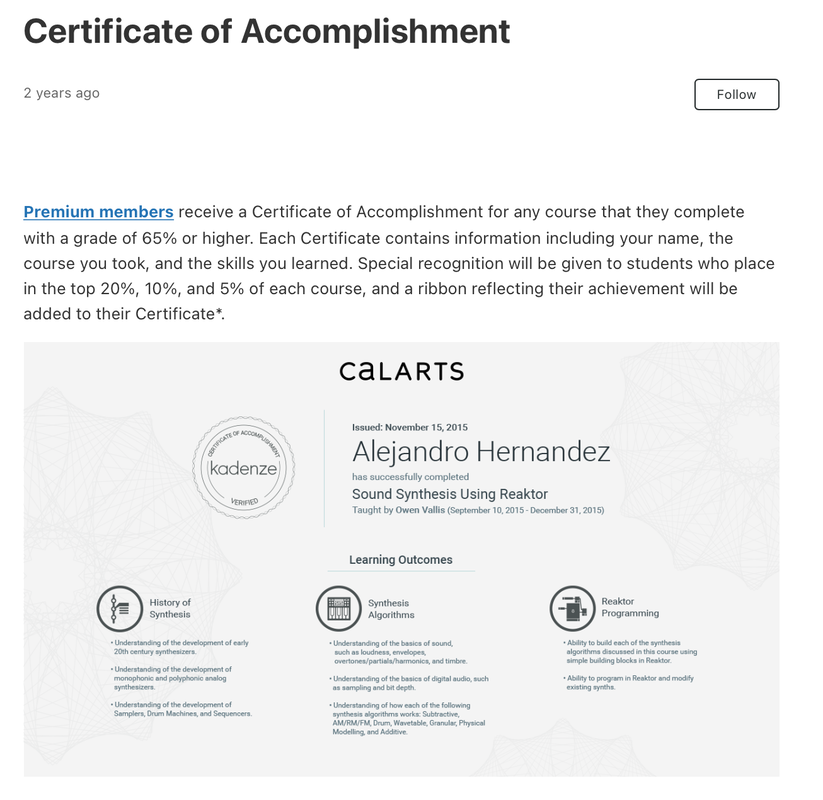 The process of taking a class is simple. First of all, you can listen to 5 sample lectures for free. Below you will find information on how to get a certificate from an online e-learning company, Kadenze.inc. The sample lecture is free, but the reality is that you need a confirmation certificate to listen to this lecture and make it into your portfolio or use it for employment. A company that handles these tasks for you and requires a monthly fee of $20. You can listen to the 5 free lectures anywhere, but it is your choice to receive a certificate of confirmation through this company. It is not a difficult decision if you become clear what your purpose is for taking this course.    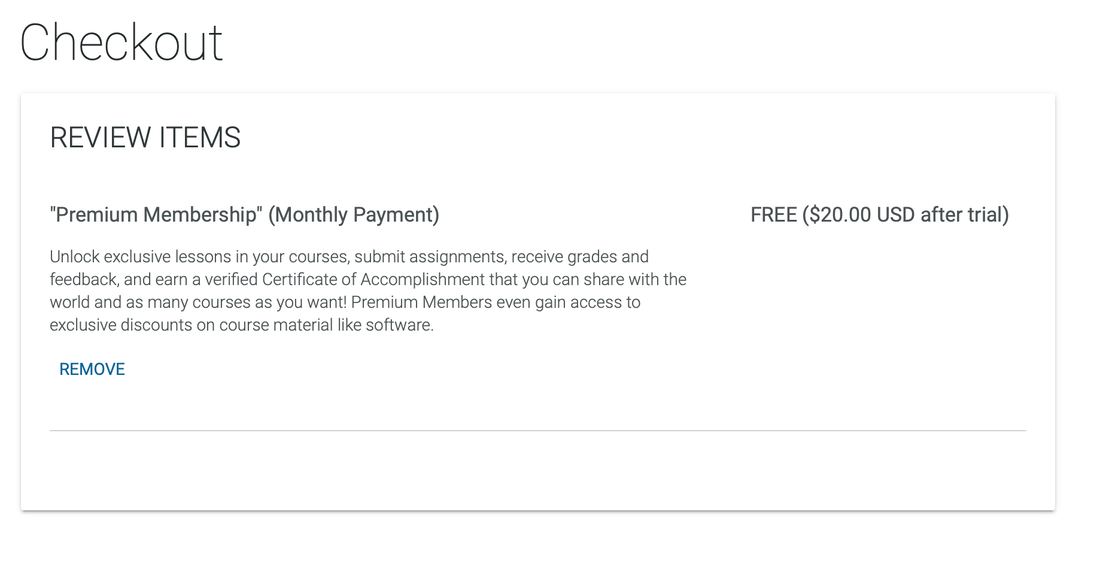 Once you enter the free view, you can check the dashboard as shown below. 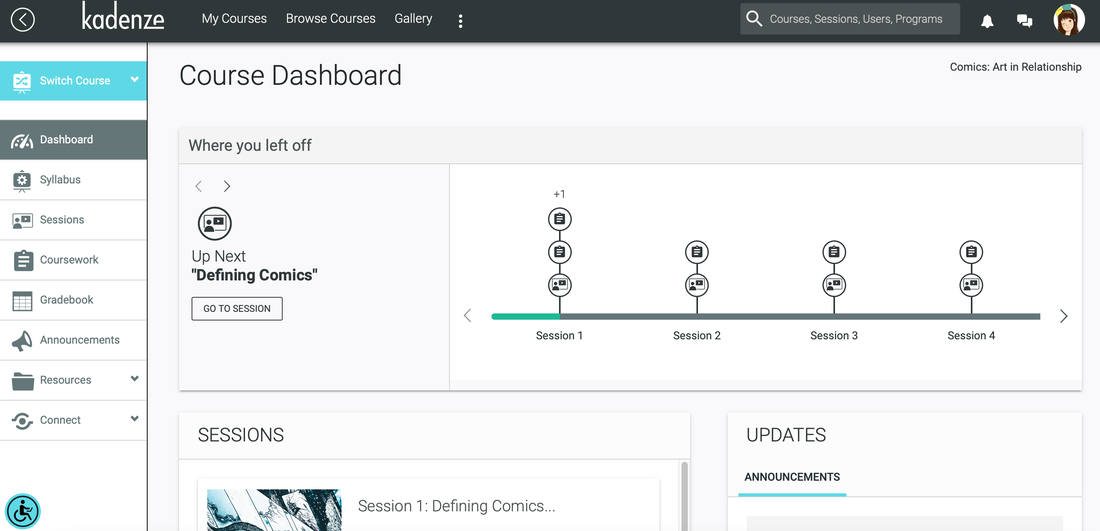 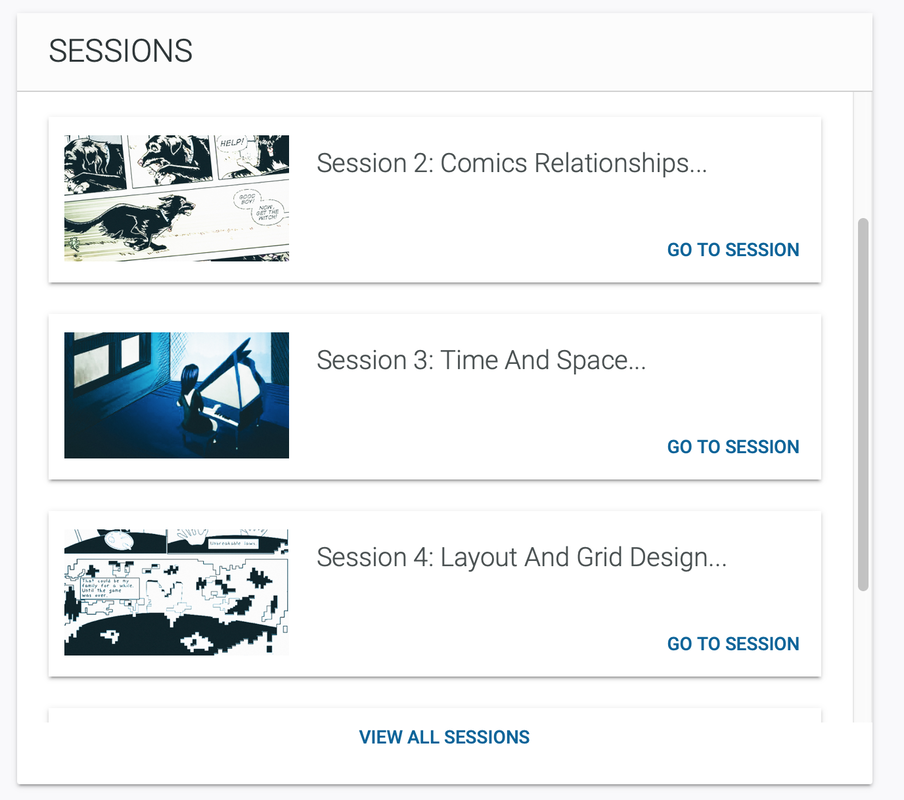 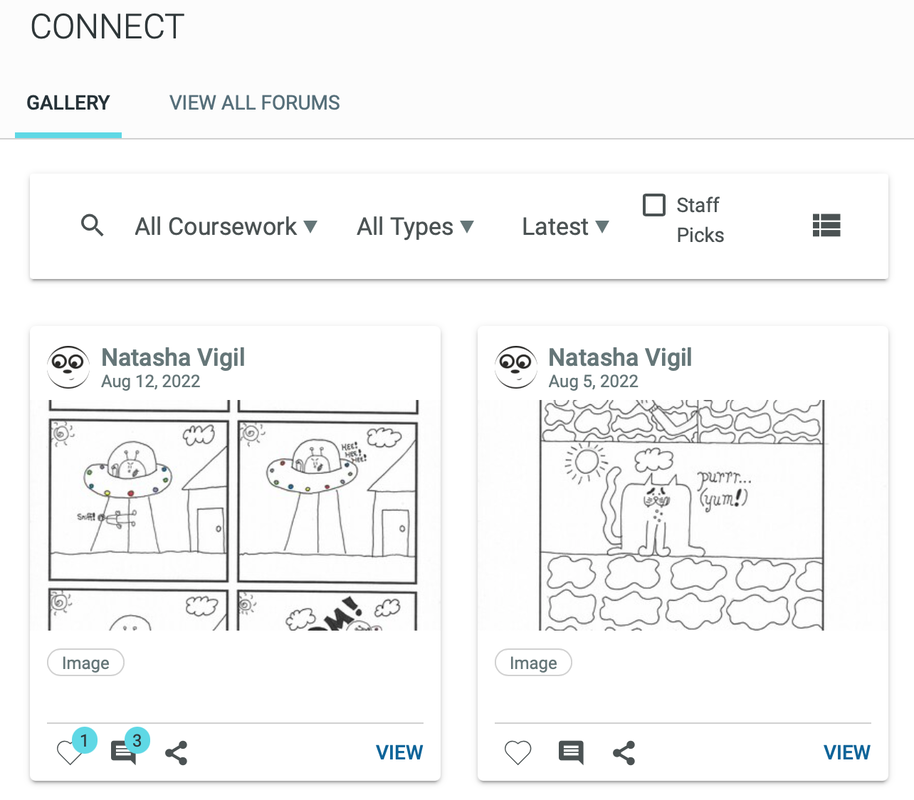 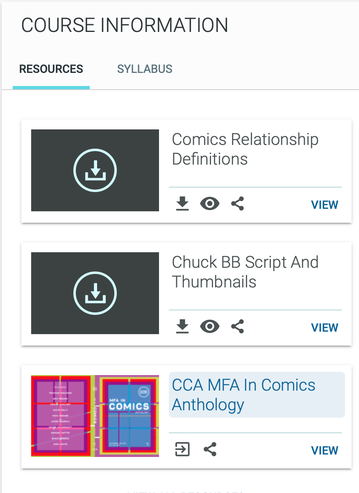 If you sign up as a member, you can also find information about the coursework and score after the test. 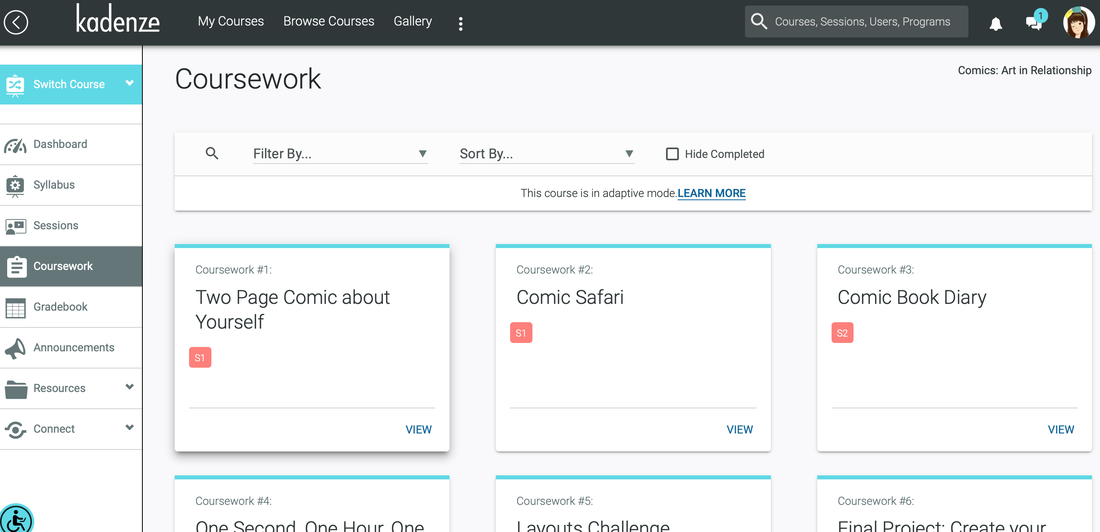 This is a great opportunity to study the following topics while paying $20 per month for an online course in art education. 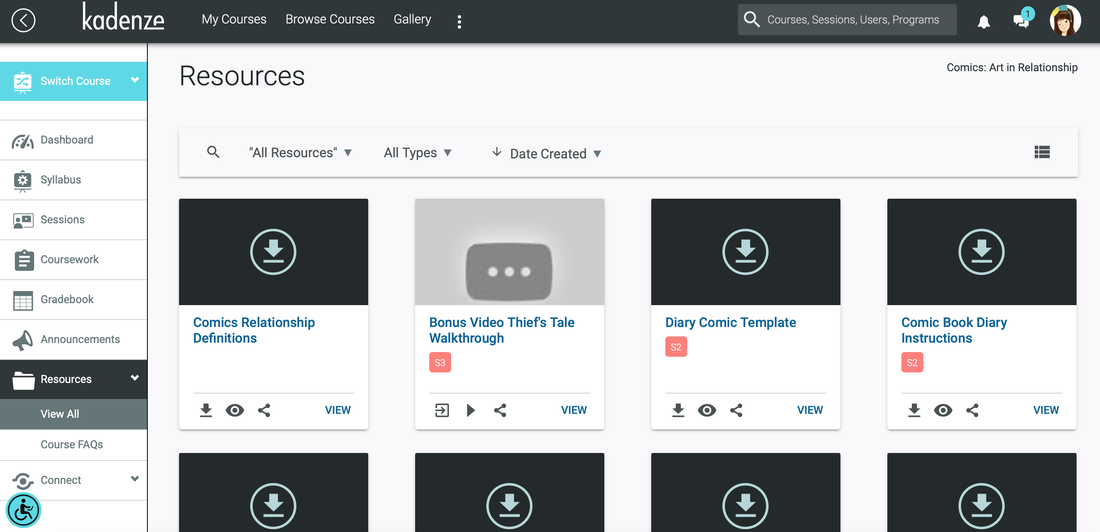 Objects making with InDesign. Today I want to briefly show you how to create objects in InDesign. First, select the shape tool from the toolbox on the left to create rectangle, ellipse and polygon tools as shown below. You can even create a star shape by double-clicking on this tool to adjust the parameters 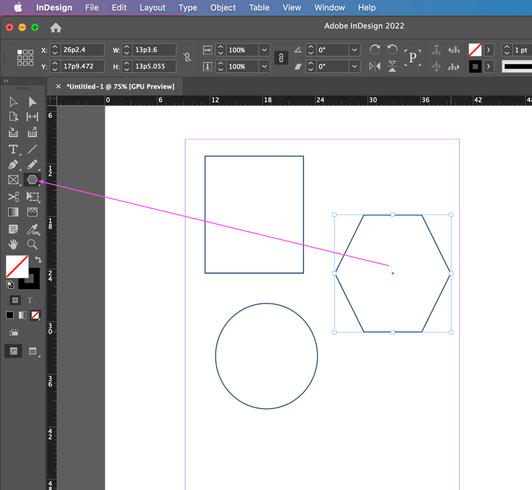 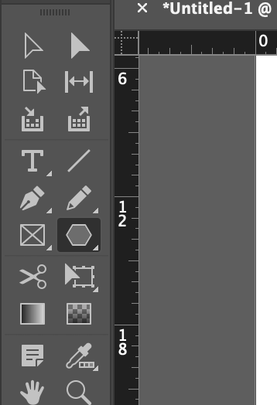 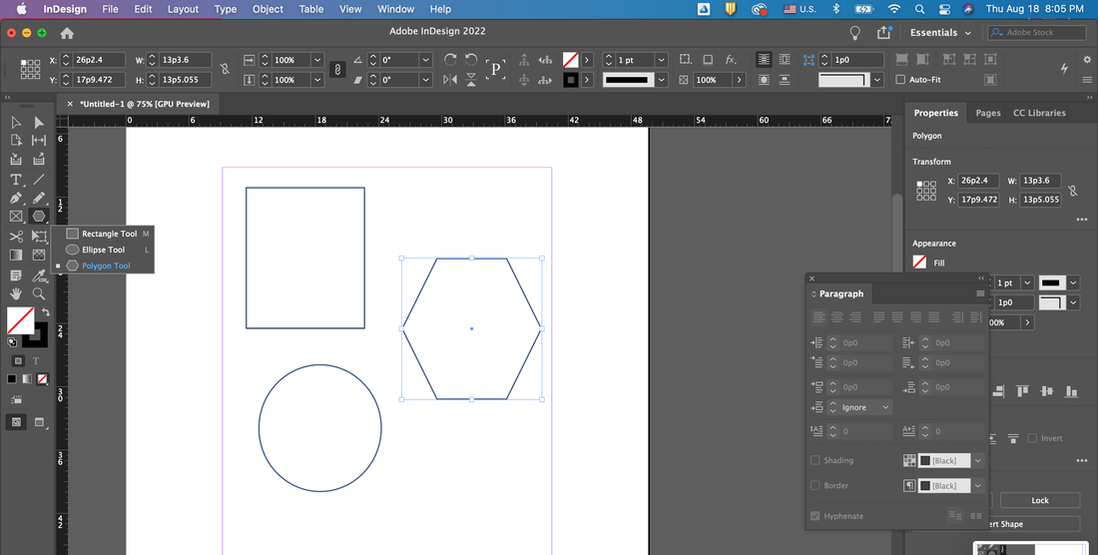 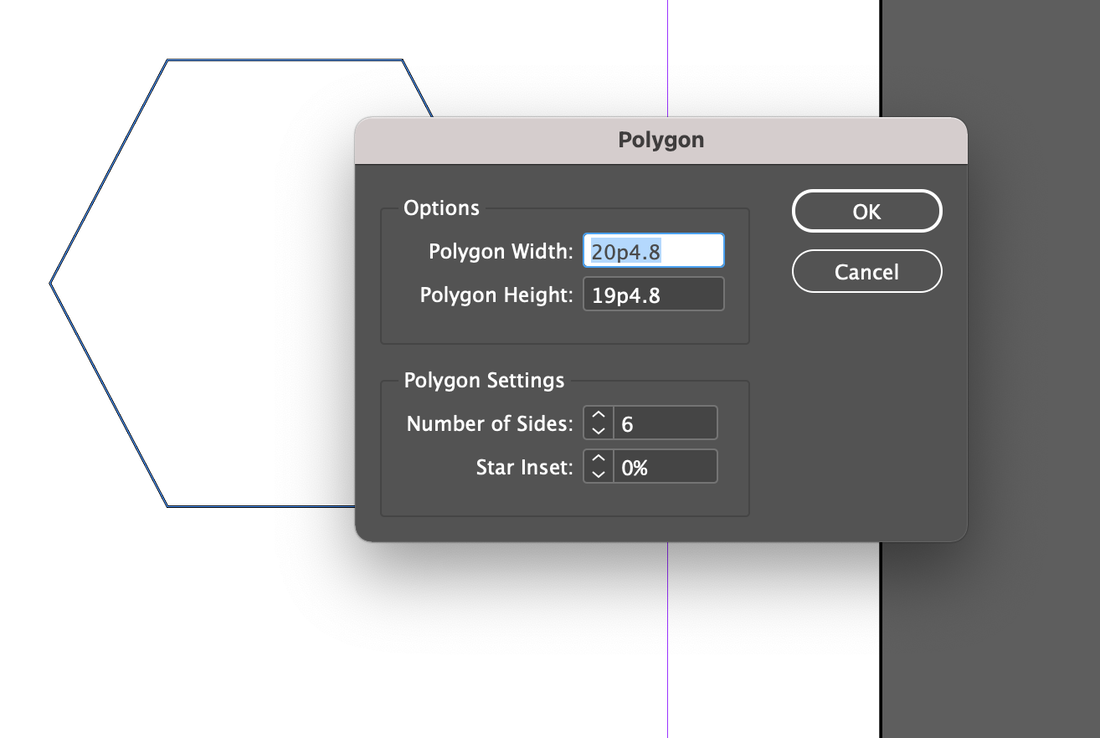 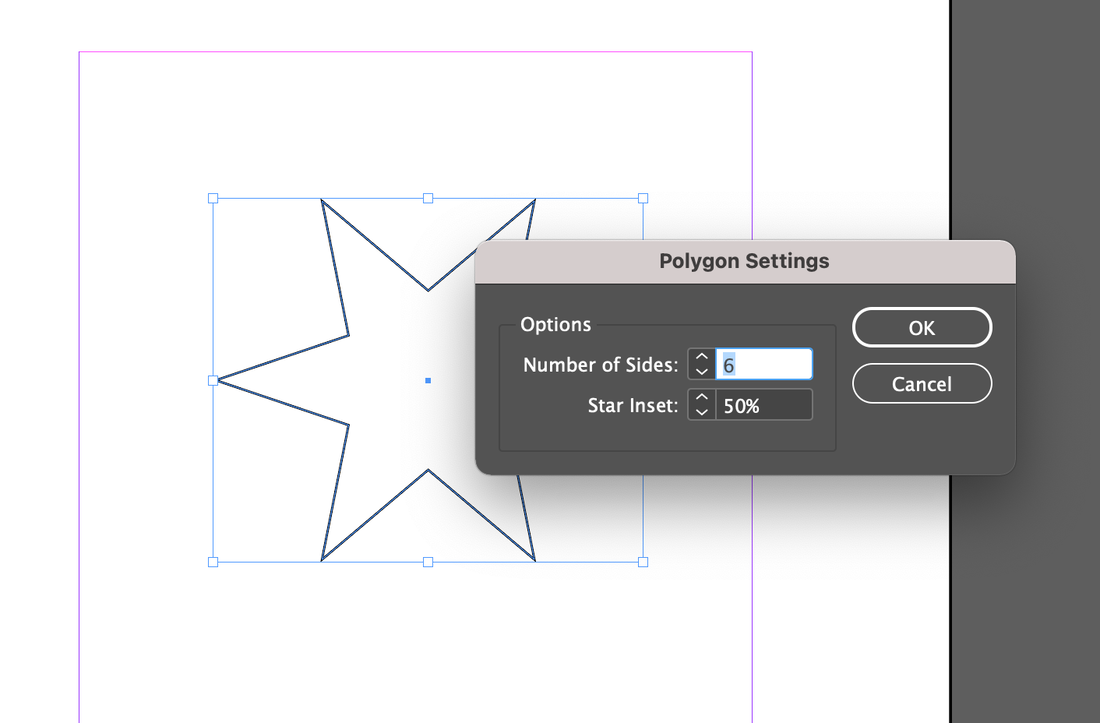 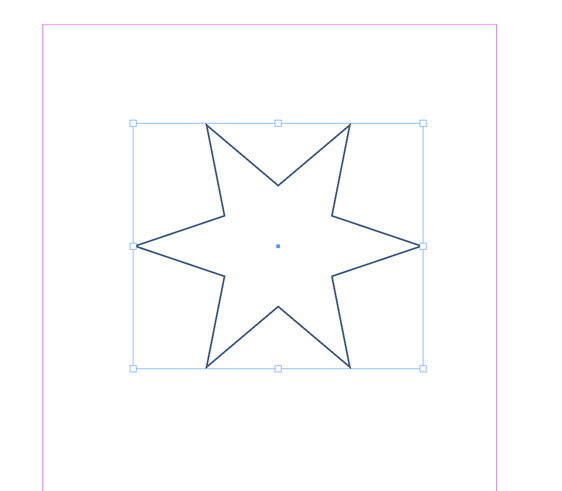 Then click on the created shape and try changing its color. 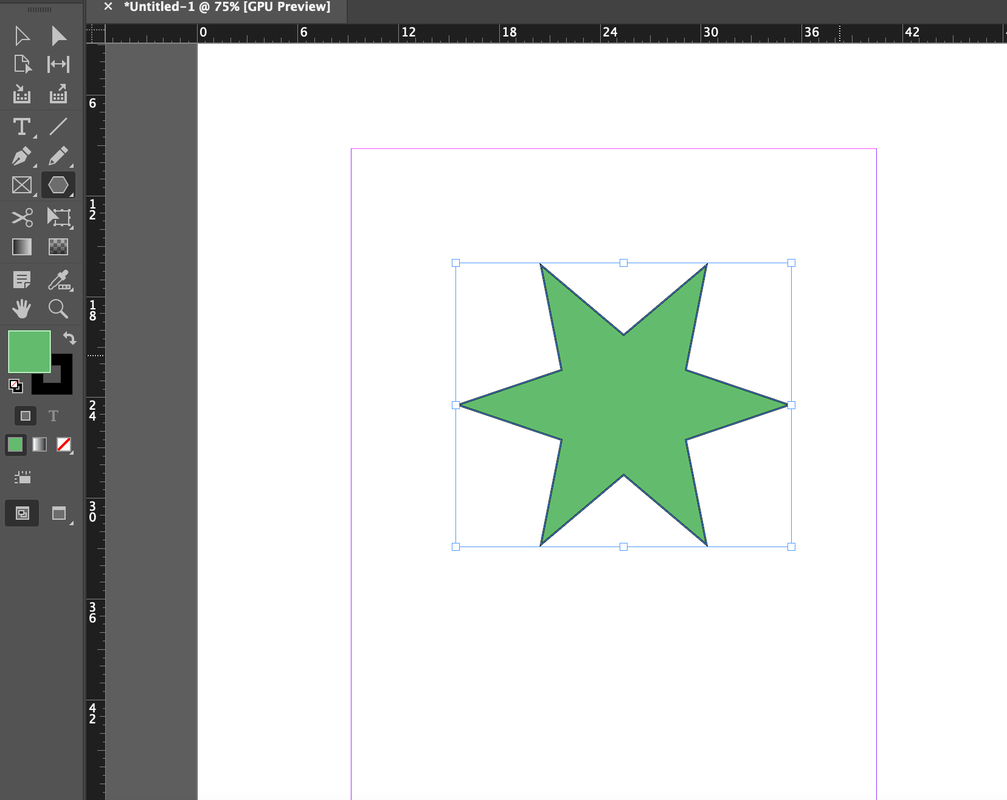 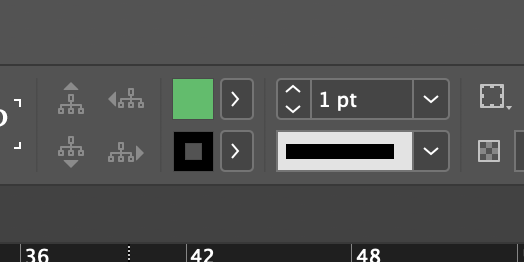 It is possible to change not only the color but also the shape and thickness of the dotted line of the figure. 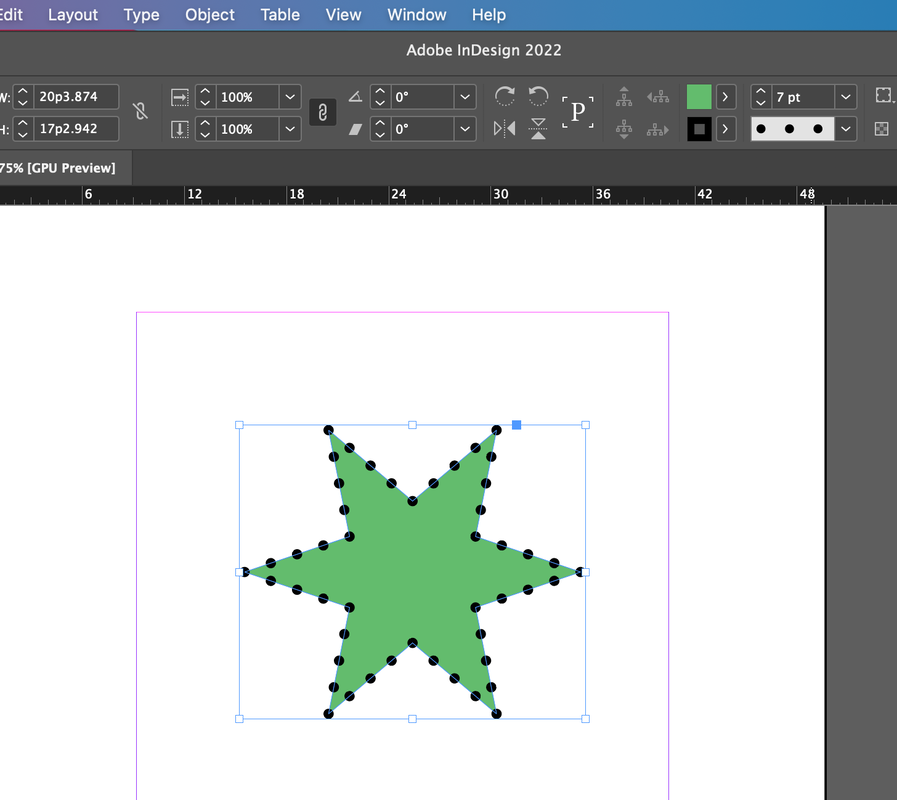 Of course, you can also use the text tool to change the color of the text box as shown below. 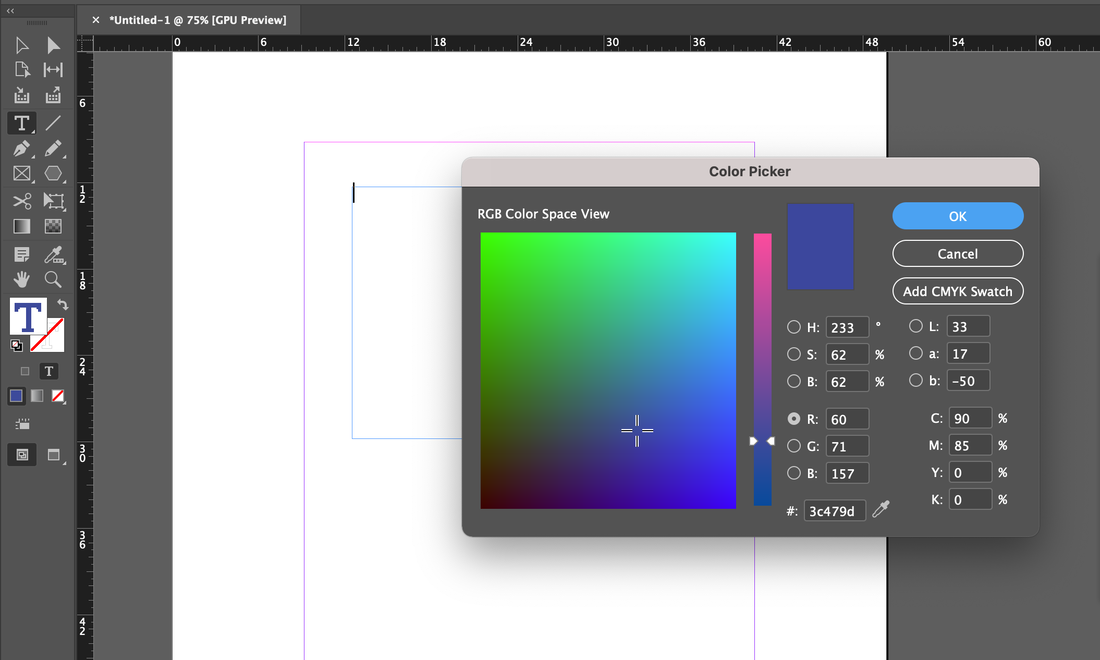 However, when changing, you must select the selection tool to change it. If you change the color in the text tool itself, only the color of the text changes. 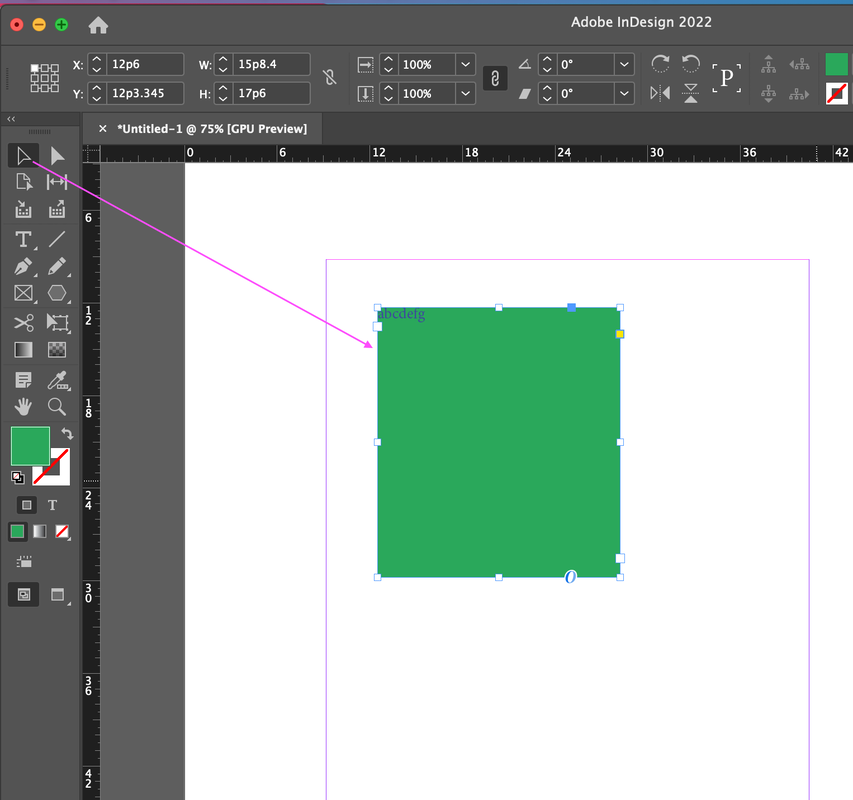 Try changing the color of the text as an exercise as shown below. 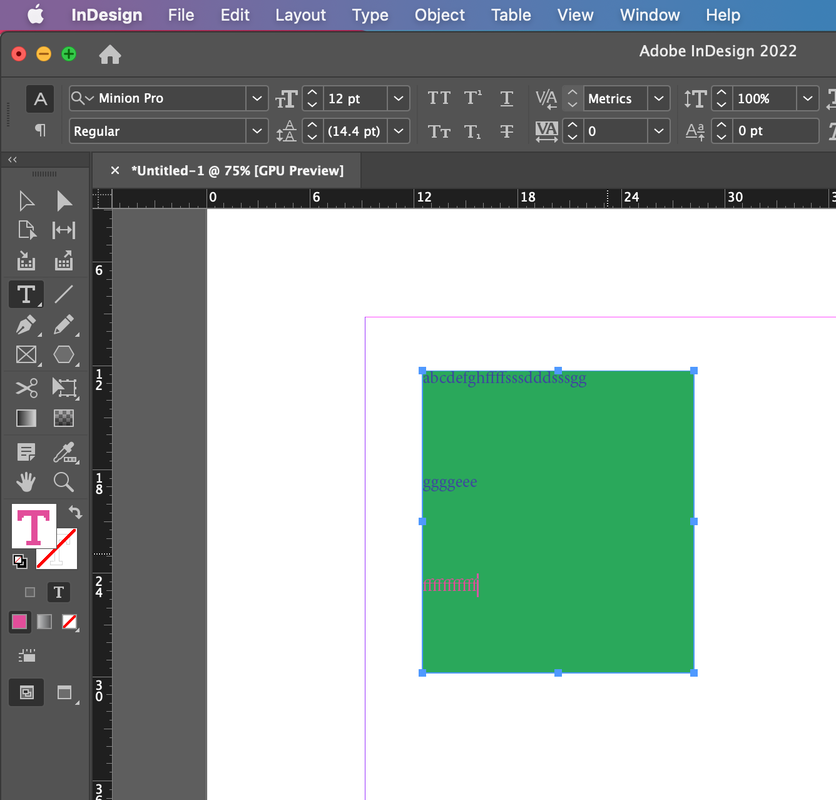 Of course, it is also possible to write text in the shape and change the color of the shape. To do this, drag and drop the text tool inside the shape. 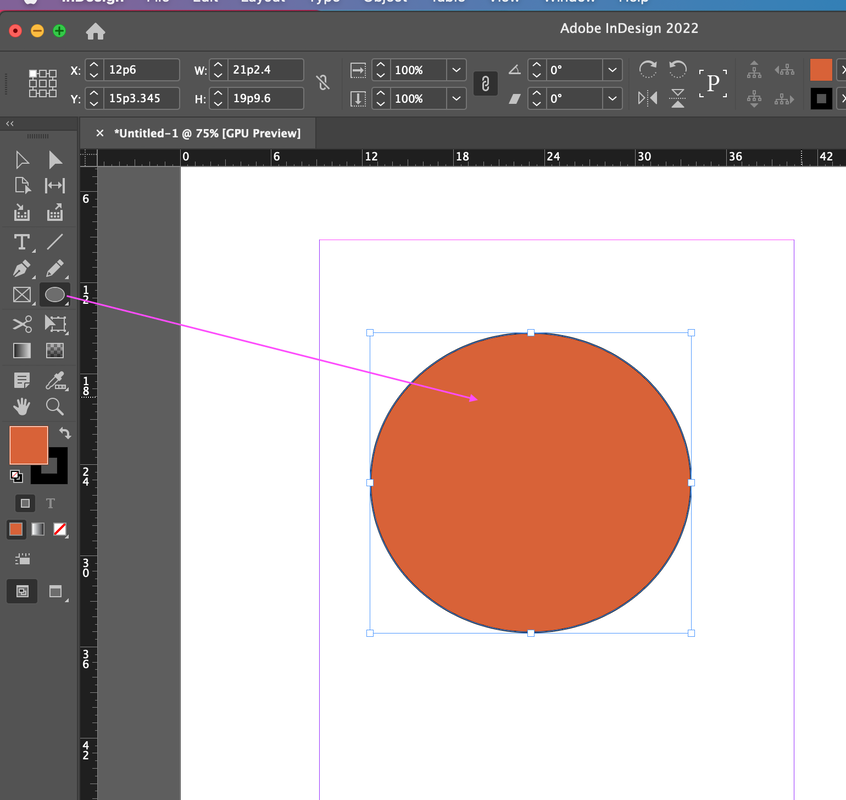 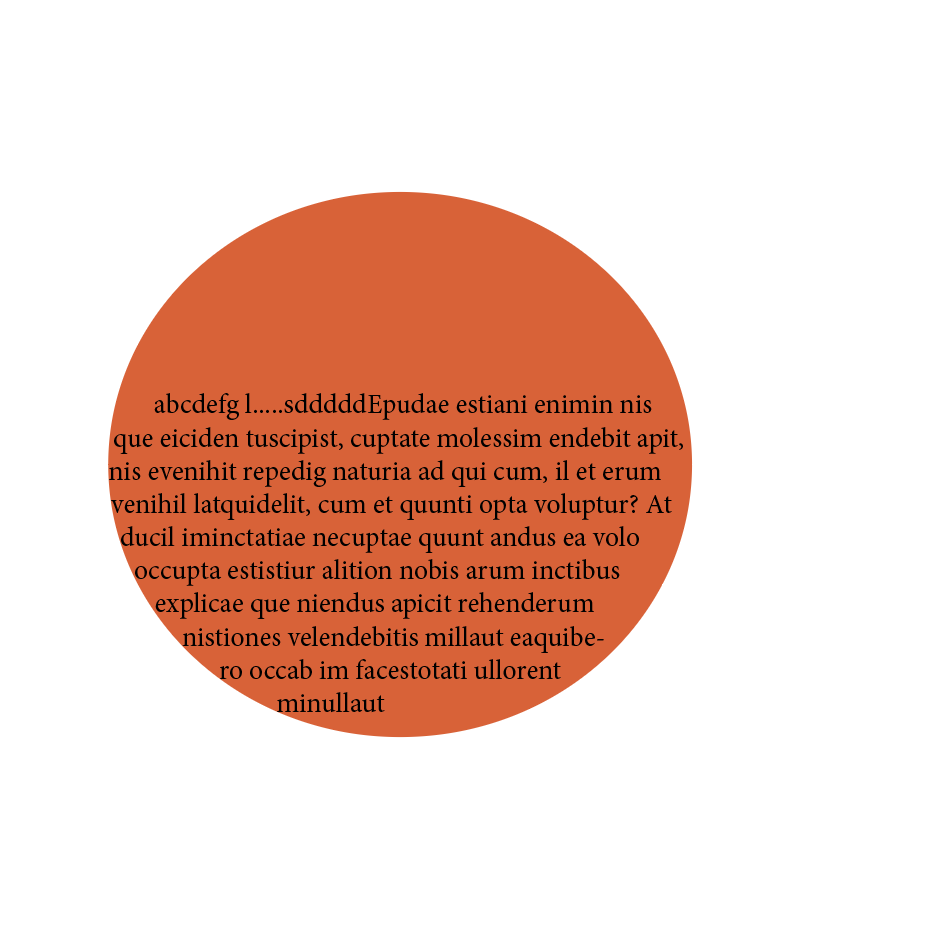 To create an object, you can use the text tool or the figure tool as above, but you can also use the frame tool on the left. 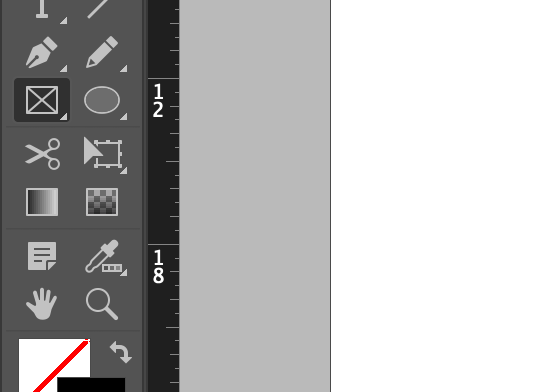 The shape of the flame tool is also the same with rectangle, ellipse and polygon as the shape of the figure. 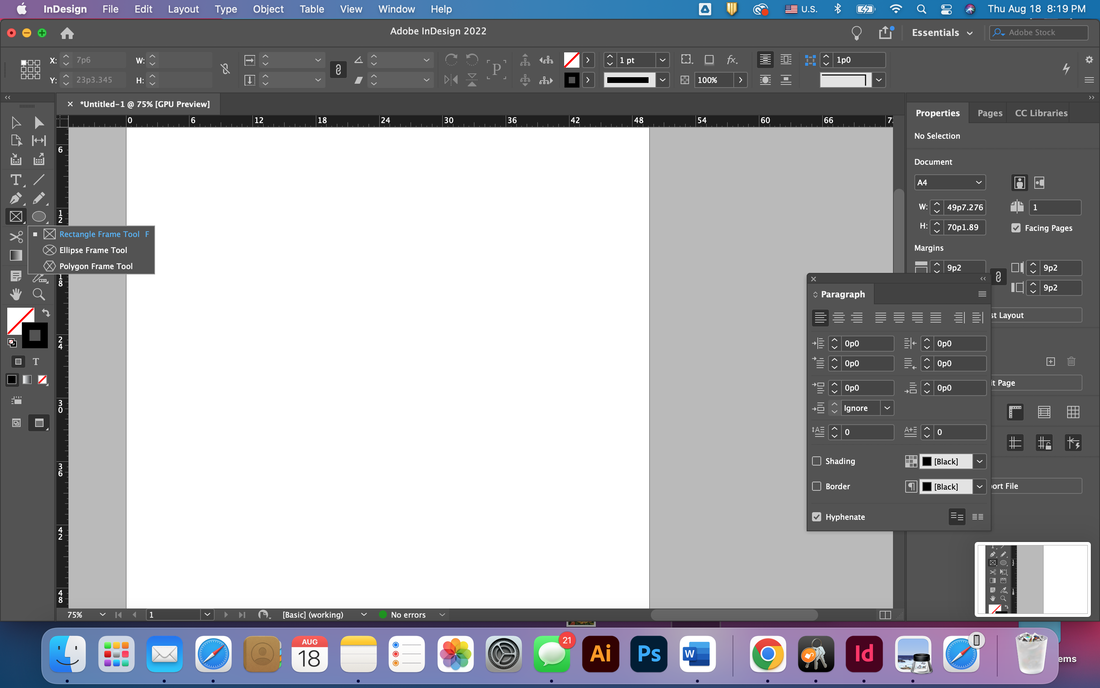 If you go to the place from the file in the upper menu, find the image and open it, you can put the picture in the created frame. Of course, you can insert a picture with the text tool and shape tool as well. 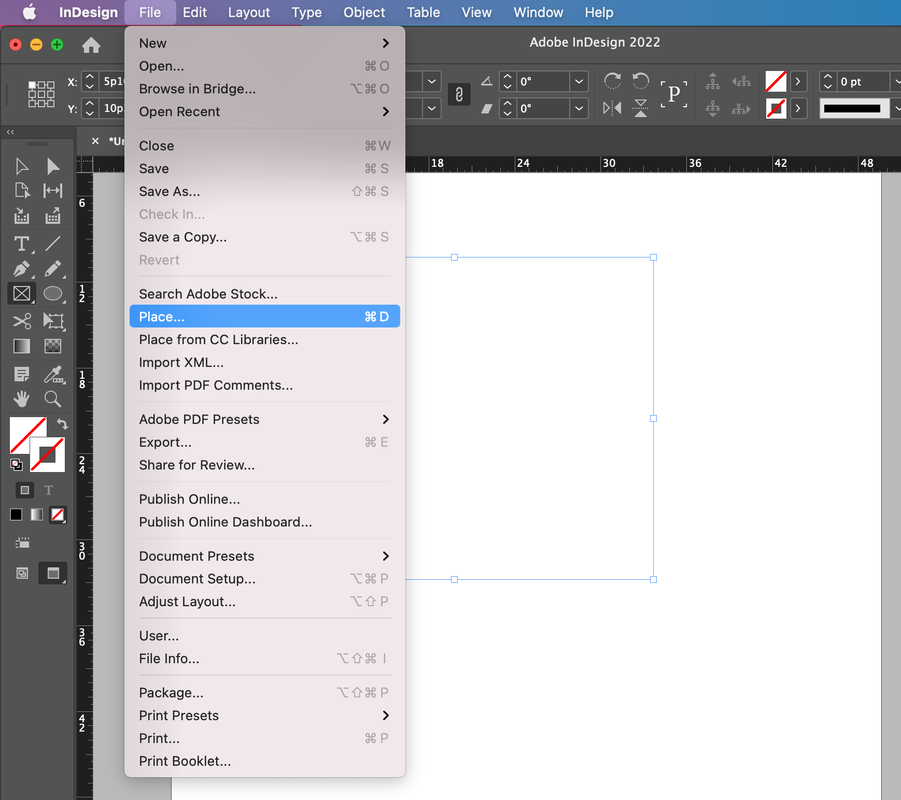 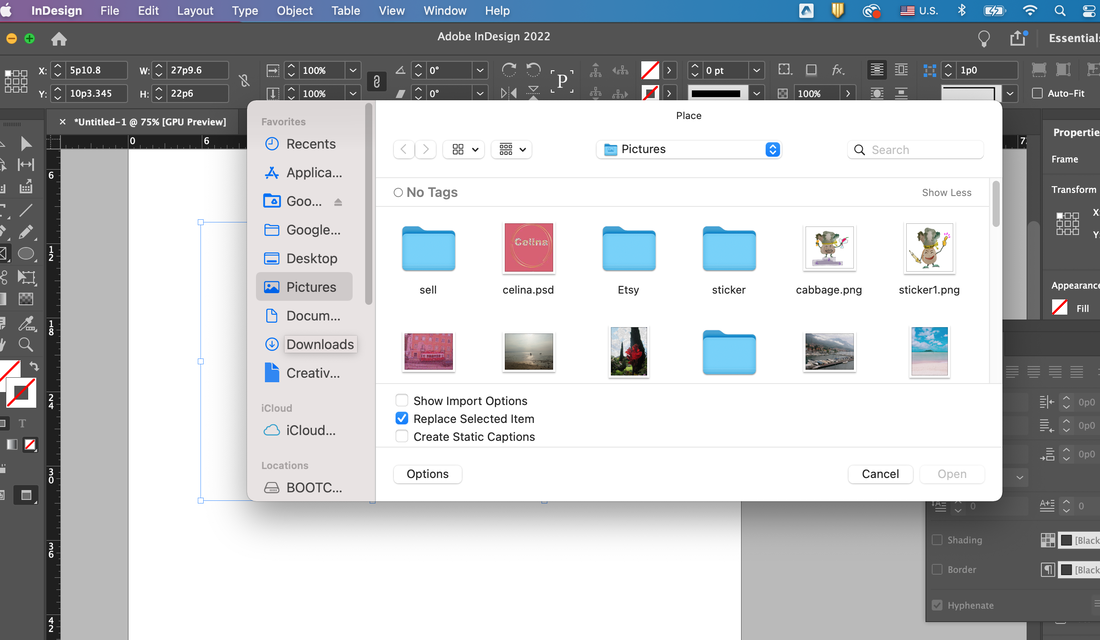 When you first insert a picture, you will see a picture that does not scale at all, as shown below.  In this case, the adjustment window on the right changes to fit the size of the screen or scale. 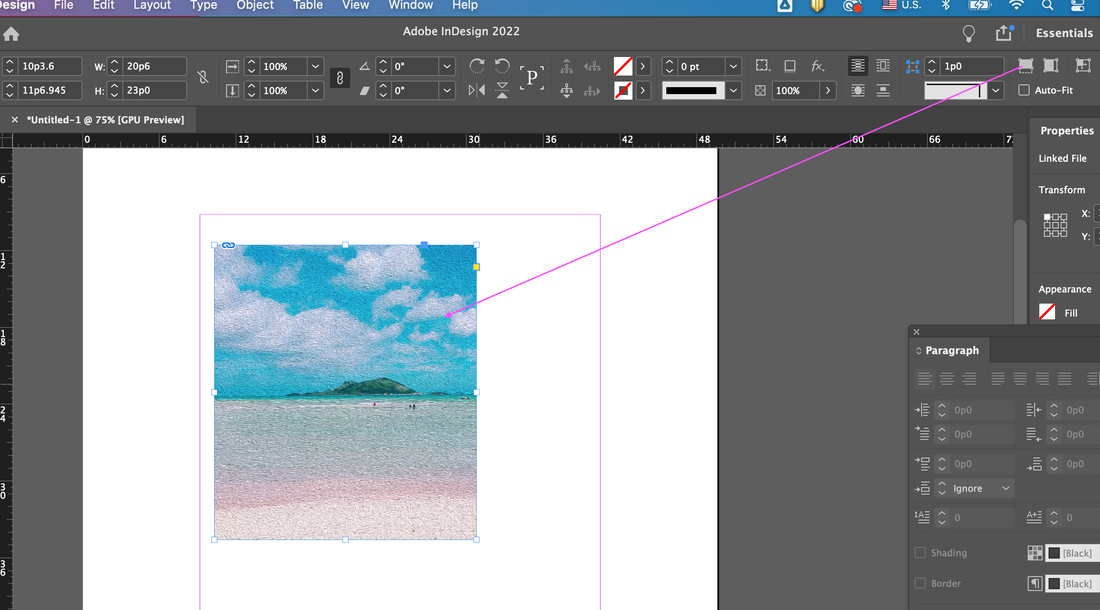 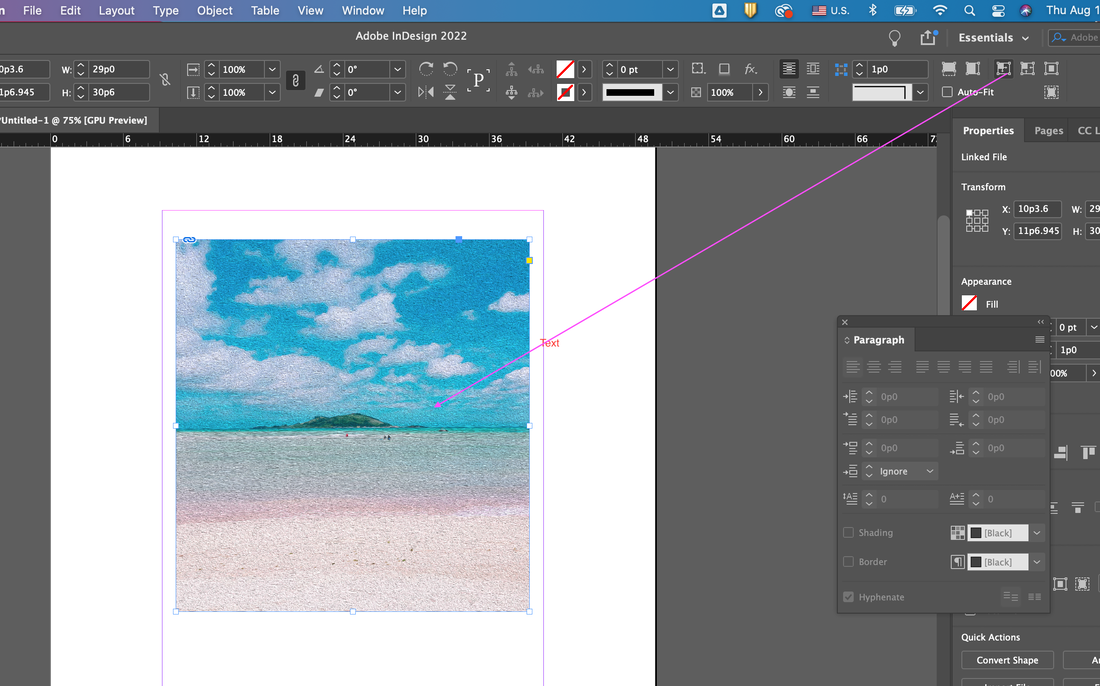 Open InDesign document, enter text and change paragraphs Whereas Photoshop handles bitmap images and Illustrator handles vector images, 'InDesign' takes images and texts created in other programs and puts them together (editing = layout) to create documents, books, and e-books. DTP program. Photoshop and Illustrator also have layout and output-related functions, but while programs that focus on creating image elements rather than layouts, InDesign focuses on layout, printing, publishing, and electronic publishing. If it is a one or two page design work or brochure, you can make it in Illustrator, but it is much more efficient to work in InDesign for a print that spans multiple pages. I would like to briefly show you how to run this useful and must-know InDesign program from a beginner's point of view. First of all, click on InDesign and run it, you will see a screen like the one below. It has the upper menubar with Print, Web and Mobile. In my case, I would like show you with Print option. 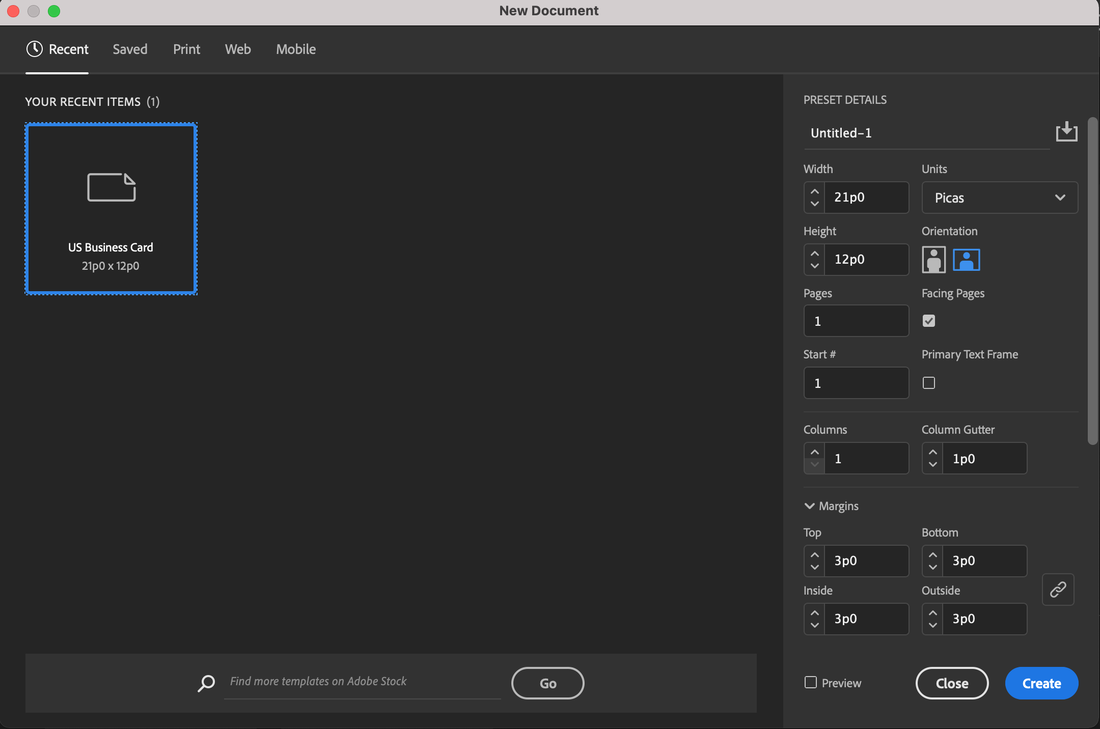 I choose the A4 sized documents in Print option. 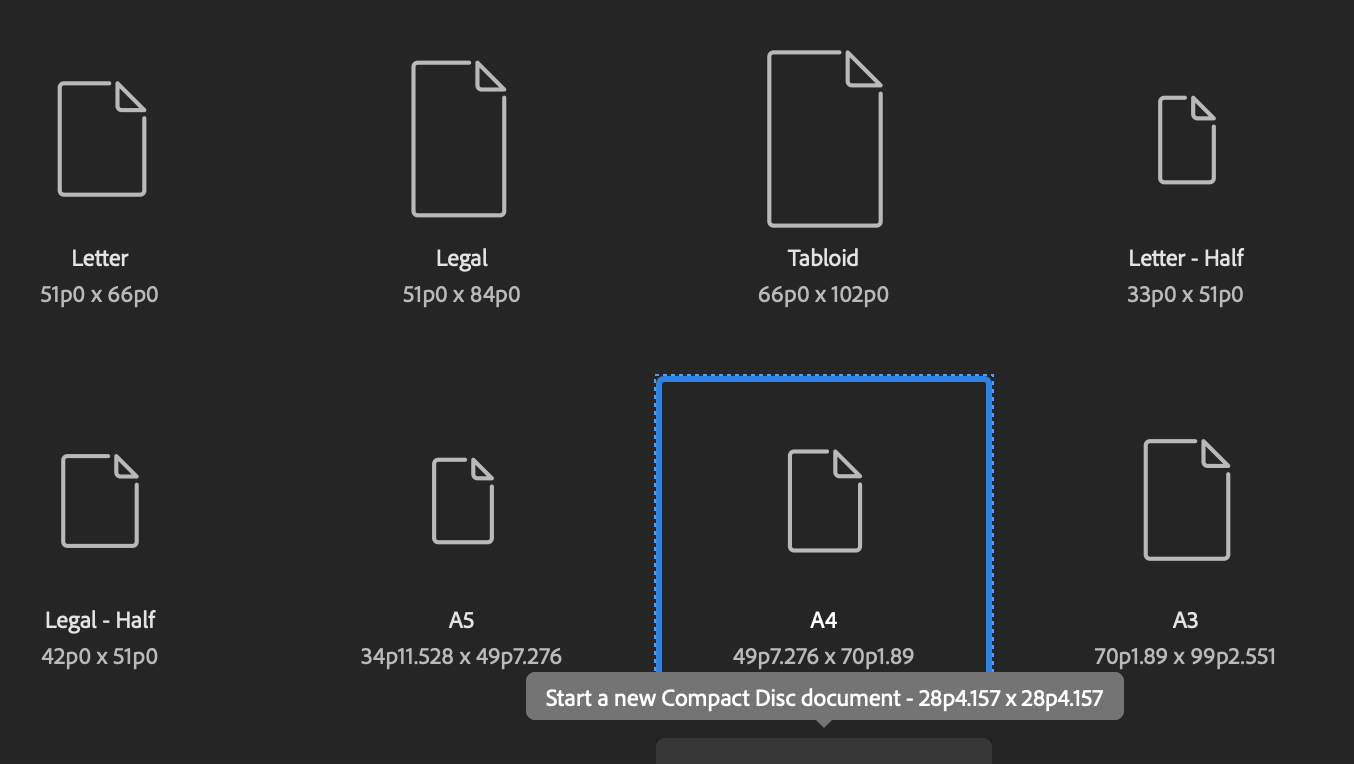 In InDesign documentation, it is necessary to understand the concept of margin. This is an important function that allows you to check and preview the margins and print output that occur when you actually print. The status of publication after printing depends on how the margins are set. This margin function can be modified later. It can be sufficiently deformed before printing, but it is convenient to calculate and input the margin of your own print in advance.  If you create a document after setting the margin, you will see a white document with a purple thin line as shown below. The purple area is the area where text or images will come. 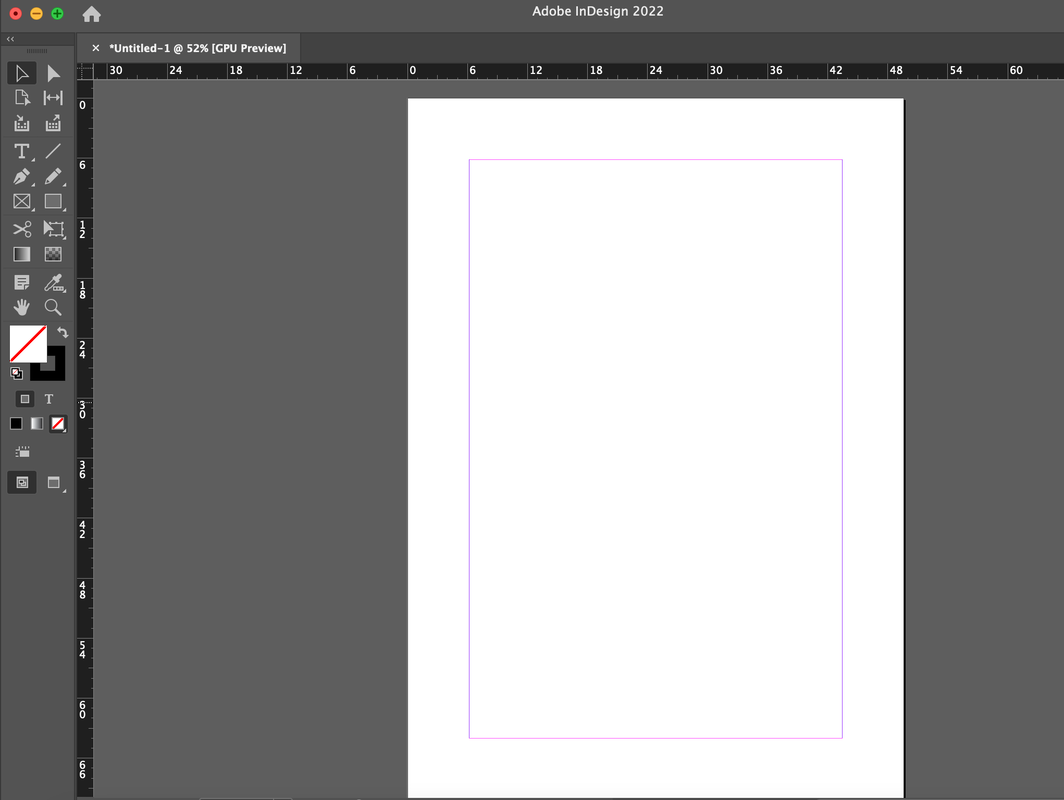 Right on the left is a workspace called the Toolbar. Today, I will show you mainly using the selection tool and the document tool in the toolbar.  The right workspace is an area called the panel. This area is the detailed option for the toolbar you have selected. 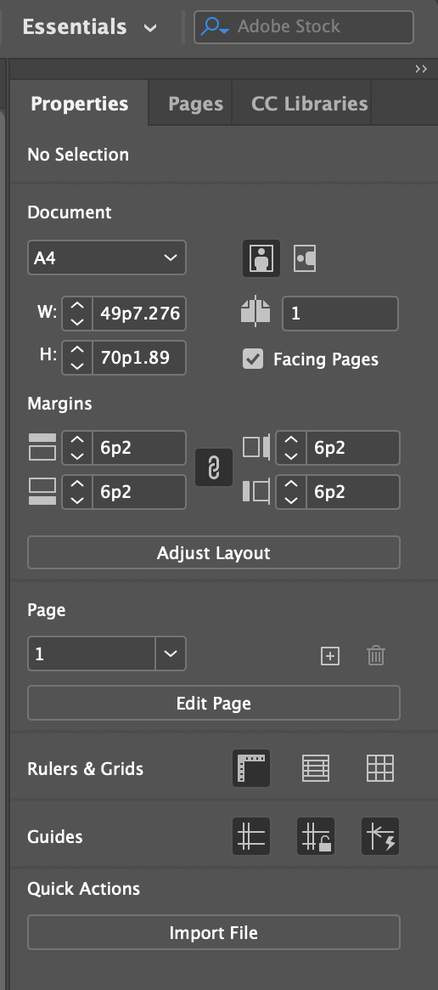 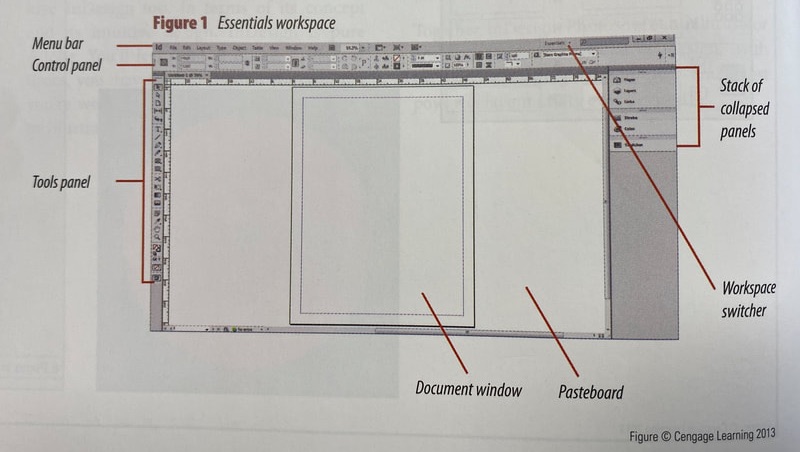 And at the top there is an area called the Control Panel. But it may not be in your program. It is recommended that this panel is always out. To do this, follow the steps below.  Below is a picture of the work window. 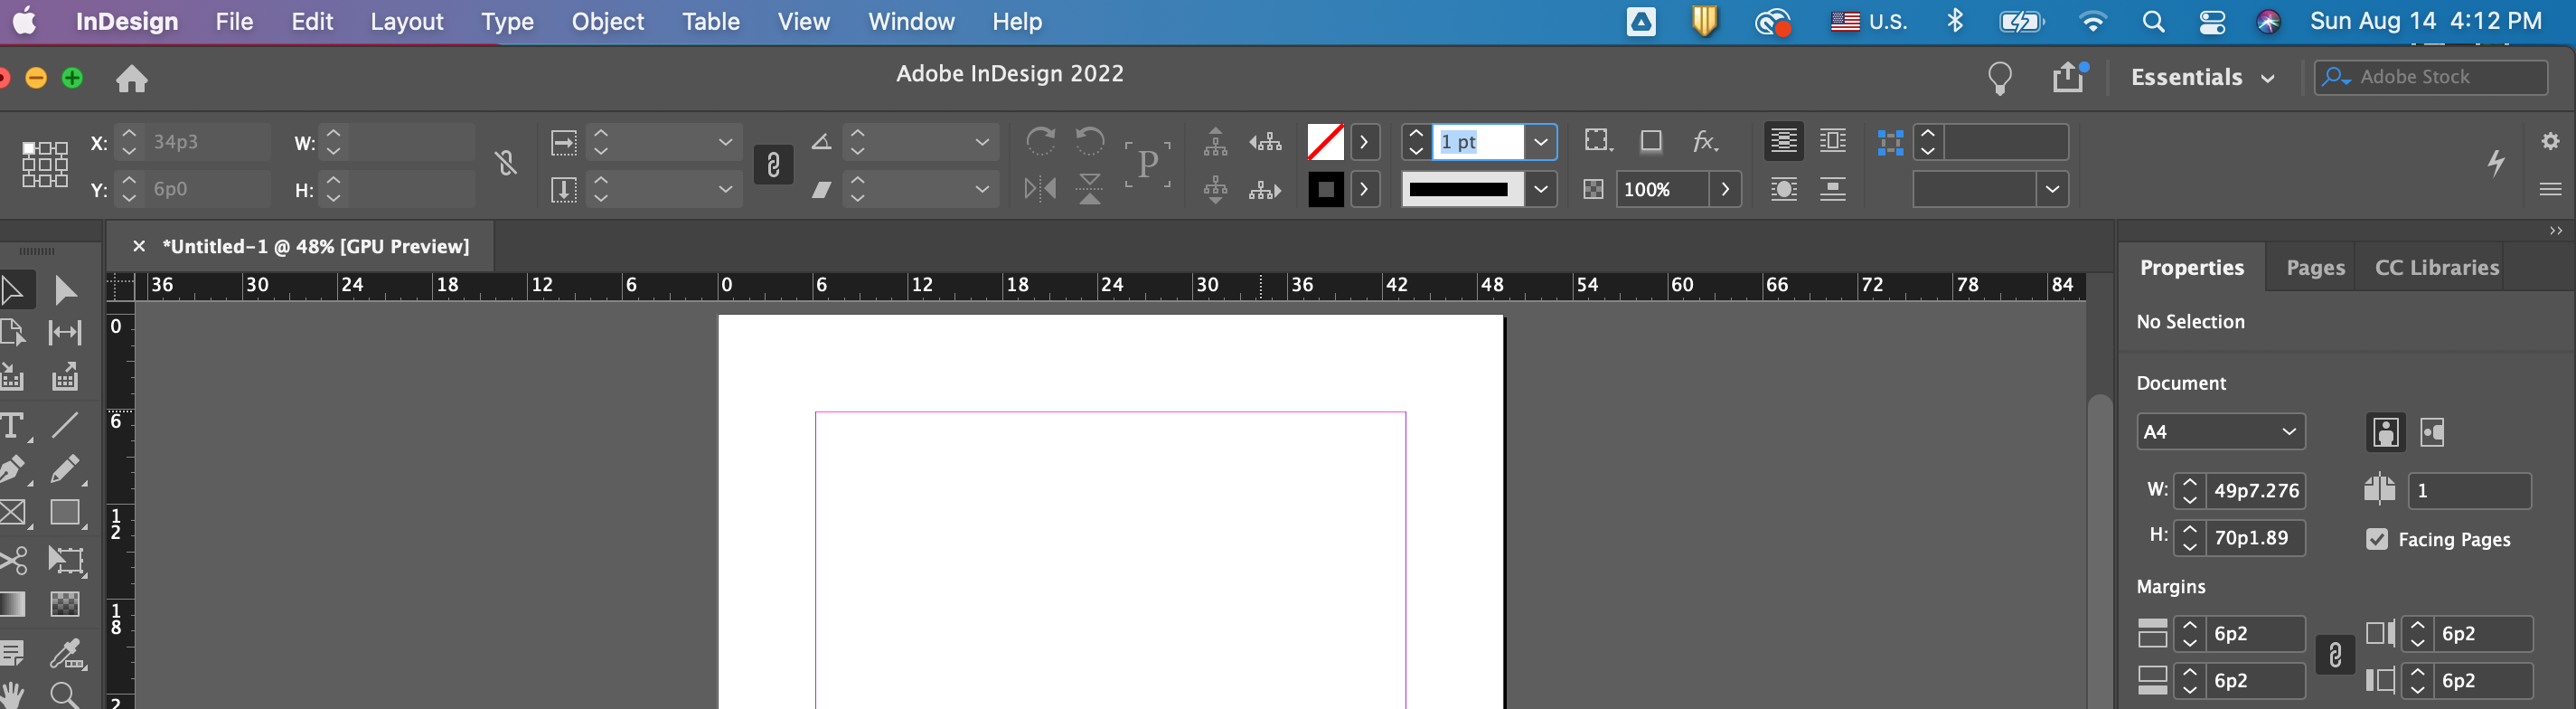 So, what should we do first? Text input is mandatory in InDesign. Click the text box in the toolbar on the left and drag it into the document. Text can be entered only when a document box is created like this. The size of this document box can be reduced or increased by clicking the selection tool.  Beginners who use InDesign for the first time may feel cumbersome to enter all documents in the document box like this. To do this, follow the steps below and you will see that the text box is filled with practice text in no time. 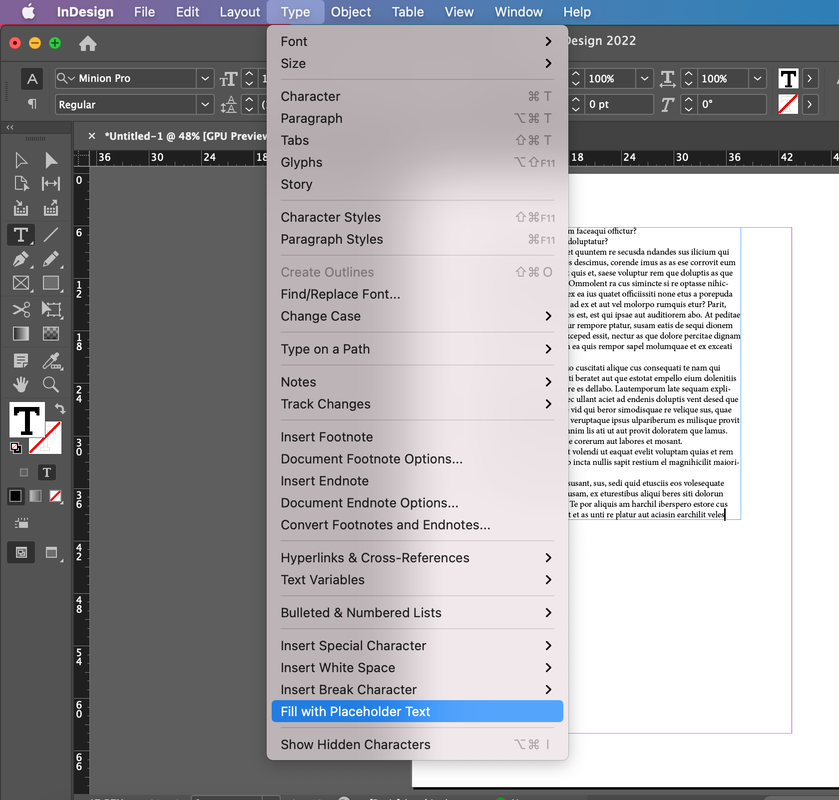 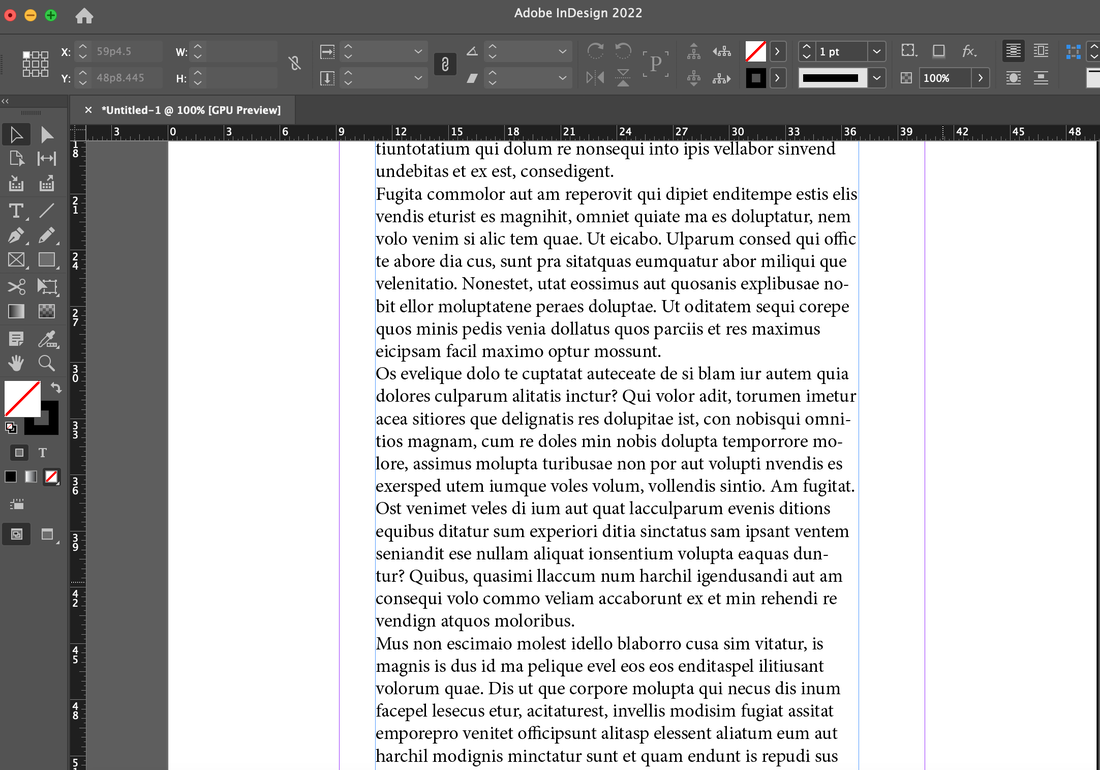 The functions that you use the most when entering text in a document are zooming in, zooming out, and previewing. In this case, it is convenient to know the shortcut keys.  Below is the useful shortcuts related for zoom functions. 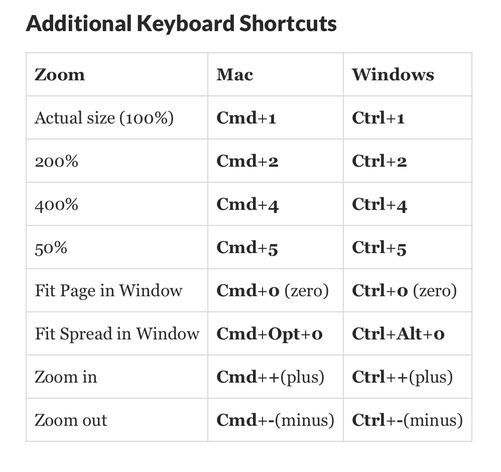 https://www.thoughtco.com/zoom-tool-in-adobe-indesign-1078478 What follows below is about changing the shape and size of a letter by selecting it. Even if you have only dealt with MS Office's word processing, this task will be very easy for you. 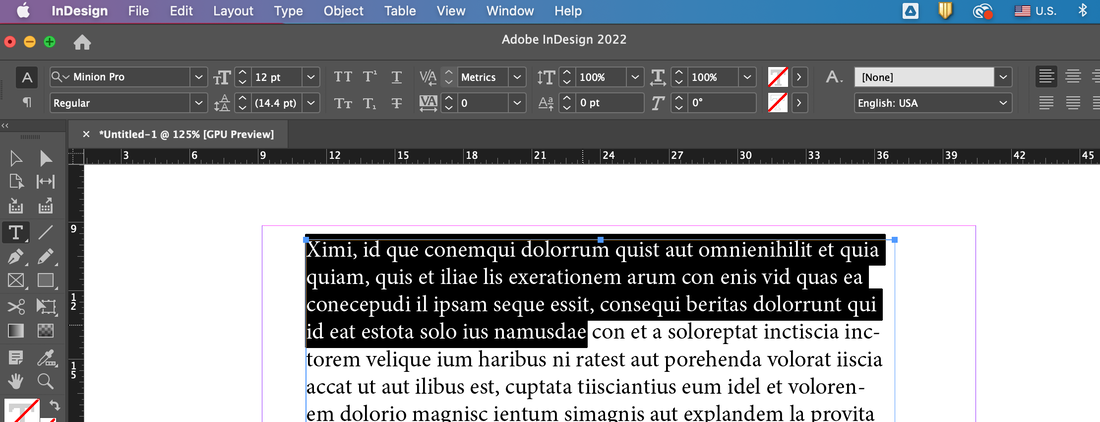 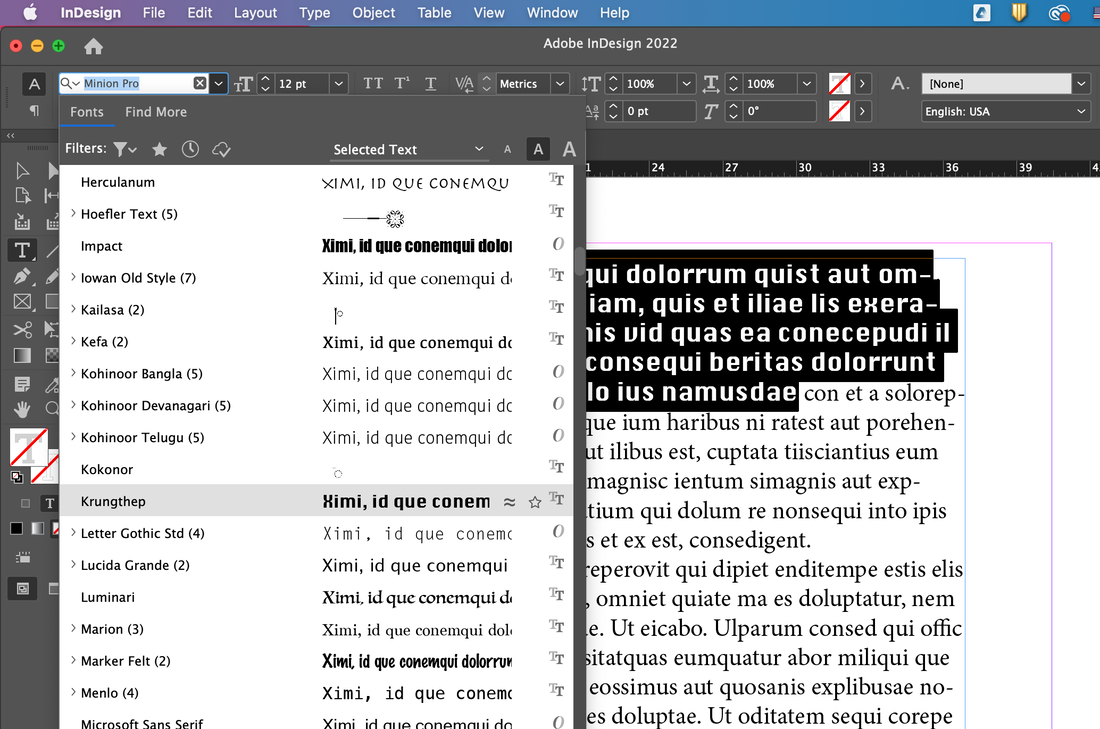 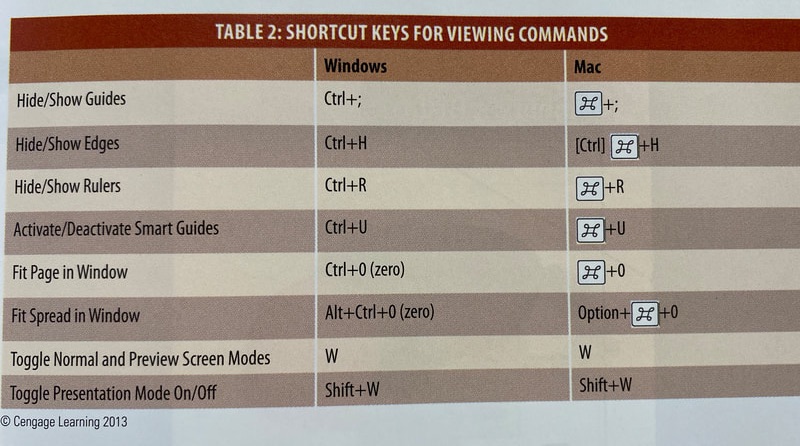 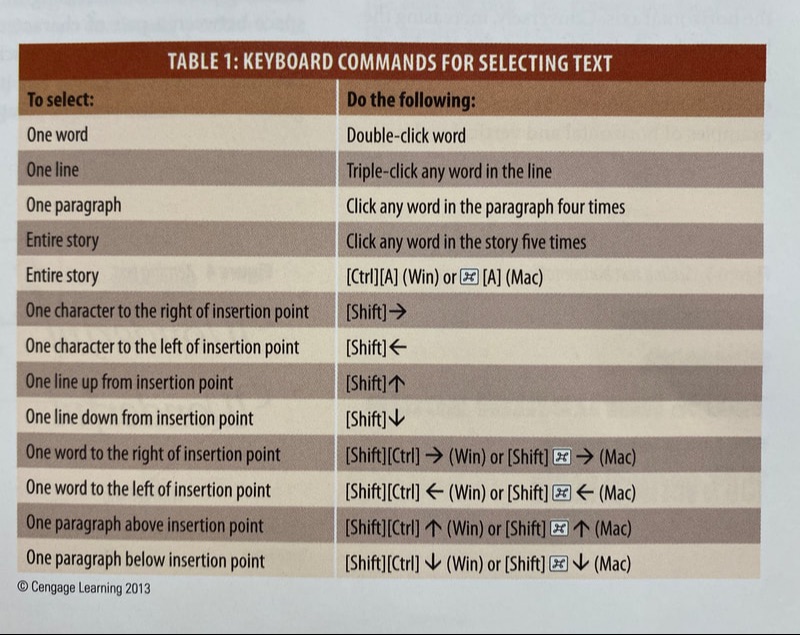  InDesign can change various shapes, such as changing lowercase letters to uppercase letters, creating underbars, etc. 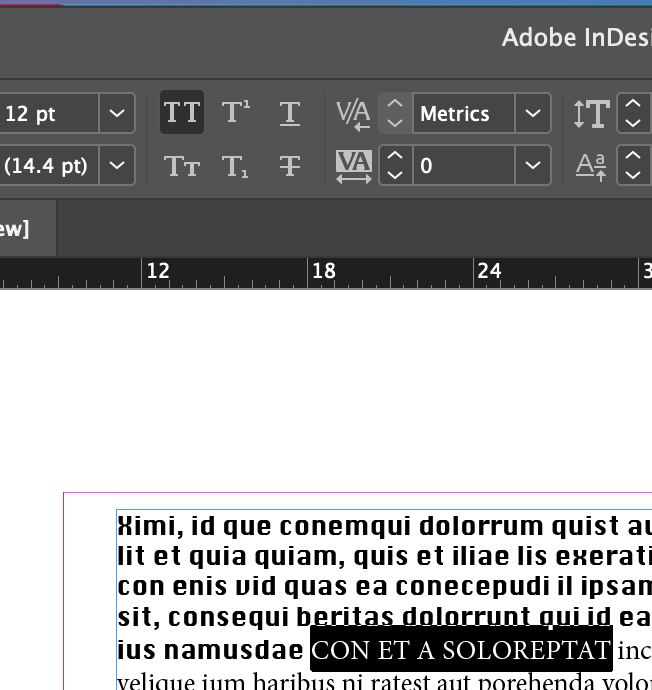 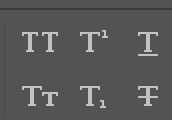 You can also make the text rise from the ground line as shown below. 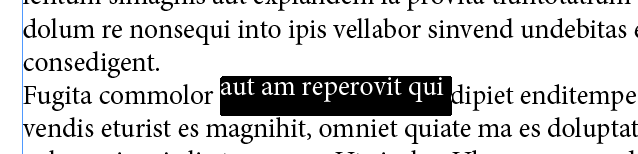  You can also change the scale of the width or height of the text itself.  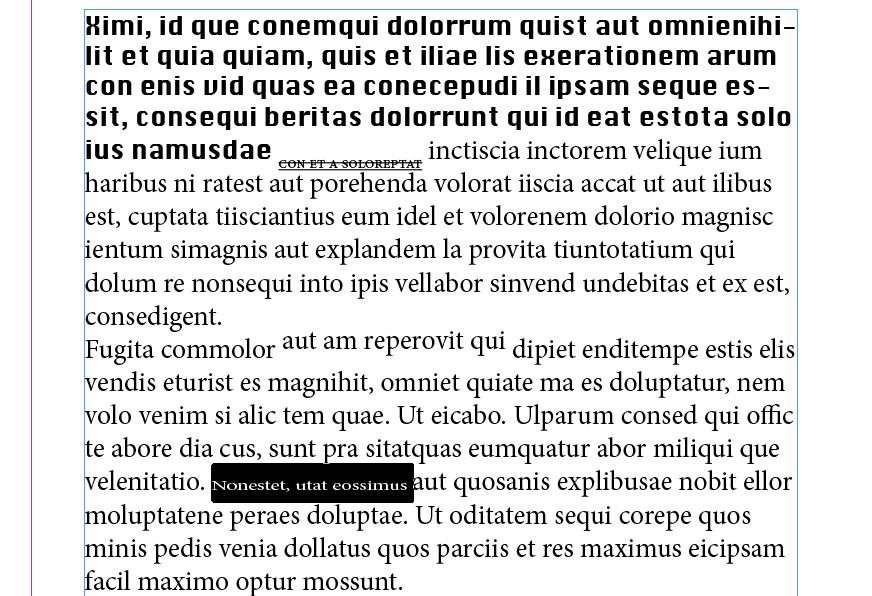 Most of all, you can also select text using clicks of the mouse!
 If you want to make changes other than what is displayed in the work pane, please move as follows. 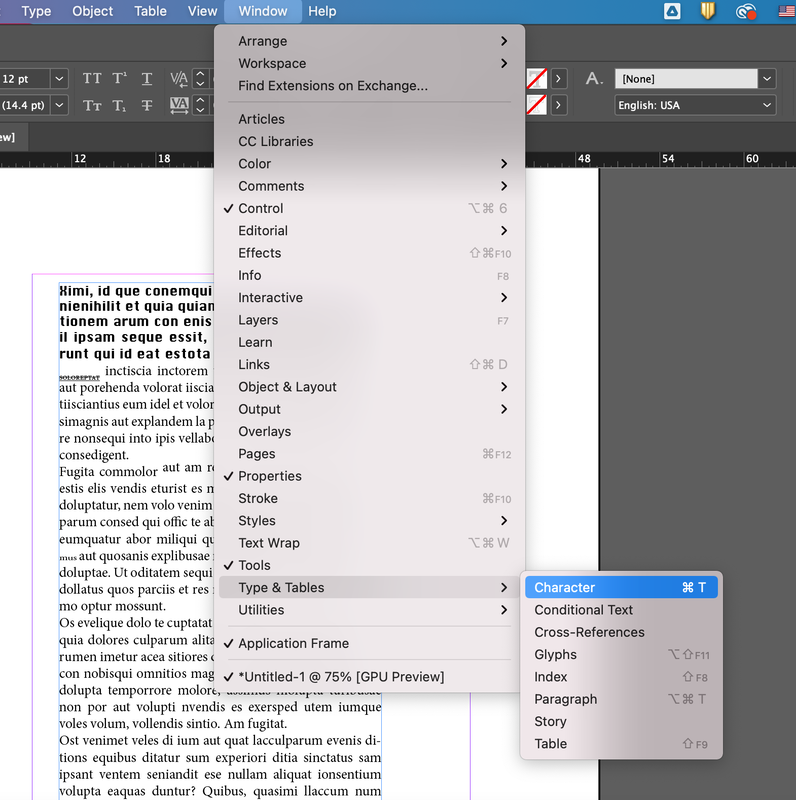 See below for more detailed options. For example you can also make italic fonts.  Below are examples of options that make changes to paragraphs.   Continuing the next post will also cover the features of InDesign.
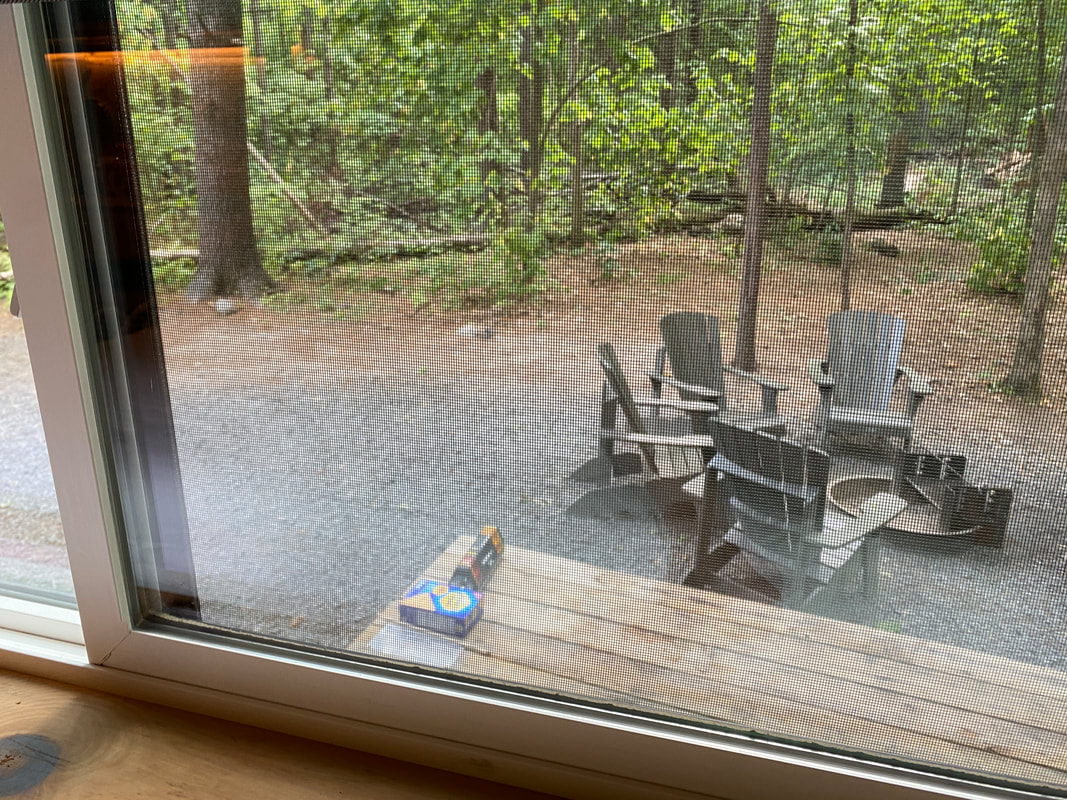
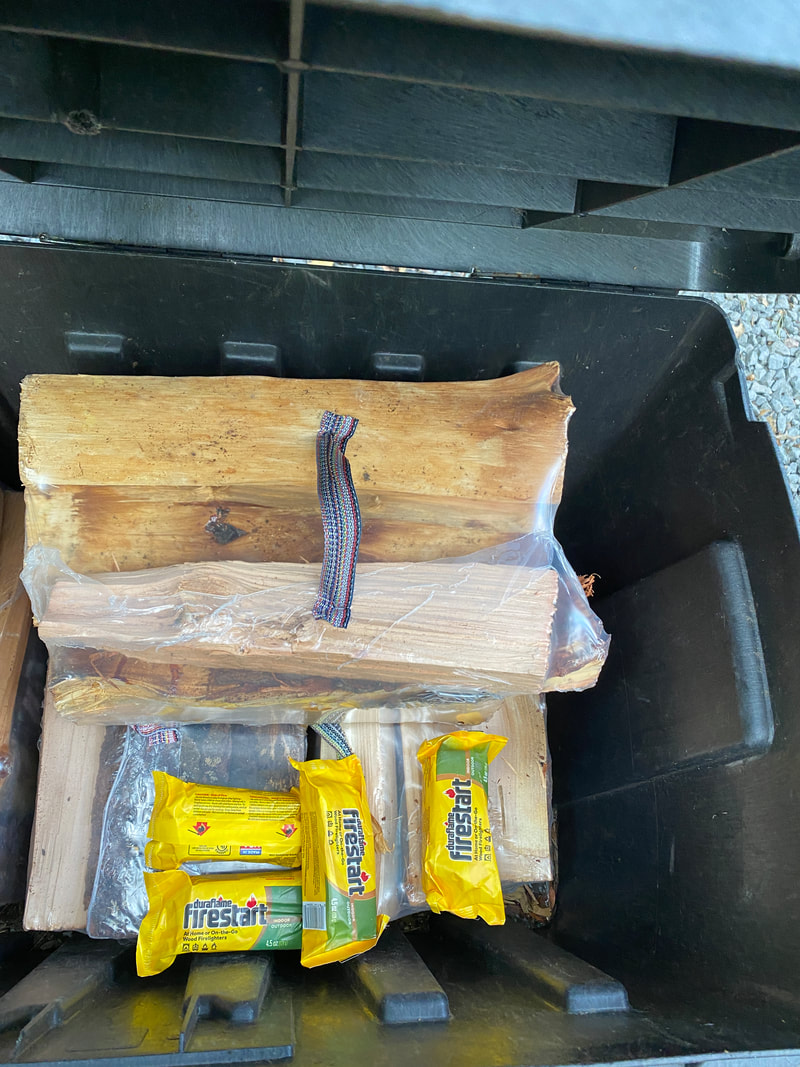
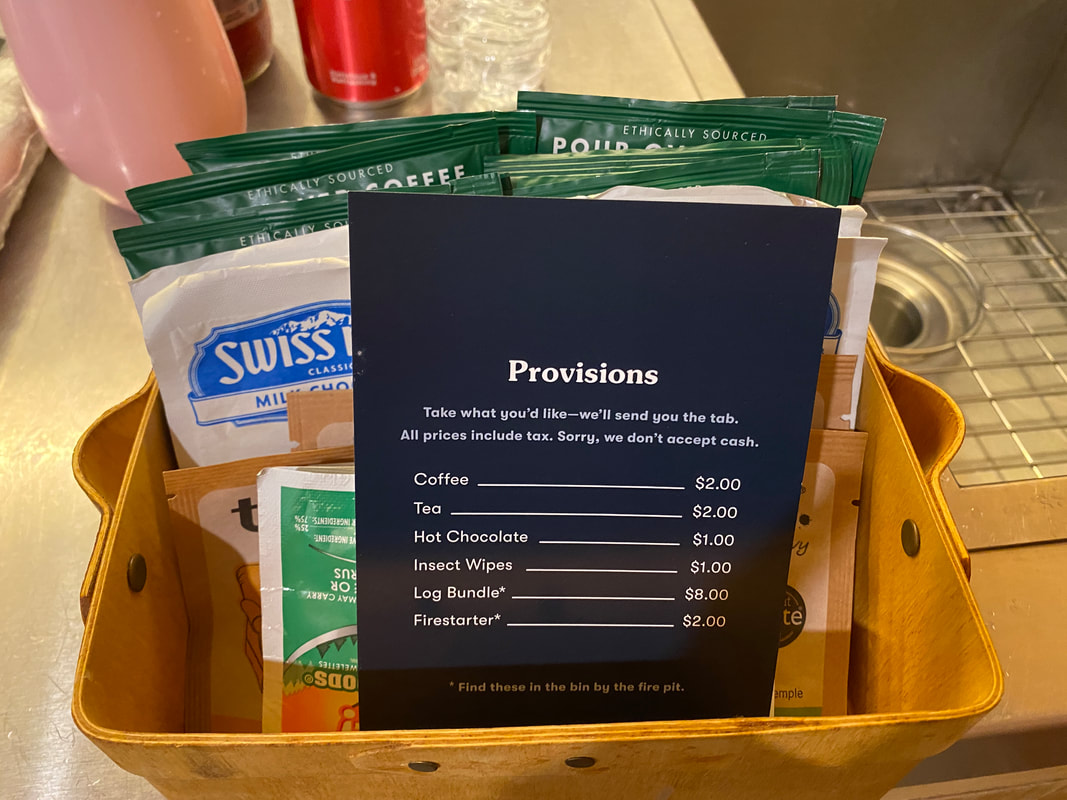
Review of Getaway Eastern Catskills. To escape the sweltering heat, we went camping in Getaway Eastern Catskills for 2 days and 1 night. The cabin at the campsite here is a concept that looks like a campervan, and the cabin is equipped with a bed with a mattress, a bathroom, and a kitchen. Small, clean and modern cabins are set on flat ground surrounded by tall, dry trees all around. The yard has lounge chairs and a space for a campfire.  We have forgotten the most important piece of camping equipment, firewood. But when it arrived, the wood was prepared in a small black plastic box that I saw. The price is 8 dollars. What makes this camping site unique is that you cannot meet staff. Of course, there are stores selling camping gear, but most of them are remote cabins. The entrance to the cabin is in the form of a digital door look, and you just need to enter the verification code that the company gives you through your mobile phone before you arrive. It felt like an unattended hostel because I didn't meet the staff directly. 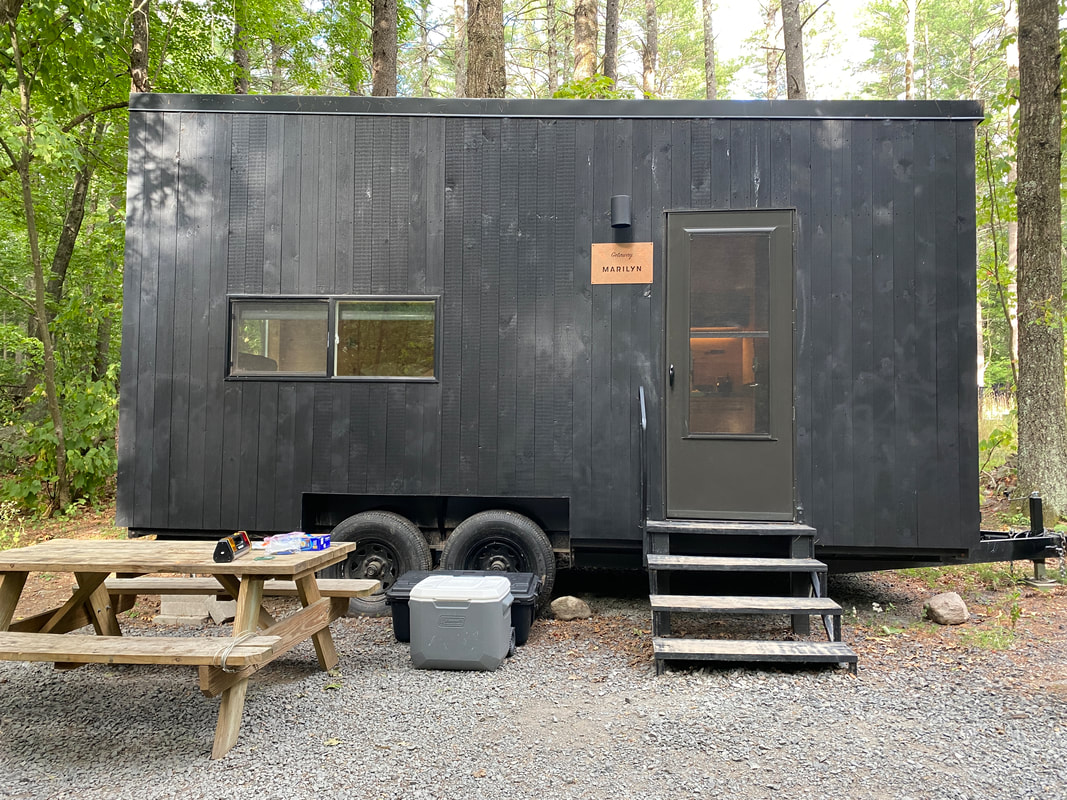
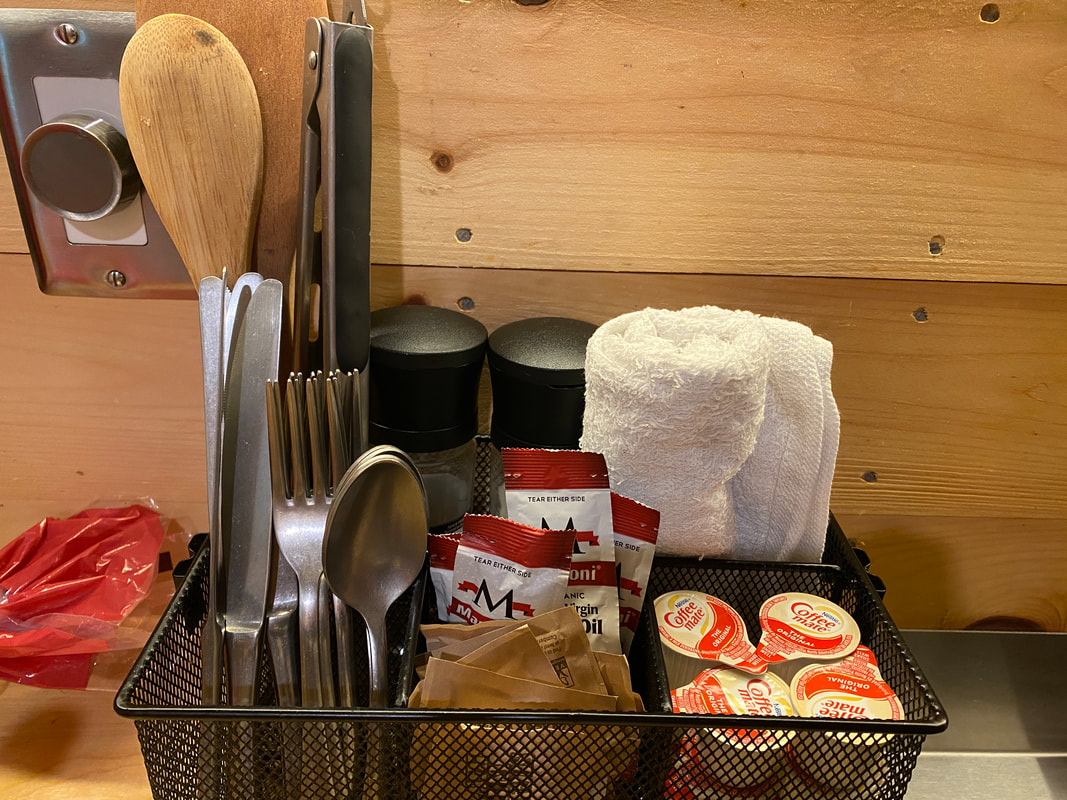
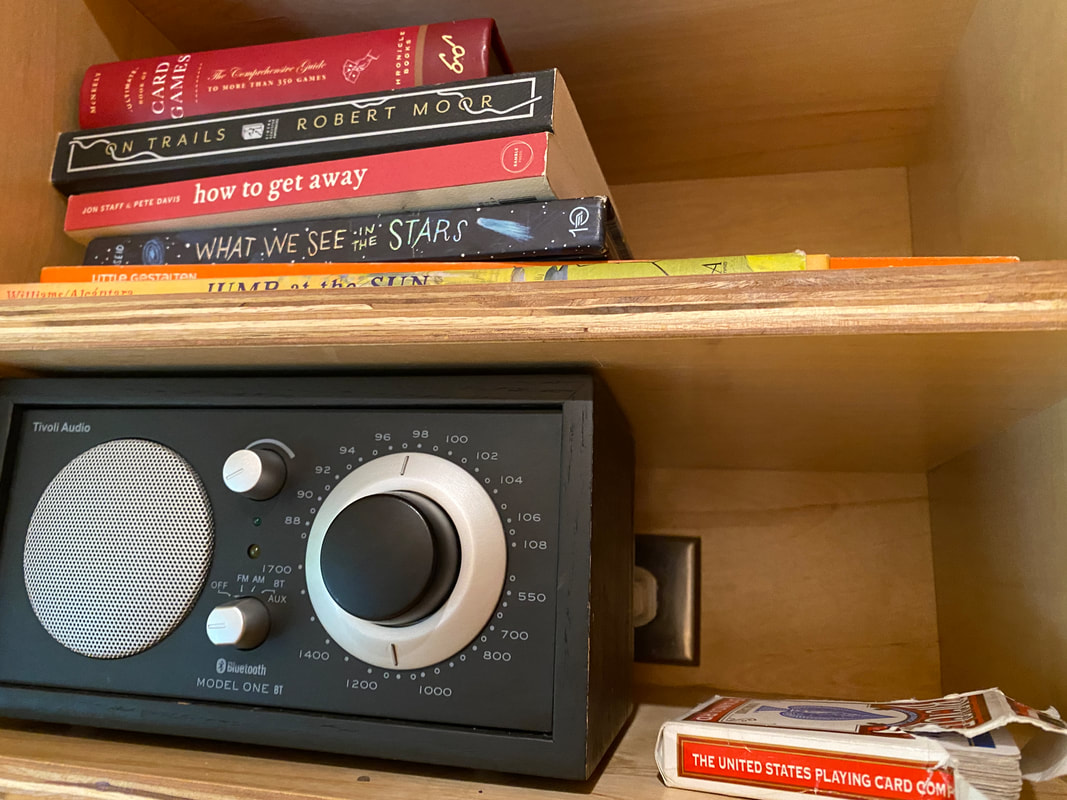
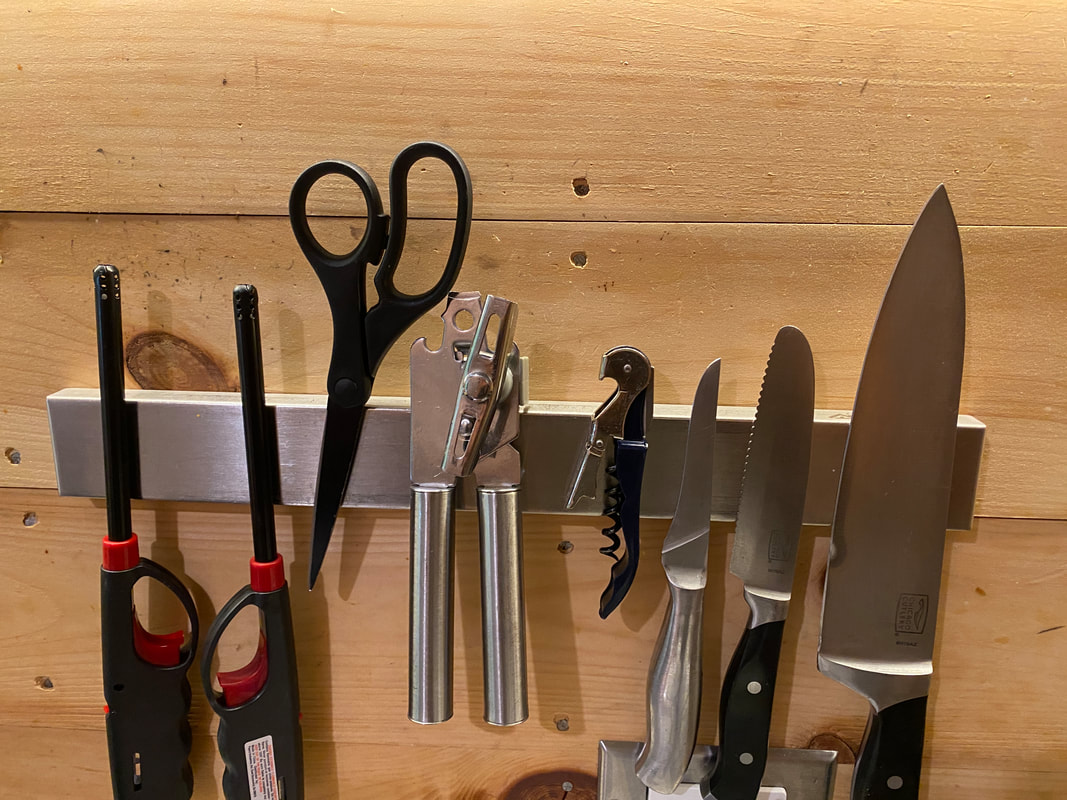
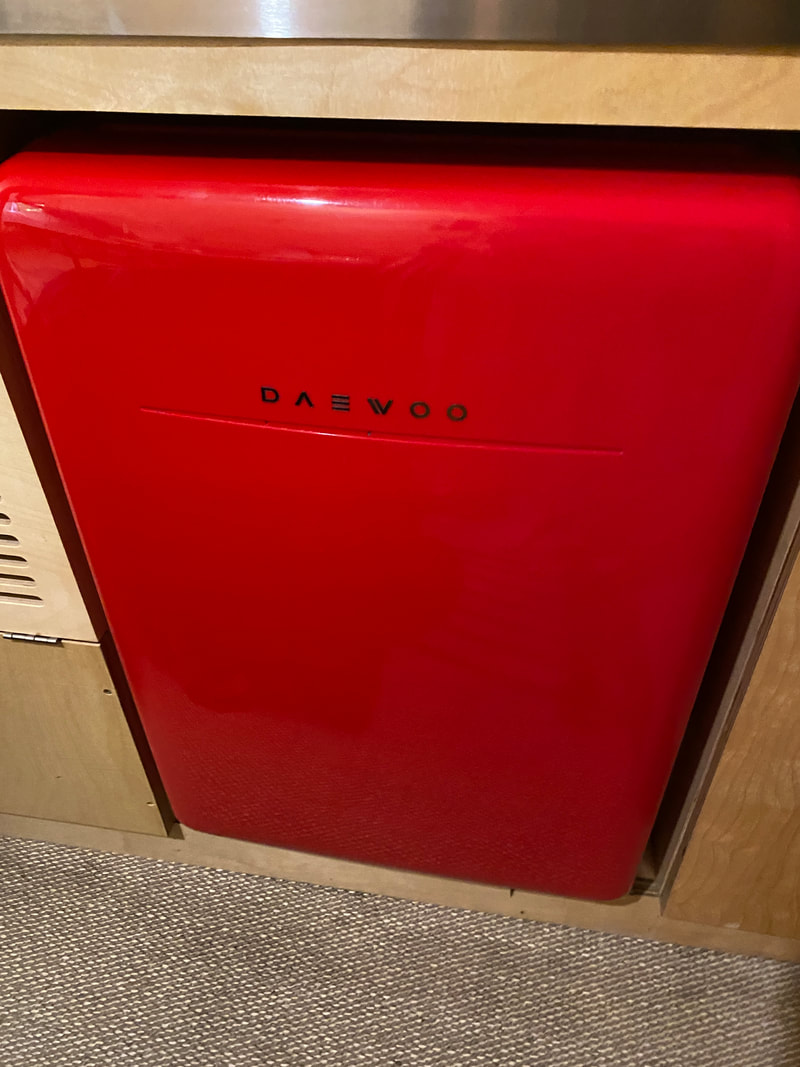
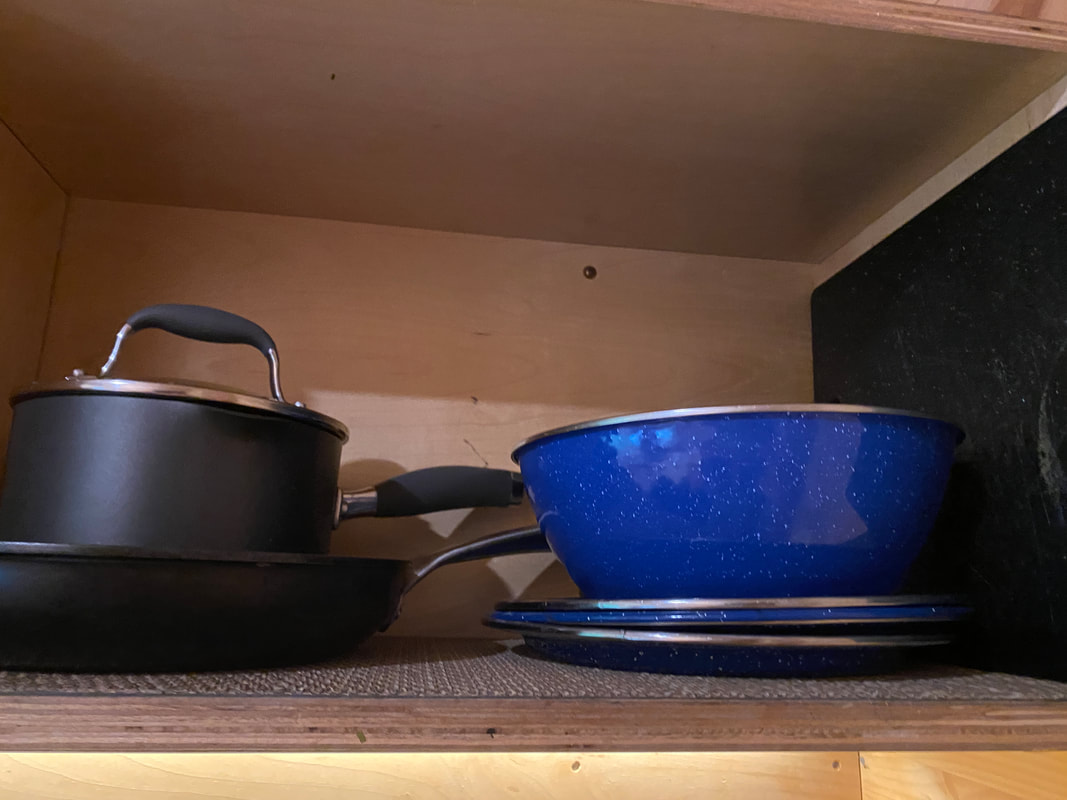
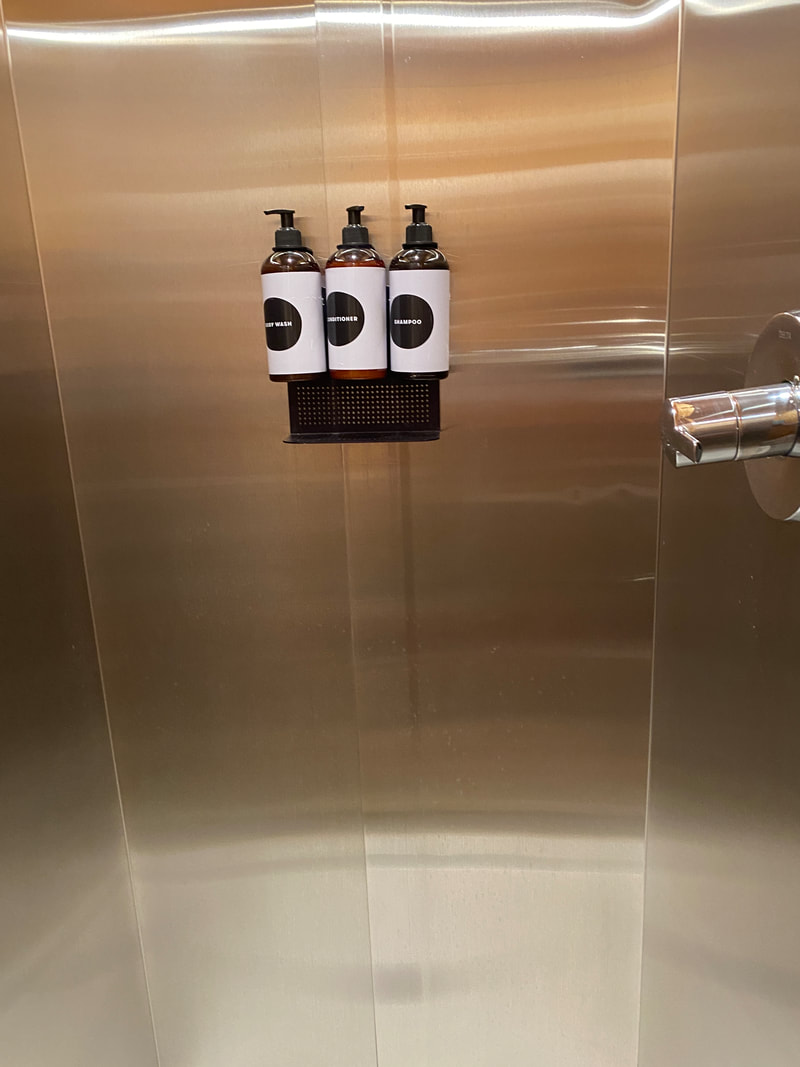
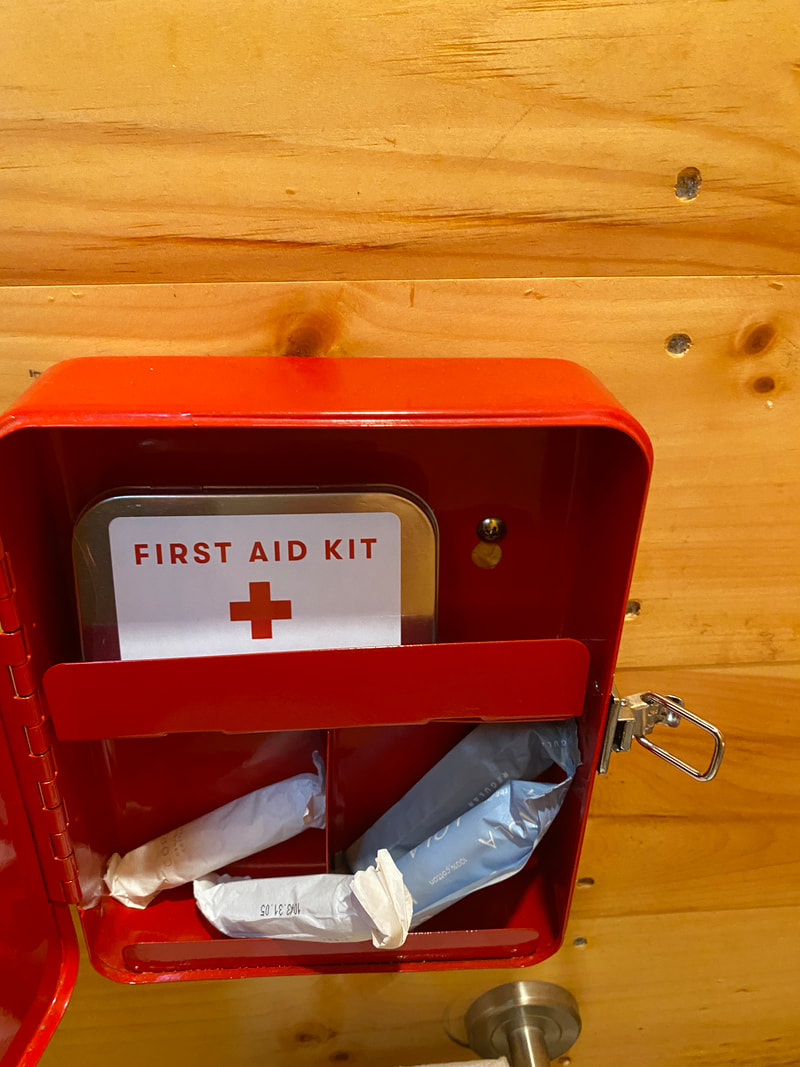
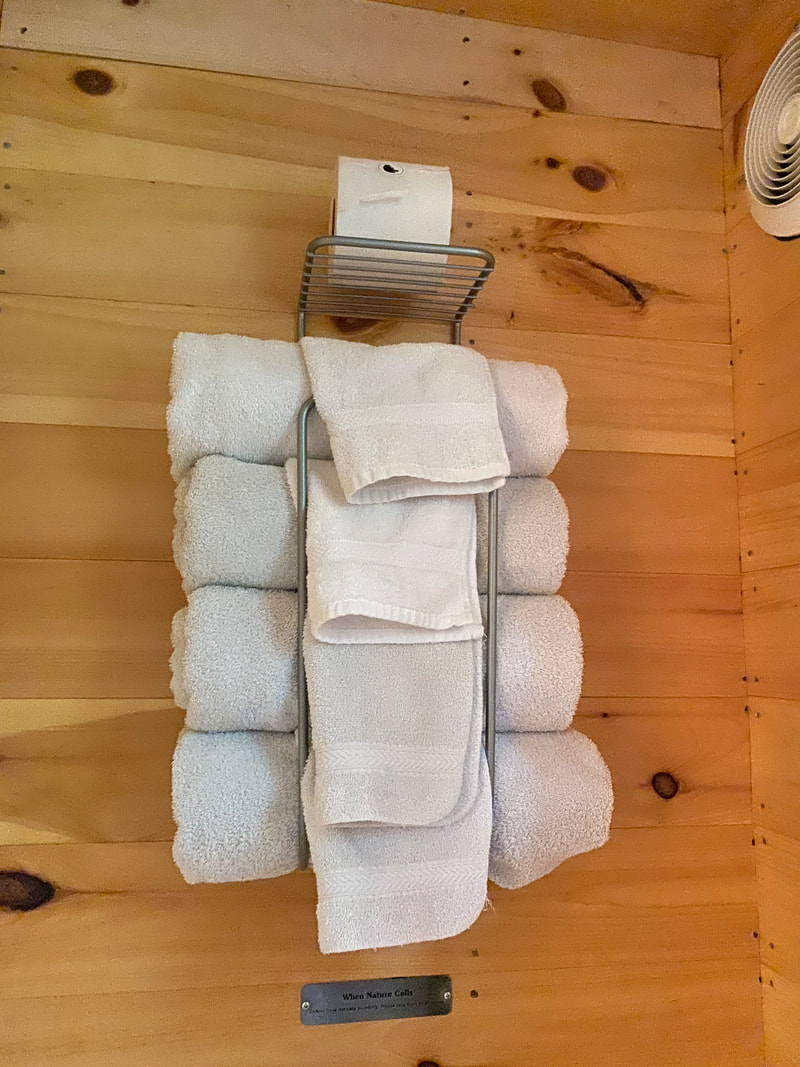
We have a small child so we booked a 2 bed room. The two-bedroom has an loft structure with a small staircase as shown below. On one side of the cabin is a one side curtain wall, out of which the densely packed trees are directly visible. 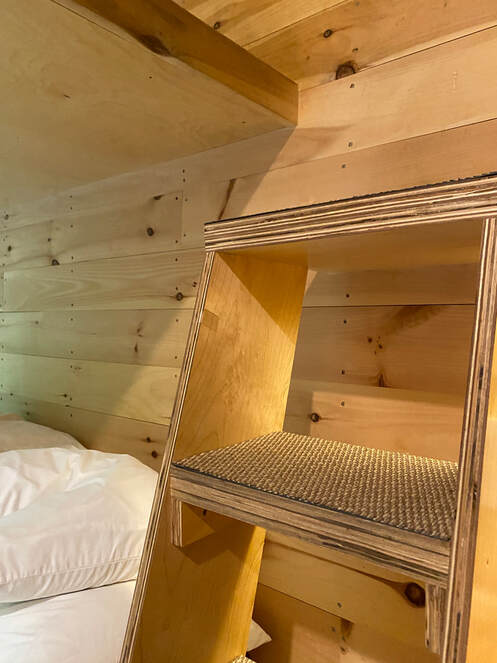 And right in front of the bed is a small table. 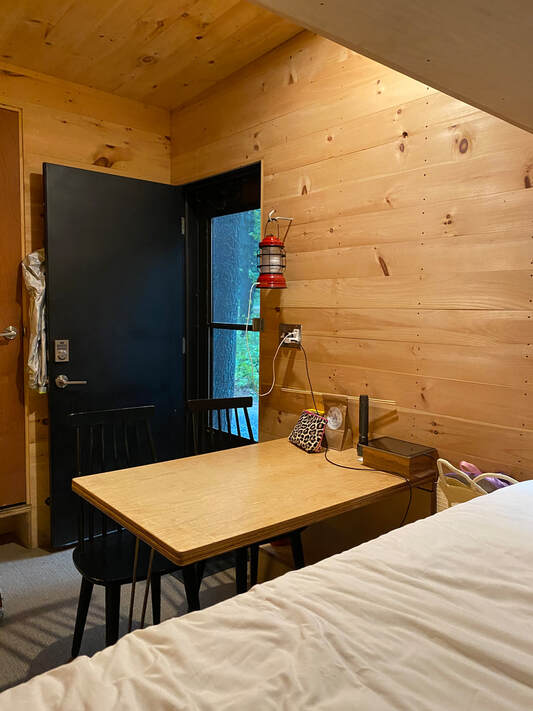 The cabin is overall very clean. There are radios and books to read, and bowls, cups, cutting boards, frying pans, and pots for simple cooking are provided. Coffee and tea are also available, but you have to pay. It is recommended to bring it in advance. And you should always have mosquito repellent ready. There are a lot of mosquitoes. There is a refrigerator without a freezer function, and there is an air conditioner. And there's a red phone you can call in case of an emergency. The bathroom is equipped with a shower and hot water is available. But there is no washstand, so you have to use the sink in the kitchen. Towels and shampoo are well stocked. Below is the equipment to make simple marshmallows by lighting a fire. 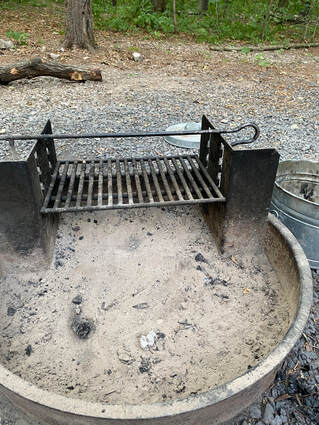 The downside is that the two-story attic is suitable for small children, but I wouldn't recommend it for adults. The ceiling is very low and stuffy like an MR.I machine, and my daughter often bump her head. The mattress upstairs is thin so your back will hurt a lot when you sleep.  Overall, it is a good place to stay for a while when you want to relax and enjoy camping in a cozy and clean environment in a quiet wilderness. Very quiet and clean.
In my case, it was interesting because it was my first time staying in a camping car. If you have never used a camper before or want to take a break from the hustle and bustle of daily life, it would be good to stop by for a while. |
Myungja Anna KohArtist Categories
All
Archives
April 2024
|

|
Tutorial |


 RSS Feed