Open InDesign document, enter text and change paragraphs Whereas Photoshop handles bitmap images and Illustrator handles vector images, 'InDesign' takes images and texts created in other programs and puts them together (editing = layout) to create documents, books, and e-books. DTP program. Photoshop and Illustrator also have layout and output-related functions, but while programs that focus on creating image elements rather than layouts, InDesign focuses on layout, printing, publishing, and electronic publishing. If it is a one or two page design work or brochure, you can make it in Illustrator, but it is much more efficient to work in InDesign for a print that spans multiple pages. I would like to briefly show you how to run this useful and must-know InDesign program from a beginner's point of view. First of all, click on InDesign and run it, you will see a screen like the one below. It has the upper menubar with Print, Web and Mobile. In my case, I would like show you with Print option. 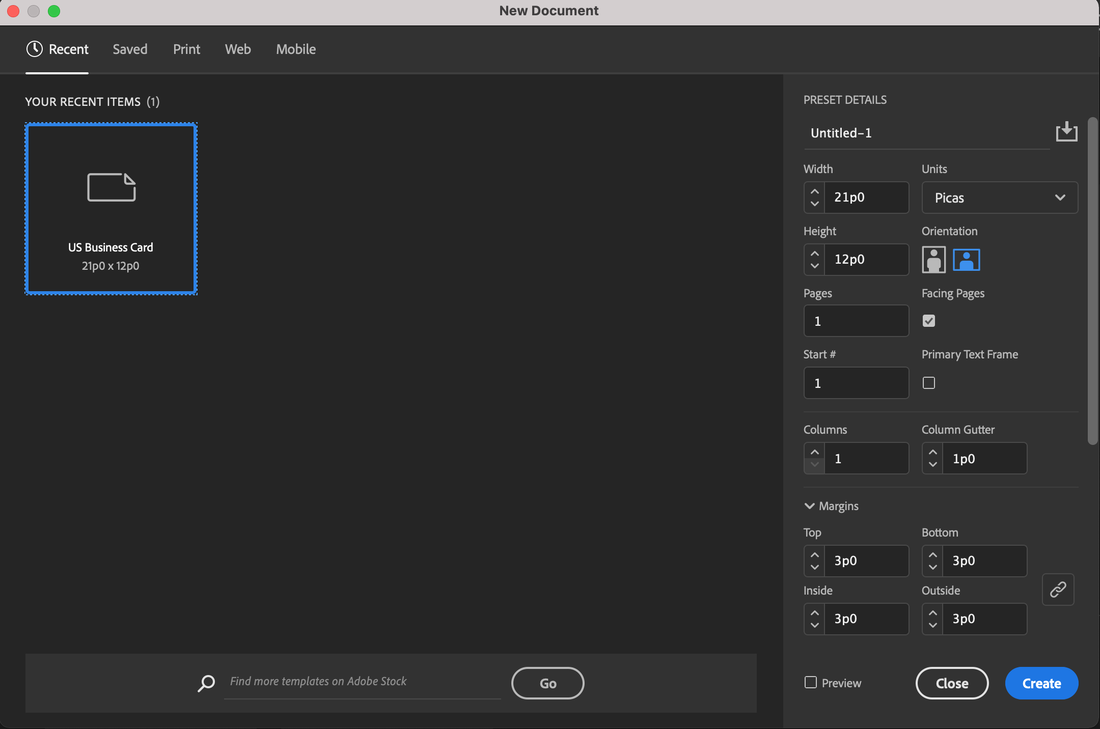 I choose the A4 sized documents in Print option. 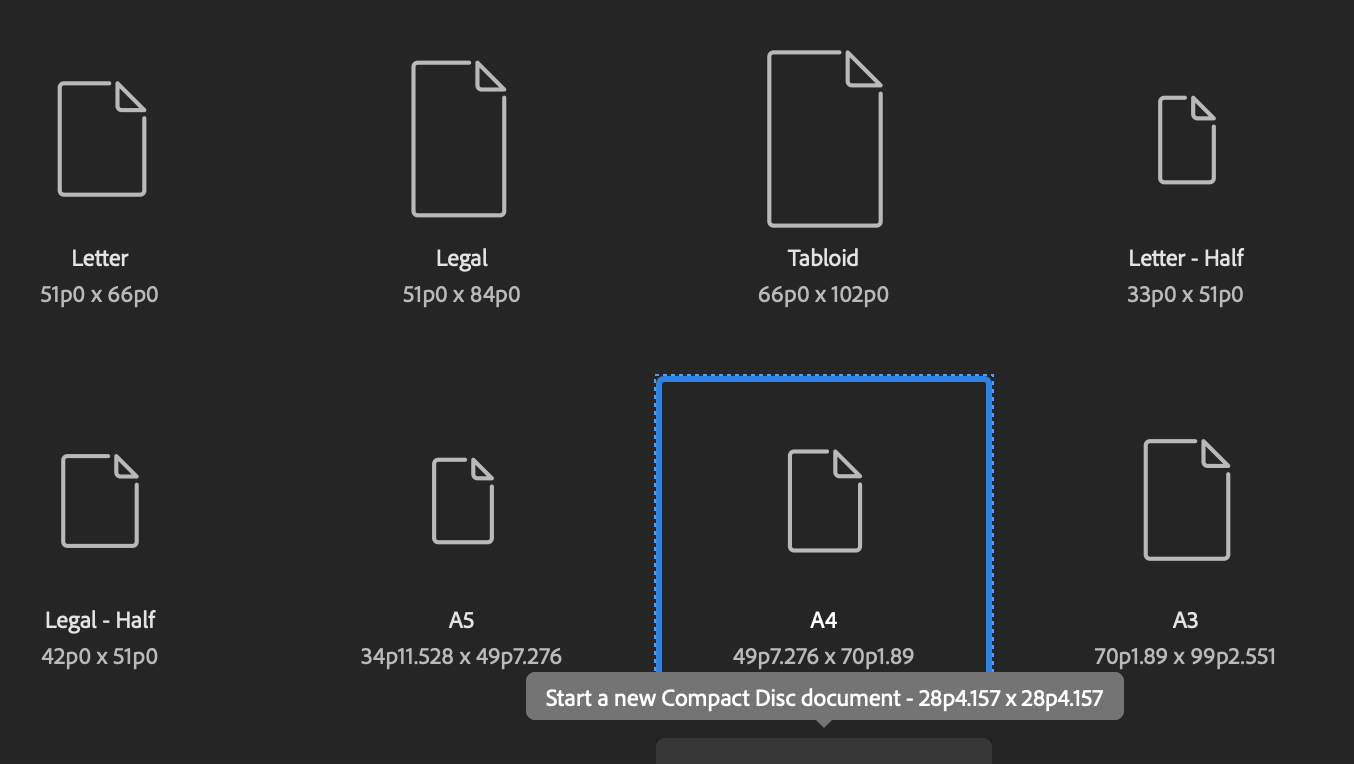 In InDesign documentation, it is necessary to understand the concept of margin. This is an important function that allows you to check and preview the margins and print output that occur when you actually print. The status of publication after printing depends on how the margins are set. This margin function can be modified later. It can be sufficiently deformed before printing, but it is convenient to calculate and input the margin of your own print in advance. 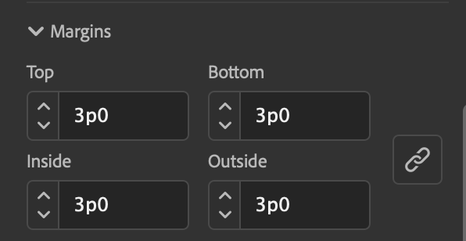 If you create a document after setting the margin, you will see a white document with a purple thin line as shown below. The purple area is the area where text or images will come. 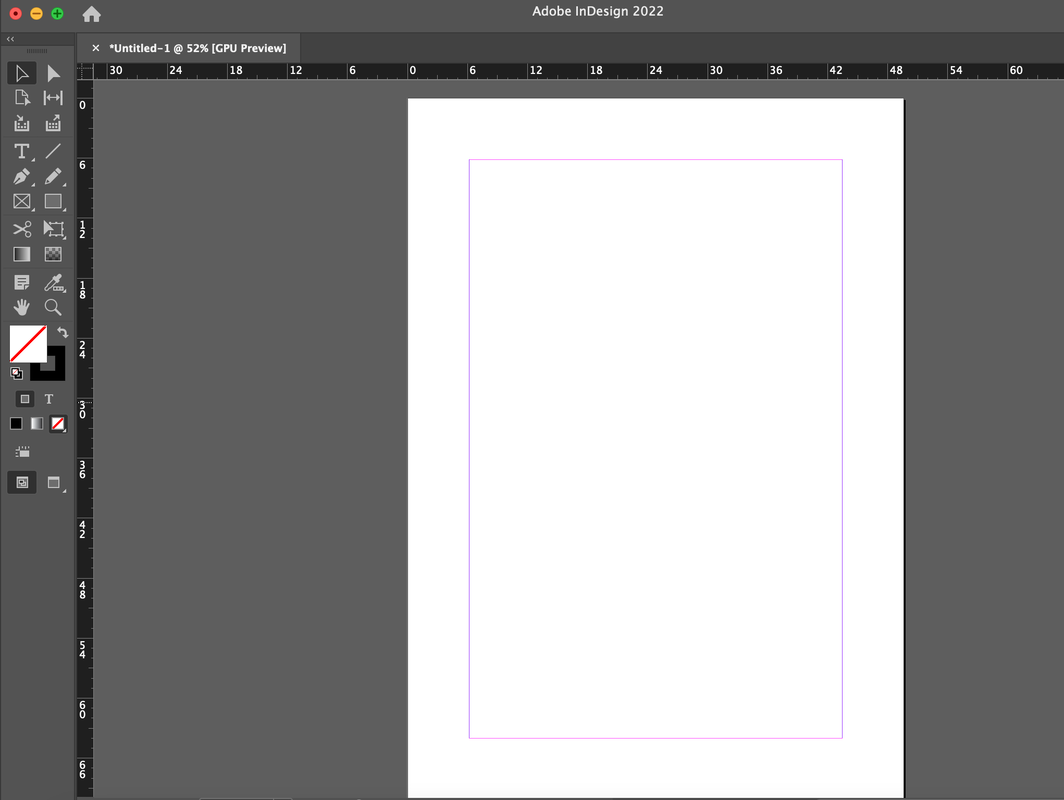 Right on the left is a workspace called the Toolbar. Today, I will show you mainly using the selection tool and the document tool in the toolbar.  The right workspace is an area called the panel. This area is the detailed option for the toolbar you have selected. 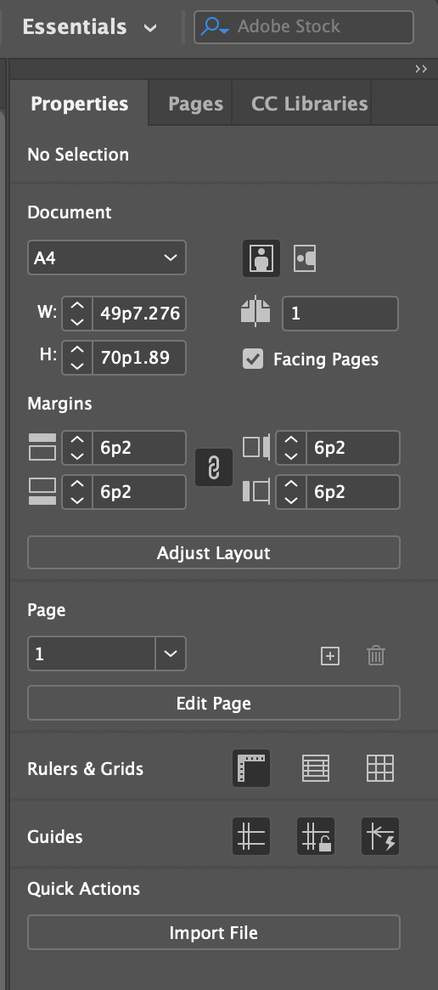 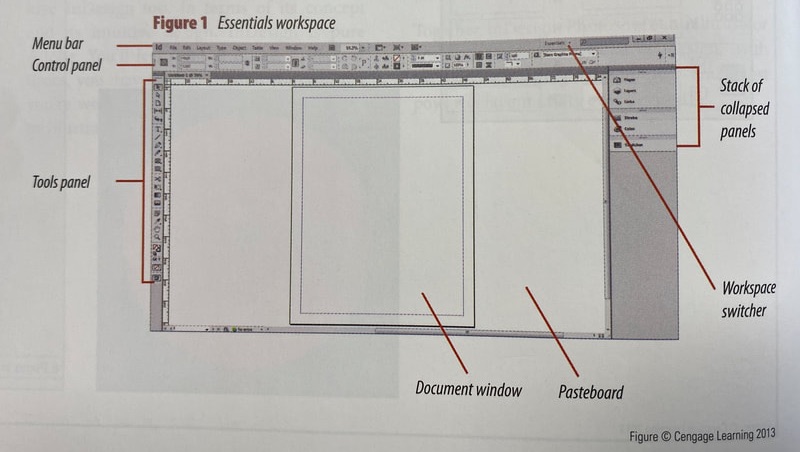 And at the top there is an area called the Control Panel. But it may not be in your program. It is recommended that this panel is always out. To do this, follow the steps below. 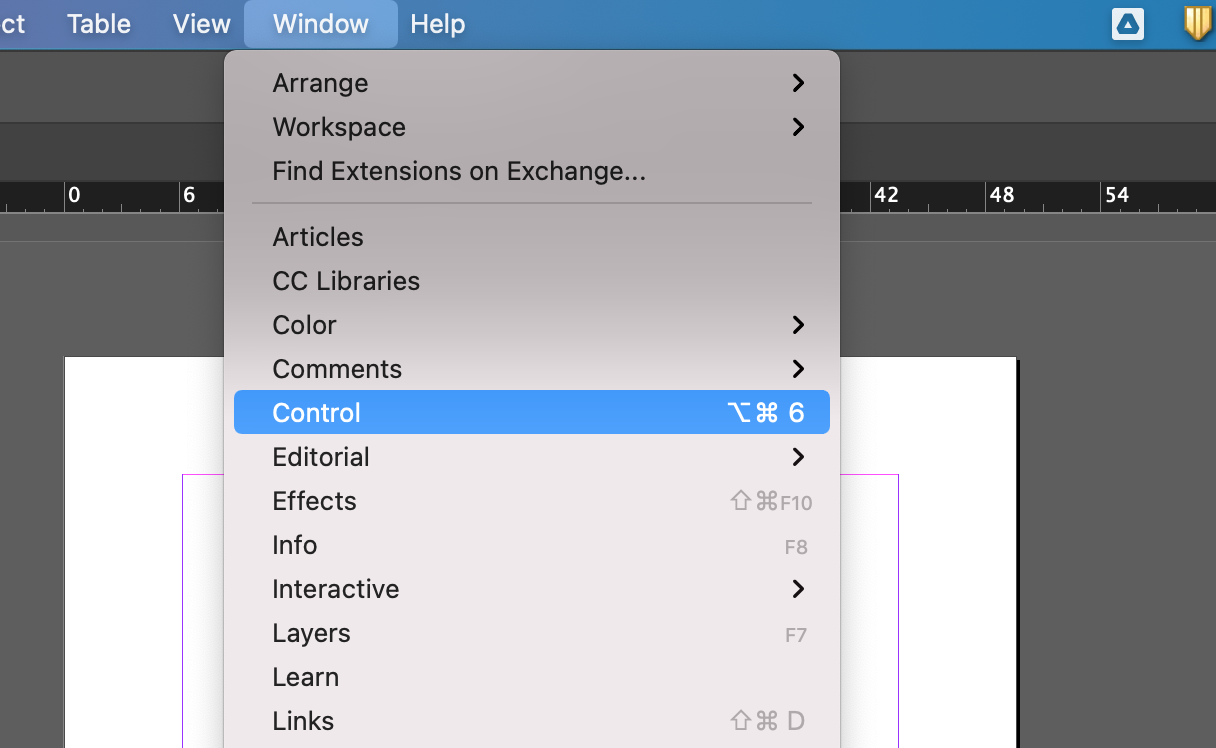 Below is a picture of the work window. 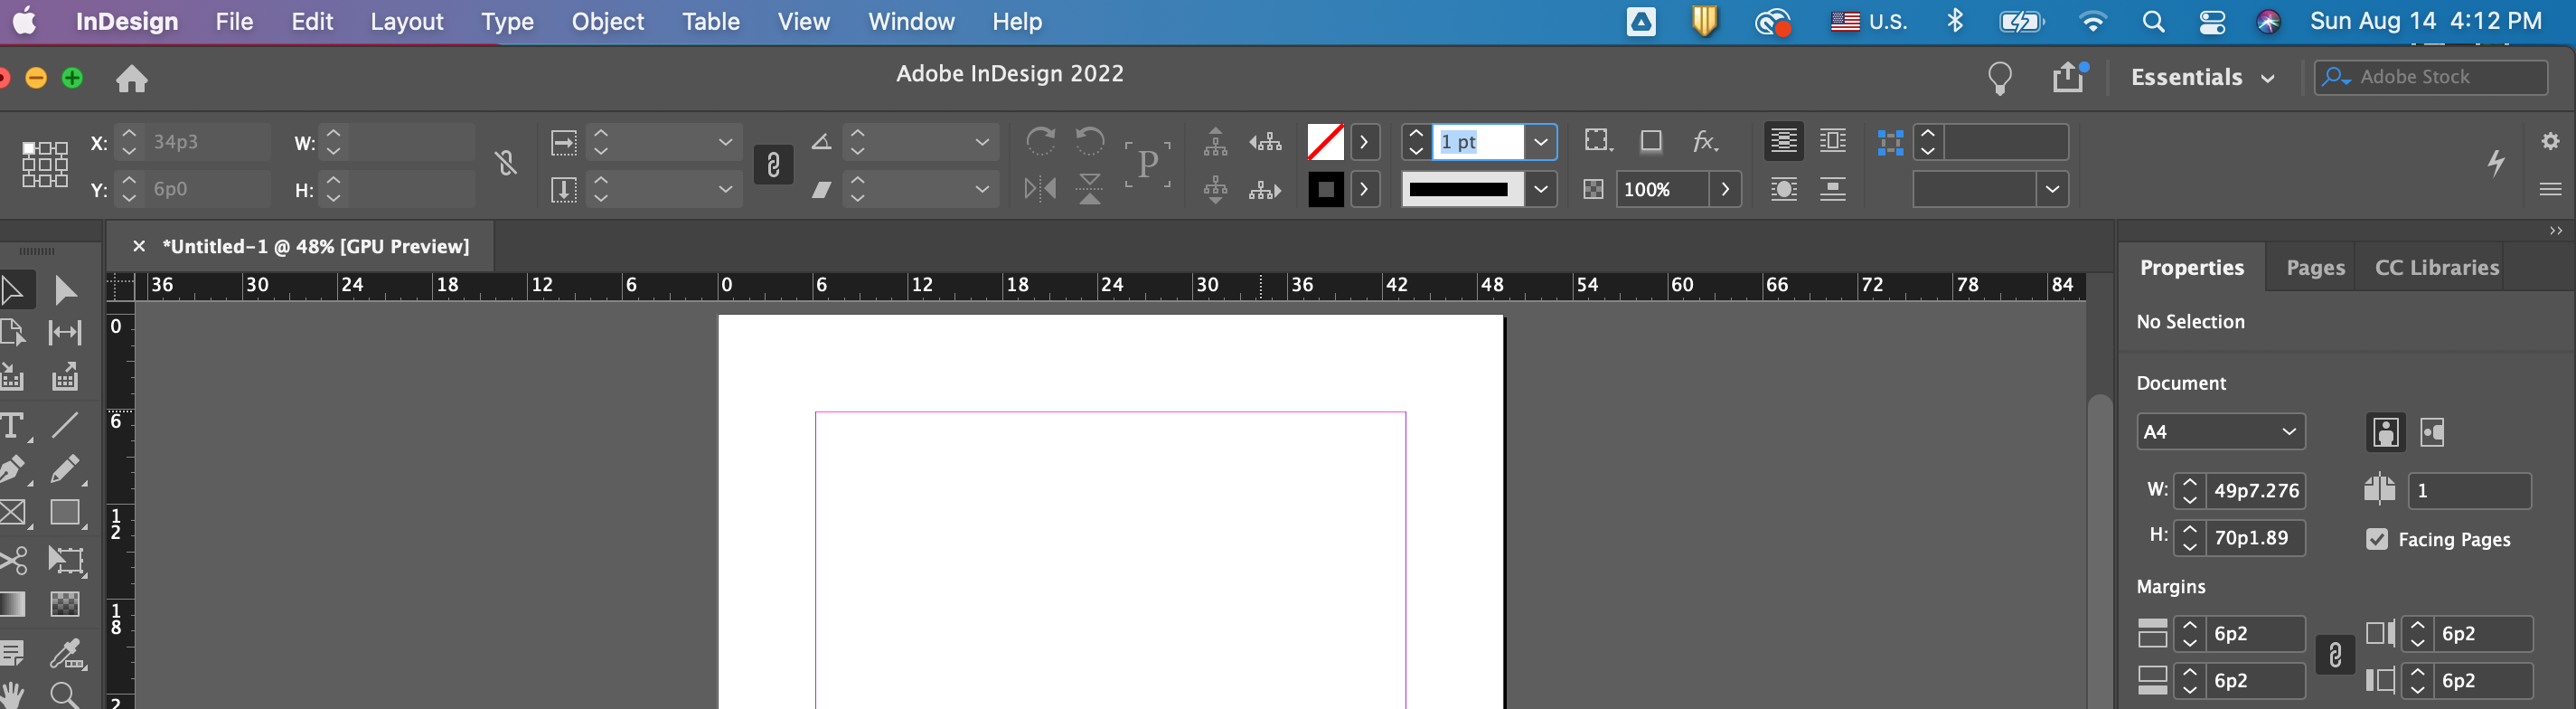 So, what should we do first? Text input is mandatory in InDesign. Click the text box in the toolbar on the left and drag it into the document. Text can be entered only when a document box is created like this. The size of this document box can be reduced or increased by clicking the selection tool. 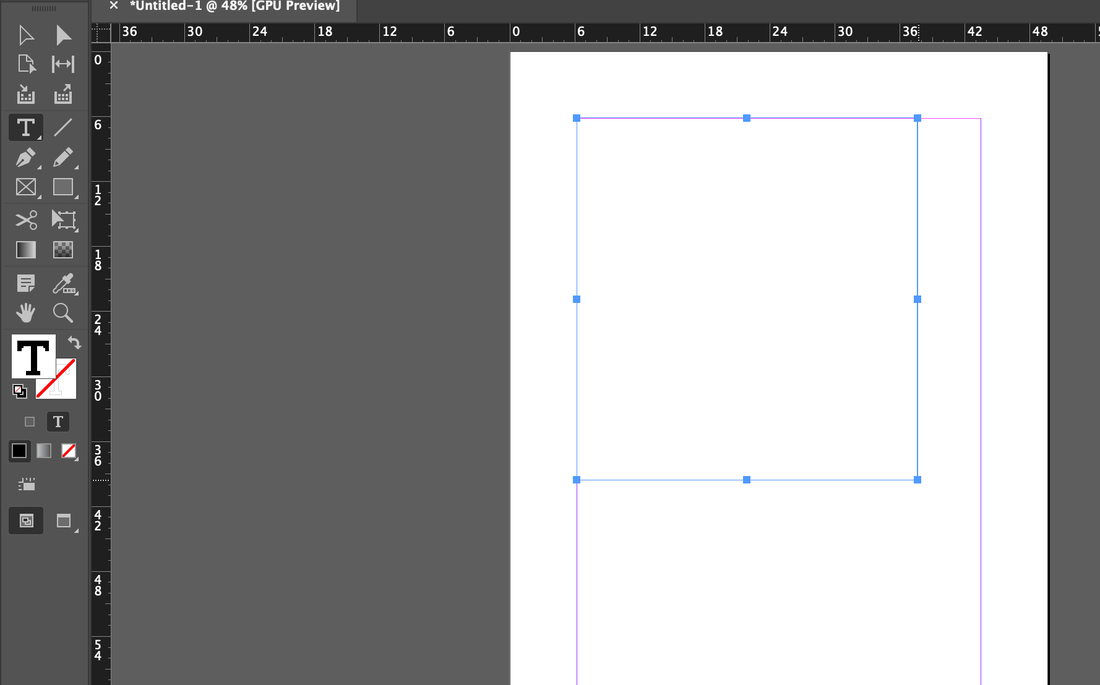 Beginners who use InDesign for the first time may feel cumbersome to enter all documents in the document box like this. To do this, follow the steps below and you will see that the text box is filled with practice text in no time. 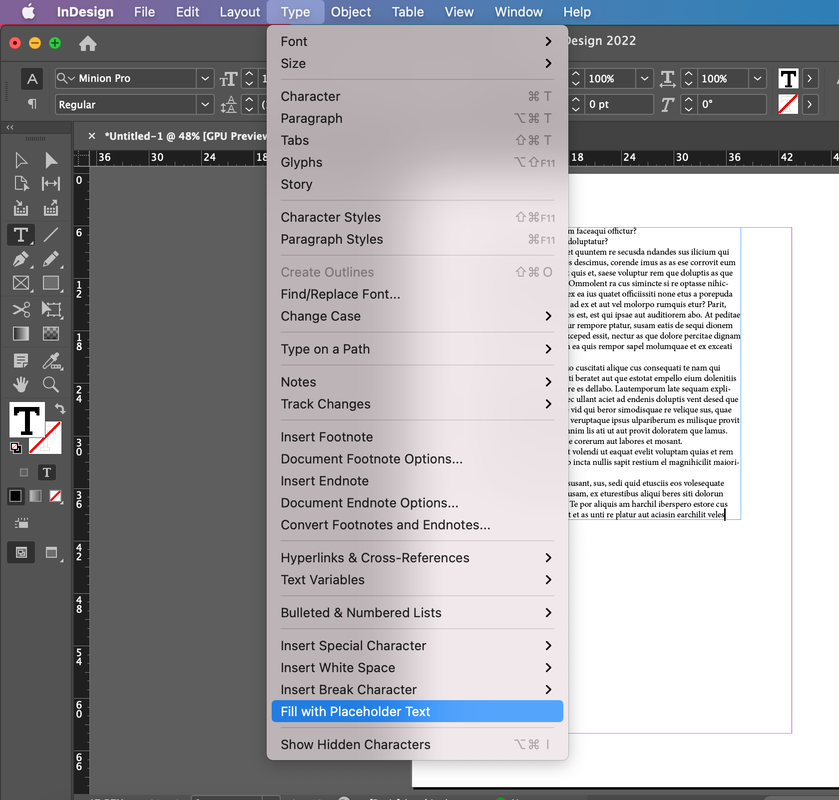 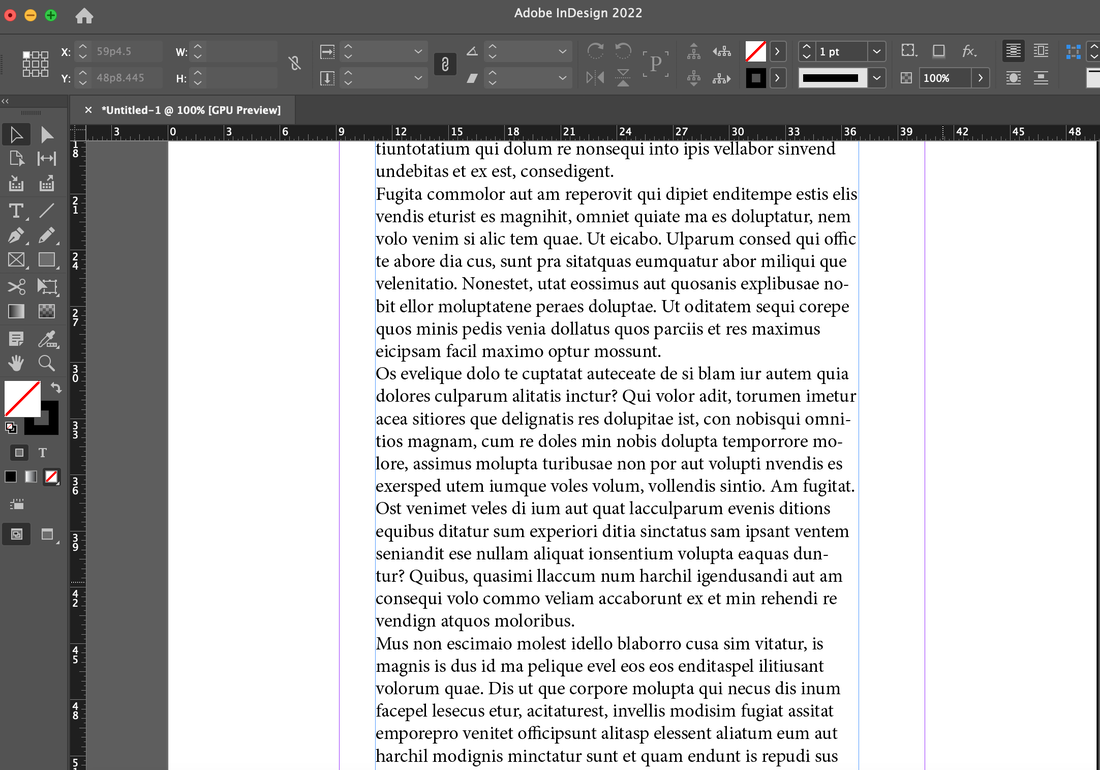 The functions that you use the most when entering text in a document are zooming in, zooming out, and previewing. In this case, it is convenient to know the shortcut keys.  Below is the useful shortcuts related for zoom functions. 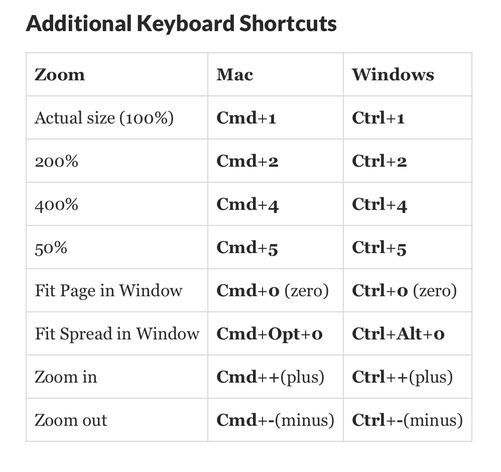 https://www.thoughtco.com/zoom-tool-in-adobe-indesign-1078478 What follows below is about changing the shape and size of a letter by selecting it. Even if you have only dealt with MS Office's word processing, this task will be very easy for you. 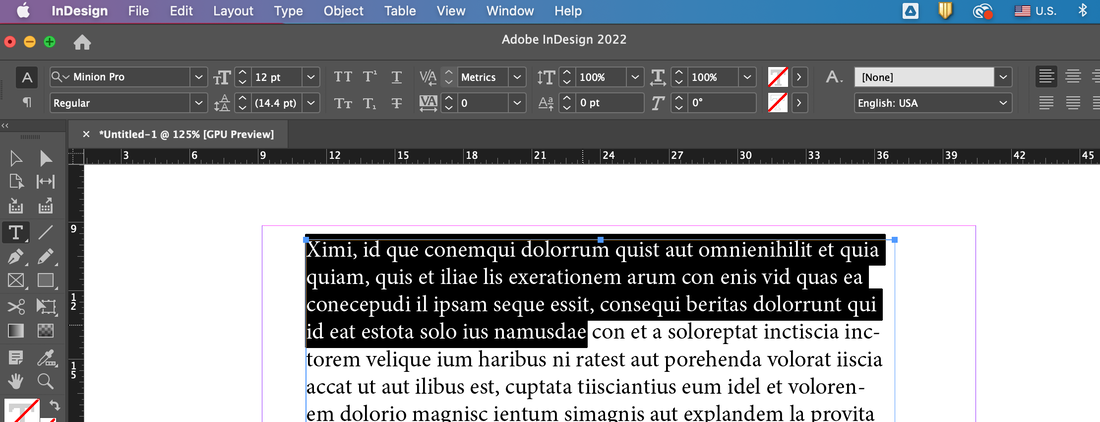 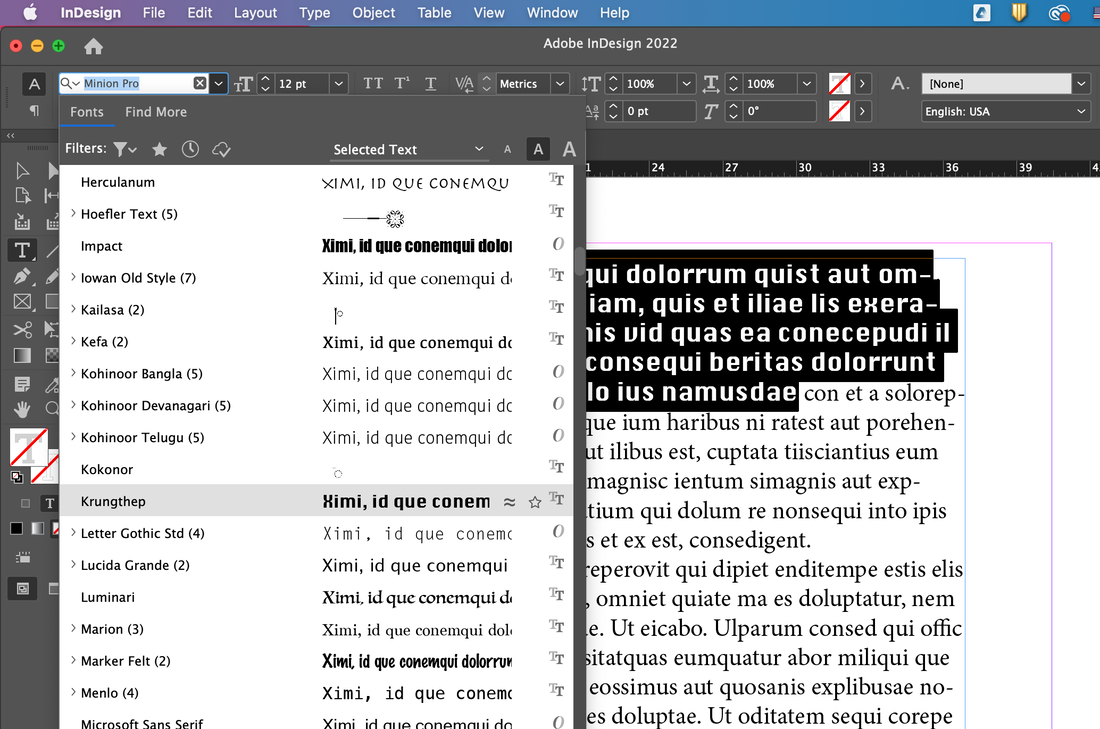 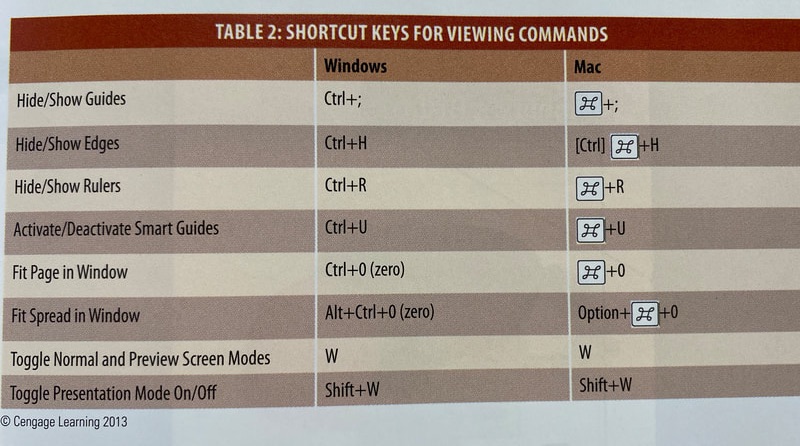 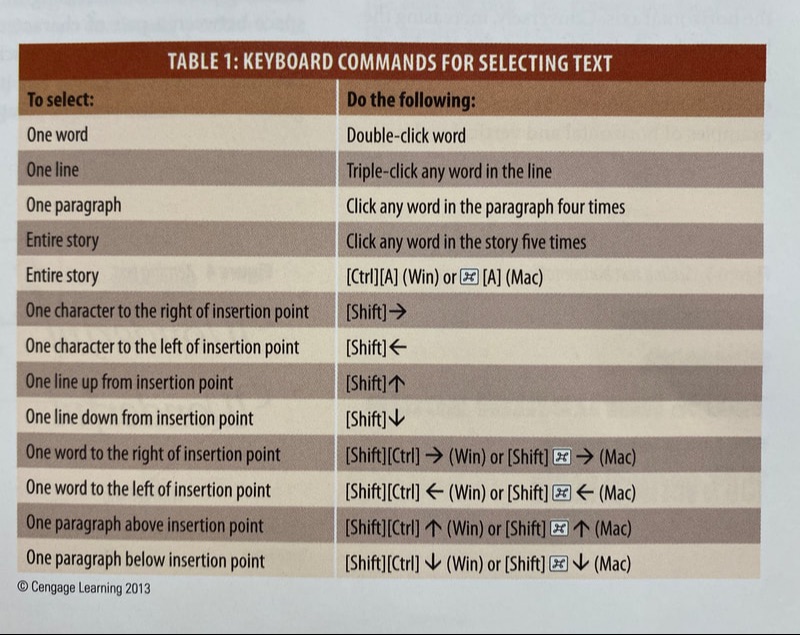  InDesign can change various shapes, such as changing lowercase letters to uppercase letters, creating underbars, etc. 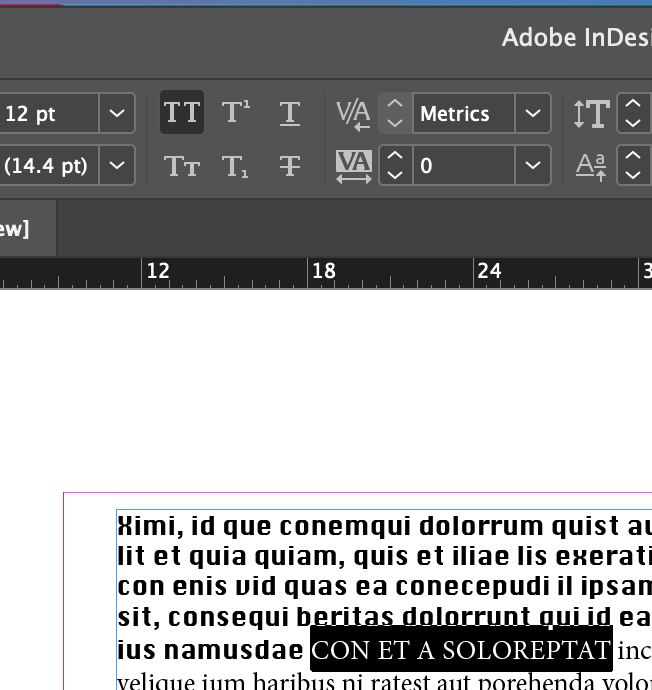 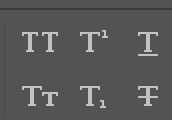 You can also make the text rise from the ground line as shown below. 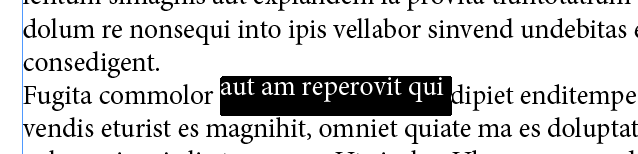 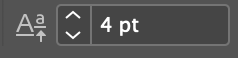 You can also change the scale of the width or height of the text itself.  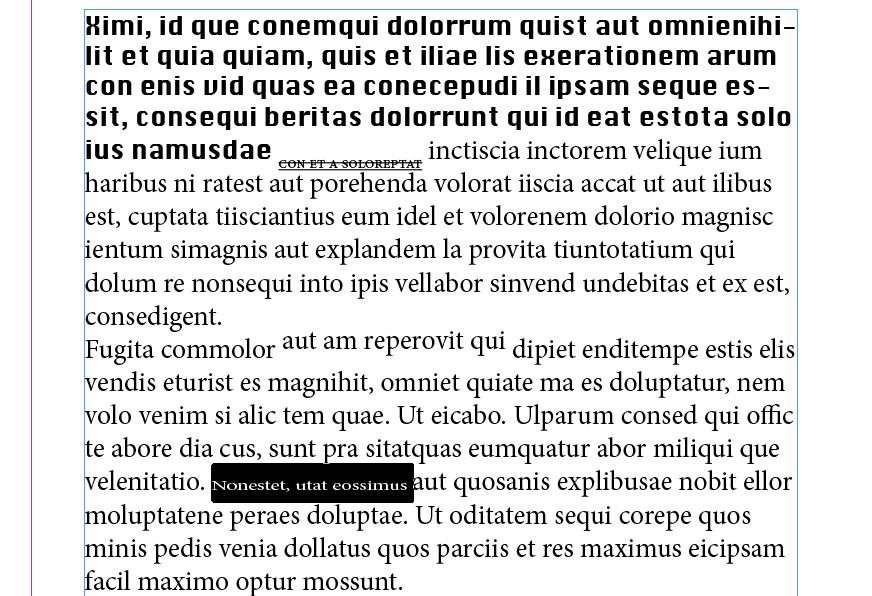 Most of all, you can also select text using clicks of the mouse!
 If you want to make changes other than what is displayed in the work pane, please move as follows. 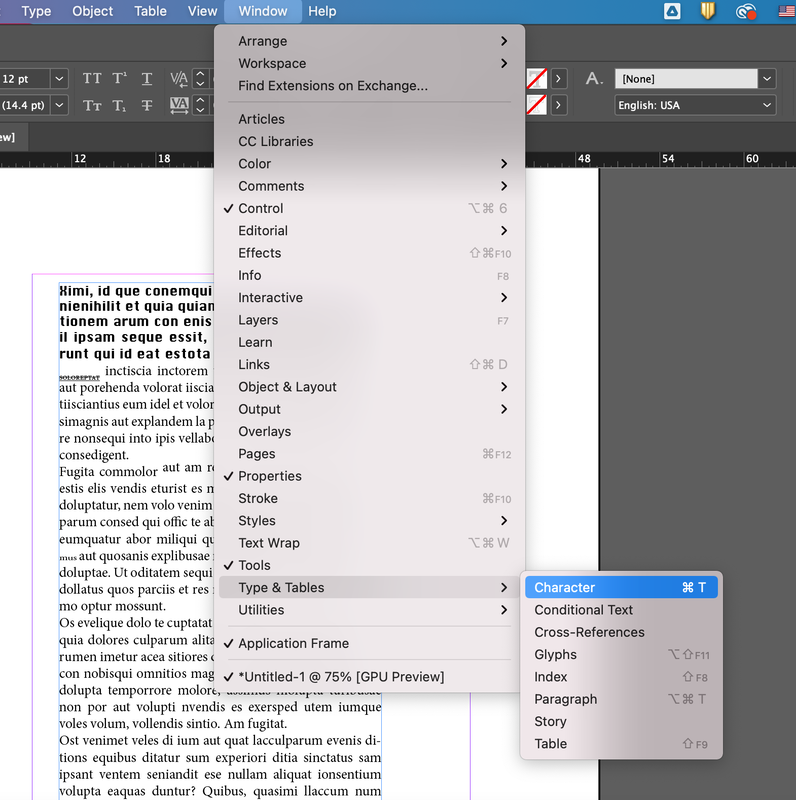 See below for more detailed options. For example you can also make italic fonts.  Below are examples of options that make changes to paragraphs. 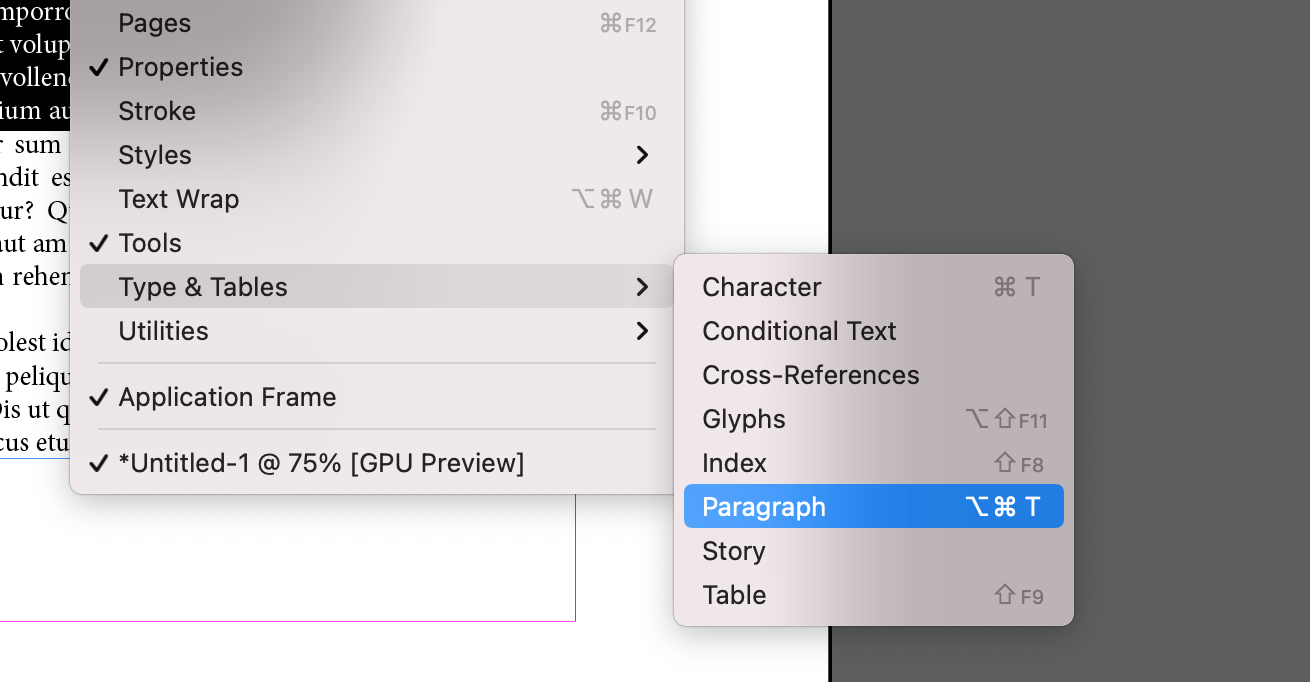 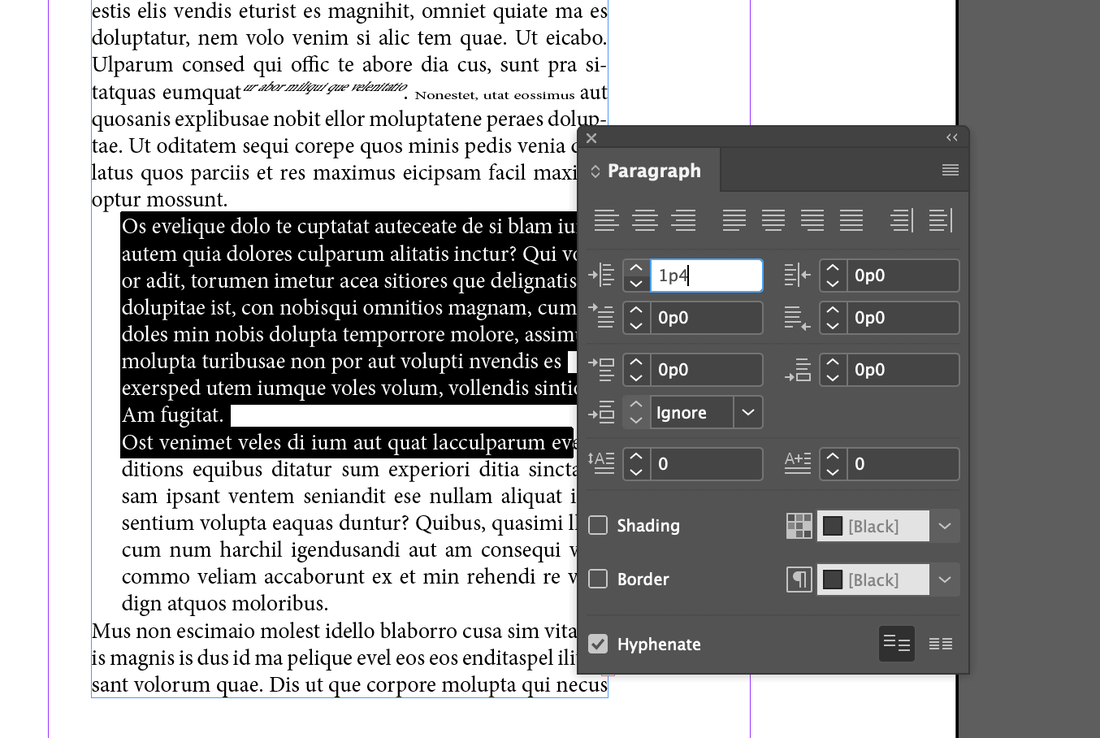 Continuing the next post will also cover the features of InDesign.
0 Comments
Leave a Reply. |
Myungja Anna KohArtist Categories
All
Archives
July 2024
|

|
Tutorial |
 RSS Feed