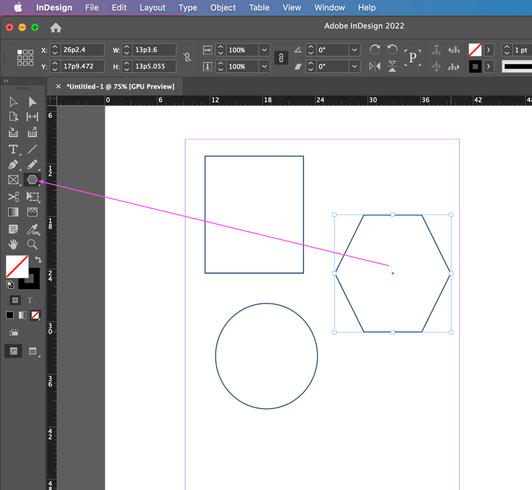
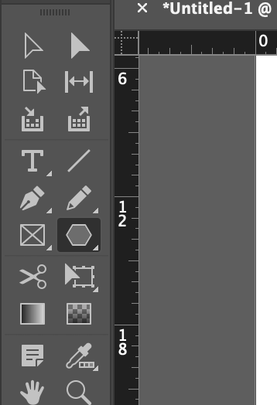
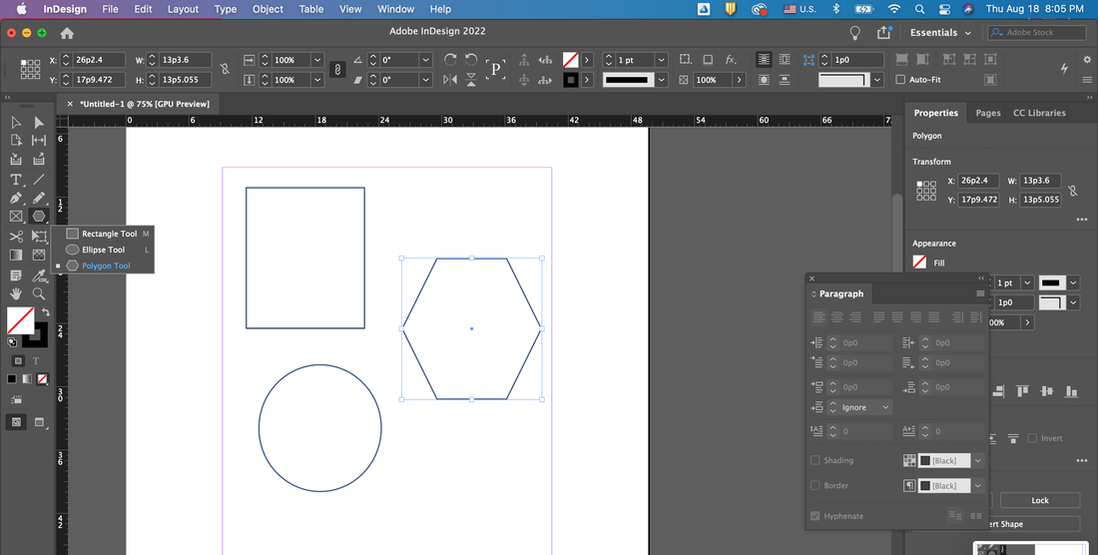
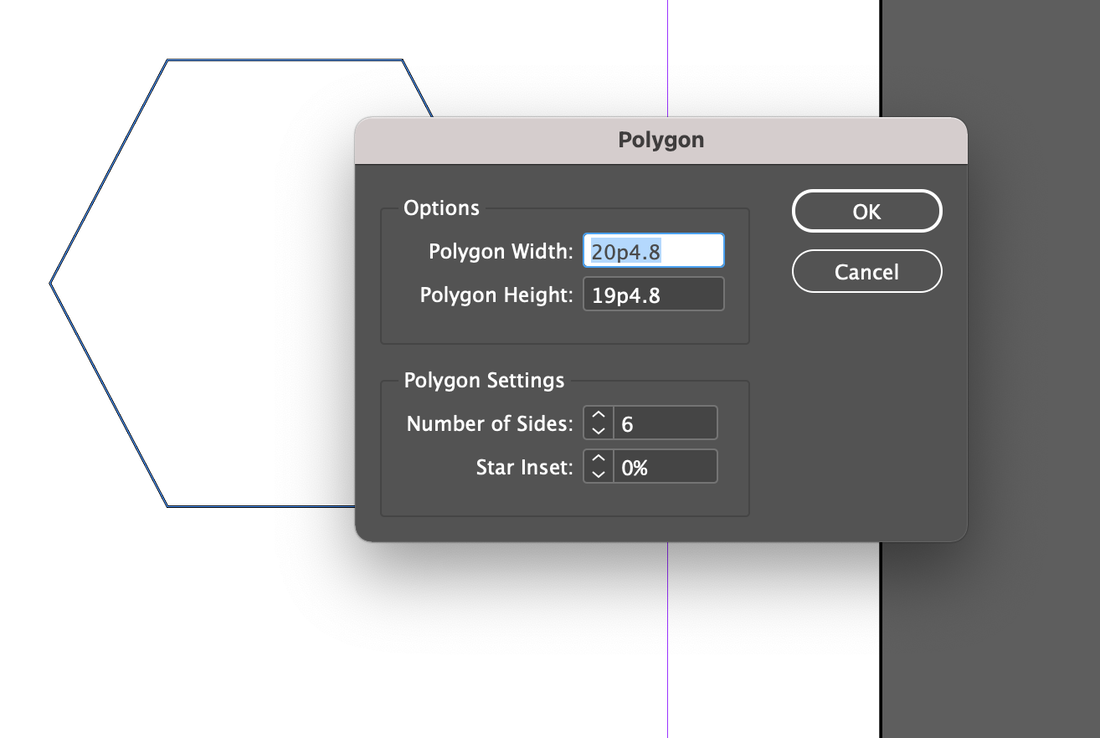
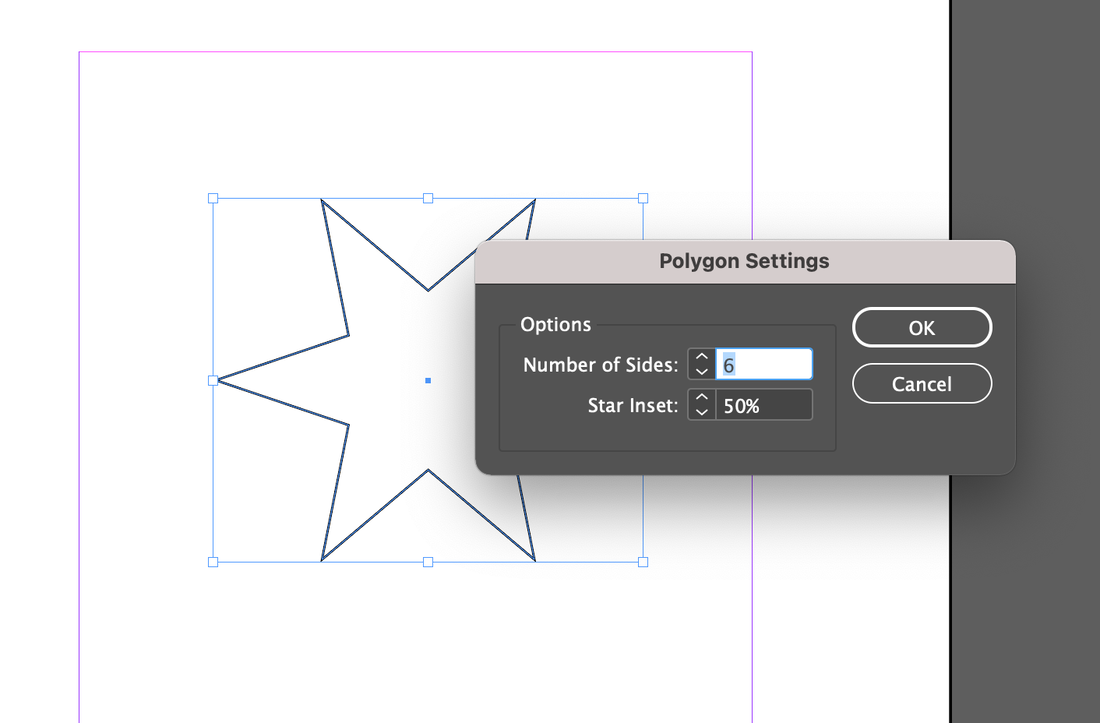
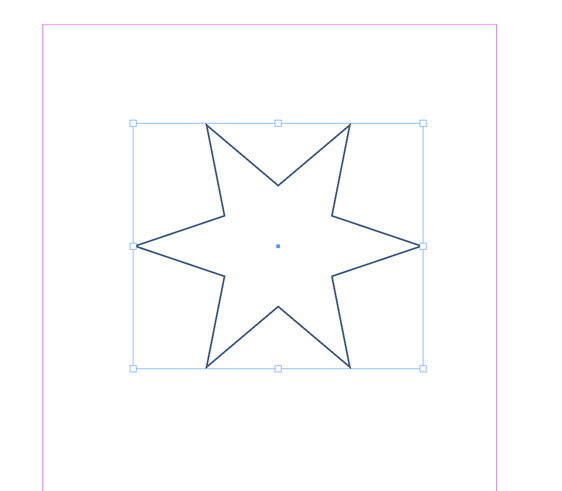
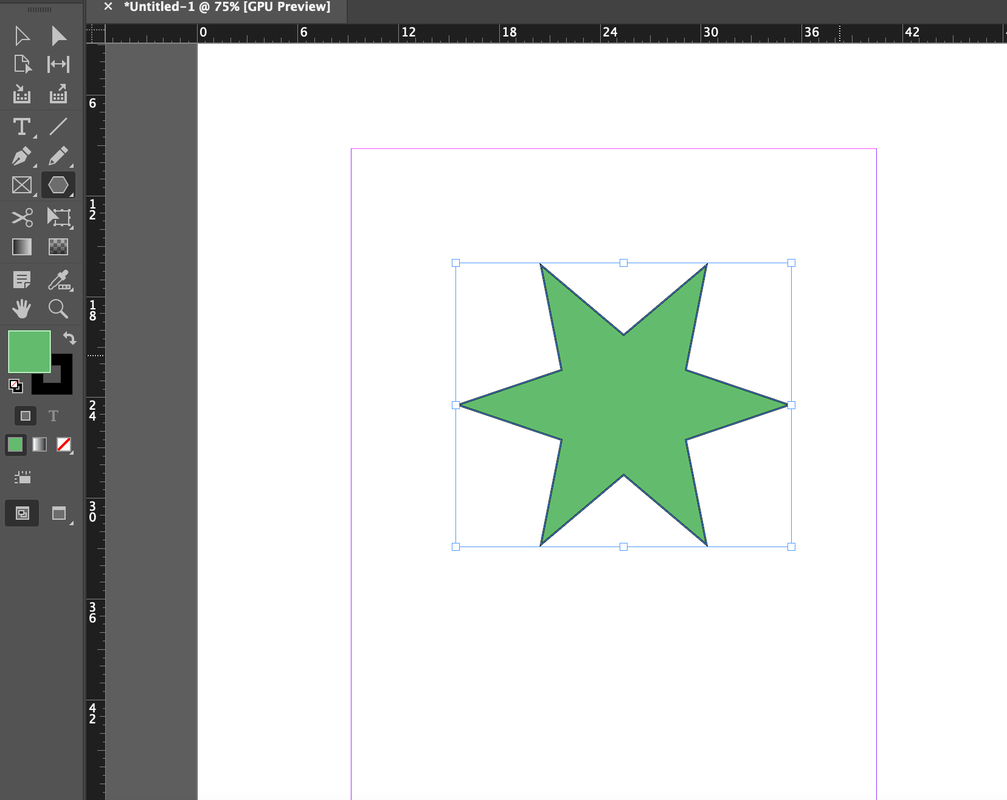
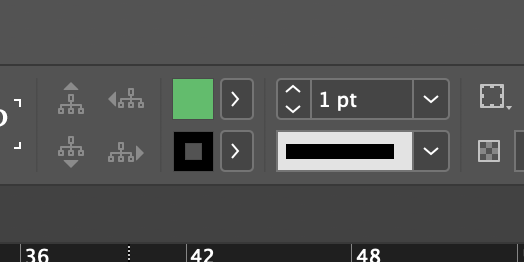
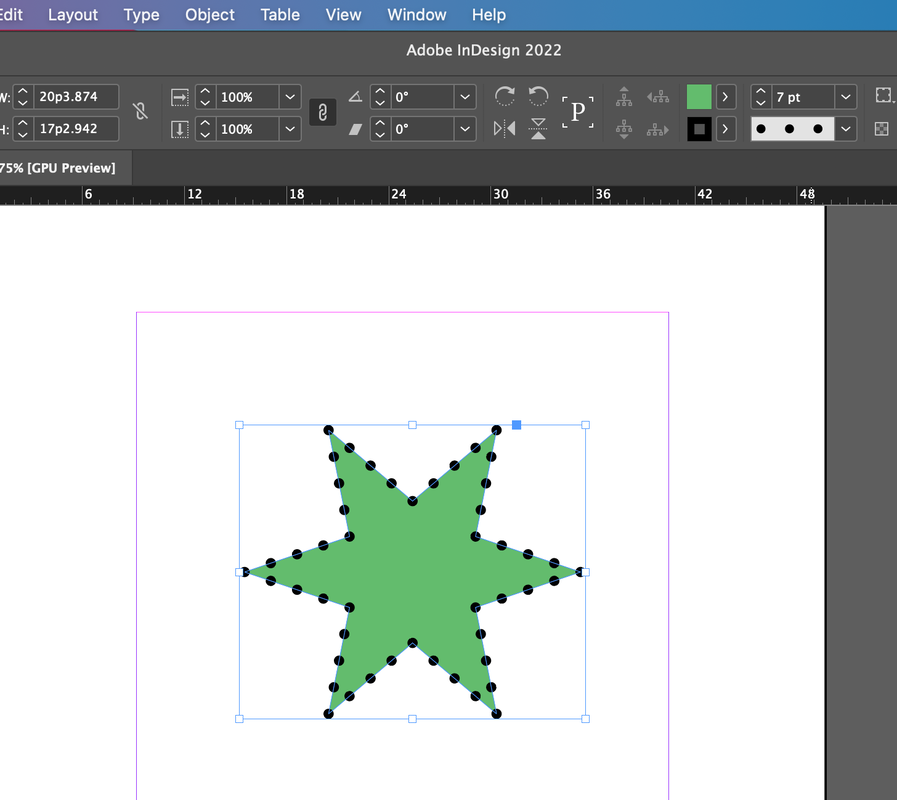
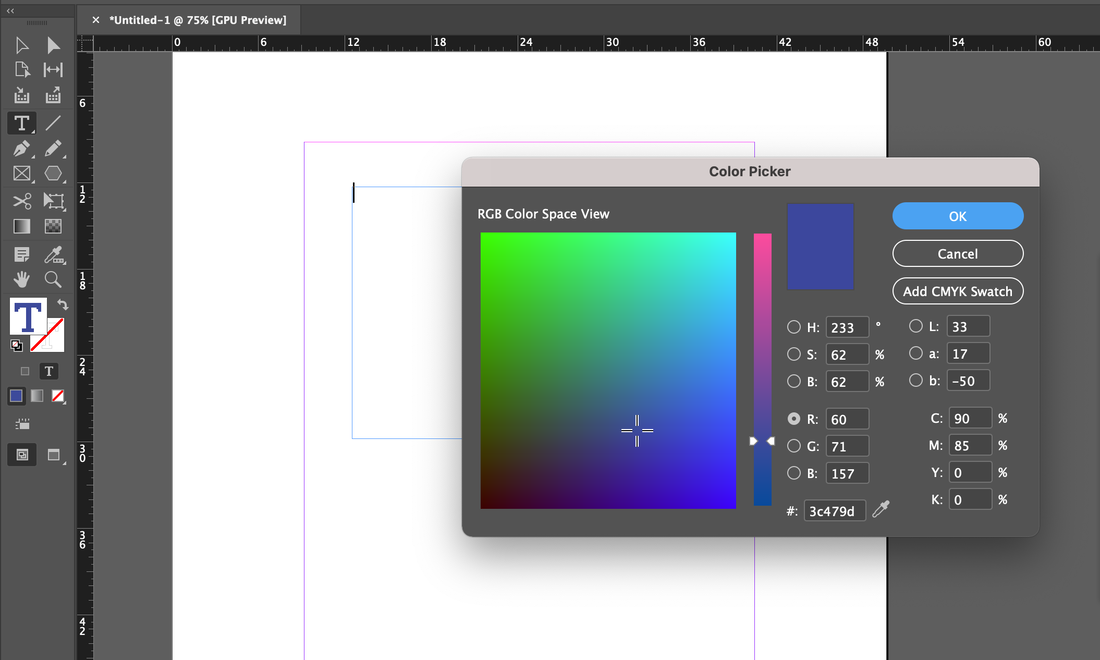
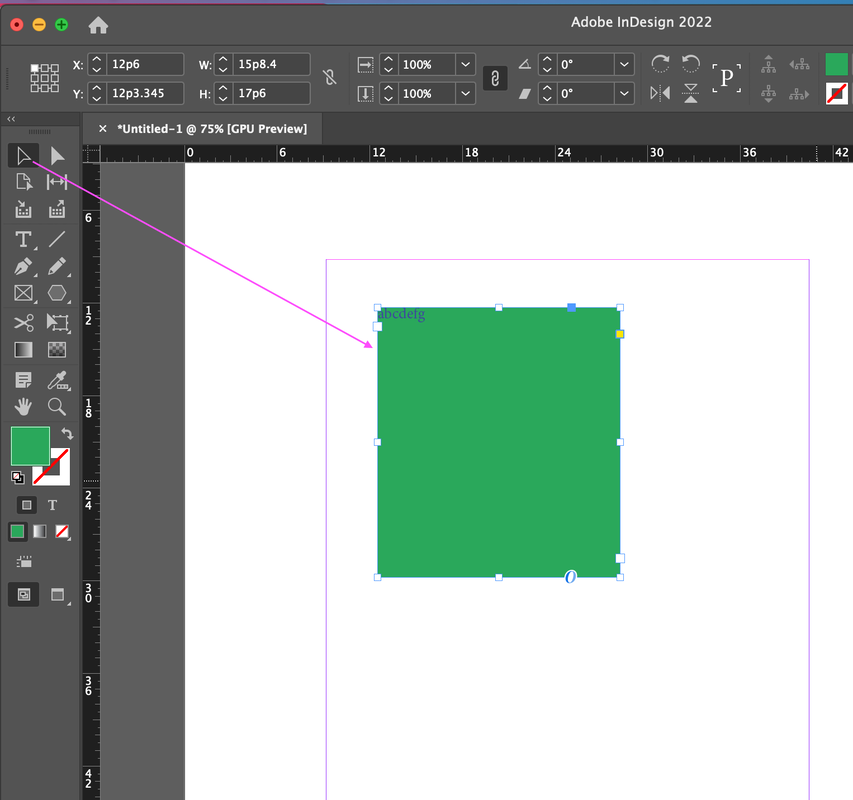
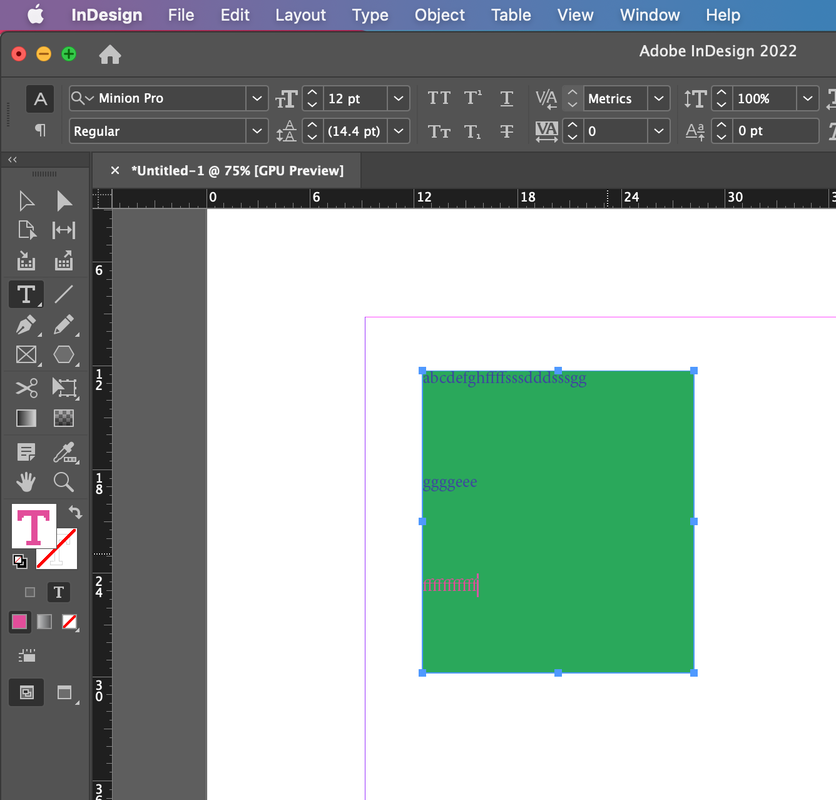
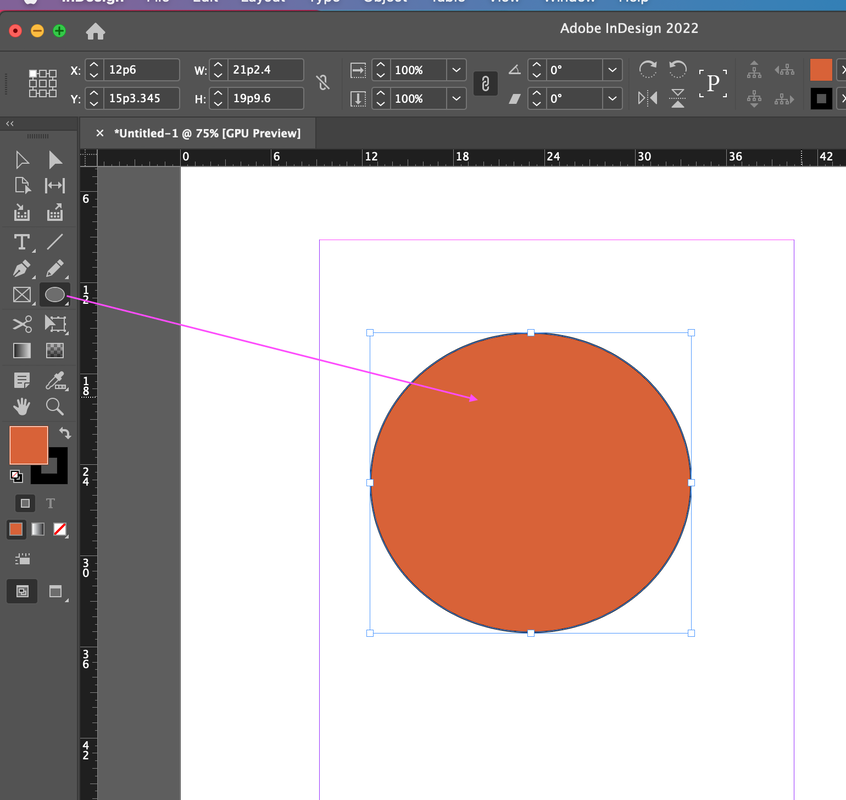
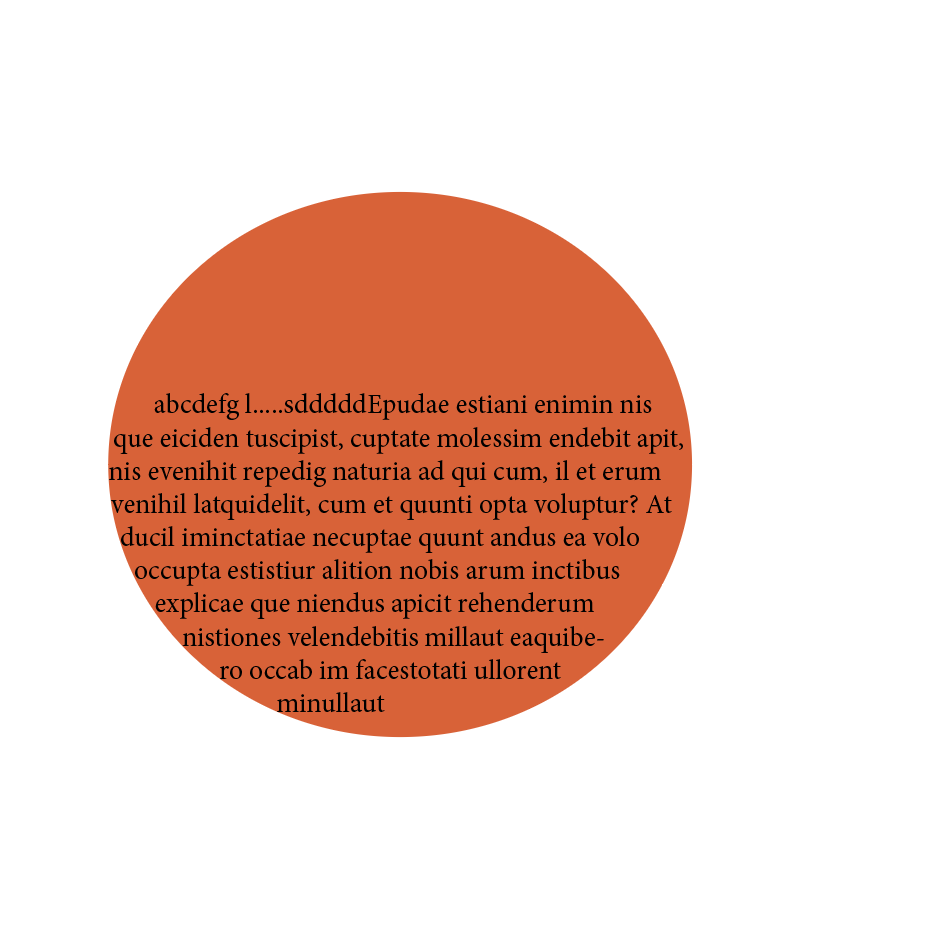
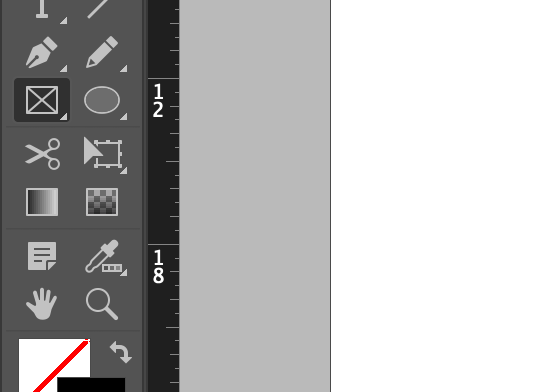
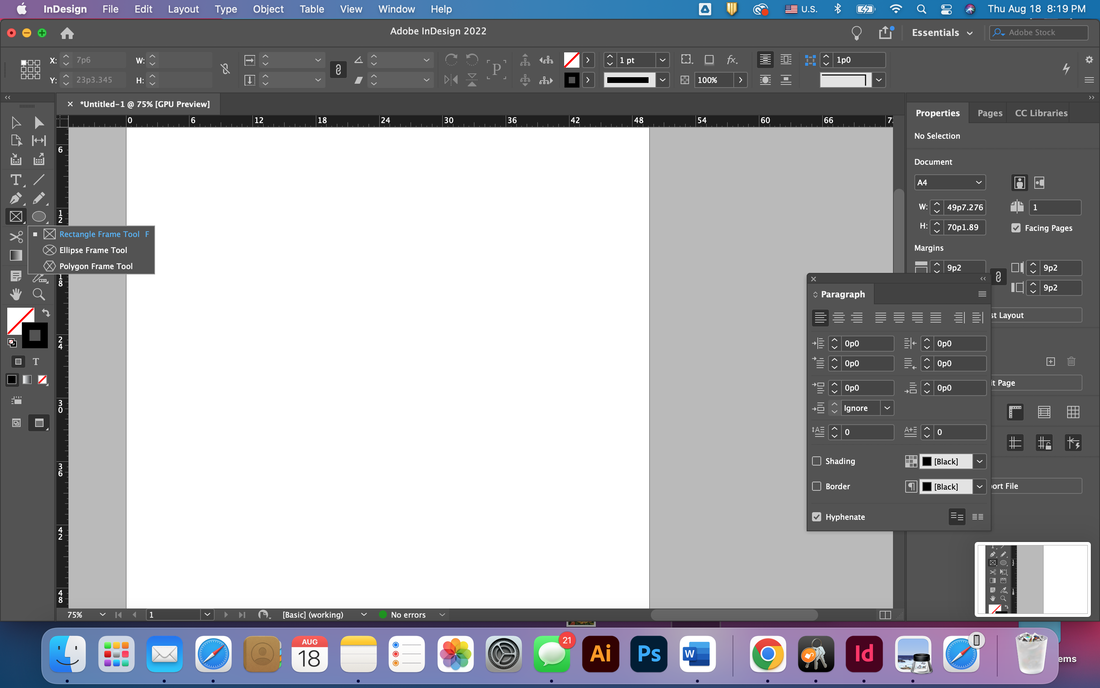
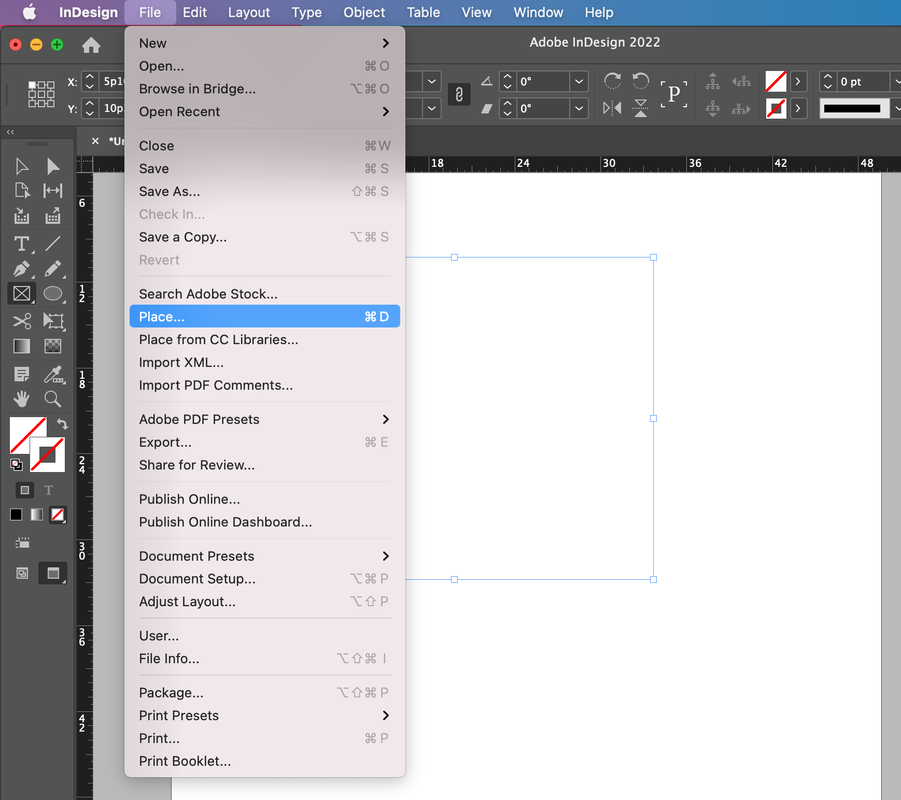
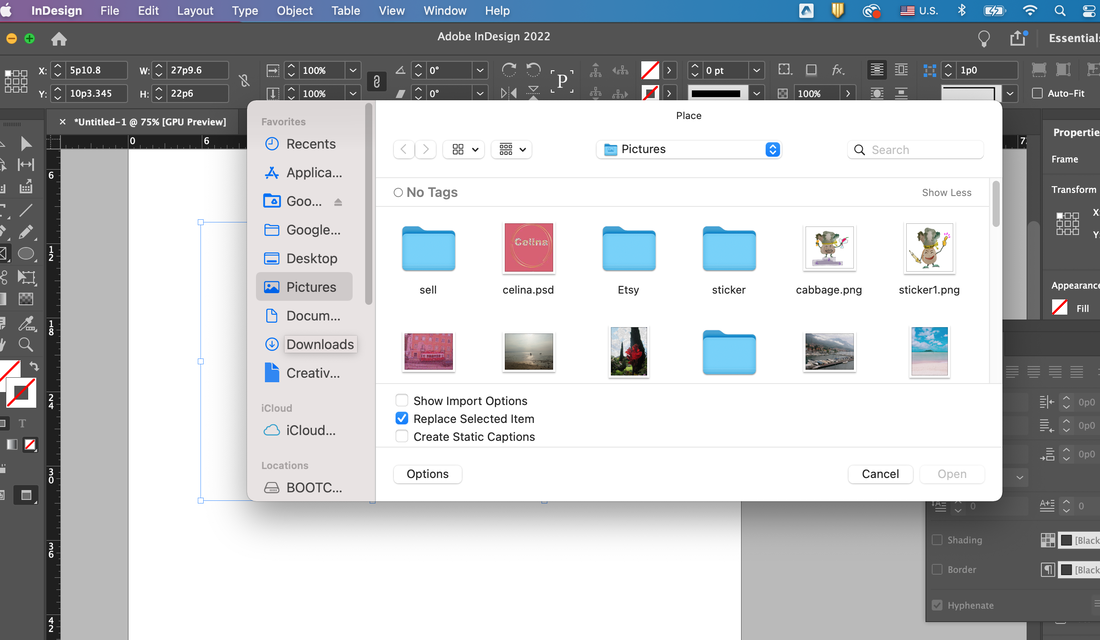
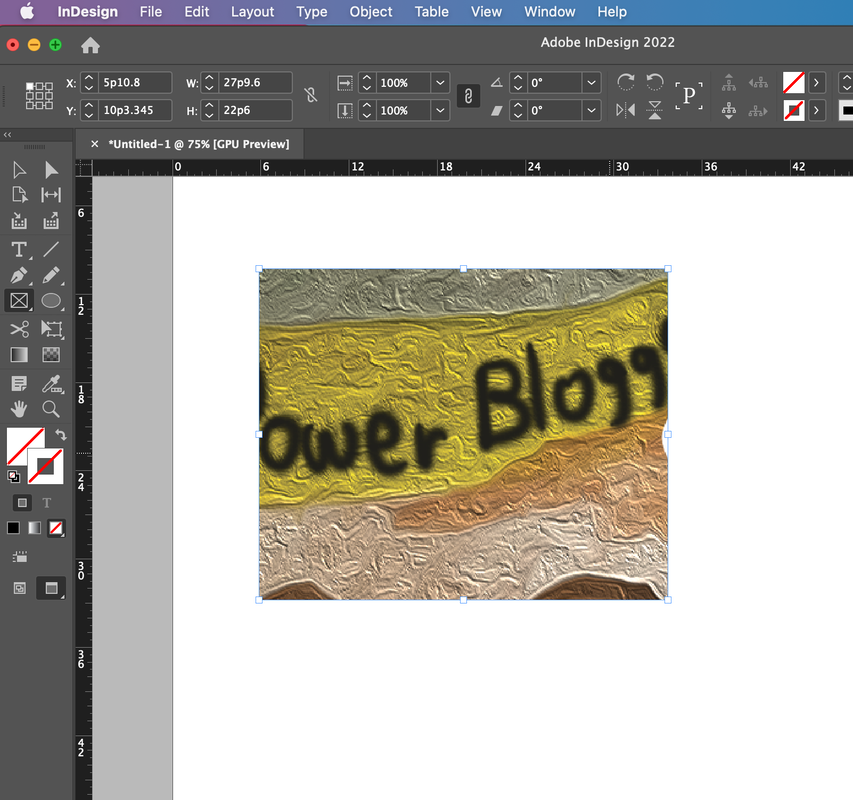
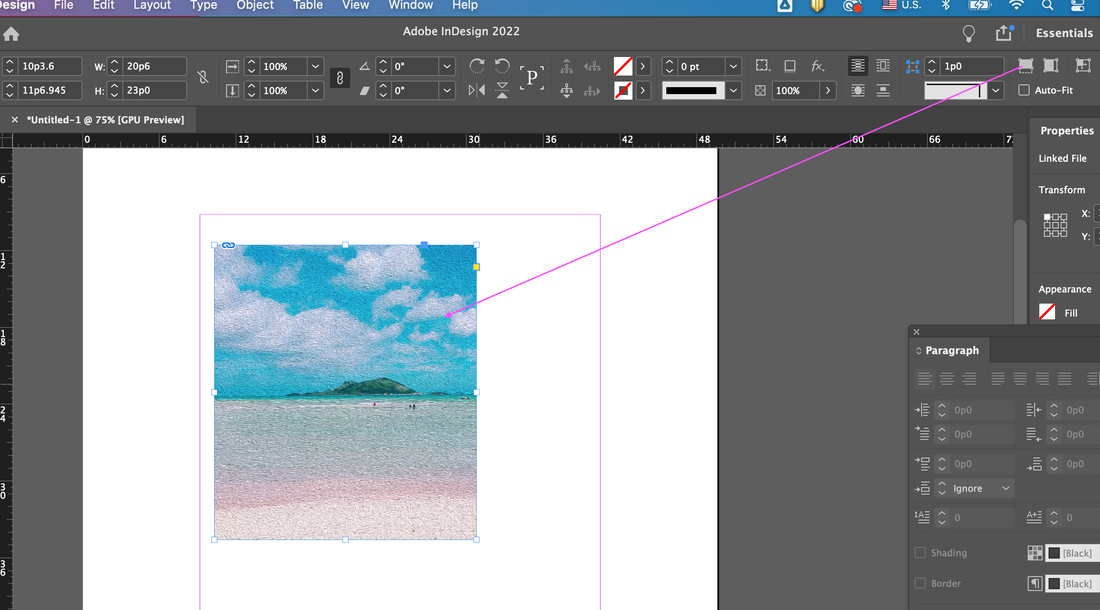
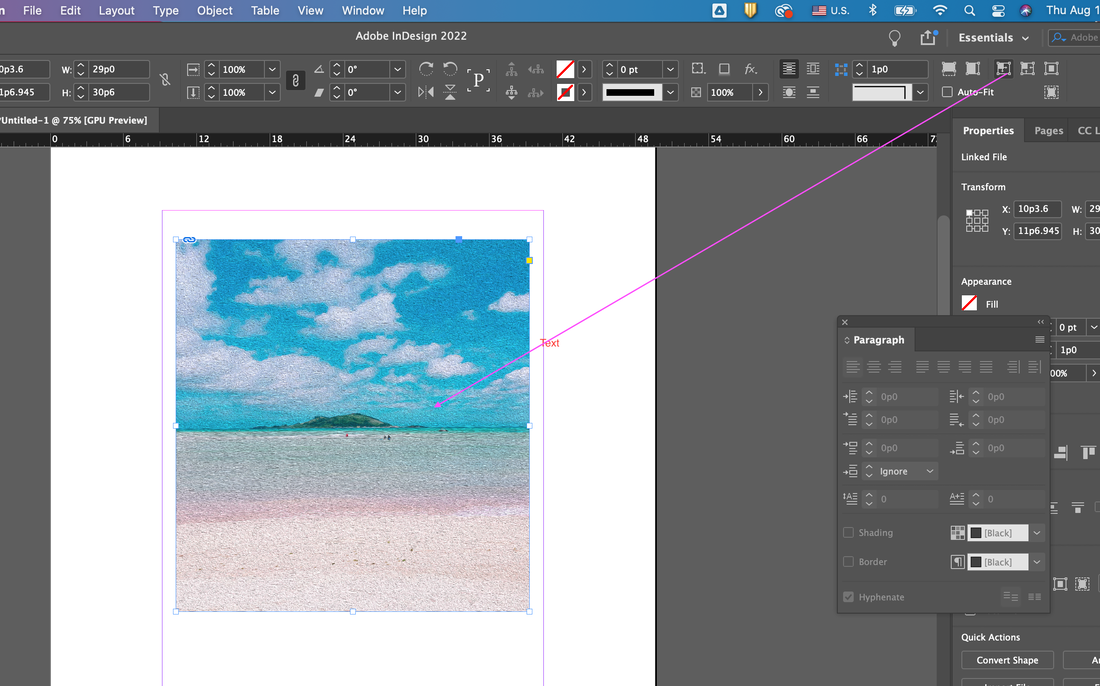
Objects making with InDesign. Today I want to briefly show you how to create objects in InDesign. First, select the shape tool from the toolbox on the left to create rectangle, ellipse and polygon tools as shown below. You can even create a star shape by double-clicking on this tool to adjust the parameters Then click on the created shape and try changing its color. It is possible to change not only the color but also the shape and thickness of the dotted line of the figure. Of course, you can also use the text tool to change the color of the text box as shown below. However, when changing, you must select the selection tool to change it. If you change the color in the text tool itself, only the color of the text changes. Try changing the color of the text as an exercise as shown below. Of course, it is also possible to write text in the shape and change the color of the shape. To do this, drag and drop the text tool inside the shape. To create an object, you can use the text tool or the figure tool as above, but you can also use the frame tool on the left. The shape of the flame tool is also the same with rectangle, ellipse and polygon as the shape of the figure. If you go to the place from the file in the upper menu, find the image and open it, you can put the picture in the created frame. Of course, you can insert a picture with the text tool and shape tool as well. When you first insert a picture, you will see a picture that does not scale at all, as shown below. In this case, the adjustment window on the right changes to fit the size of the screen or scale.
0 Comments
Leave a Reply. |
Myungja Anna KohArtist Categories
All
Archives
July 2024
|
Proudly powered by Weebly

 RSS Feed