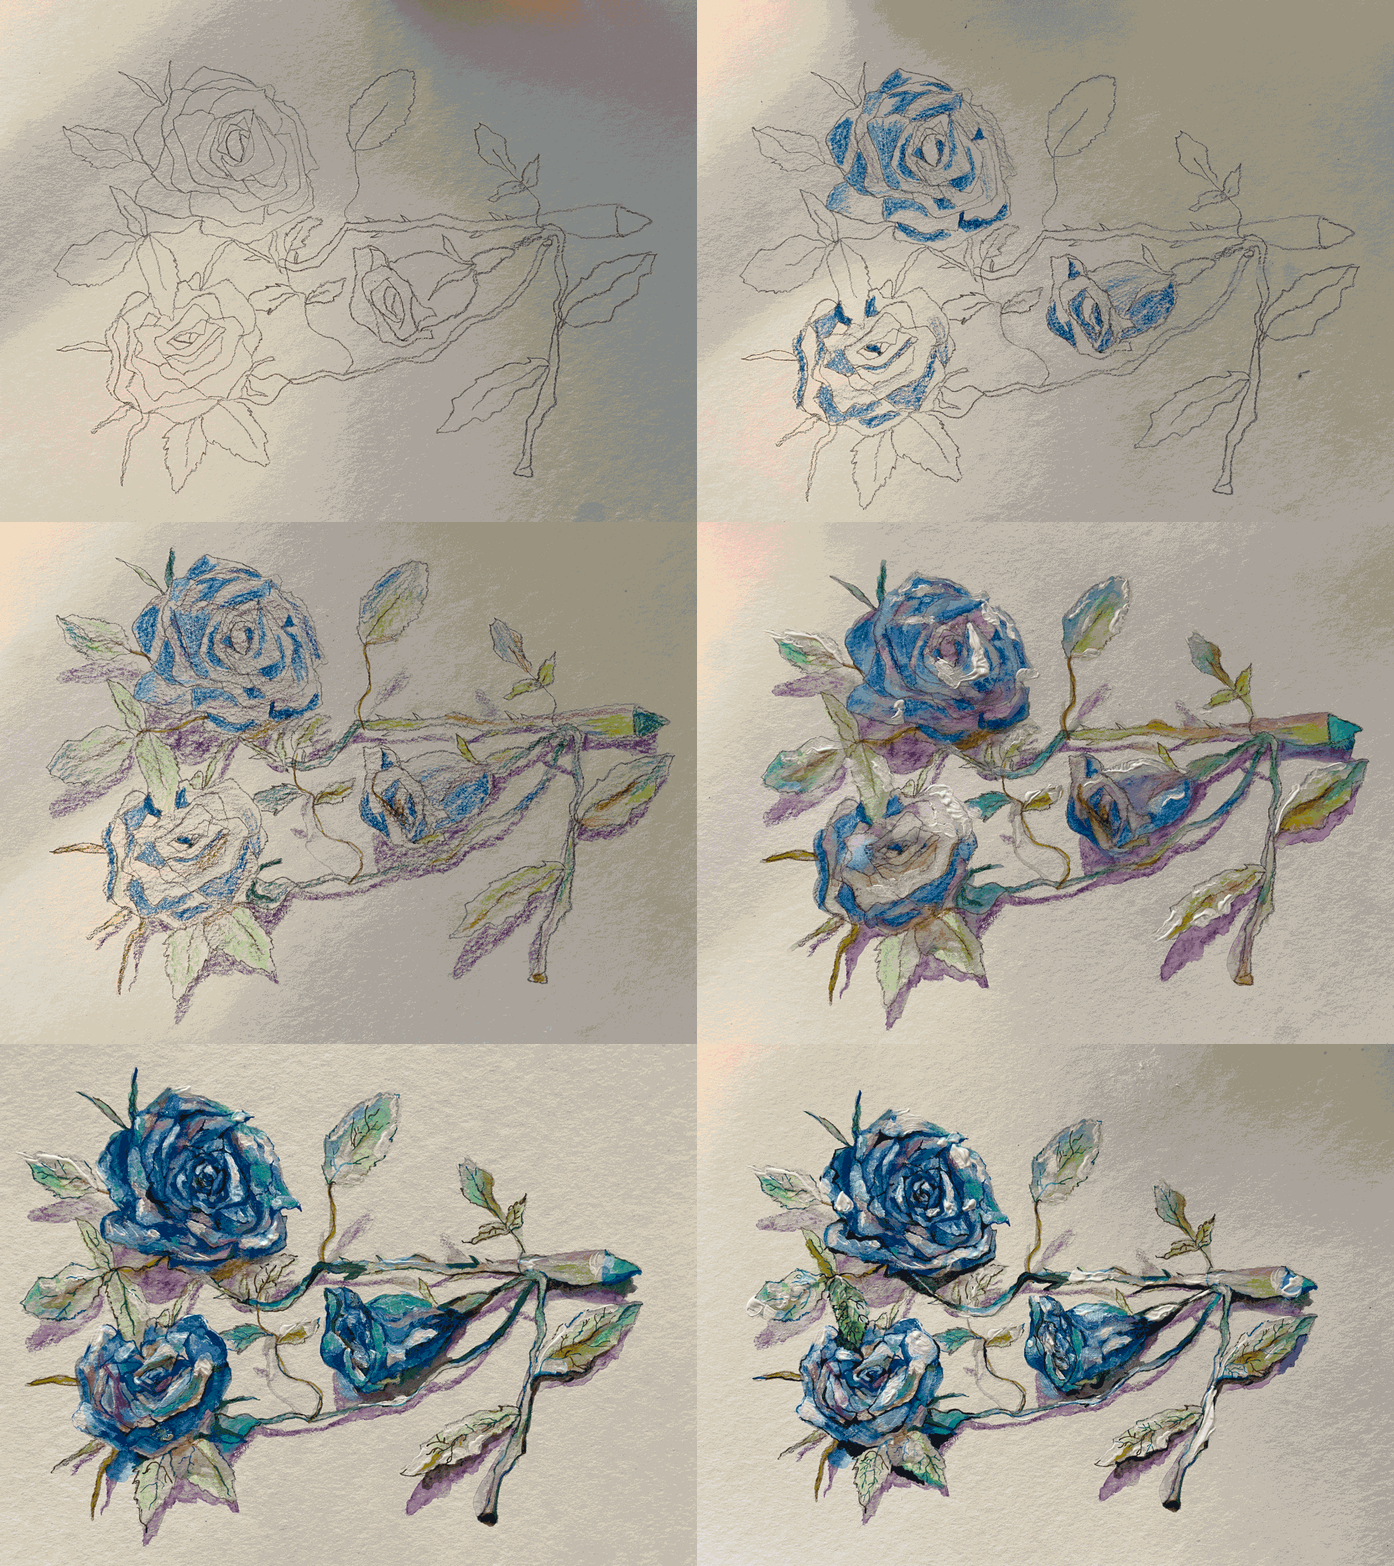
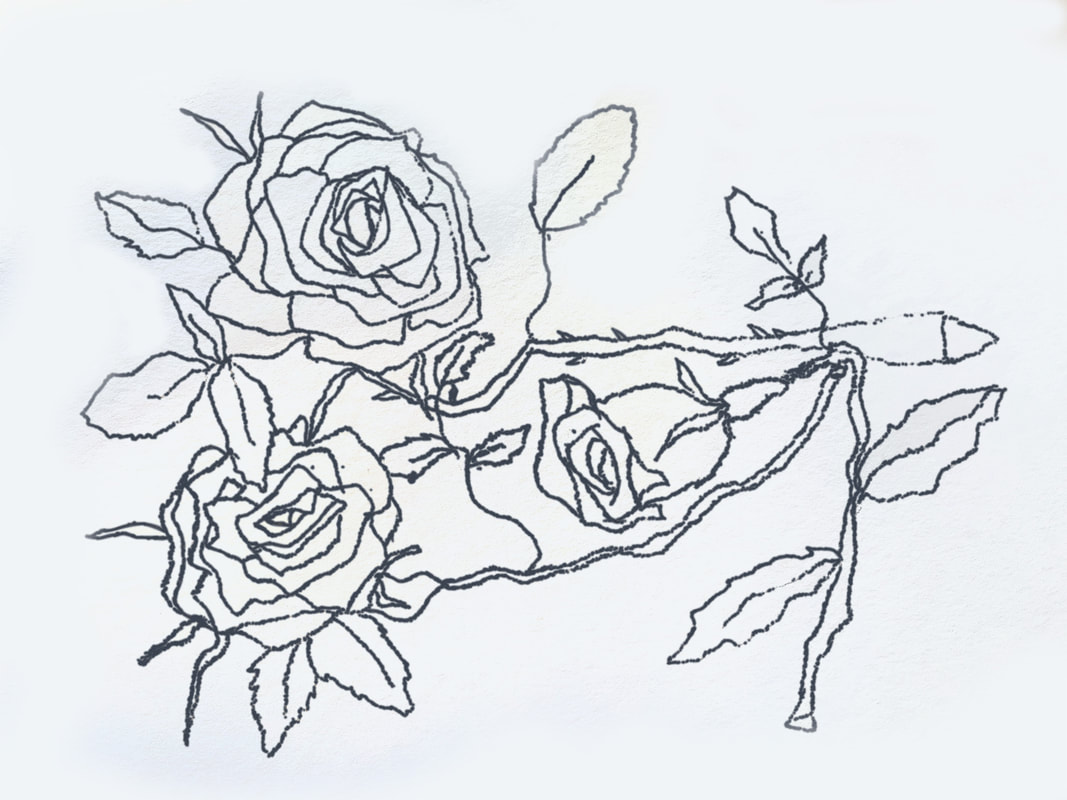
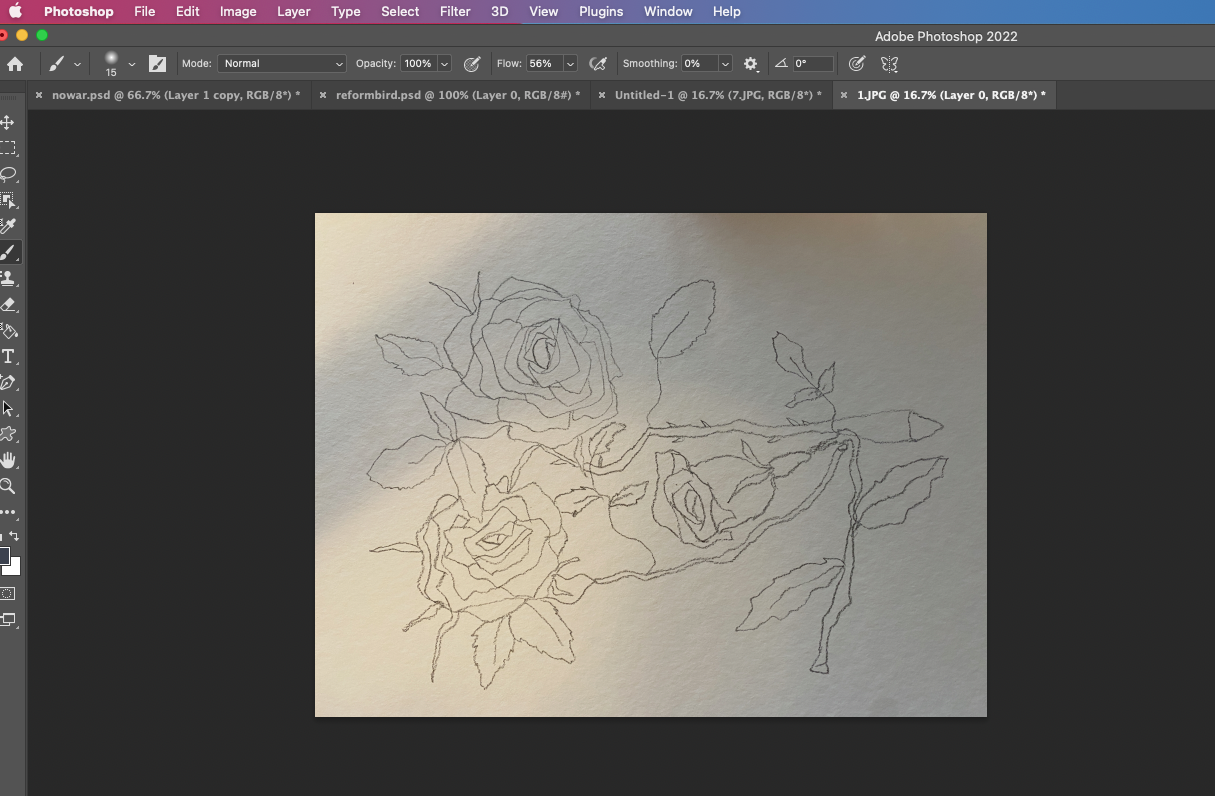
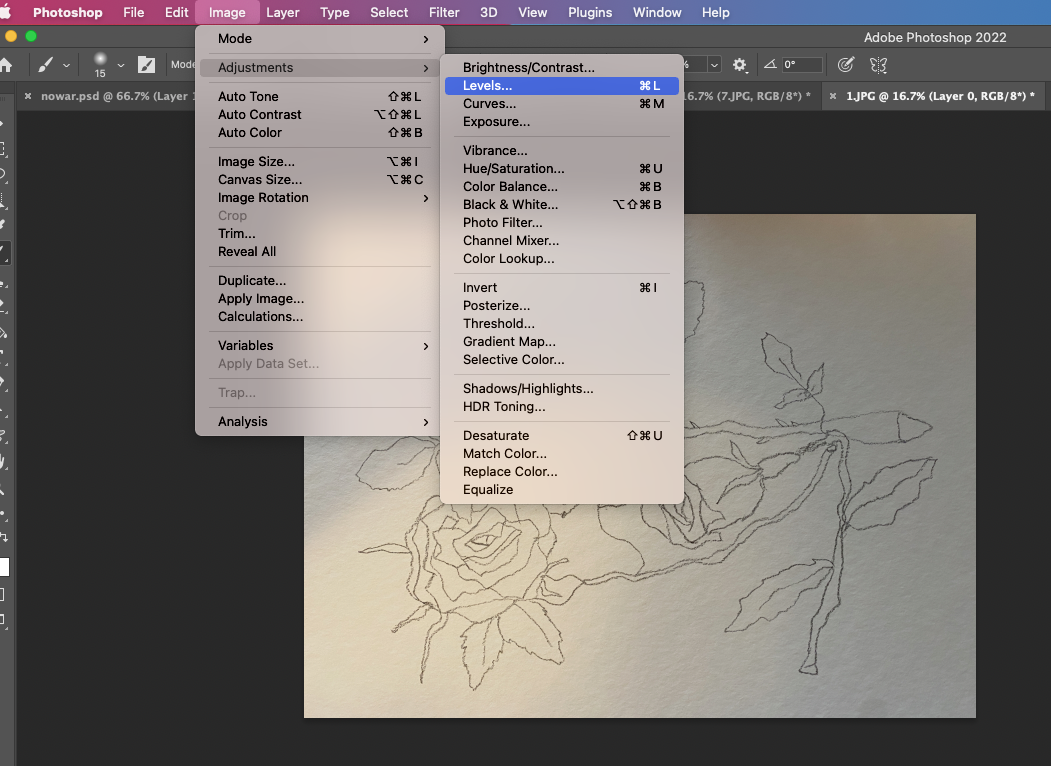
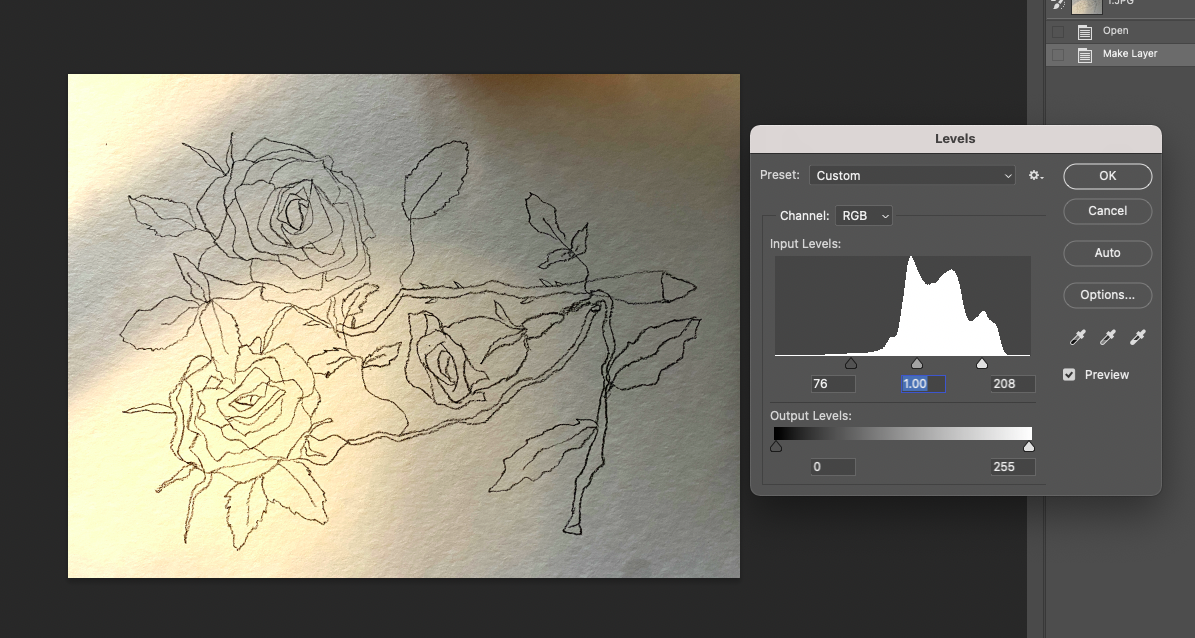
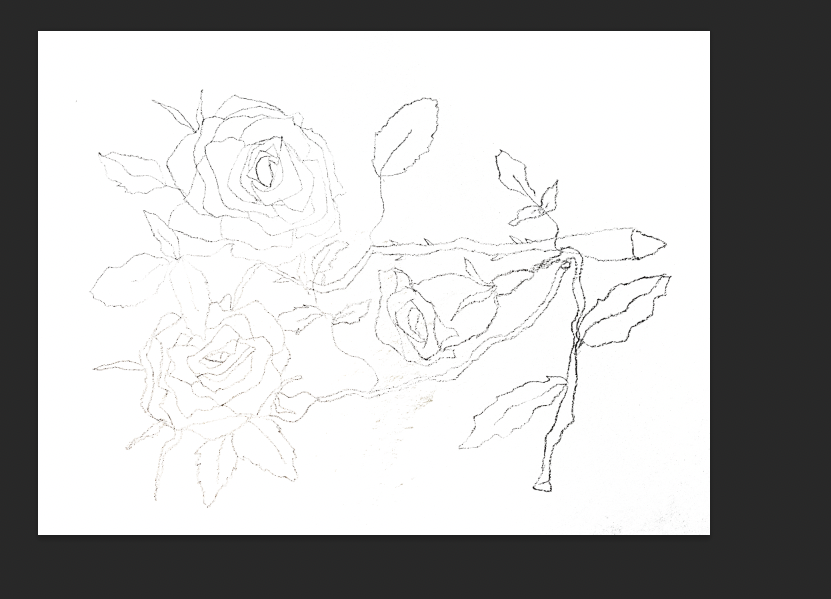
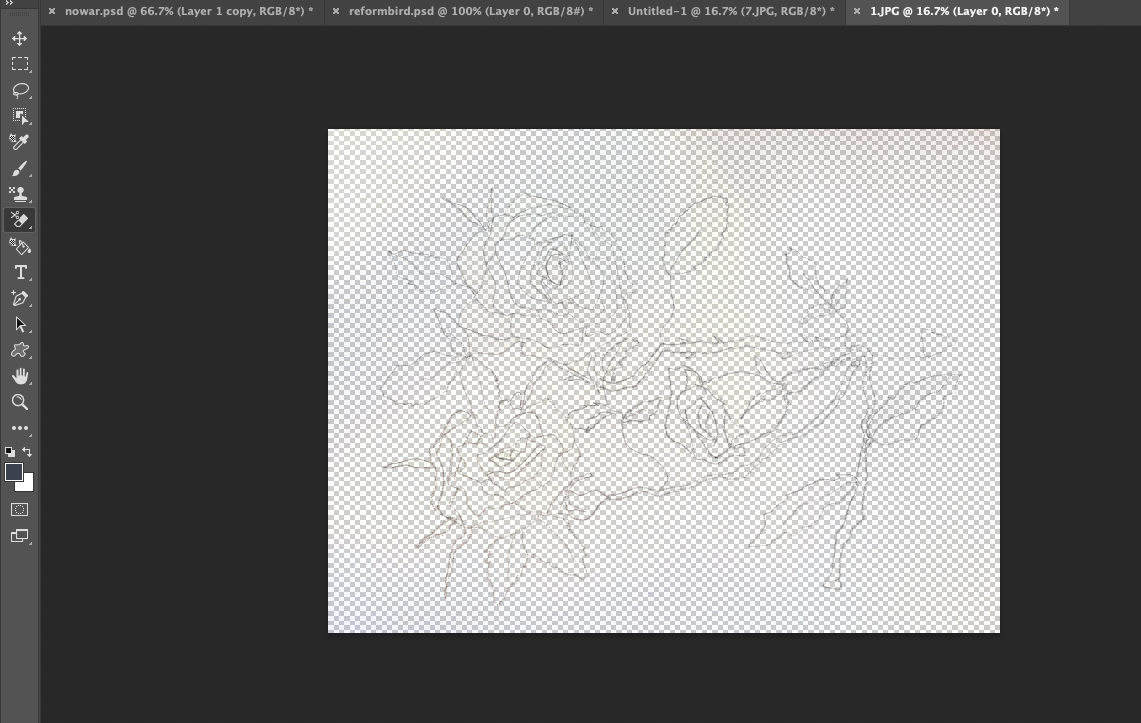
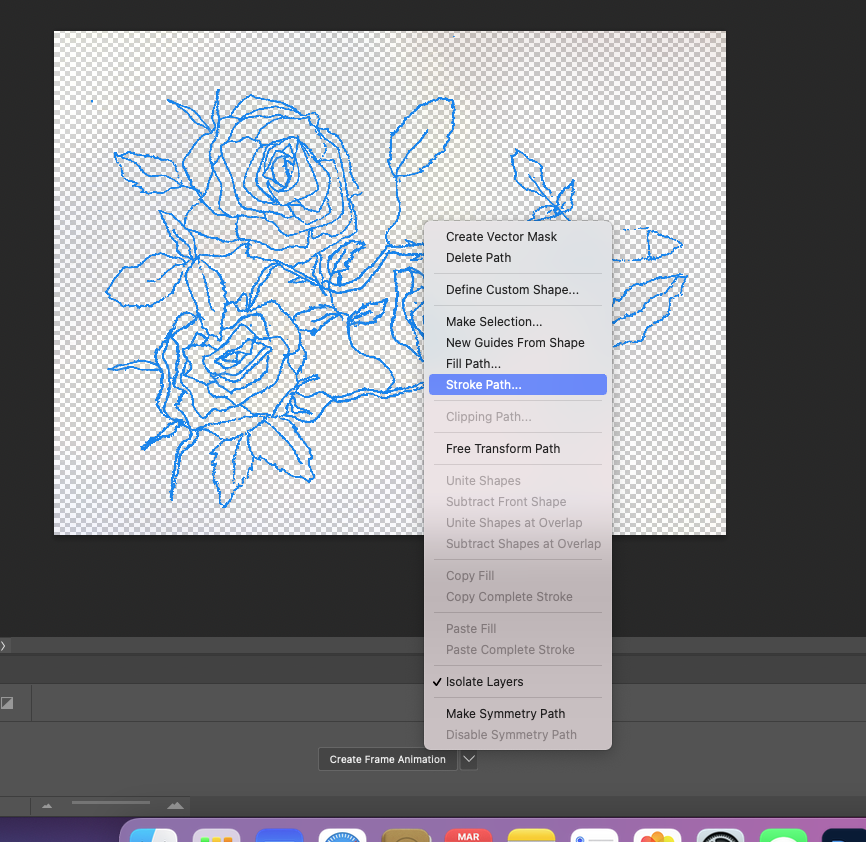
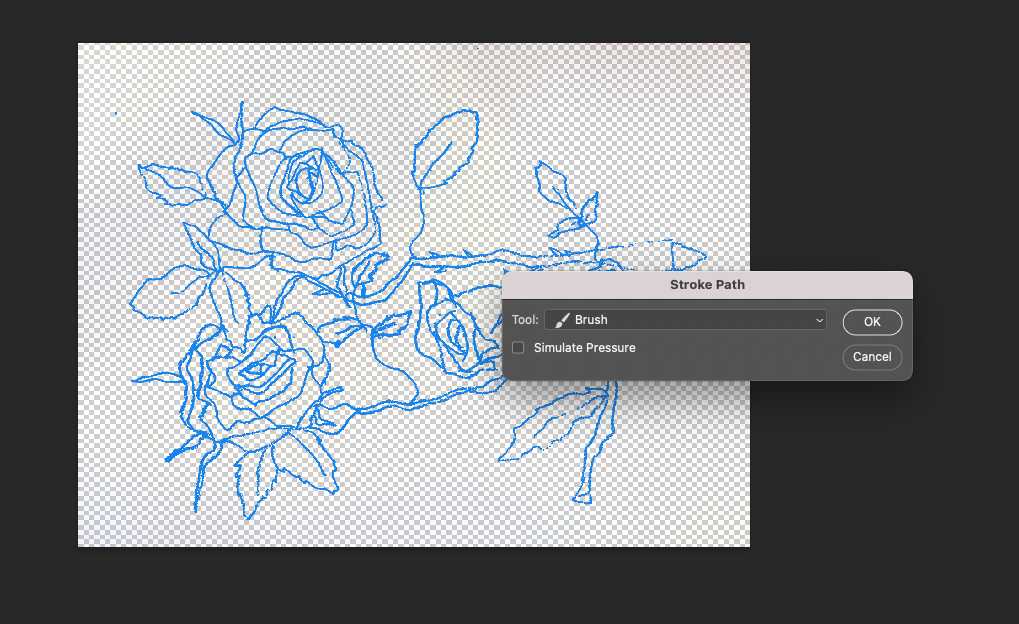
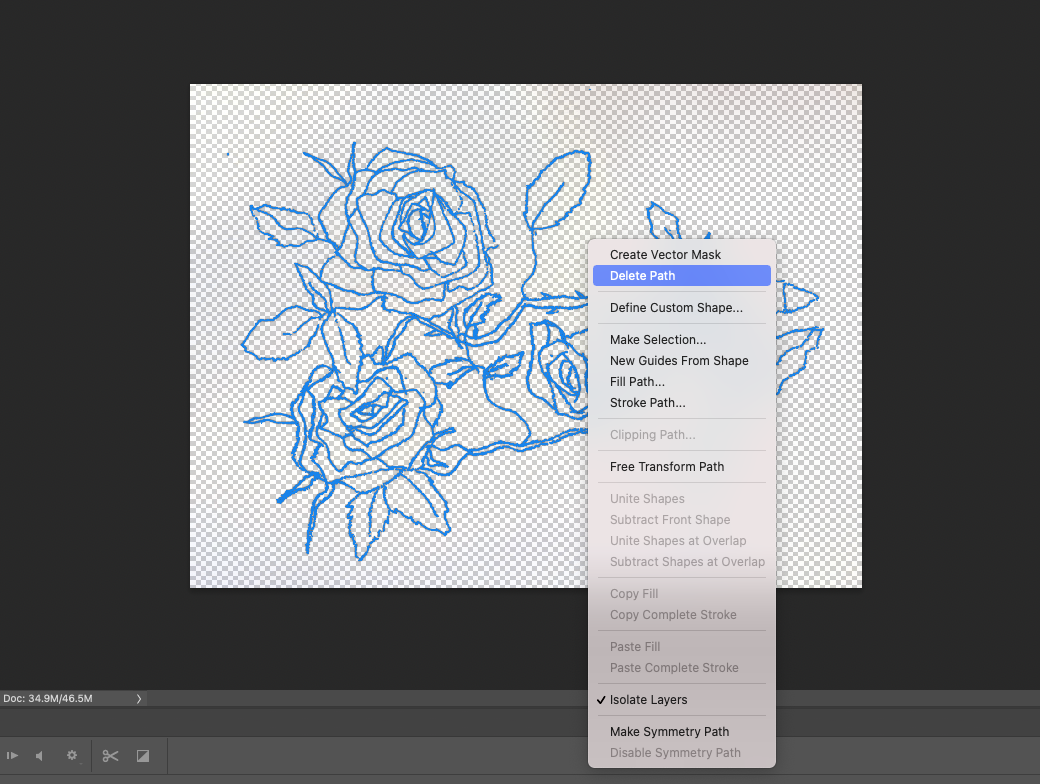
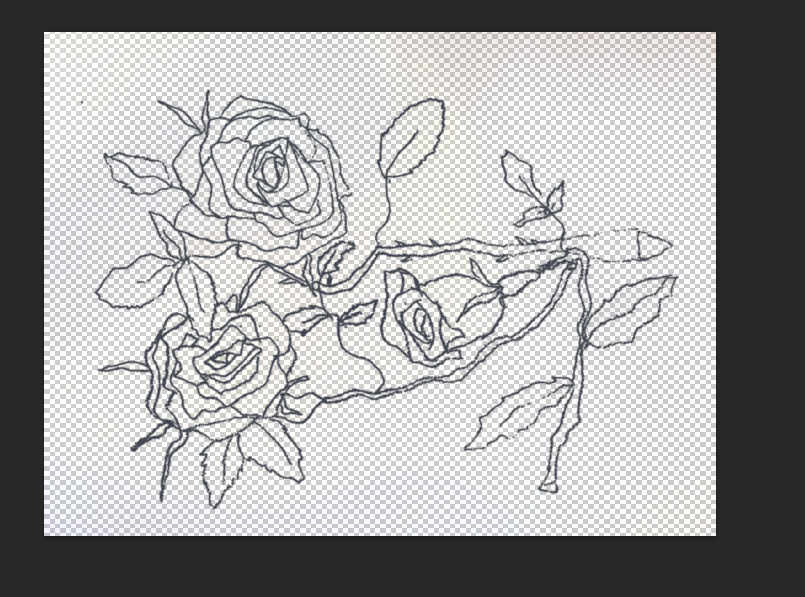
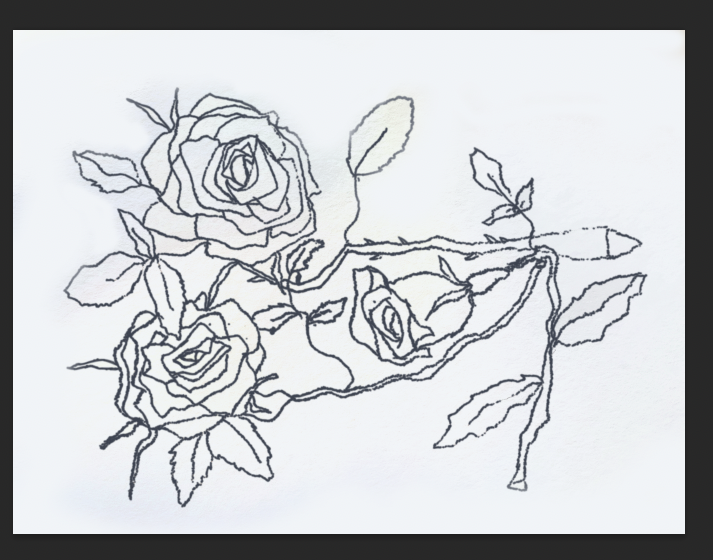
The Process of making the Blue roses. Today I want to show you how to sketch and draw a blue rose in a very simple way. * Note: Some errors may be found in the images in the document below. I am currently working on fixing this. thank you There are many different ways to draw a rose, and it will be introduced in various routes and methods on various YouTube and Internet sites. The method I will introduce here is to show you for a moment how I finished the blue roses I drew today. I would be very grateful if you could watch it with interest. First, make a simple sketch as shown below. I made a sketch for practice in Photoshop. Paint every corner with the main blue color. In my case, I use the watercolored pencils. Paint every corner with the purple or orange color for middle shade. Wet a brush with water and paint. In my case, I set the part that receives the strongest light with white acrylic. Then, the dark contrast is expressed Below is the finished look. If you photograph a sketch drawn in pencil, you get an image like the one below. The boundaries are vague and not clear. In this case, you can use it as a coloring page if you process it with Photoshop. Here are some simple tips. If you want to get more clear sketch, and then you can go Image--> Adjustments---> Levels. You have to adjust the value of Levels until you get more clear image. And then select only the line of roses. (Select the layer with Shift + Cmd). Next, click with Right-click on your mouse, and then go to Stroke Path like below. Select the Brush tool and click to OK ! To check your result, delete Path with right-click on the mouse. Here is the result.
0 Comments
Leave a Reply. |
Myungja Anna KohArtist Categories
All
Archives
July 2024
|
Proudly powered by Weebly






 RSS Feed