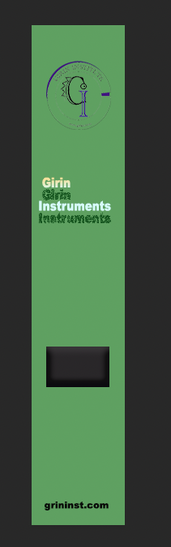
 How to create moving banner for advertisement in Photoshop. I recently made an animated banner using Photoshop. This is a promotional banner for Girin Instruments, which is a link to my homepage. Go to Girin Instruments site! First, we get the image information as below in order to make a banner suitable for the site. To know the size information for the image to be replaced, follow the steps below. If you click with Right button on your mouse. (Depending on your environment, this option may not be available.) 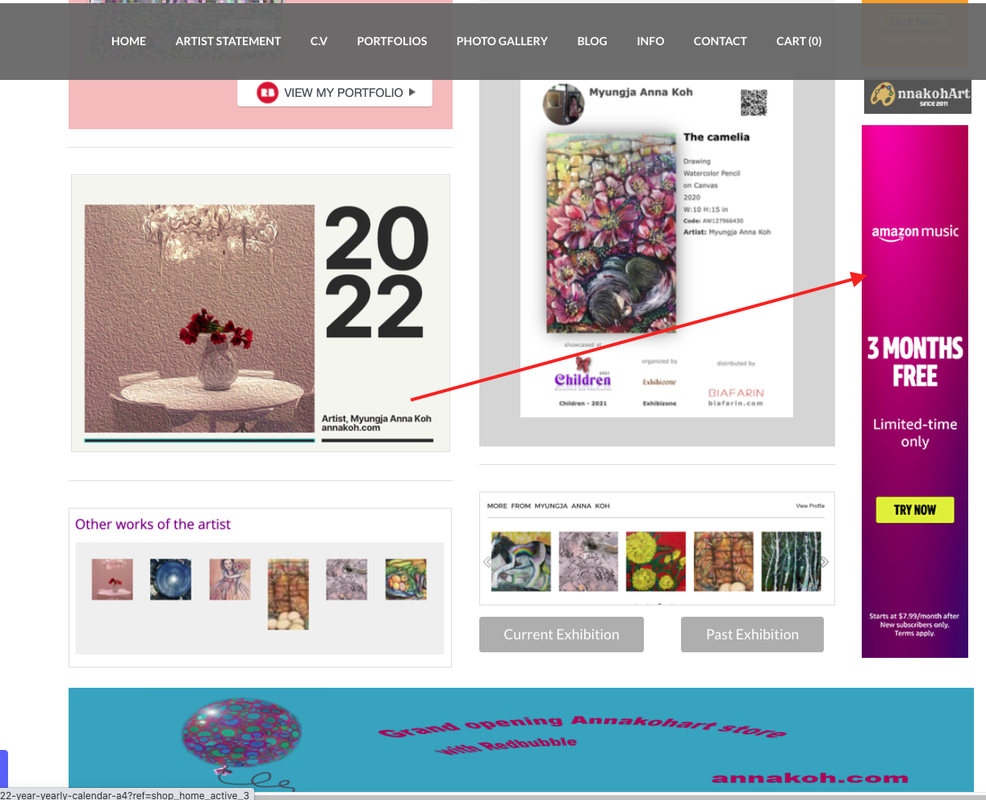 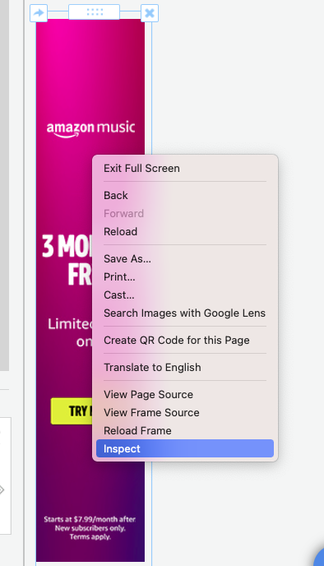 I get the image size info with 126.95 x 618.35. 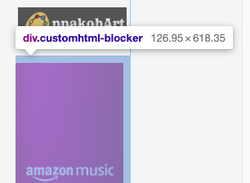 And then go to the Photoshop, make a new canvas to fit the size information. (Note that decimals are not used.) 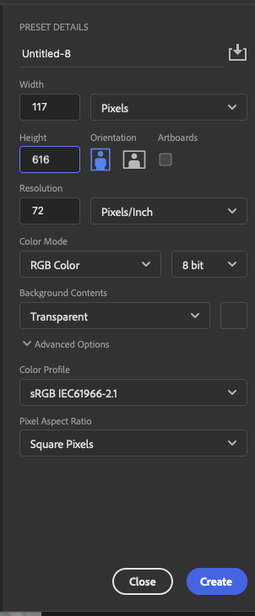  Change the color on the canvas for making banner. Create text and buttons on each layer as follows.
To express the button three-dimensionally, set the blending options as follows as below. 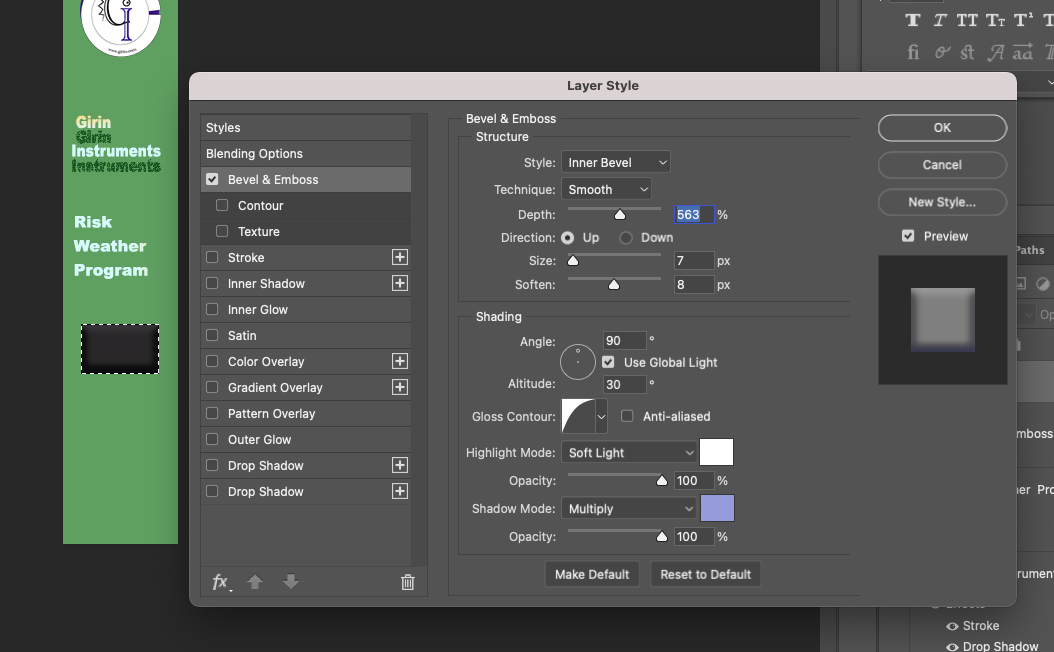 Put the risk weather icon at the bottom. Since you need to make it into a moving emoticon, you need to create each layer separately.
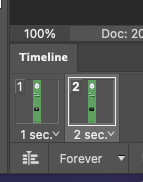
The created layer is named as shown below. 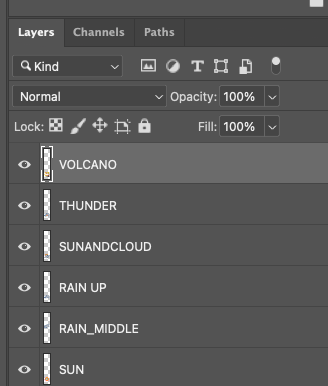 Next, go to the Window---> Timeline for making moving animation. 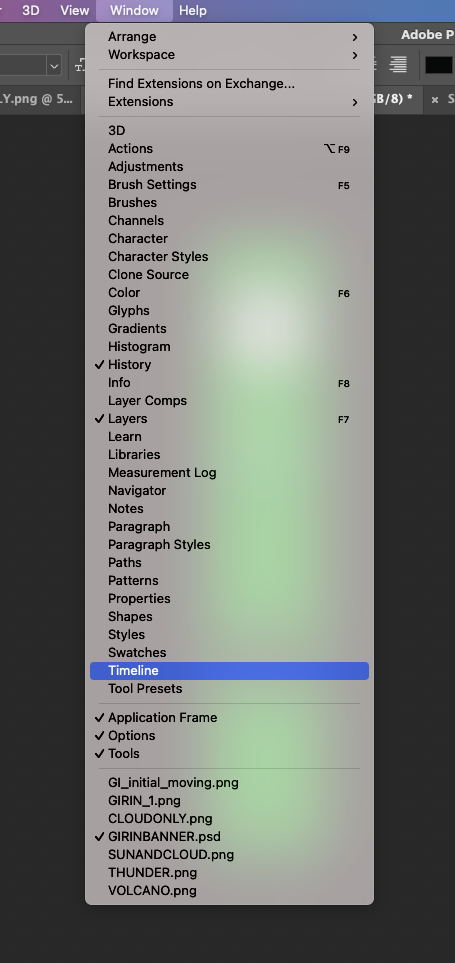 And then select the Create Frame Animation. Note!! You have to double click on the text to open it! Remember!  Here is the workspace for making keyframe. 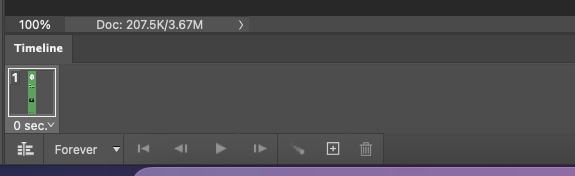 Click the icon below to add each frame. 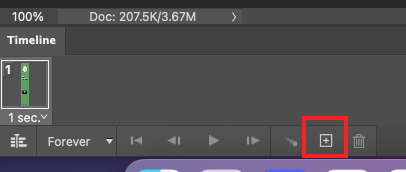 The principle is easy once you know it. Set one motion per frame and adjust the time. That is, each frame is created by calculating the part to be shown in advance. When creating, you can set the layer's eye icon by repeatedly turning it off and on.
Adjust the second unit as shown below to designate the screen to be displayed for each second.
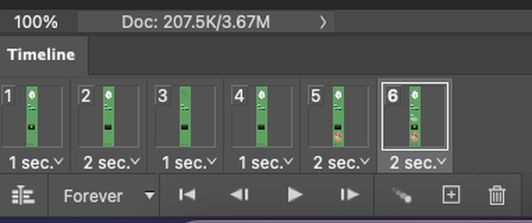 Here is the last keyframe from making each actions.  Note! When you save the file, absolutely have to save as Gif file. For that, go to the File--> Save as---> change the file style to .gif. 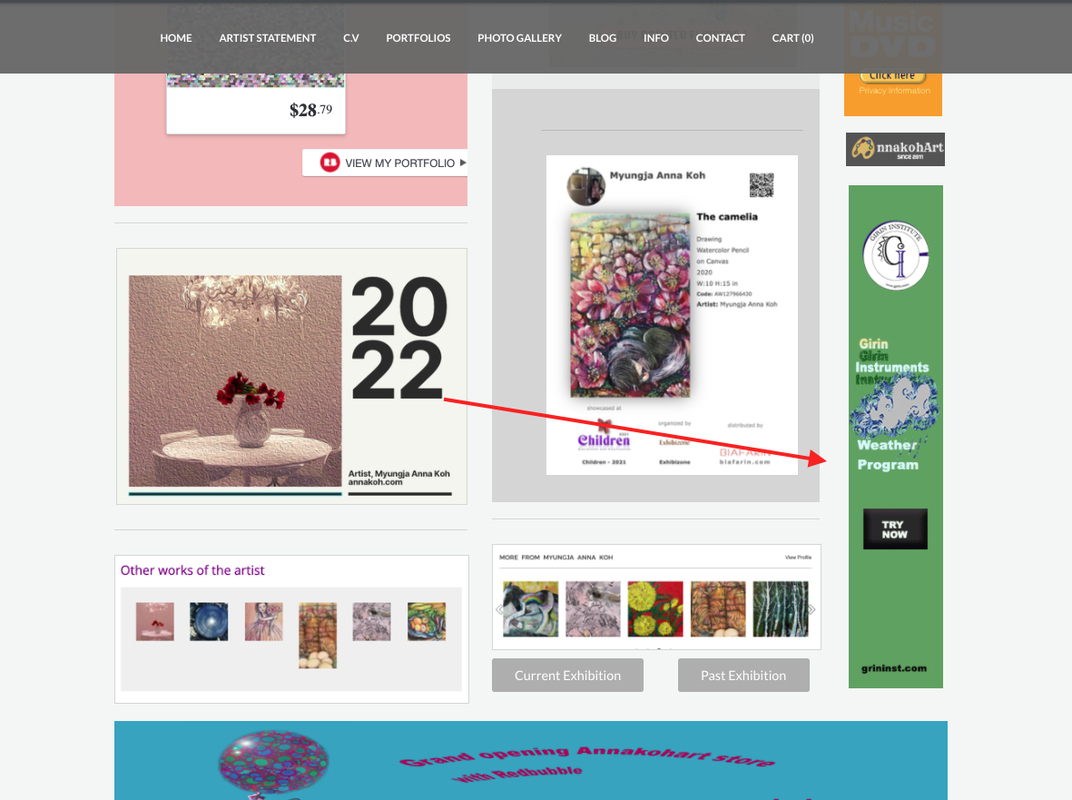 Finally, you can check the result as below. Comments are closed.
|
Myungja Anna KohArtist Categories
All
Archives
July 2024
|

|
Tutorial |


 RSS Feed