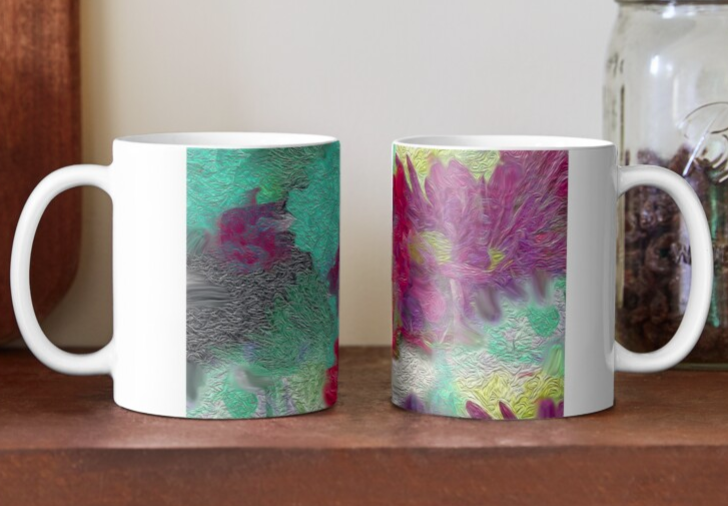
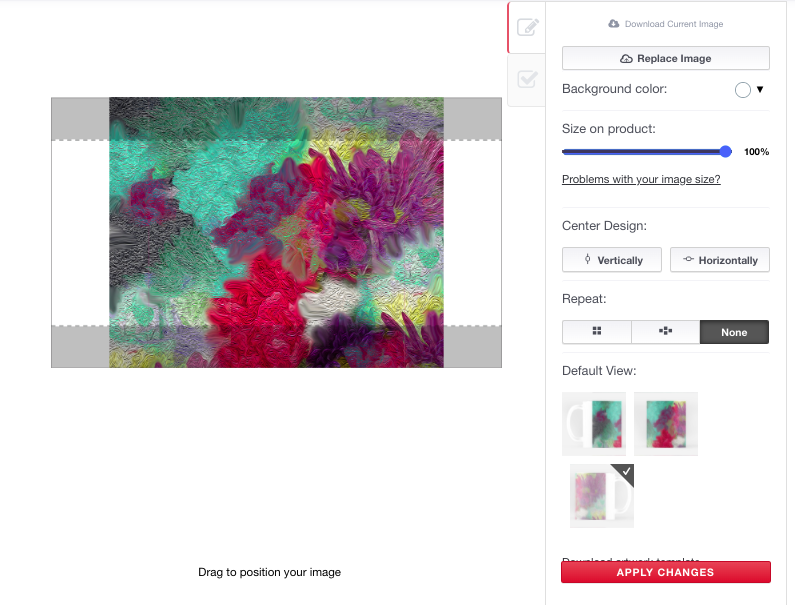
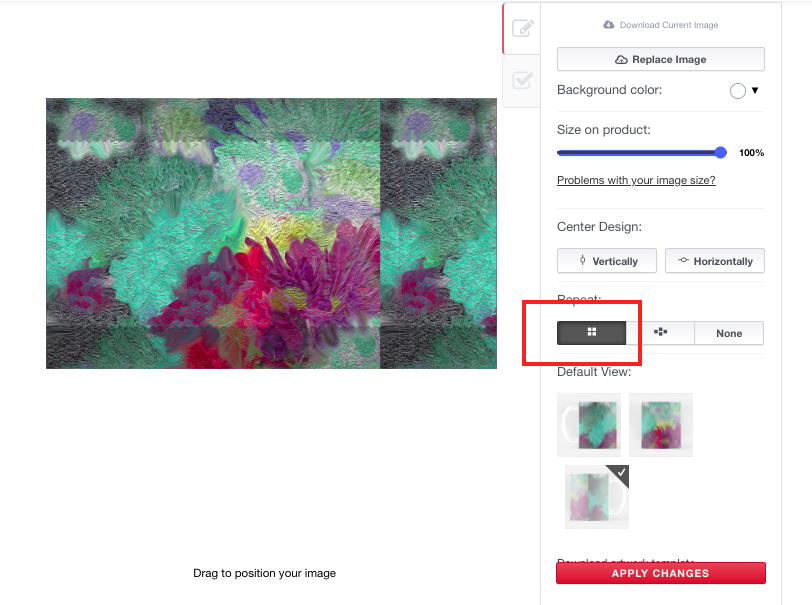
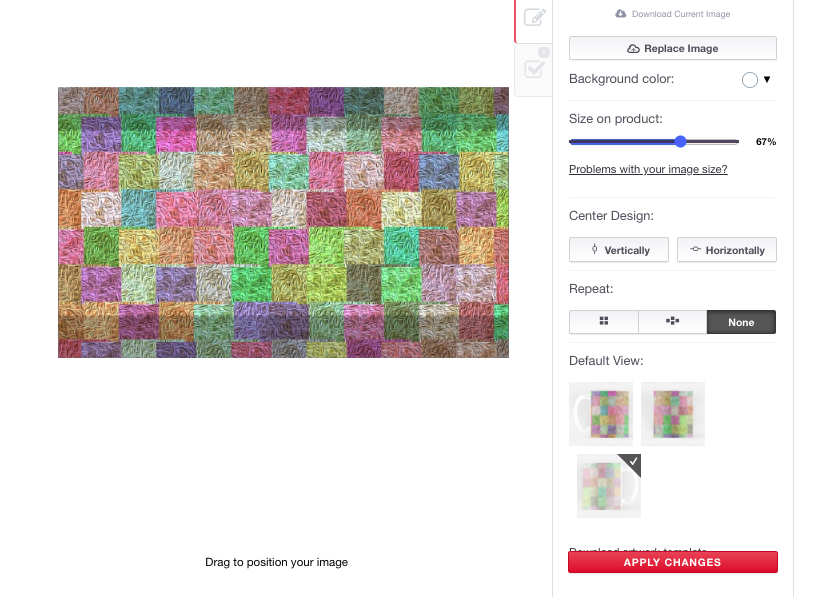
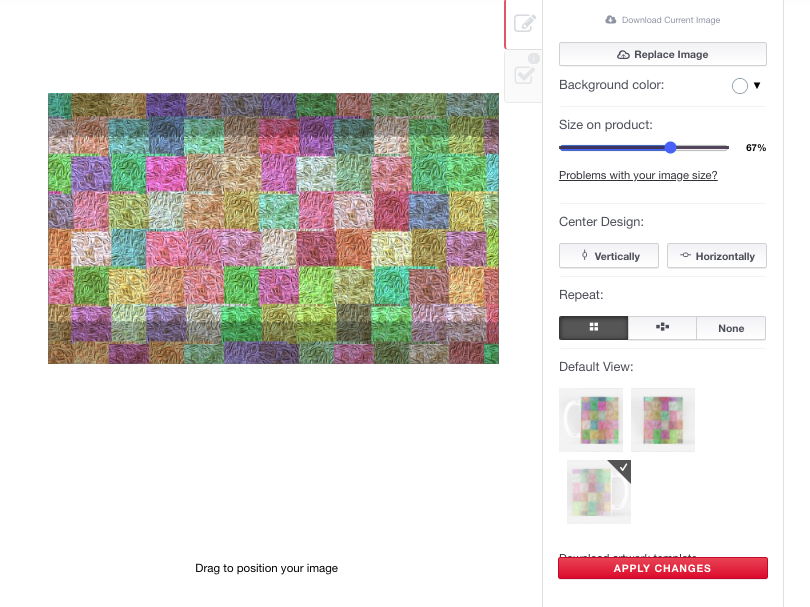
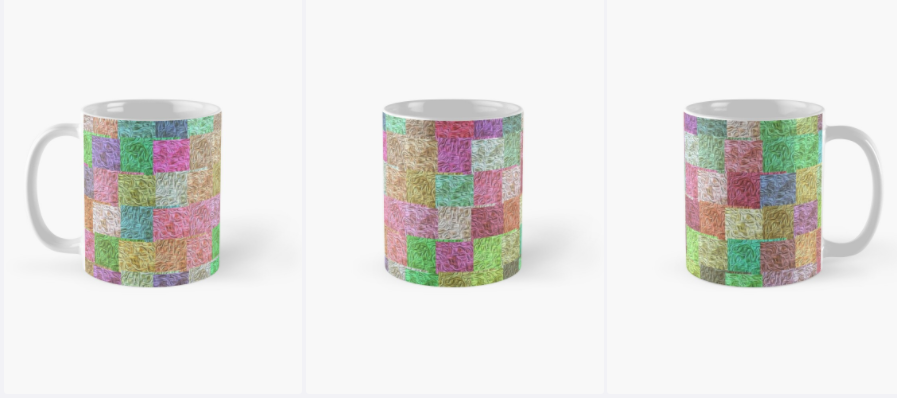
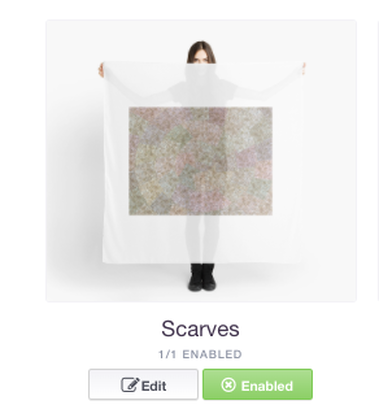
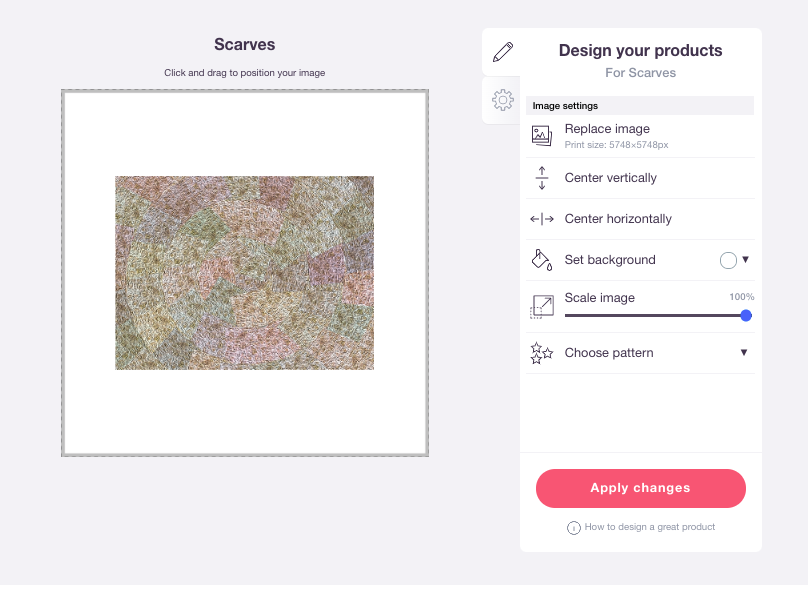
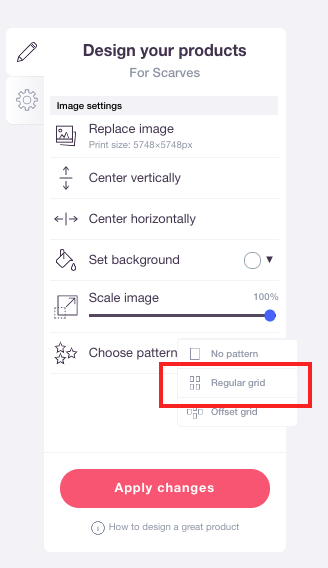
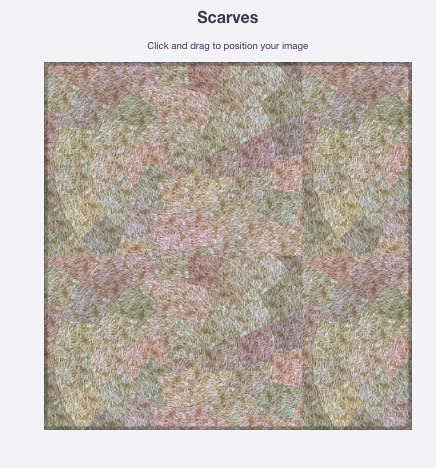
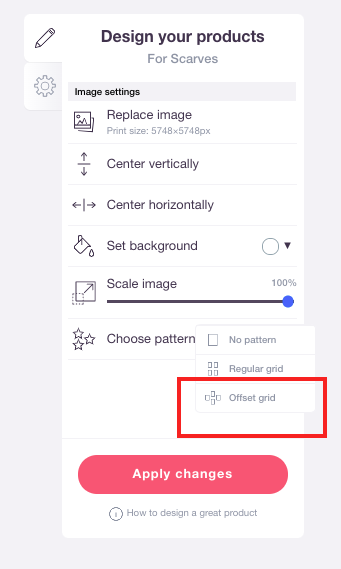
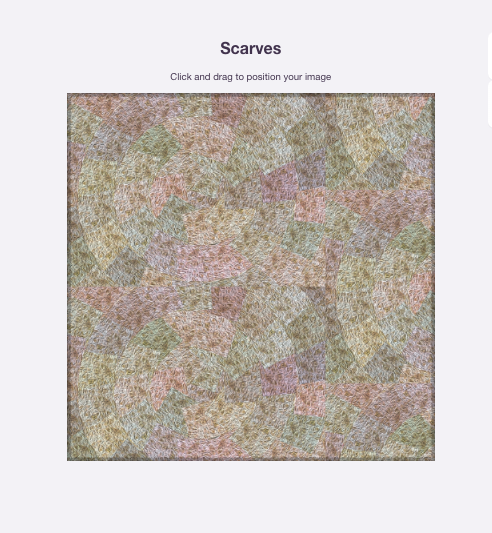
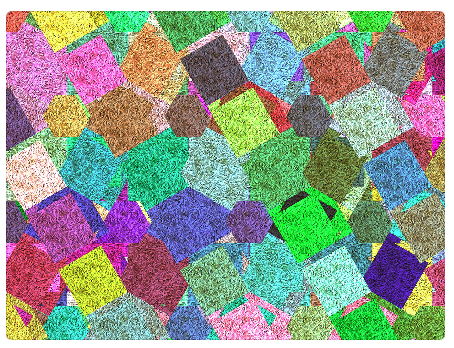
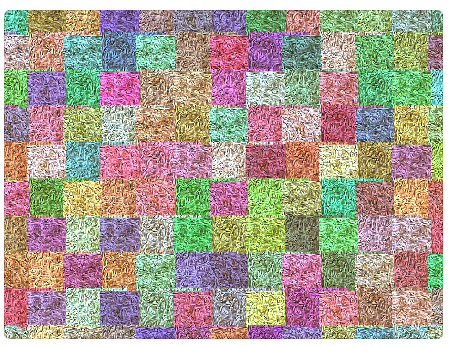
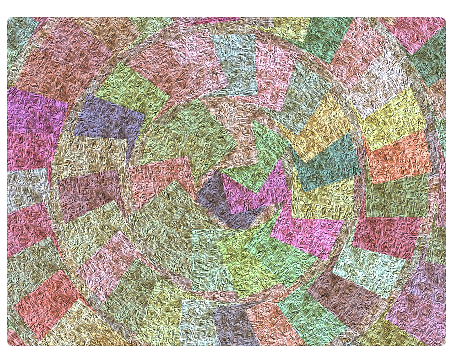
How to fit your image to your product on Redbubble site If you make a product with your design, you will want to make a pattern one step further. A single design can be applied to a limited number of products, but if it is patterned, it can be applied to various products. In other words, there are more opportunities for my designs to be exposed. A single picture is mainly used in a frame, note, or bag with limited product in squared shape or 2 D surface. It can be freely applied to 3D planes such as mugs, hats, T-shirts, and scarves when created as a pattern. For example, if you make a mug by uploading an image to Redbubble, if it is not a pattern, a blank space is shown, as shown below. To remove this space, go into the editor of Red Bubble and set it to repeat as indicated below in consideration of the overlapping part of the picture. However, in the case of a single image, the seams do not fit naturally, and it becomes awkward. In this case, you need a pattern. The seams are arranged naturally when a pattern is registered, as shown below. As you can see from the above result screen, it can be seen that the edge part is connected naturally without blank. As an example, I created an image of a spiral pattern as shown below and uploaded it to the red bubble. 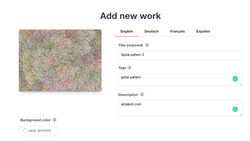 And apply this image to a scarf as an example As in the above case, it can be confirmed that the blank is visible on the edge. This blank should be removed. For doing it, you can click the Enable green button and click the Edit. Above screen is about the preview without editing. If you want to fit your image after removing the blank space around the square, you have to click Choose pattern. After that, click the Regular grid. If you go to Offset grid, you can find the result as follow as below. When patterned in this way, it is attached more naturally to the 3D surface such as a mask as shown below. 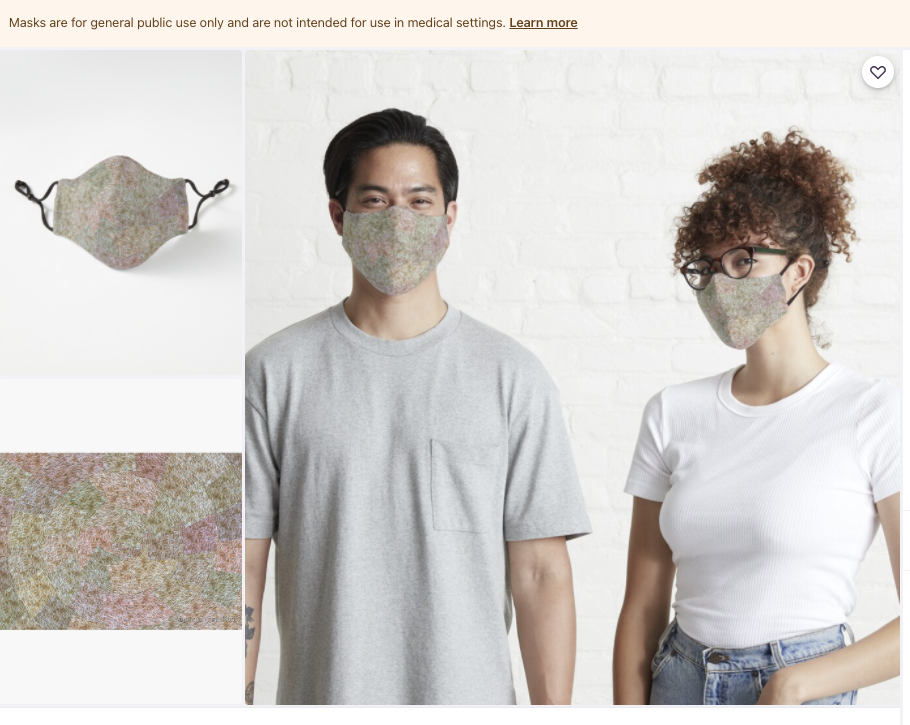 Below is an image that I have been working on a pattern using my spare time. On average, I can create 6 patterns a day. Someday, I will post it how to create it in Photoshop. Comments are closed.
|
Myungja Anna KohArtist Categories
All
Archives
July 2024
|
Proudly powered by Weebly

 RSS Feed