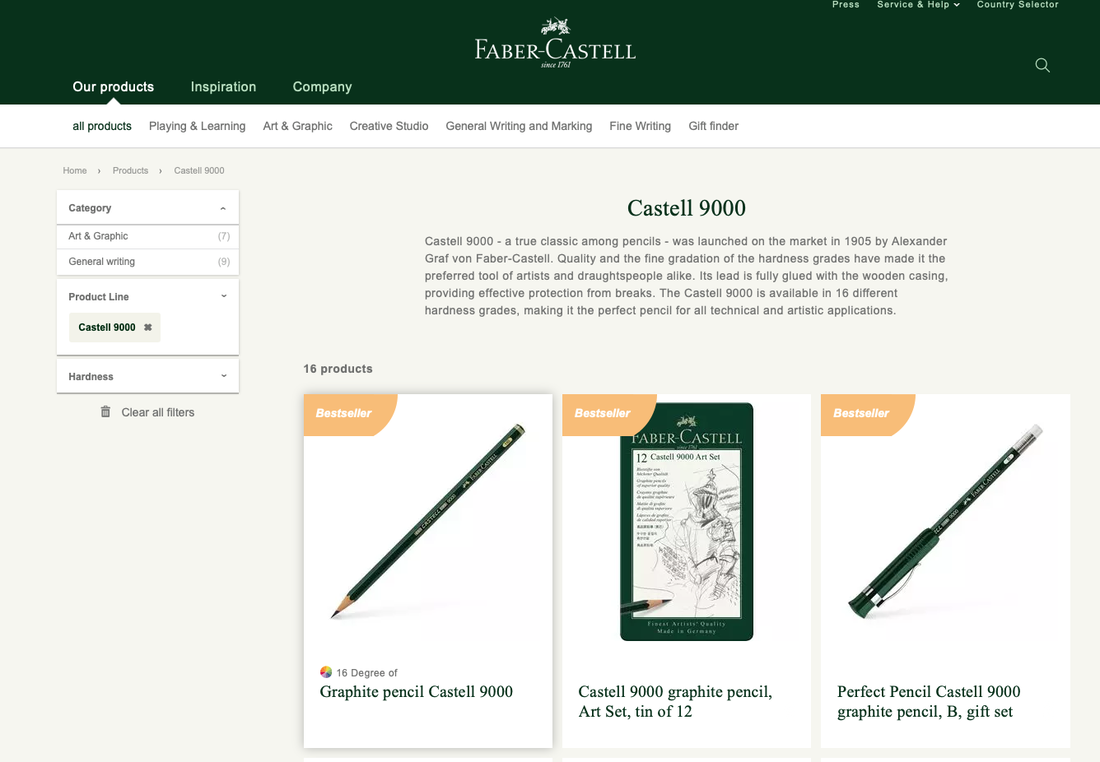
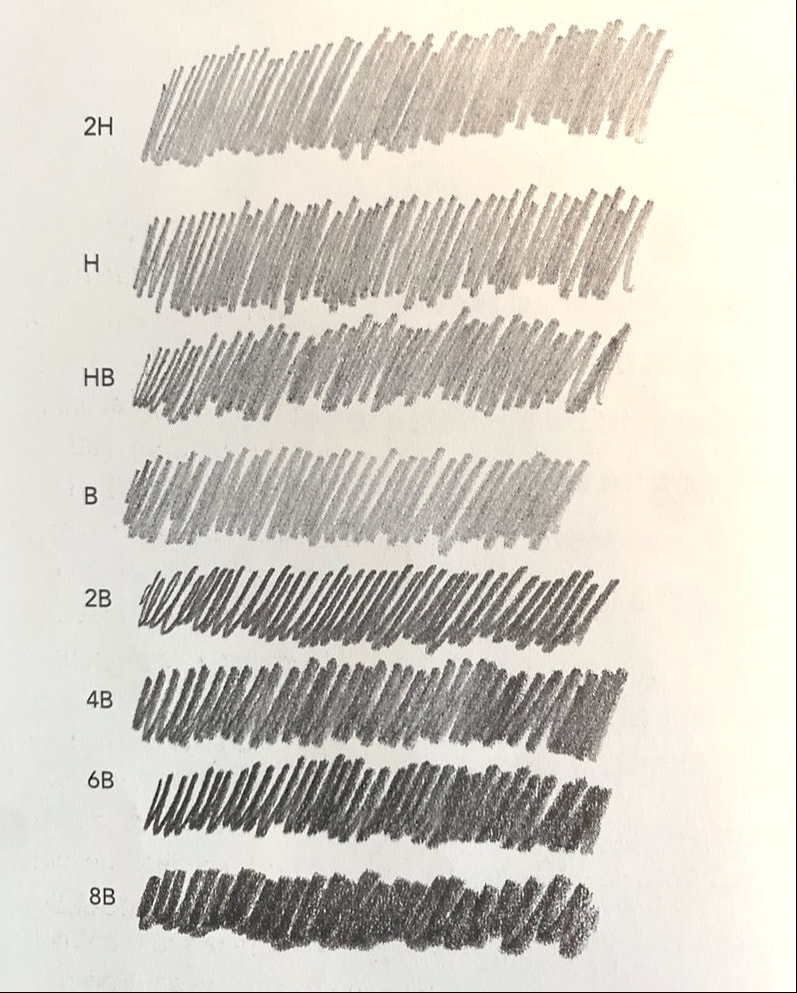
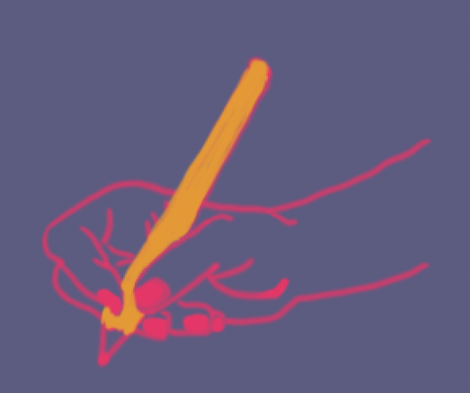
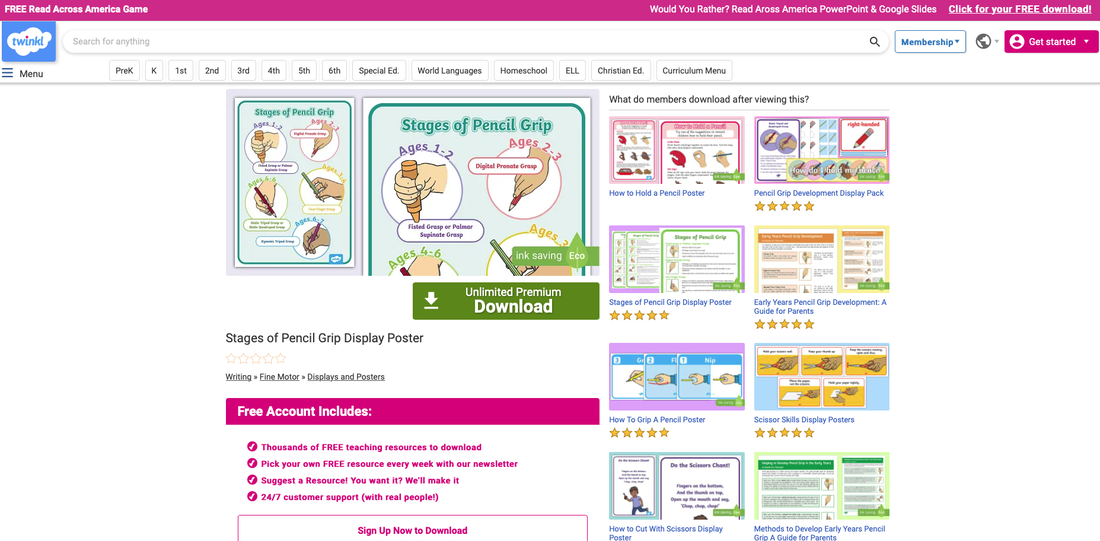
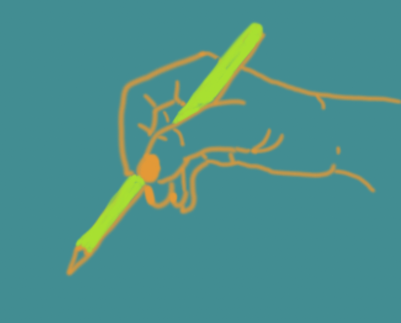
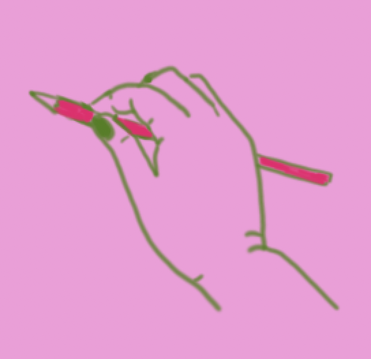
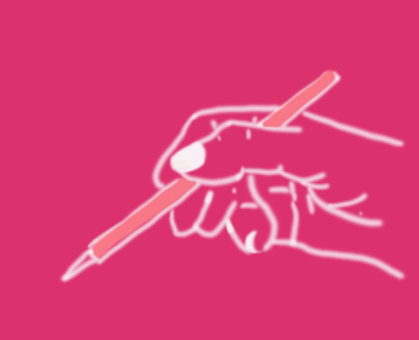
Drawing Basics with Materials The visual components of color, form, line, shape, space, texture, and value. Drawing, as a basic element of art creation, refers not only to objects that exist in the visible world, but also to expressing concepts, thoughts, attitudes, emotions, fantasy, and even symbols and abstract forms with lines in general. When making these drawings, the most basic and most commonly used pencil is the Graphite pencil. Around 1560, the Italian Bernacotti and his wife made the world's first wooden pencil by inserting a graphite lead into a wooden stick. Then, in 1564, a vein of high-quality graphite was discovered in England and the graphite was processed and pulled into a thick wire shape to be inserted into wood or rolled up paper. In fact, the origin is said to have started with the ancient Romans and Greeks marking symbols on roe deer skins with round-shaped blocks of lead. The English word for "pencil" is derived from the Greek word "Graphein". The green ‘Castell 9000 Pencil’ was developed in 1905 by Count Alexander von Faber-Castell and is still loved all over the world today. Van Gogh, a painter we know well, was also a lover of pastel pencils. It was the first hexagonal pencil and a historical pencil to apply the standard of hardness. The H at the bottom of the pencil stands for Hard and B stands for Black. So H, 2H, 3H..... In this way, the higher the number of H-leads, the harder and blurred the pencil lead, and B, 2B, 3B, … The higher the number of B cores, the more graphite is used, making it softer and darker. 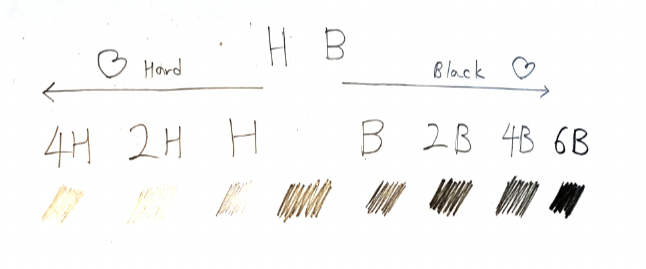 Below is a description of the difference between intensity and contrast in a book where the techniques for drawing basics are well described. There are 4 ways to hold these pencils. 1. The Tripod Grip: a grip using three fingers of the hand - the thumb, index and middle fingers. A child typically develops this grip around the age of three or four. Below is a poster and explanation of how to hold a pencil for children. The tripod grip is also sometimes referred to as the "writing grip". 2. Extended Tripod Grip : a comfortable way to hold a pencil for light sketching. Similar to basic tripod grip but is much higher on the pencil. This uses the same hold as the basic tripod, but the grip rests further up on the pencil. It is helpful to keep your hand from smudging your artwork. 3. Overhand Grip: It allows you to shade with the side of the pencil and is also a useful pencil hold for vertical drawing surfaces, such as an easel. The overhand grip is going to be really useful for various applications, but if you are doing on digital drawing with a digital pen or something like that, then it may not apply. 4. Underhand Grip: Move the pencil higher so it sits in the V of the thumb and palm, with the index and middle finger lightly controlling the tip, similar to eating with chopsticks. When drawing on paper with the above technique, raise your wrist above the paper. Instead of using your wrist to hold your hand in place as you would when writing, you should have your hand slightly floating directly on the paper. Elevating your wrists will not only help you form straighter, smoother lines, but will also prevent dragging the edge of your forearm or hand over the pencil marks and smudging. Use both your wrist and forearm to draw. Once it’s time to put pencil to paper, get your entire lower arm involved. Move the pencil with smooth, precise strokes, starting from the elbow.
0 Comments
Leave a Reply. |
Myungja Anna KohArtist Categories
All
Archives
July 2024
|
Proudly powered by Weebly

 RSS Feed