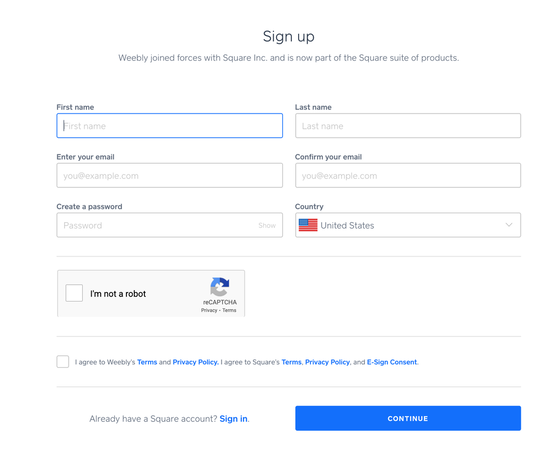
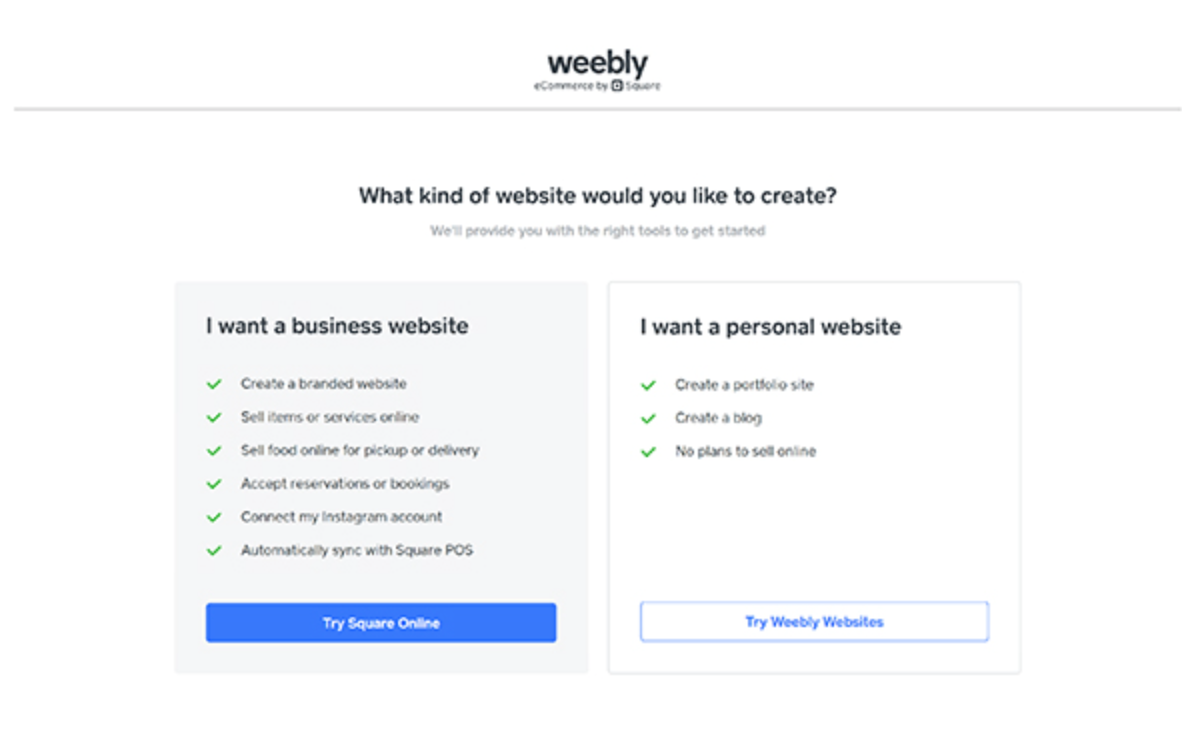
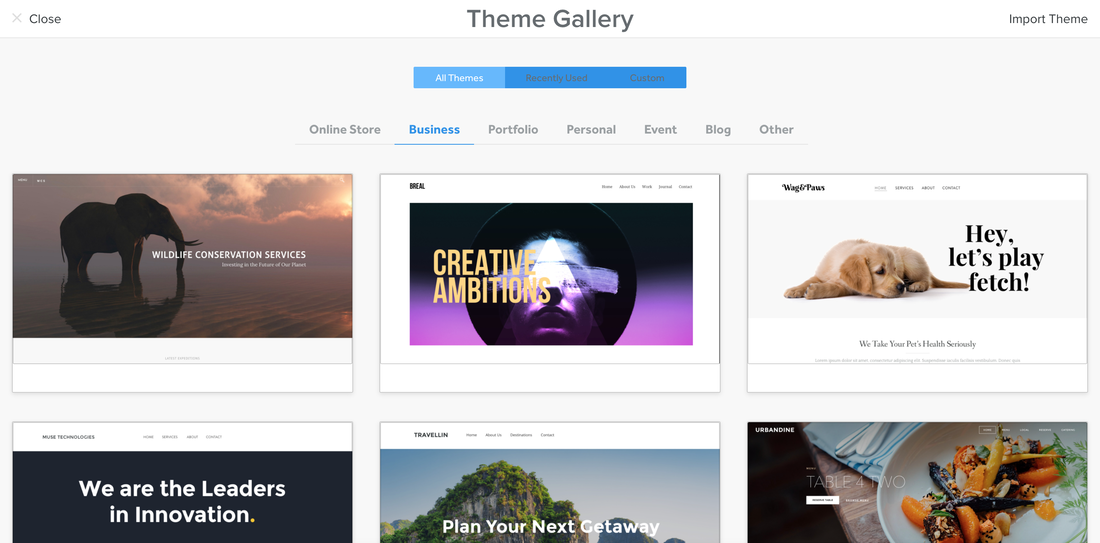
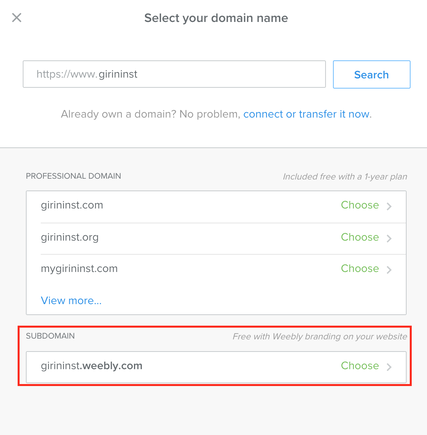
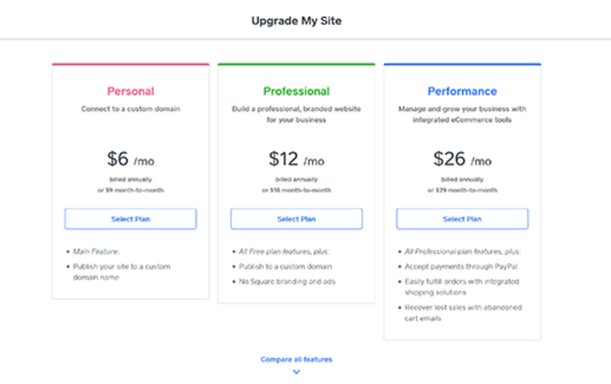
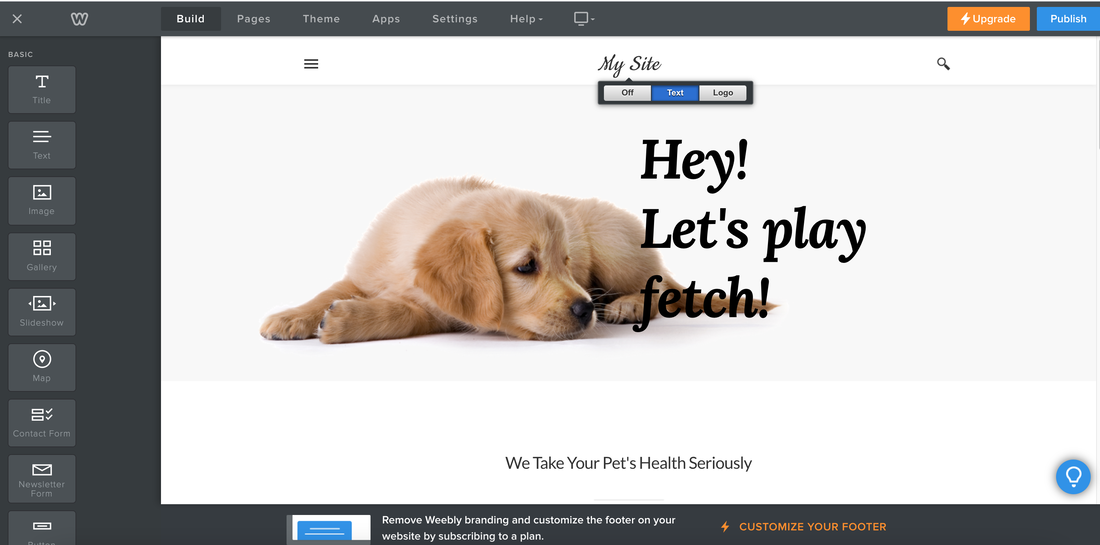
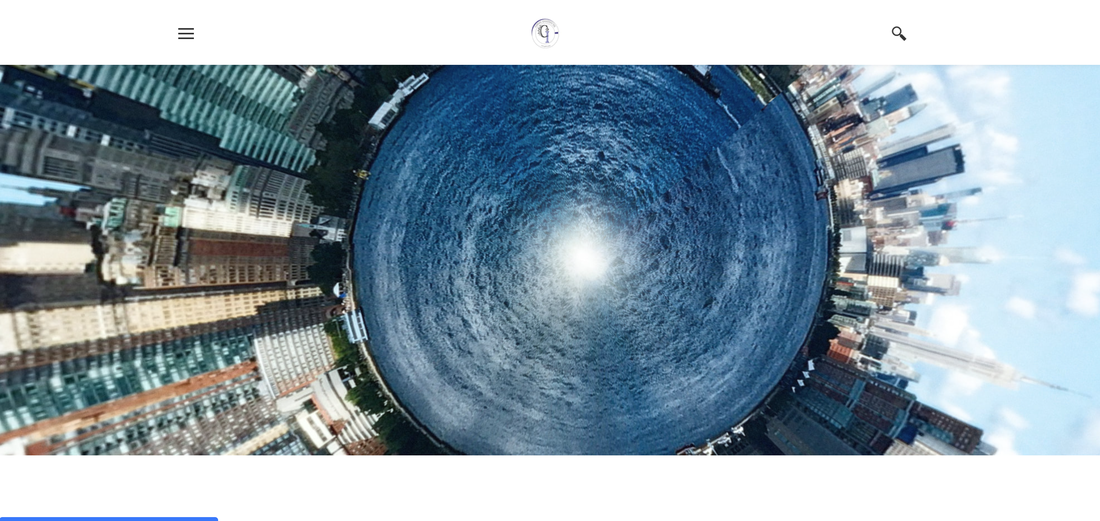
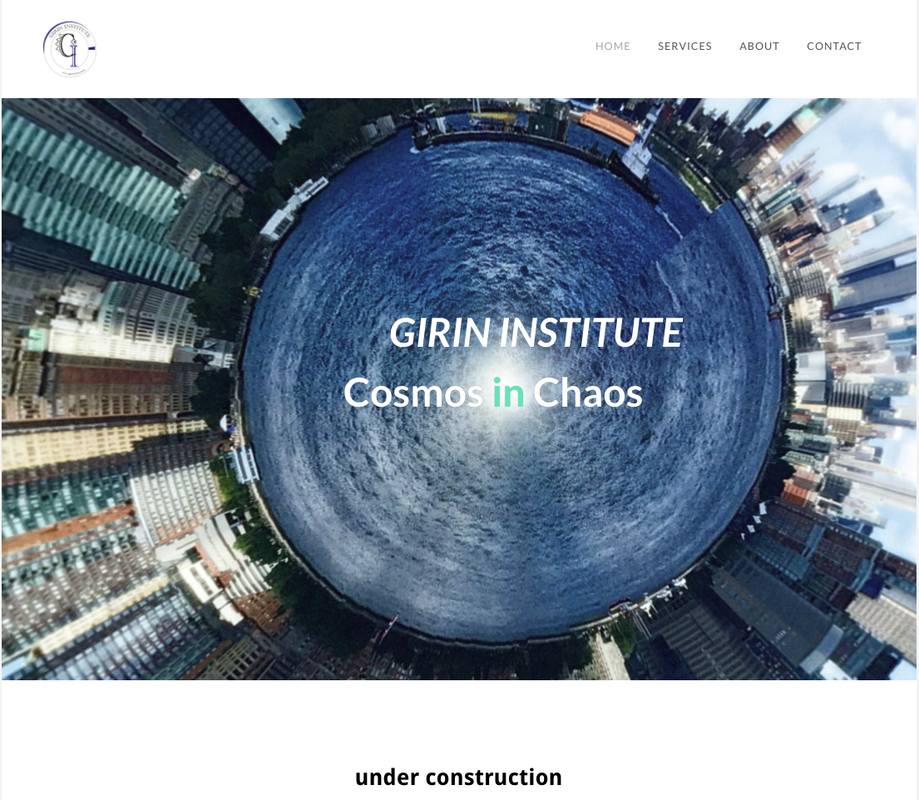
Creating a Weebly website Recently, I made another Weebly website out of necessity. And I would like to show you how to make it until completing the primary screen step by step. First of all, to create a website on Weebly, you need to enter the information below. Name, password, email, country and then check the E-sign consent. Once you sign up, and can find out the below screen. We know you want a business website, but you should select “I want a personal website” here by clicking the “Try Weebly Websites” button. With a Weebly website, you can do everything listed on the business website side of the screen except “Automatically sync with Square POS.” Next, you can choose your favorite theme to design your site. One disappointment is that Weebly does not provide a variety of themes unlike other blog builders. But I'm personally satisfied with the basic theme introduced here. Weebly will then ask about your domain. We recommend building your site on a subdomain (e.g., yoursite.weebly.com) so you can publish your site and test it before it goes live on your real domain. The domain name is searched for a name that has been thought of in advance. If someone is already using it, it will be marked as unavailable. If it can be used, it is displayed as Choose. At this time, click the Choose to obtain a domain name. It’s best to upgrade your site now so you’ll have access to all the features Weebly provides as you create your website. In my case, I decided to make a website first and then skipped this step. Next is the editor window shown in Weebly. Through this window, you can change themes and create or edit individual pages. First of all, in my case, I will change the main homepage screen for a moment. You can change the site logo using Weebly's logo editor. And change the header image using the header image editor. In my case, I used the artwork I recently worked on digitally as an image screen. If you use your own image, you can work more freely without being restricted by image copyright. I will upload the digital art image work process as soon as I have time. My future plan is to create a single tutorial by converting these tasks into a database. The process up to this point showed the process of simply signing up for the Weebly site and creating a simple main site. The process of becoming the entire website will be uploaded as soon as it is organized. The site below outlines the process of creating Weebly's homepage, from A to Z. It would be good for reference. I hope that my little experience will be of great help to you, so that you can create a wonderful Weebly website.
0 Comments
Leave a Reply. |
Myungja Anna KohArtist Categories
All
Archives
July 2024
|
Proudly powered by Weebly


 RSS Feed